inside: learn how to make a DIY duvet cover from two twin sheets. It’s an easy way to make coordinating bedding for a bargain.
Have you ever spent hours/days looking for the perfect duvet cover for your bedroom? I certainly have and usually end up settling for something I don’t really want. I recently made my own DIY Duvet Cover from two twin sheets for my daughters room because I didn’t want to pay $80 for the one that I liked… It’s a room for a five year old, I’m not spending that kind of money when she probably won’t even like “spirit” next year! We gave her “Spirit” bedding for Christmas and I looked and looked for a duvet cover that I liked. Here is the final result! Did you see the Hoop Wall Art I made for her room? I shared that post last week.
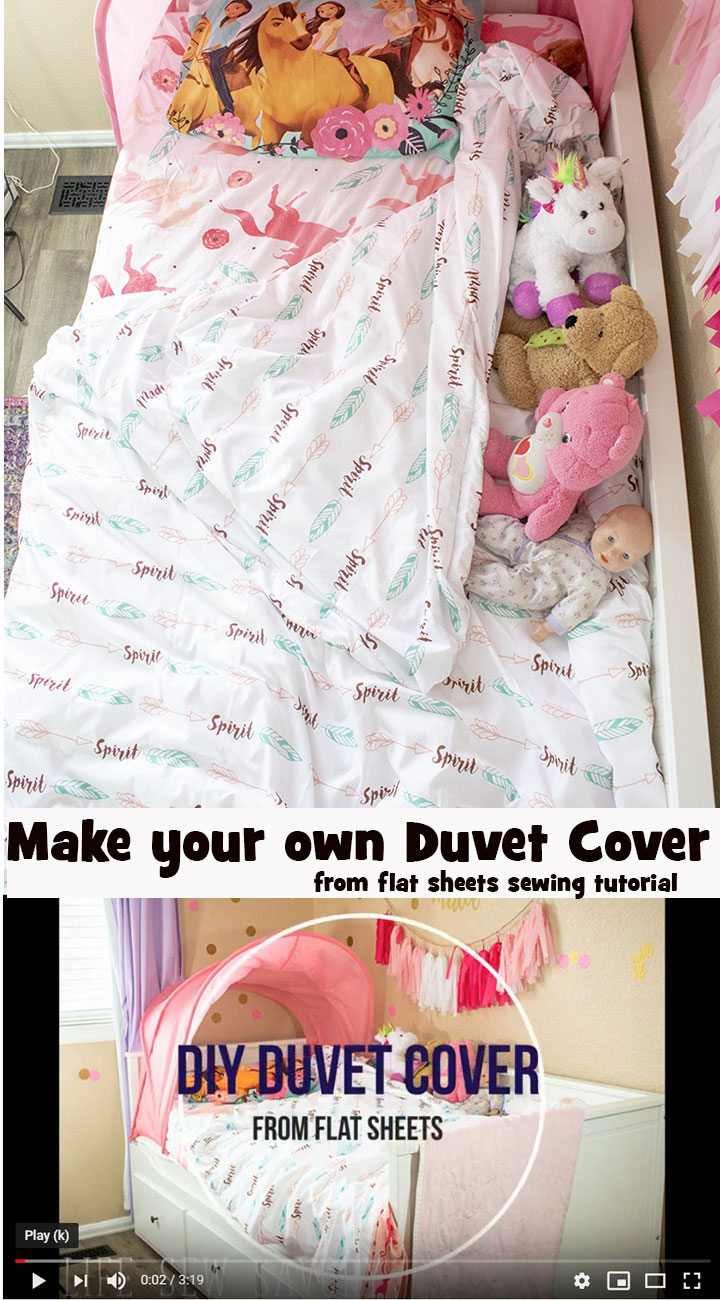
DIY Duvet Cover tutorial –
I’m a huge fan of duvet covers and fitted sheets… we haven’t used fitted sheets in our home since we got married and so I decided to buy two sets of THESE SHEETS and then used the two flat sheets to make a duvet cover. This also gave us two fitted sheets and two pillow cases to use for her room. We already had the duvet insert from IKEA, so all I needed was the cover and a new sheet set to totally make over her bedding. You can use this same method for sewing a duvet cover with any sheet size you need. I will be showing you with a twin sheet, but the same ideas would apply to any size. So grab your sheets, some ribbon {for ties}, snaps or buttons and a duvet and let’s get making. Need supplies? Check these out…
I have a full video tutorial for you below, but I also wanted to give you the step by step instructions in case written words are the best way for you to follow.
How to make a duvet cover –
Here are the step by steps if you need it in writing.
- Grab two flat sheets
- Place the right sides together
- Cut four 8″ ribbons for ties. Pin these in the corners with the ties hanging out by the WRONG side of the sheet. {When you turn the wrong sides in the ties should be on the inside of the duvet cover}
- Sew around the two sides and the top of the sheets with the wrong sides of the sheets together.
- Flip the sheets out through the bottom opening.
- Measure 8-10 inches along the bottom of the duvet cover and place snaps or buttons in these locations.
- If your duvet insert doesn’t have have ties you can add these to each corner. Tie the duvet to the top corners of the duvet cover, shake it down and tie the bottom corners. Button/snap up and spread on your bed.
{Scroll down to watch all these steps together in action on the video.}
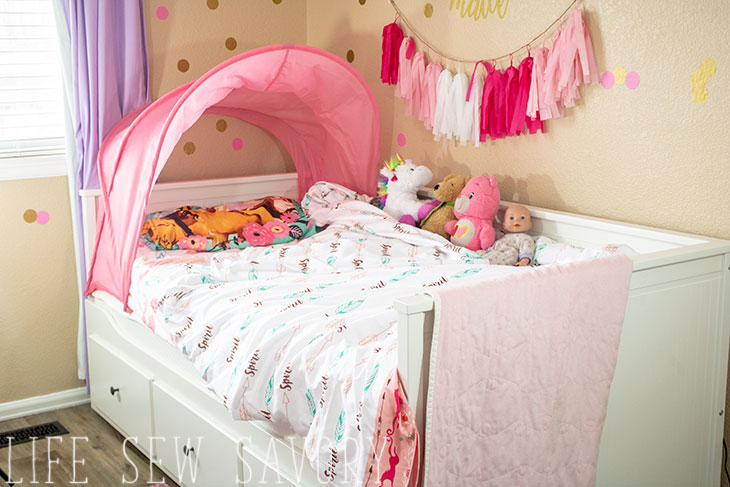
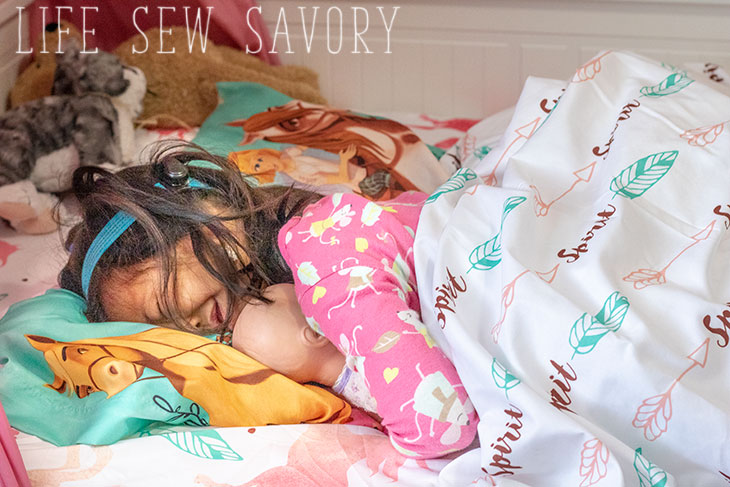
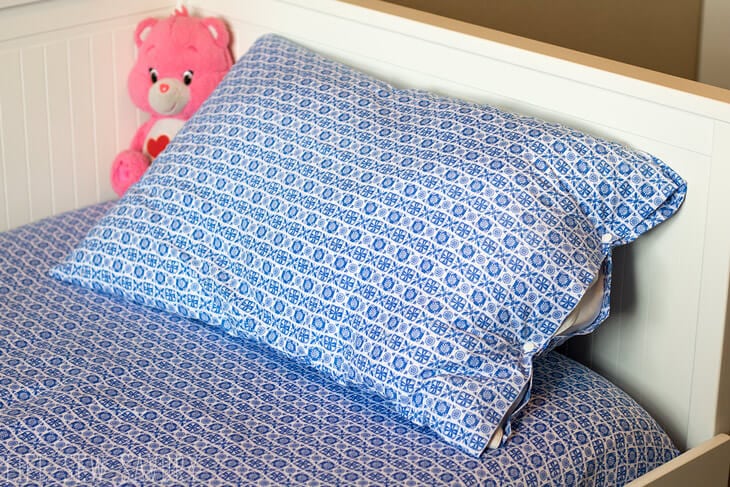
And the classic fake sleeping bed shot! {haha} My daughter usually sleeps on her back with her head rammed into the headboard, but this was what she did when I asked her to “fake” sleep. She does sleep surrounded by several dolls and stuffed animals so that part of this photo is very accurate.
Sewing a Duvet Cover –
Here is the video that shows how I put it all together.
Here is the full corner of Roses room. I really don’t love the paint color {all the bedrooms were this color when we moved in} We repainted the master bedroom and the boys room is fine since I have their decor up… Rose’s room was the last we tackled, and this fall I put up the vinyl dots and words on her wall. The dots I just bought on Amazon precut and stuck them on the wall and the words I cut on my Scan N Cut from glitter vinyl and stuck them on the wall. 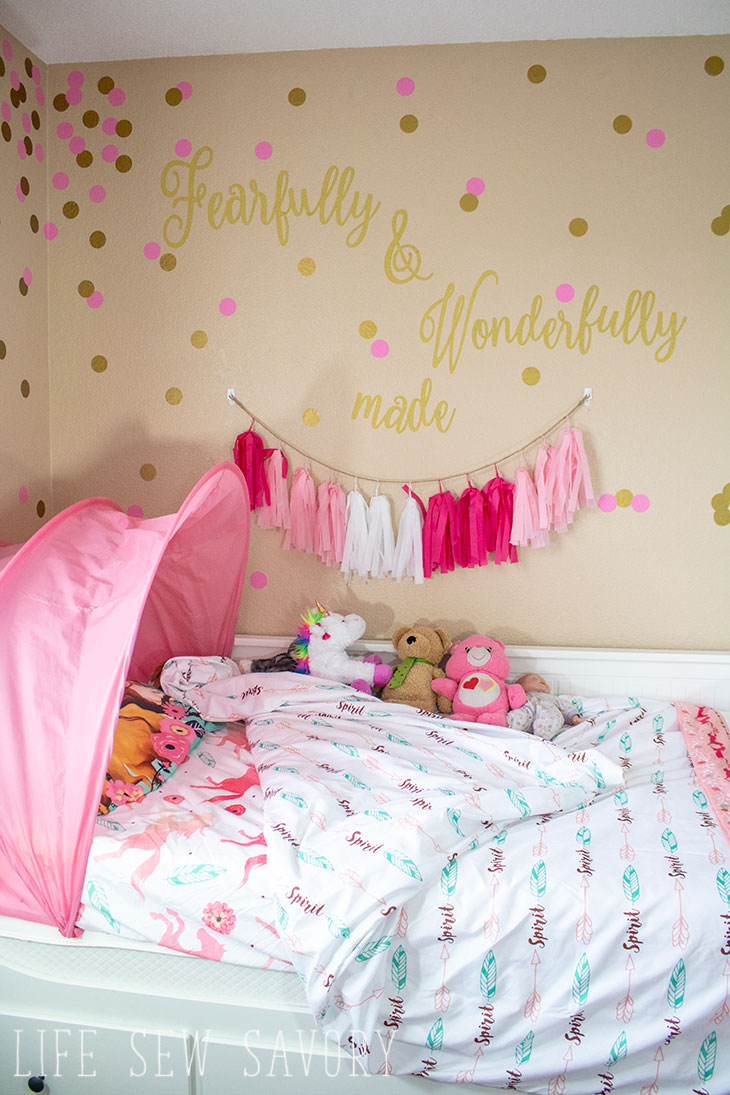
Check out these other fun bedding projects

Travel Themed Bedroom





Lee says
WHY do you not use flat sheets?? Do you just cover up with a quilt (or blanket)?? It’s much easier to wash a sheet than a quilt.
???
Emily says
They get all tangled up and my kids can’t seem to keep them on them anyway… I just love the feeling of cuddling up straight with the duvet… personal preference
Zoe Emiko says
Great idea! Sadly it wouldn’t work for my family. We love having a top sheet. Even my son relies on one.