inside: Learn how to sew a DIY fur and pom pom pillow with this tutorial. You can sew a fun embroidered fur pillow with a few simple steps. Gorgeous and cozy too.
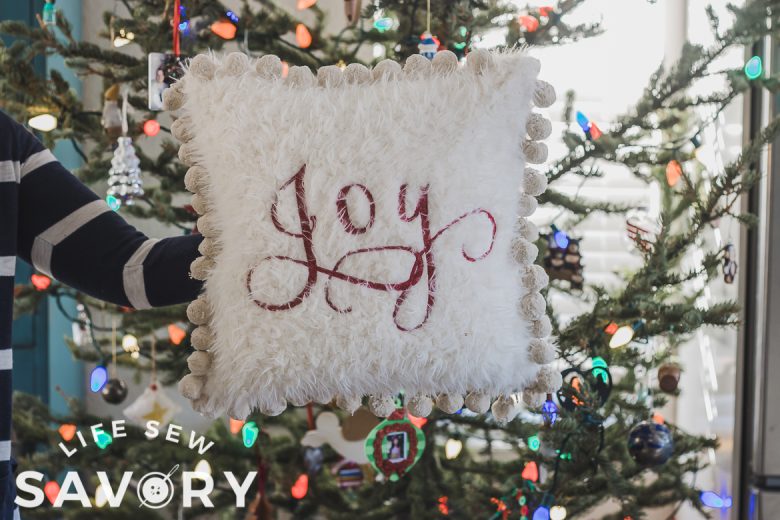
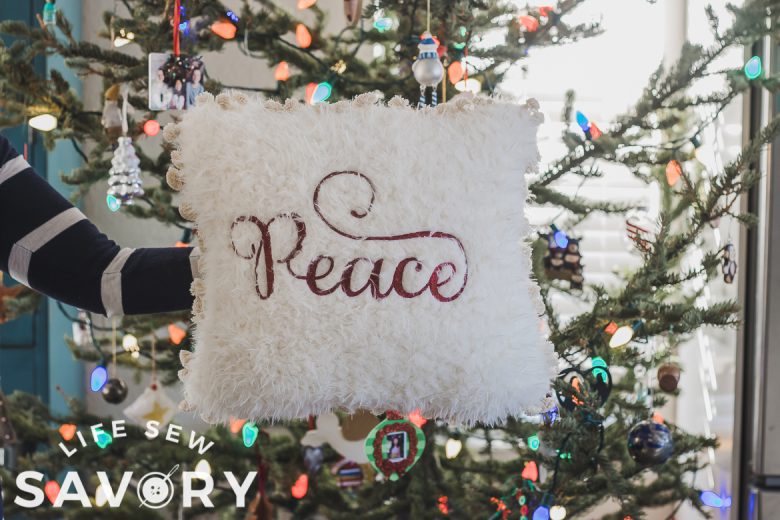
I recently saw a fur pillow and kind of fell in love. {haha} I also pulled out my Christmas pillows and a few were falling apart so it was time to sew some new pillows. these DIY fur and pom pom pillows turned out just like I was hoping and I was even able to add some embroidery to them. I’m super excited to show you how to create this project yourself.
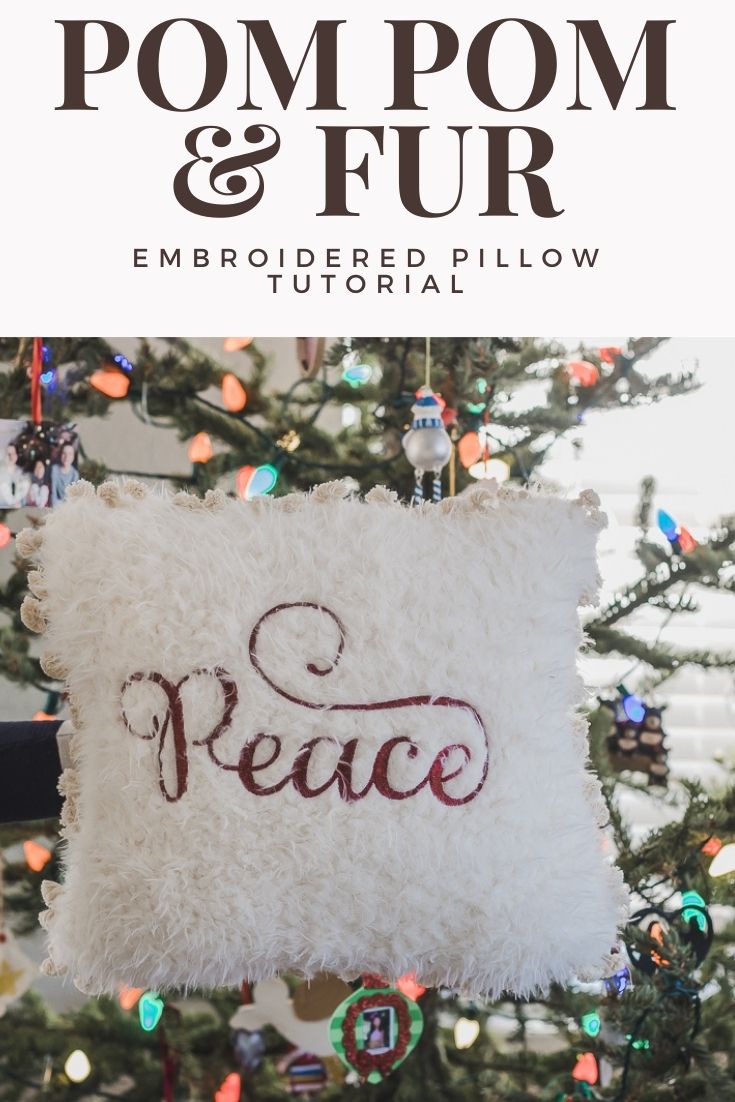
DIY Fur and pom pom pillow
I found two different types of pom pom edging to go on my DIY pillows and I love them both so much. Embroidering on fur fabric also takes a bit of tweaking, so I’ll give you tips for that in this post as well.
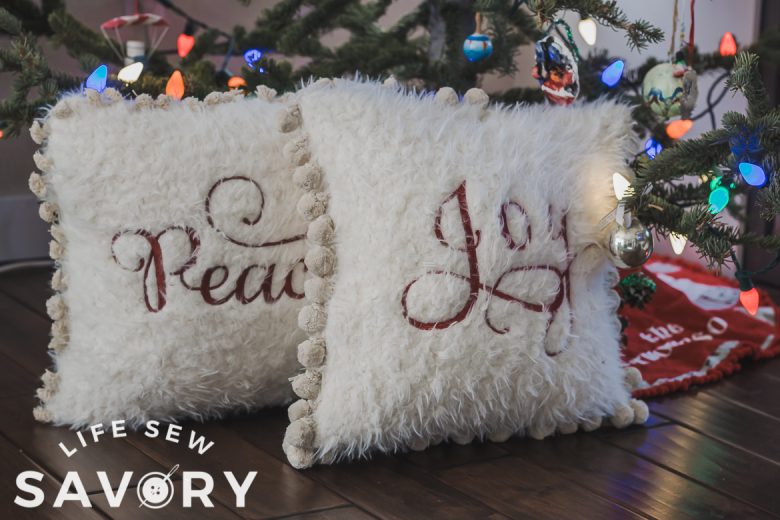
I used a large embroidery font purchased from Etsy {link below} to use for this project. I already had this font in a smaller size, but for this project I bought the 5,6,7″ designs as well. I’ve included a video showing you how to combine each individual letter file into words as shown here.
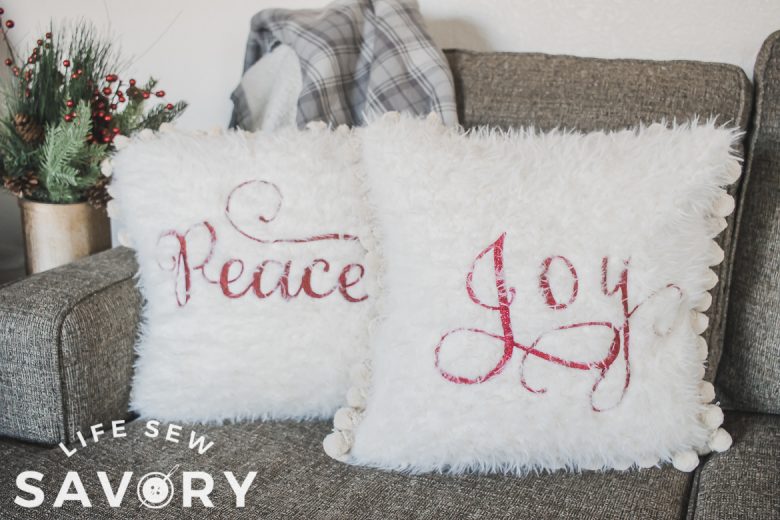
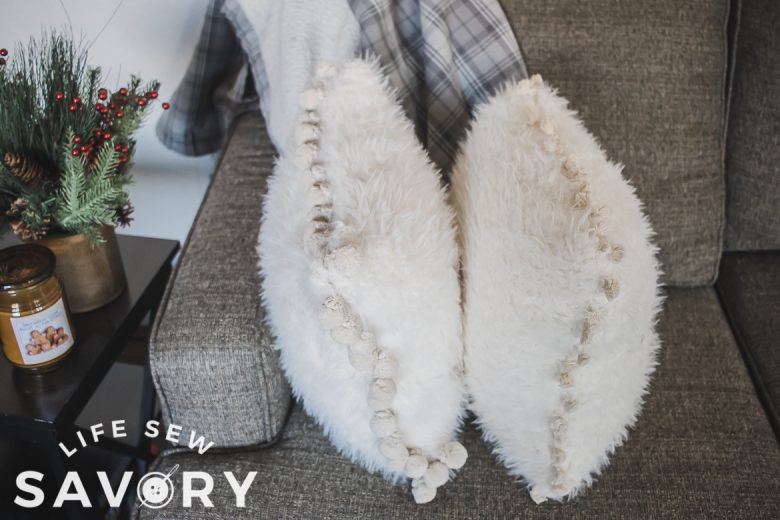
These pom pom fur pillows turned out so cute and my daughter is loving cuddling with them on the couch. I may have to watch so they don’t walk off to her room {haha} Below we will take a look at everything you need to create these pillows for you home. {or to gift!}
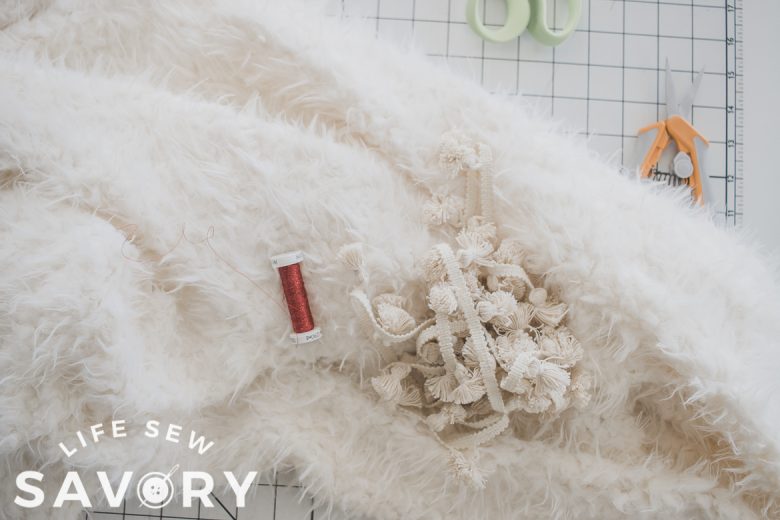
DIY pillow supplies
- Pom Pom Trim
- Fur Fabric
- Embroidery Font Large
- See included video for how to join individual letters to create words
- Embroidery Thread
- Pillow Form
- 18″ zipper
Cut your fabric 1″ larger than your pillow form. EX. 18″ pillow, cut 19″ squares of fabric.
How to embroider on fur
First up check out the video here if you are unsure how to combine individual embroidery files to create beautiful words. If you are having trouble with the video, try disabling your ad blocker or try a new browser.
Ok, so I’ll be honest with you… I’ve even embroidered on something quite so “furry” before. I originally tried embroidering right on the fur, and my embroidery foot got all caught up in the fibers. I came up with the option below as a replacement.
However, upon doing a little research here are some other tips for fur embroidery.
- Trim the fur where you are going to embroider
- place stabiliser on the bottom AND top of the project so the fur fibers don’t get caught up in your machine. Tear away the stabilizer from the top when finished.
- OR try my faux embroidery method shown here.
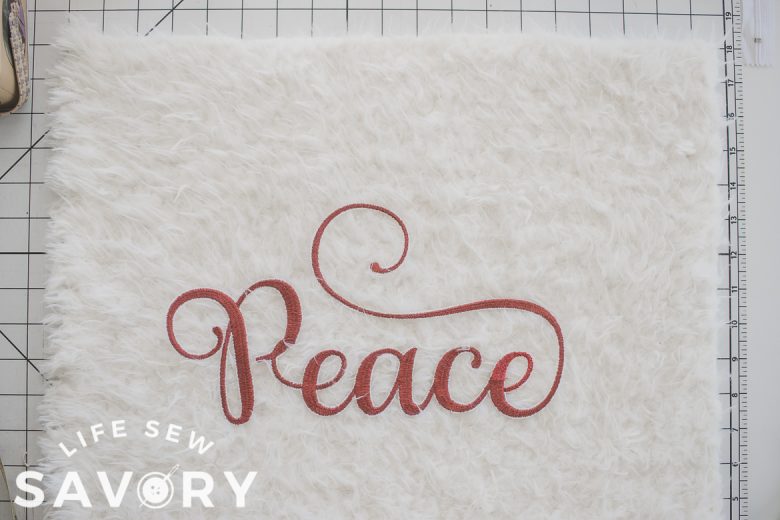
I decided to embroider the design separately, then sew it onto the fur. It turned out perfectly and I’m super excited about this option. It may take a bit more time, but the results are amazing.
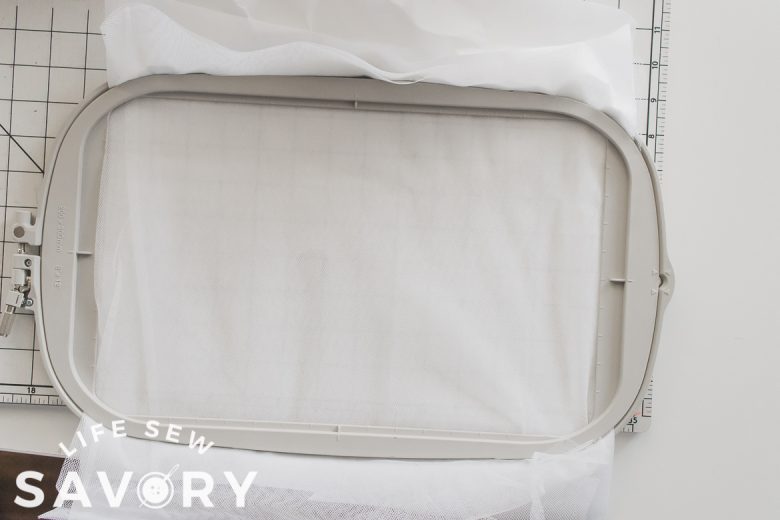
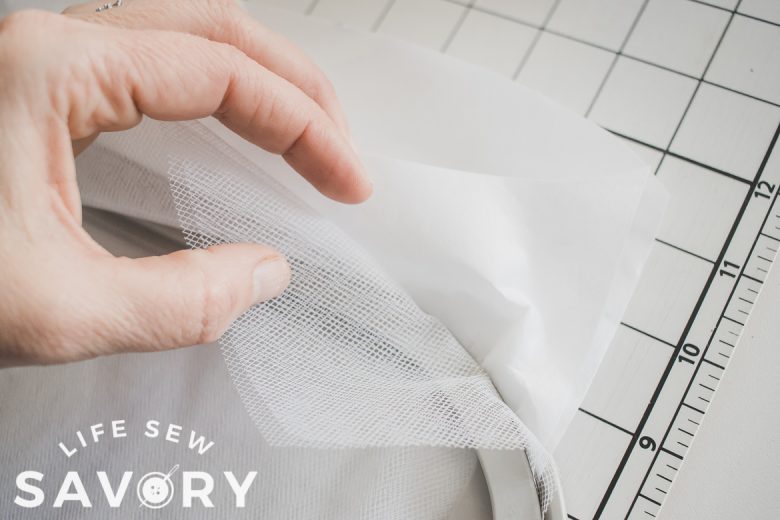
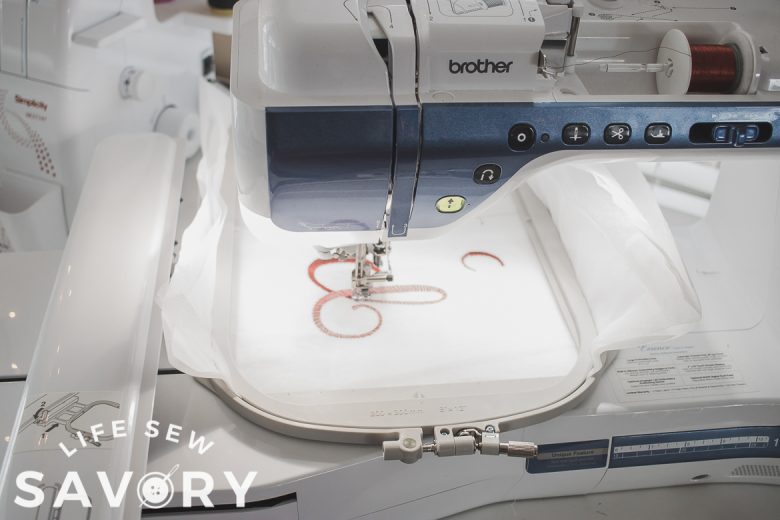
First, I put two layers of medium weight tear-away stabilizer and two layers of white mesh together. Both were from my stash so I’m not sure exactly the specifics.
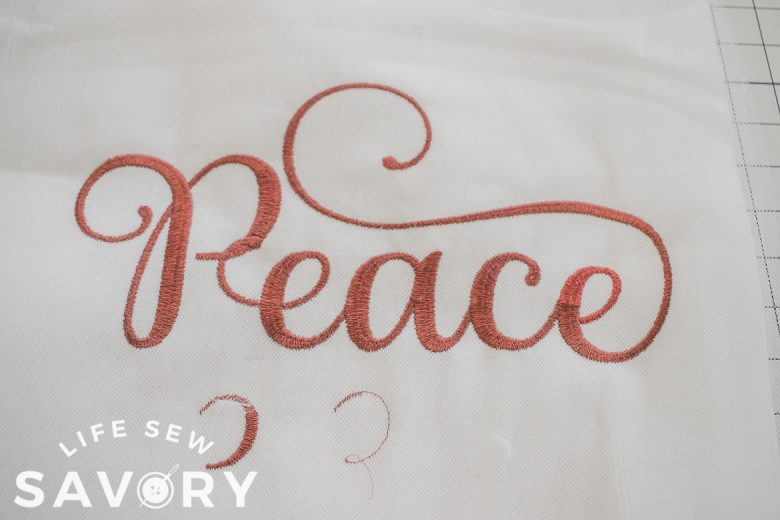
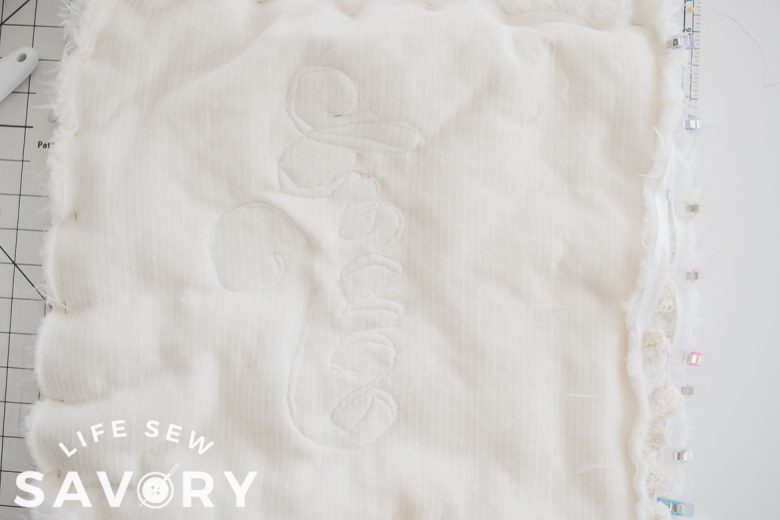
I then embroidered my design onto the mesh and stabilizer. It stitched out beautifully! Also, my read ran out at the very end, can you spot were I had to change thread?
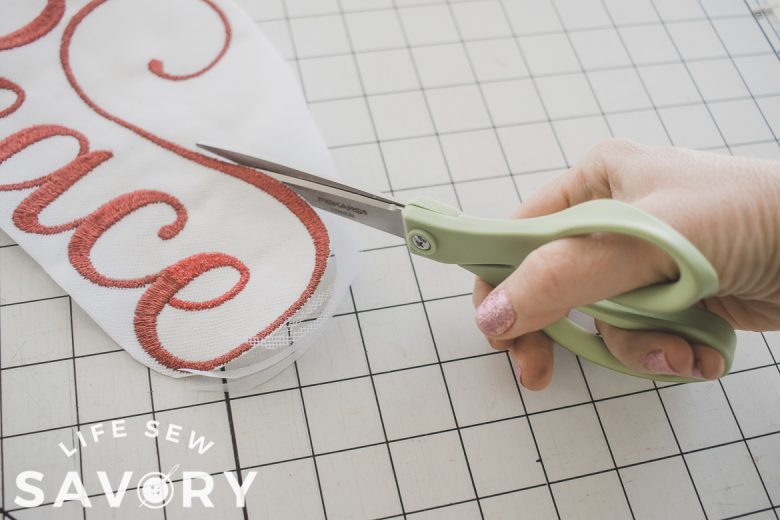
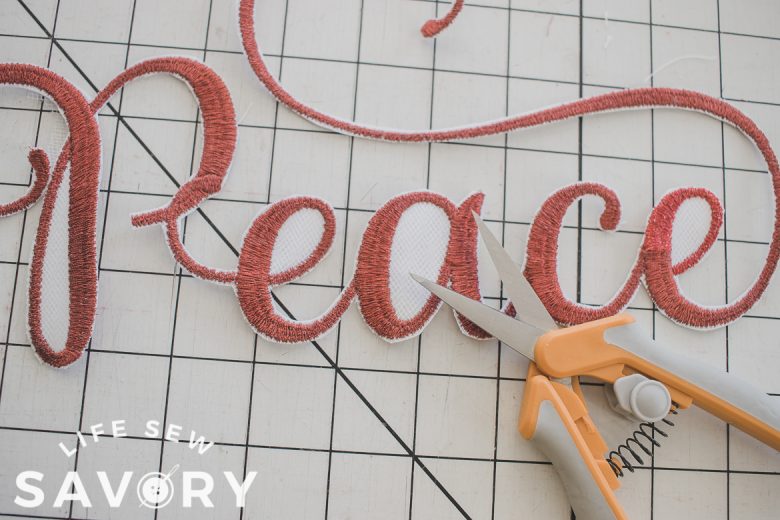
From there, trim around the design. Cut as close to the stitches as possible, without cutting the stitches. I used a small scissors for the inside pieces.
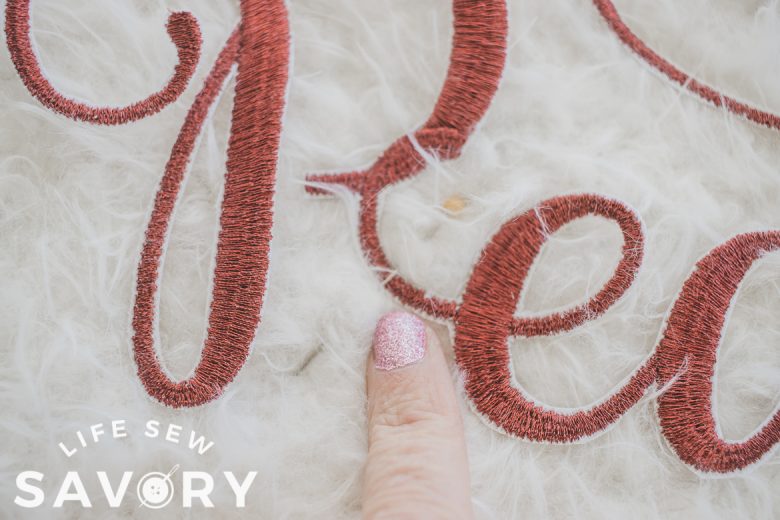
Place the embroidery on the fur fabric and arrange as desired. Pin over {not through} the embroidery design. Use enough pins to hold it in place while sewing.
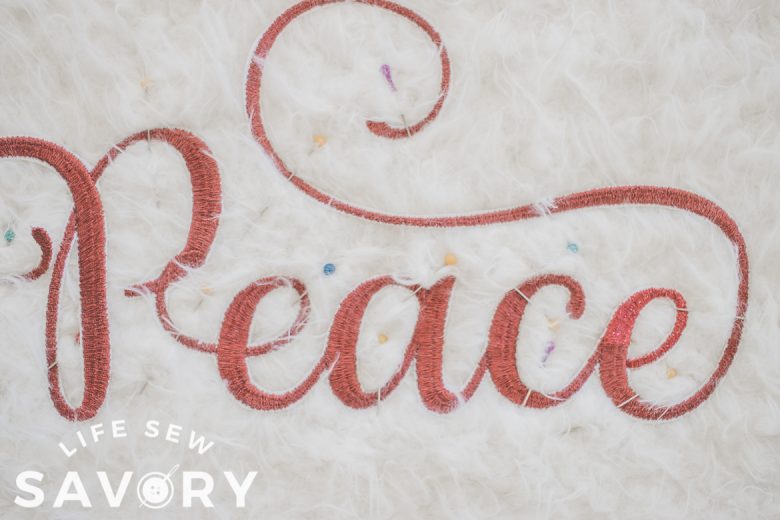
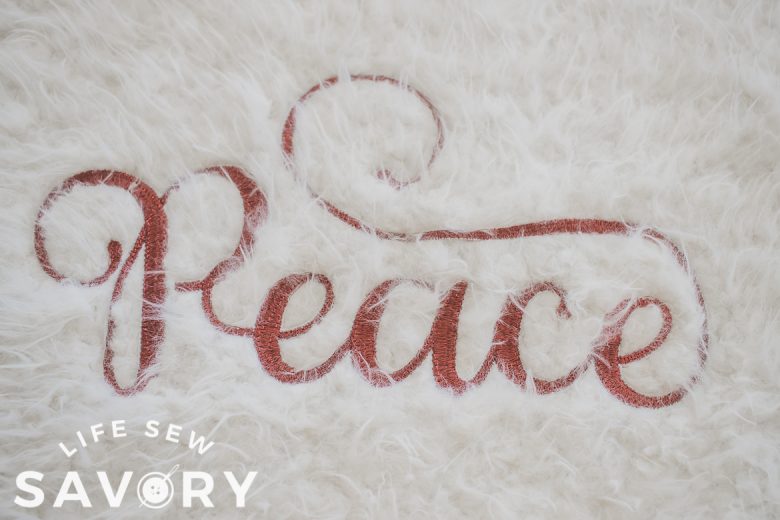
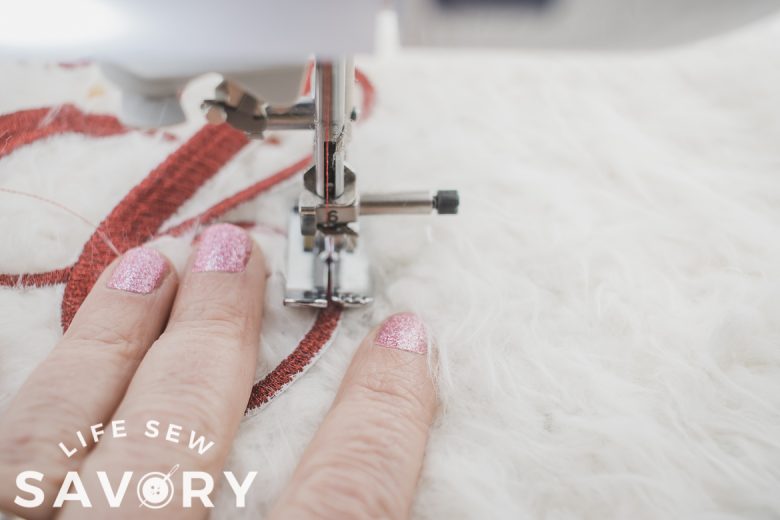
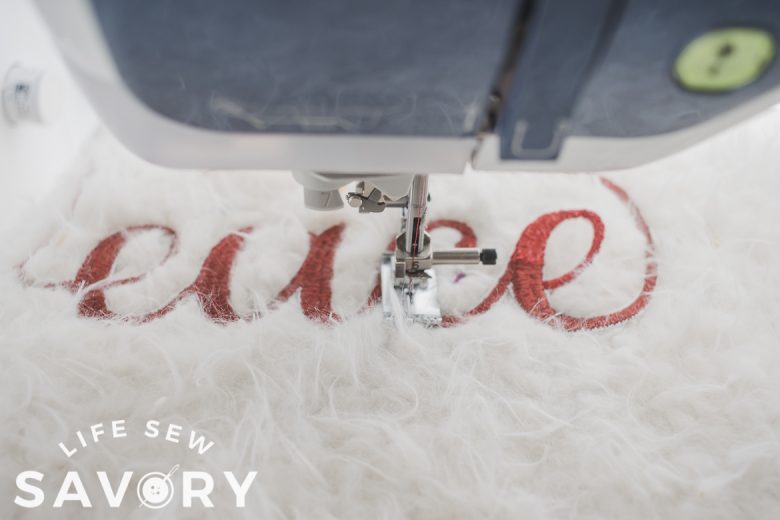
Now its time to sew. I ended up using a specialty foot. I used foot O if you have a Brother Machine. I think this is just a straight stitch foot, but it worked great for not getting caught up in the fur. I also used my fingers to keep the fur out of the way while sewing. I sewed around every letter twice, on each side of the stitching.
I think the finished result is perfect and while it took some time, the end product is worth it.
How to add a zipper to a pillowcase
I’ve written an extensive tutorial on how to add a zipper to a pillow case. You can find that full zipper tutorial here. I really like the hidden zipper in that tutorial.
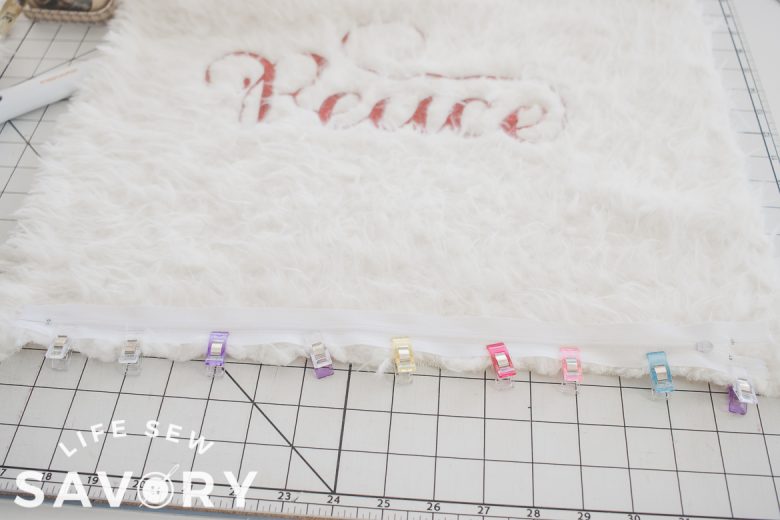
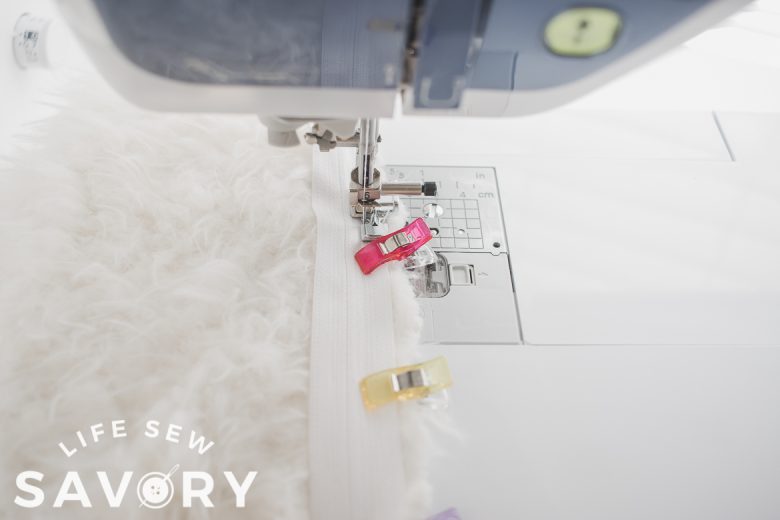
In this post I will just show you in a few steps how to install the zipper. I put the zipper in the bottom seam of this pillow case. To begin, sew one side of the zipper to the bottom of the case with right sides together.
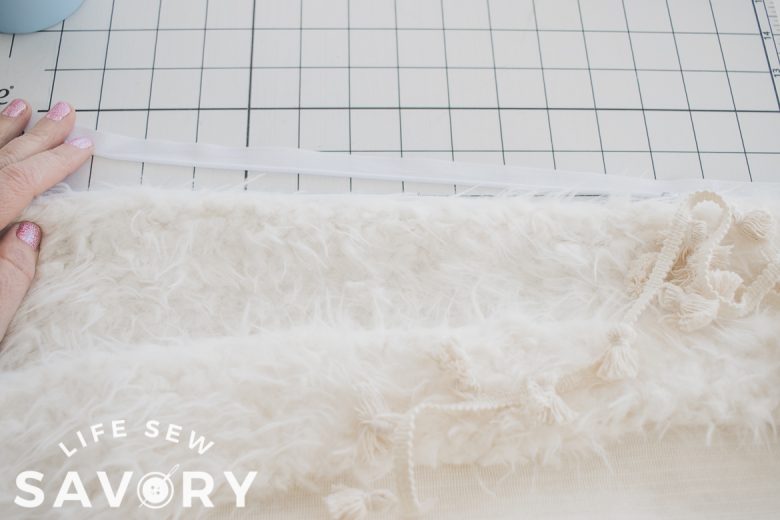
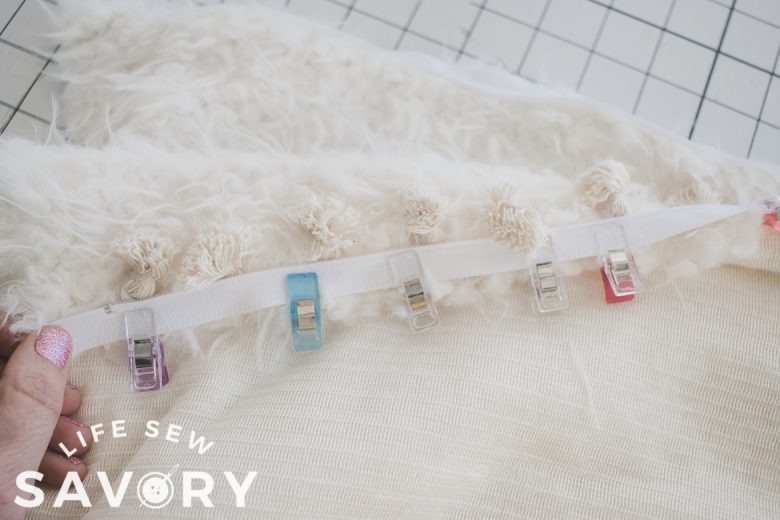
Then open up and the zipper and match the right side of the zipper to the other bottom piece of the pillow. I also added my trim between the zipper and the pillow at this step.
How to add pom poms to a DIY pillow
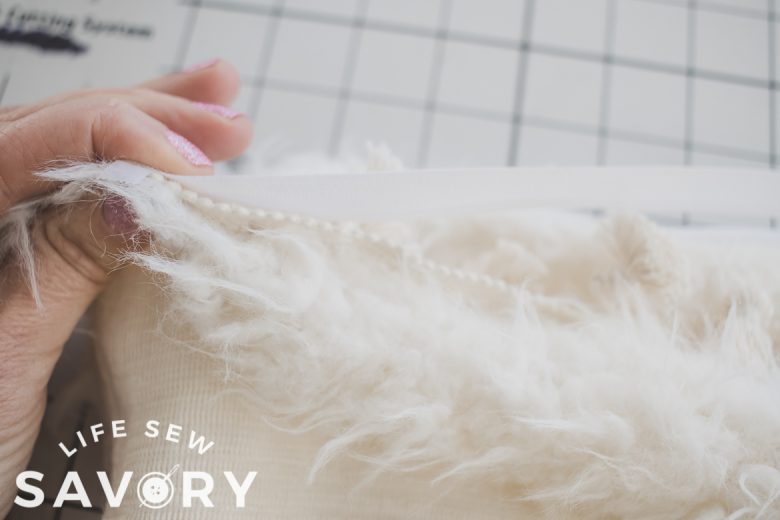
After you have sewn the zipper to one side of the pillow, you will be adding the pom pom trim around the outside of the pillow. I start with the bottom and sandwich the trim between the zipper and the pillow fabric. From the bottom, work your way all the way around the square. I did round the corners. Finish my overlapping the trim by about 1/2″ – 1″. Sew around the pillow case.
Make to have the zipper at least 1/2 OPEN before sewing the next step. I used close to a 1/2″ seam allowance. This is bigger than usual, but I wanted to make sure to get a good stitch on the fur and catch the pom edging.
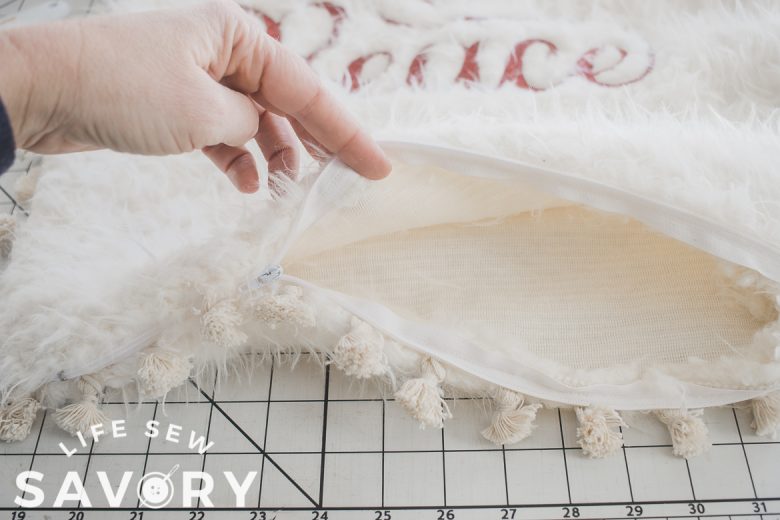
Turn pillow right side out. Double check that you have caught all the pom pom edging in the seam and both layers of fur. Open the zipper and put your pillow form inside.
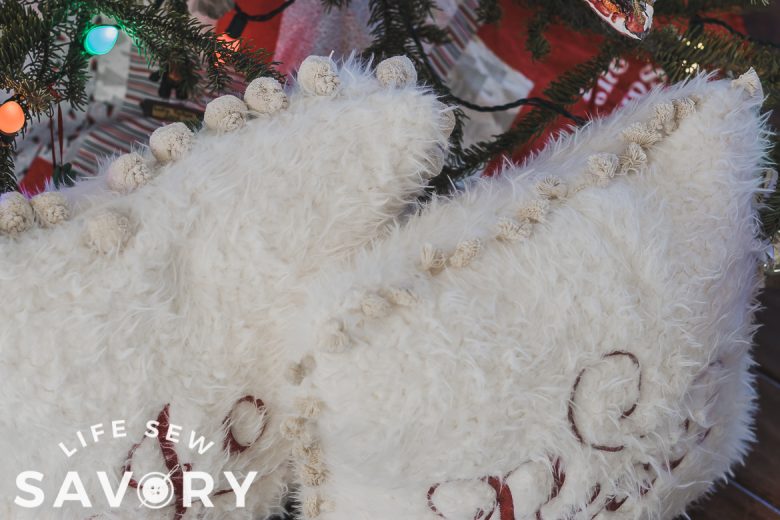
Now you need to sew a couple because they look so cute in pairs. The edging is just adorable, and the fur pillows are SO so cozy!!






Leave a Reply