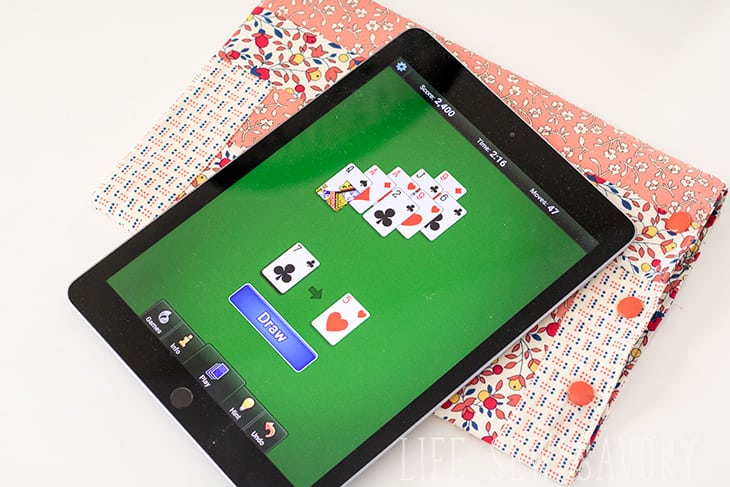
I recently made this DIY Ipad case AND discovered a new super fun game. I’m going to share both with you today! I’ve got a full sewing tutorial for this quilted tablet cover pattern and all the details you need to play the game pyramid solitaire. You all know that I sew and run this site for my business and when my machine isn’t playing nice I just sometimes give it a break and myself and play a game on my Ipad!
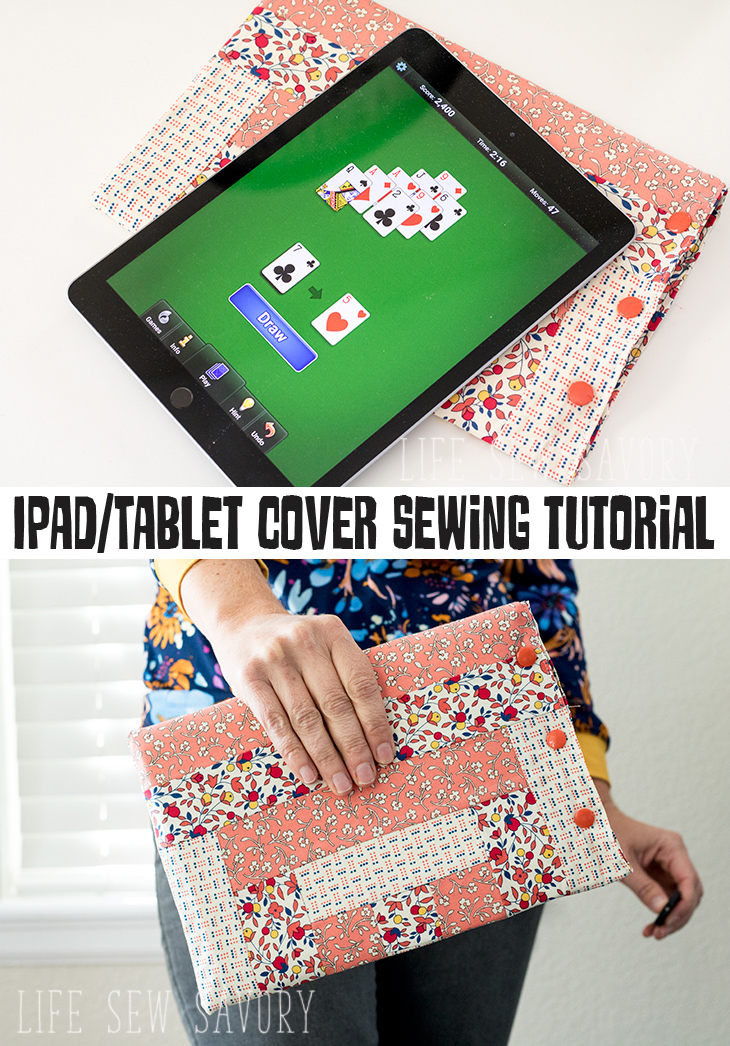
DIY Ipad Case sewing tutorial –
This Ipad case makes it easy to slide your Ipad/tablet in and out of the case. The padded case keeps my device safe at home and while out and about. Let’s dive into the sewing tutorial now.
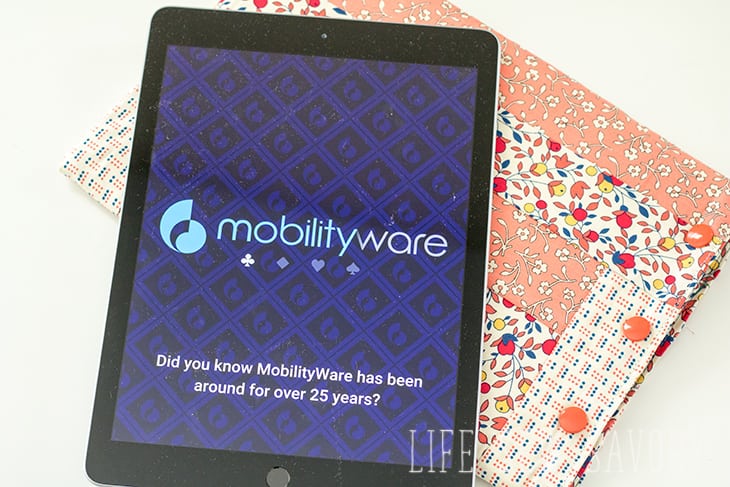
I love that I can sew this case in any fabric, so if I was making for a kid or a man it would look very different than this version I made for myself!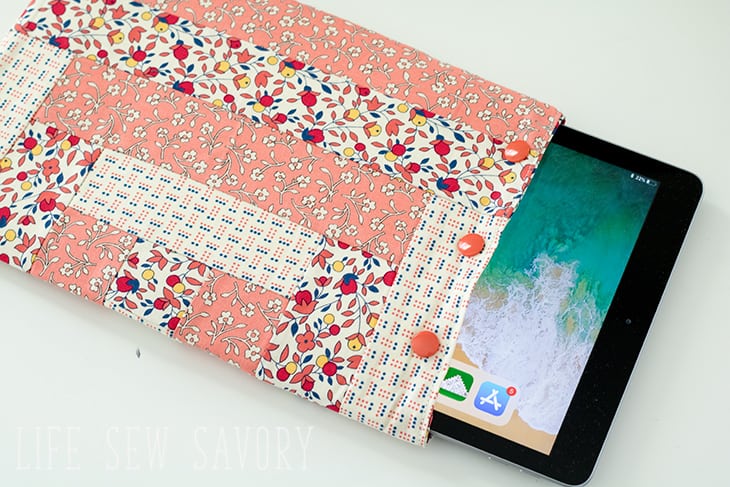
How to make an Ipad case
This is a great project for using up scraps or fat quarters. I used this gorgeous fabric from QT fabrics left over from my latest filming. I used three fat quarters for this Ipad case sewing tutorial, but did not use ALL of the fabric. You could get away with using two of quarters of fabric. I’m going to show you how to make a quilted tablet cover, but you can also just make a plain cover. This case is designed as sized to fit 6th generation Ipad. You can easily edit for a different size.
You will need:
- fabric 1/2 yard {or scraps of three fabrics}
- fusible foam interfacing.
Begin by cutting 2″ strips of fabric. Start with 3/4 strips of each fabric… {you can see all the steps in the video in this post}
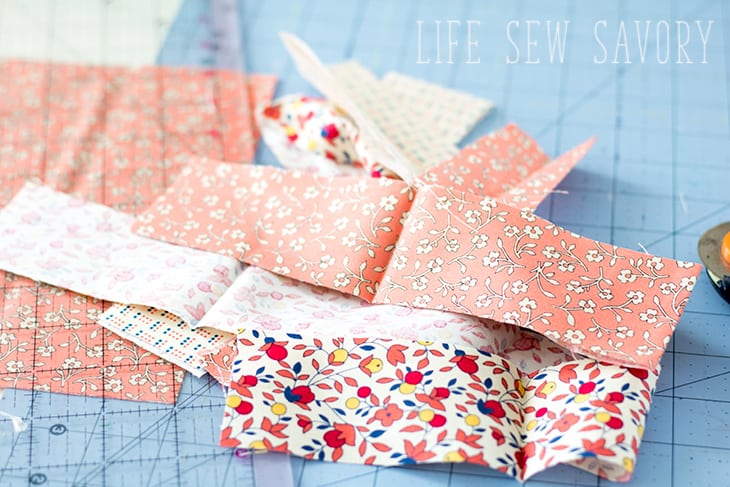
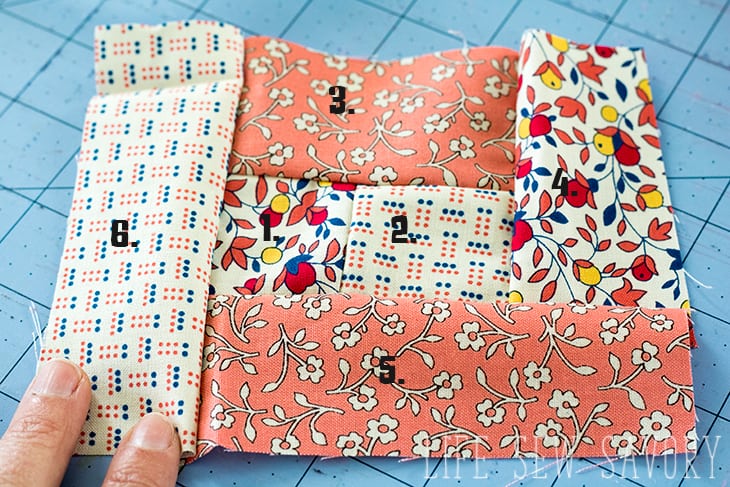
Begin by placing two strips together at a 90 degree angle. Sew all seams with a 3/8″ seam allowance. Cut the fabric so you have to squares together. {1 and 2 below} Place the third color fabric along the edge of 1 and 2. Sew 3 to the edge of 1 and 2. Trim the edge of 2 and 3. Place 4 along the edge of 2 and 3. Sew, trim and continue in the same way with 5 and 6.
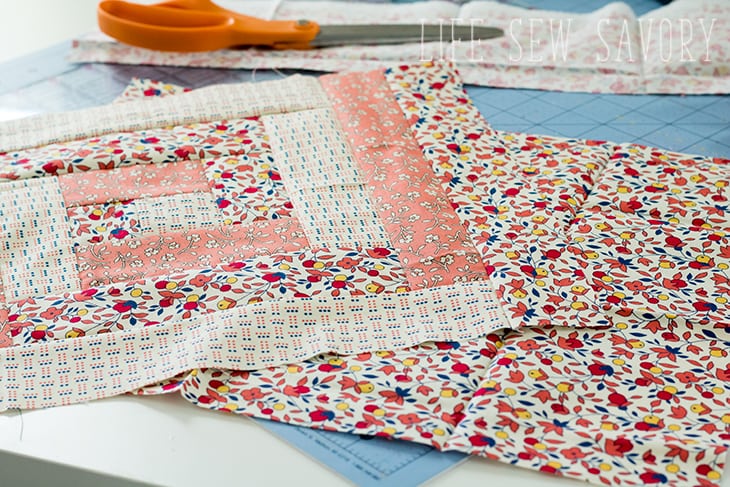
I worked in this square pattern until I had the height needed for my Ipad cover. Once I had the height I just added fabric to each side until I had the width. I created my quilted outside to the dimensions of 11.75″ tall and 15.75″ wide. Trim your quilted rectangle to this size and square up edges. Cut a lining of the same size.
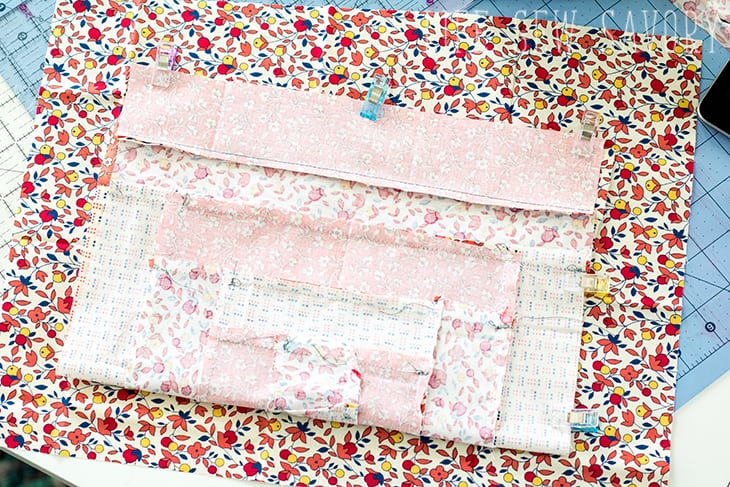
Fold the rectangles {right sides together} in half with the shorts sides together. Sew the side and bottom. Do the same for the lining. Turn right side out.
Cut your fusible foam 9.75″ x 15″ {if you are making a different size case, cut your foam take .75″ off the width 2″ off the height. Fold the foam in half and slide inside the quilted outside. Make sure it is all the way down to the bottom.
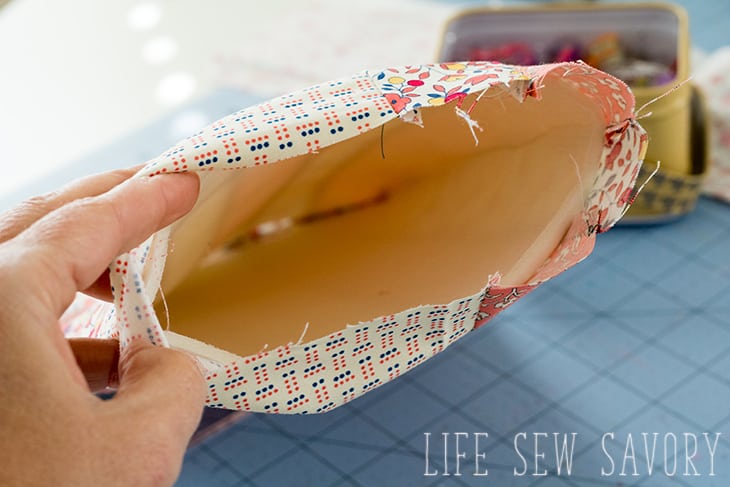
Slide the lining into the sleeve. The wrong side of the lining should be touching the foam. The foam is now sandwiched between the fabrics.Push out the bottom corners to make sure it is all snug.
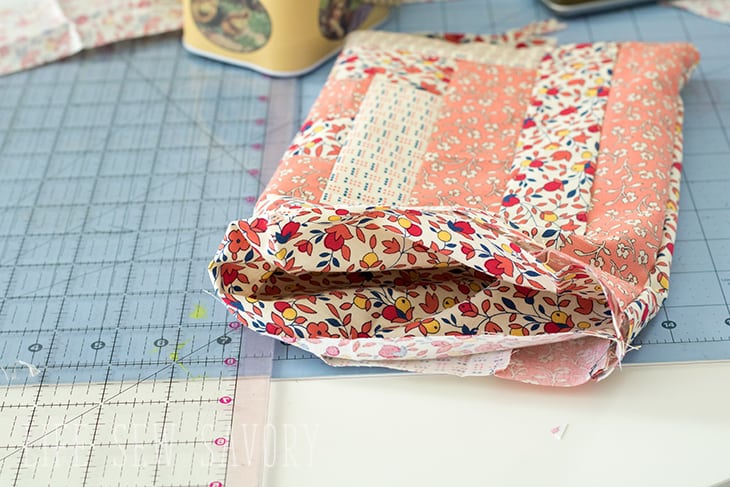
With a hot iron and steam fuse the foam to the fabric. Slide the iron inside the fabric as far as you can to also fuse the inside. Make sure the foam is fully fused to the outside. Press under a seam allowance along both raw edges. Pin or clip together then sew.
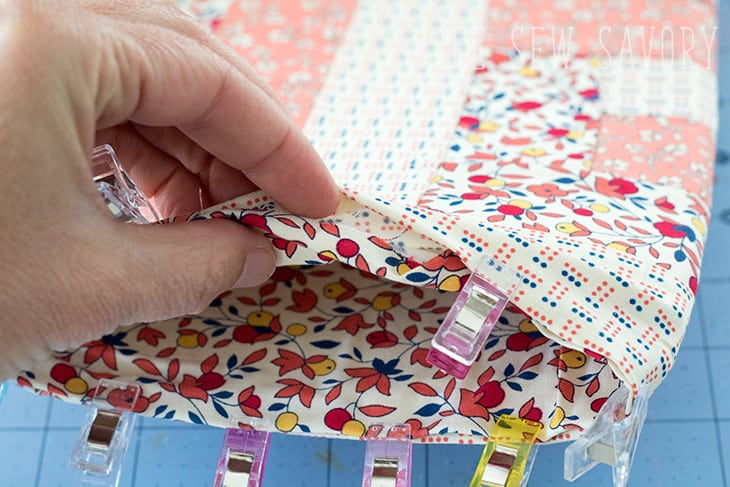
Add snaps or velcro to the edge. I used three snaps.
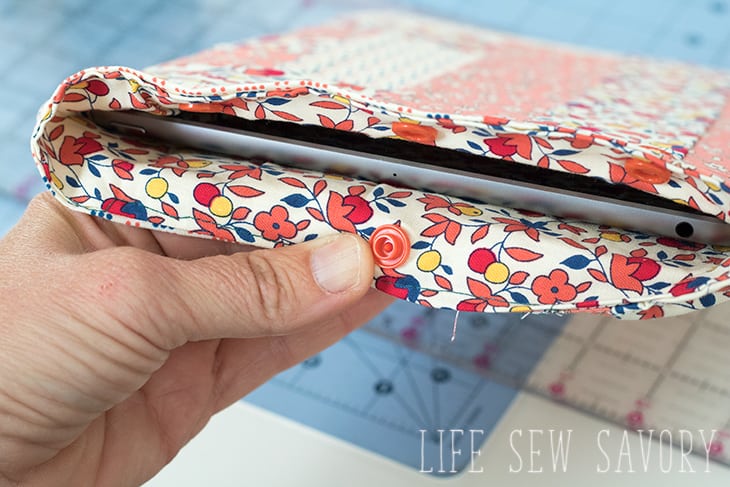
There you have it!! A quilted tablet cover pattern!
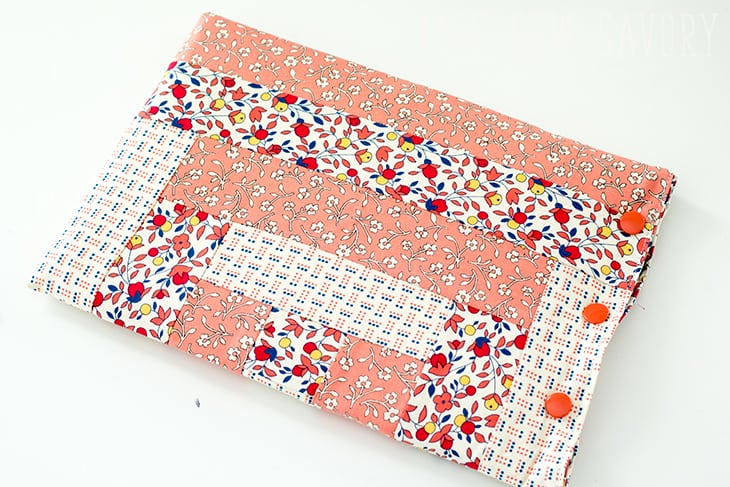
Now I can keep my Ipad safe and nearby for ease of use and those little game breaks that make long work days better.
here are a few other sewing projects for your electronics…






Jeanne Gold says
Tutorial missing?