
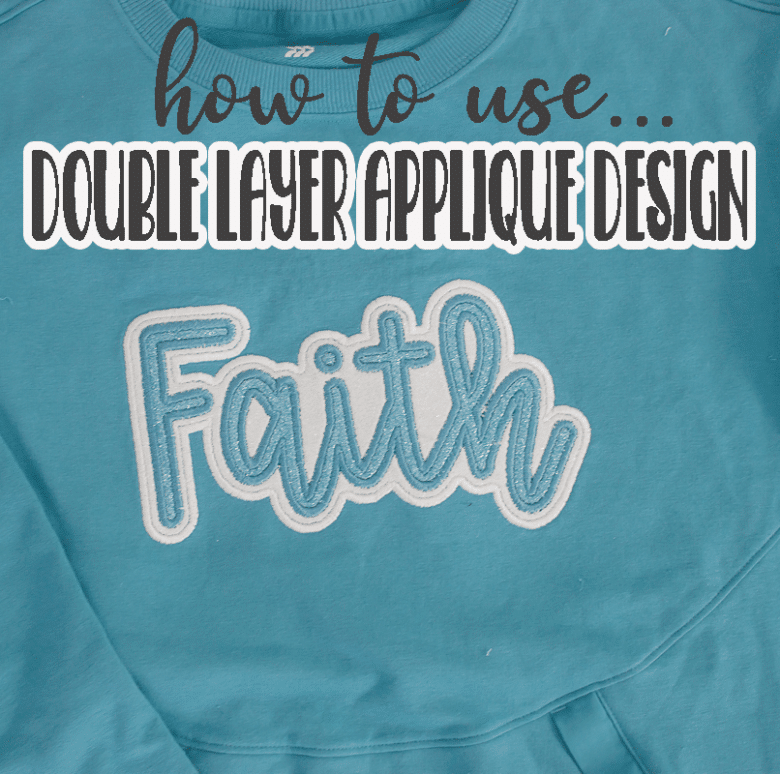
inside: Learn how to create double layer applique words on a shirt with faux canvas. Layer the canvas to create a beautiful, sporty shirt with an applique design on your embroidery machine.
Continuing with my series of making amazing custom shirts for your kids sports teams or school, today I have this fun double layer embroidery project to show you. I used faux canvas fabric for the first time with this project and I {think} I’m pleased with the results. This is a great way to create custom spirit wear to support your favorite team.
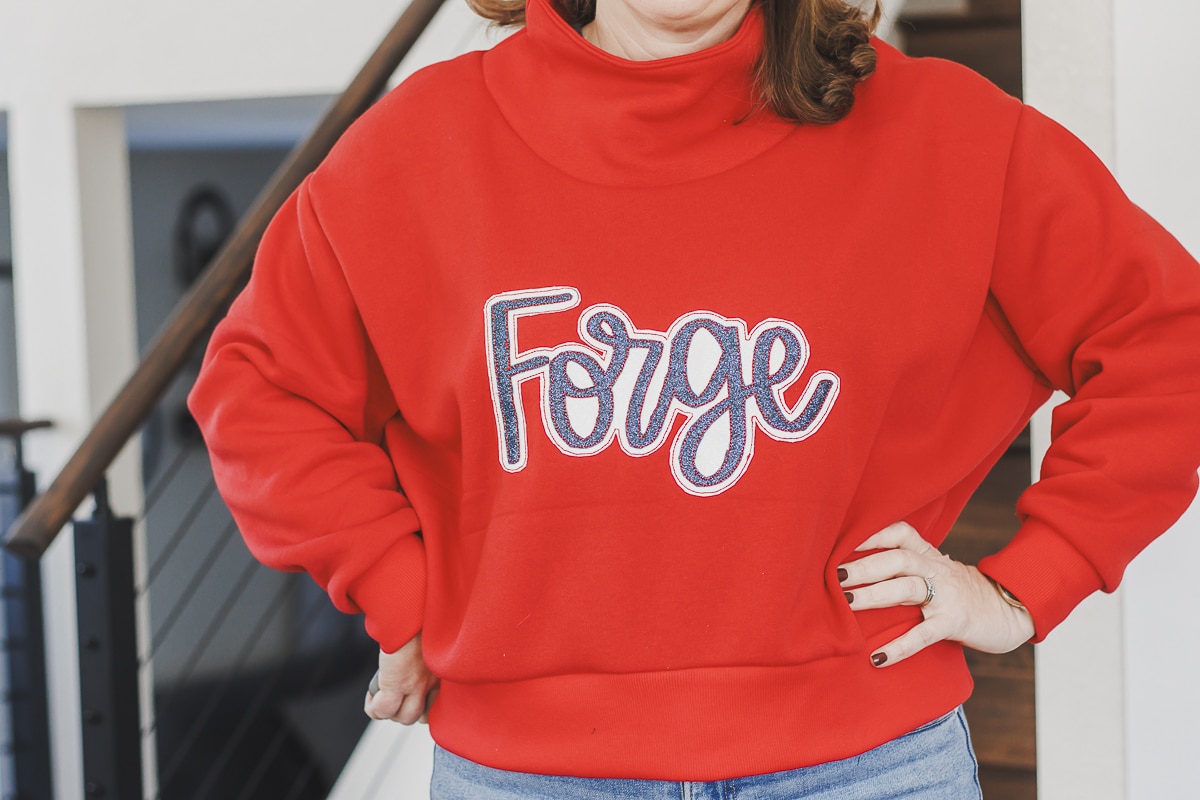
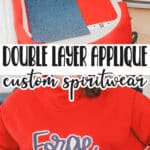
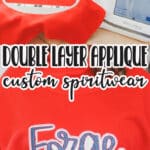
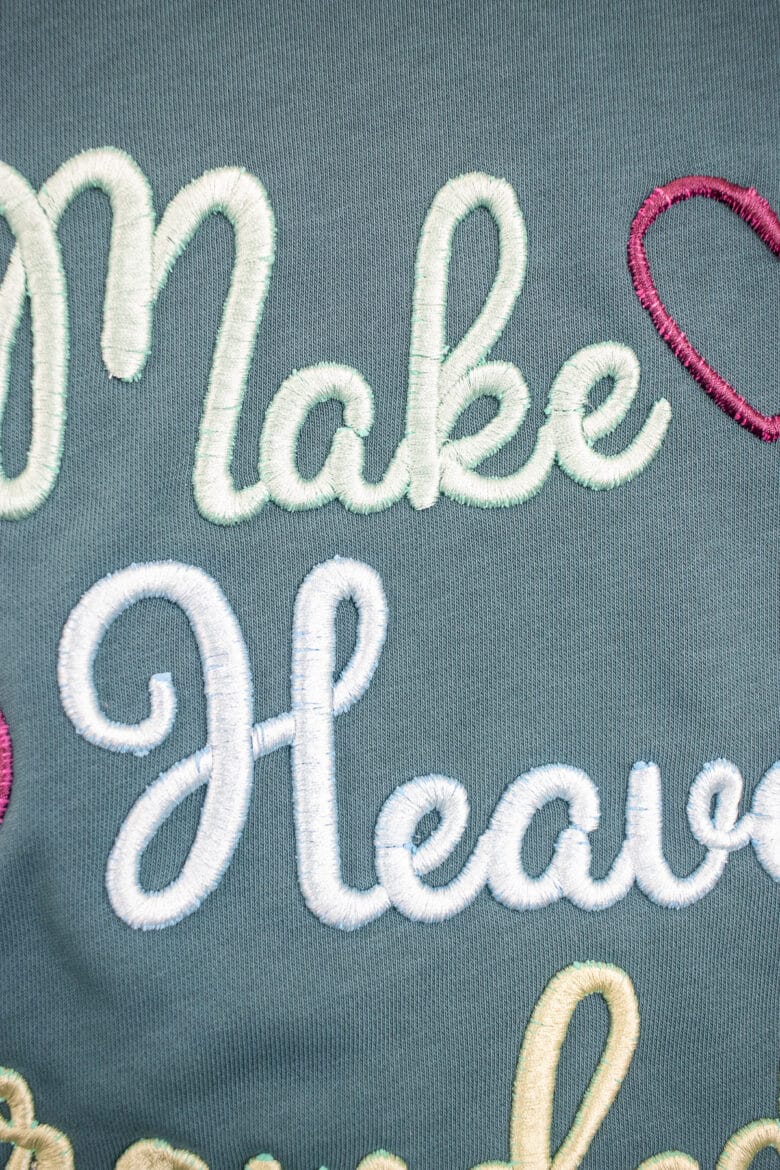
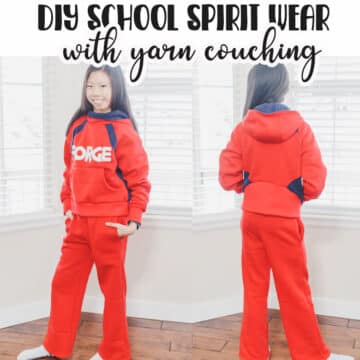
Double layer embroidery sweatshirt
I recently was reading a discussion thread in a sewing group on Facebook and there was a very passionate discussion about using glitter HTV {heat transfer vinyl} vs glitter canvas for layered applique. One woman was very insistent that HTV should never be used with applique and that if you could rip it away then the embroidery was meaningless.
Last year I did make Rose a couple of sweatshirts with double layer applique and I did use HTV and they have held up to washing and wear just fine… I embroidery stitches may not be what’s holding anything in place, but it certainly looks cute {haha}
For the sake of trying different methods I gave the layered embroidery with faux canvas a go. It’s a bit more stiff on the sweatshirt than the HTV, but it did sew nicely. I will need to see how it washes and wears over the next few weeks, then I may do a comparison of the two double layer embroidery methods.

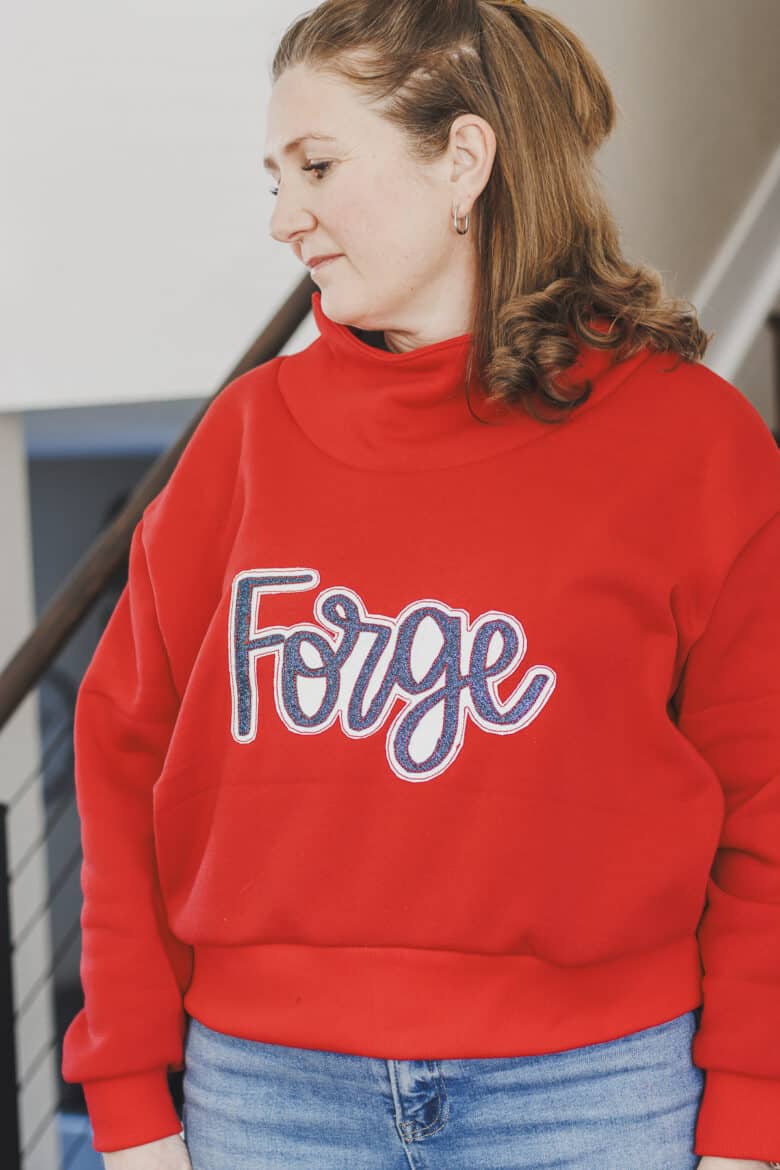
For this sweatshirt I used the Greenstyle Surge pattern. {Linked below} I also used this same pattern for the Christmas sweatshirts I sewed up a few months ago. It really works well with sweatshirt fleece and this will get a ton of wear during basketball season I am sure.
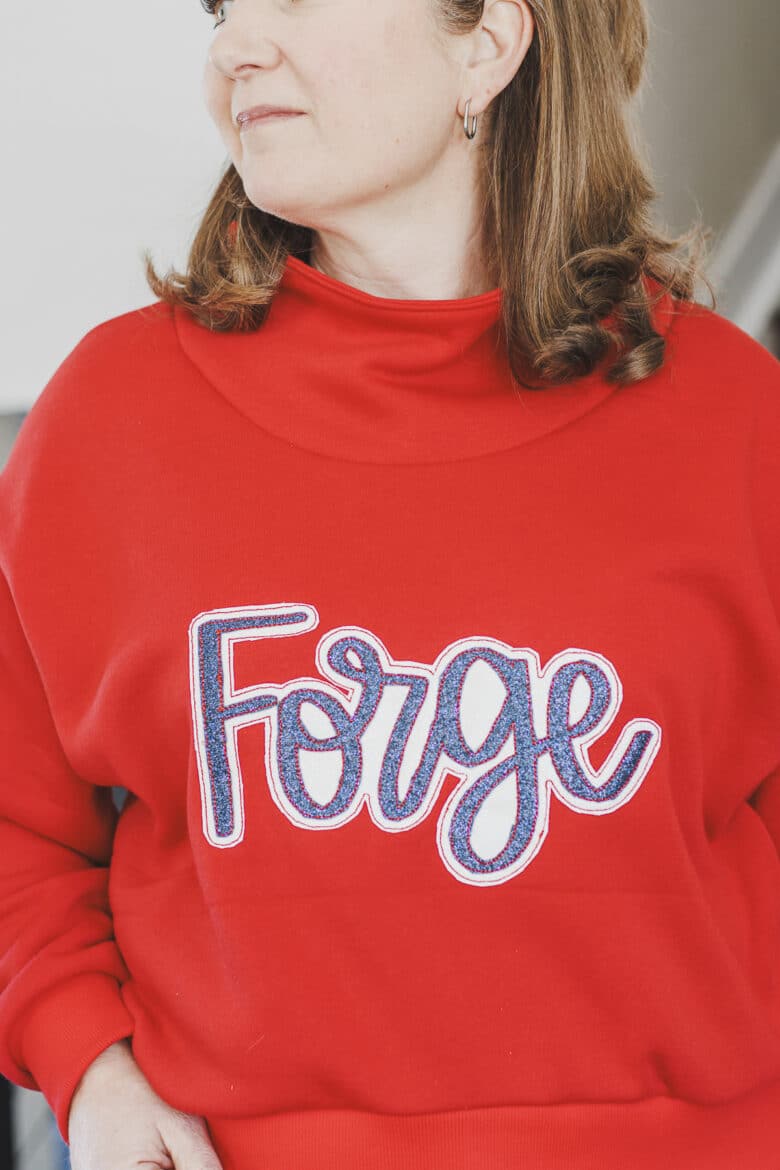

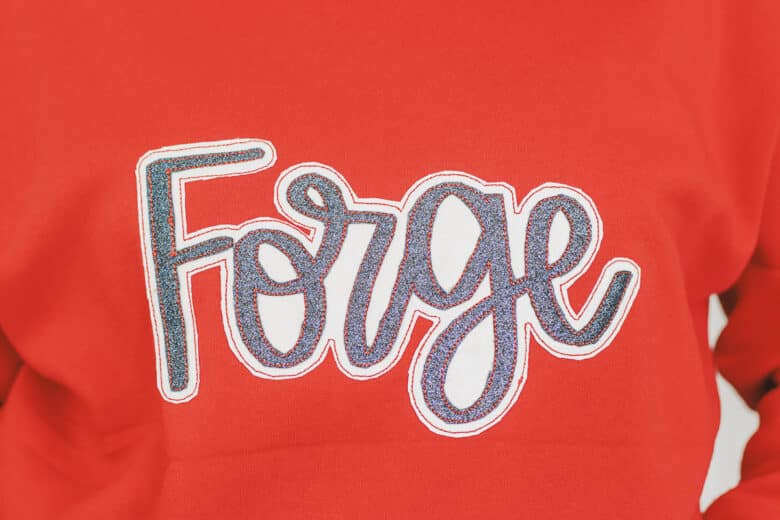
The glitter canvas can work with double or single layer embroidery. It is very sparkly and I did get a lot of compliments on this shirt at the last basketball game. I lengthened the Surge sweatshirt about 1.5″ inches from the crop option to get this length. The pattern has a crop and hip length option and I wanted shorter, but not true crop. I’m loving the length.

Other ideas for making custom sweatshirts
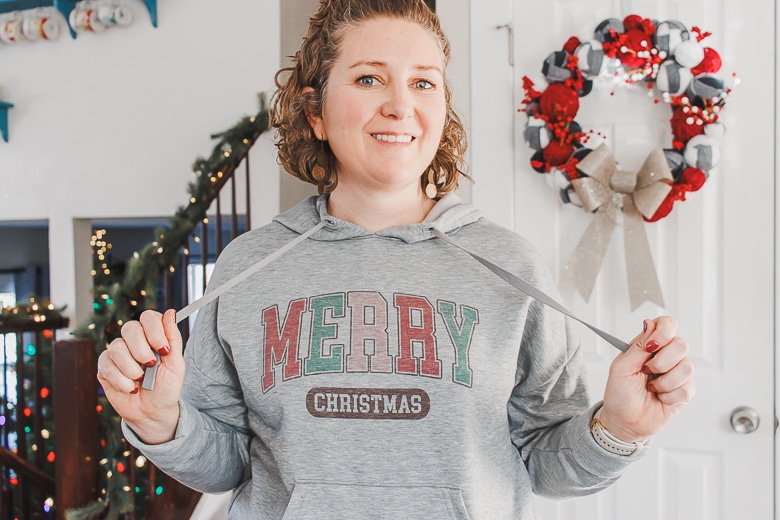
Here are some other ideas for creating custom sweatshirts. All of these ideas convert perfectly to creating DIY spirit wear or sweatshirts to support your team. You can check out the tutorials for each below.
- Sublimation design
- Applique with sports fabric
- Puff Foam Embroidery
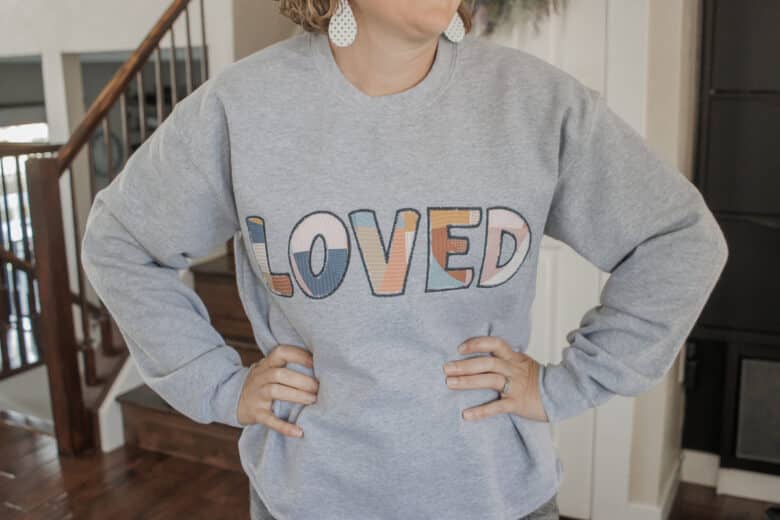
- Double layer glitter applique
- Reverse applique
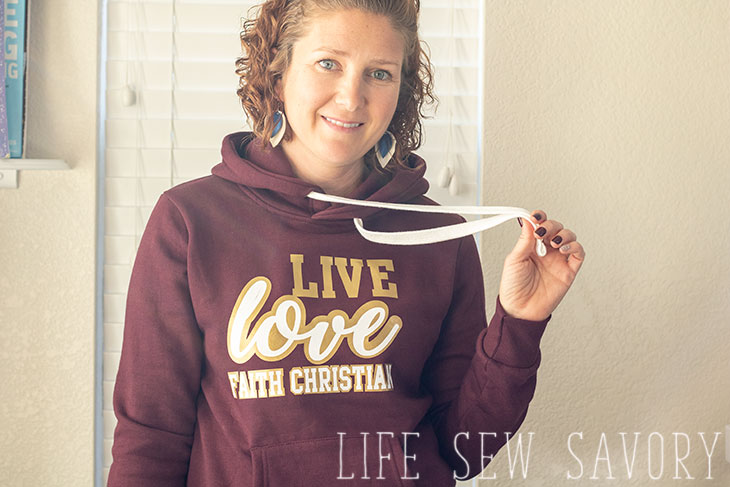
- Vinyl design with offset layer
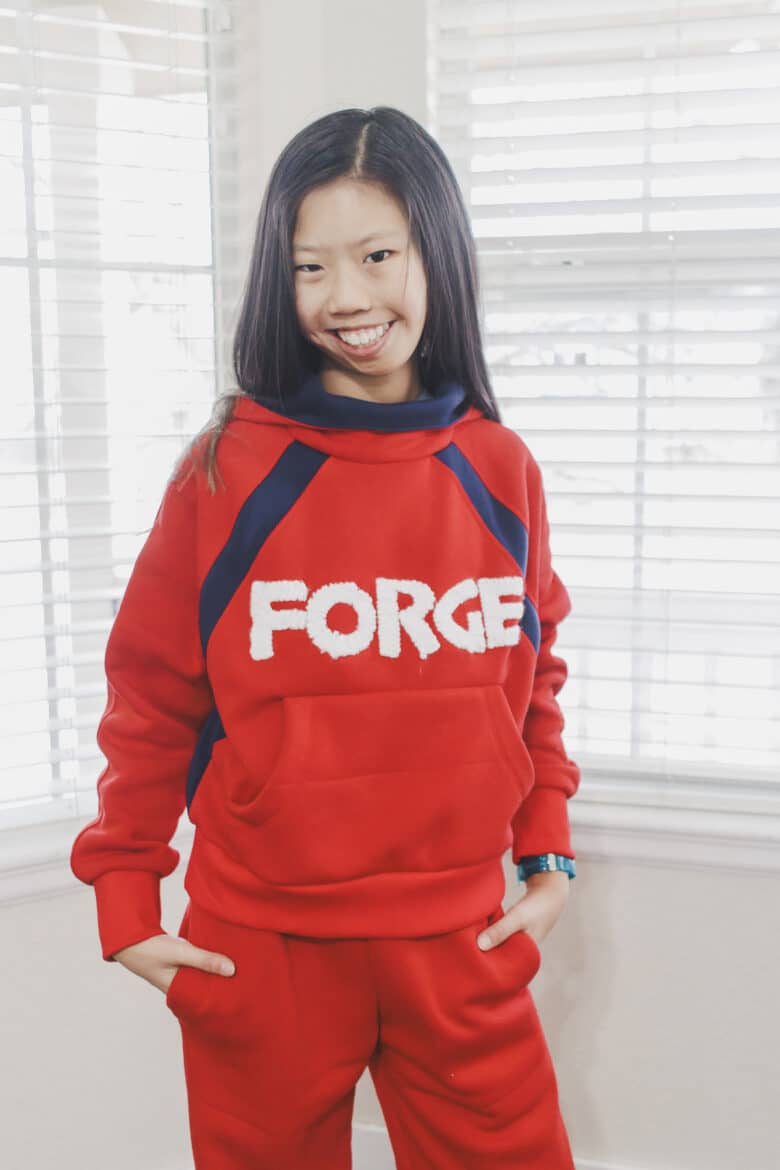
- Yarn couching
- Double layer faux canvas


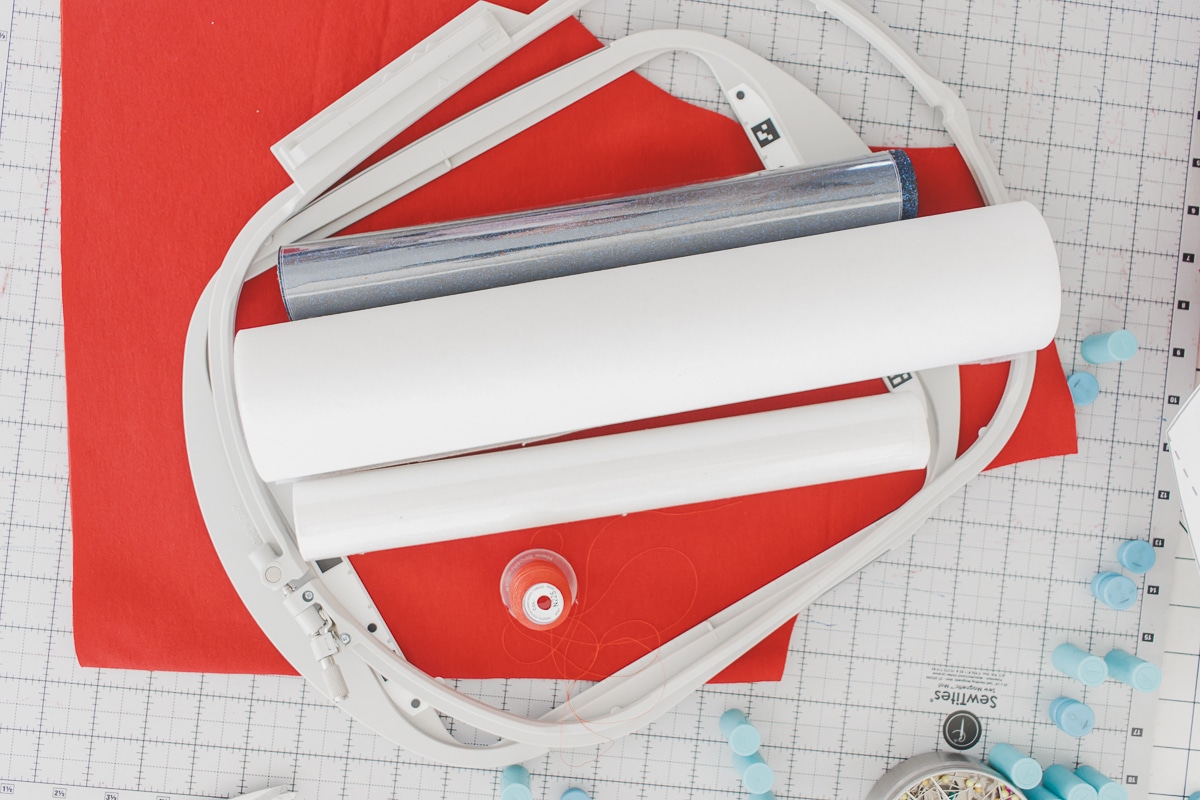
Supplies needed to make this sporty sweatshirt
For this sweatshirt project I did sew the sweatshirt from scratch.. however, this project works just as well with a sweatshirt that you buy. See my tips here for embroidering on a pre-made/bought sweatshirt. The photos below will show the embroidery on the fabric before the shirt is sewn up, but of course yours may look different.
- Surge Sweatshirt Pattern
- Red Sweatshirt fleece
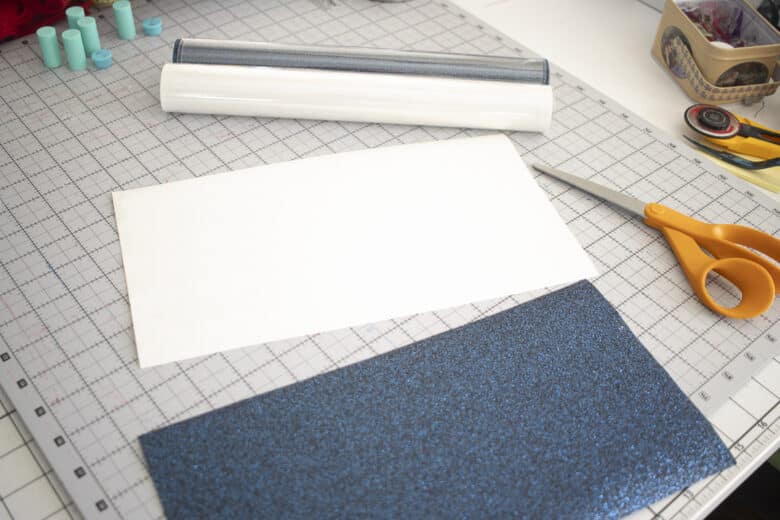
- Glitter Faux Canvas in white and navy
- Embroidery Design from Etsy this is the custom file I bought… Just give her the size and word you want.
- Embroidery scissors
How to create double layer embroidery with faux canvas
alright! let’s jump into this project. First, you will need to purchase a custom design {or create it} for your team/school, then transfer it to your machine.
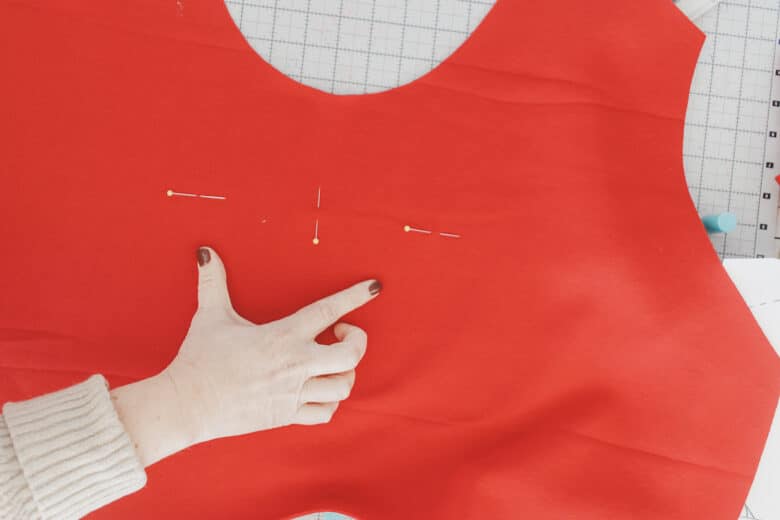
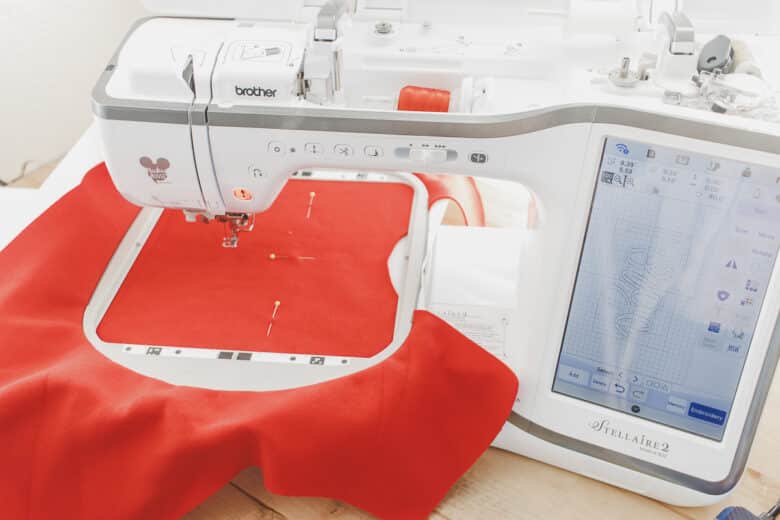
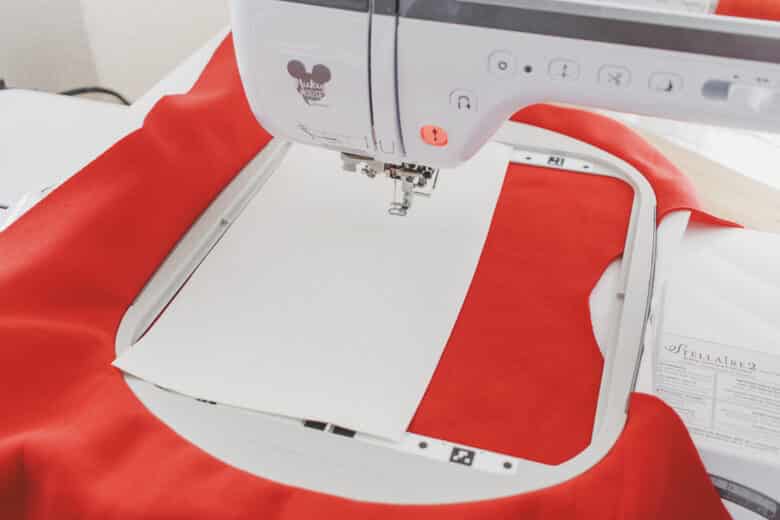
On the front of the shirt I like to place a middle placement pin, and two level side placement pins so I can check the alignment after hooping. Usually I just use adhesive stabilizer to hoop my sweatshirts, but because this was just the shirt front, I did place the fabric in the hoop as well.
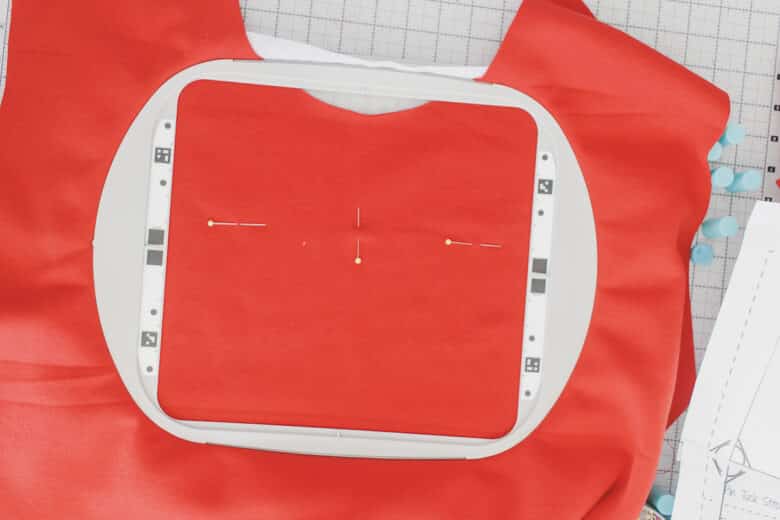
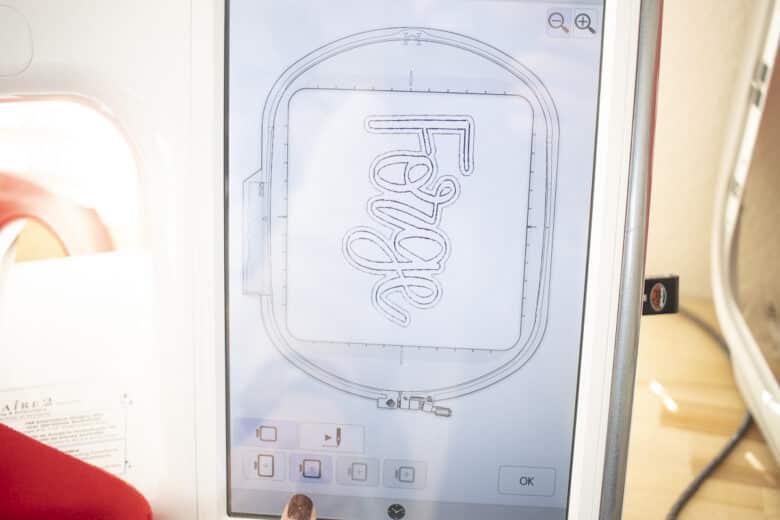
I wanted to use my 9 x 9″ hoop, so I made sure it fit in that hoop on my screen. I used the screen to move the design so I lined up with my pins.
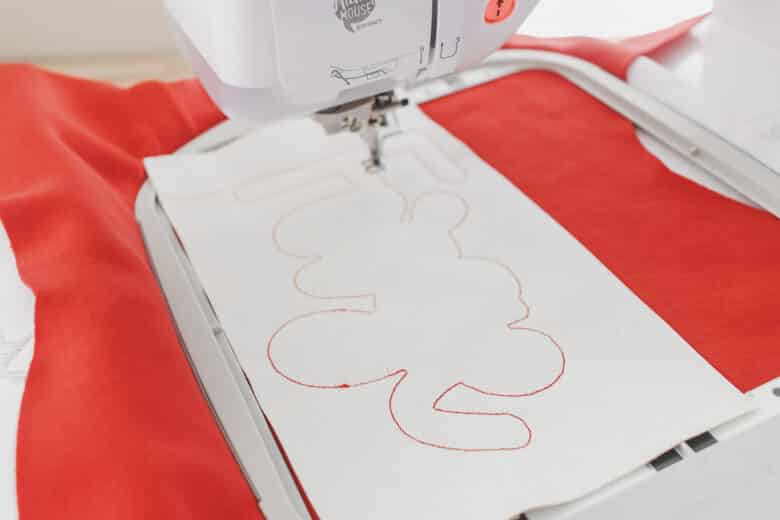
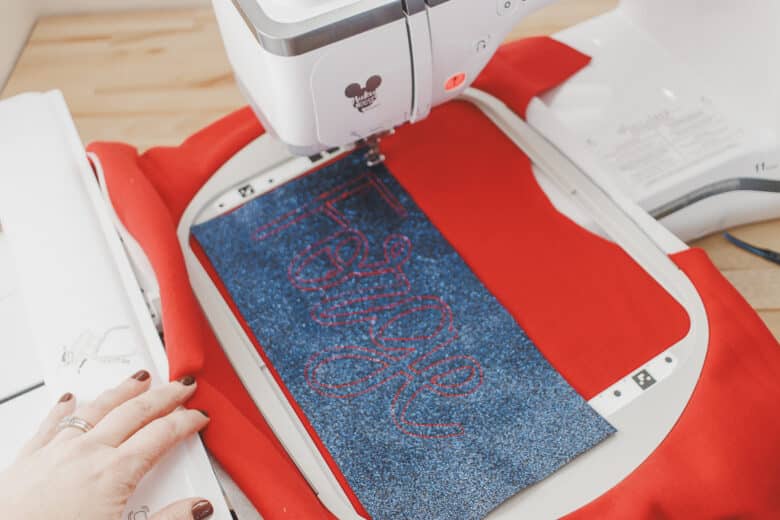
Cut the colors of faux canvas so that they are big enough to cover your whole design. While you are doing that you can stitch out the placement lines for the bottom layer. {Your design should stitch everything in order and stop between layers.
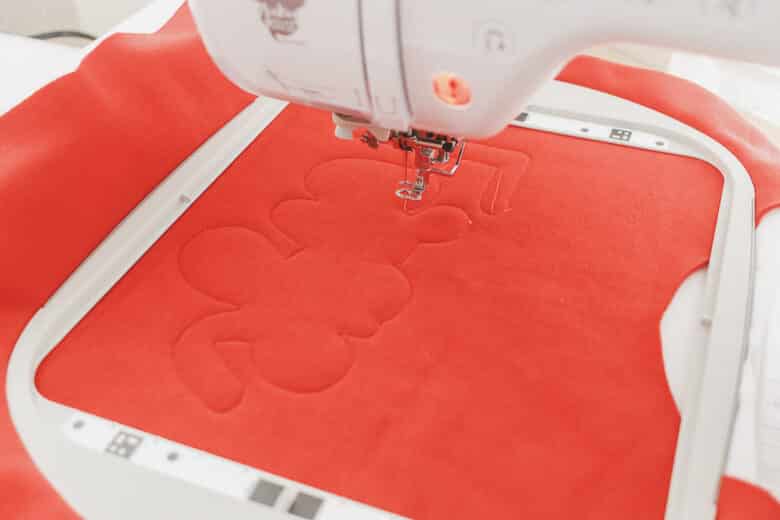
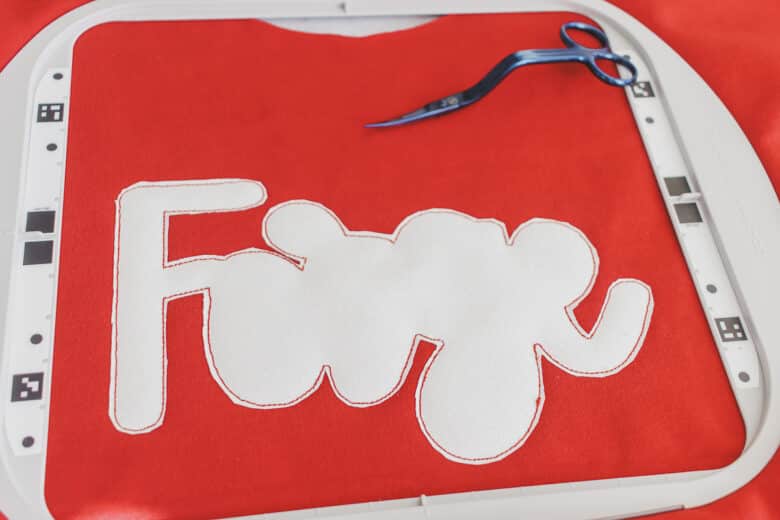
Place the white faux canvas over the placement lines and then hold in place until it’s secure. The bean stitch will embroider on. {this is also the layer were if you are doing a satin stitch it would happen}
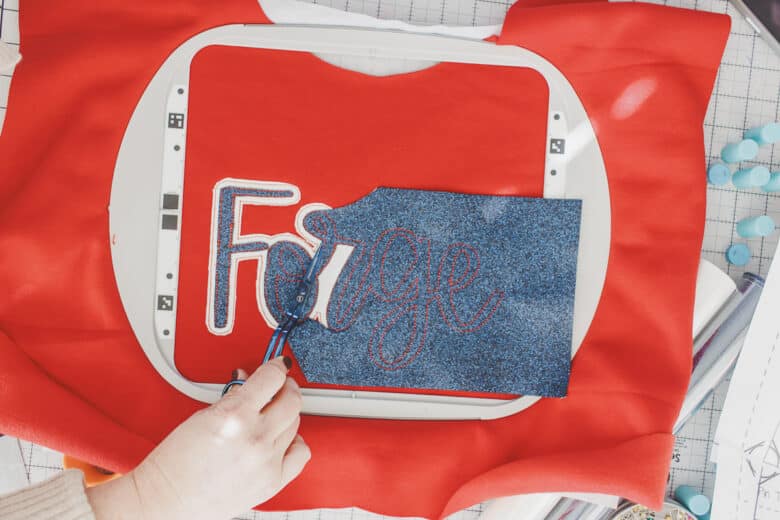
I like to remove my hoop from the machine to make it easier to trim, but you can also do this while on the machine. Trim around the bean stitch. Because you will see this raw edge I tried to cut evenly.

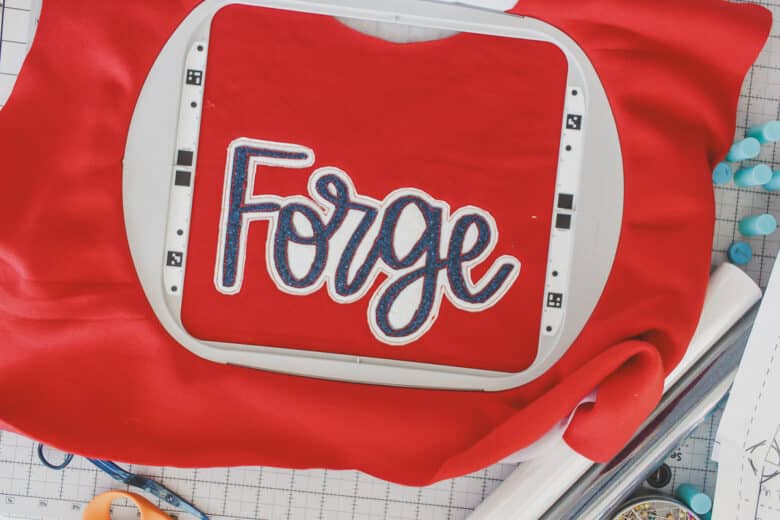
Repeat with the second layer. Stitch placement stitch, then add canvas, then sew second layer.
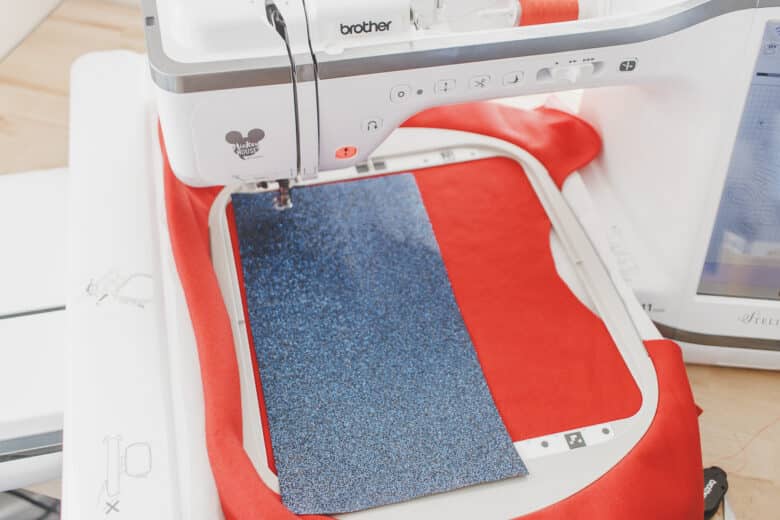
Remove and trim the extra canvas.
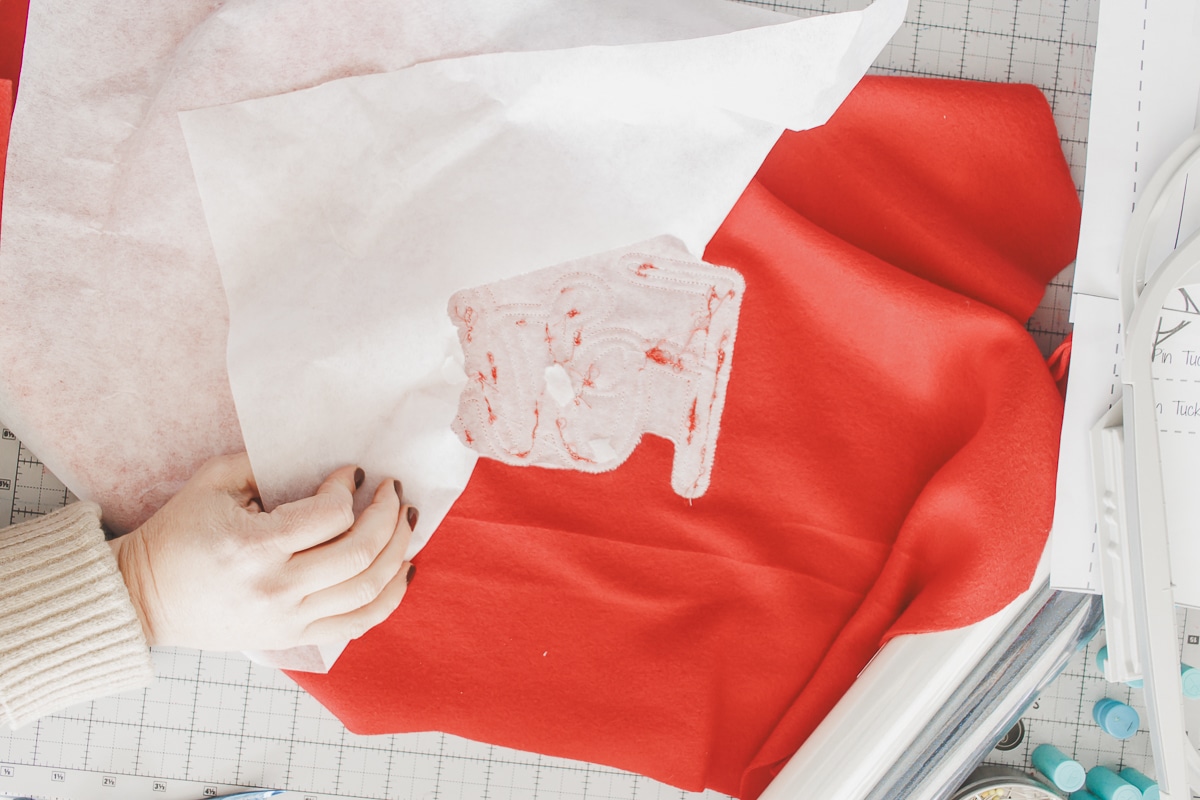
After trimming you can remove the fabric from the hoop and then cut or rip away the stabilizer on the back side. Mine was a tear away stabilizer and the small pieces will wash away when I wash the shirt. Now you can enjoy your new amazing sweatshirt.


Leave a Reply