inside: Learn how to add an easy decorative hem to your clothing with this simple sewing technique. Decorative hems can give any garment a beautiful finish with a few easy steps.
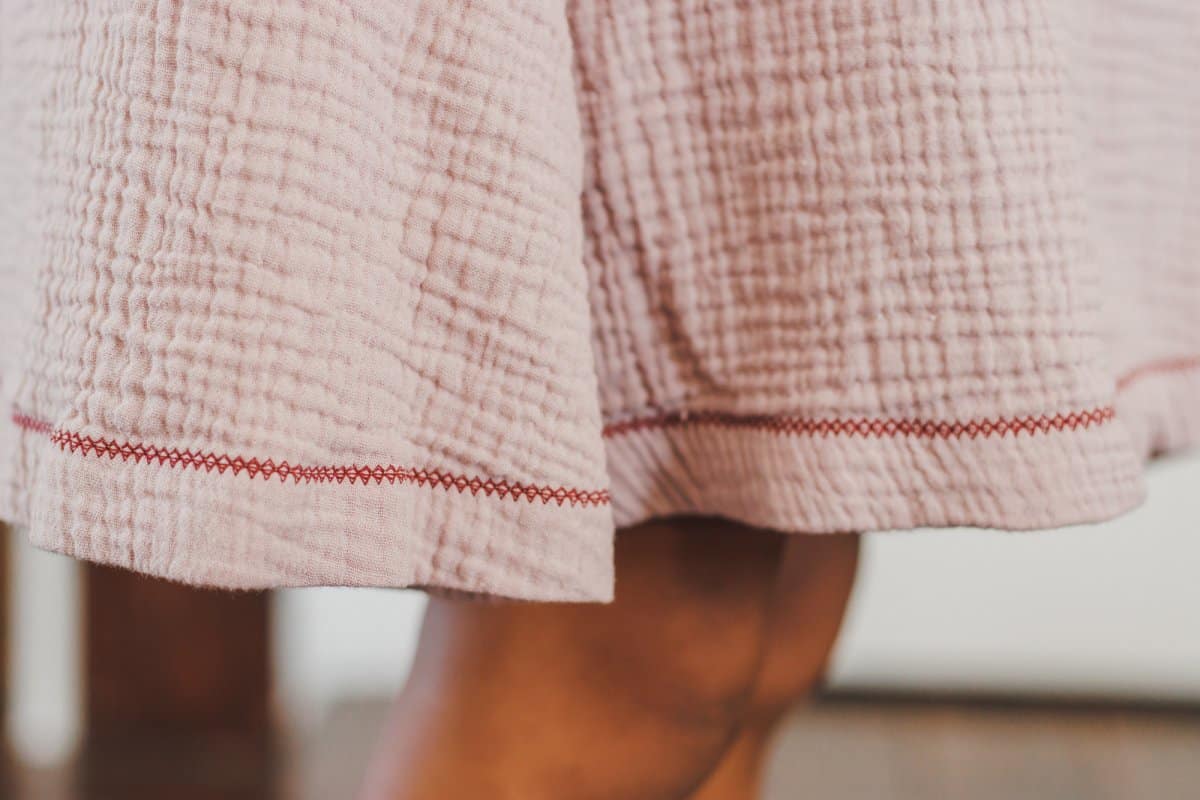
Adding a decorative hem to something you are sewing is a fun way to add detail and design in just a few simple steps. This post will show you how to add easy decorative hems to your next sewing project. Using the built in stitches your machine offers is simple and easy to do.
Easy Decorative Hems
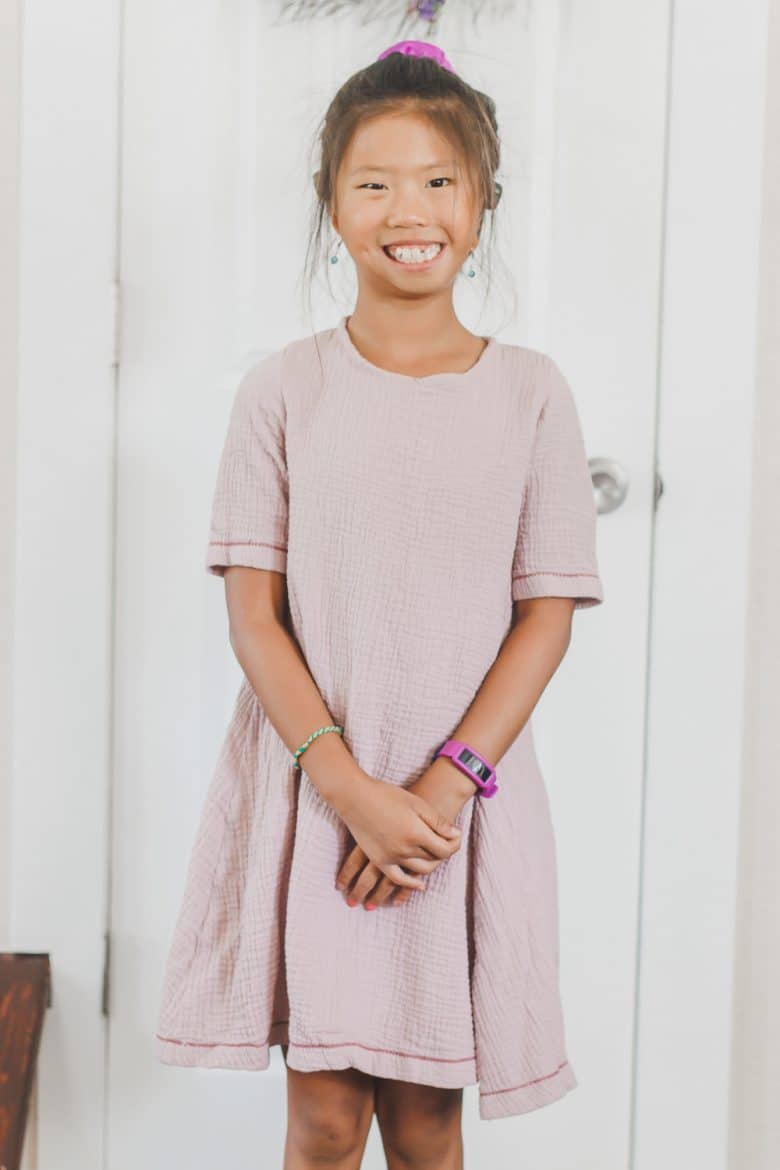
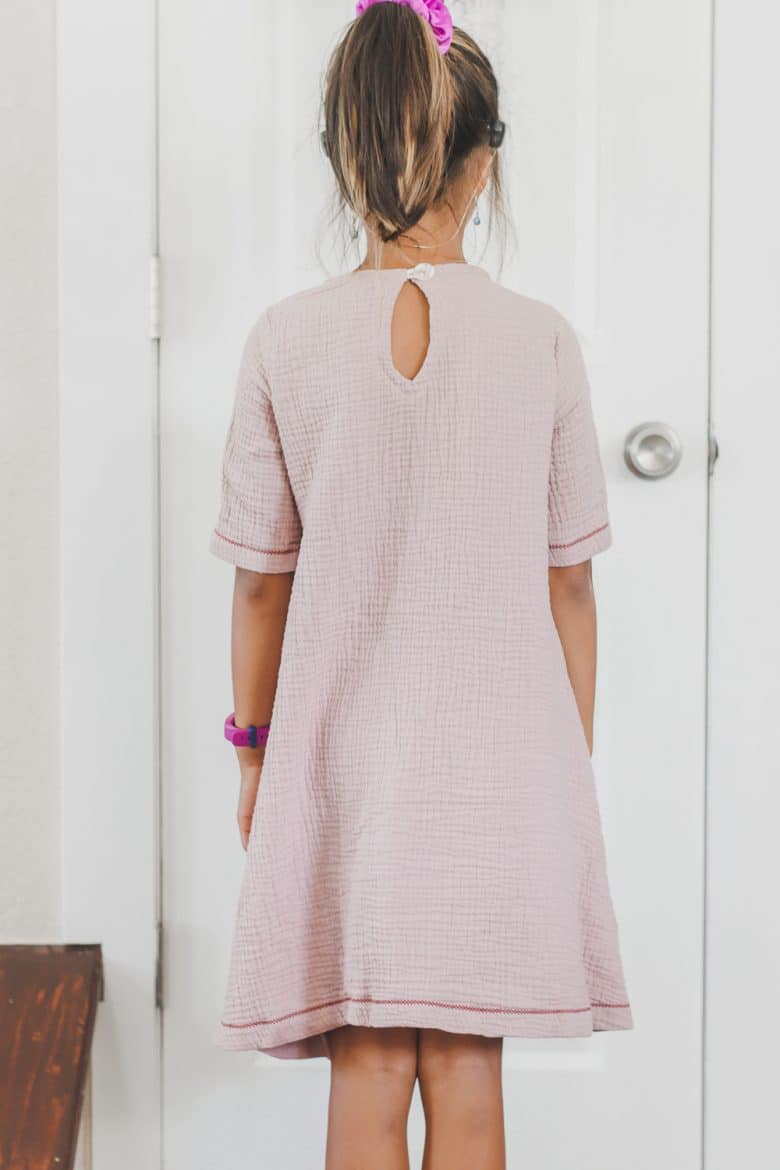
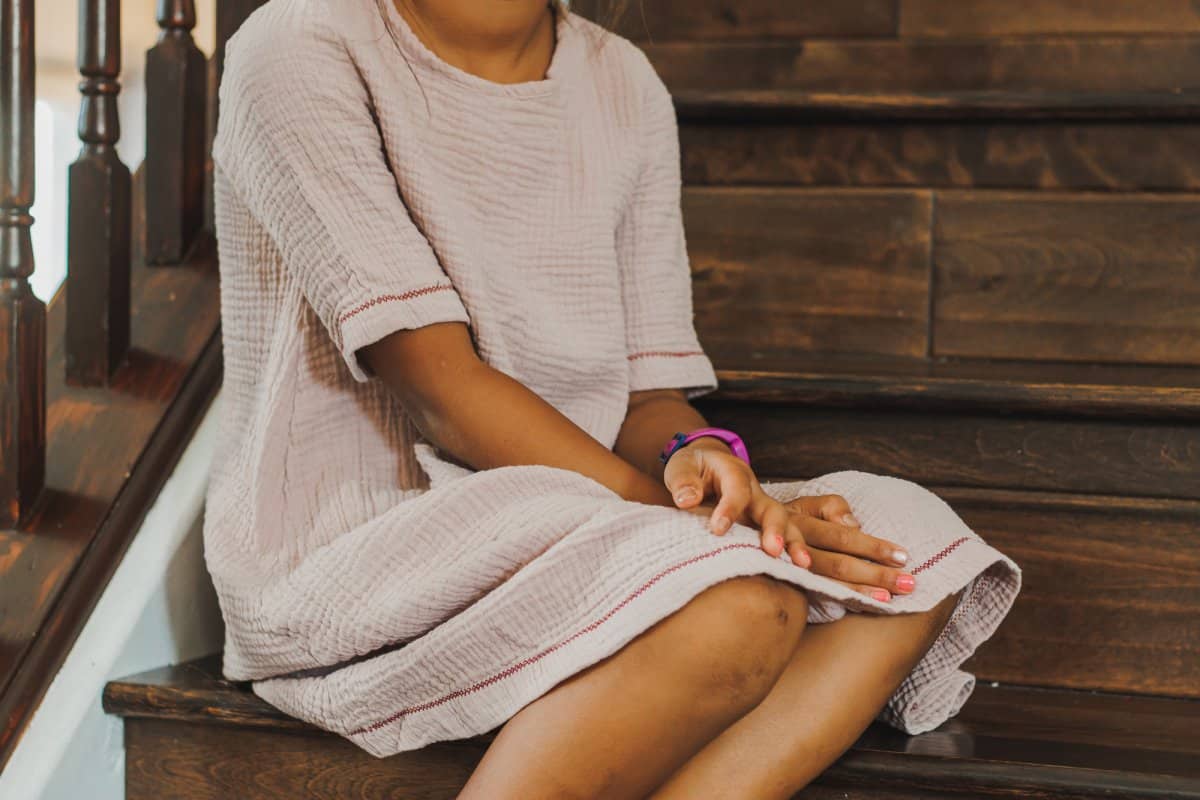
If you’ve followed me for a while you know I like to sew fairly basic clothes. Recently I was feeling fancy and decided to dress up a pretty plain dress with some decorative stitching on the hem. This not only finishes the edge of the dress, but also adds a fun detail.
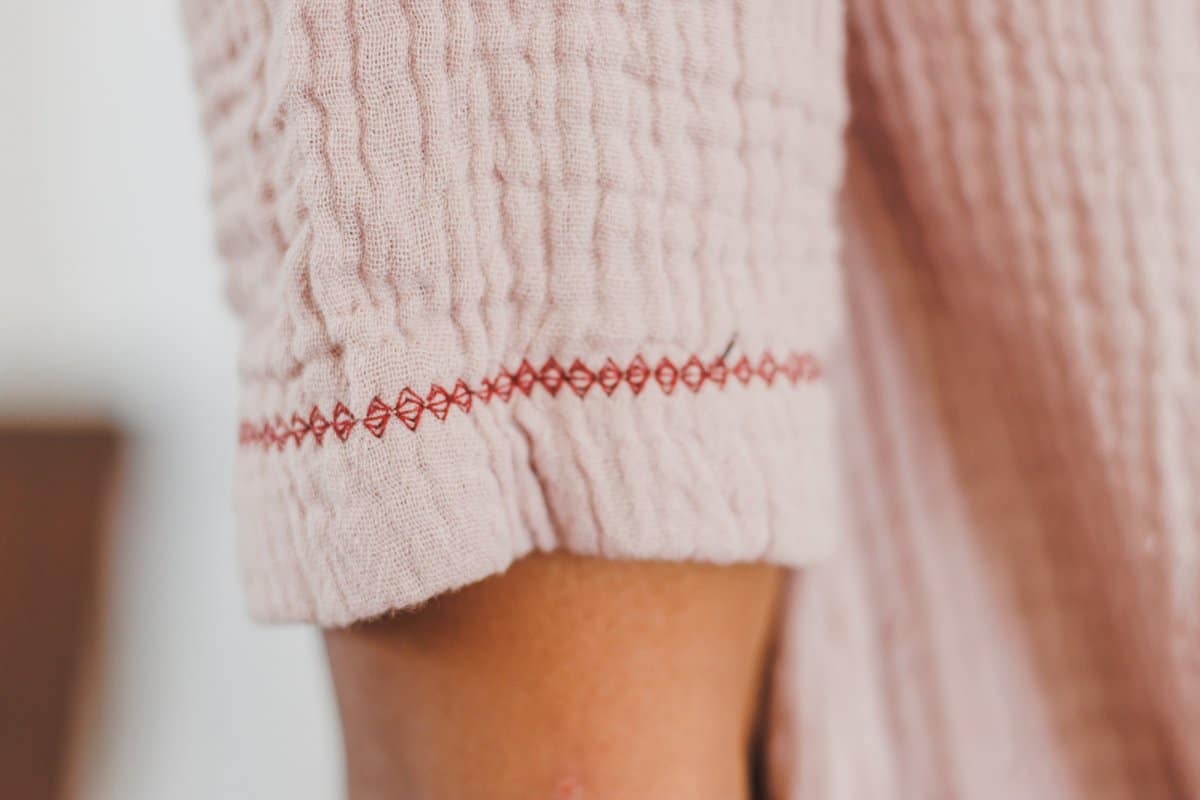
Gorgeous decorative hems can be added on the sleeves, shirt hem, skirt hem, pants hem, neckline {or really anywhere} while sewing your outfit. I find this technique extra cute when you use a fun color of thread that contrasts with the fabric of your sewing.
How to hem with decorative stitching
Ok! I’m sure many of you saw the first photo of this project and know exactly what I’m talking about with decorative stitches, but if you don’t.. here’s how I created this look.
Supplies:
- Pattern – I used the Schools Out Dress
- Contrasting thread
- Hem Tape
This outfit I was sewing here was made from double gauze. Decorative stitches can be used to hem both knit and woven fabrics. Gauze has a bit of stretch so we will stabilize like it’s stretch fabric.
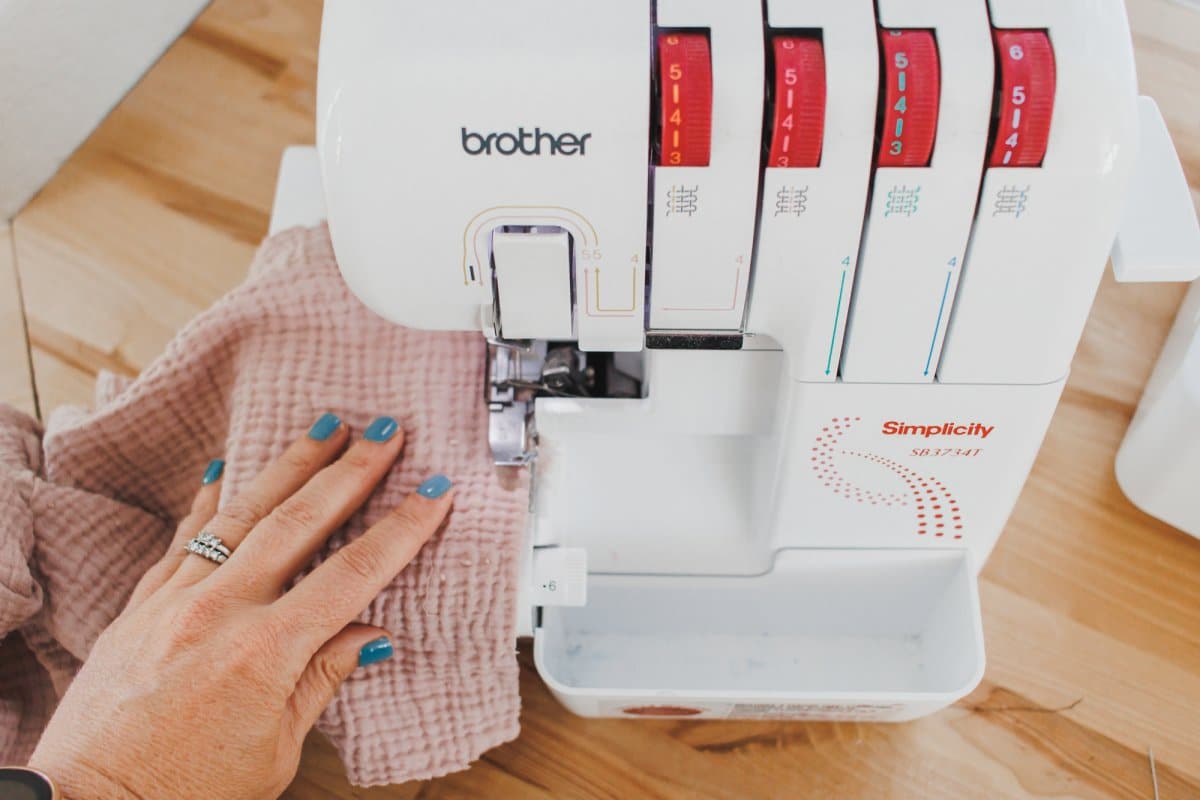
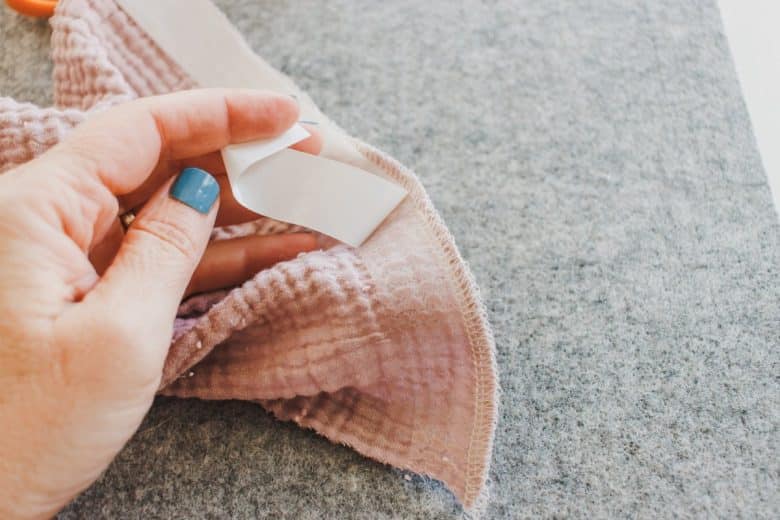
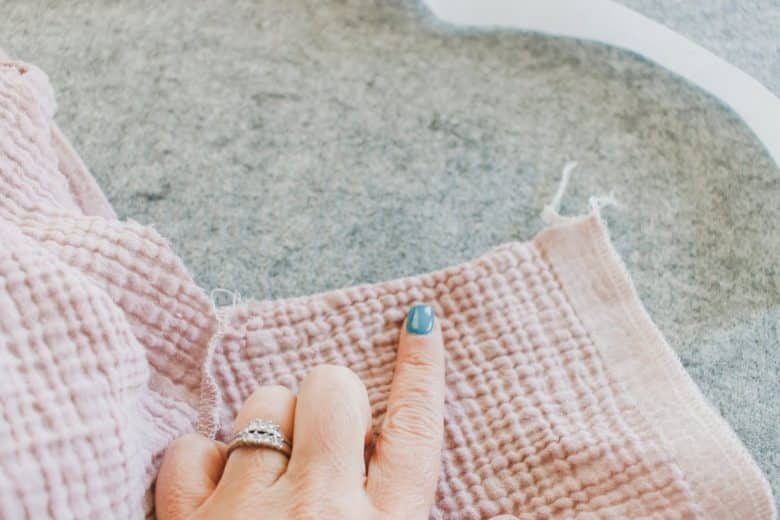
I’ll show the sleeve here first. Sew up the pattern until the sleeve is open like this. Finish the raw edge with a serger or zig-zag stitch. I used double sized hem tape to help stabilize the hem from stretching and to stabilize the stitches. Iron one side of the tape to the back side of the fabric.
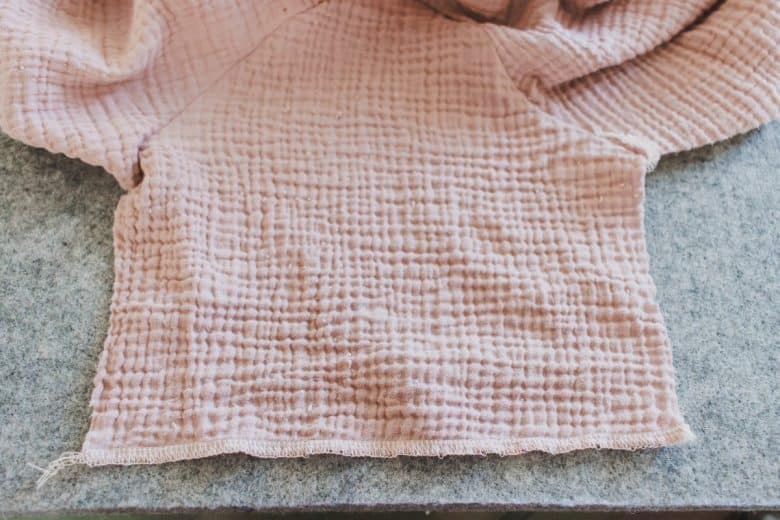
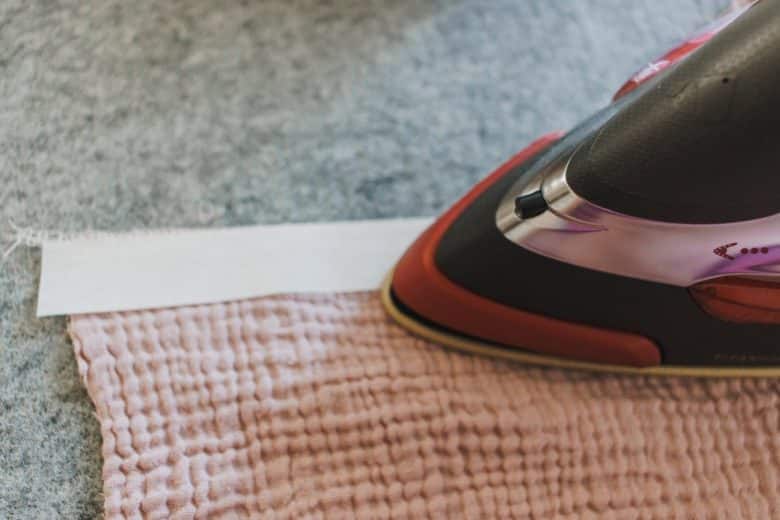
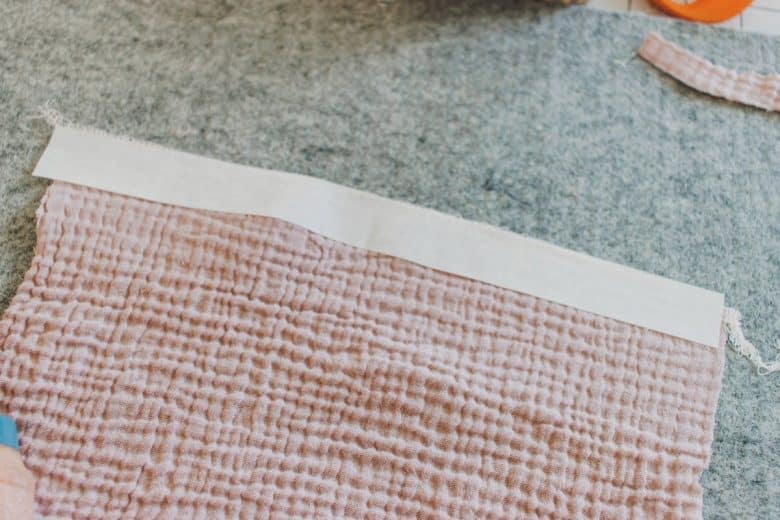
Peel off the paper backing and for the sleeve, sew the side seam now. For a bottom hem you can just peel backing after ironing.
I am using the Brother VM5200 here for this tutorial, but nearly every computerized Brother machine has decorative stitches. If you have a basic machine with just a dial you may not have any stitches like these.
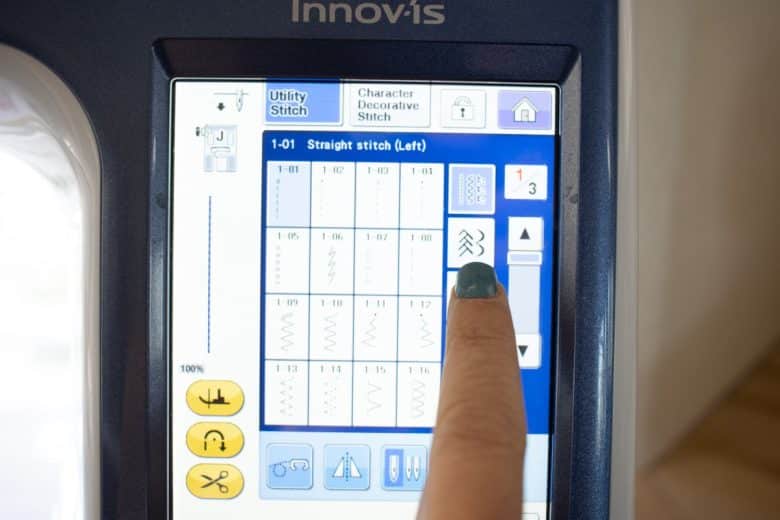
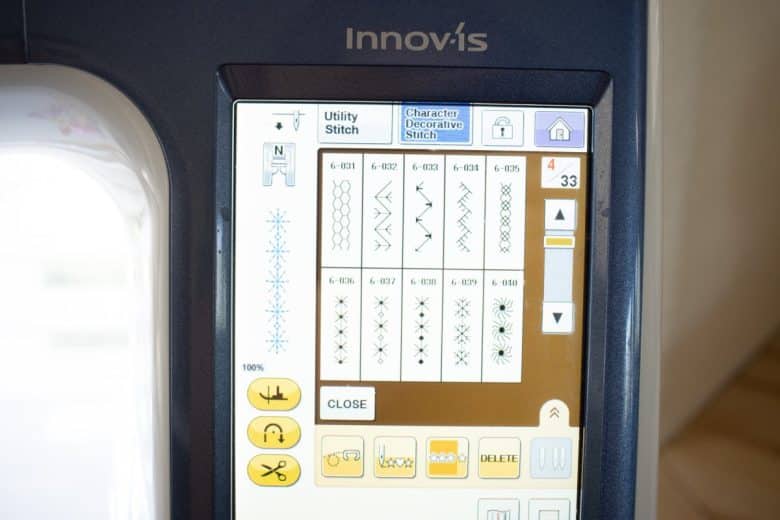
There are two categories of stitches on my machine – Utility stitches – and – Character Decorative Stitches. There are fun stitch options in both categories.
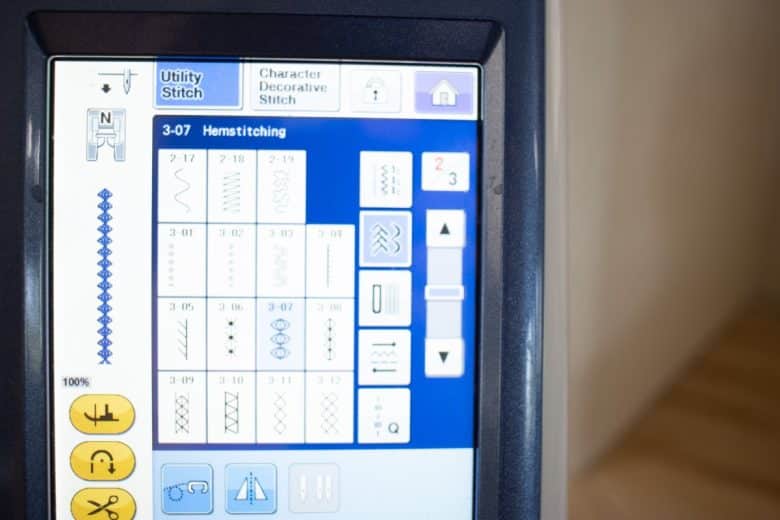
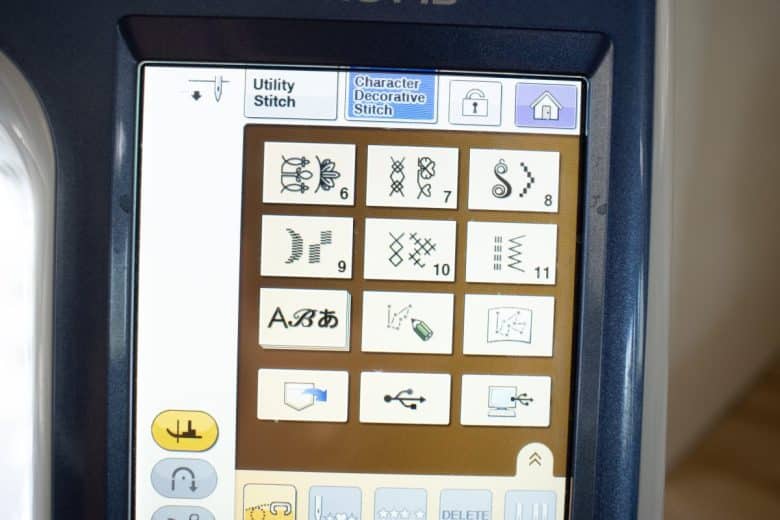
Fold the fabric back over the hem tape and pin or clip in place. With decorative stitching you will need to sew on the right side of the fabric. With smaller sleeves, this may be a bit tight, but very easy with skirt hems. Sew on the inside edge of your hem tape and where you finished the raw edge of the fabric.
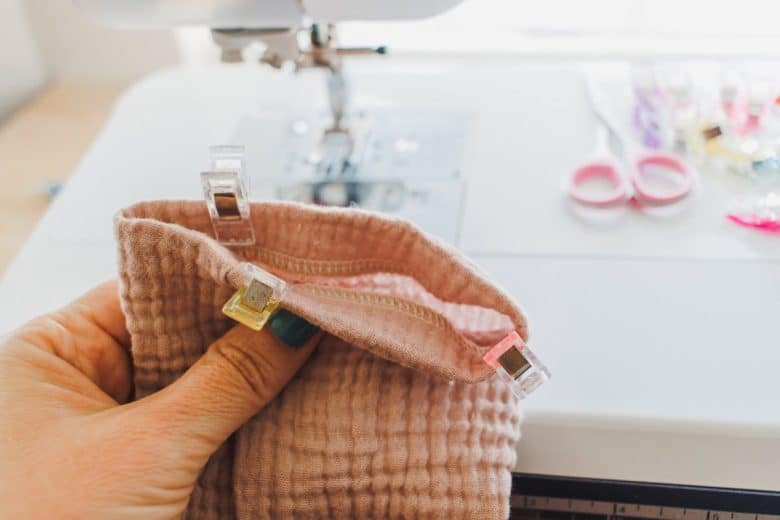
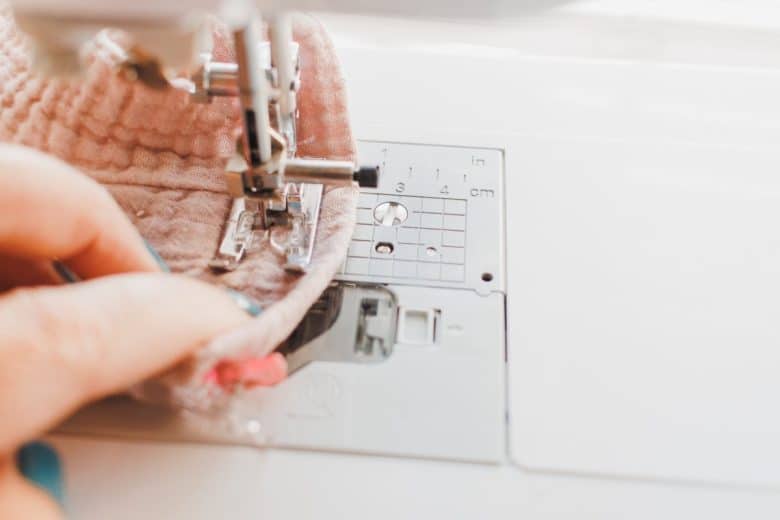
When you get back around to where you started, overlap a couple of stitch patterns to give the hem a continuous look.
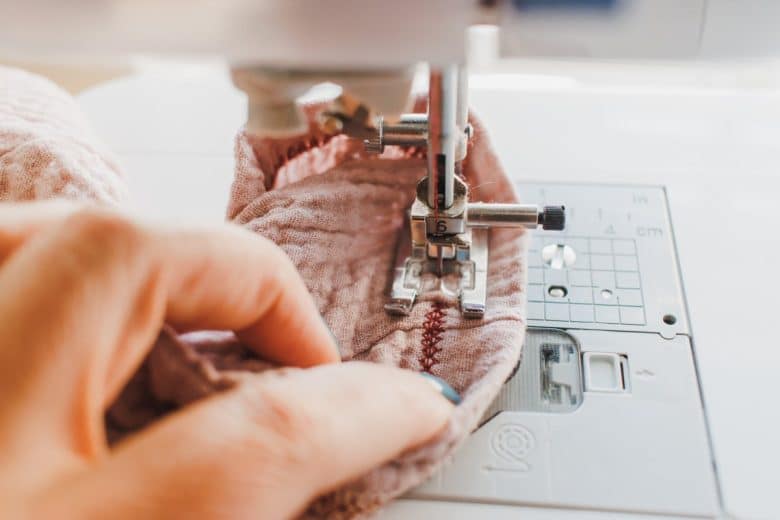
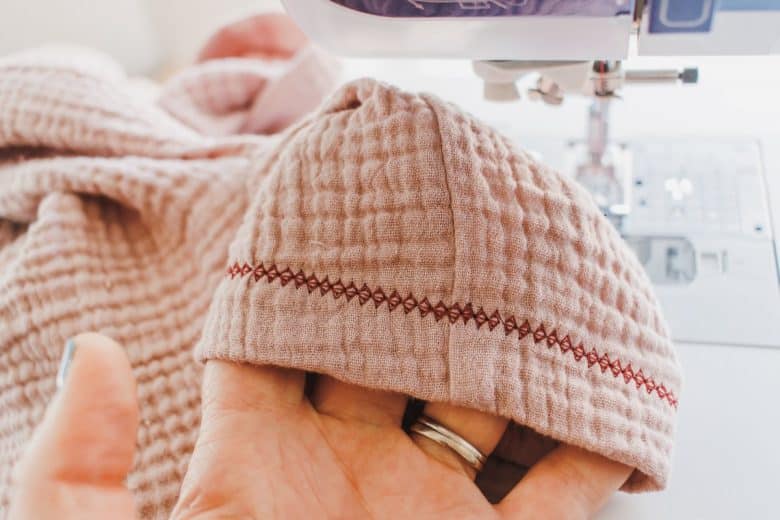
See how much easier it is to hem the bottom of the skirt? Both look adorable when finished though.
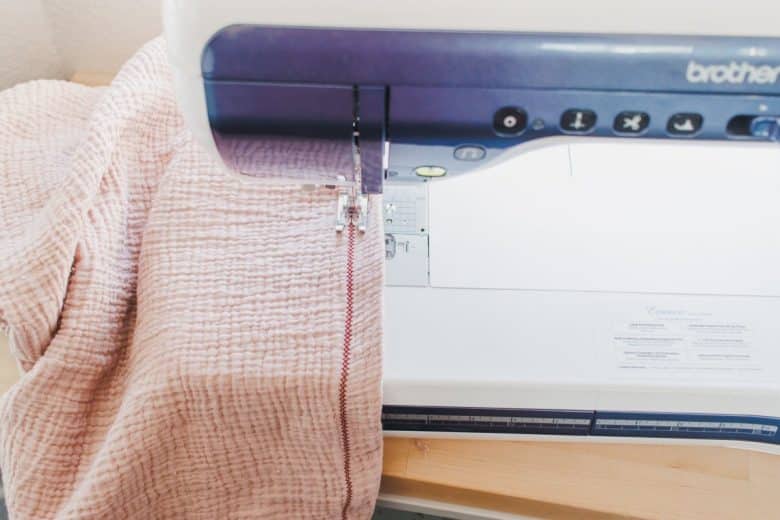
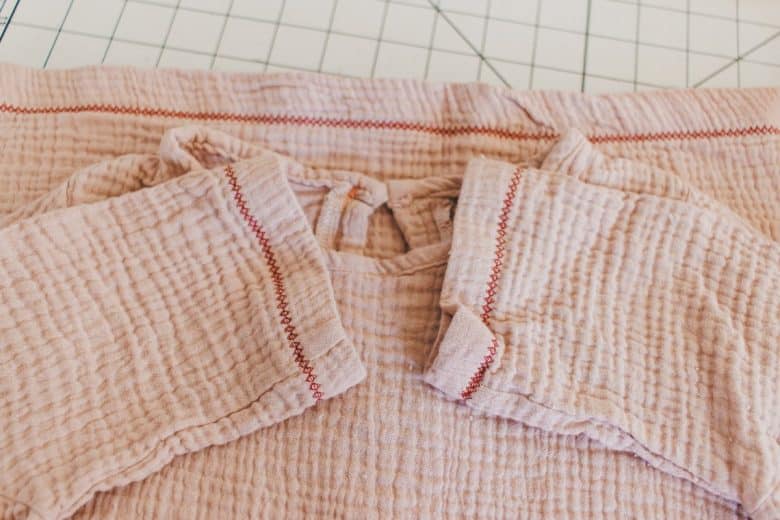
So cute right?





Lori Bradley says
Thanks for another great tutorial.
Macel Posey says
I appreciate your simple and adorable free patterns as I sew for charity and the free patterns help so much. Your daughter is so cute and makes such a good model. I had three boys and I sewed their shirts but now am enjoying sewing for both girls and boys. Thank you so much!