inside: Sewing with this easy rag quilt tutorial is fun and simple. Frayed Flannel quilts are beautiful and fun to sew.
I’m sharing of my go-to baby gifts today. This flannel rag quilt is super fun to make and if you can sew a straight line, you can make one! I’ll be sharing an easy rag quilt tutorial today with both photos and a full video of the process. Hopefully you’ll be inspired to make your own after you see just how easy it is.
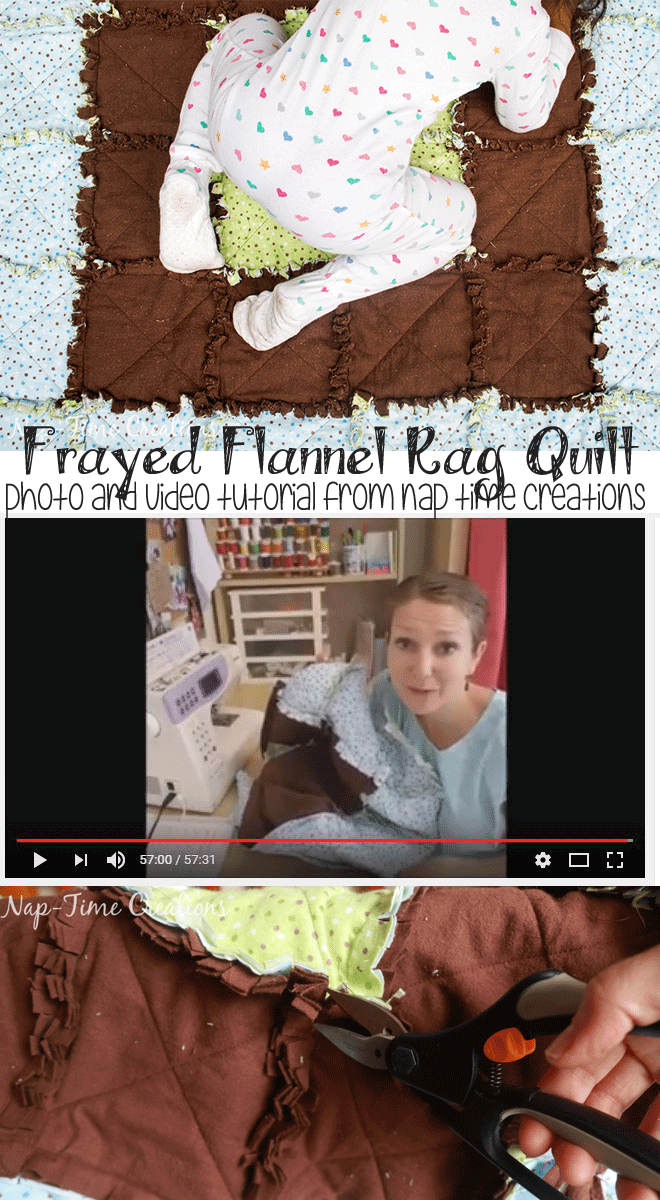
Easy Rag Quilt tutorial –
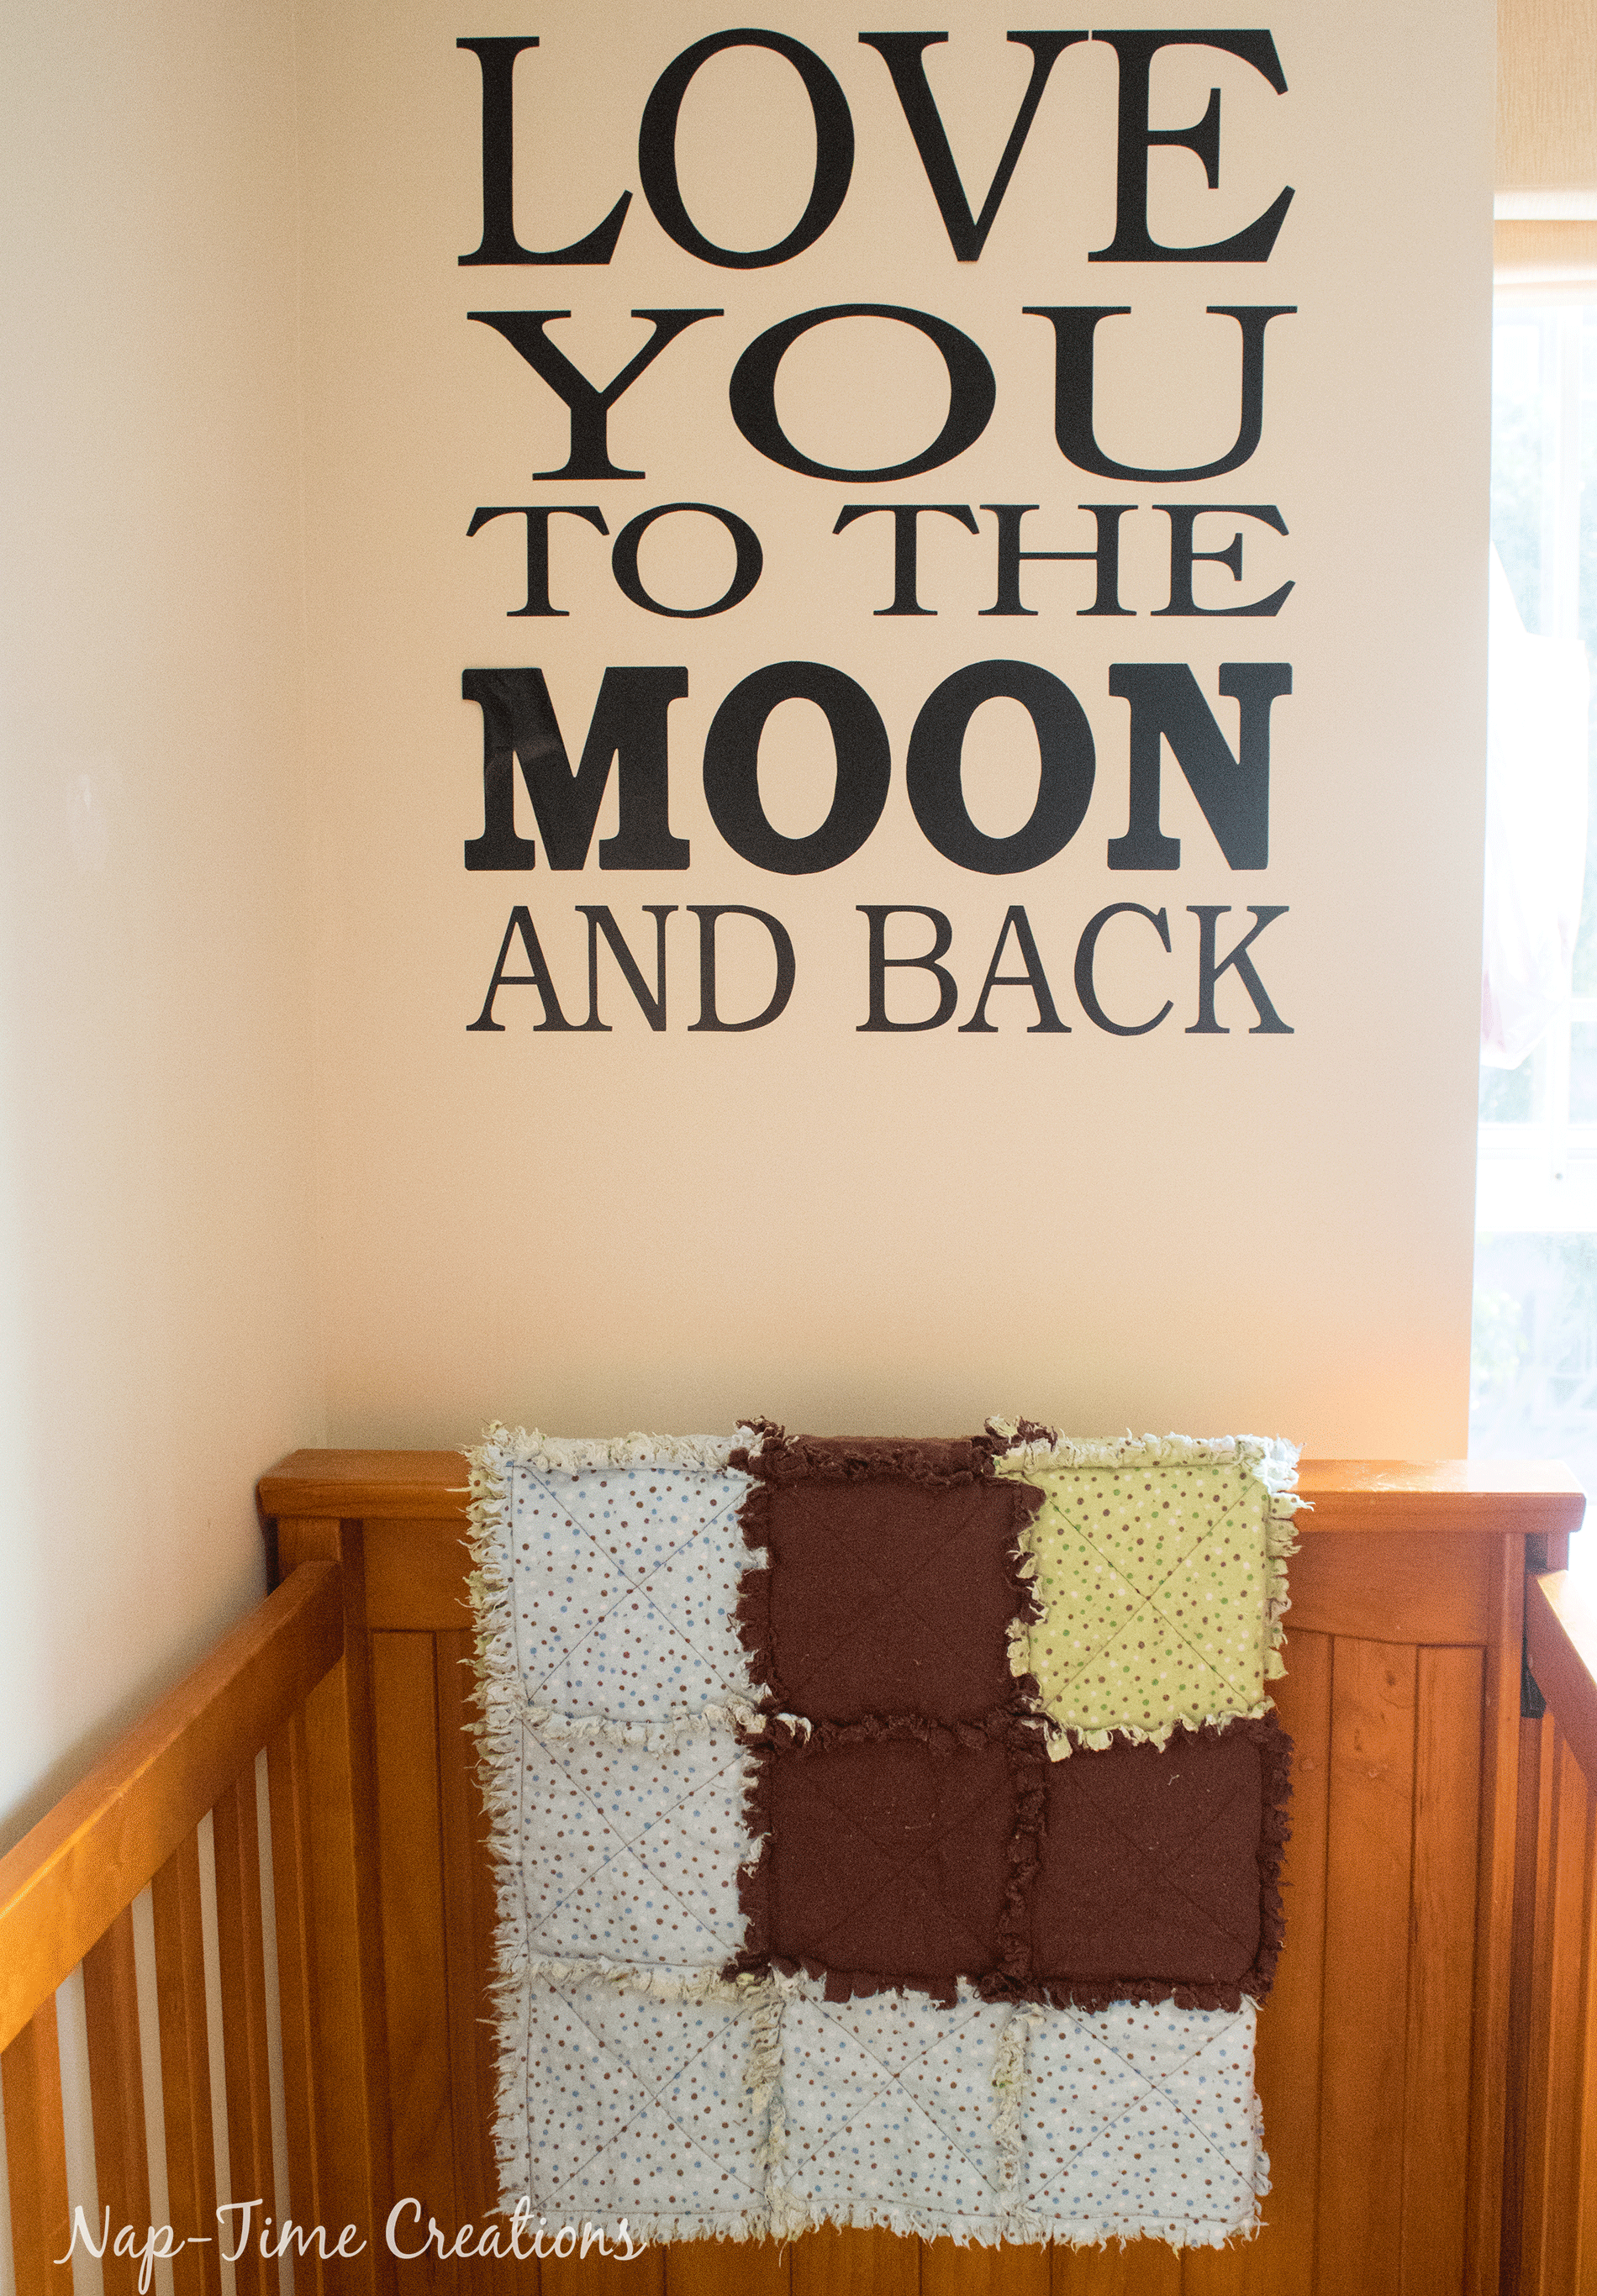
This frayed flannel blanket makes a great gift! I made this one to give away, but snapped a few shots before I gifted it… you’ll notice my daughter in girly pjs on this boy {ish} blanket… Anyway, this is a super cuddly blanket that’s perfect for cool fall and winter nights. Snuggle up with this soft blanket and your little one for great cuddle time.
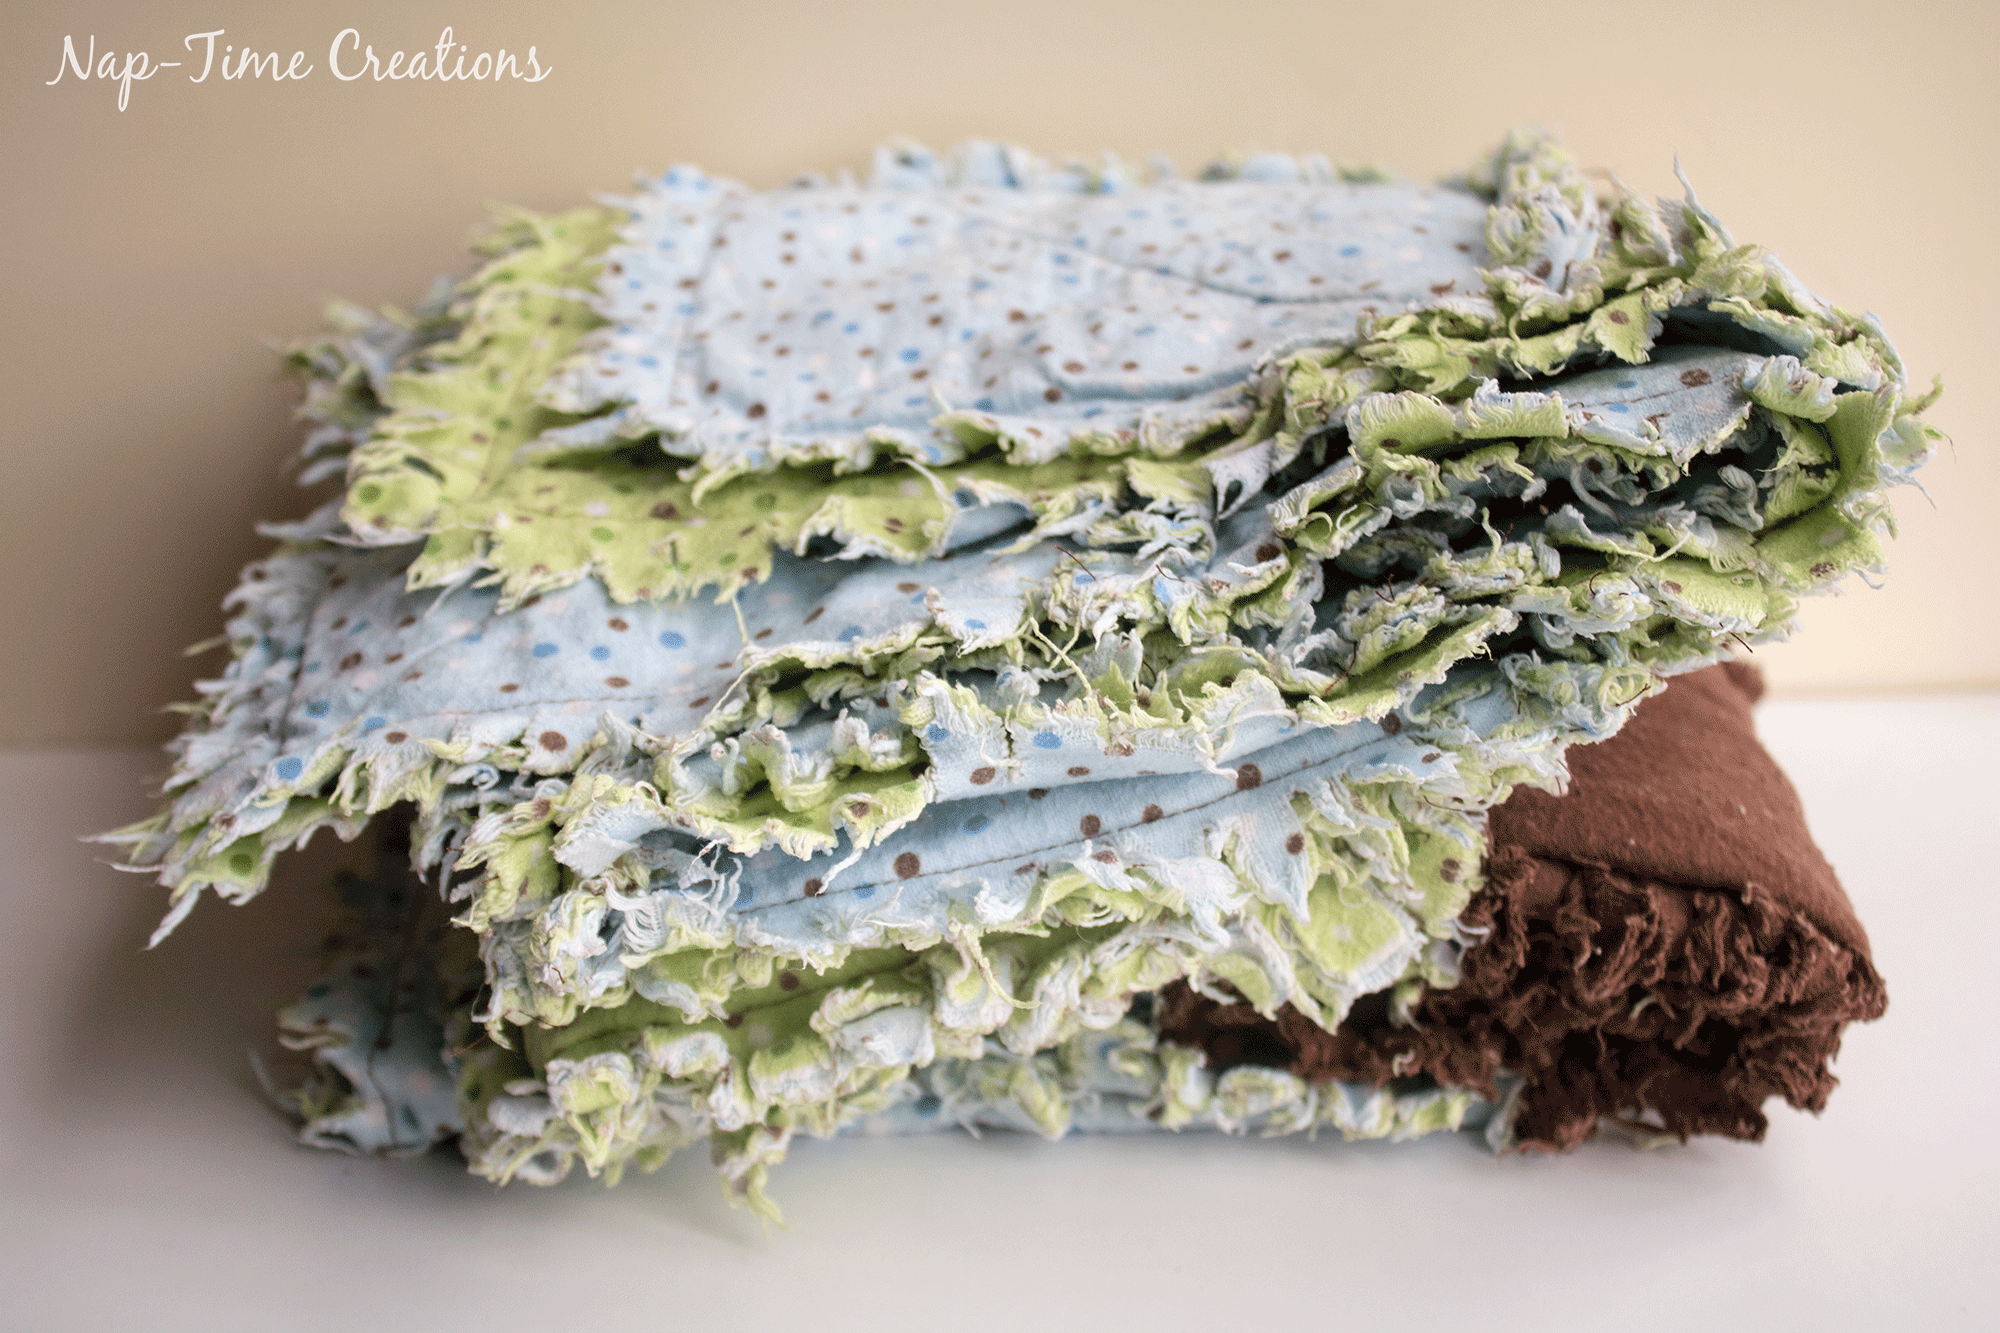
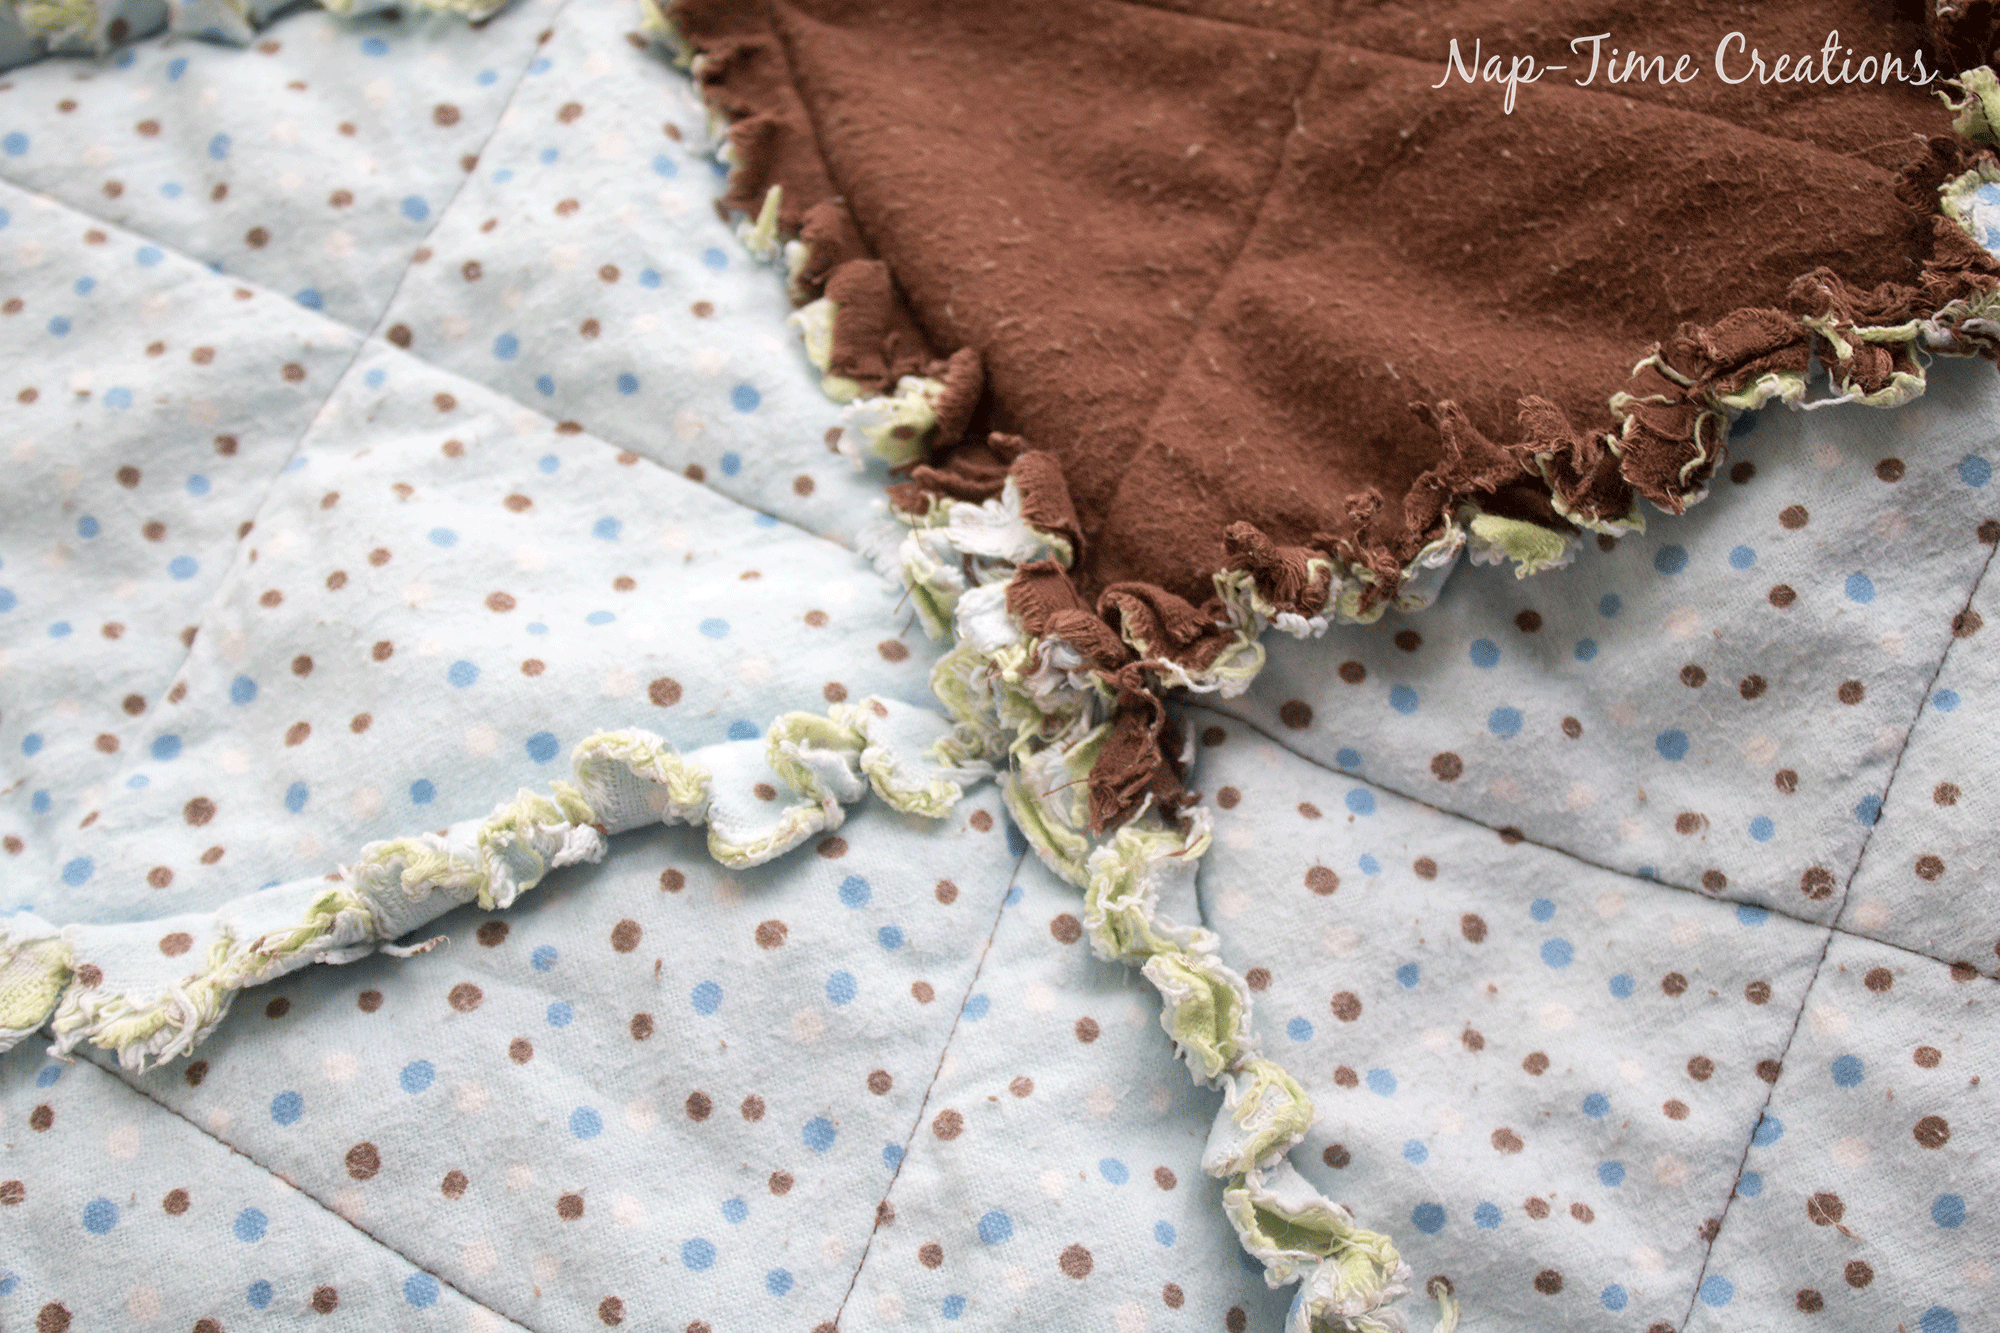
The unique feature of this blanket is the wide frayed seam allowances…
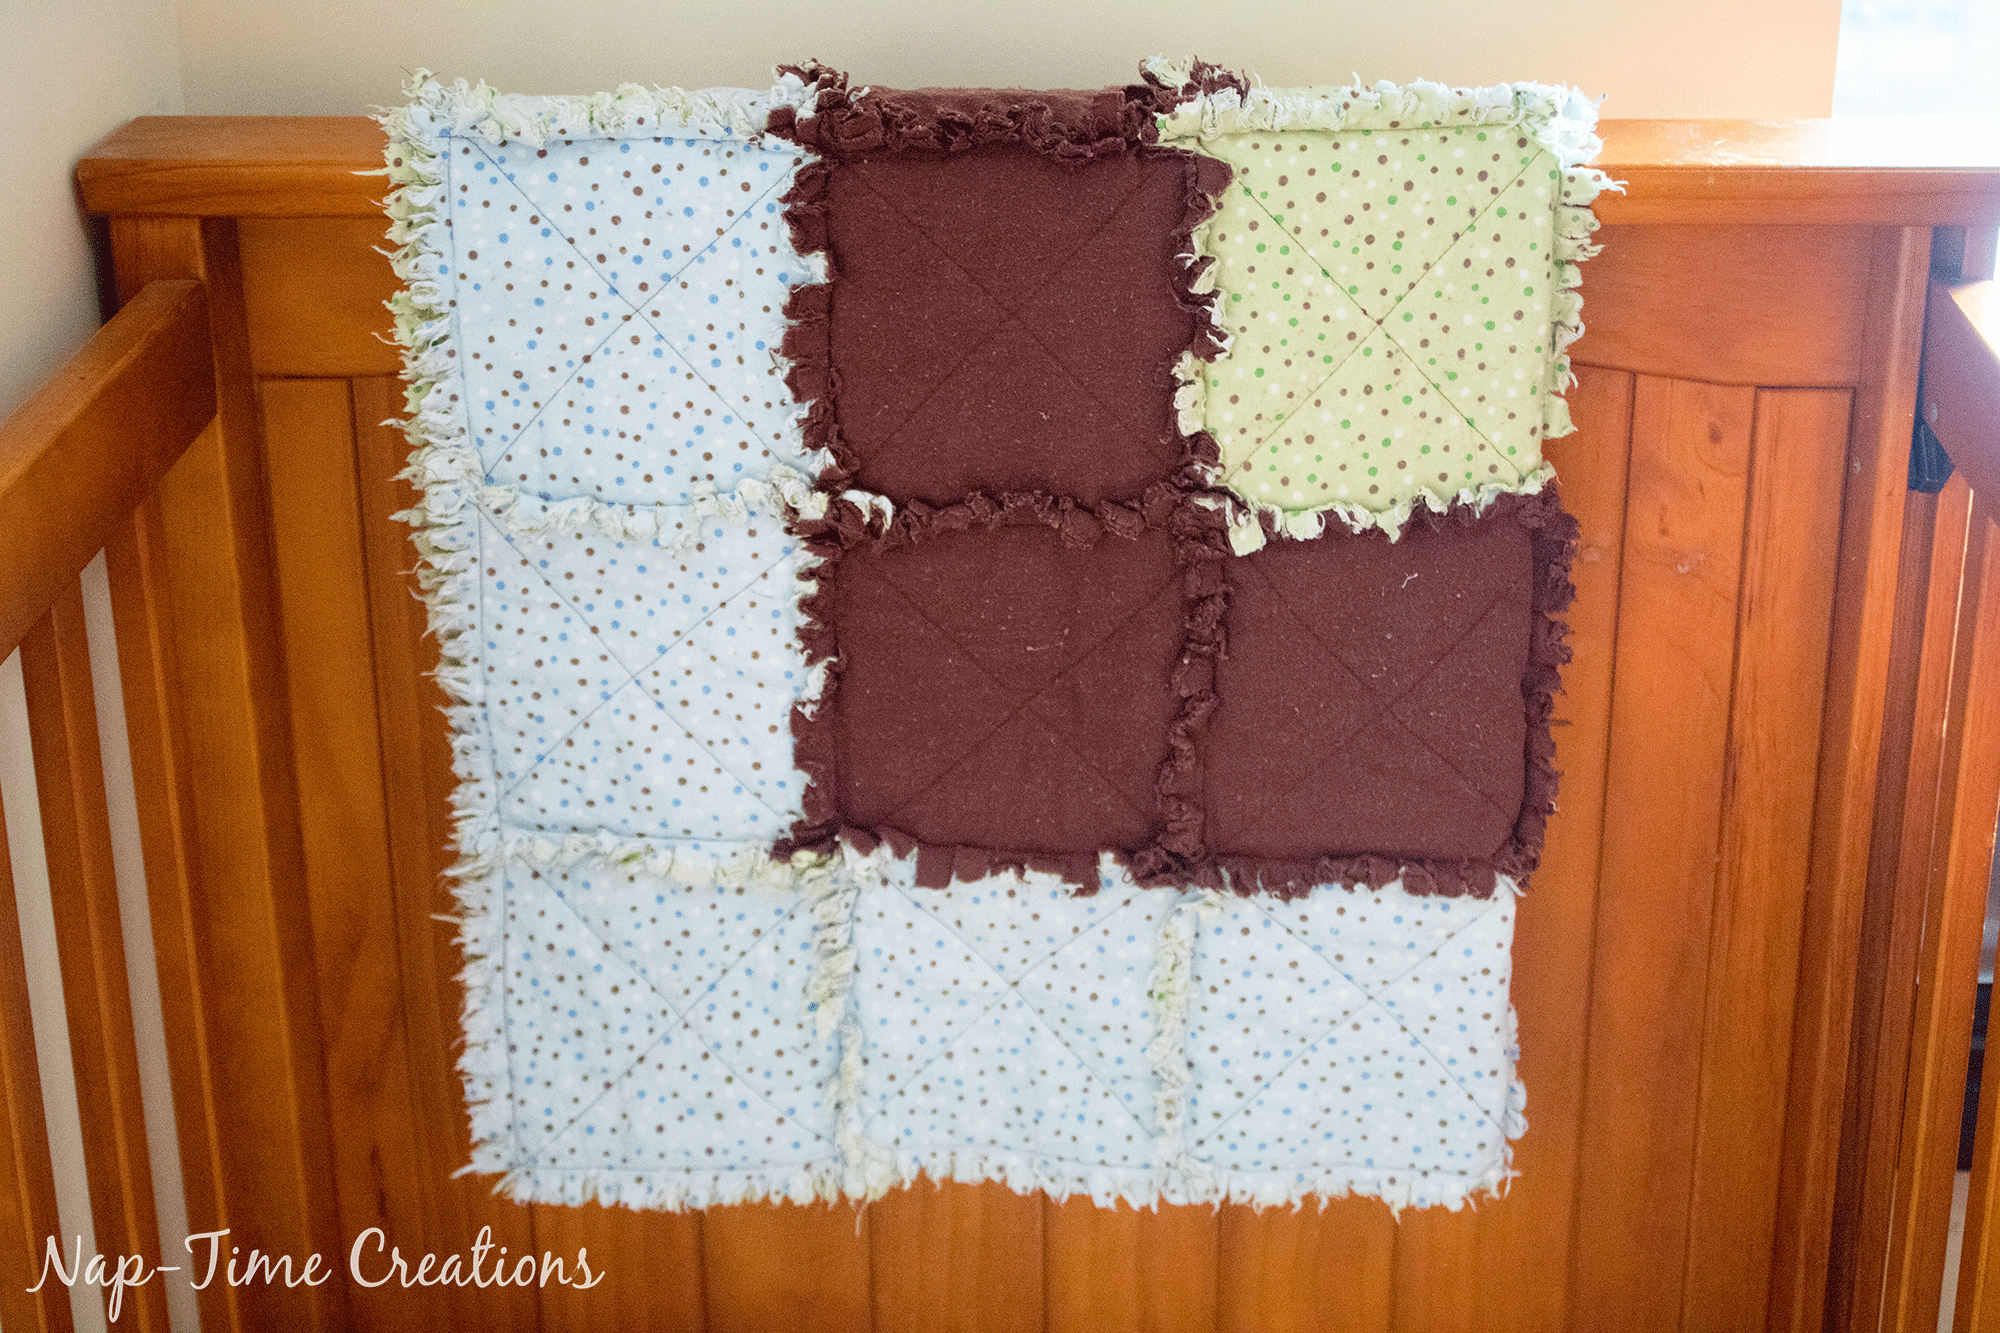
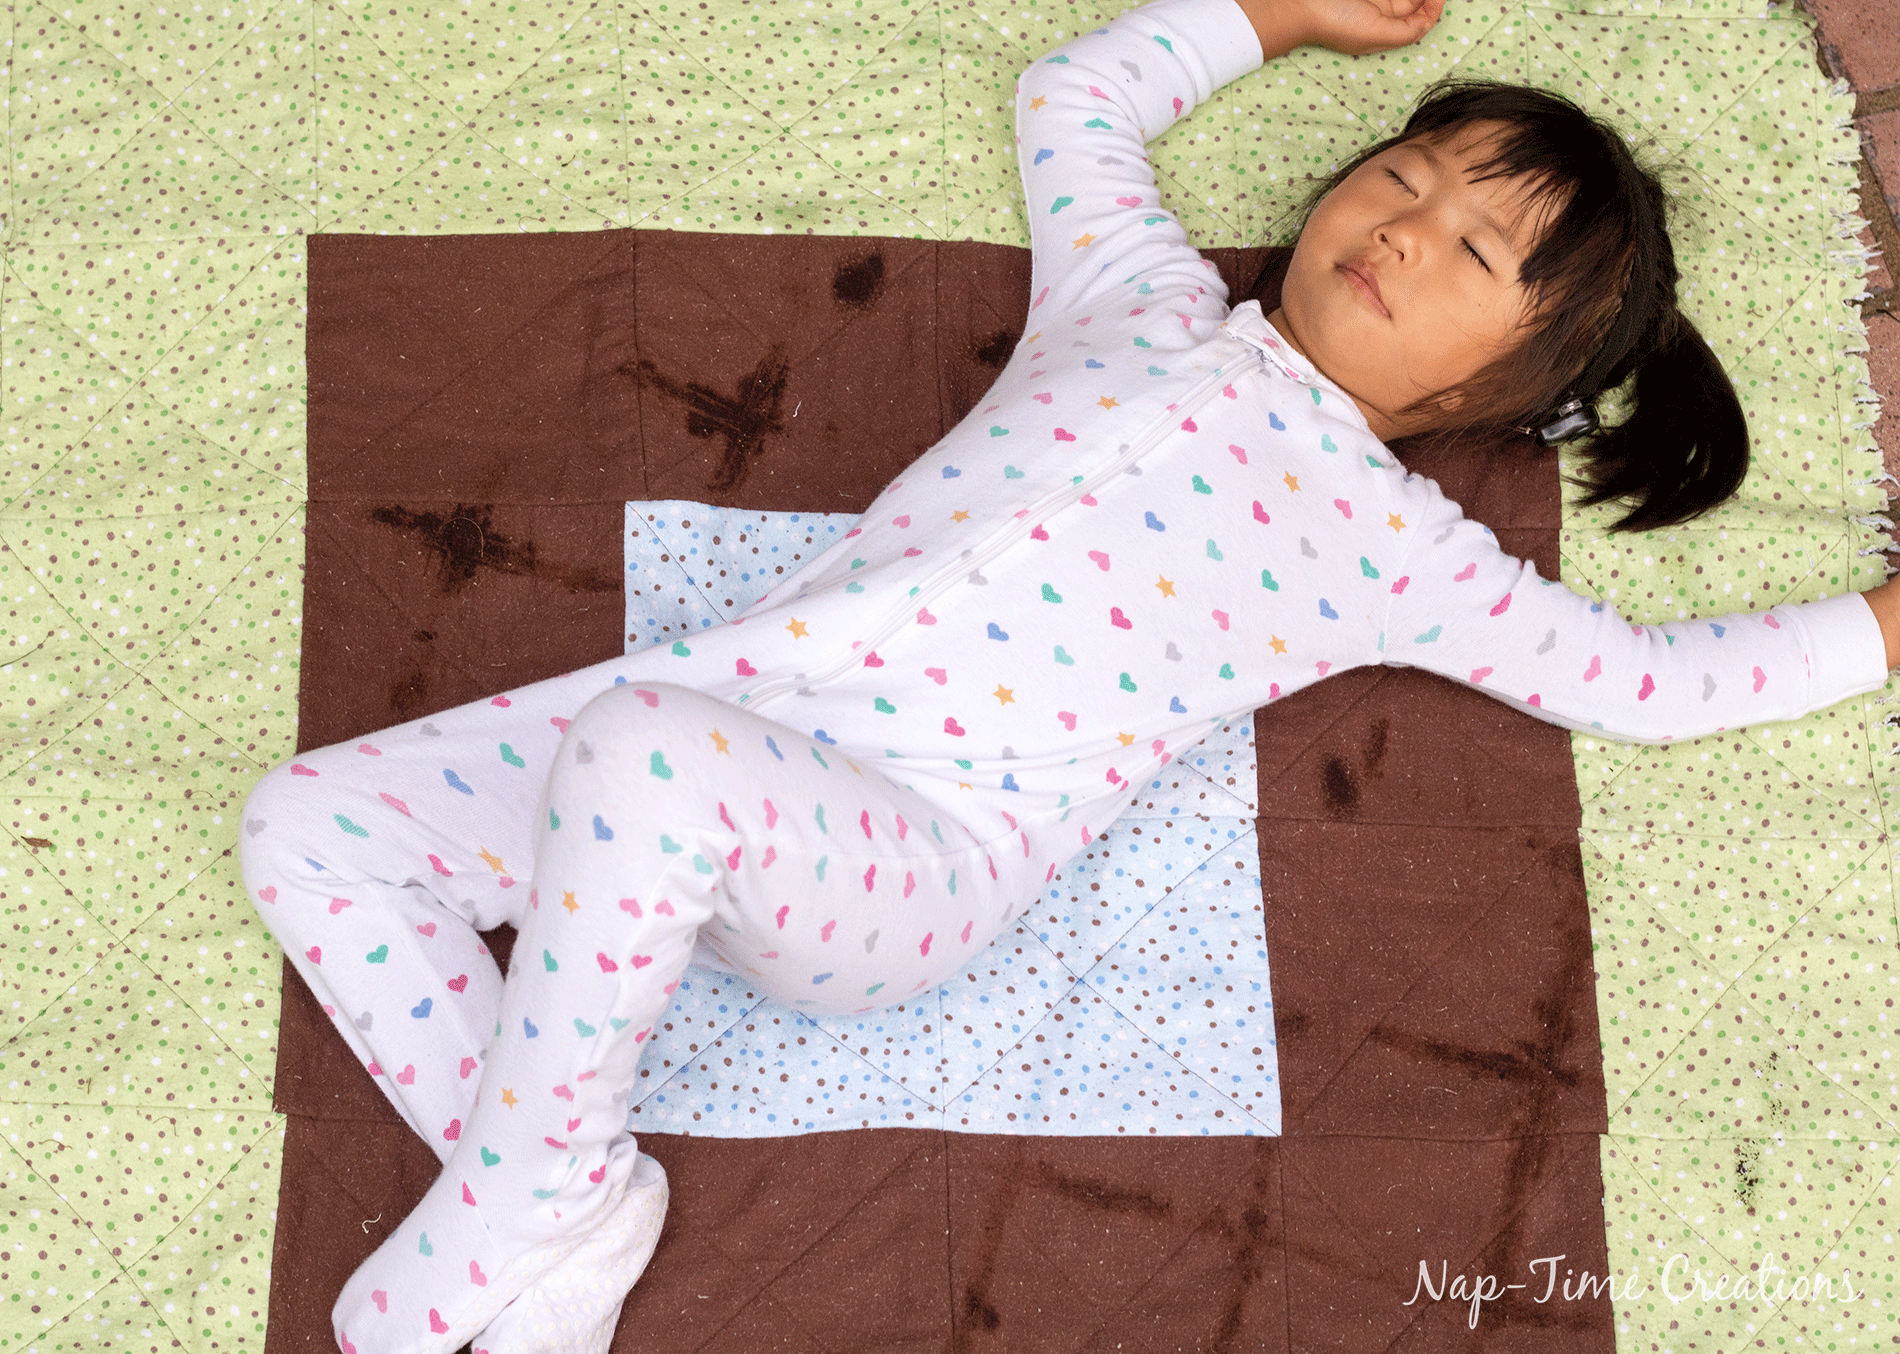
It makes for a soft and comfy place to take a nap!
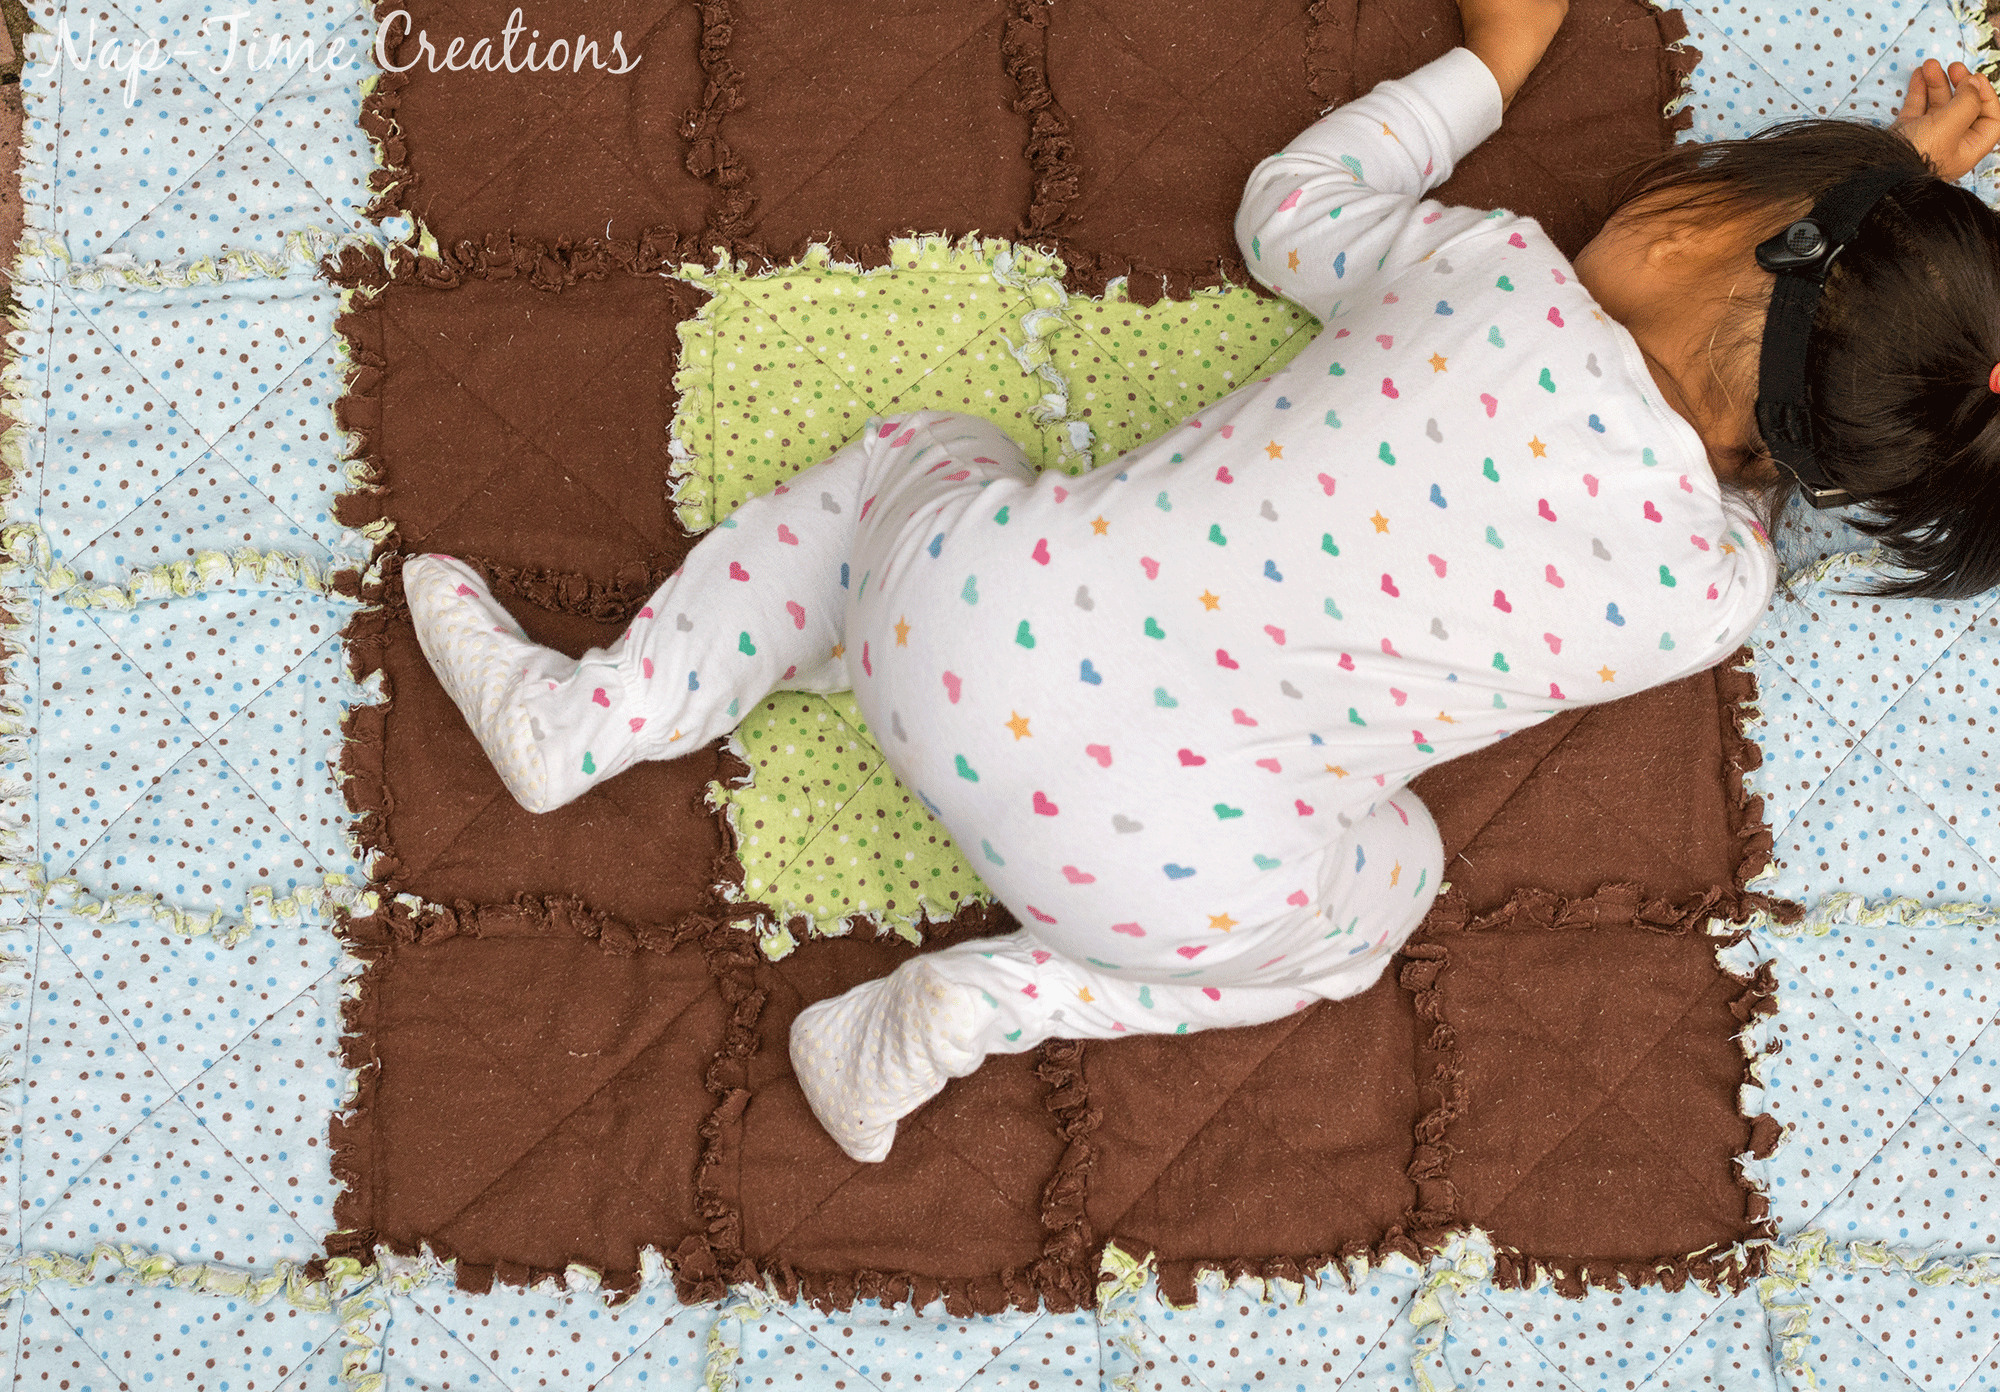
Or have to sleep with each night…
My daughter is totally fake sleeping here, but she looks like an angel when she sleeps… you’d ever know how crazy she is when awake {ha!}
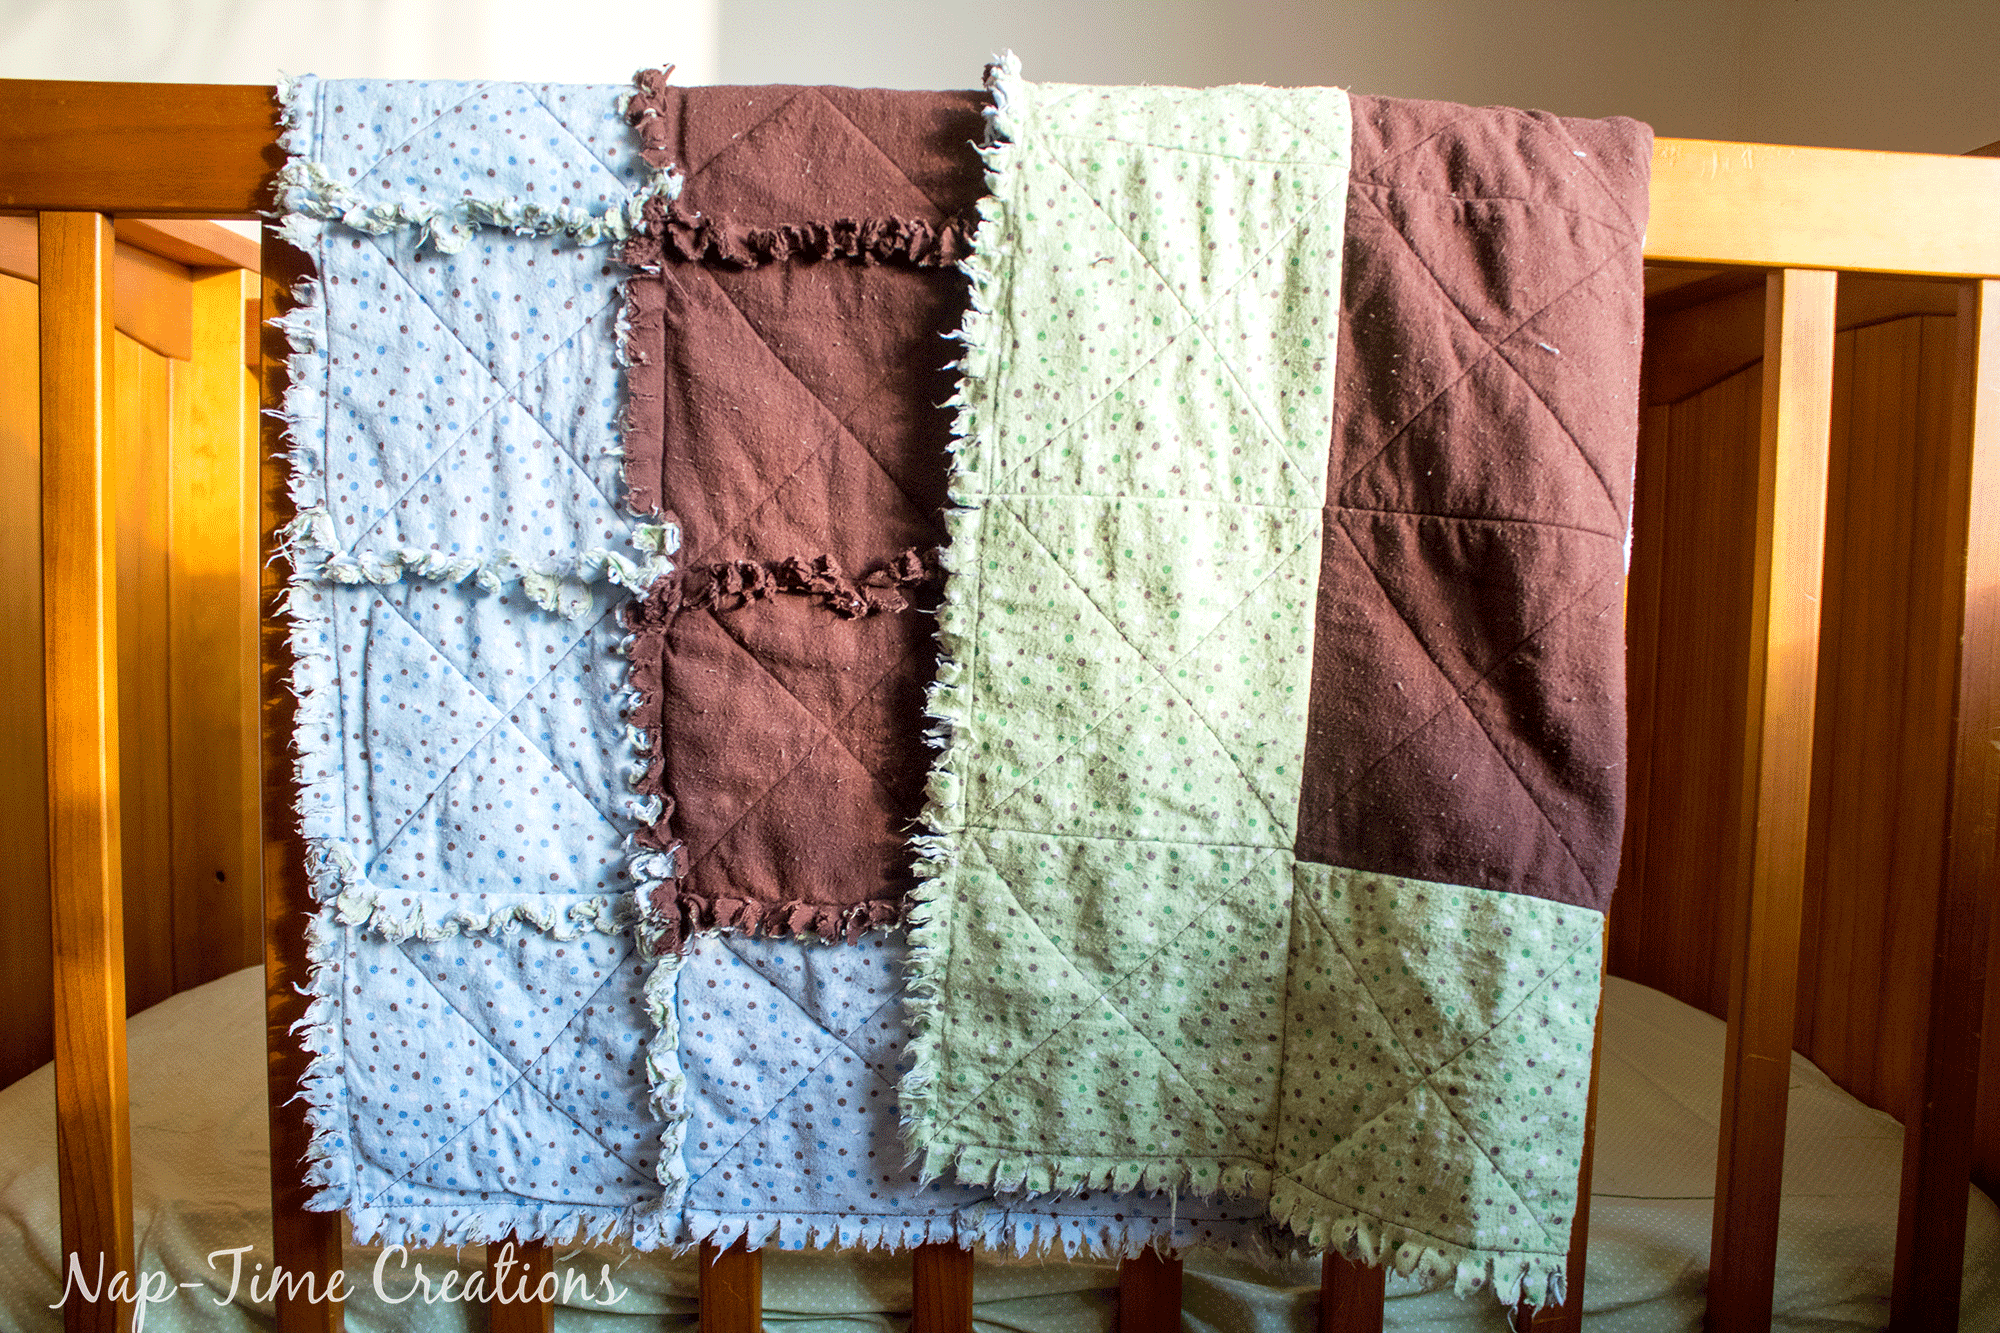
The front side of the blanket has the wide frayed seam allowance and the back side just has a flat look.
When you are finished sewing it all together, you clip all the seam allowances. This is what makes it fray… and makes it unique… it’s a blanket you can wash over and over. The more you wash and dry it the softer it gets and the more the seams fray and look fabulous. With my Easy Rag Quilt Tutorial you’ll have your blanket made in no time!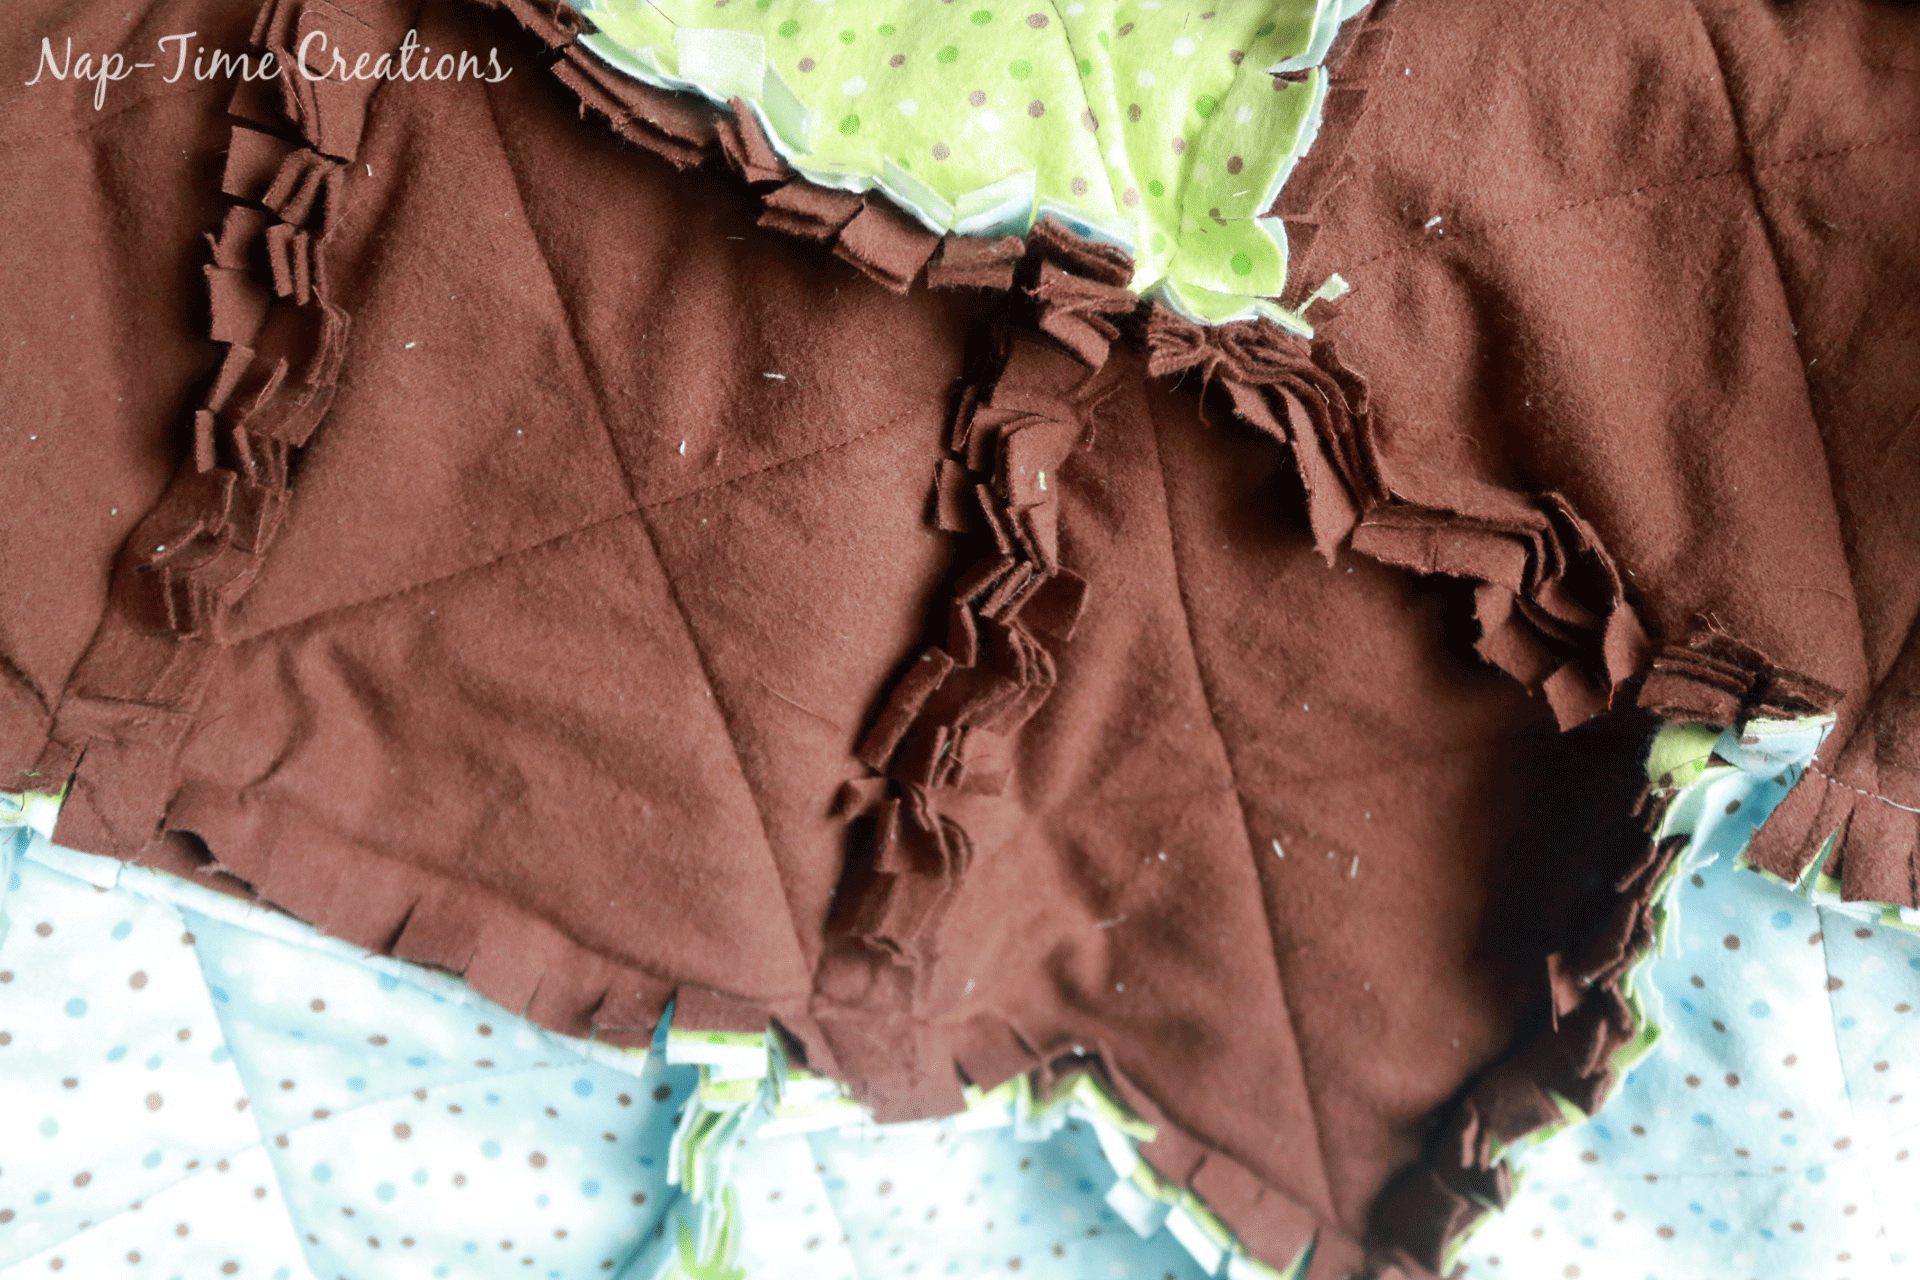
Here’s how mine look after 1 wash.. and I don’t have a dryer, so this was line dried.. this blanket is great with a dryer, so that’s the best method. See how soft and cuddly it starts to look? Each time you wash it gets even better. {I will warn you.. it makes a mess of your washing machine… I have to clean out my drain each time I wash a new one of these blankets! The second wash is much better}
How to sew a flannel rag quilt –
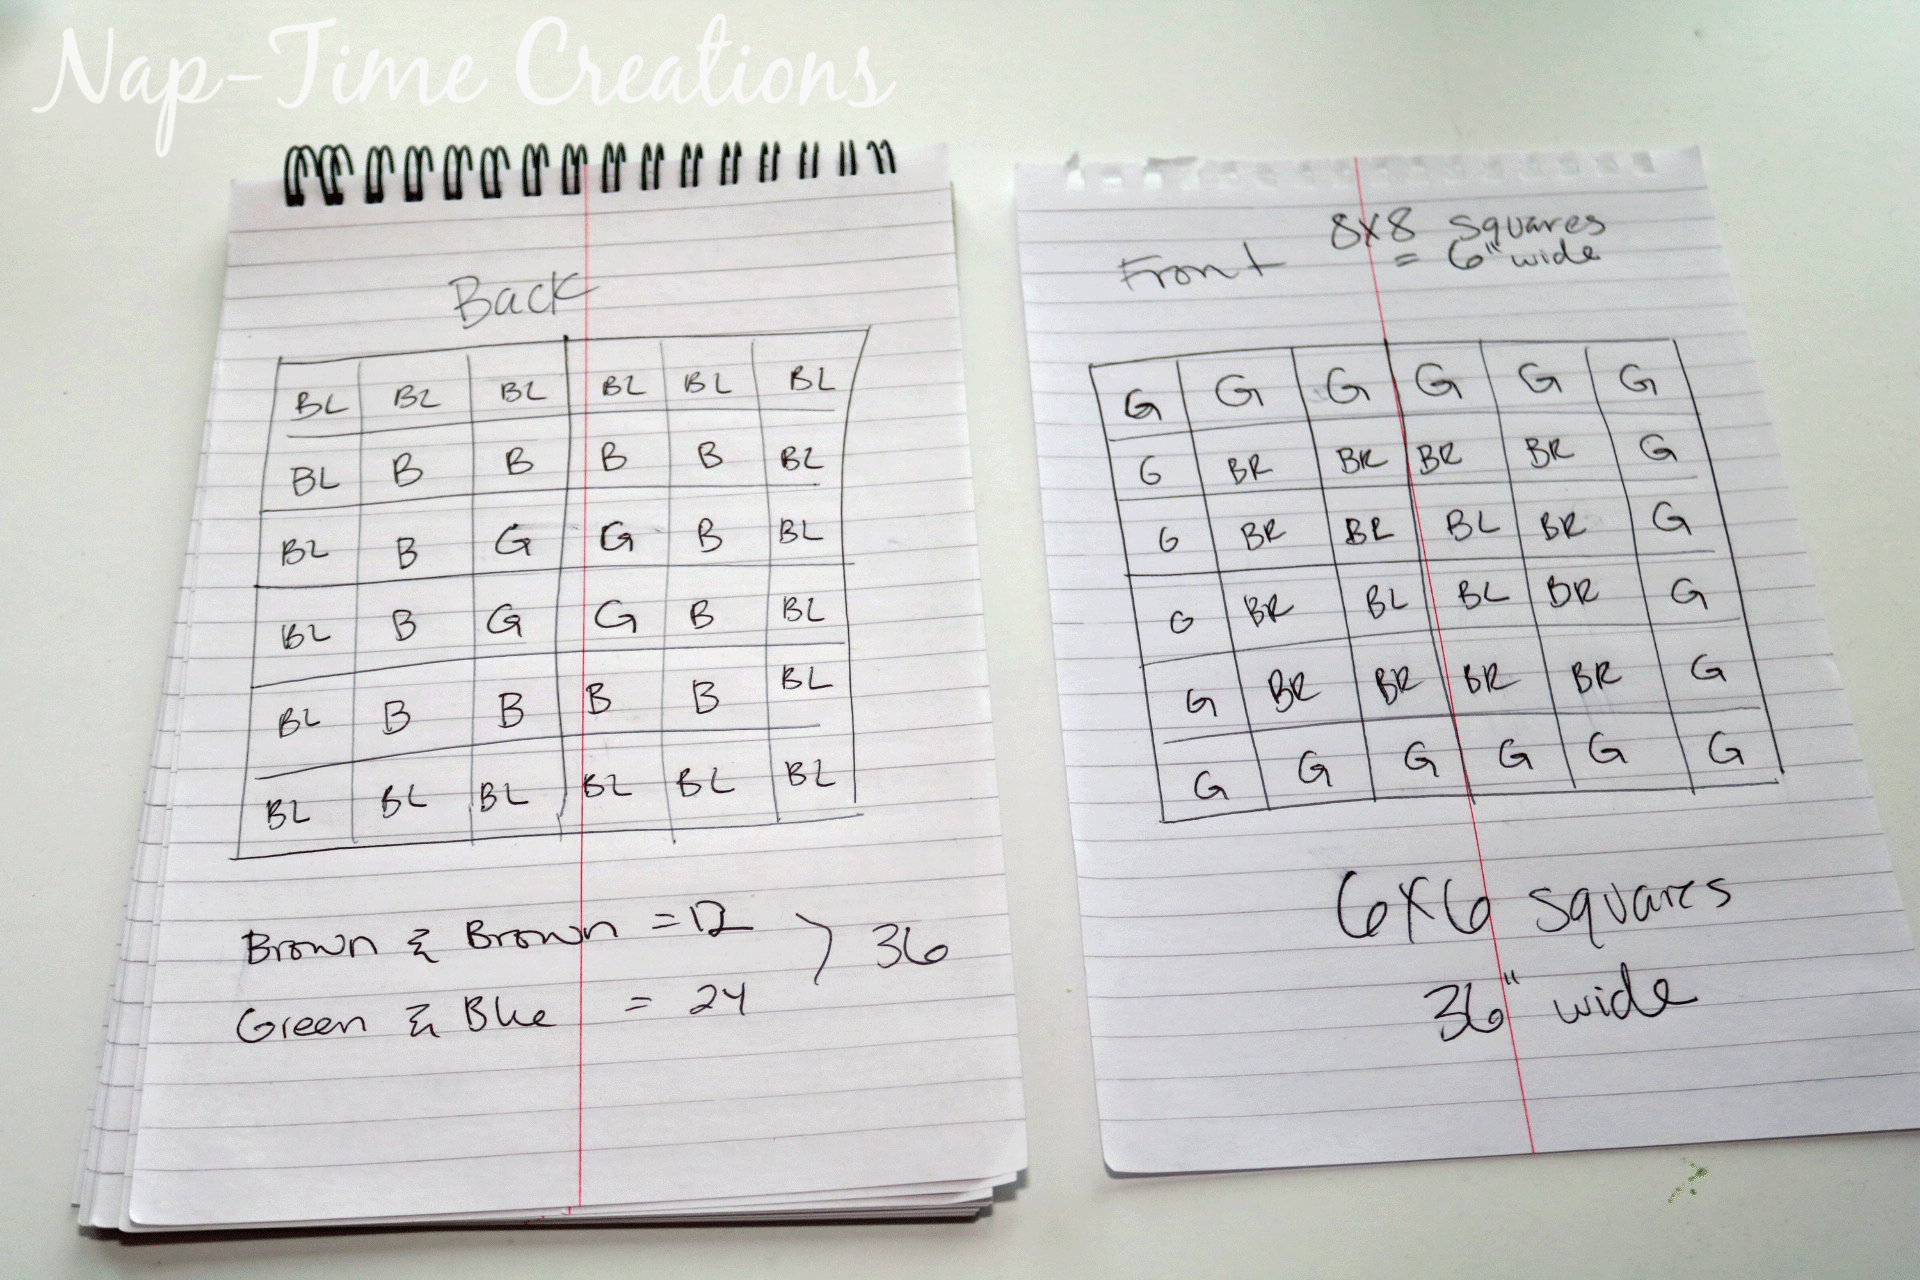
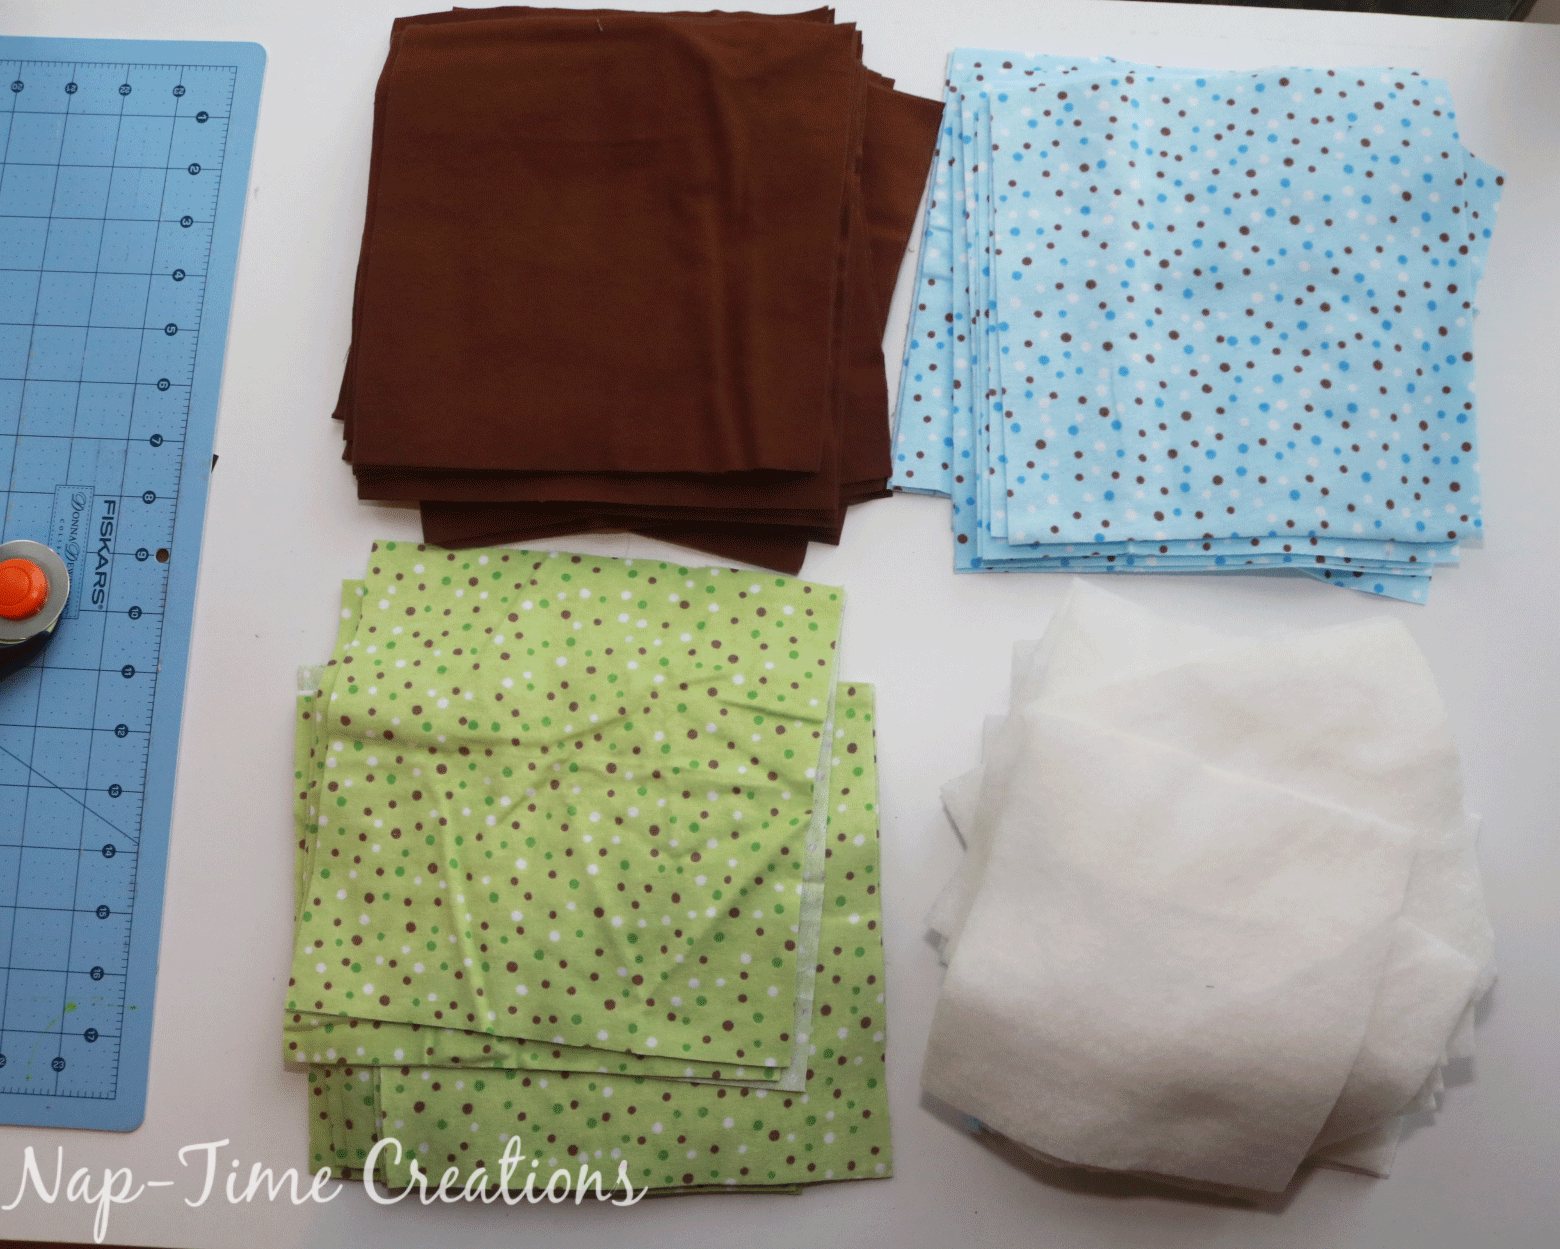
OK, lets dive into this rag quilt! If you want to watch the video version of this, scroll to the bottom… I’ll start with the photo version… First decide what size you want to make. I’ll be sharing the directions for a baby size 36×36″, but with a bit of math you can edit for any size. You will want to decide your square size first 6×6″ or 8×8″ are great sizes to use. I made this one with 8×8″ squares. Each square will lose 2″ to the seams, so my final squares will be 6×6″, to make it 36″ wide I need 6 squares in each row, I’m making it square, so I need another 6 squares down. I highly suggest drawing this out so you can visualize and count what you will need. You can also design your quilt with your difference fabrics. This tutorial covers using three different fabrics for your quilt.
For this quilt you will need 1 1/4 yards of three colors of flannel AND 1 yard square of thin batting {cotton or synthetic}
Here is my design. The BL = Blue dot, G = Green Dot, BR=Brown. Draw out your front and back separate, then you can count up how many of each color you will need to cut. When I counted up each of my colors I ended up needing the same amount of each 24 of each color. Remember you will lose 1″ from all sides of your square size, you cut 2″ bigger than you want it to finish.
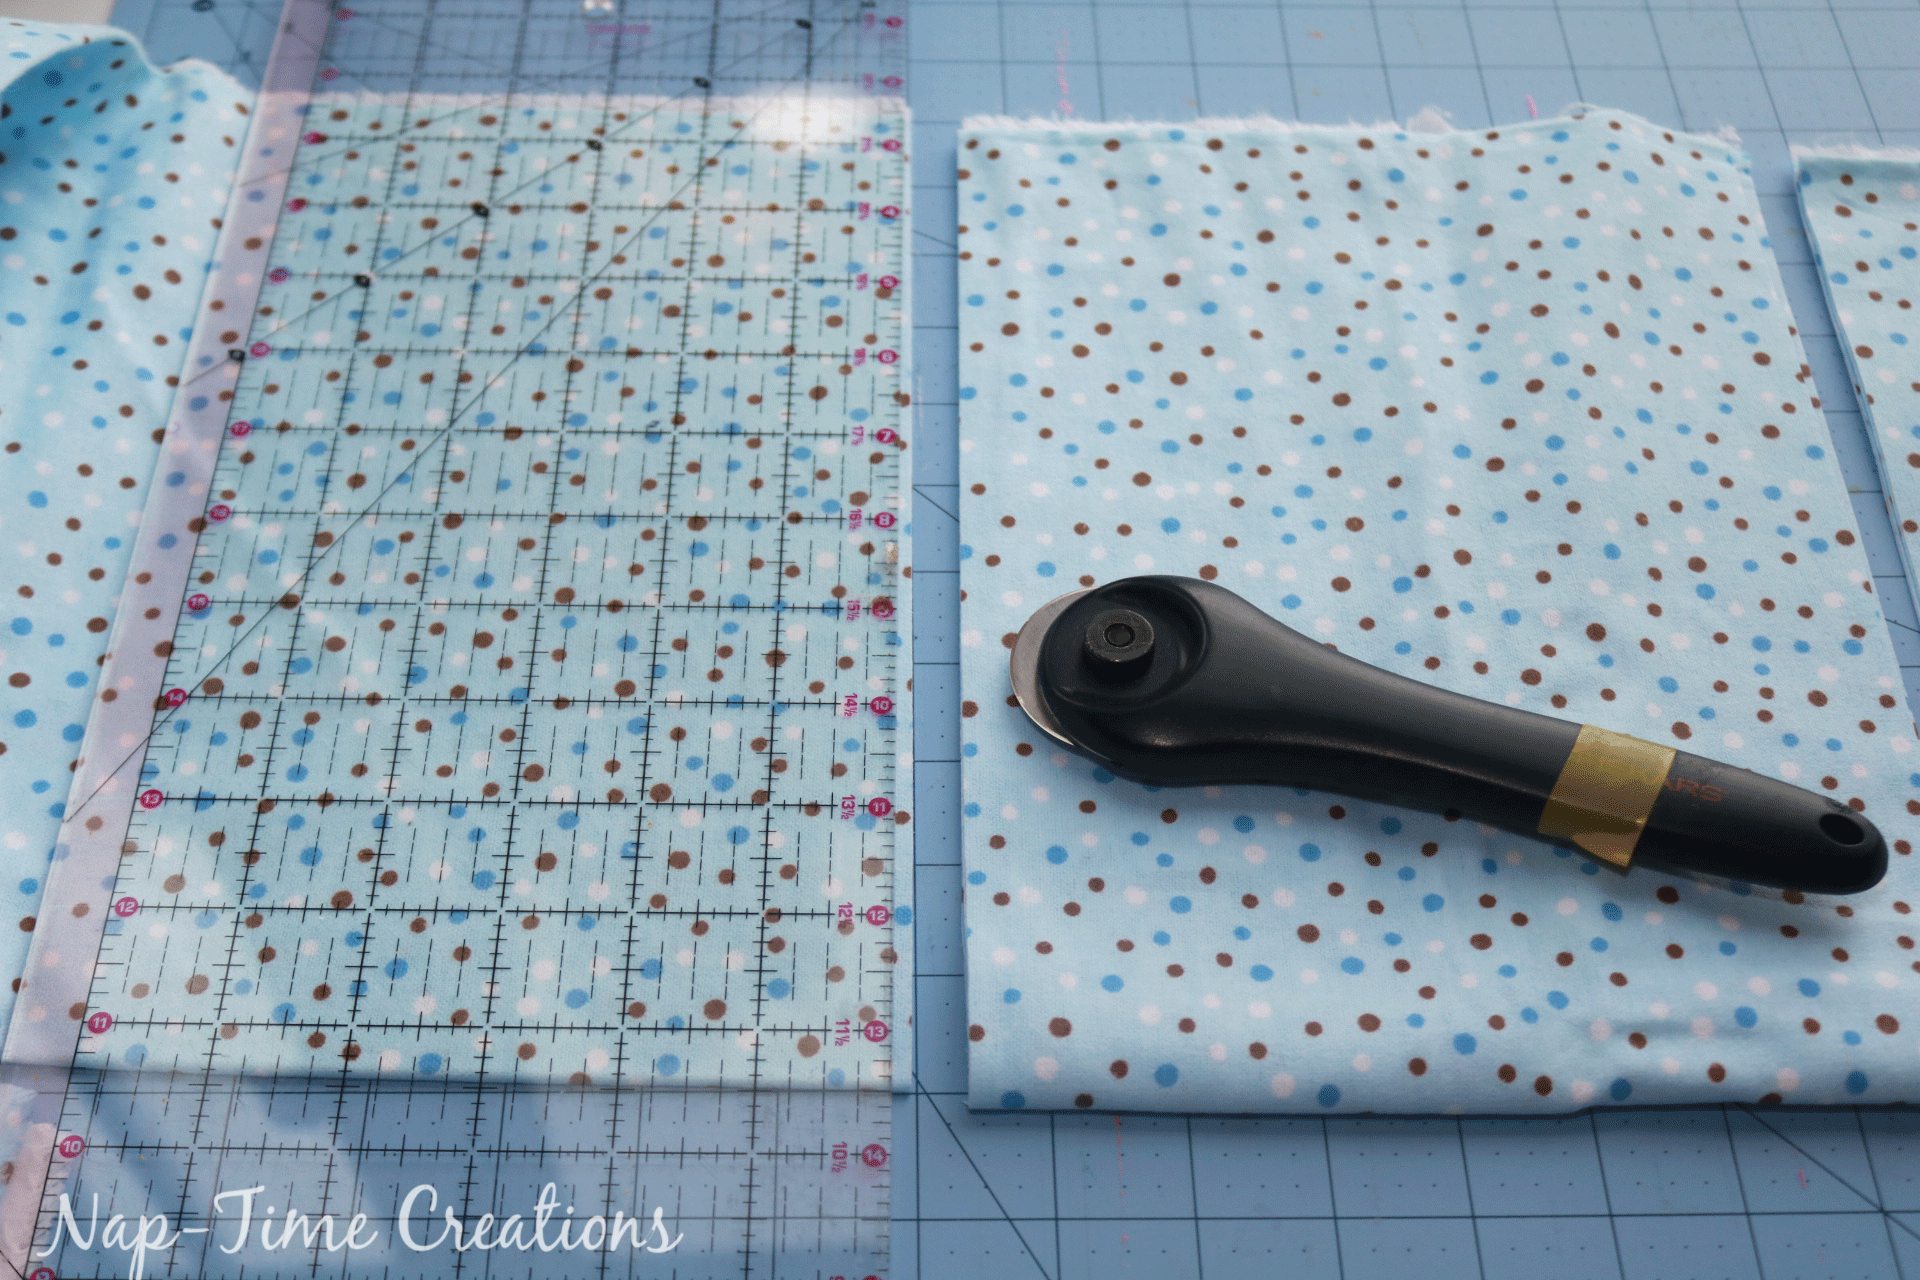
I start by folding my fabric with the salvages together, then folding again to fit on my cutting board. Cut 8″ wide long strips of fabric.
Then turn the strips and cut at 8″ again. This will make the squares.
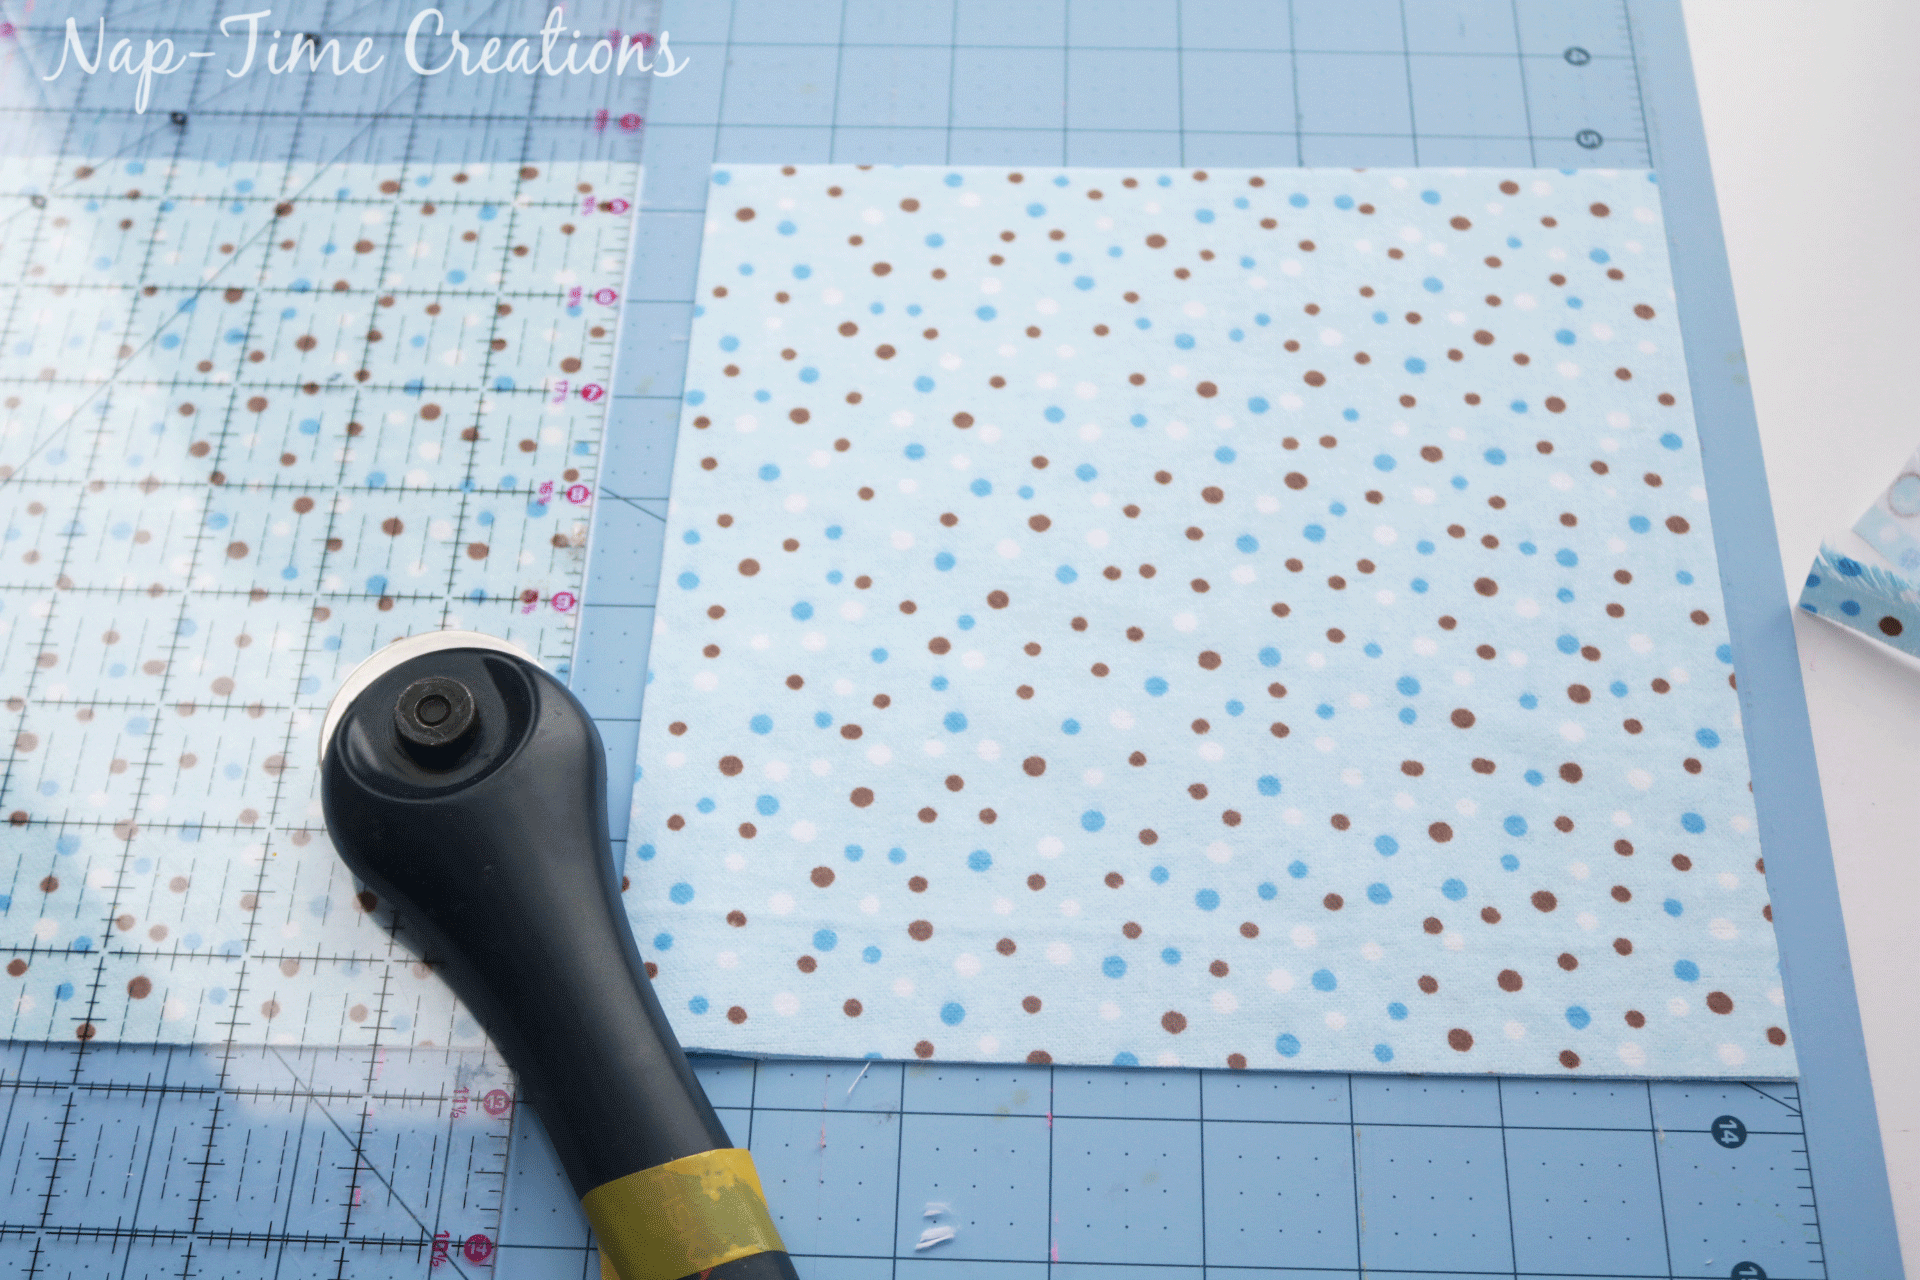
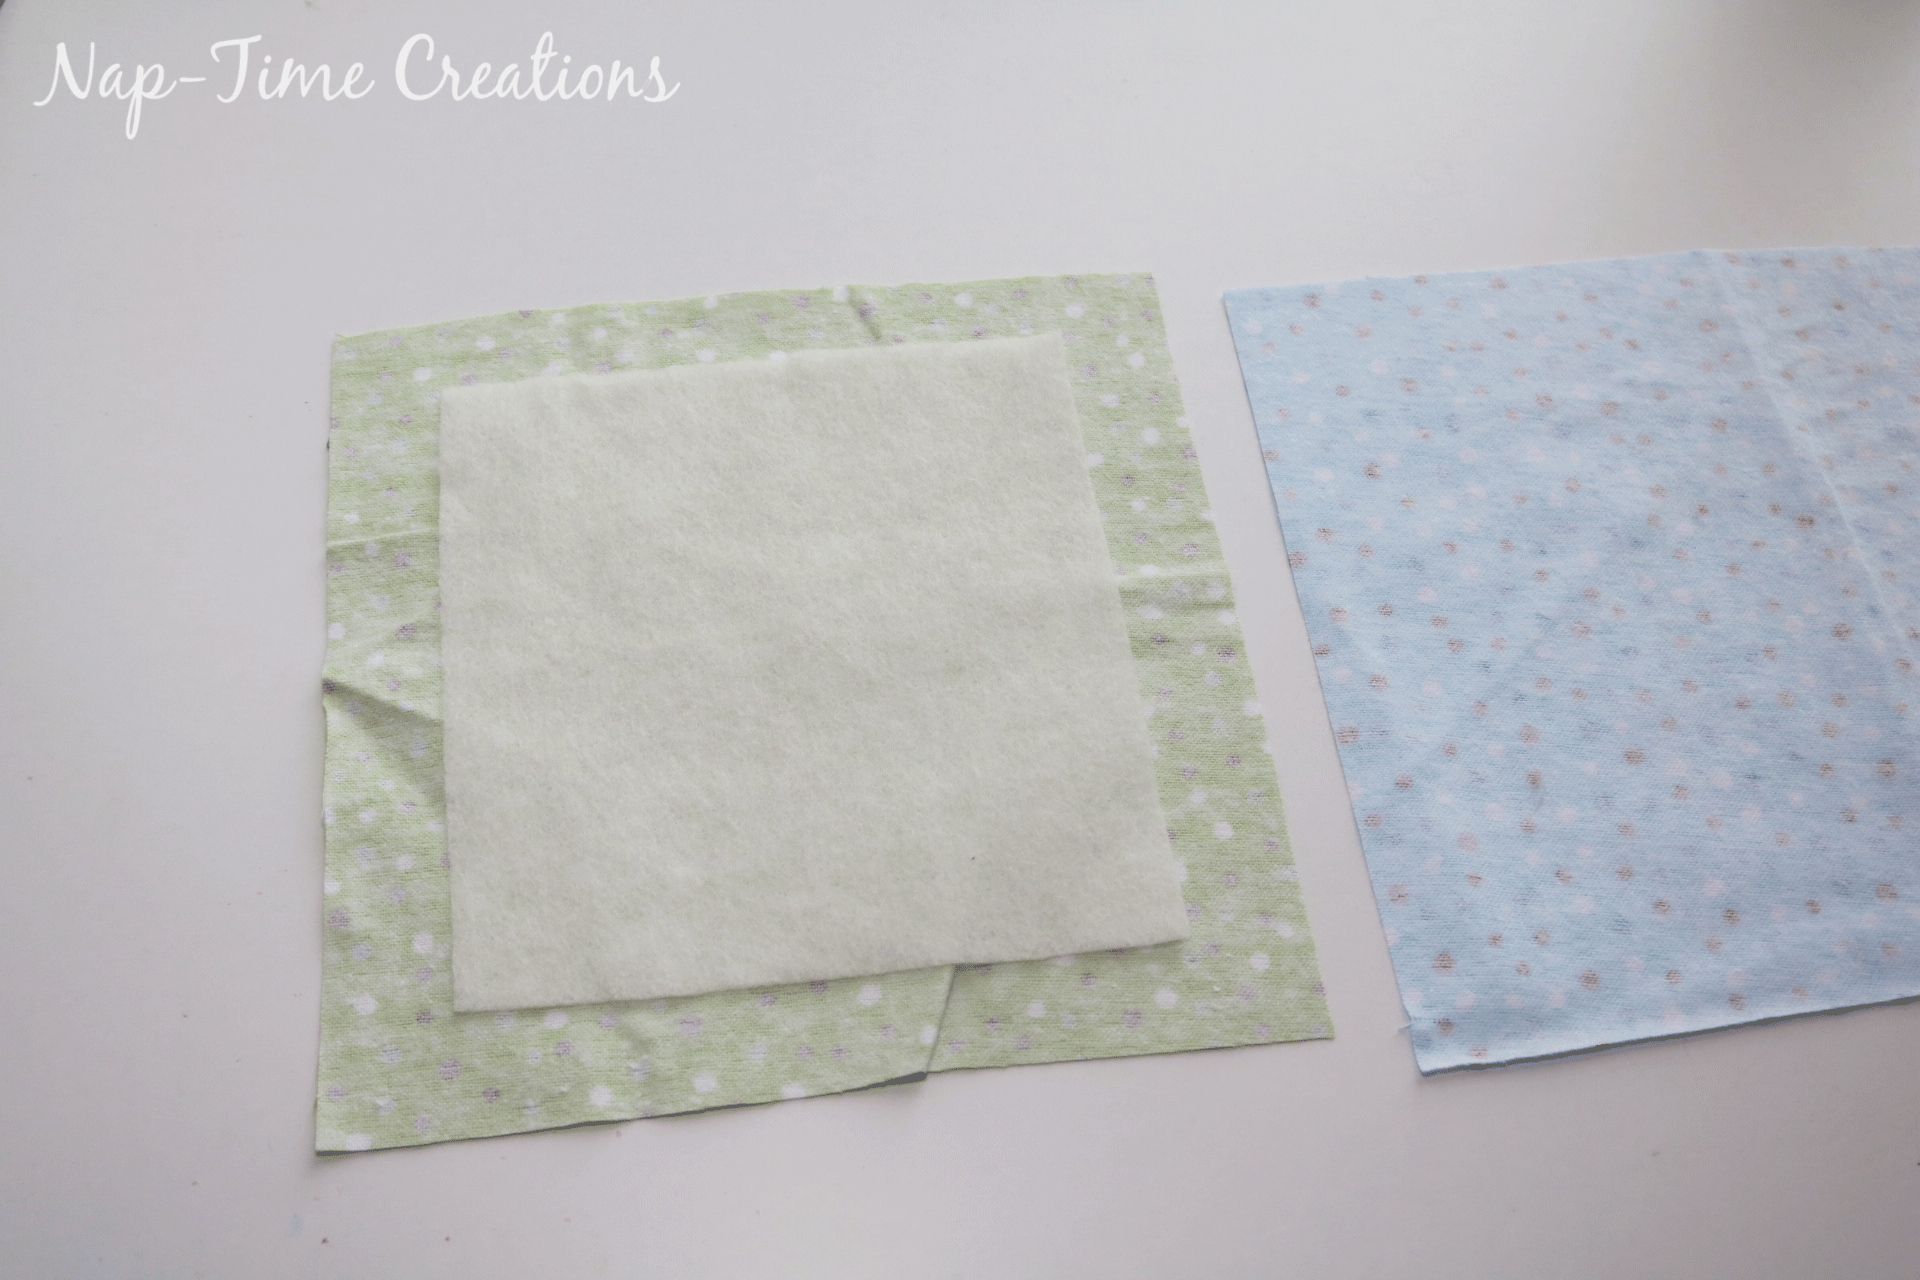
Here are all my squares cut. ALSO- you need to cut the batting. It will be cut 2″ smaller than the flannel. So 8″ flannel=6″ batting. You will cut 1 batting square for each one in your design. My design has 36 squares, so that’s how many batting squares I cut.
You will now make flannel and batting “sandwiches” You want the right sides of the flannel to face OUT, so I place one flannel face down, 1 batting centered, then the other flannel face up.
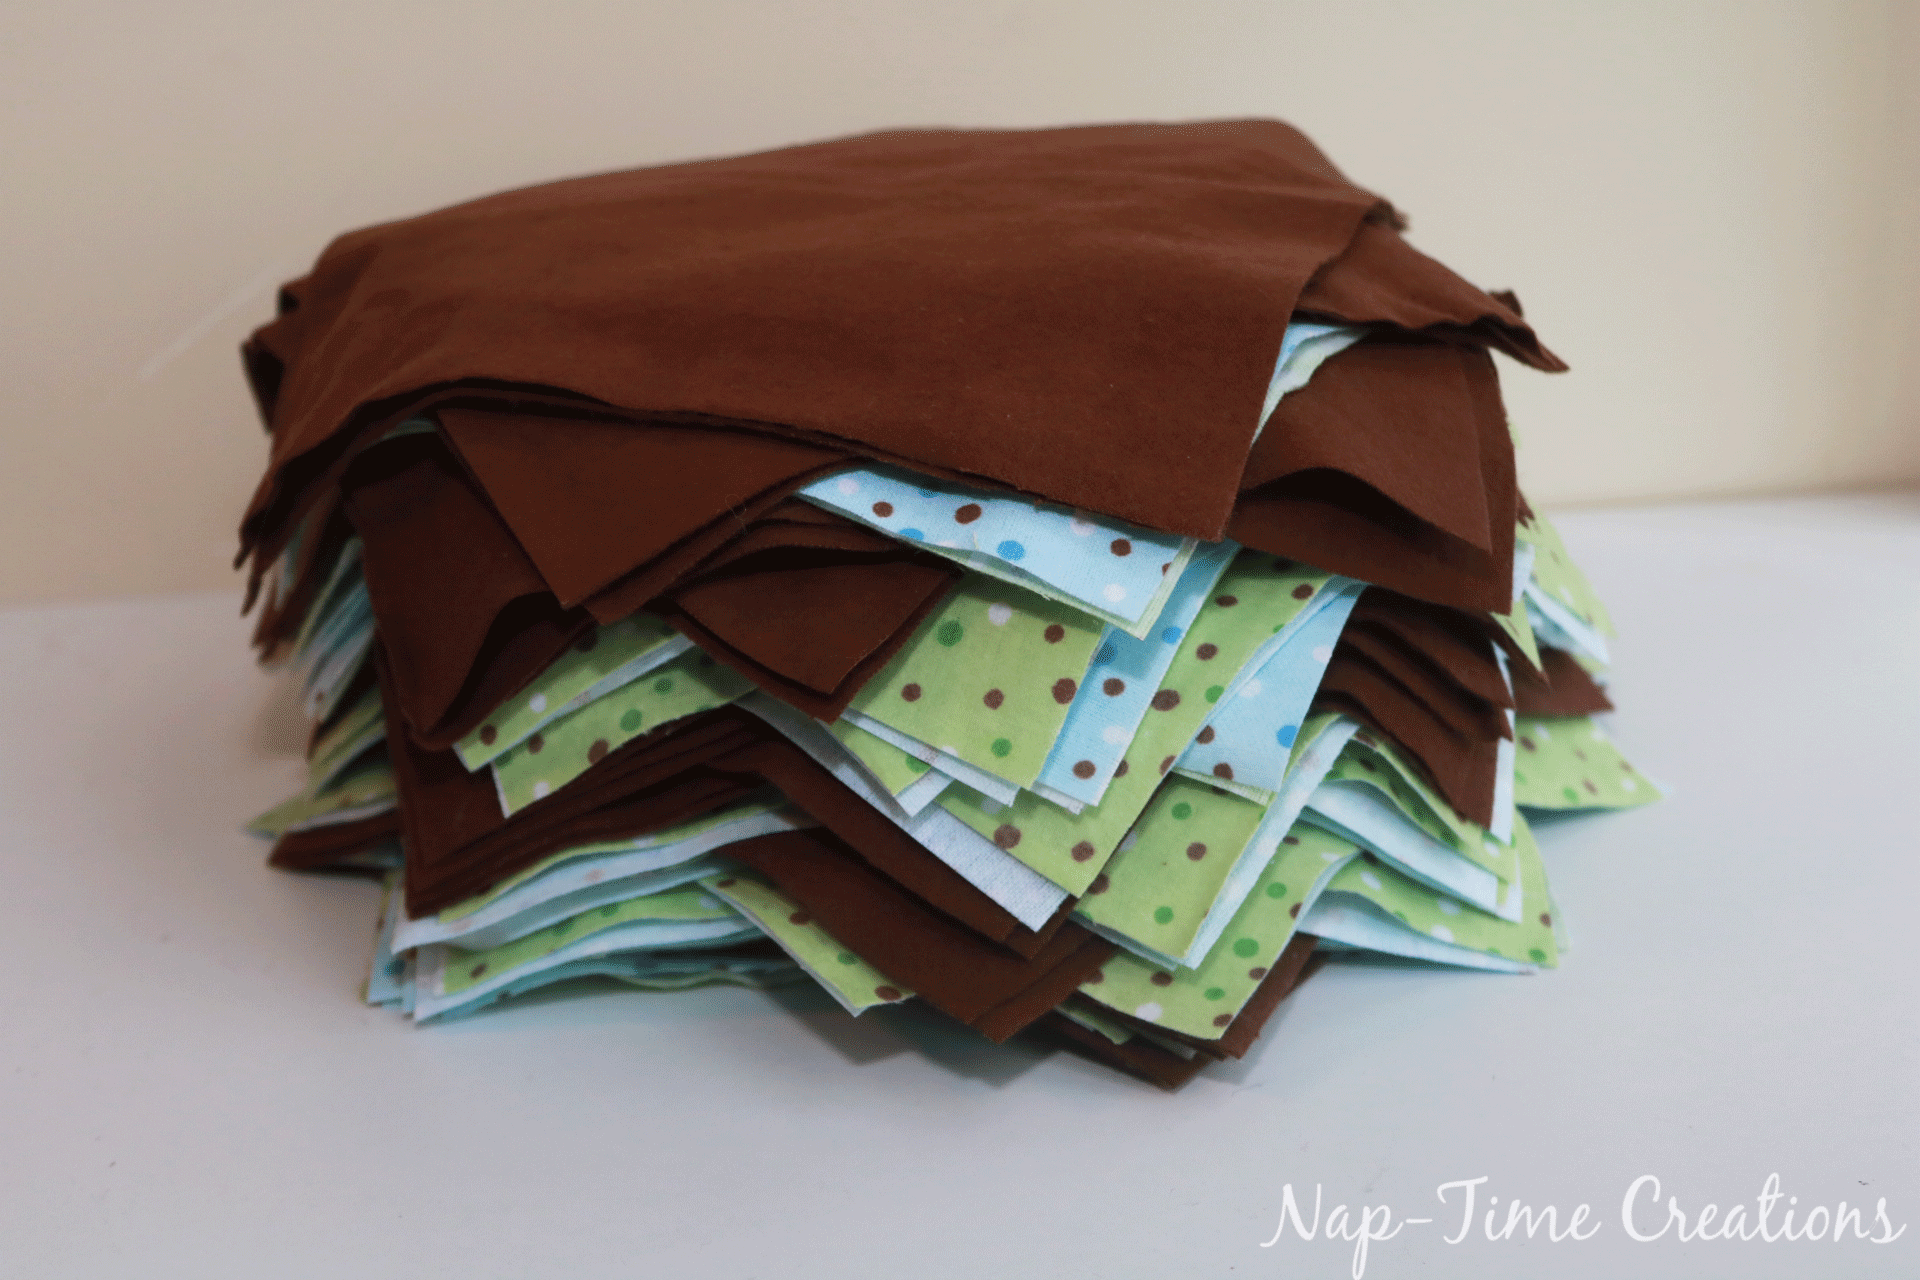
You want to check your design layout at this point. You need to make squares that match your design. Match each sandwich with a place on your grid. Mine with green/blue 24 and then brown/brown 12. 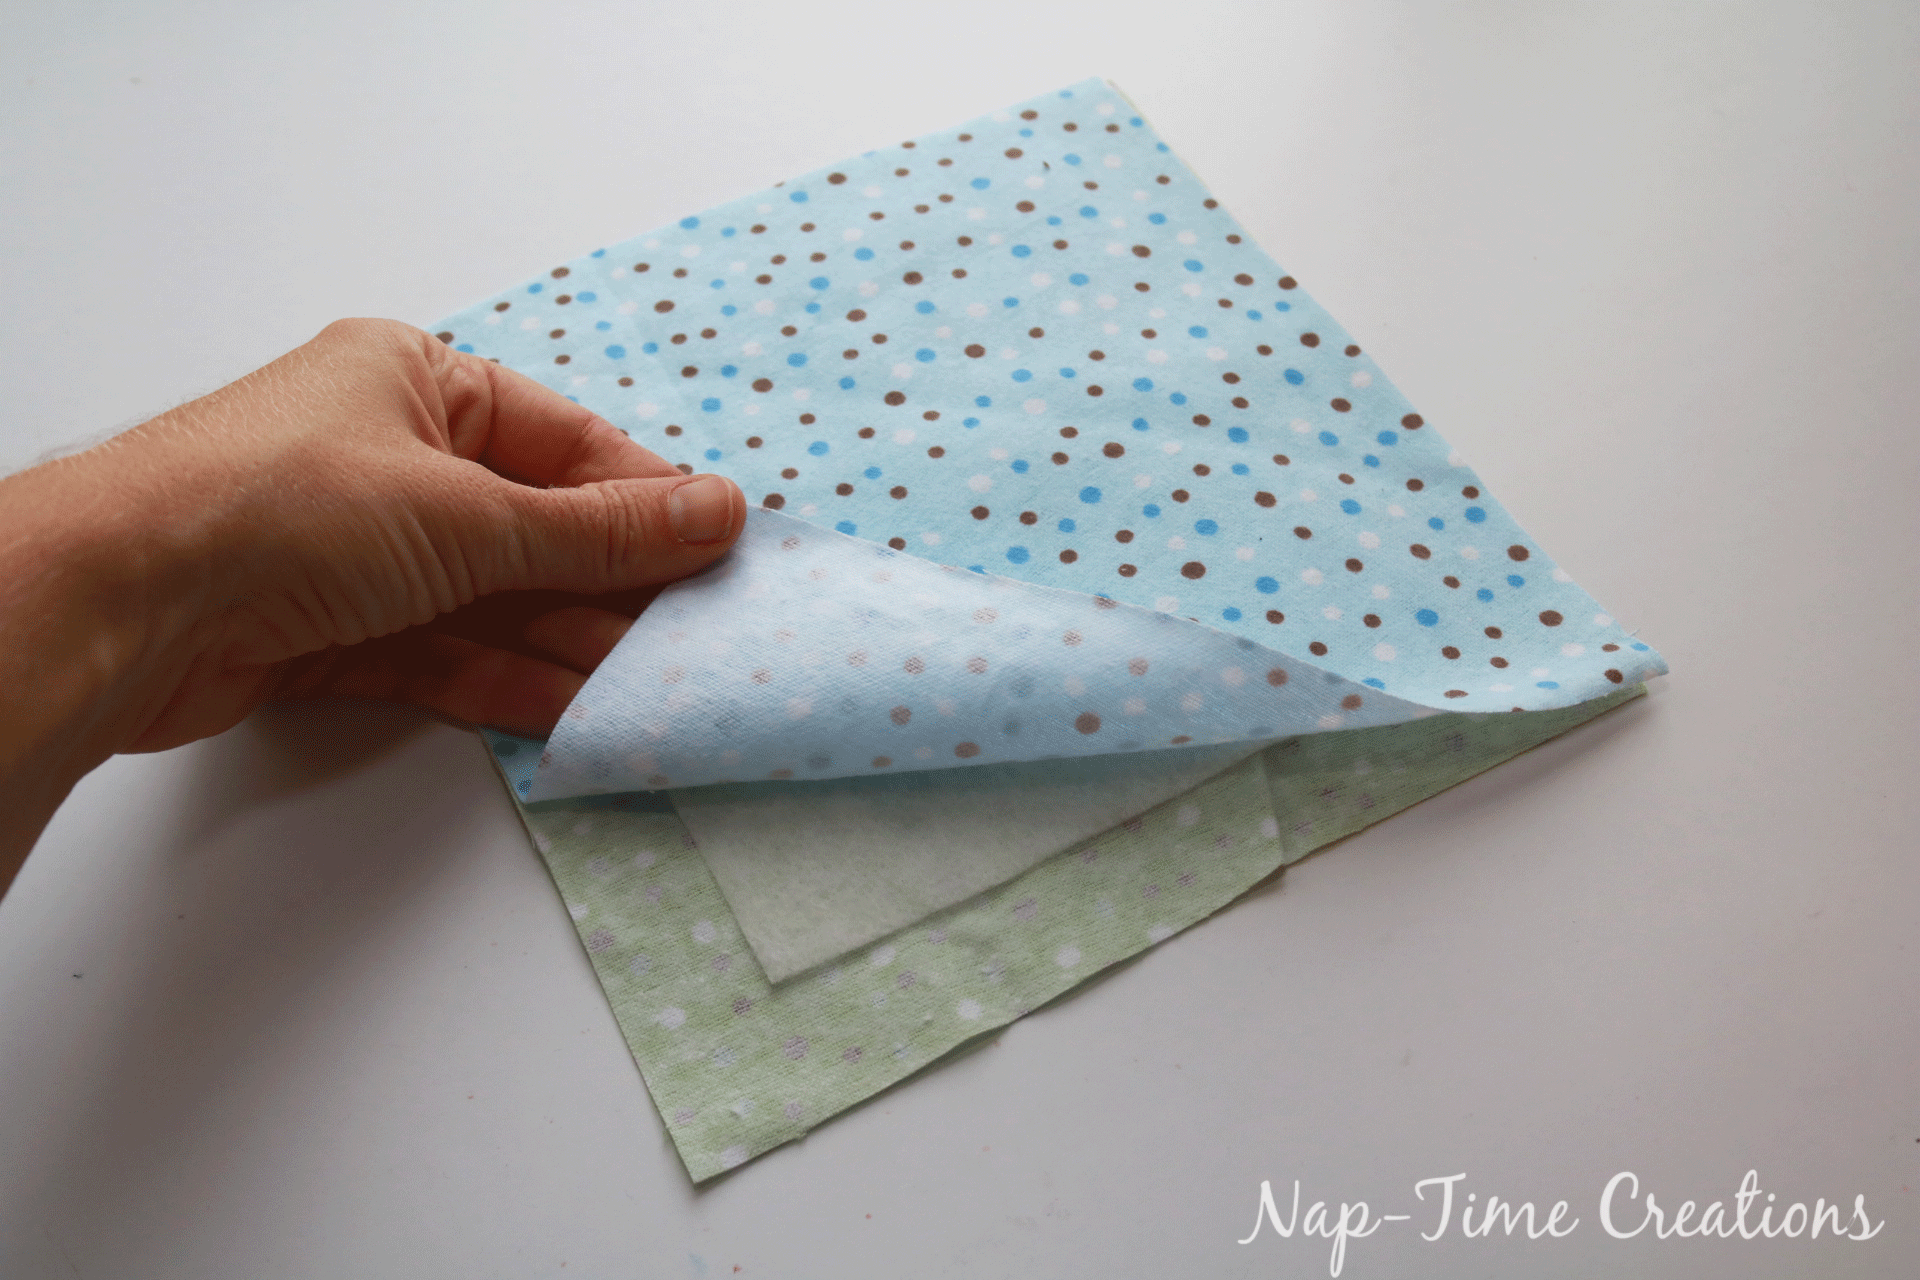
My stack of flannel squares.
Now we sew! I like to make it go faster by chain sewing. From one corner, sew diagonal across the square, stop, and feed another corner into your machine and keep sewing. I usually chain about 10 before I stop and cut them apart. 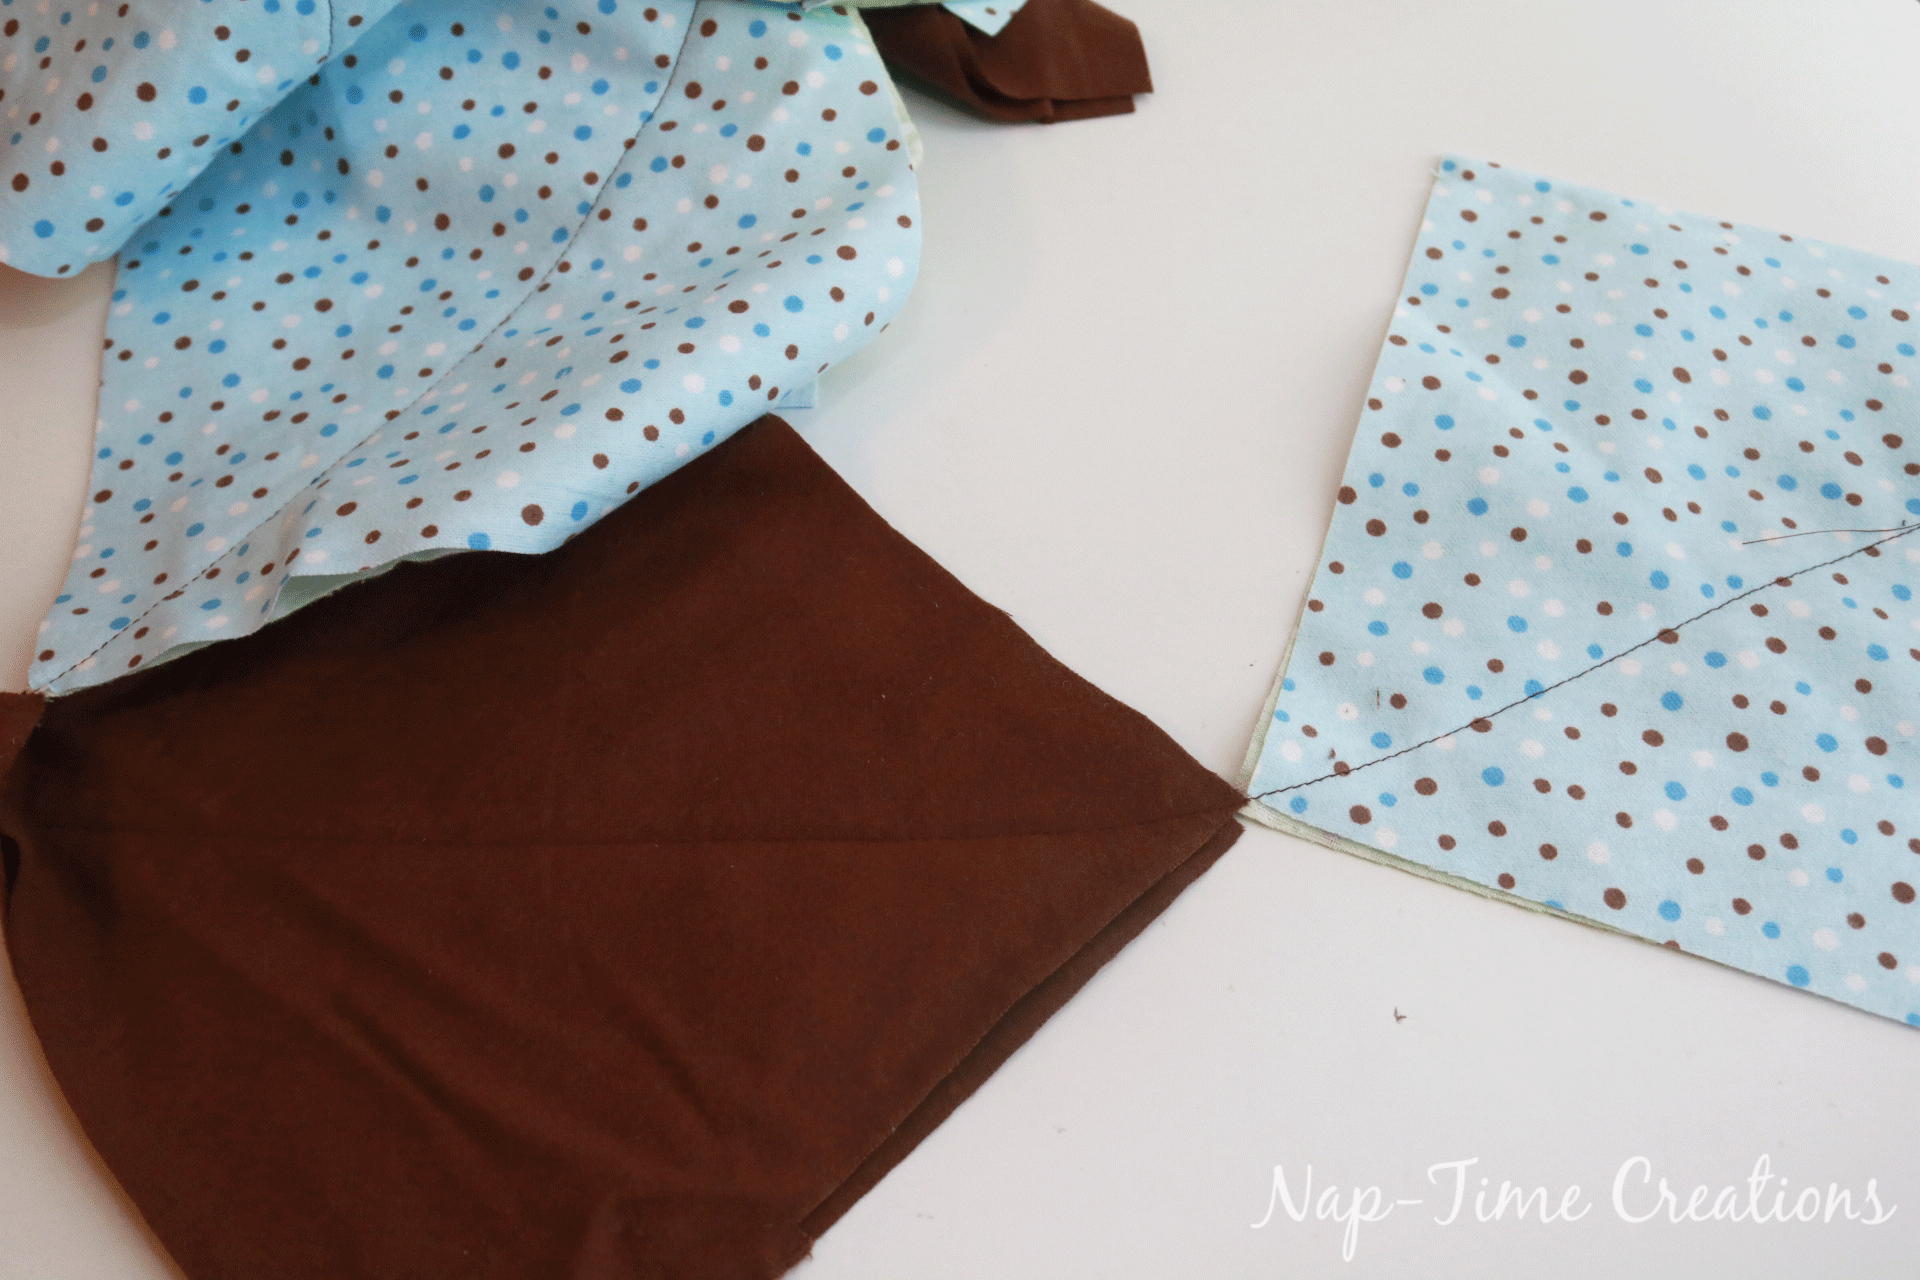
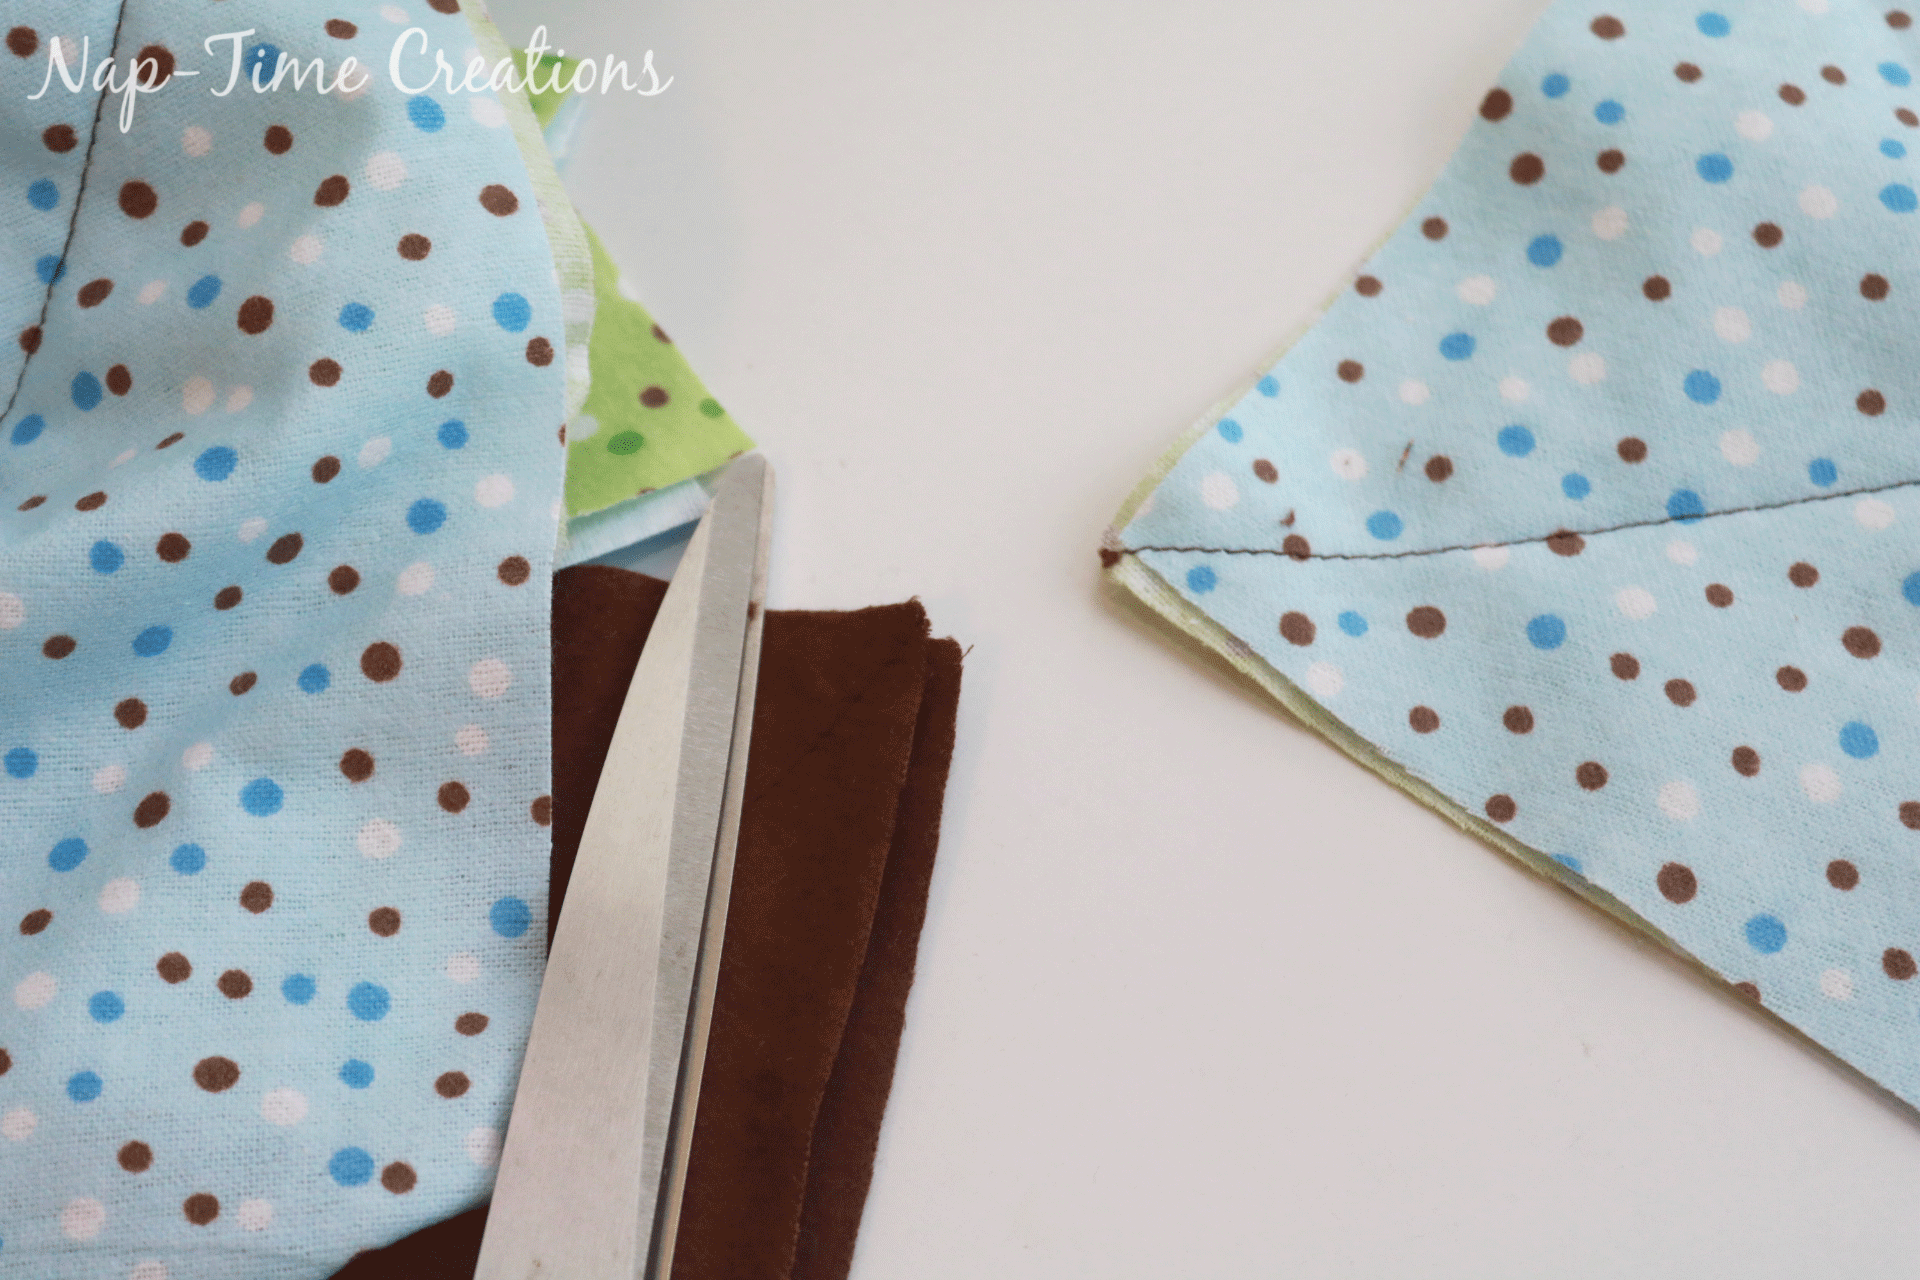
Then sew the other corner of the square. I also chain these.. When all the squares are X’d you are ready to move onto the next step.
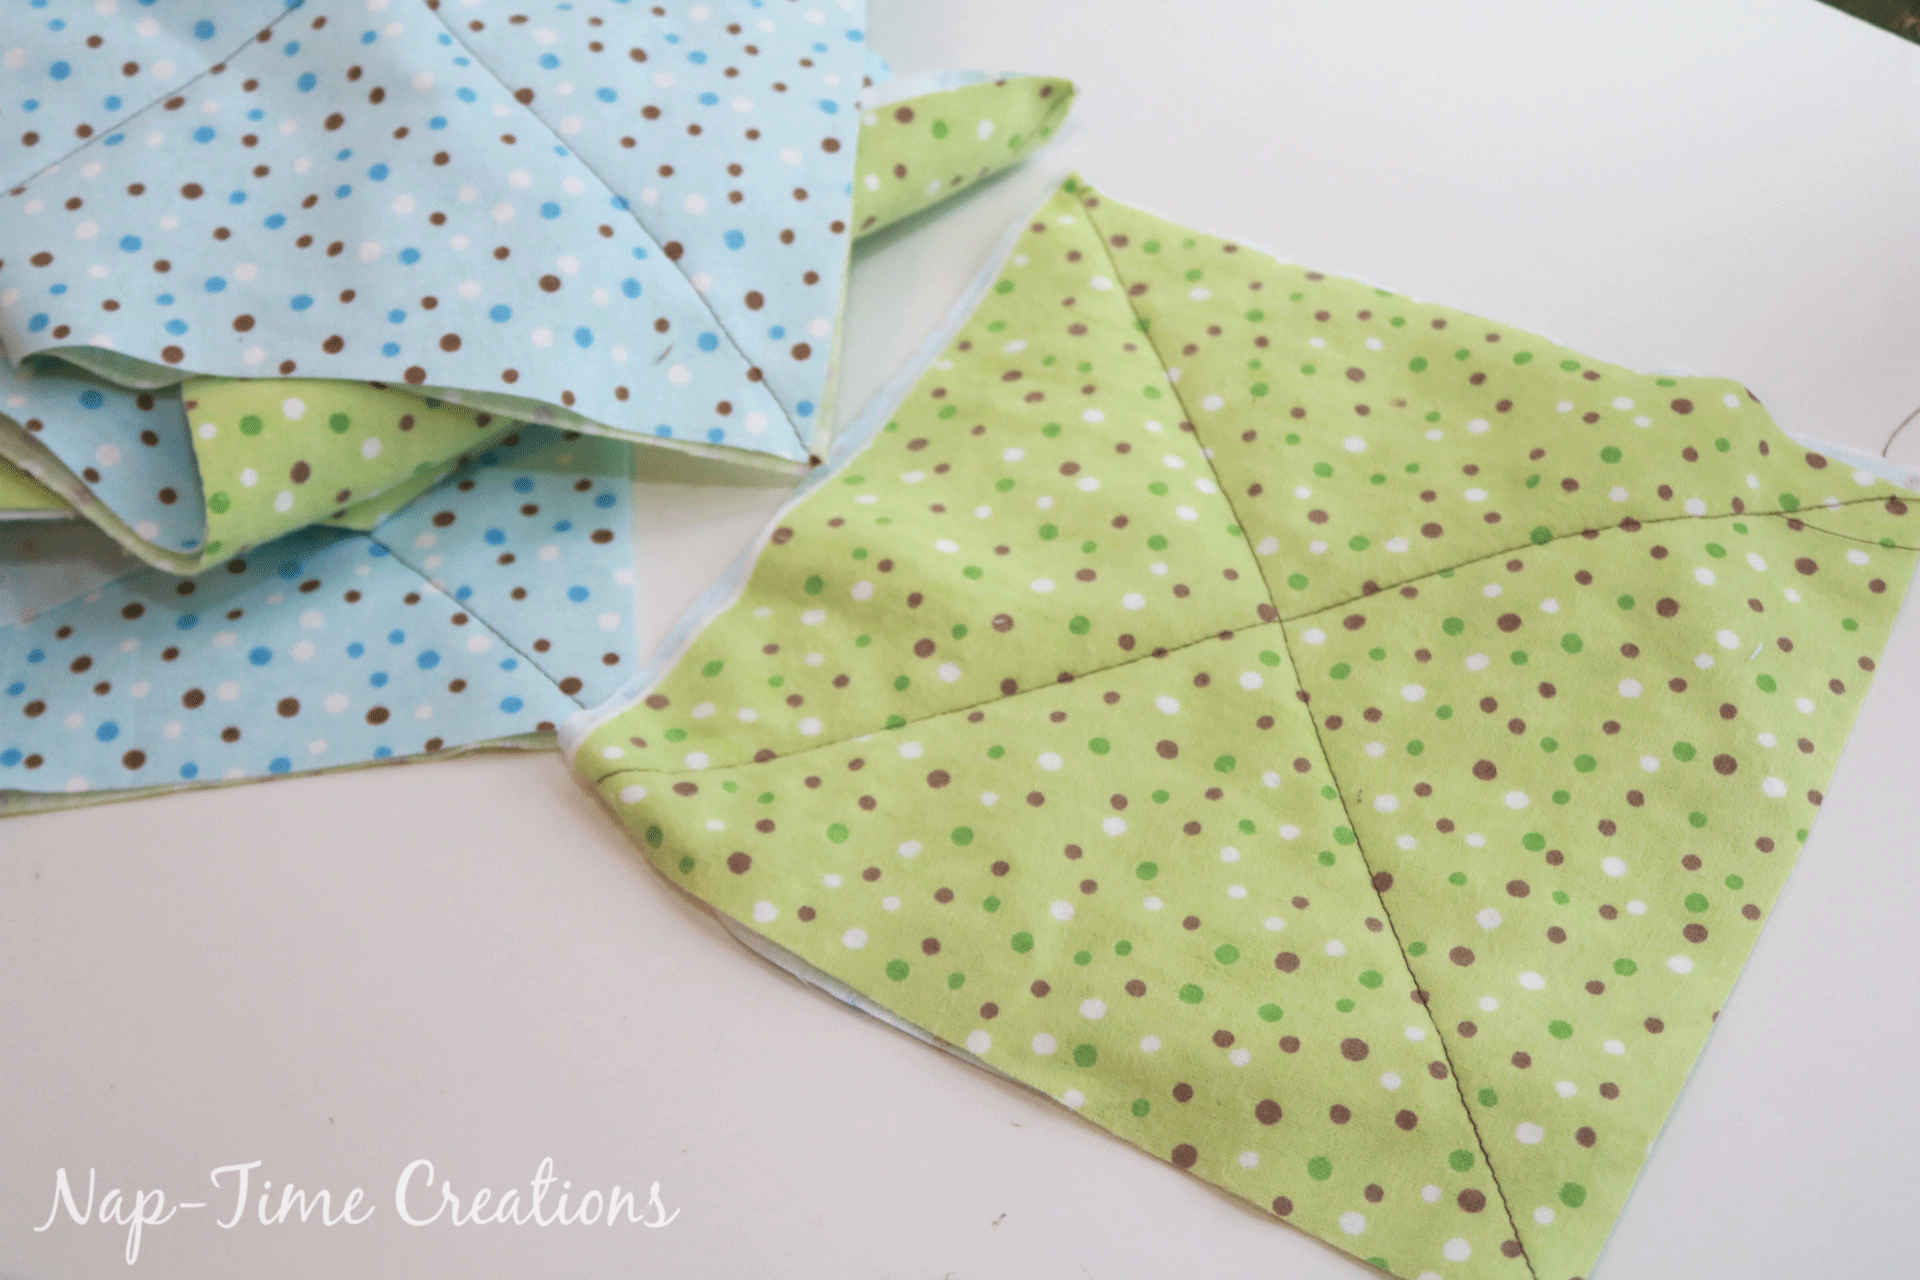
Again, consult your design. I like to number the rows. So starting with the top of your blanket {row 1} sew the squares together in the order that will create your design. Once you decide with is your front, make sure ALL the seam allowances are to that same side. Sew each seam with a 1″ seam allowance. Piece together the entire row. Do the same for all the rows. Keep each row separate for now. 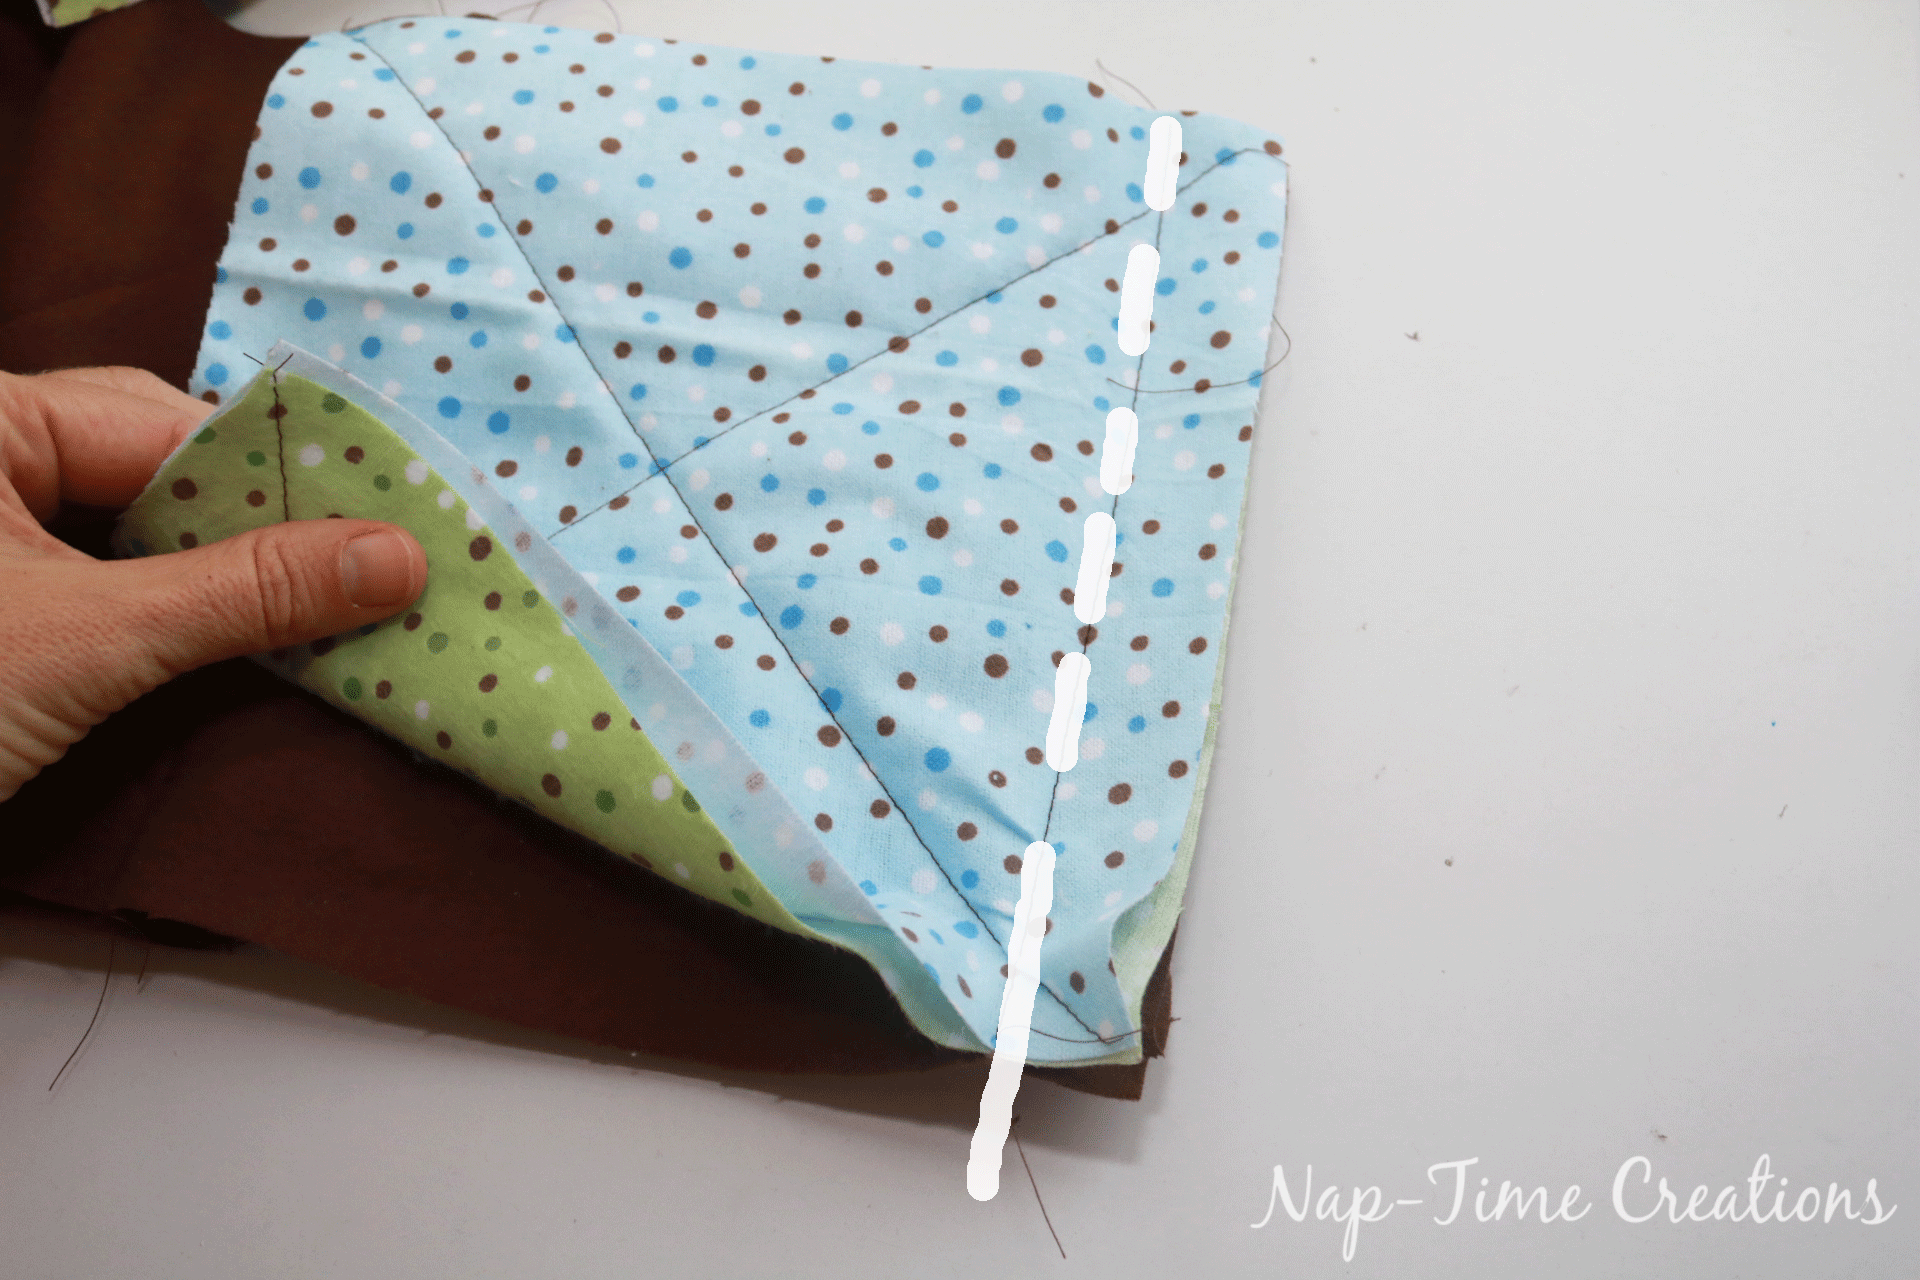
Here’s a complete row…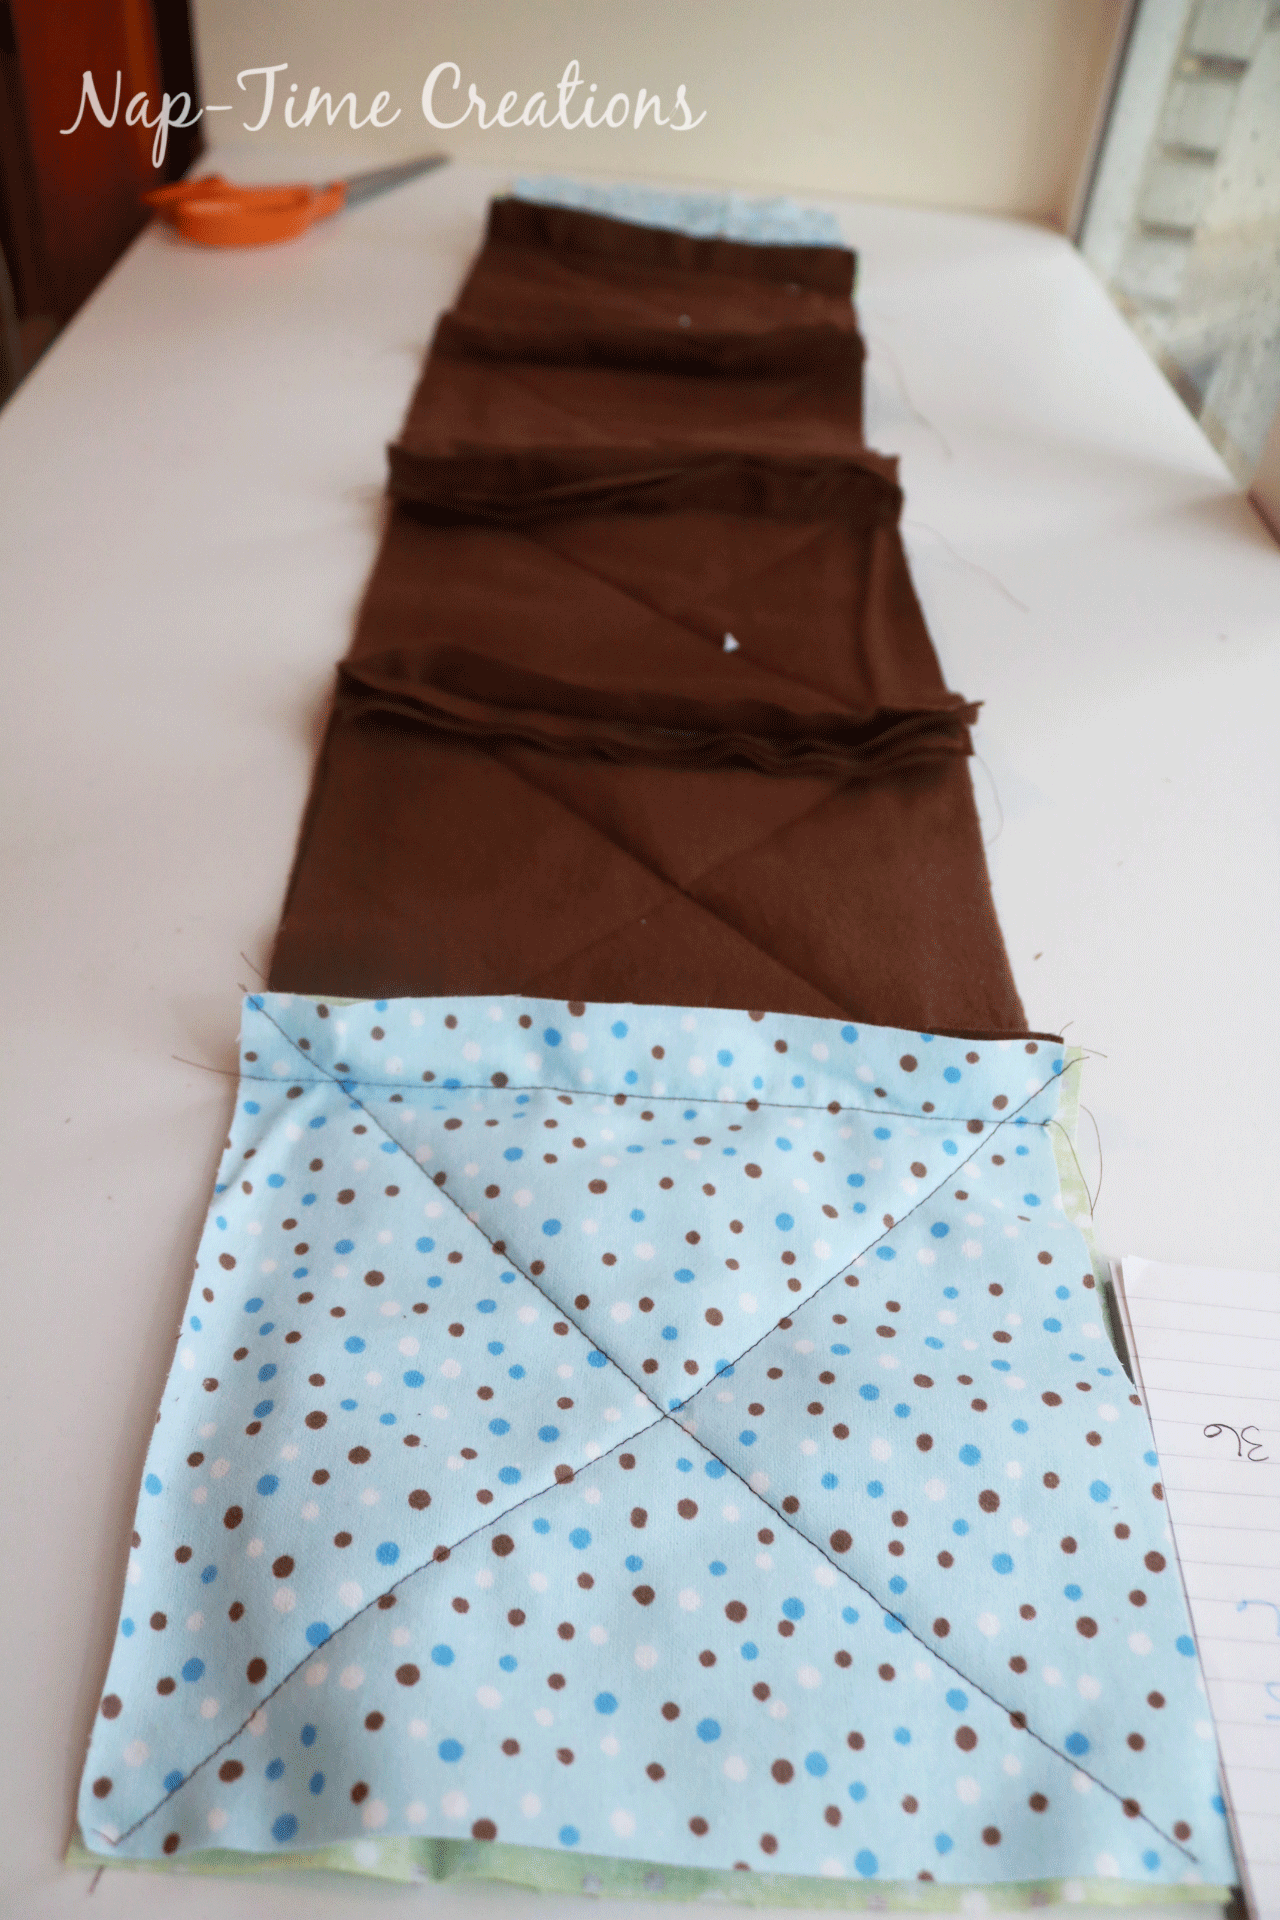
When you have all the rows together, lay out the quilt to check that your pattern/design is correct. You will then place the quilt row together, keeping the seam allowance UP and sew the rows together. 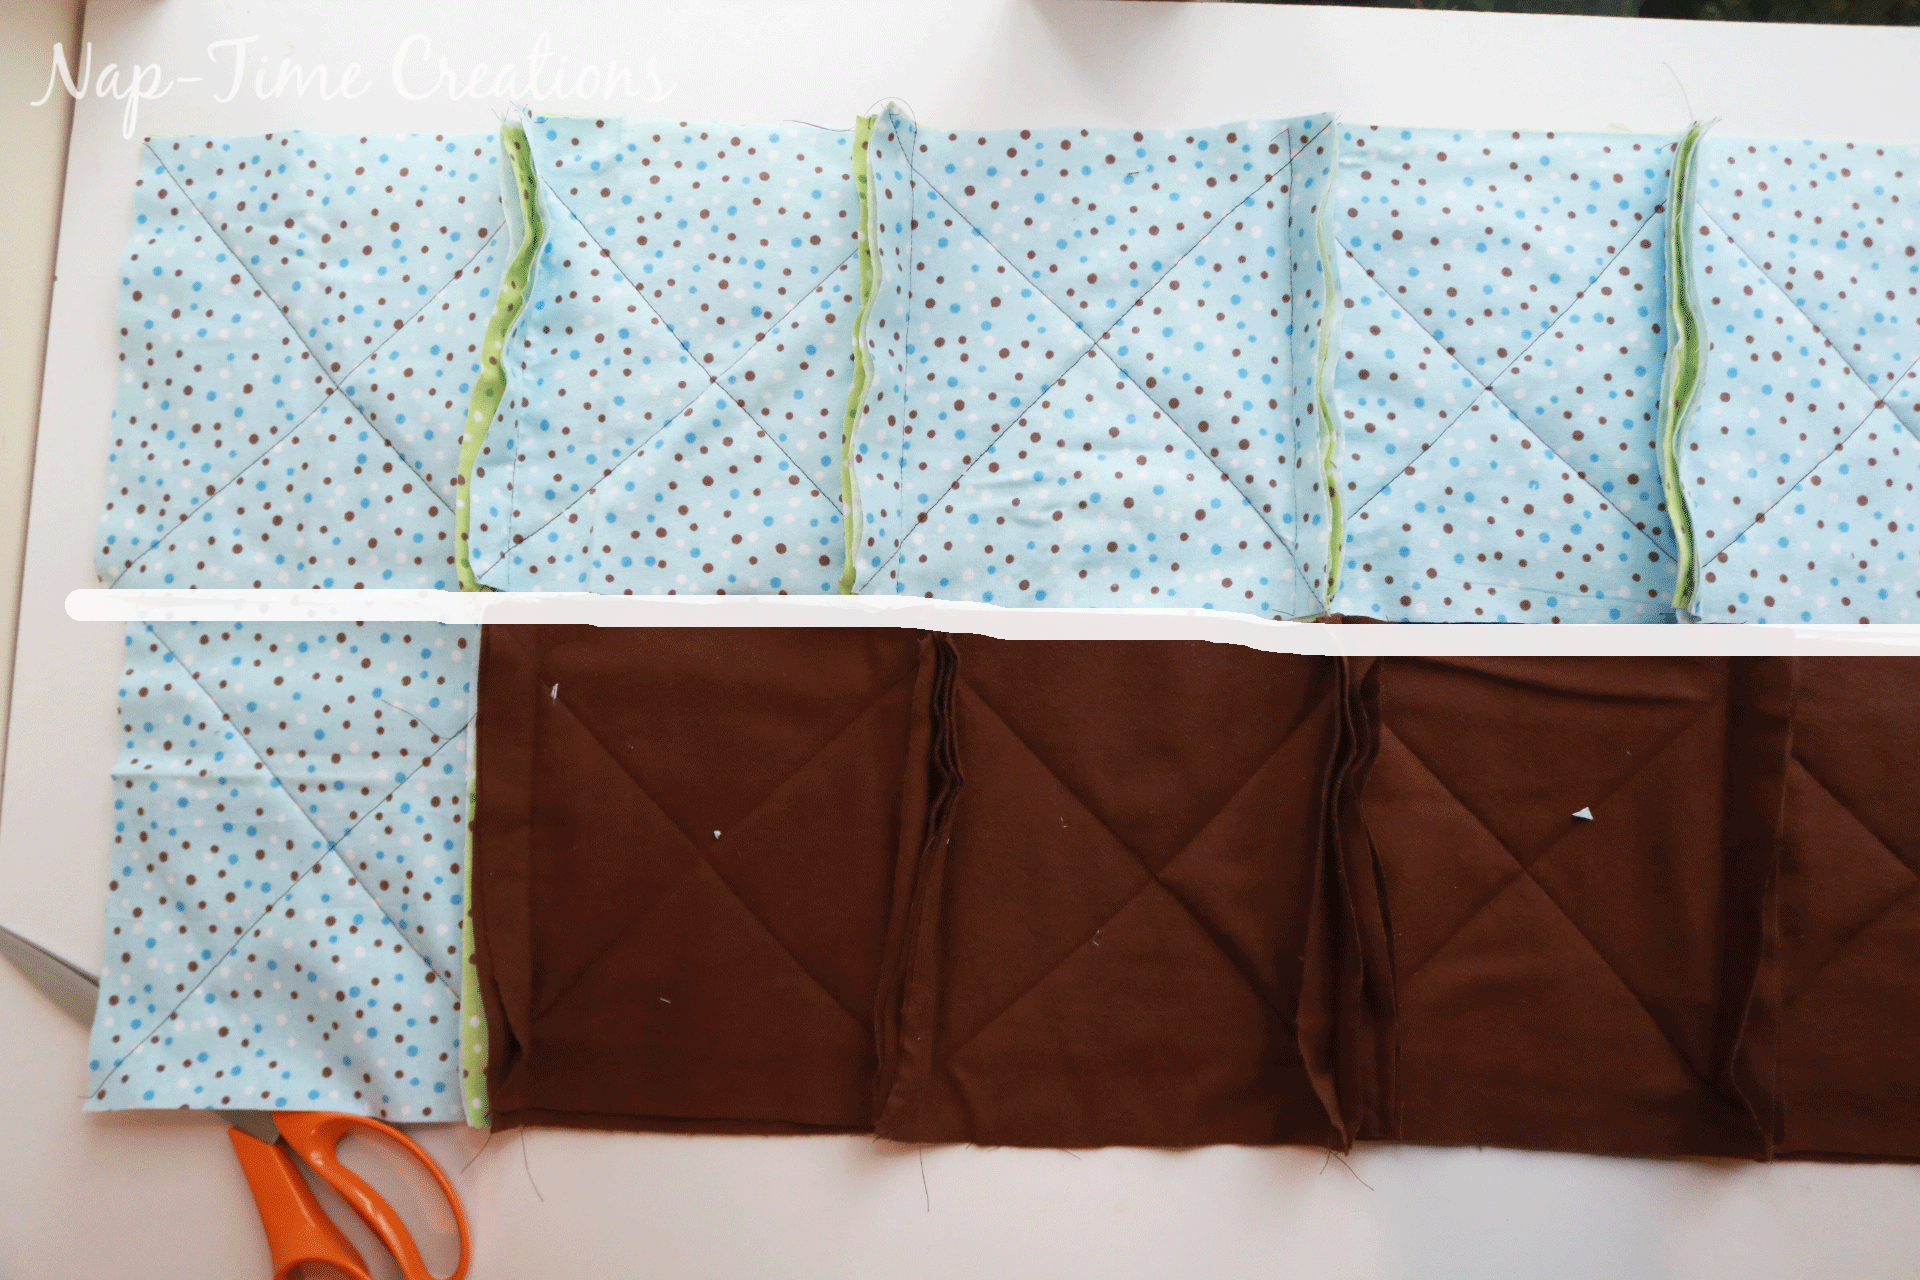
Here’s two rows together.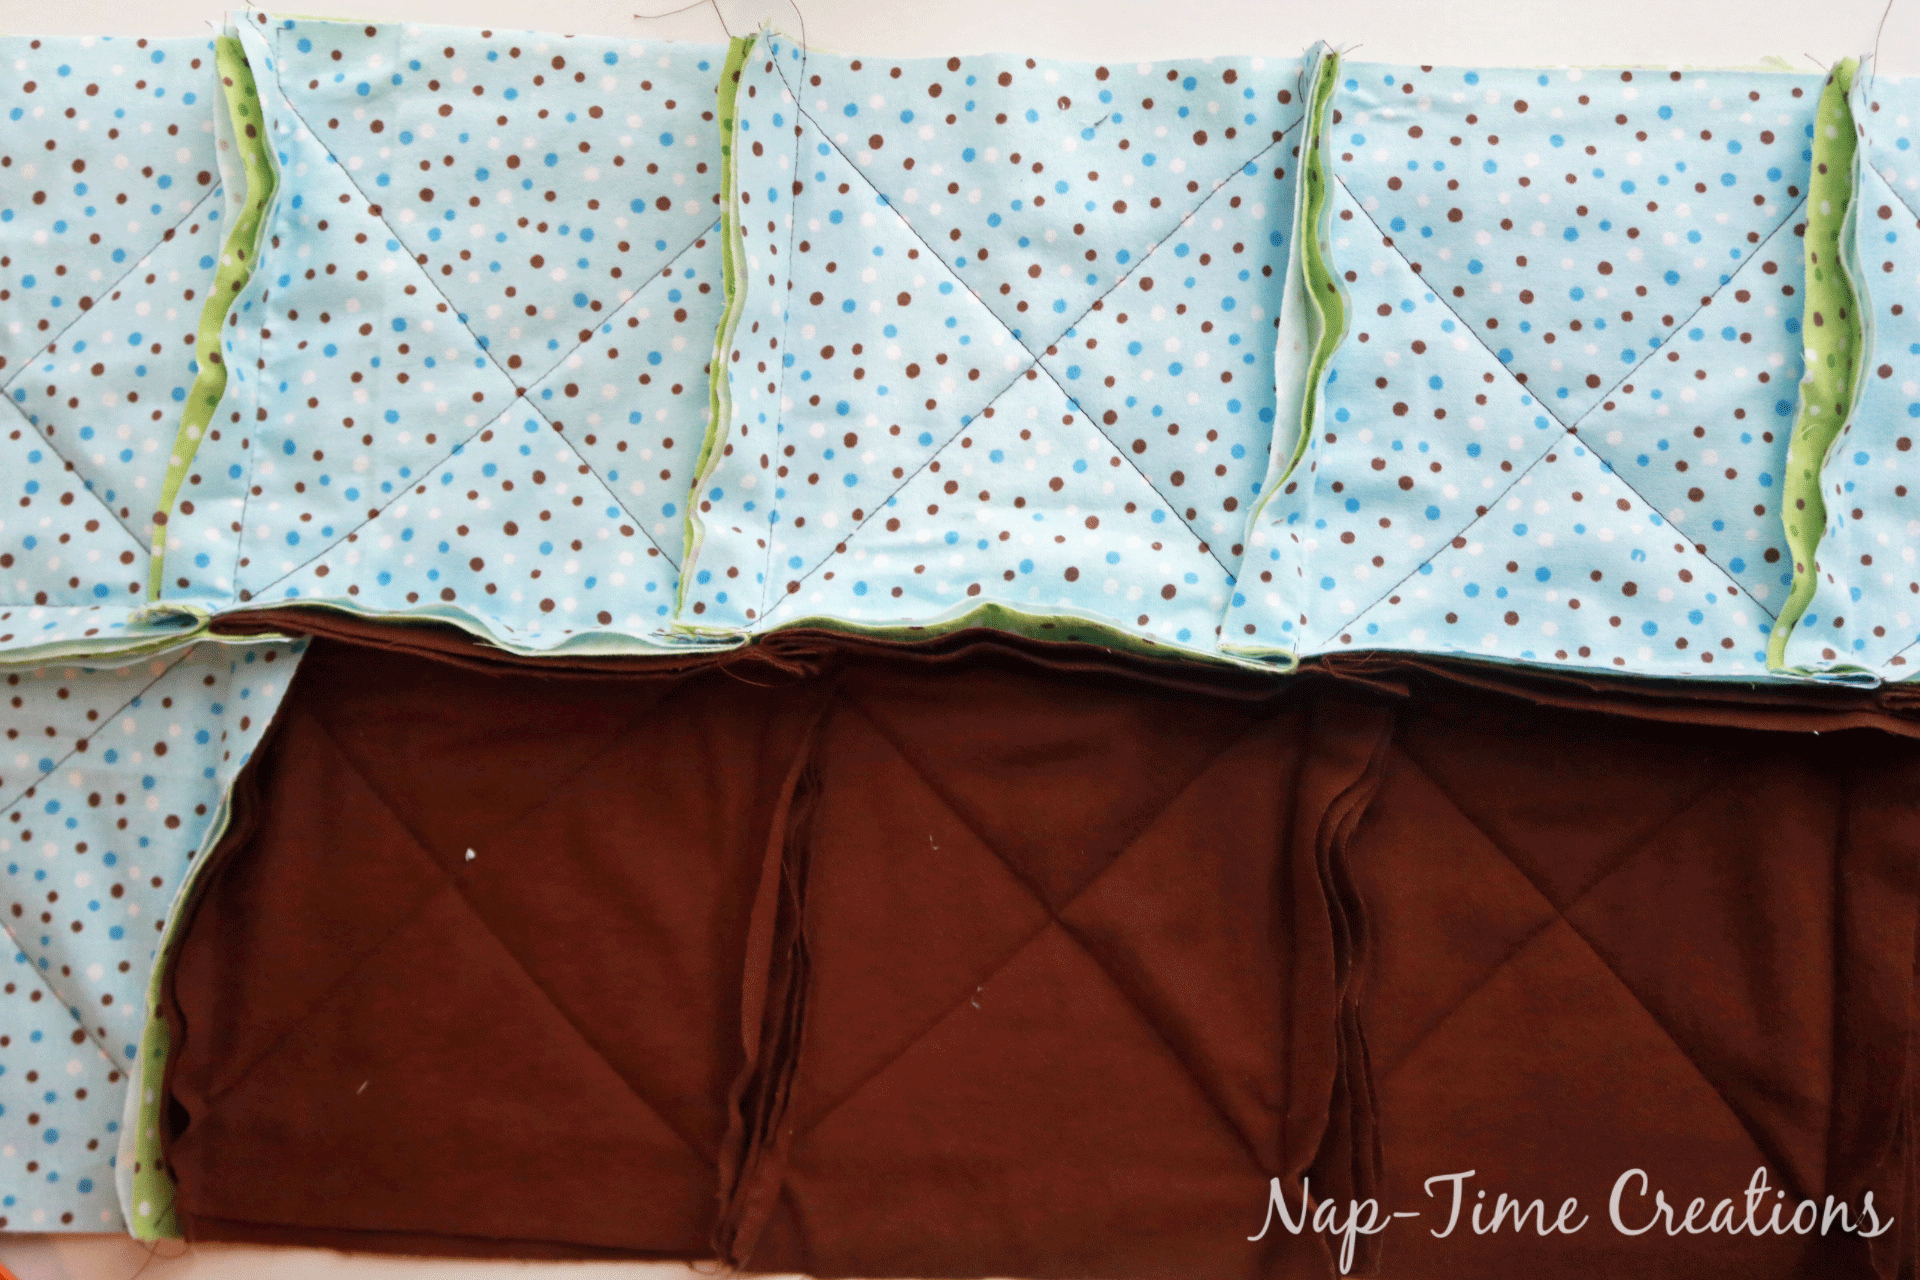
You have a side that’s flat and a side with seam allowances… To finish sewing, sew a 1″ seam all the way around the outside of the quilt. Now comes the fun part! CLIP all the seams! Start by going around the outside, then clip all the inside seams too! Hand sore? Check out these awesome spring scissors that make the job easier! IF you clip a seam, sew it back up right away!
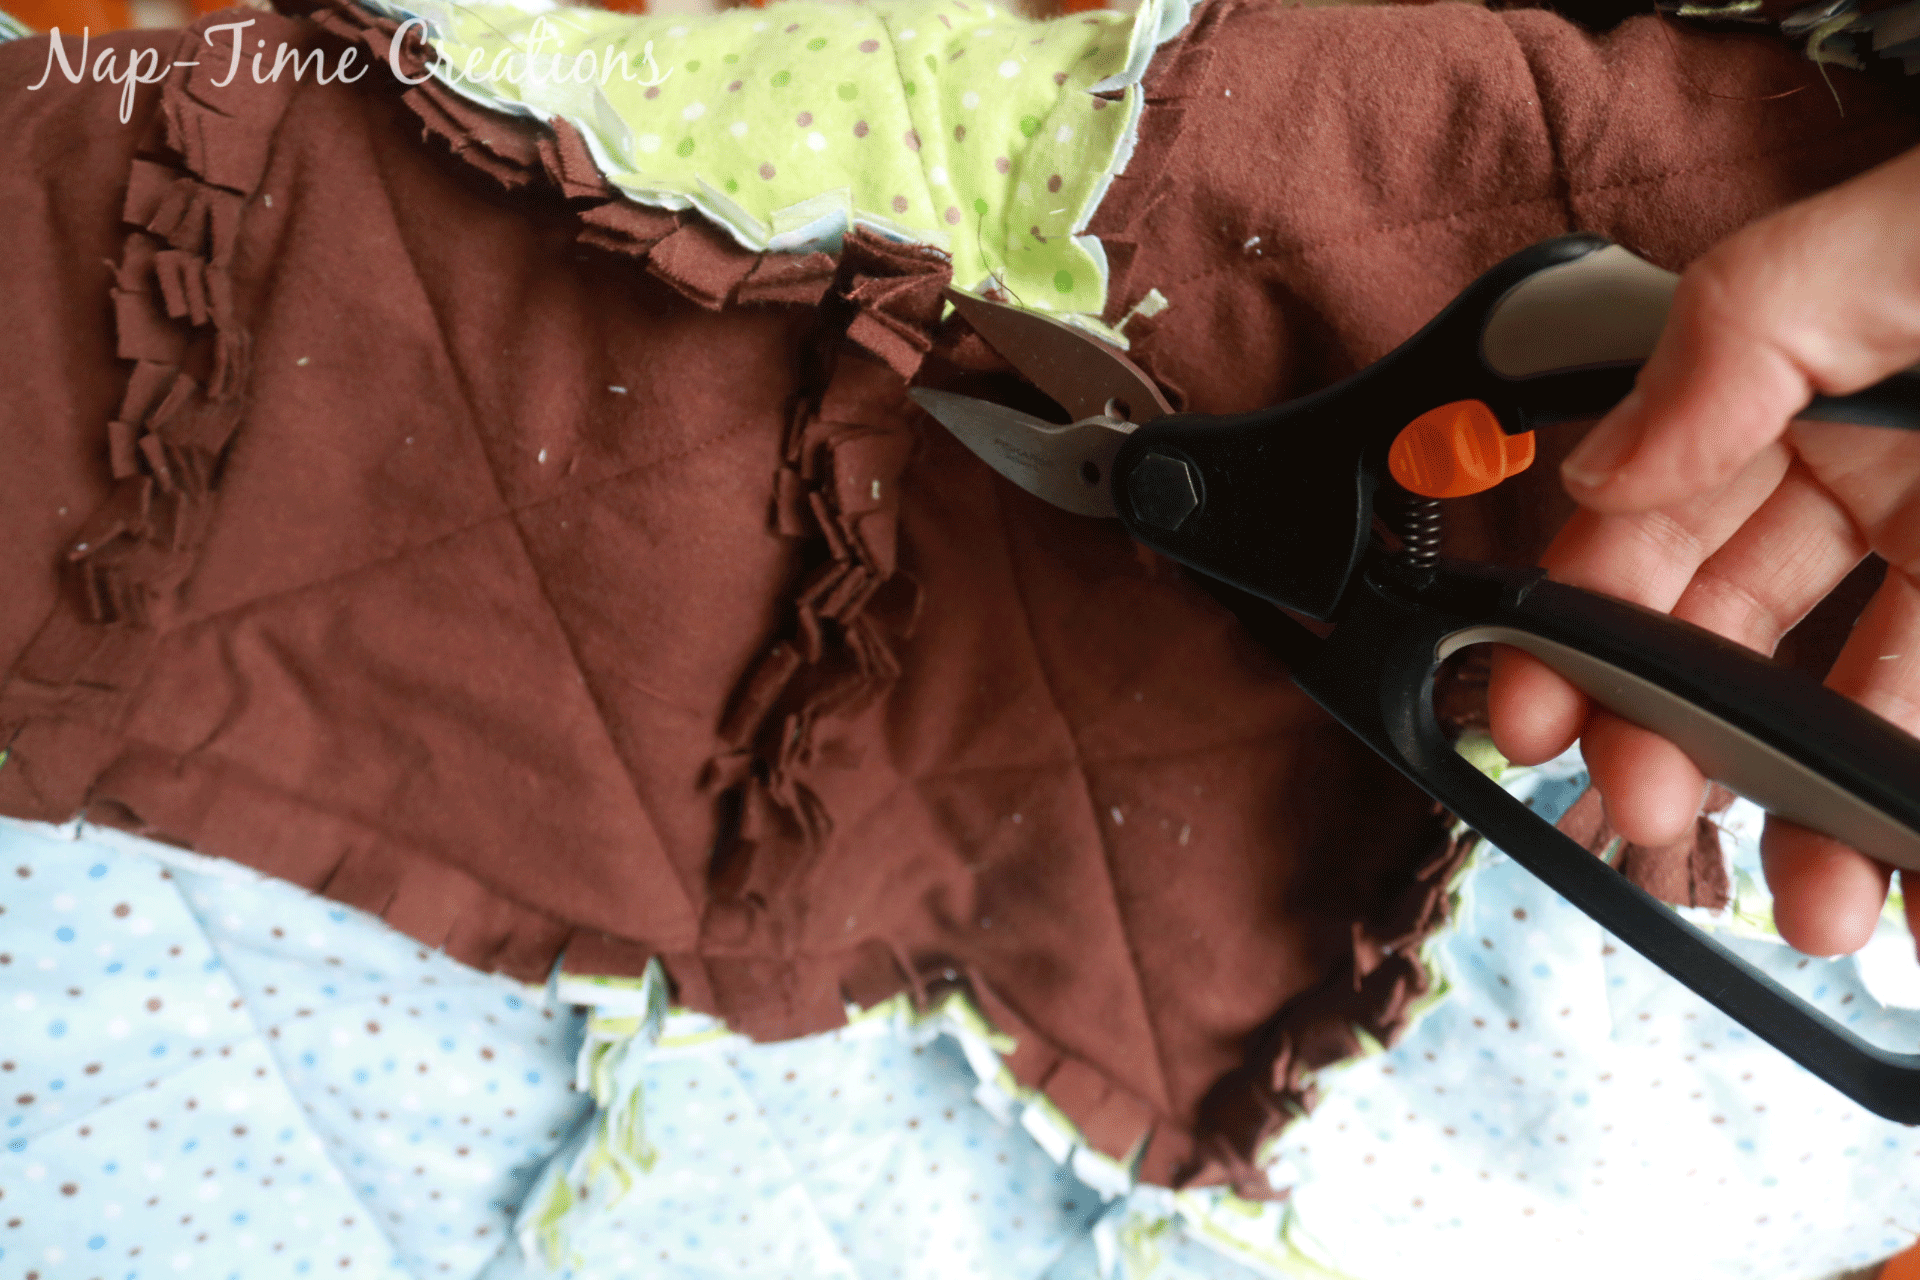
After you clip it all. Wash and dry the quilt. I do this at least 2x before I give it away. The quilt will get softer and cozier each time you wash and dry it, so make sure you encourage this if you are giving it away. The seams will fray and soften with each wash. {note: I have to clean out my washing machine drain when I wash a new quilt, it gets clogged. This will depend on your machine type, but just a warning!} ha!

Want to watch me sew this? Here’s the video version.





creativejewishmom/sara says
Love it Emily, you’ve certainly gotten me inspired to make one too…..though have lots of fabric that isn’t flannel that needs using up, so mine might not be so cozy. Thanks so much for sharing on craft schooling Sunday!
Patty says
This is such a great gift project similar to the tie blankets with the ruffled edges but with a shabby chic look to it! Definitely an inspiration post. I’m a crocheter myself and need to make a baby blanket right now and I think the colors on this are leading me in a different direction on my own project. Thanks so much for posting this up on the turn it up Tuesday link party!
Melinda says
I make cotton baby quilts, but have never made a rag quilt. So cute! But not as cute as your darling girl!
2usestuesday
Diane Bannister says
Love the recent live show with the circle skirt and top would like to join please
Linda L Hamilton says
How do I print this or find a pdf that is not 20 pages long?