
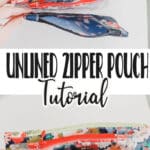

inside: learn how to sew an easy zipper pouch with this tutorial. Sew unlined zipper pouches in any size with this super simple tutorial. You can always use more zipper pouches.
**Post and tutorial updated 2/2025 – originally posted 5/2015**
Here’s another tutorial to get you all organized for your summer outings! My awesome summer tote pattern has a few pockets, but I also sewed up this Easy Zipper Pouch to put inside and store my chapstick and pens.. I’ve never made a Zipper Pouch before, but they are SO easy, I can’t wait to make many many more. {Since I posted this ten years ago I have made dozens and dozens of zipper pouches and tutorials… I’ll be listing them below}
Unlined zipper pouches-
These zipper pouches are a great first sewing project and a take just a few minutes to make.
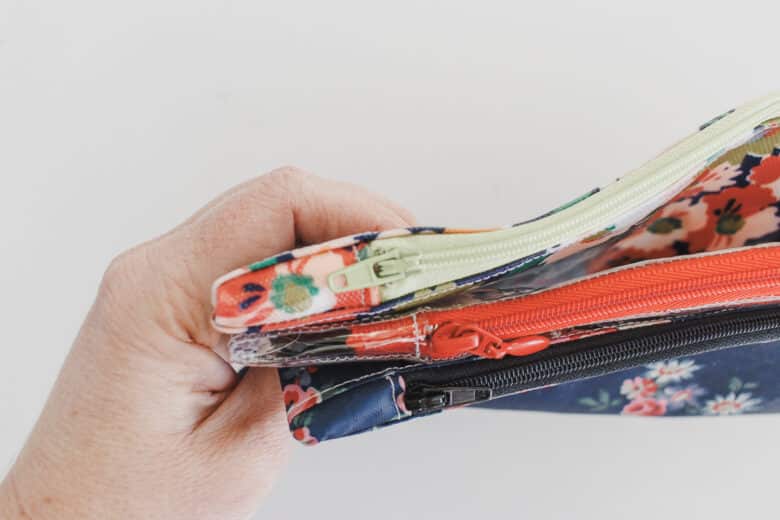
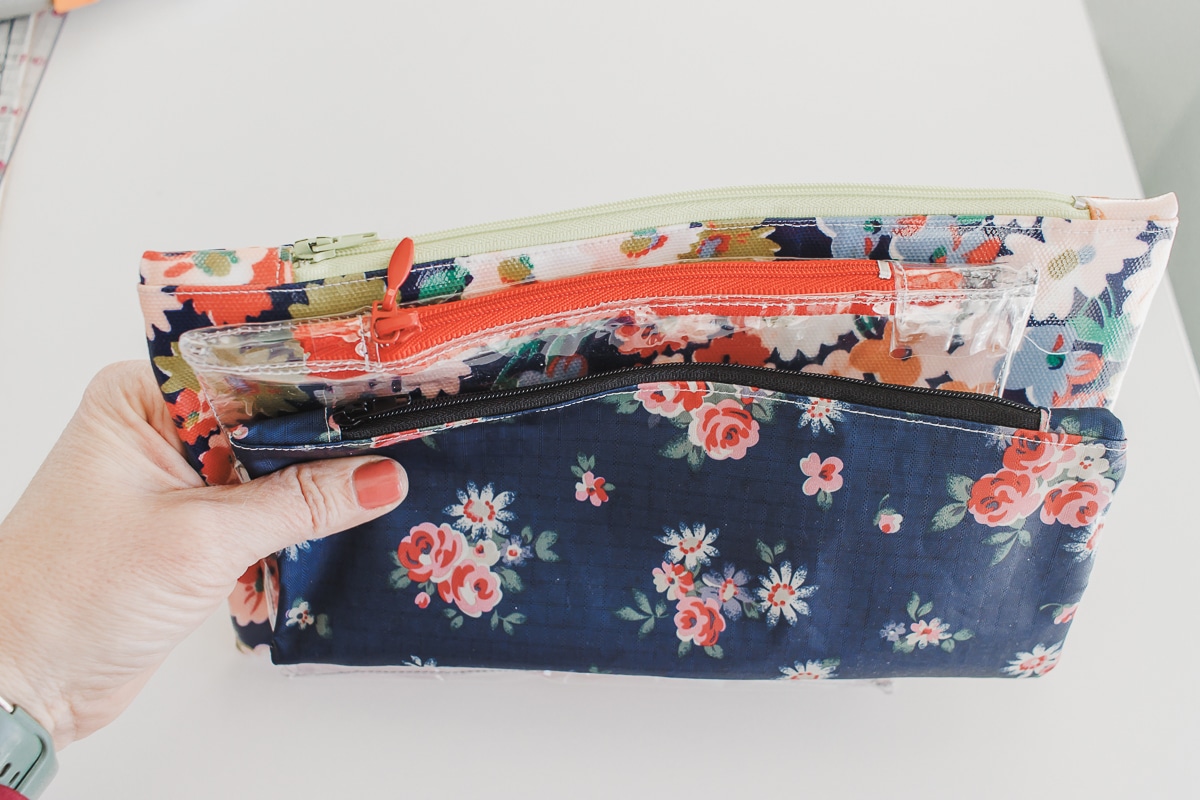
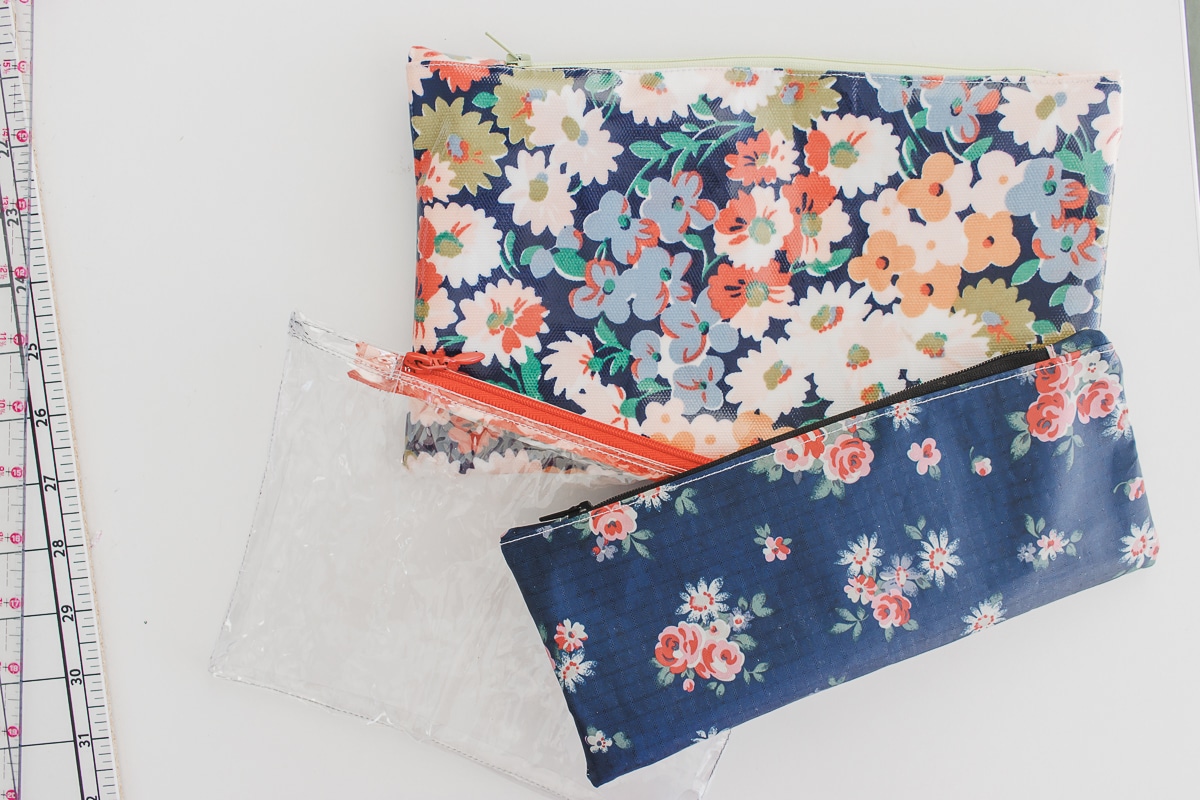
These unlined zipper pouches are best made with fabric that doesn’t fray and has just a bit of structure. I made three versions here. A vinyl, a clear vinyl and a rip stop fabric. These were all scraps I had from bag making over the years.
Other amazing zipper pouch tutorials to try-
How to sew a super simple zipper pouch-
ok, let’s jump into the tutorial…
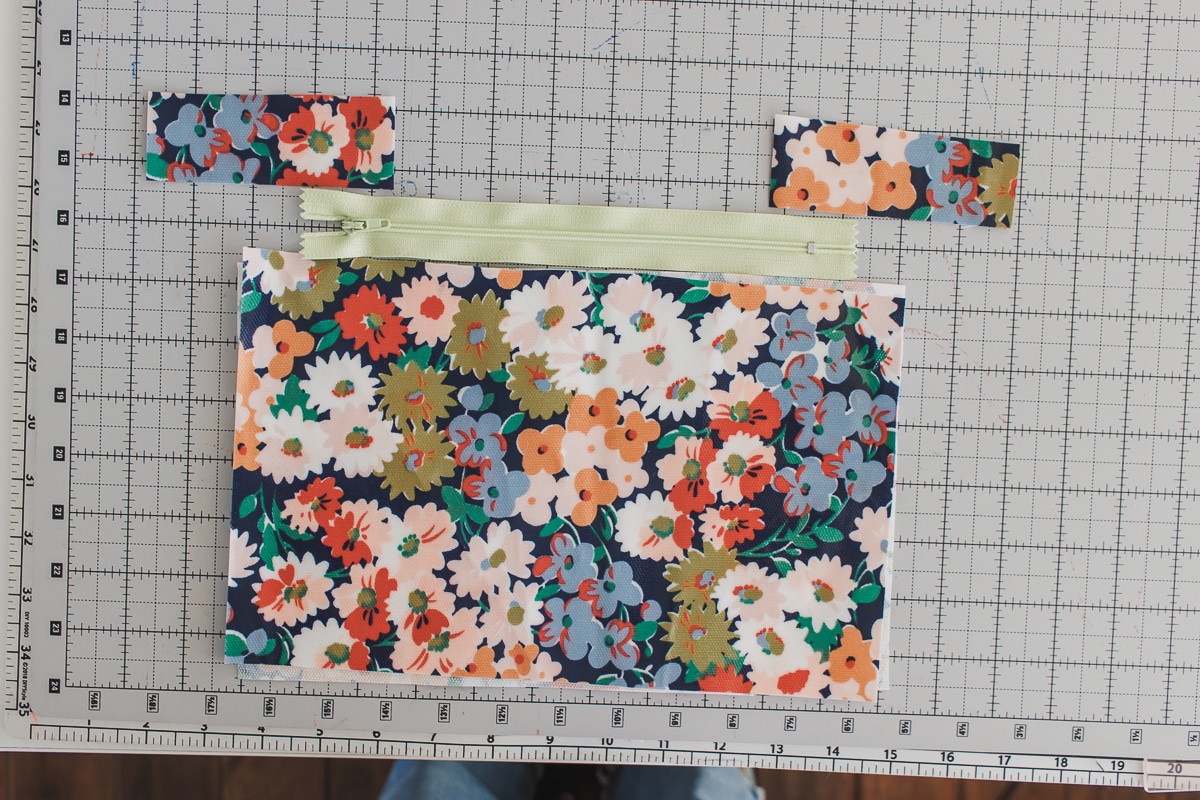
You will need a zipper and some fabric scraps. Again, fabric that doesn’t fray works best for this unlined version. You can make a pouch in virtually any size. The zipper will be about 2 inches shorted than the length of your top, so choose a zip length that you want for the size of the bag. You can always shorten a zipper than is too long, as long as it is a plastic zipper.
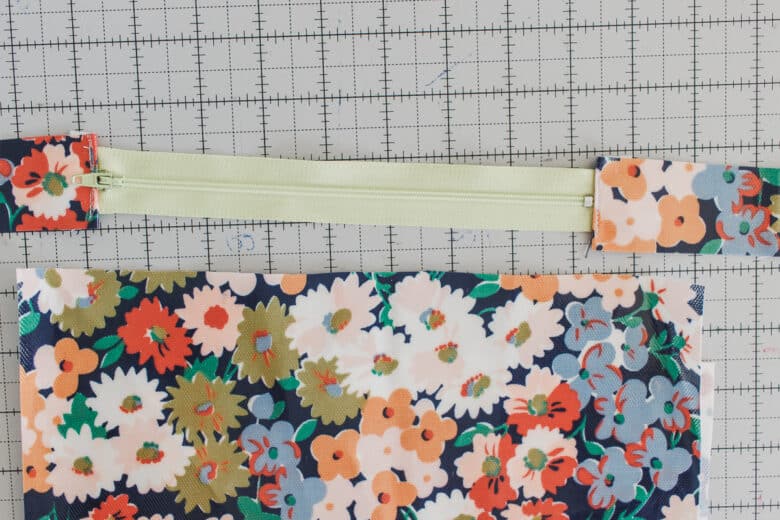
You can see here my pouch fabric {cut 2} my zipper {shorter than the pouch} and then the zipper tab fabric. {this should be as wide as the zipper and about 3 inched long} {cut 2}
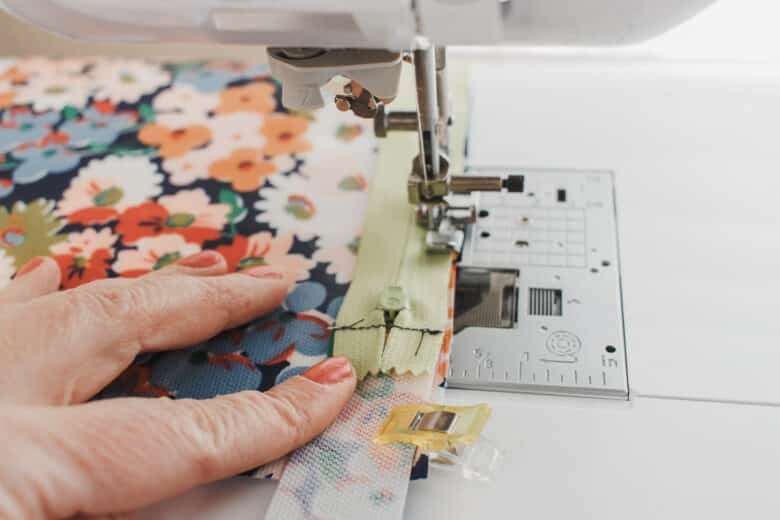
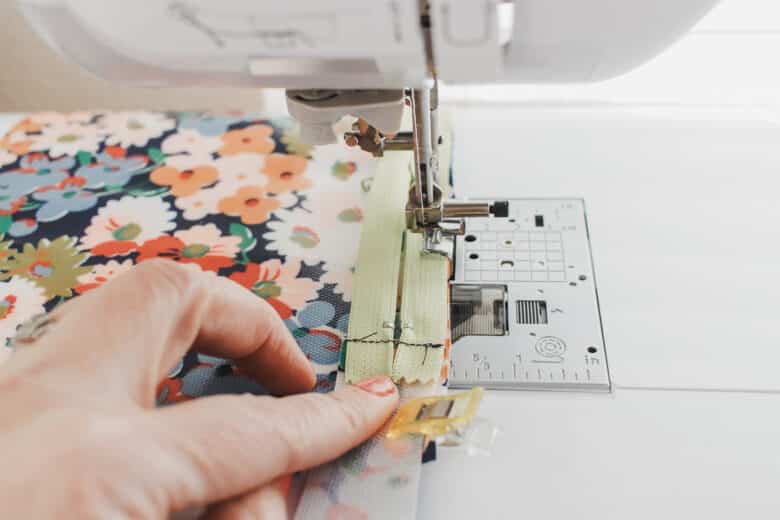
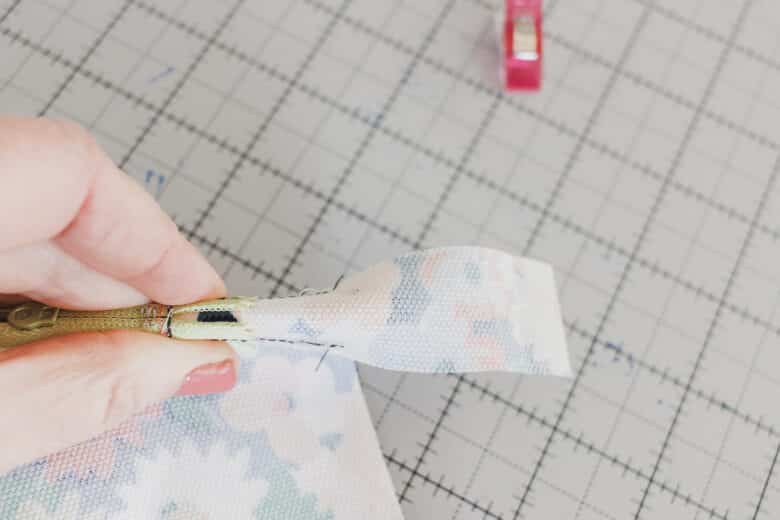
We will start by adding fabric tabs to the end of the zippers so that it is the same length as the pouch fabric. If you are not shortening the zipper you will fold over about 1/2 and inch and place the fold right at the end of the zipper. If you are shortening the zipper you will place the fold wherever you want the end of the zipper to be. Also place a zipper tab at the zipper pull end of the zipper. Pin or clip in place.
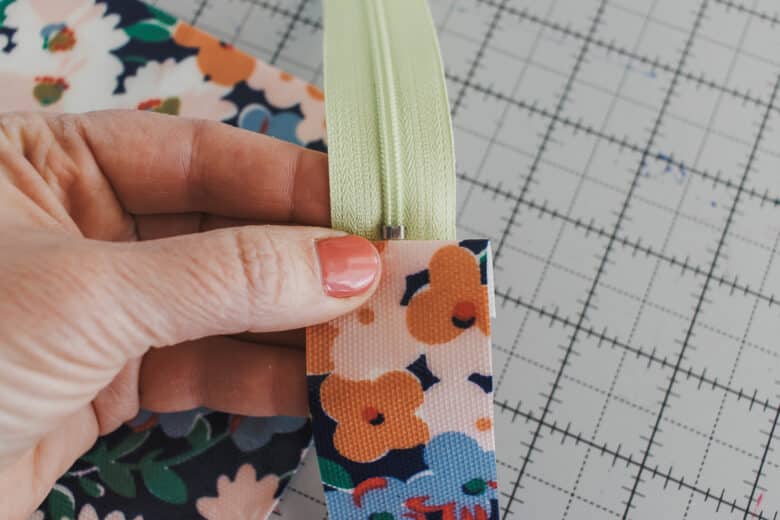
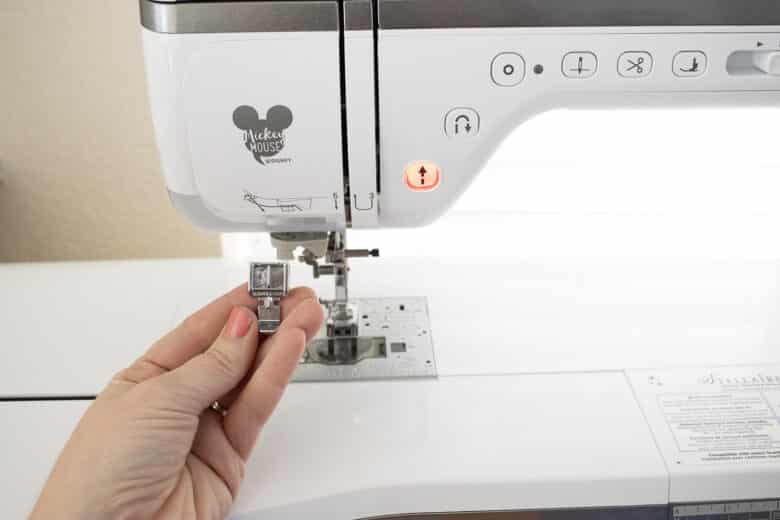
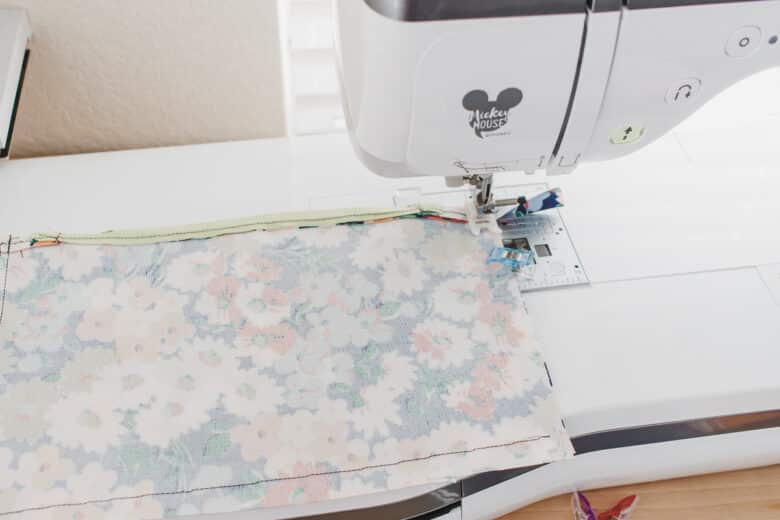
Here are my two fabric tabs pinned in place. I put a zipper foot on my machine to make sewing close to the zipper easier.
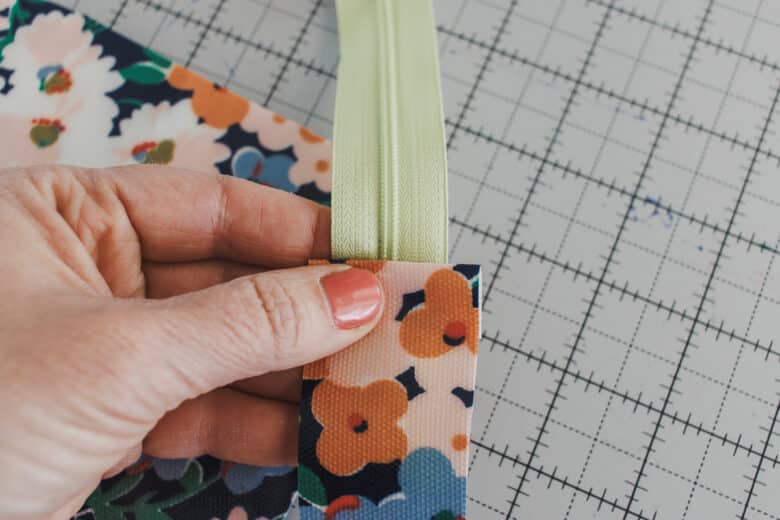
Sew on the folded edge of the fabric.
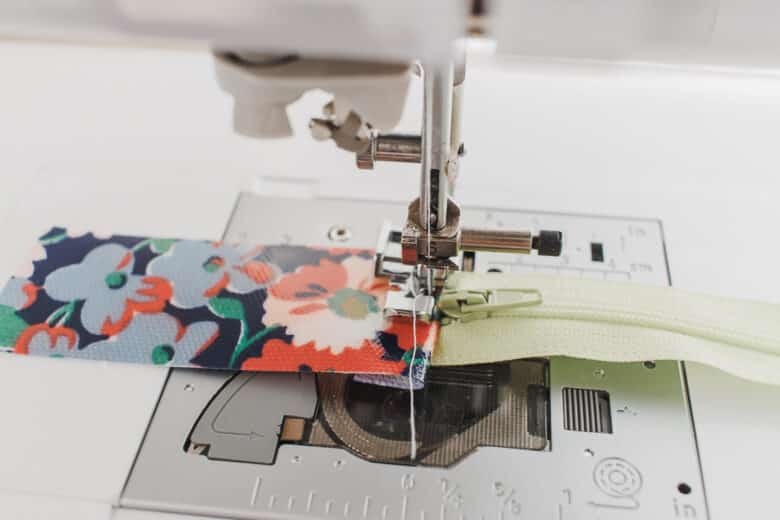
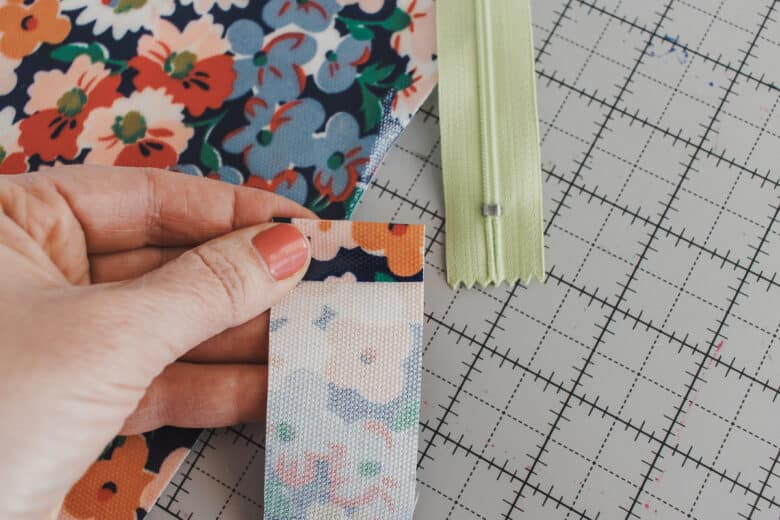
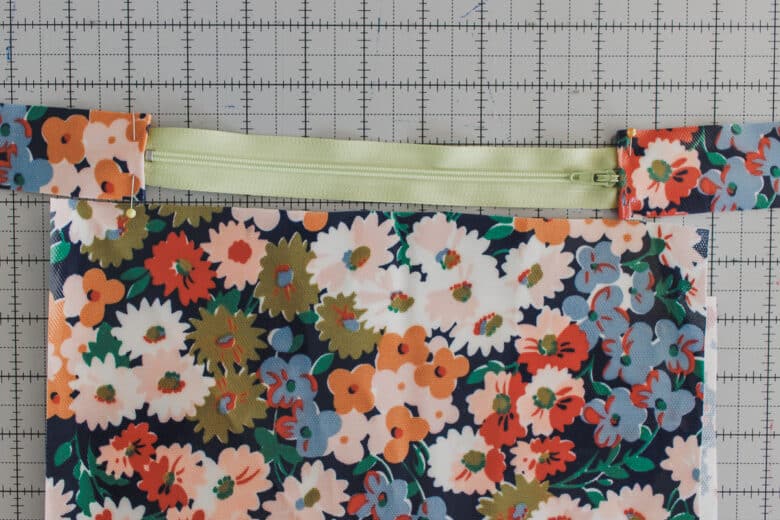
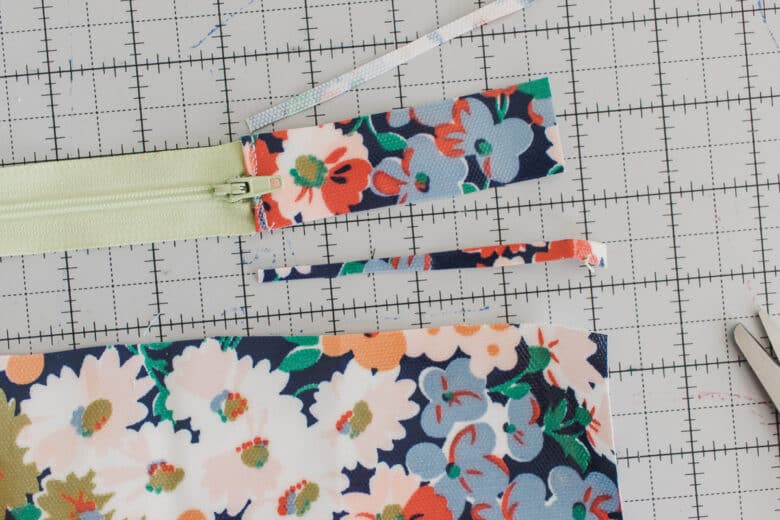
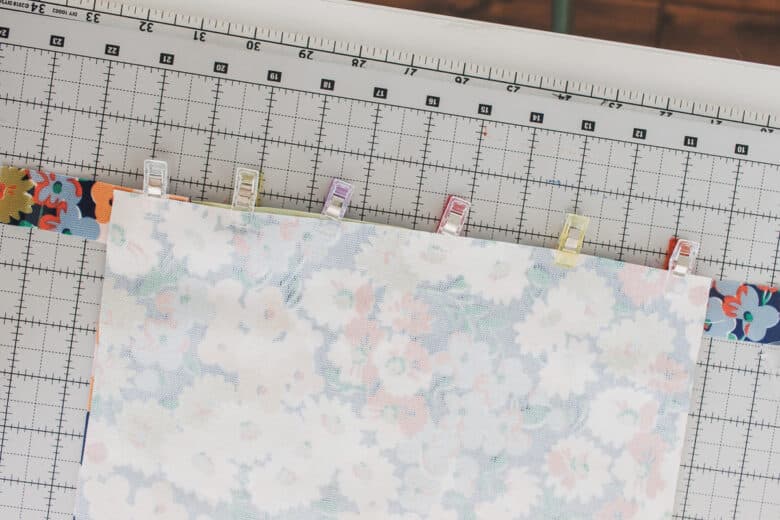
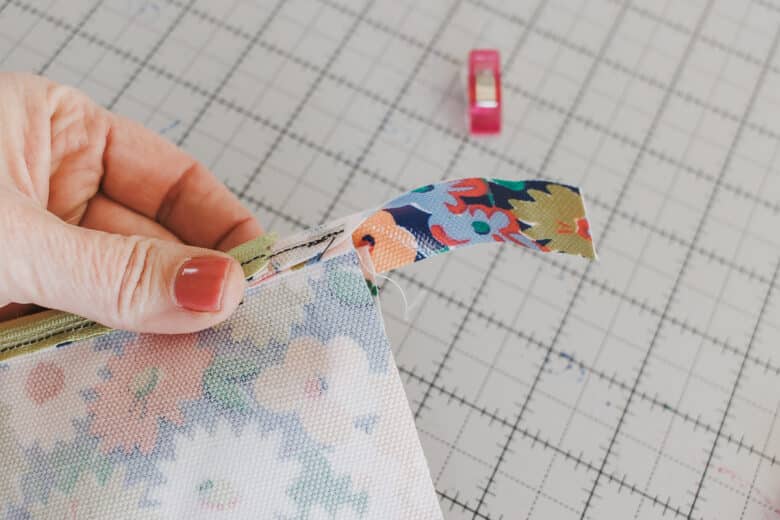
{Optional} Trim the extra fabric so the tab is the same width as the zipper. Place the right side of the zipper on the right side top edge of the pouch. Center the zipper on the top edge. {make sure you have at least 1″ of fabric on each side of the zipper} Pin or clip in place, then sew to the top edge of the pouch. You will want to sew down the middle of the zipper tape. I continued to use the zipper foot for this.
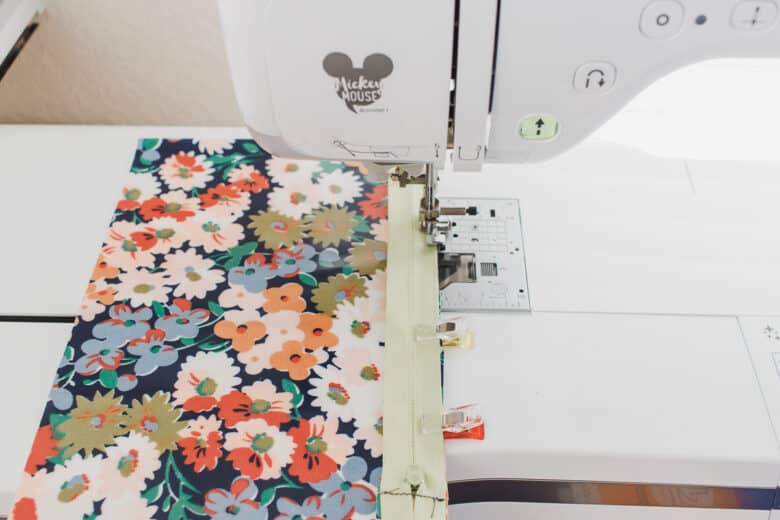
Do not try to sew around the zipper pull tab. When you get close to the pull tab, set the needle, lift the presser foot and move the pull tab under the foot. Lower the pressure foot and continue sewing.
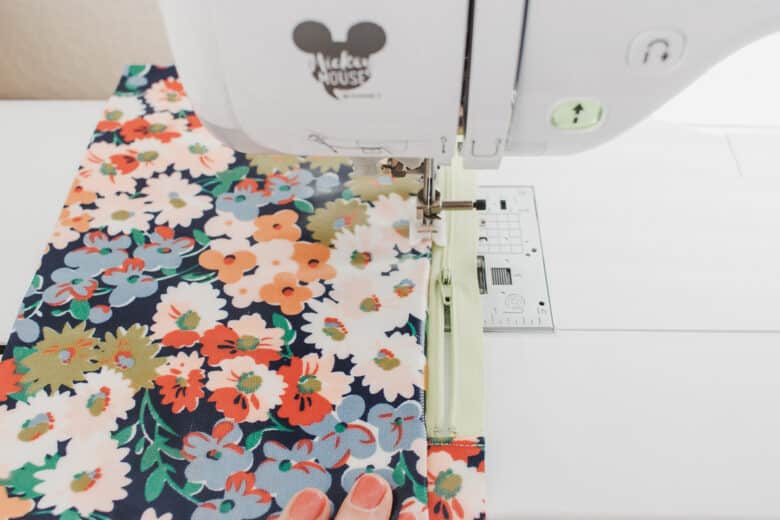
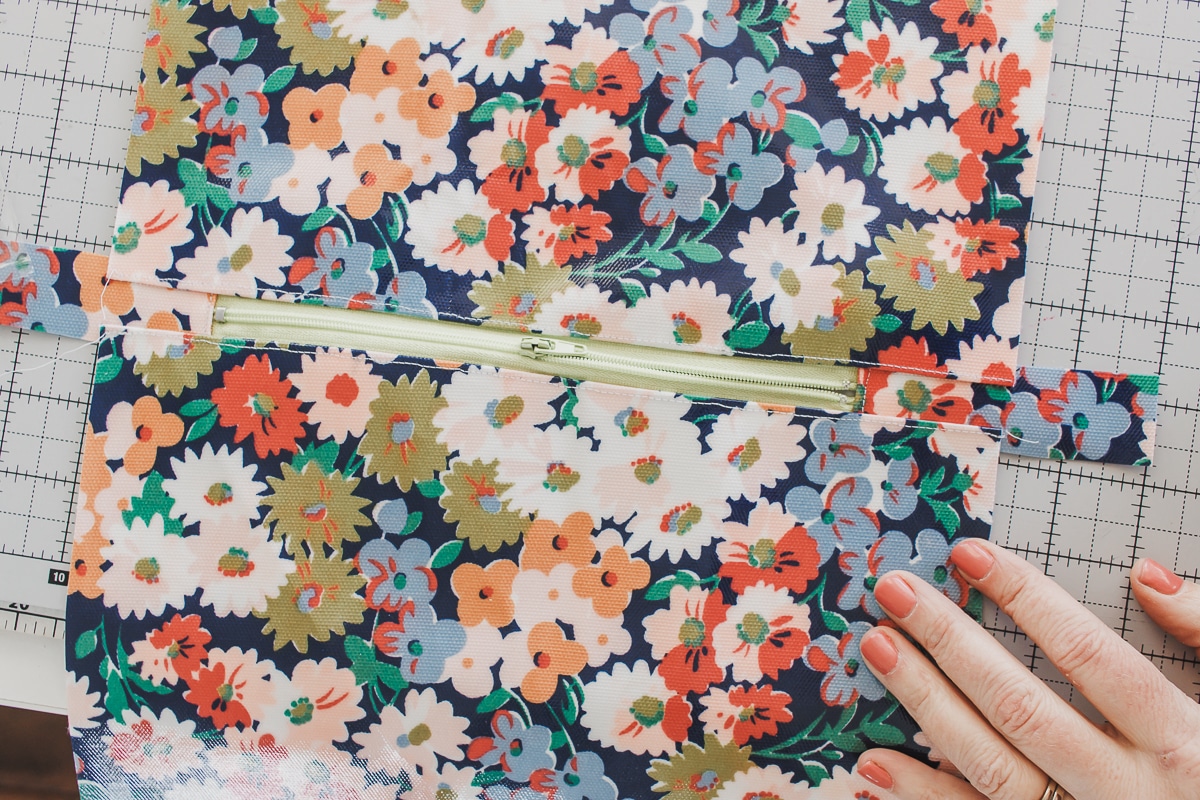
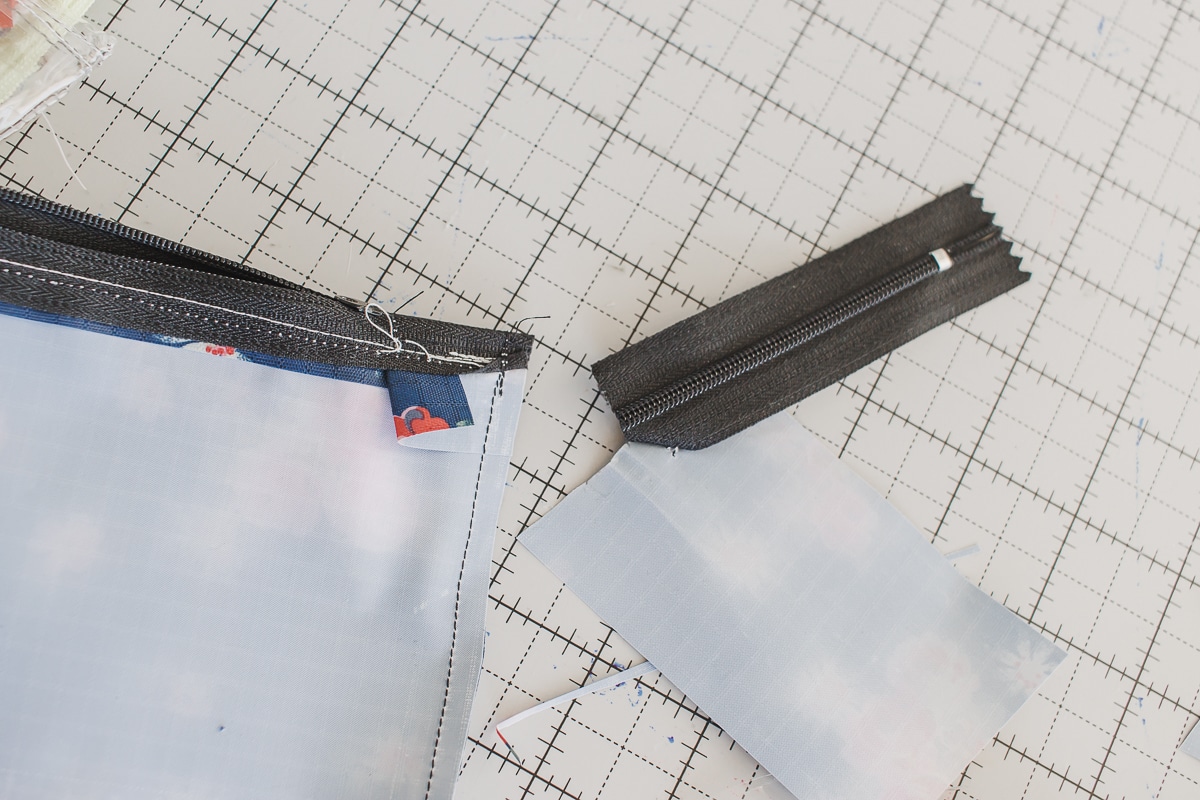
Top-stitch the zipper seam. Switch to a teflon foot {if you are using sticky vinyl fabric} Fold the seam allowance over towards the pouch side and top-stitch. Sew the zipper to the other side of the pouch. Place the zipper face up and then place the other side of the pouch face down with right sides of the zipper and fabric touching. Make sure the sides of the pouch match up. Pin or clip the top edge. Flip over and sew with the zipper facing up. Top-stitch this seam as well.
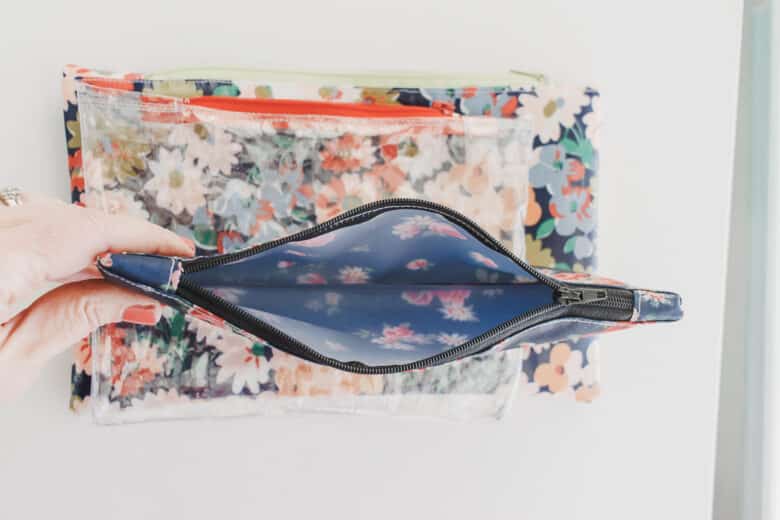
When you open up the pouch and zipper it should look like this.
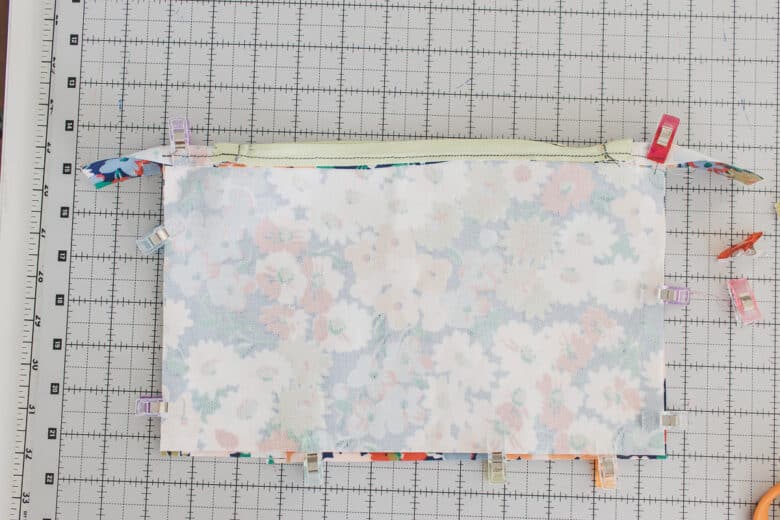
Fold over with the right sides of the fabric together and the zipper is the top fold.
Pin or clip the top fold and along the sides and bottom. MAKE SURE THE ZIPPER IS OPEN! This will allow you to turn the pouch right side out after sewing. Starting from the top fold, sew down one side. I then stopped sewing and went over to the other folded top. From the top folded edge start sewing and sew down the edge, then down the side and across the bottom.
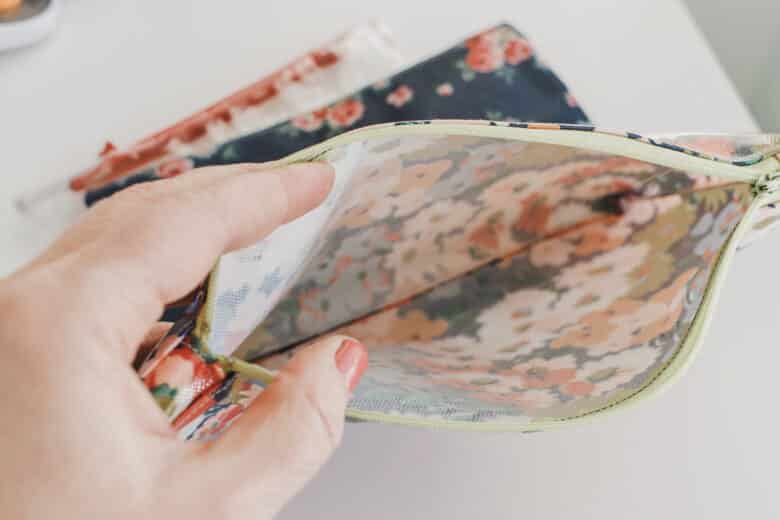
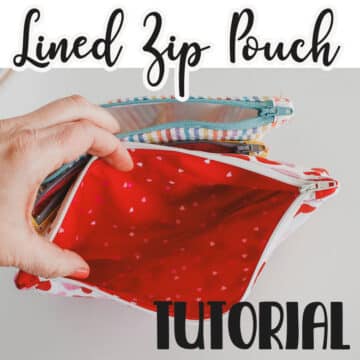
Clip the corners and turn right side out through the open zipper. Poke out the corners until they look pretty and the pouch is now ready to go. Get ready to make many, many more in all kinds of sizes! Got this down? Move onto the lined zip pouch for the next step up!
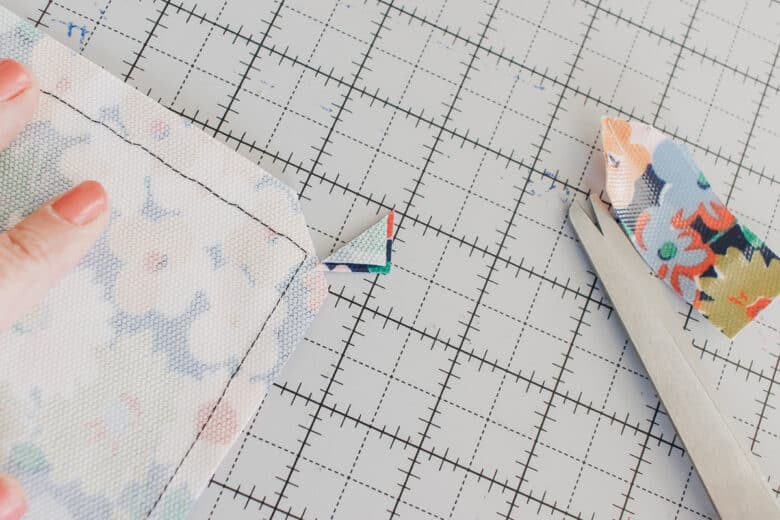
If you shortened the zipper for this pouch, make sure to cut the zipper before turning the pouch right side out.
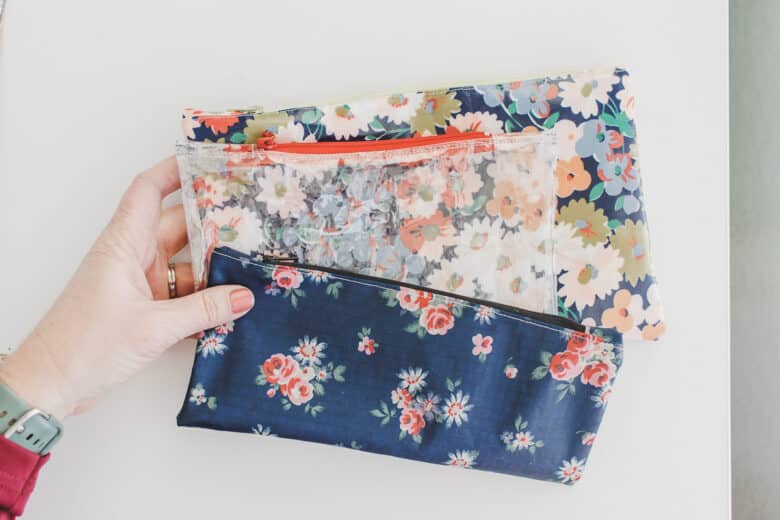
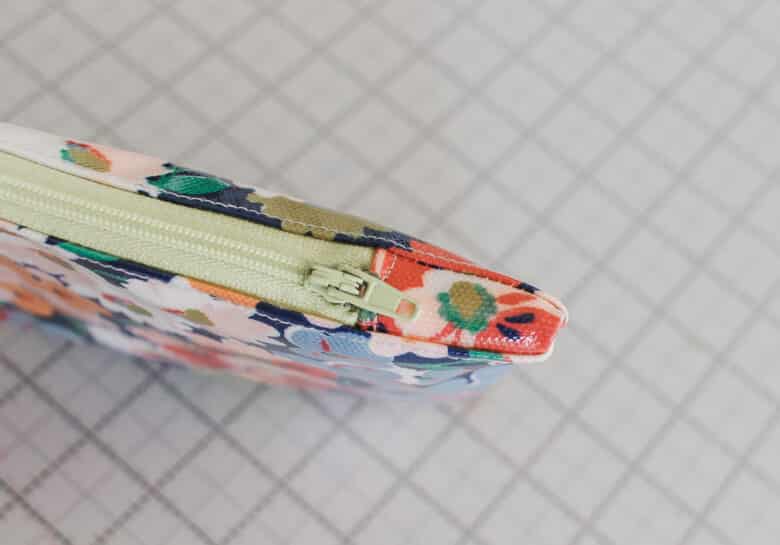
Here are all the zip pouches I sewed up in an afternoon. The blue pouch is perfect size for a pencil case. The clear pouch is great for makeup or other messy items and the other floral bag is a great multi-purpose pouch. What do you need to sew a zip pouch for?


Kimberly says
I absolutely love this! Thanks for sharing it with us. Pinned and tweeted. I hope to see you tonight at 7 pm. We can’t wait to party with you! Lou Lou Girls
Lorelai @ Life With Lorelai says
Zippered pouches always come in so handy! Thanks for sharing at the #HomeMattersParty – we’re looking forward to what you have to share next week. 🙂
~Lorelai
Life With Lorelai