inside: made amazing Embroidered Christmas Pillows with this embroidery and sewing tutorial.
With these Embroidered Christmas Pillows I’m officially kicking off my Christmas Sewing! I made part of my Christmas Tree Skirt free pattern on my live show this week and it was a huge hit! You can see the video and post here. And today we are going to make one of my favorite things ever!! Throw pillows! I made these cozy Christmas pillows last week and they have already gotten lots of snuggles! The black and white ones are made with cozy fleece and the merry and bright pillow is cotton and velvet for a gorgeous Christmas throw pillow.
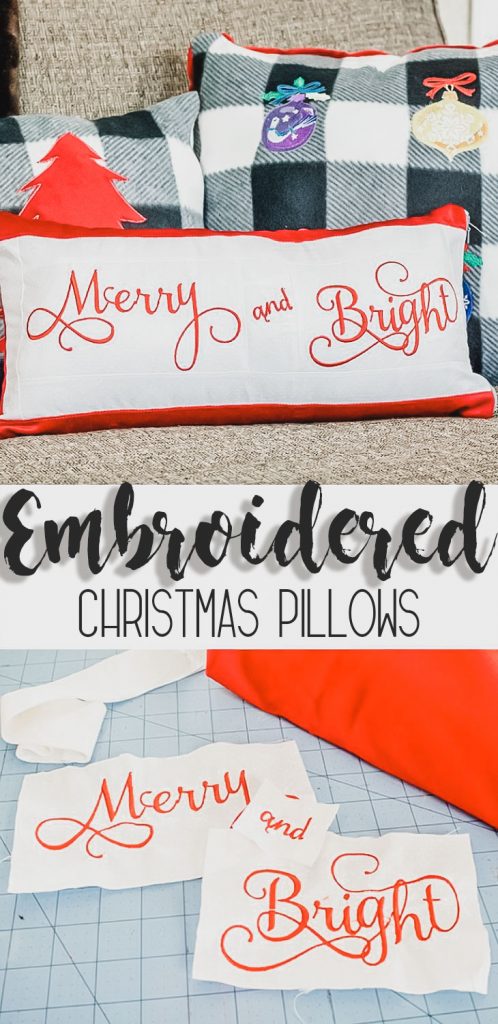
Embroidered Christmas Pillows –
This is the first time I’ve bought a font from Etsy and used it with my embroidery machine. It took me awhile to figure out how to get the letters to flow together {and I’m still not perfect} so I thought I would share what I’ve learned with you. You can buy the font I used here. There are a ton of other cute ones on Etsy as well! The font comes with upper and lower case letters in 4 sizes… at first I loaded them all to my thumb drive and put it in the embroidery machine. It was WAY too many letters to scroll through and I couldn’t tell what size each letter was.. SO I decided to ONLY load the letters I needed to the thumb drive. This was so much better! One capital letter for the beginning and then the rest of the word lower case. From there it was easy to arrange the letters on the machine screen. I zoomed way in to make sure the letters overlapped in the right places to look like cursive. I did better on this with the second word BRIGHT..
SO… grab a zipper, some velvet and a fun font to make this great Christmas Pillow.
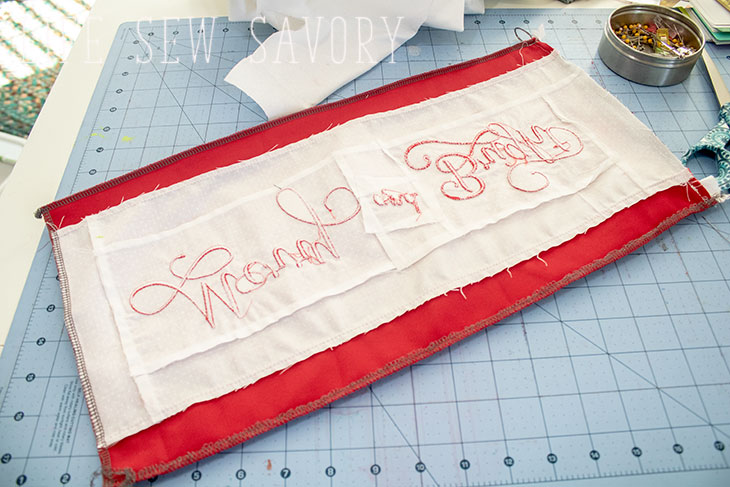
I decided to cut the words apart when I was finished with the machine. I cut even distances on every side and then 1.5″ stripes of fabric for the border. I also have the velvet for the backing.
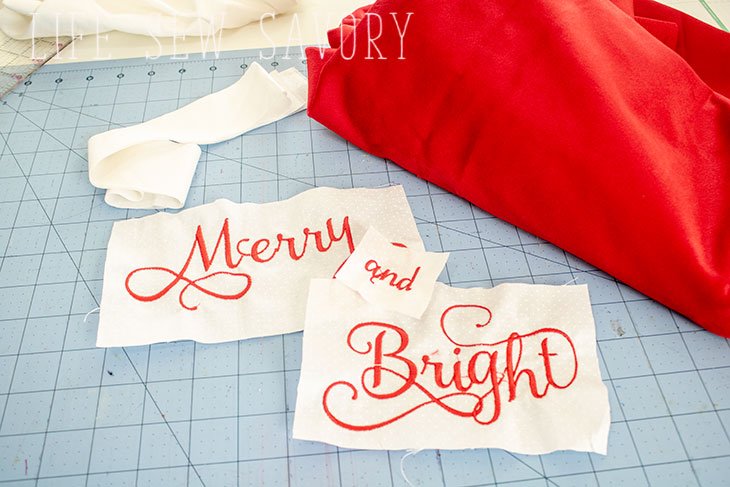
I added some of the border to the middle with the word and {I also put it on an angle}.
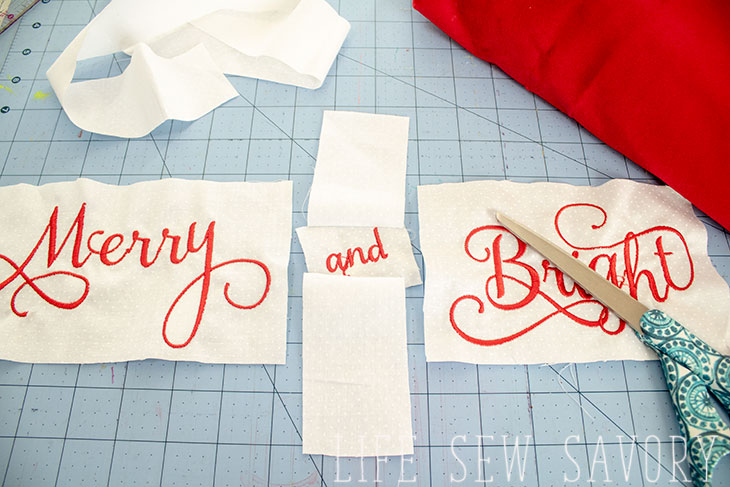
Sew the big words to the side of the middle. Trim the edges and square it up.
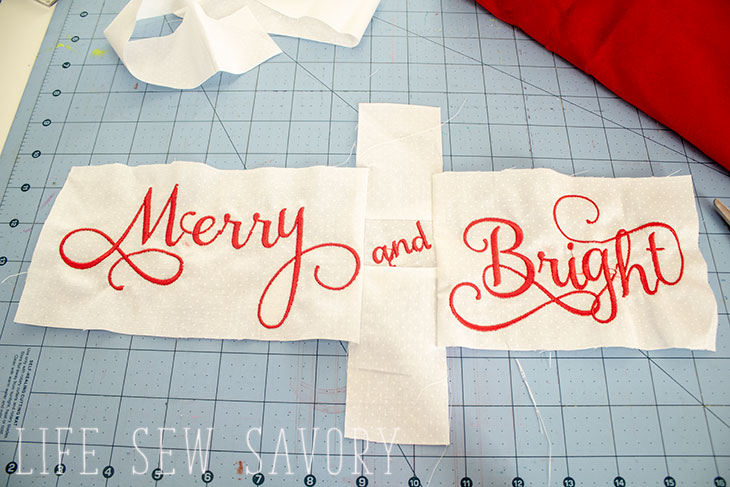
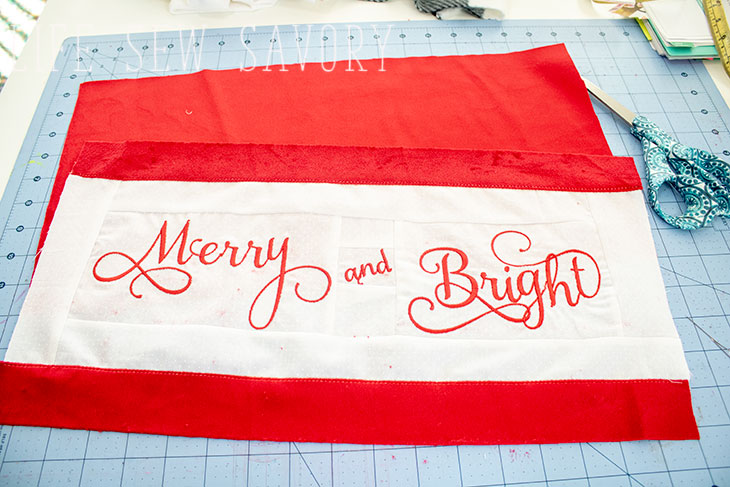
Add a white border all around the letters and a red strip {also 1.5″ wide} to the top and bottom of the panel. Square up the piece. Cut a back panel the SAME size as this front piece.
Add zipper tabs to the ends of your zipper. The zipper and tabs should be the same length {or longer} of the short end of the pillow.
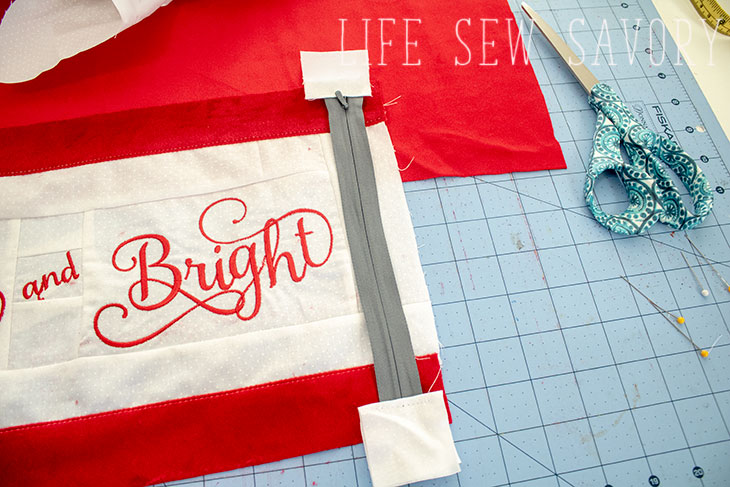
With right sides together sew the zipper to the front of the pillow.
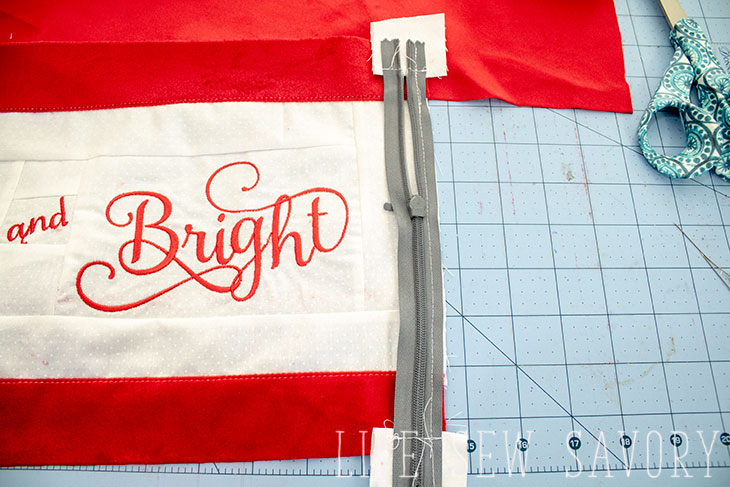
Sew the other side of the zipper to the back panel with right sides together as well.
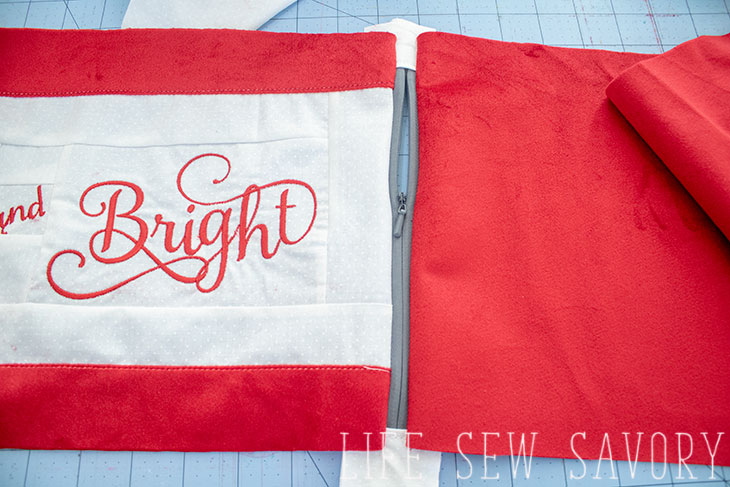
OPEN the zipper {very important!} and then sew the other three sides of the pillow panels together. Use the open zipper to turn right side out.
SO SO cute, right! The ornament pillow will be featured over on the Brother Sews blog so you can get all those details over there.
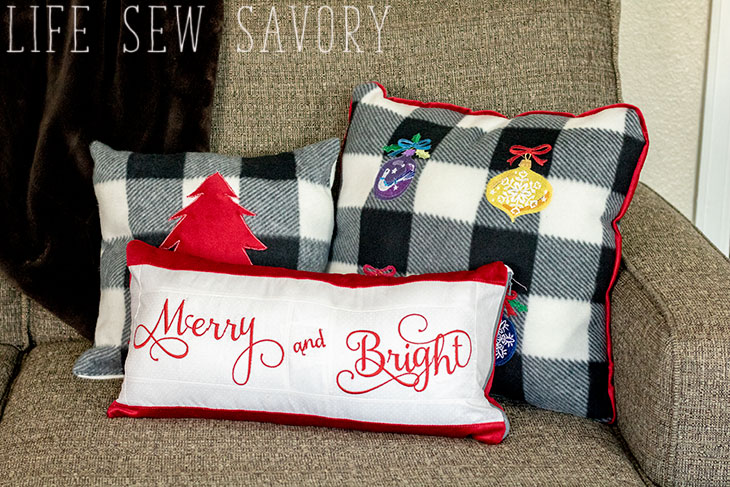
There you go! My Embroidered Christmas Pillows!! I’m so pleased to have these out on our couch, and here are some other Christmas Pillows you may enjoy!
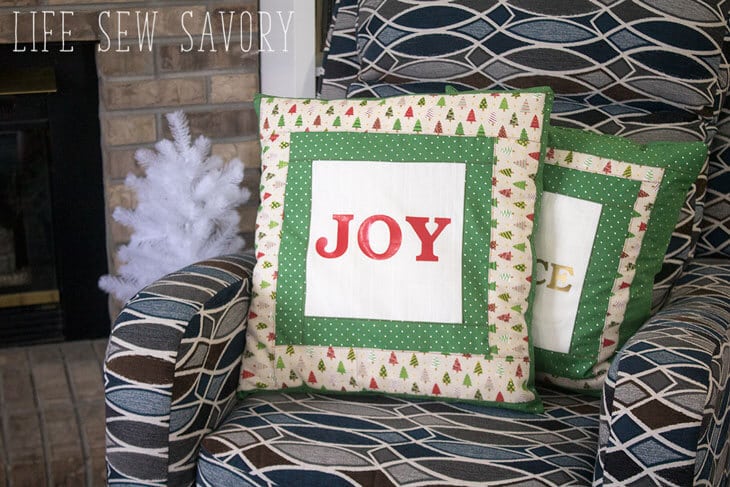
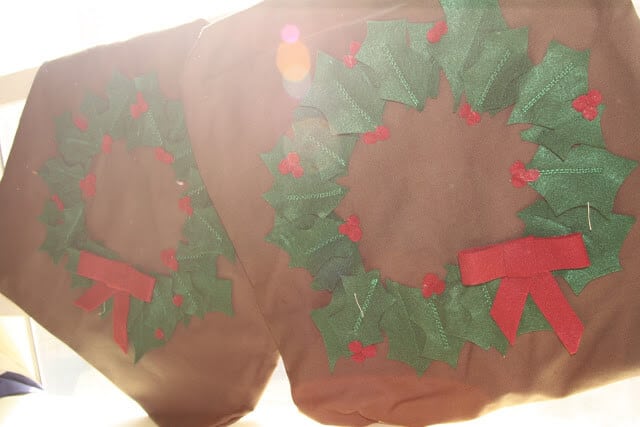
Holly Pillow {from a year of pillows!}




Leave a Reply