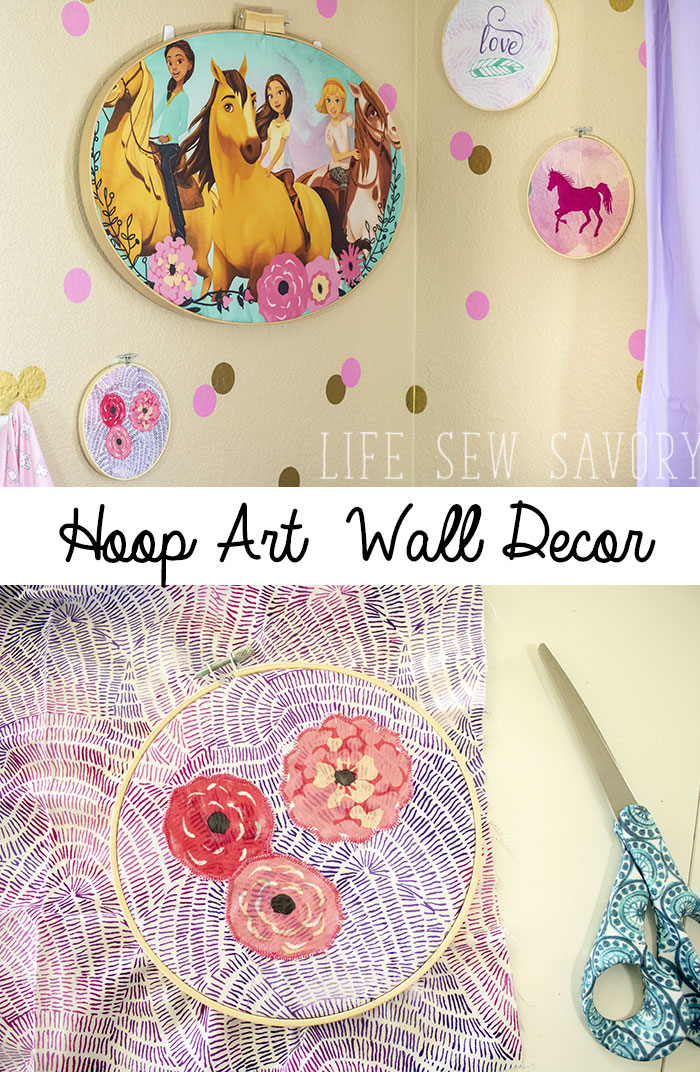
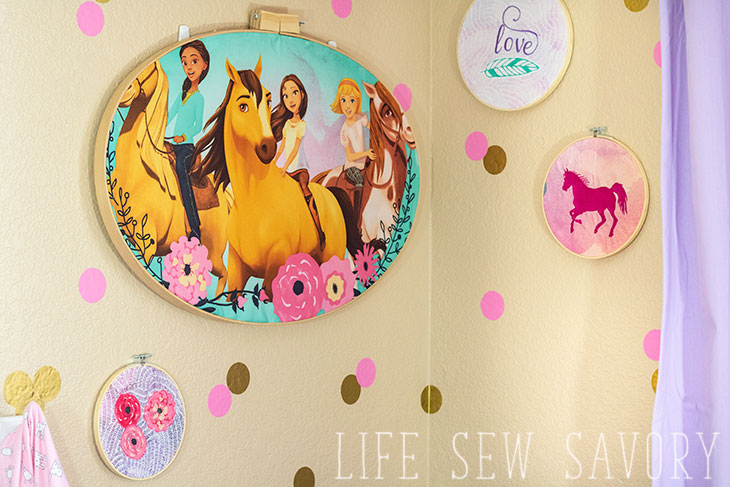
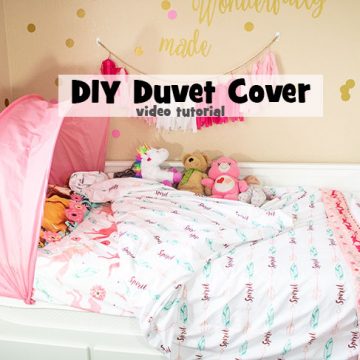
For Christmas we gave Rose this set of Embroidery Hoop Art for her wall. She had some hand-me-down princess pictures hanging in this corner and I just didn’t love them. They didn’t really go with the rest of her room, so when we decided to get her new bedding for Christmas I also changed up the decor a bit. She’s really happy with her new Spirit themed wall art, and I had a blast making this embroidery hoop art for her as well. Today I’m going to give you several ideas for making easy embroidery hoop art {with out actually doing hand embroidery} Now you totally CAN do embroidery, I just wanted this project to go fast so decided to go other applique, machine embroidery and fabric art in my hoops. I’ve also got a supply list for you to check out below.
Embroidery Hoop Art –
Before we get into the project here is my supply list –
Hoops
1 HUGE one and a set of smaller ones
Spirit Bedding {I have another post coming next week using this bedding for another project, but the large hoop here was made from an extra pillowcase.
Embroidery Designs from Etsy {FONT} and {HORSE}
If you love the gold and pink circle wall stickers you can check those out HERE. I didn’t cut them as it was cheaper to just buy them pre-cut.
Easy DIY Hoop Art project –
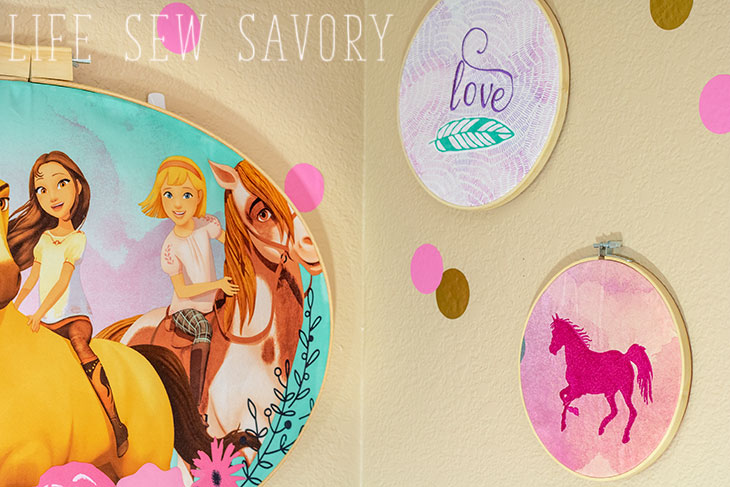
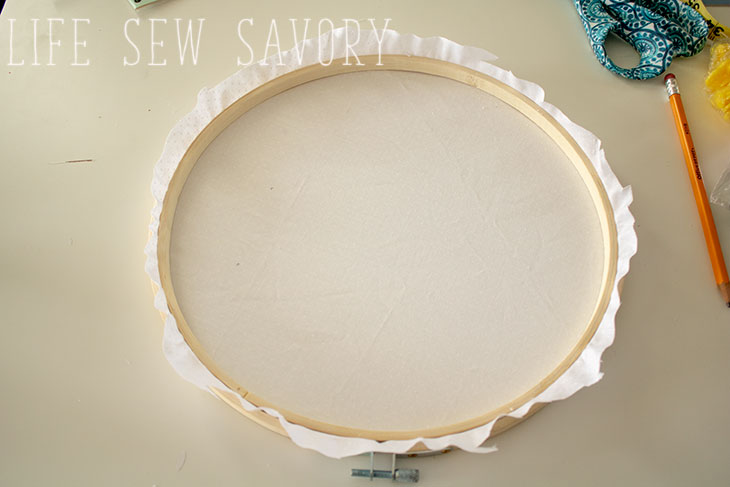
The largest hoop I just cut apart a pillowcase {as mentioned above} and put it in a hoop. One done, check! I’ve had all these tiny buttons since we moved from Hong Kong. So I just took the largest hoop from the multi-set and put white fabric in it. {You can see how I backed hoop art in the video of this post.}
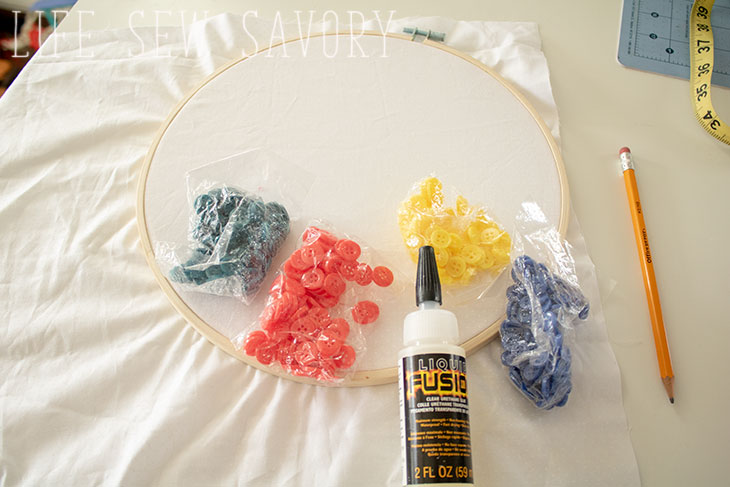
I first outlined the letters with pencil on the fabric, then used glue to attach the buttons. Hot glue would work as well. I was really hoping that these colored buttons would match the rest of the hoops I was making, but in the end this one turned out cute, but didn’t go with the other hoops I made. I used a different color for each letter.
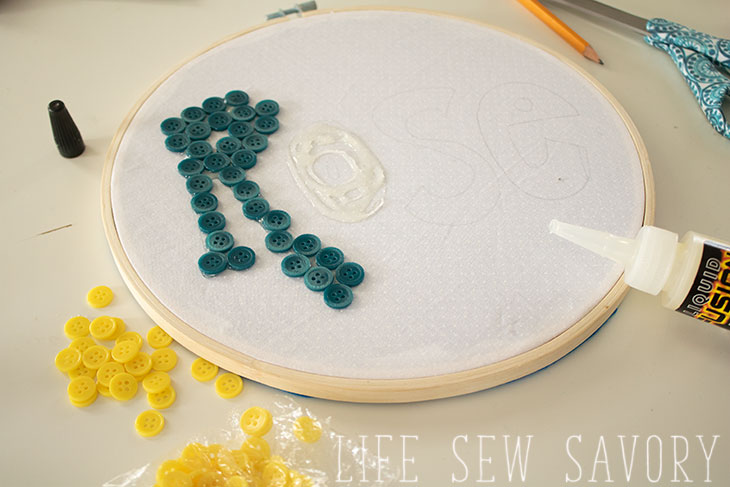
Again you can see how I backed the hoops with felt on the video, but the short version is that you trim down the fabric. {Make sure it’s stretched tight first!!} Glue the fabric down to the back side of the hoop. Place more glue {I used hot glue} on the top of the back rim and place on felt. Trim closely to the circle to finish a felt backed hoop.
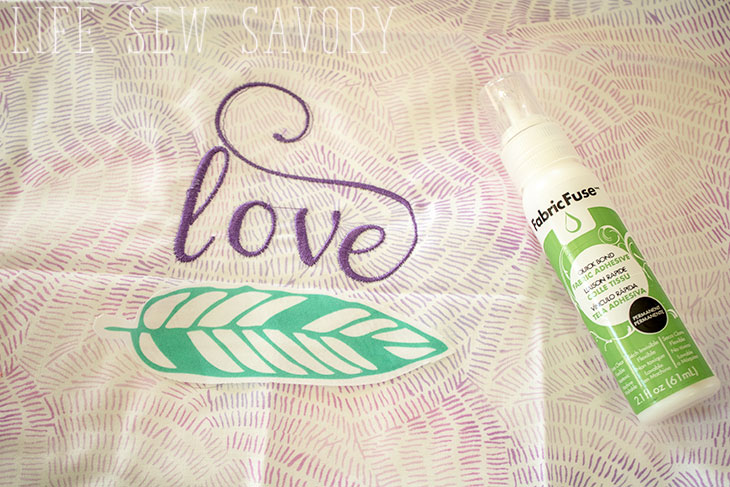
Another hoop I used my embroidery machine to write the word love then I cut out this feather from the pillow case {the other side} and glued it under the word. You could also stitch around the applique part, but I only glued it. Wait for it to completely dry before you stretch into the hoop.
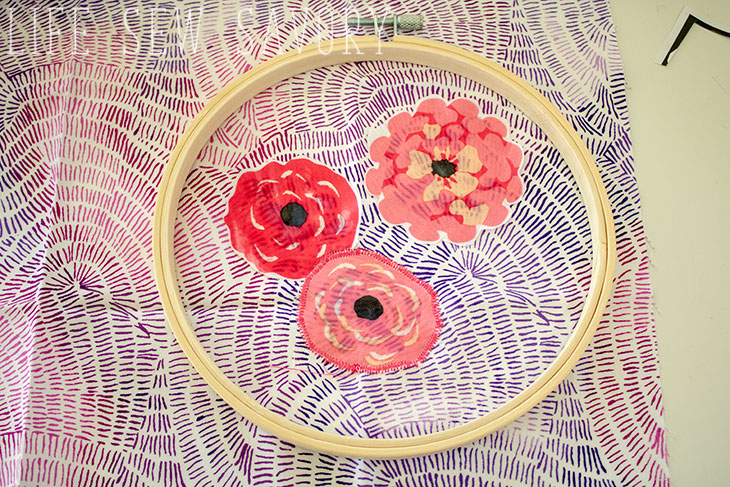
I also had these cute flowers from the little fabric bag the sheet set came it! {yep! I used every bit!} I put a bit of glue to hold the flowers in place, but then I did stitch around each of the flowers with a tight zig-zag stitch.
So those were my Kids room decorating ideas… in fun hoops! BUT… the best part is you can take these ideas and use them to inspire YOUR embroidery hoop art ideas! Each one can be unique and perfect for what sort of decorations or theme you are trying to create.
Kids room decorating ideas –
I ended up not hanging the button name hoop right by the others as the colors just didn’t work. I was really hoping it would go okay, but it just looked strange. So I hung it up on the other side of her room and it looks great there. She still gets to enjoy it, but it didn’t work with the hoop collage on this wall.
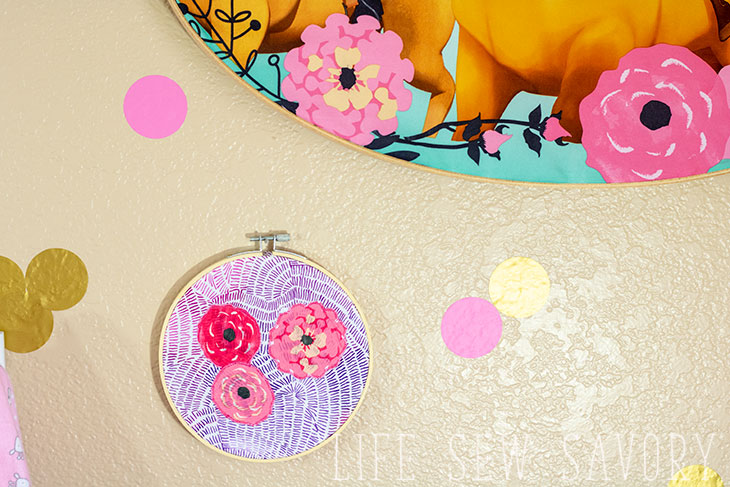
I LOVE how this embroidery hoop art turned out for Rose’s room. I love it SO much more than the princess art that was hanging there before and she loves it too, so it’s a win-win for us. I’m pleased that I was an easy project to create and complete and that it all came together.
Here are some other fun ideas for kids’ rooms
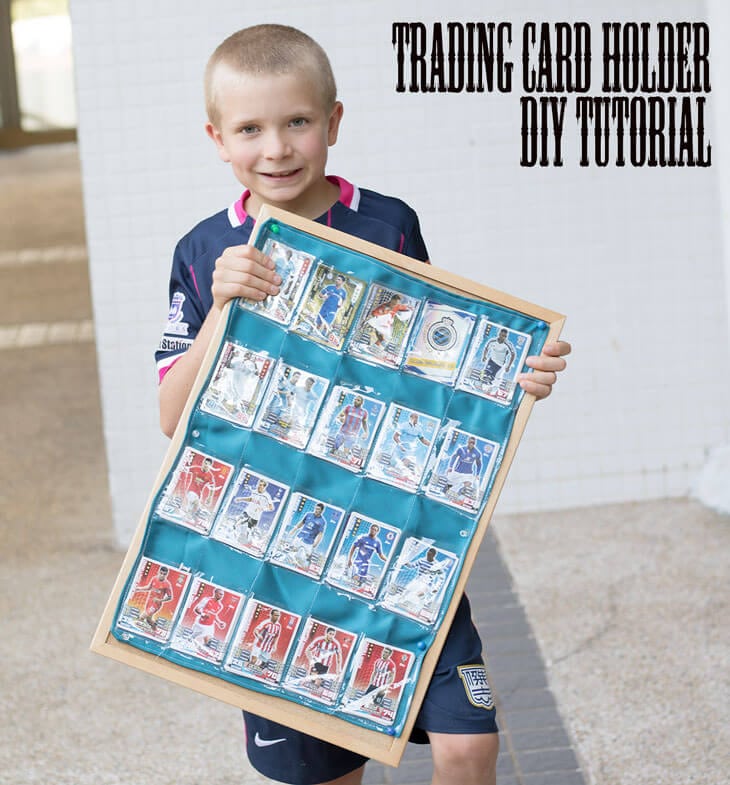
Trading card holder and display
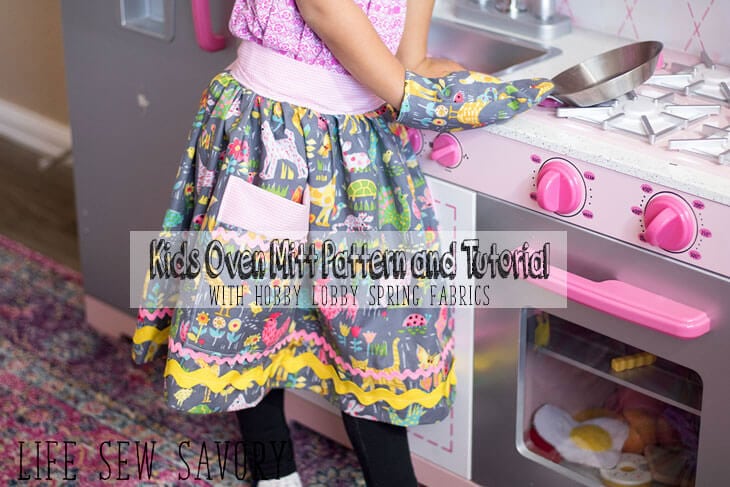
Apron and Oven Mitt {for play}
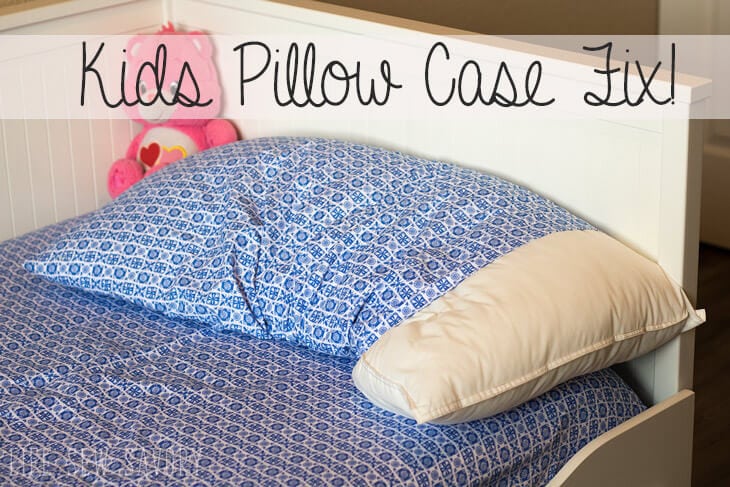
Easy Pillow Case Fix




ninesix says
I love of how much this feels like it should; reminds me of careless younger years!! This is how a kid’s room should look, don’t get me wrong I also love the oldest trends, but this feels so much more innocent! Must be the colours!