inside: Make a beautiful Christmas decor piece with this fabric on wood DIY project. Make for Christmas or any holiday with a few simple steps. Grab some cute fabric scraps and a wood background to get started.
As I’m typing this we are having our first real snowstorm of the year. I was already in a Christmasy mood, but the snow is putting me over the top. Today I’m sharing another version of a fabric on wood DIY home decor. Several years ago I shared a fall version of this fabric and wood decor, but today I have a fun Christmas version. I shared this as a live show a couple of weeks ago and I’ve also included that video if you want the video tutorial.
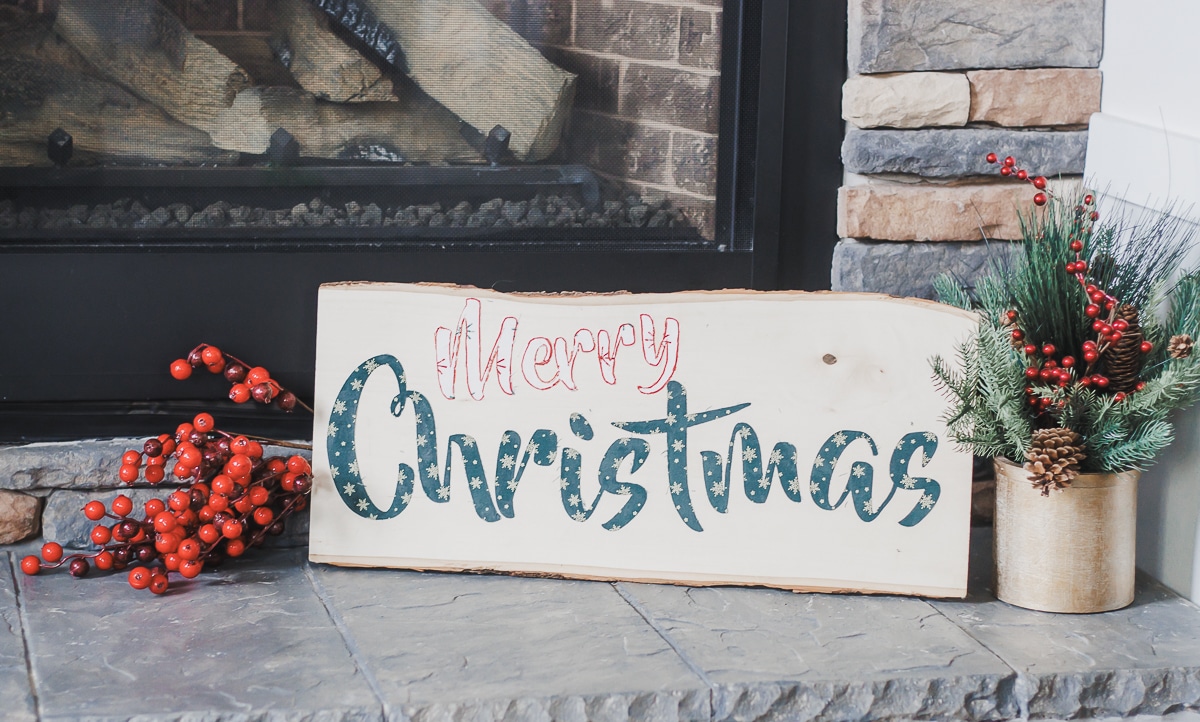
Fabric Letters on Wood Sign for seasonal decor
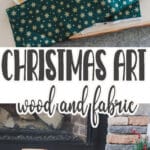
Several years ago I made this fall version and recently I added the Christmas letters to the back of the same sign. More decor, less storage! {haha} The front side with the fall is definitely a more pretty side of the wood, but both look pretty good. {If I do say so myself}.
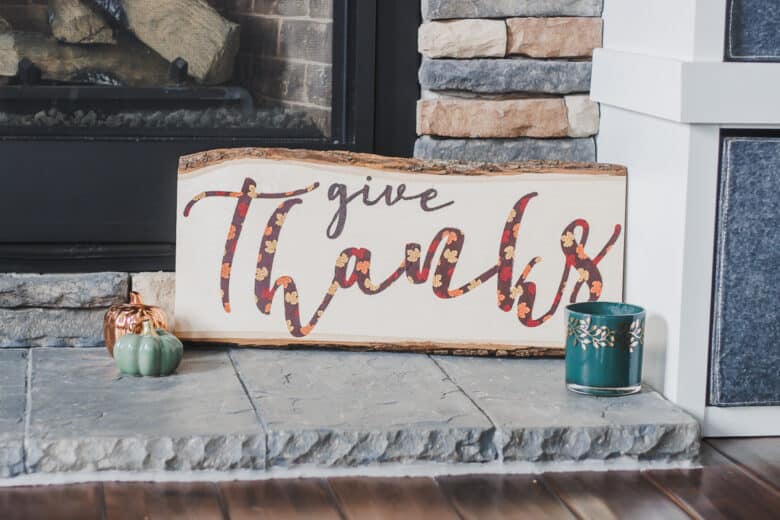
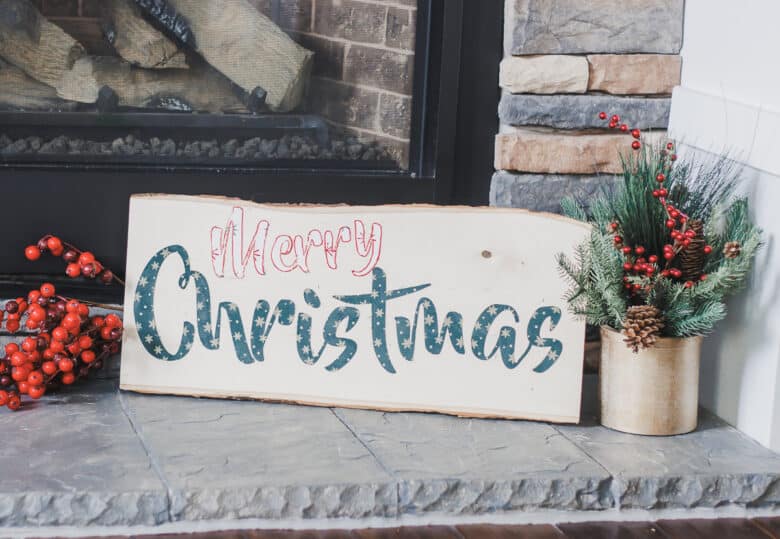
I love the way both of these look and I really love that I can just turn the sign over and use for more months of the year. The wood plank like this can be purchased at Hobby Lobby and and in fact I was just there today and saw this same piece. They also have wood cuts in all shapes and sizes, that would make such cute home decor.
How to glue fabric letters on wood –
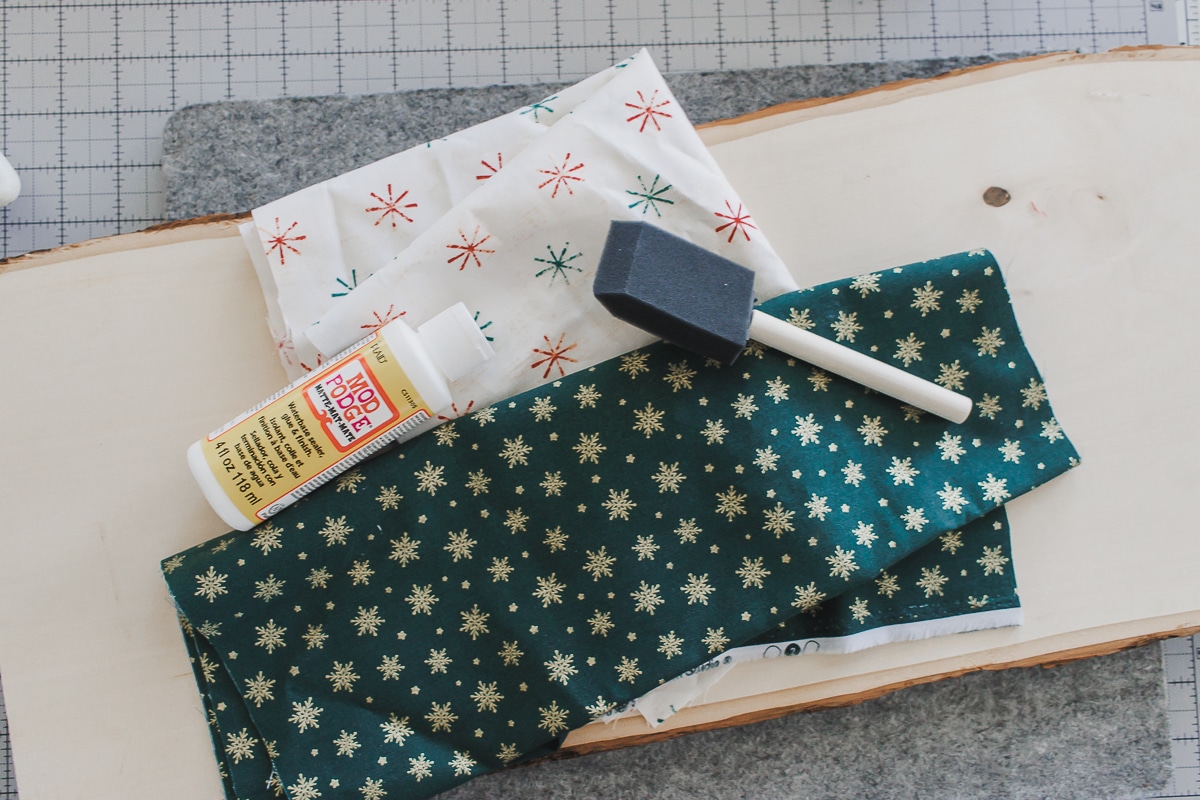
Ok! here’s what you need to make this project
- slab of wood. I bought mine at Hobby Lobby
- Fabric scraps {Quilting cotton works perfectly}
- Mod Podge
- Foam Brushes
- Cutting machine {or hand cut scissors}
This project is simple and only needs a few items.
I used the combination of a Brother ScanNCut and the Artspira app to create this project. You can do the same thing using your different electronic cutting machine and the software that comes with it.
In the app create a new cutting design, then add text. Use whatever font you want, I used the Beyond the Mountains font {which is a free options in the app}. Type out the text you want, then use the OVERLAP button to make sure the letters weld together. {You only need this if you have letters that touch.
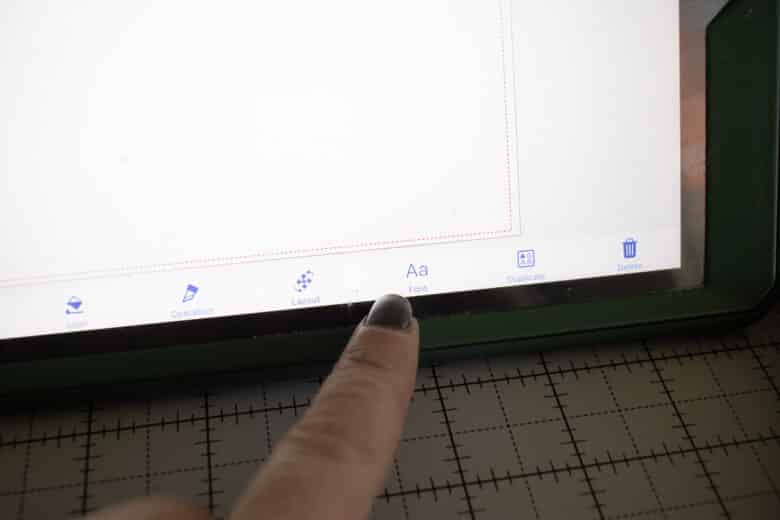
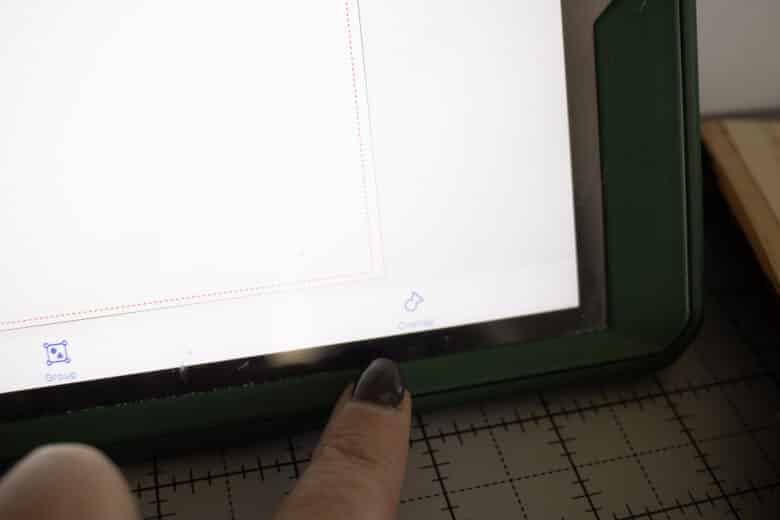
Now your text is ready to transfer. Transfer to your cutting machine to move onto the next step. You may need to create several designs to cut all your letters. I used three different mat cuts for this project. The MERRY, CHRIS, and TMAS – break up your text as you need to cut and as large as you want.
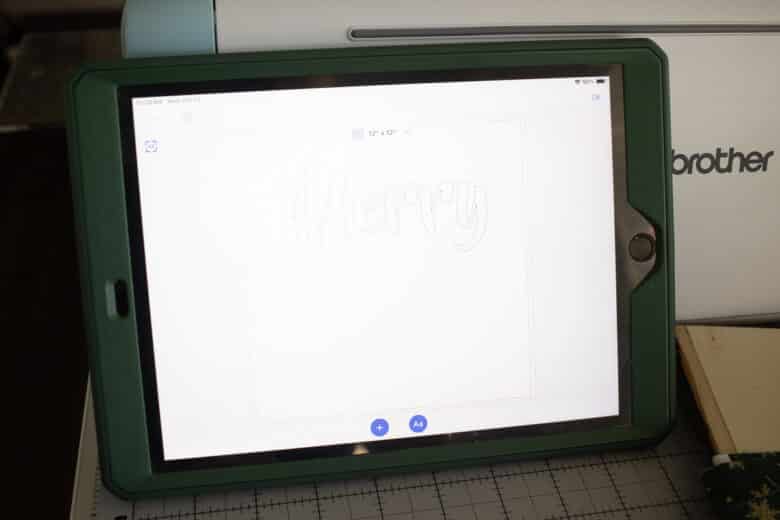
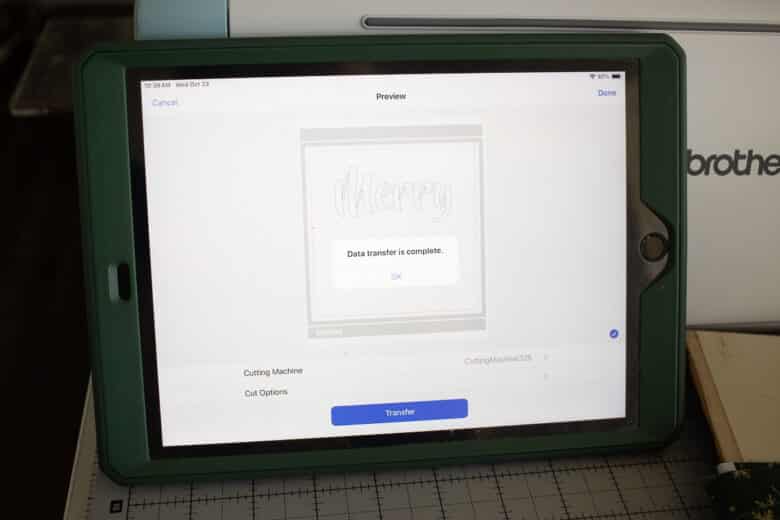
Select retrieve data and then select the cloud button. This should open the word or words that you sent over. Position on the cutting mat where you want.
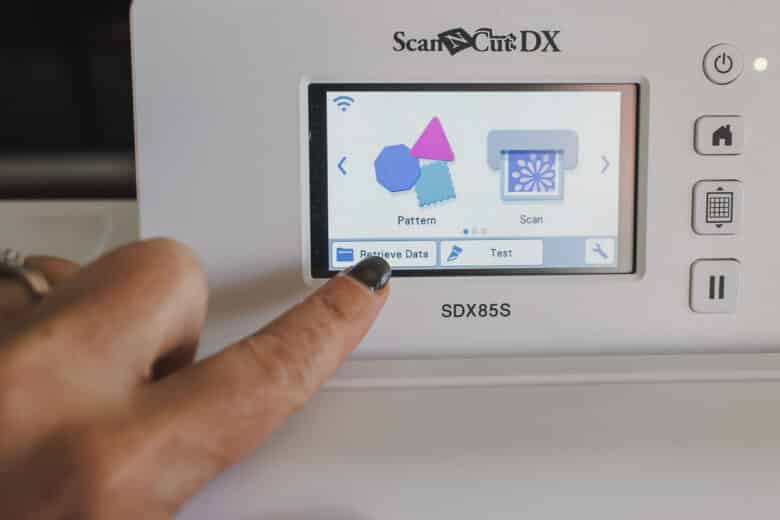
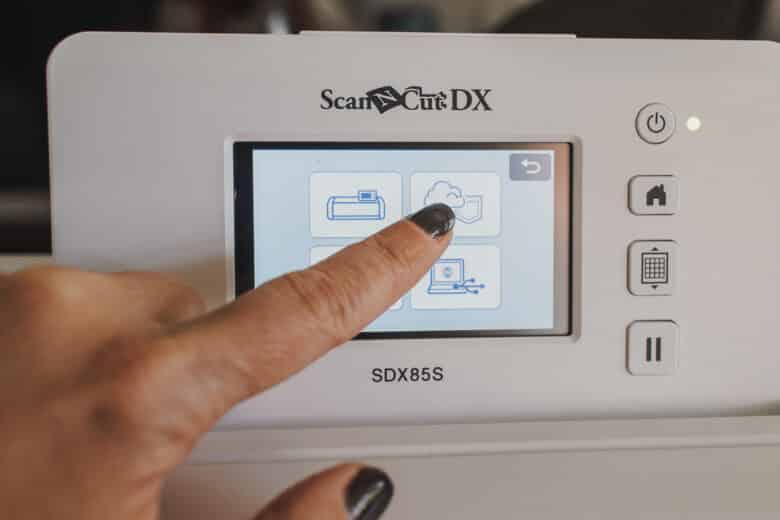
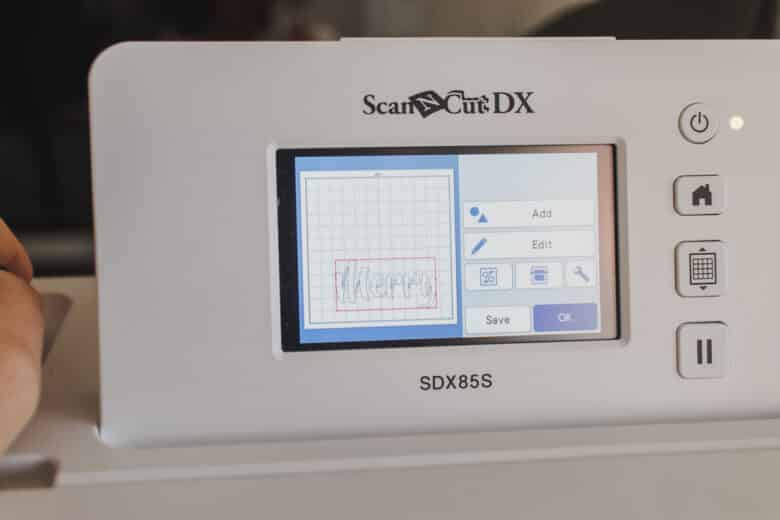
Place your fabric so it is where you need for the cut. This is the fabric mat {the stickiest mat} and you can place the fabric right on the mat. I did not treat the fabric in any way. The thin fabric blade is perfect for this type of cutting. Need more help cutting fabric with your cutting machine? Check out my post on how to cut fabric with your ScanNCut.
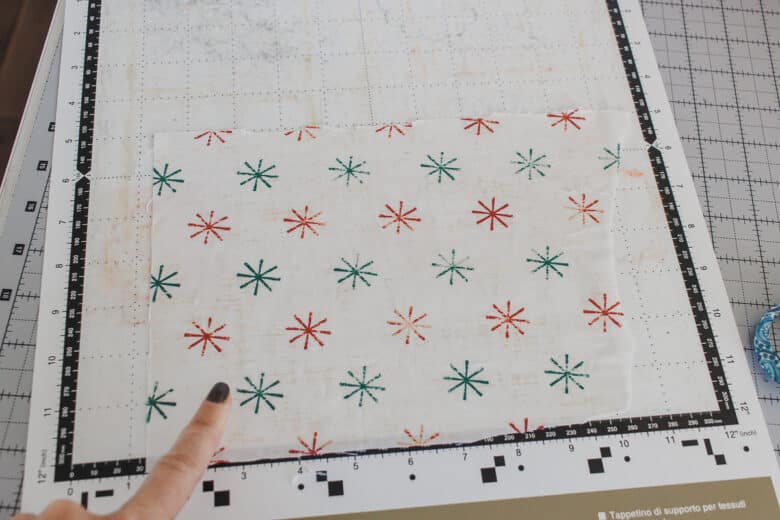
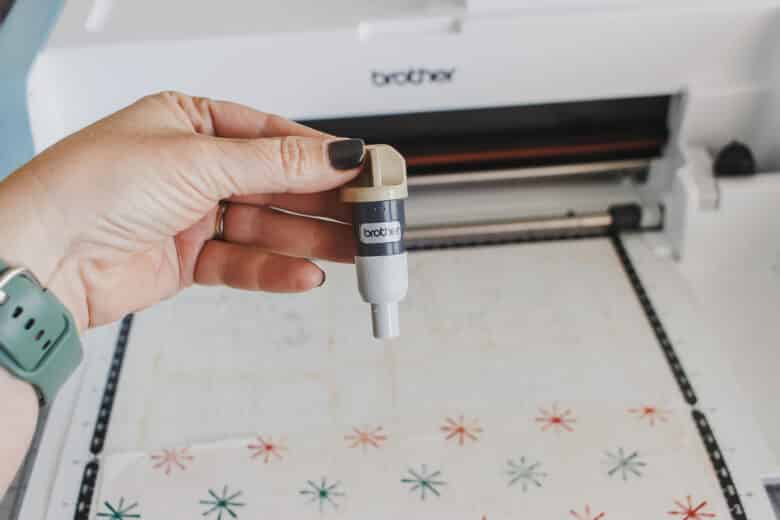
Cut the fabric and then remove the fabric around the cut letters from the mat.
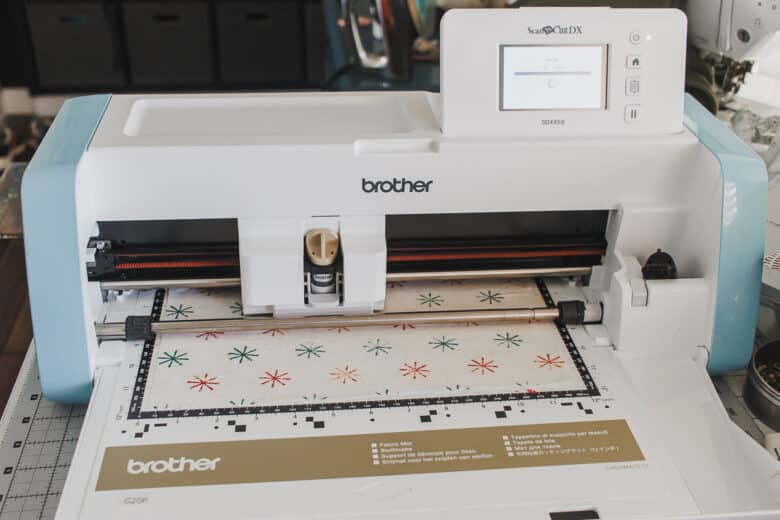
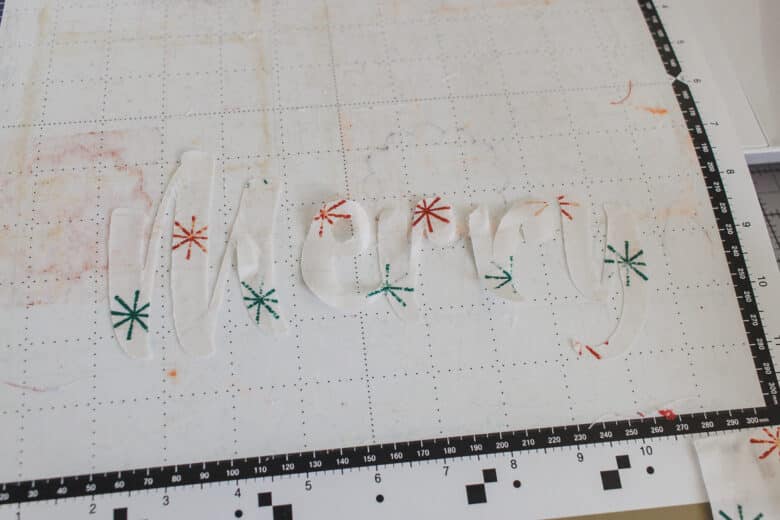
Carefully remove the letters from the mat and place where you want on the wood.
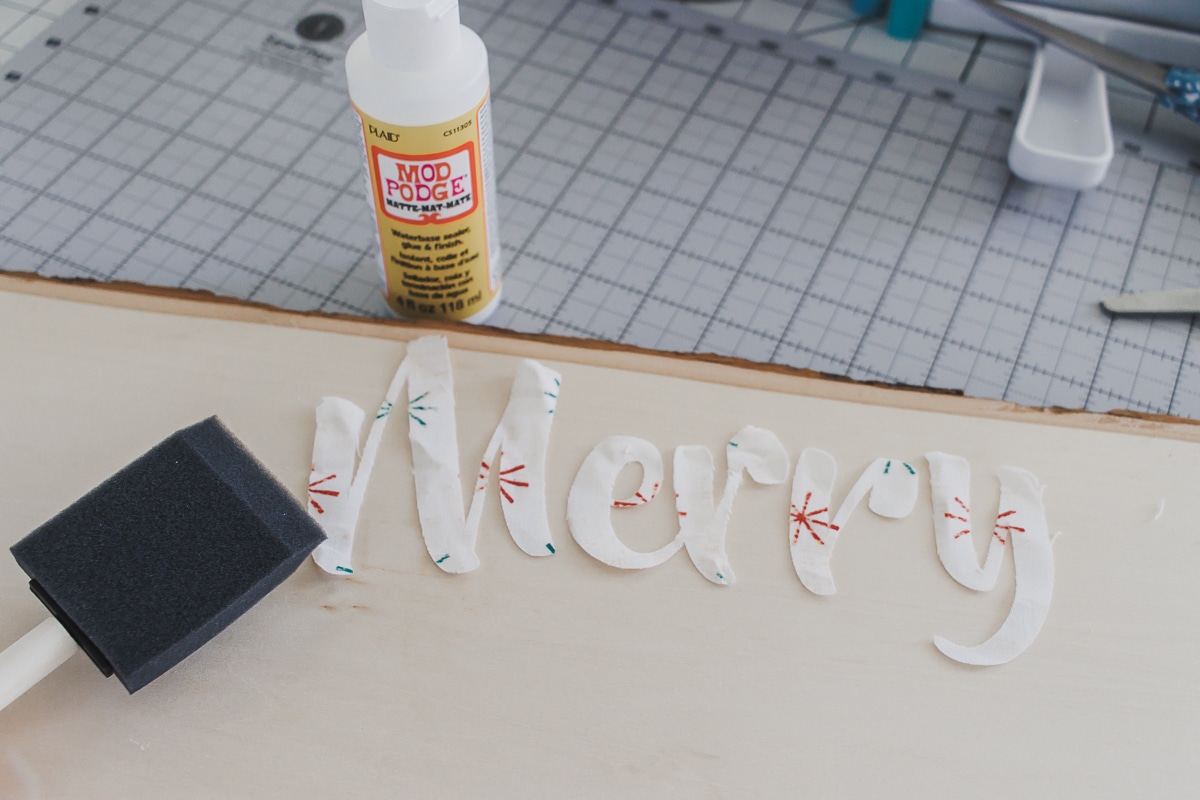
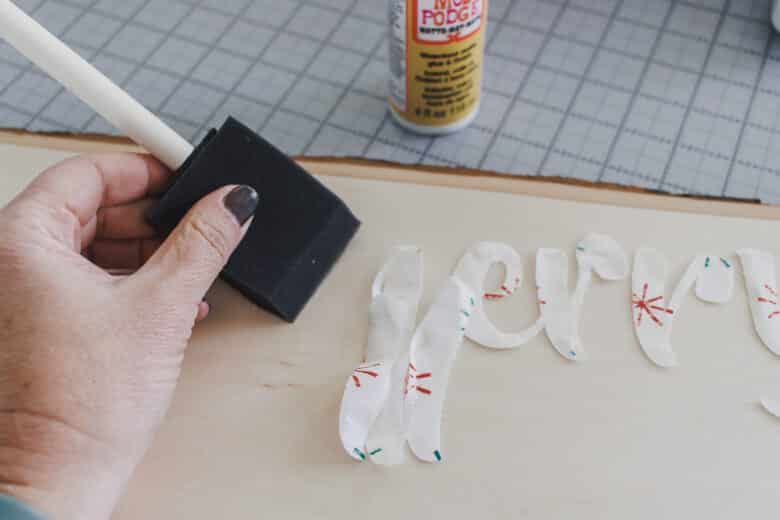
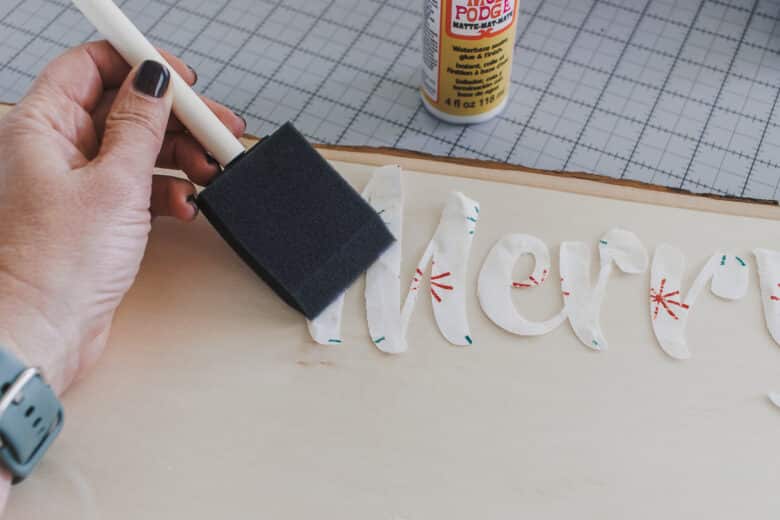
After you have the placement just right, lift one letter as a time and put a generous coat of Mod Podge under the letter. Place the letter back on top of the glue and press it into the wood. Cover the letter with another layer of glue on top of the fabric. Repeat with all the other letters/words. When the glue dries it is pretty much invisible.
And that’s it! It’s really super simple. A fun and easy project. What would your sign say?




Leave a Reply