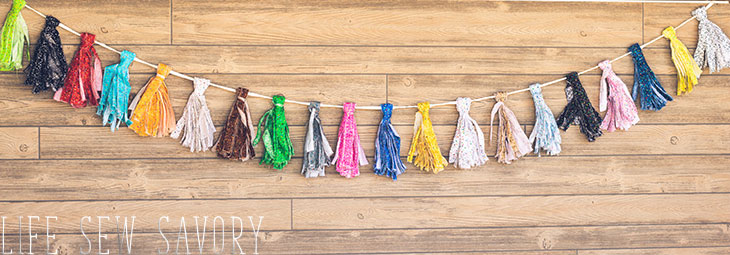
inside: use this gorgeous fabric tassel garland tutorial from fat quarters. Learn to turn fabric quarters into fabric tassels for a garland.
Last month I was creating decorations for a sewing room that I was hosting {see more here} I made this fun fabric tassel garland. I had several fat quarter bundles that had been sent to me from QT Fabrics for previous projects for It’s Sew Easy. This is a fun little no-sew tutorial to make a gorgeous tassel garland.

Fabric Tassel Garland Tutorial-
First up, let’s play a game… how much fabric do you think is in each tassel? It’s actually a whole fat quarter in each one!! I wasn’t sure if I needed that much, but I actually I liked the way it looked. In the end my garland was actually really heavy because it had five full yards of fabric in it. But it looked so cute so I just went with it.
I was so pleased with the final result of the fabric tassel garland DIY and it looked great in the sewing room I hosted last month.

How to make tassel garland with fabric –
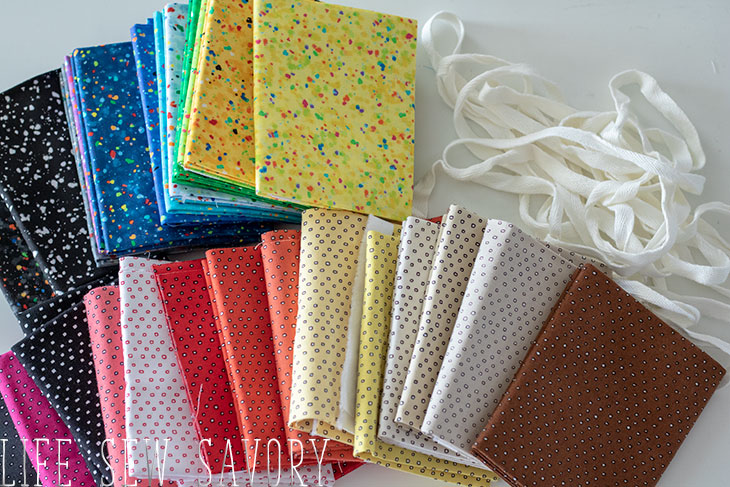
gather your supplies…
- Pretty Fat Quarter bundles…. Here are some on Amazon and here are some on Fabric.com
- cording or ribbon to hang the tassels on.
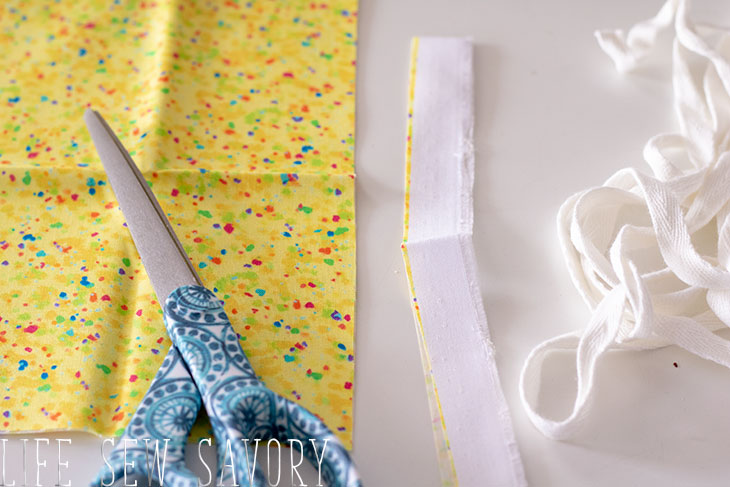
Start by trimming off the selvage edge of the quarter.
You could use a rotary cutter and just slice all these if you wanted. I like the ripped look {comparison below}, but you can cut it for sure. To rip the fabric I kept the fat quarter folded in half and cut a couple of inches on the fold.
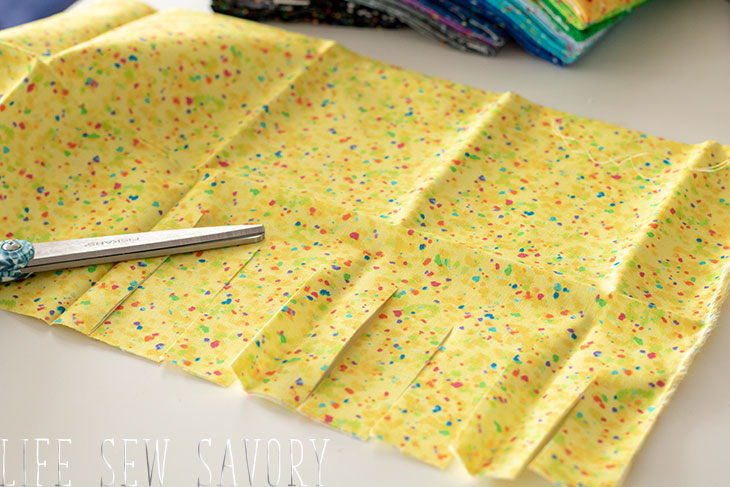
From there I pulled each of those small cuts and ripped it the rest of the way across the fabric.
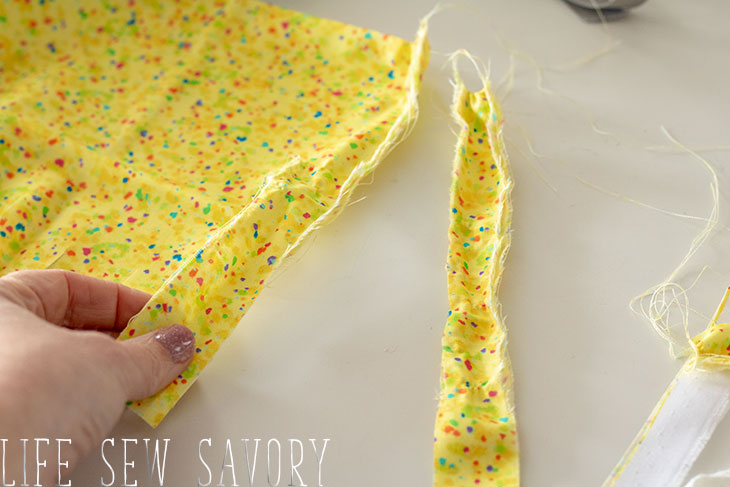
When I finished the fat quarter I had a pile like this.
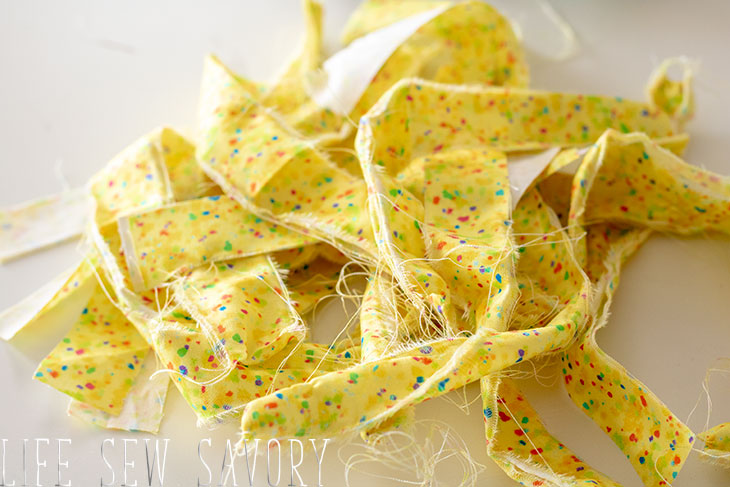
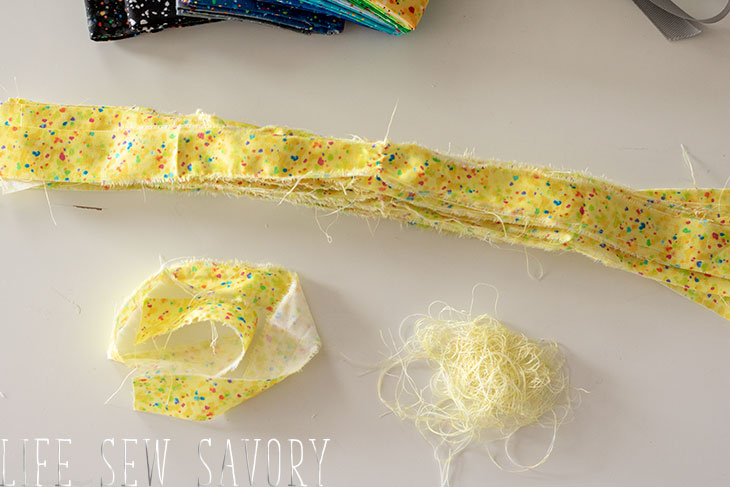
From there I made a pile of the strips. As I was piling them up I also pulled off some of the extra strings. I tried to line up the ends while I was making the pile.
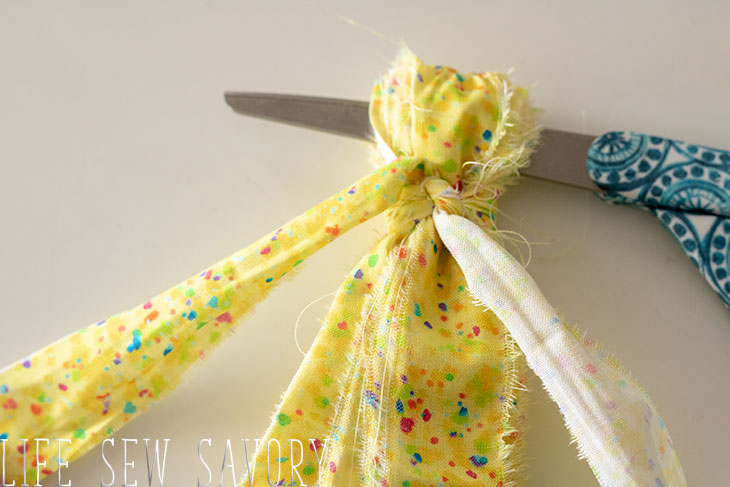
Place something in the center of the fabric. {I used my scissors} Fold the fabric over to fold in half then use one of of the strips to tie off the tassel.
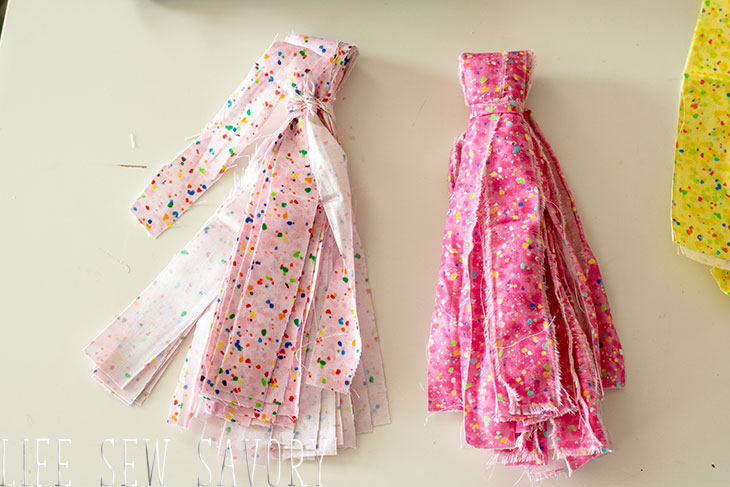
So I mentioned above both the cutting at the ripping of the fabric… Here is my fabric tassel DIY comparison. I was getting tired {like my arms were literally tired…} of ripping the fabric so I tried cutting a few quarters. It was easier and faster, but in the end I didn’t like it quite as much, so I went back to ripping each one.
Once you have all the tassels created, decide what you will hang them on. I had this white cotton cord so I used that. I used my elastic bodkin to thread the cording.
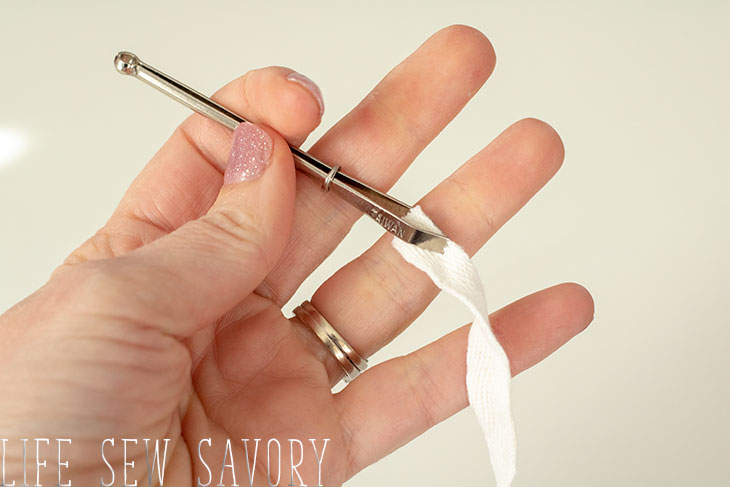
I was able to use the bodkin to thread the cord through the top of each tassel. Decide the order of the tassels before you thread. This would look cute with five tassels or twenty five tassels, it just depends on what look you are going for. Be sure to share photos of your fabric tassel garland made with this DIY in our Facebook Group…
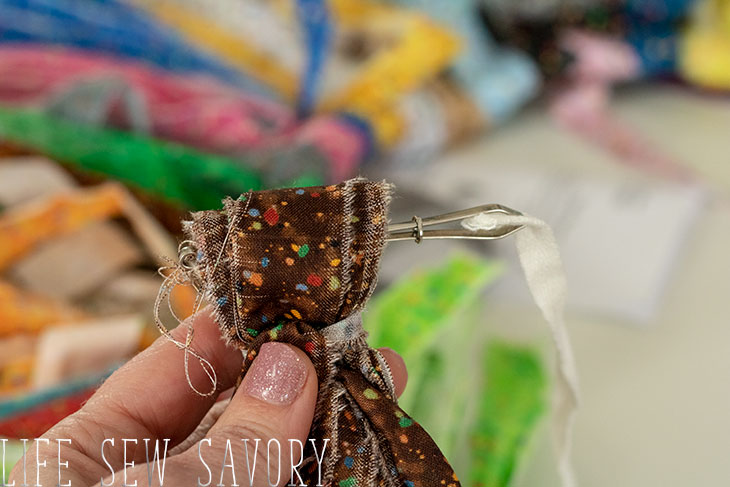
OK! Now that you know how to make fabric tassel garland, get out there and make one!! There really are so many fun Fat quarter bundles that would make a pretty garland.
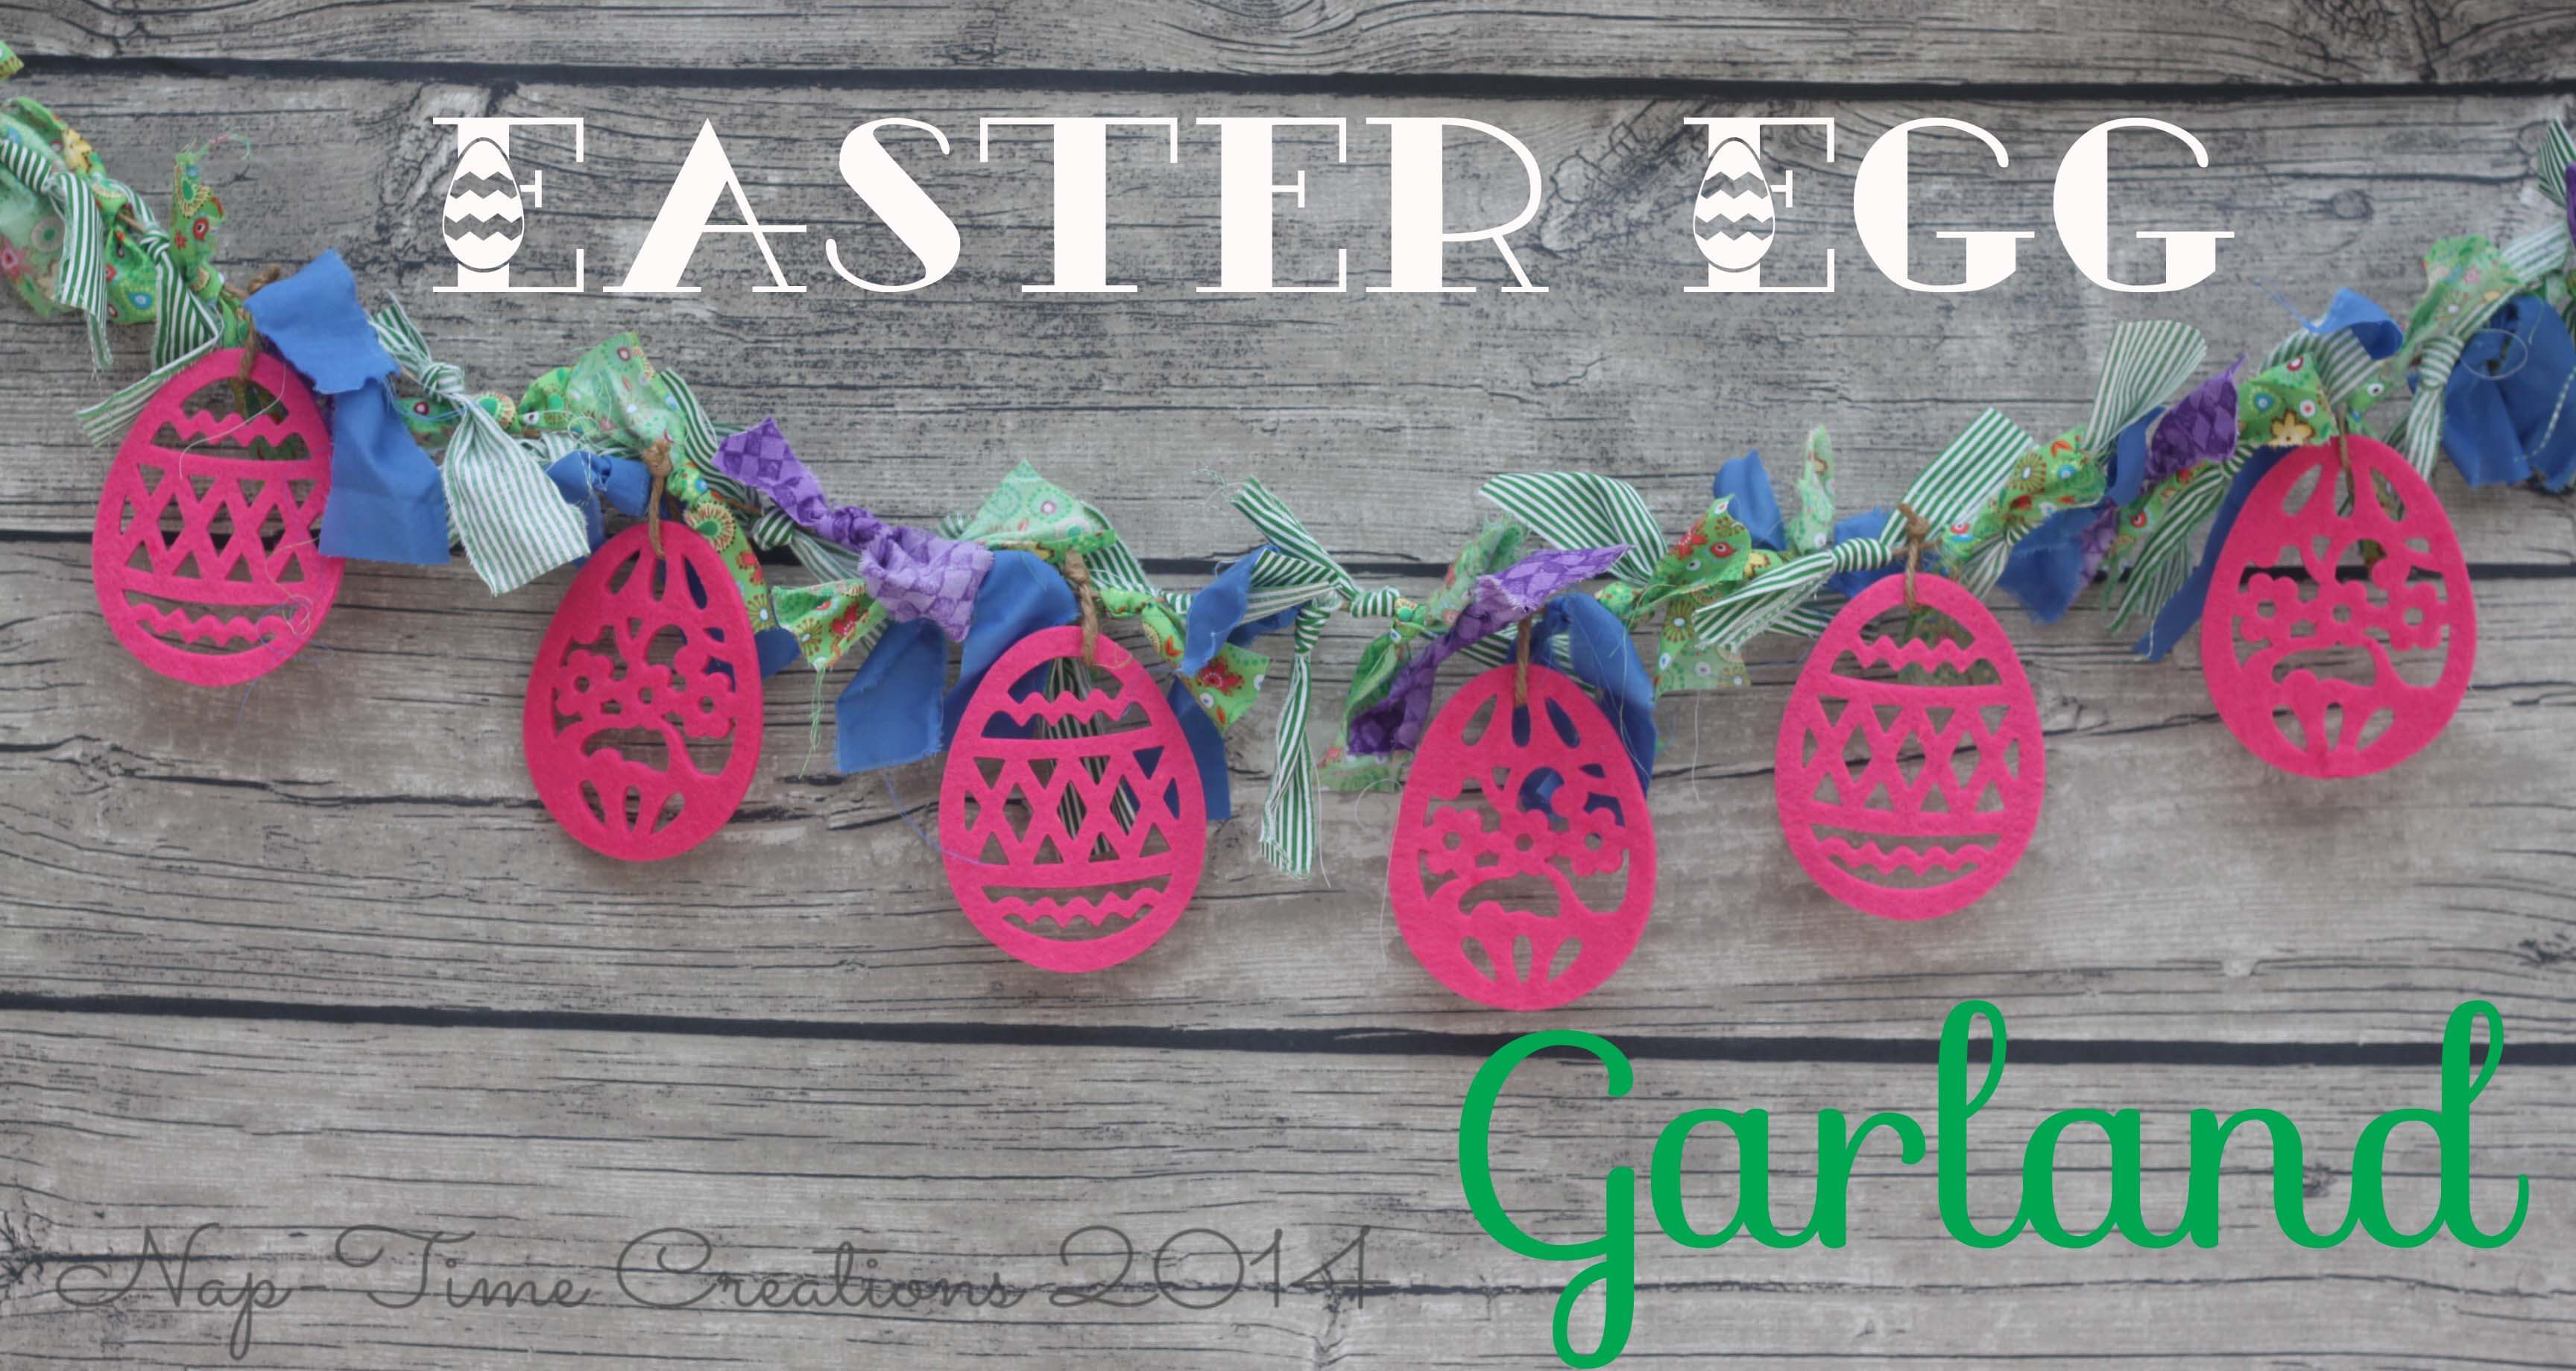
Here are some other fun garlands you should check out:










Golden Goose Deluxe Brand Ayakkabı says
Hello, you used to write great, but the last few posts have been kinda boring…
I miss your tremendous writings. Past several posts are just a bit out of track!
come on!