
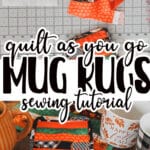


inside: Learn how to sew fall mug rugs with this sewing tutorial. These quilt as you go mug rugs are easy to sew and turn out beautifully. Fun sewing tutorial and project.
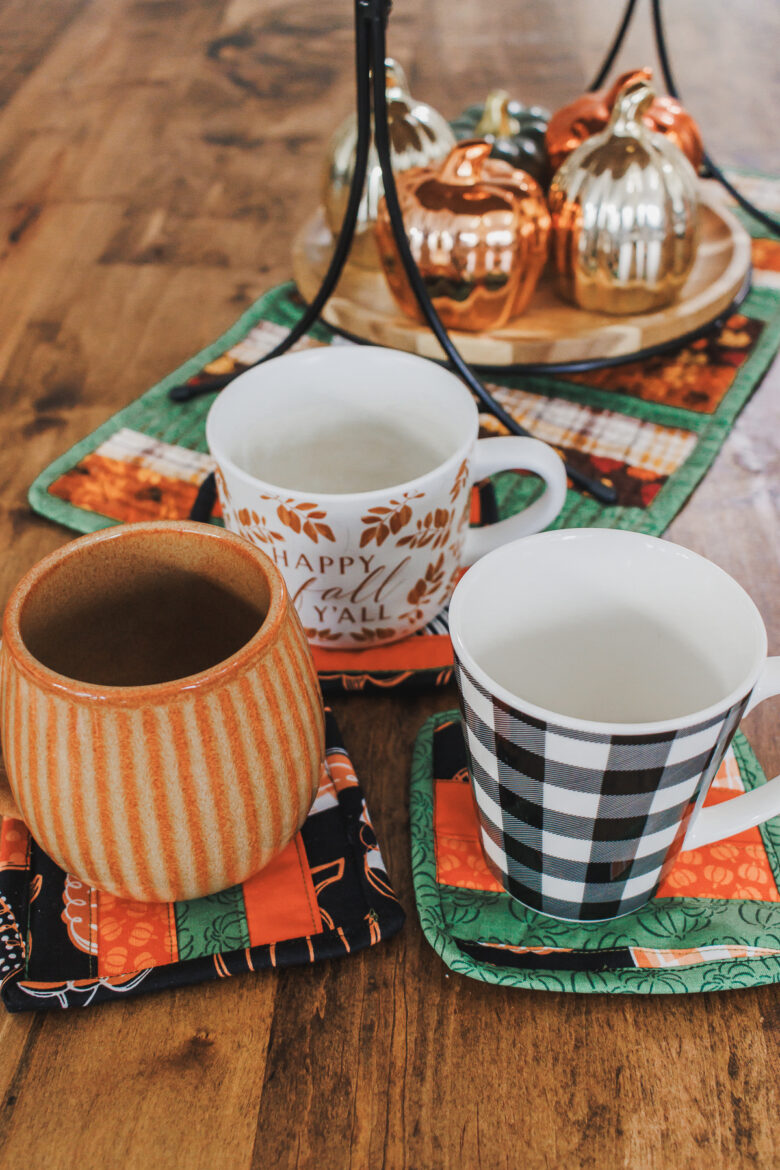
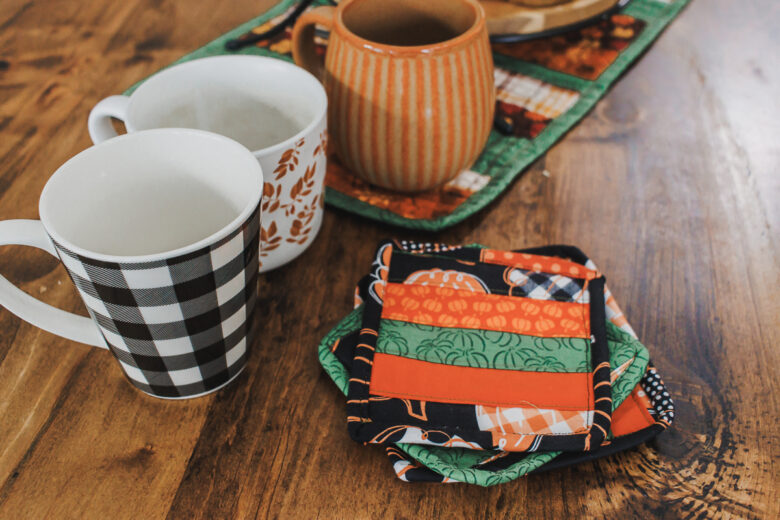
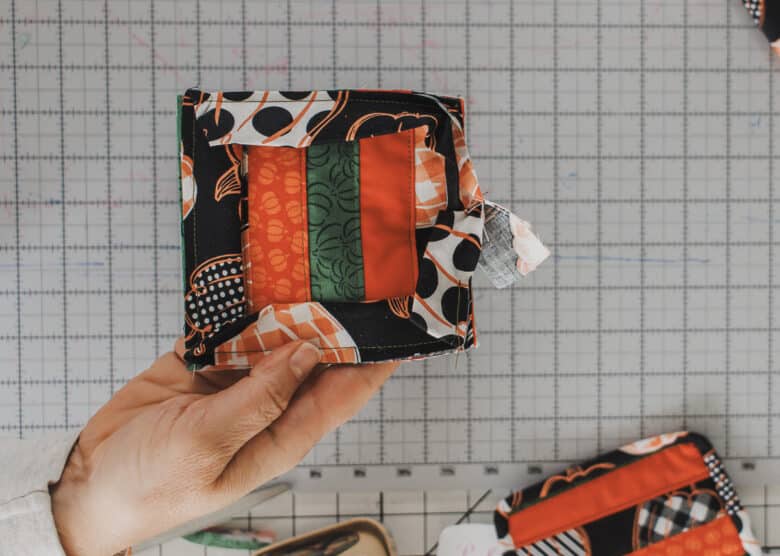
I was looking for one more fall sewing project before I moved onto the holidays, so I decided to make these cute fall mug rugs! This sewing tutorial is so cute and easy and I love the final result. See how pretty they turned out!
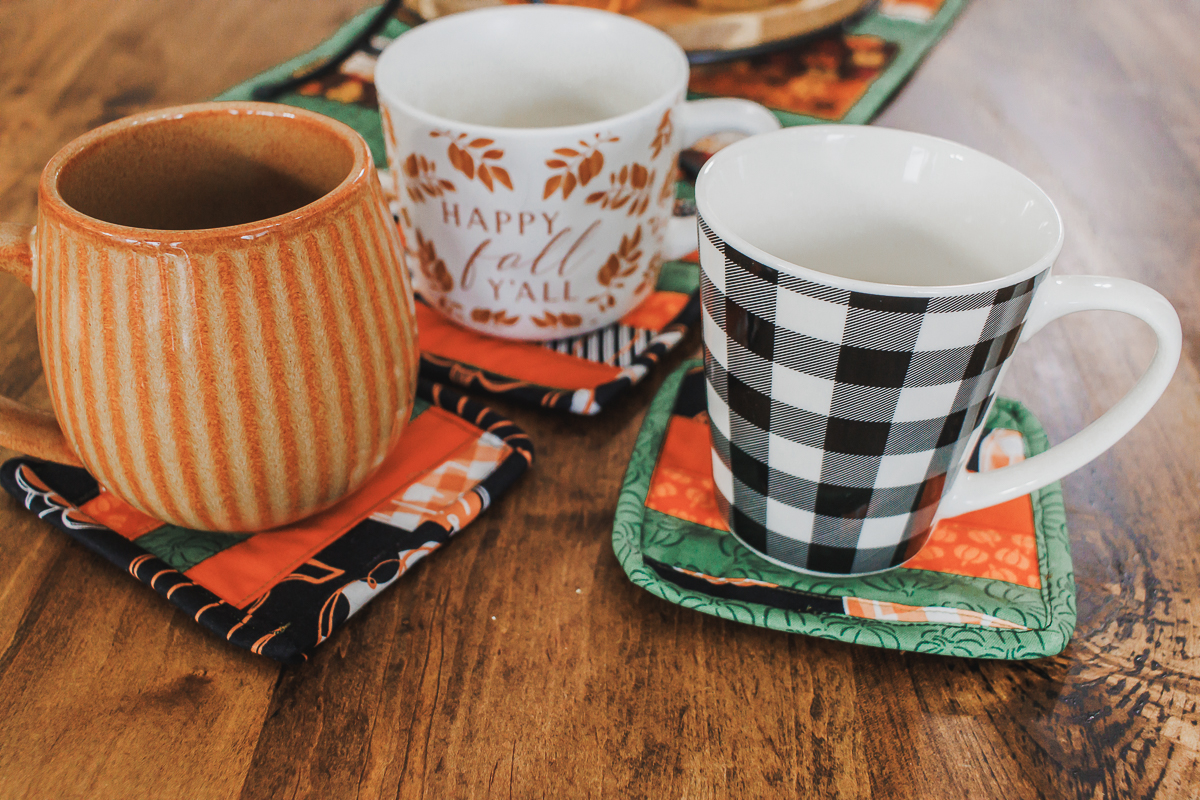
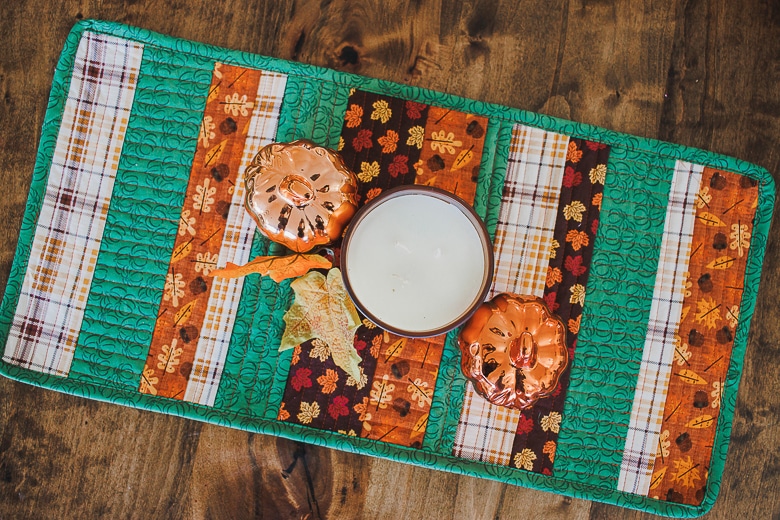
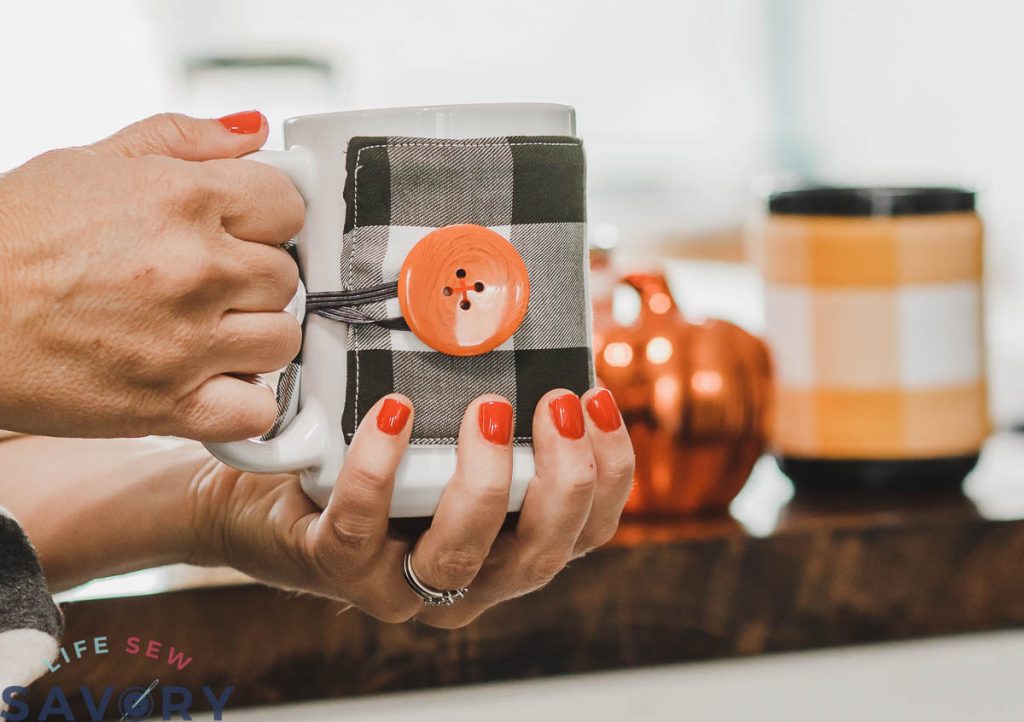
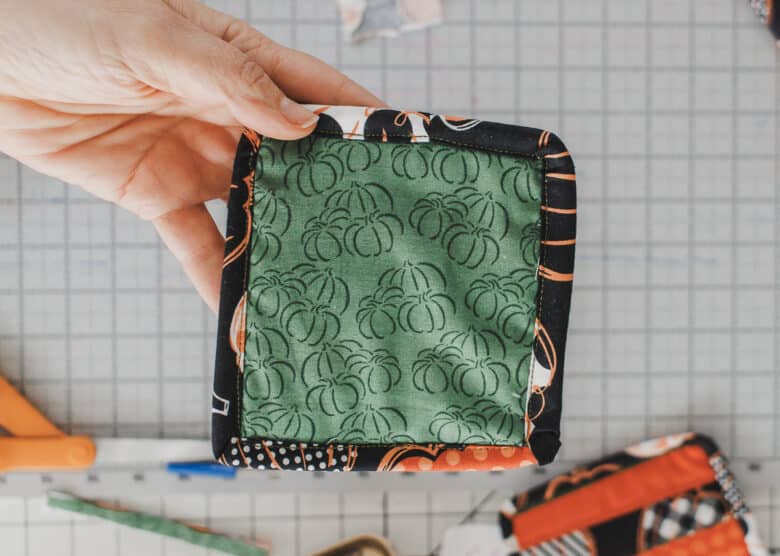
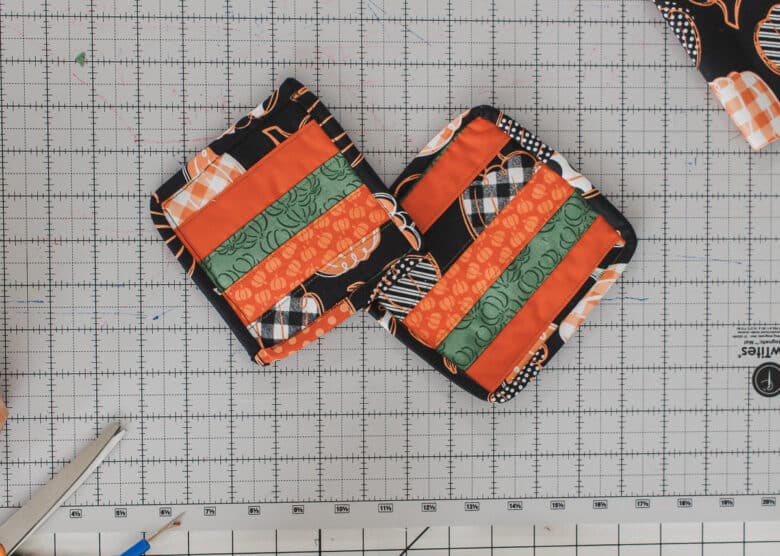
Fall mug rugs
Of course the fabric you use can make these look very different. I used classic fall fabric for a very fall look. Make for any season or event with different fabric.
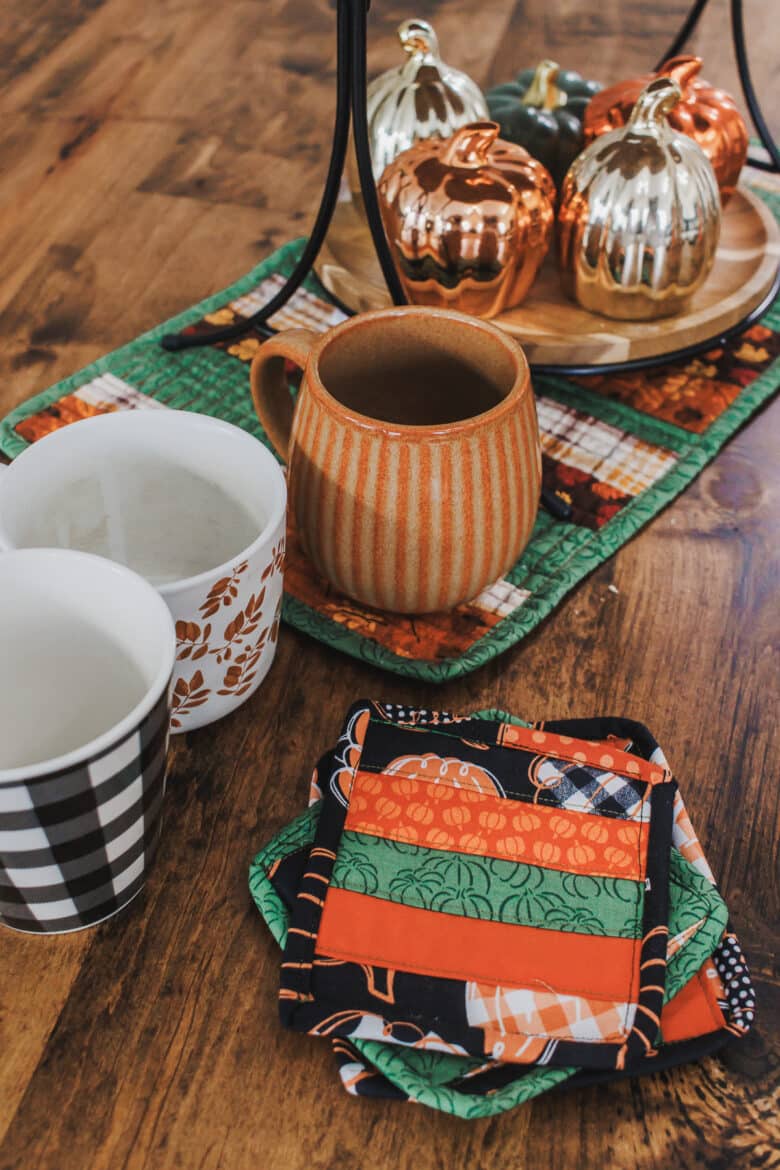
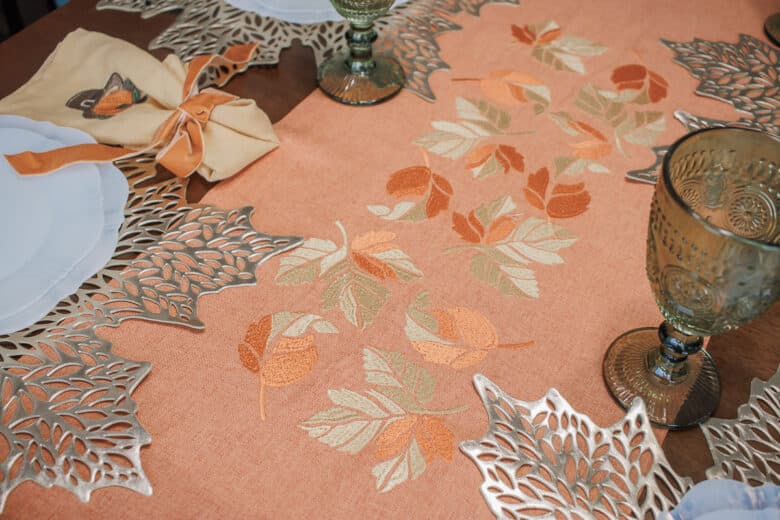
SO fun right? They even look good next to my quilt as you go table centerpiece/runner I made a few years ago. In fact, I was finishing up scraps from that project with the fabric in this one. Have you tried the quilt as you go method for sewing?
Other fall sewing projects
- Fall leaf embroidered runner
- Quilt as you go fall table runner
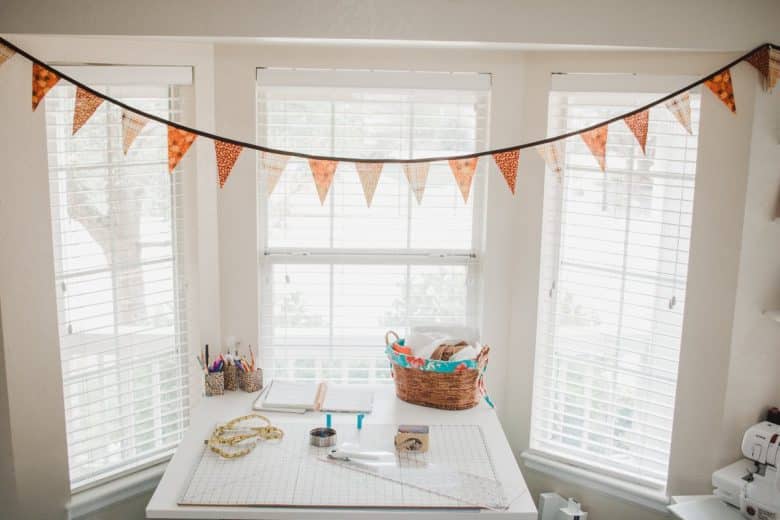
- Fabric bunting
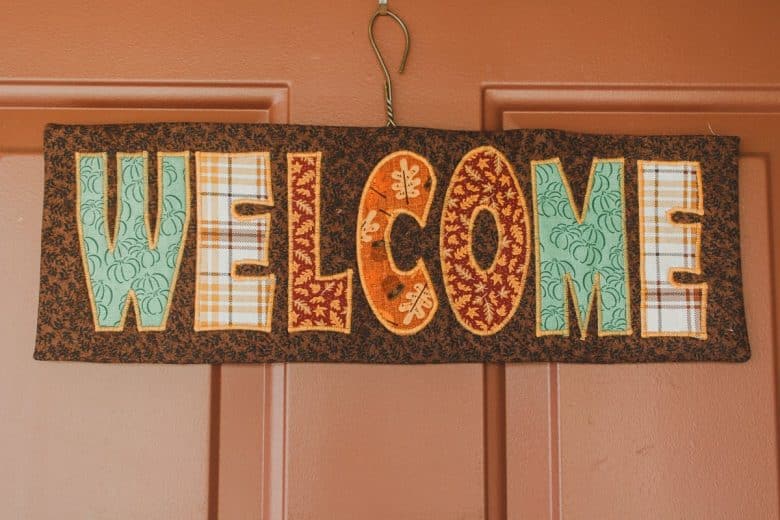
- Fall Welcome sign
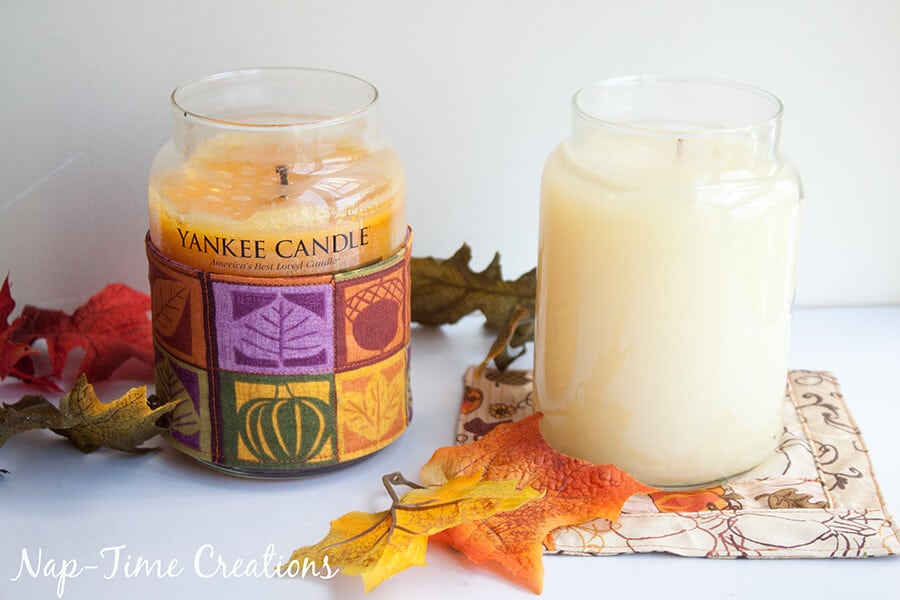
- Candle Cozy {Make any candle a seasonal theme}
- Mug Cozy tutorial {make any mug a seasonal one!}
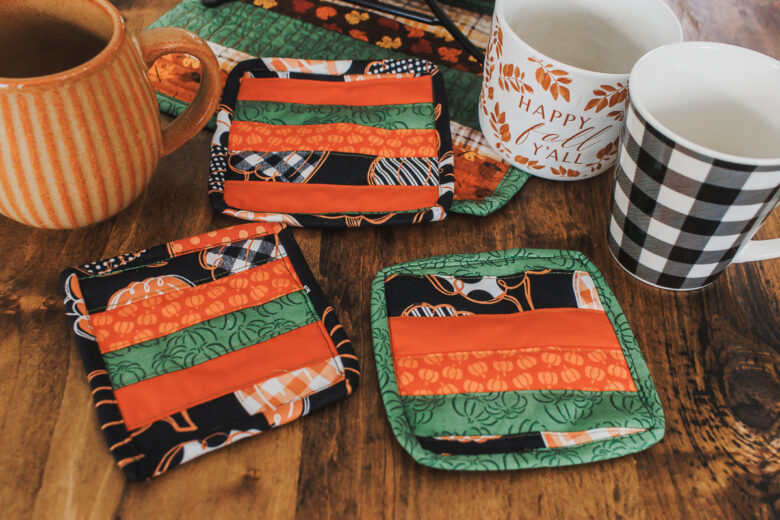
Quilt as you go mug rugs
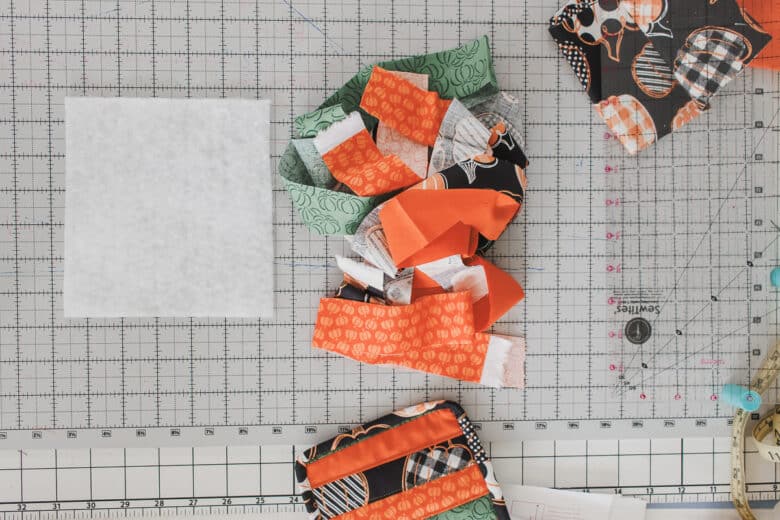
This is a great scrap buster project, or purchase 3-5 small pieces of fabric. Fat quarters are great or 1/4 of a year if you need to buy off the bolt.
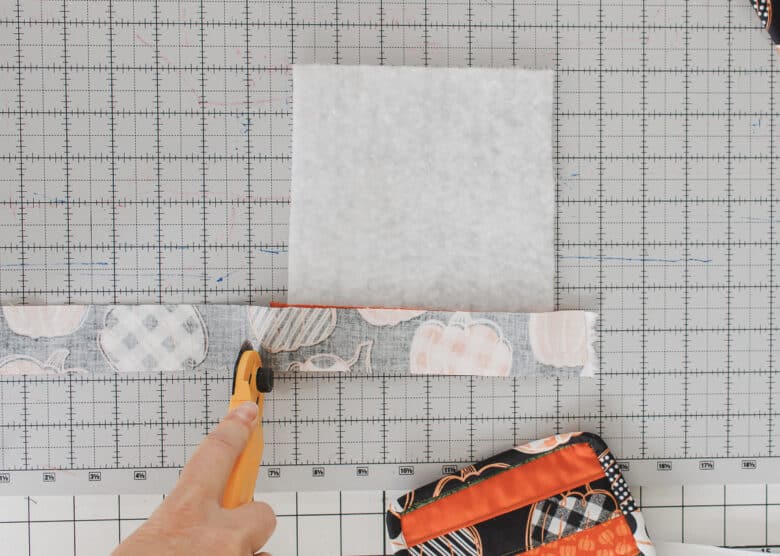
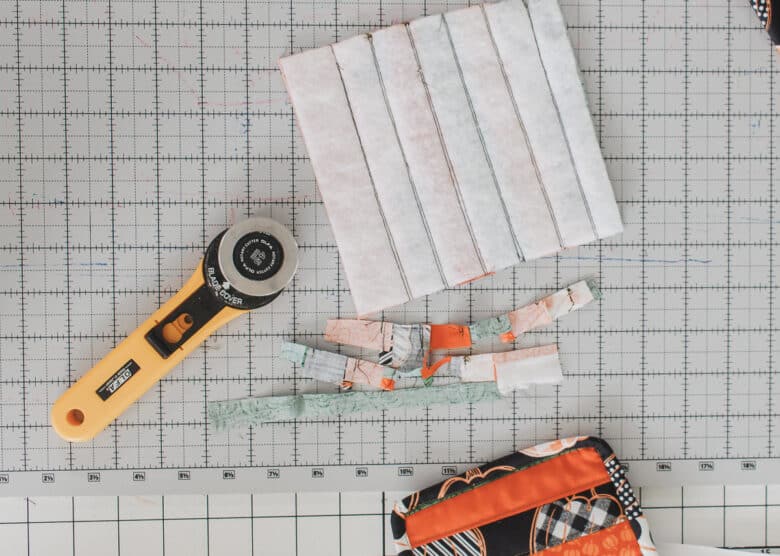
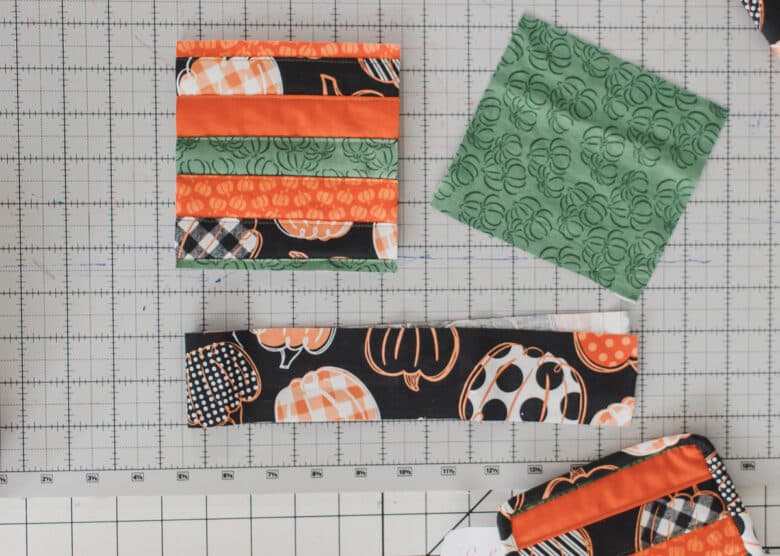
Grab a small scrap of batting {thickness can be whatever you have}. Cut the batting 6″ square to start.
You can cut several pieces of fabric to be just over the 6″ or just cut as you go… This is what I did.
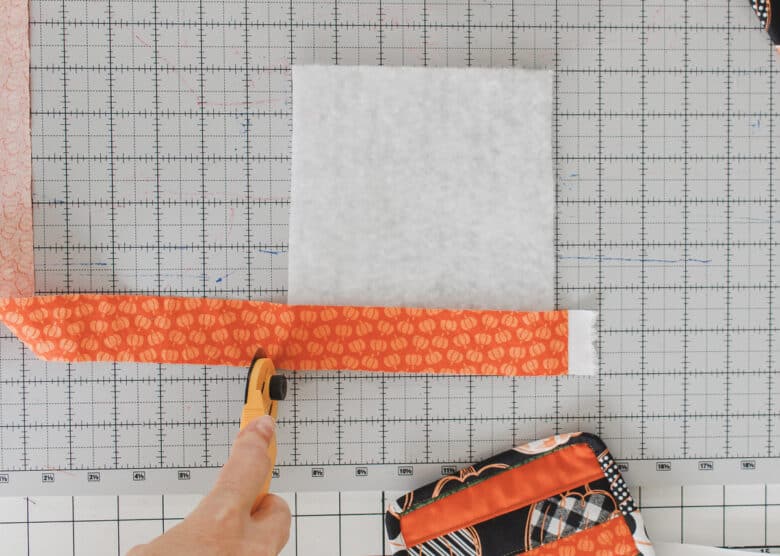
Cut two pieces of fabric just longer than the batting.
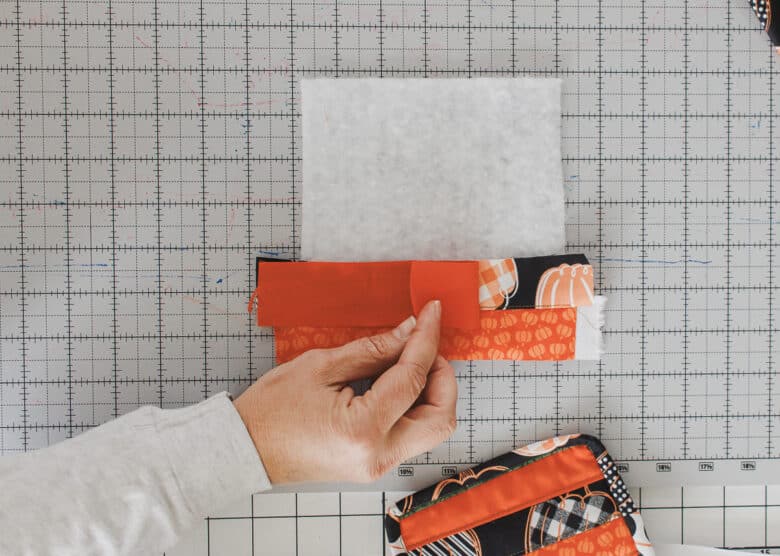
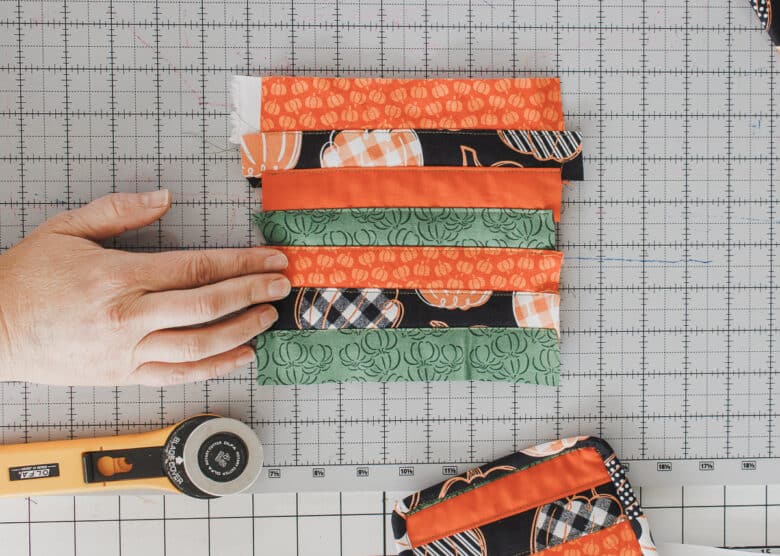
Place the fabric right sides together and then place it on one side of the batting. Sew with 1/4″ seam allowance.
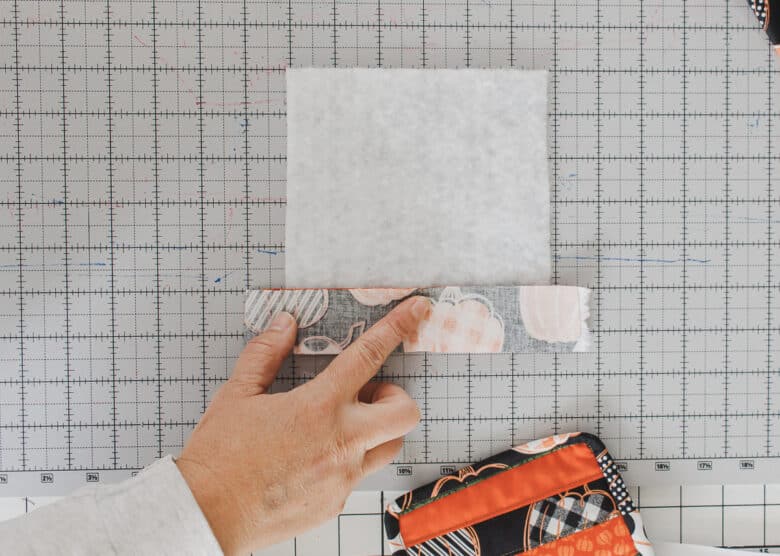
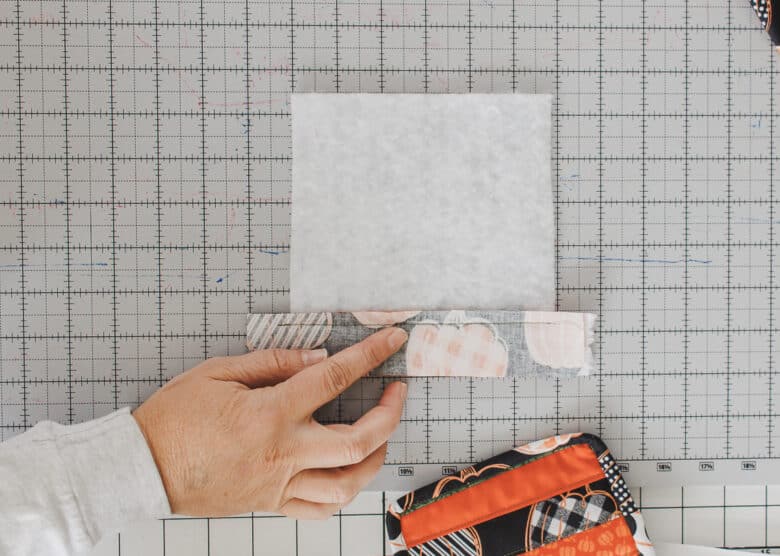
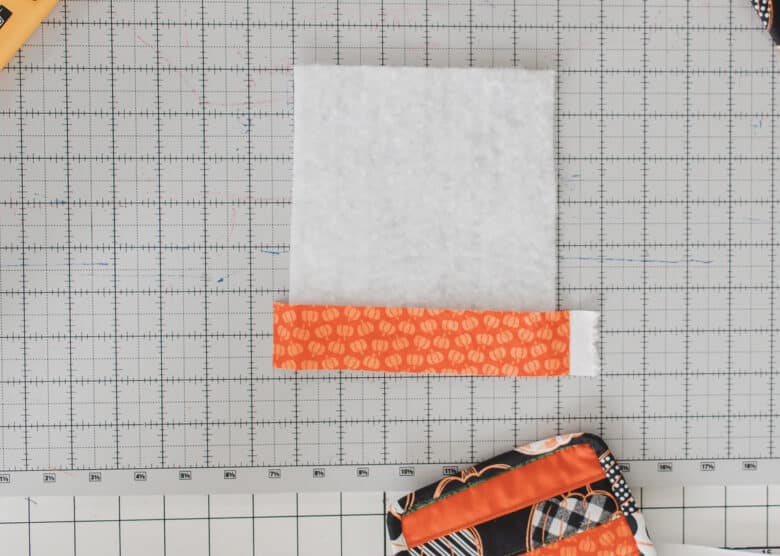
Open up the fabric and then top-stitch the new seam. If you want to add any additional “quilting”/fill stitches, do it after you sew each piece. I did not add any other quilting/top-stitching.
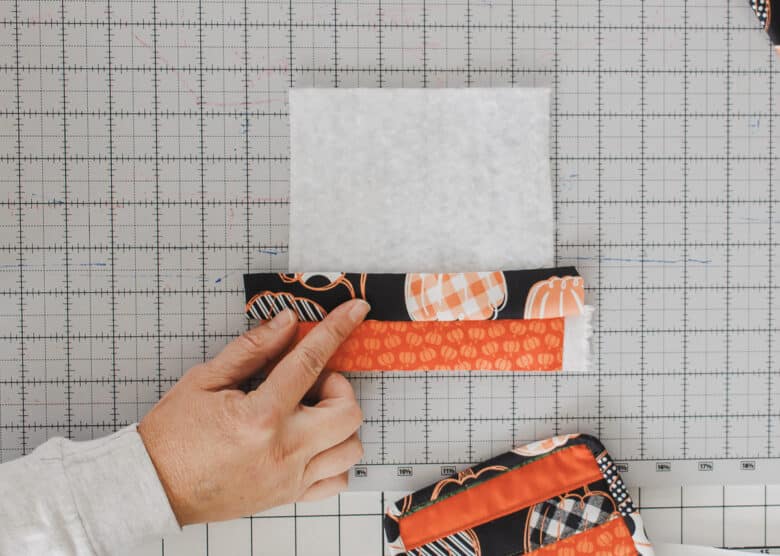

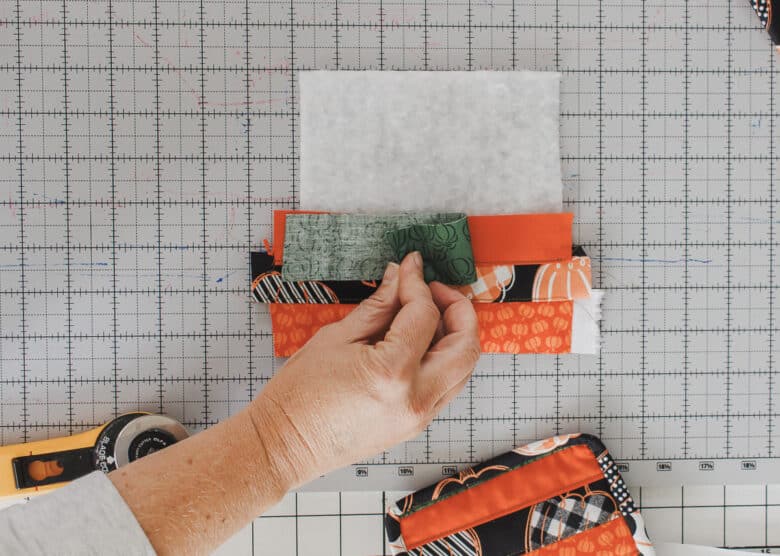
On the piece you just opened up, add another piece of fabric, right sides together. Sew the outside edge of the new strip, then open and top-stitch.
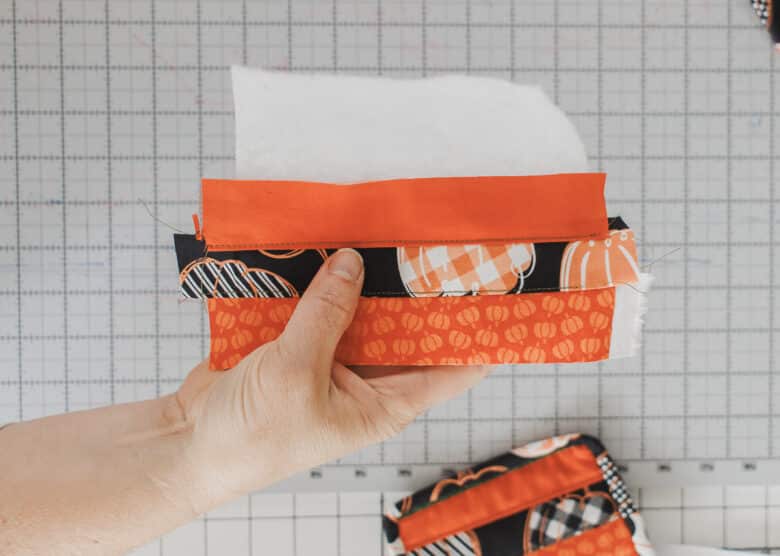
Continue with this same method until the batting is fully covered with fabric.
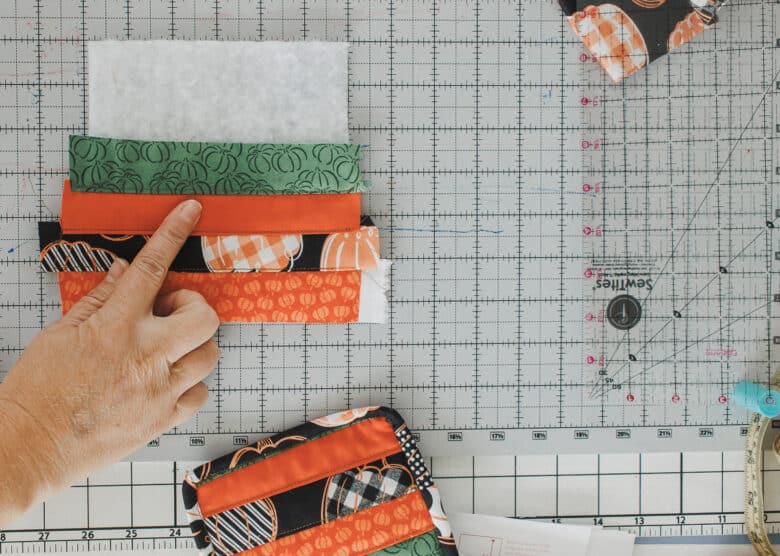
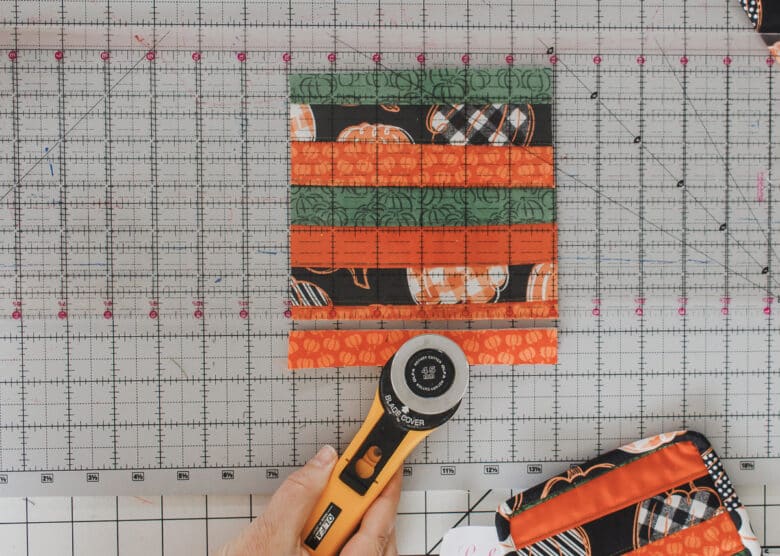
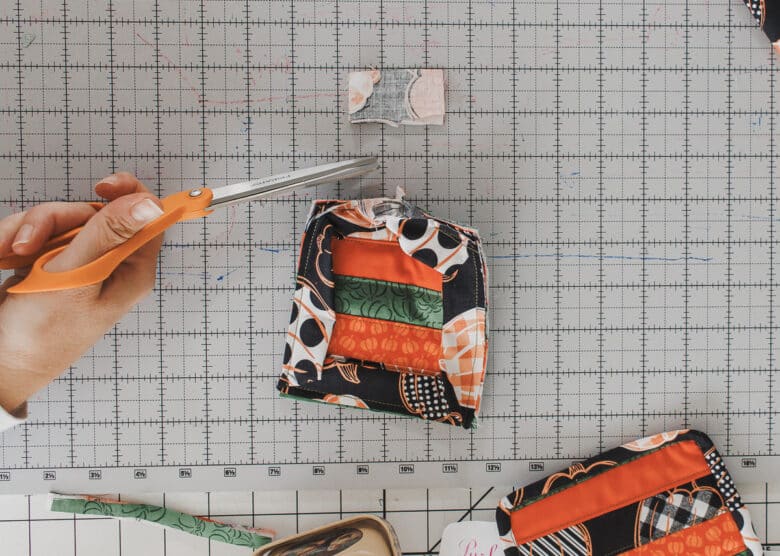
When the whole piece of batting is covered you can trim any extra fabric.
I also trimmed the square down to 5″.
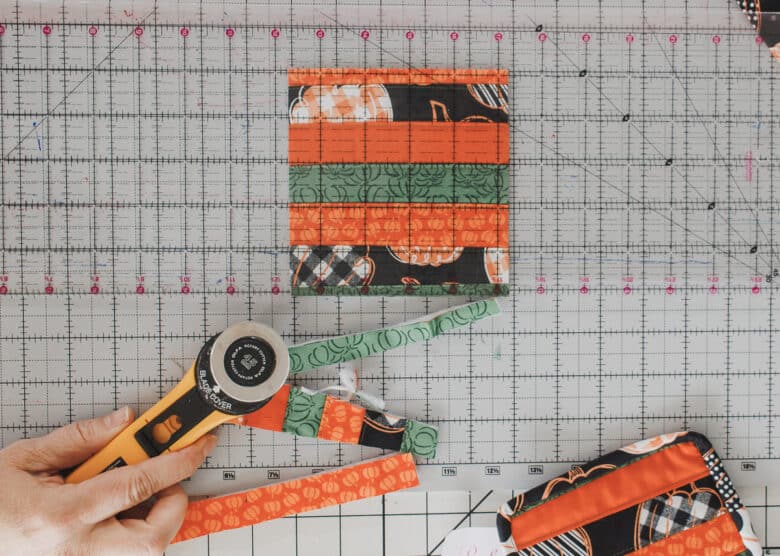
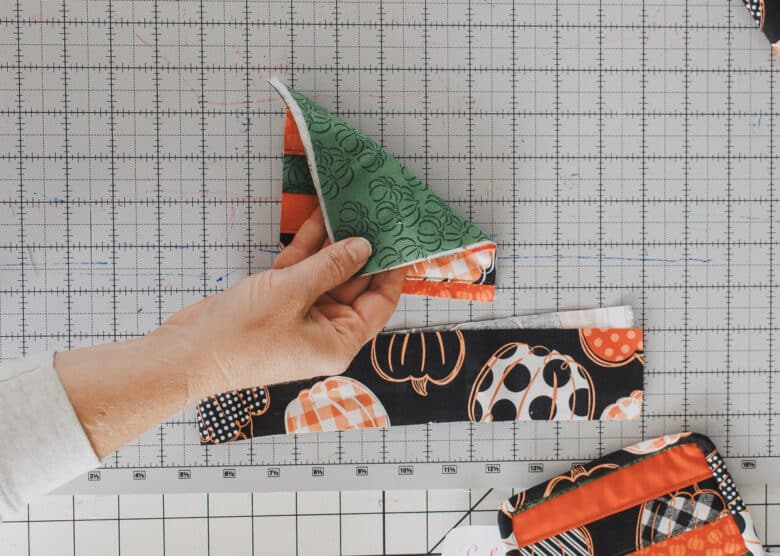
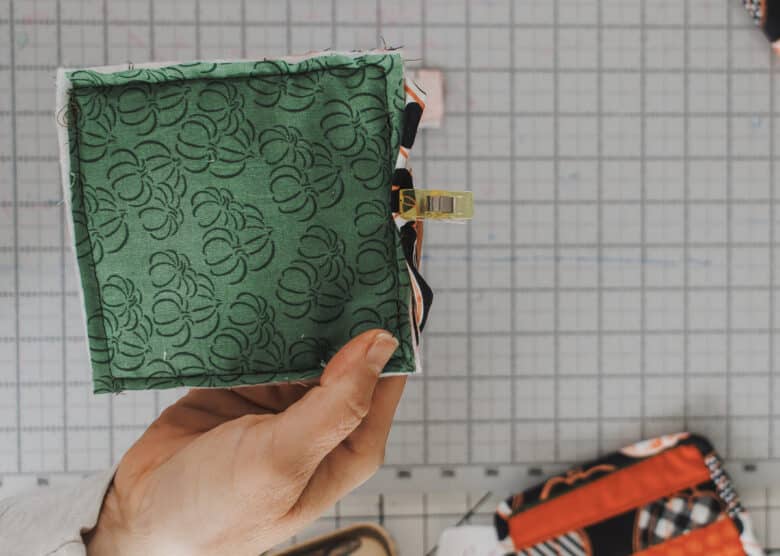
Cut a backing piece 5″ square {or whatever the size of your mug rug} also cat a 2″ long piece of fabric for the binding.
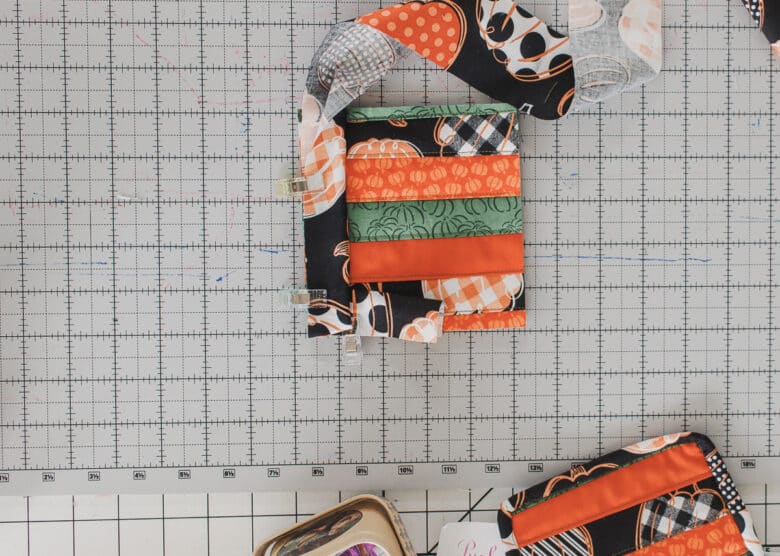
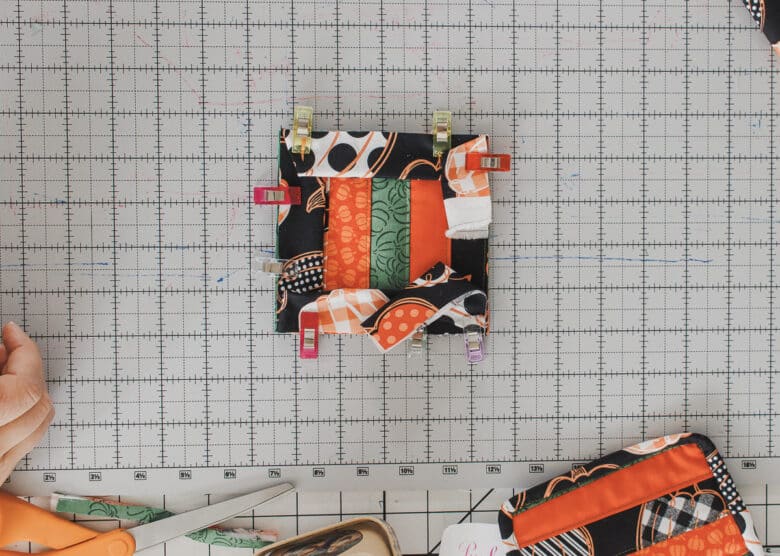
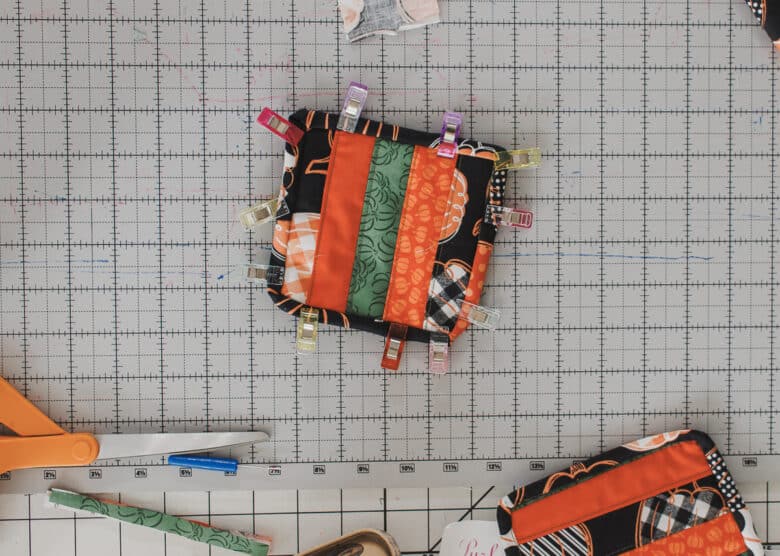
Fold the binding the long way with wrong sides together and pin/clip all the way around the outside of the mug-rug. The raw edges of the binding should be lined up with the raw edges of the quilted part. Put the binding on the top side of the mug rug.
Sew around the outside edge with 1/4″ seam allowance, then join the ends and trim the fabric.
Fold the finished edge of the binding over the edge and around to the back. Pin or clip.

When you have it clipped all the way around, stitch again on the fold edge to secure the binding.
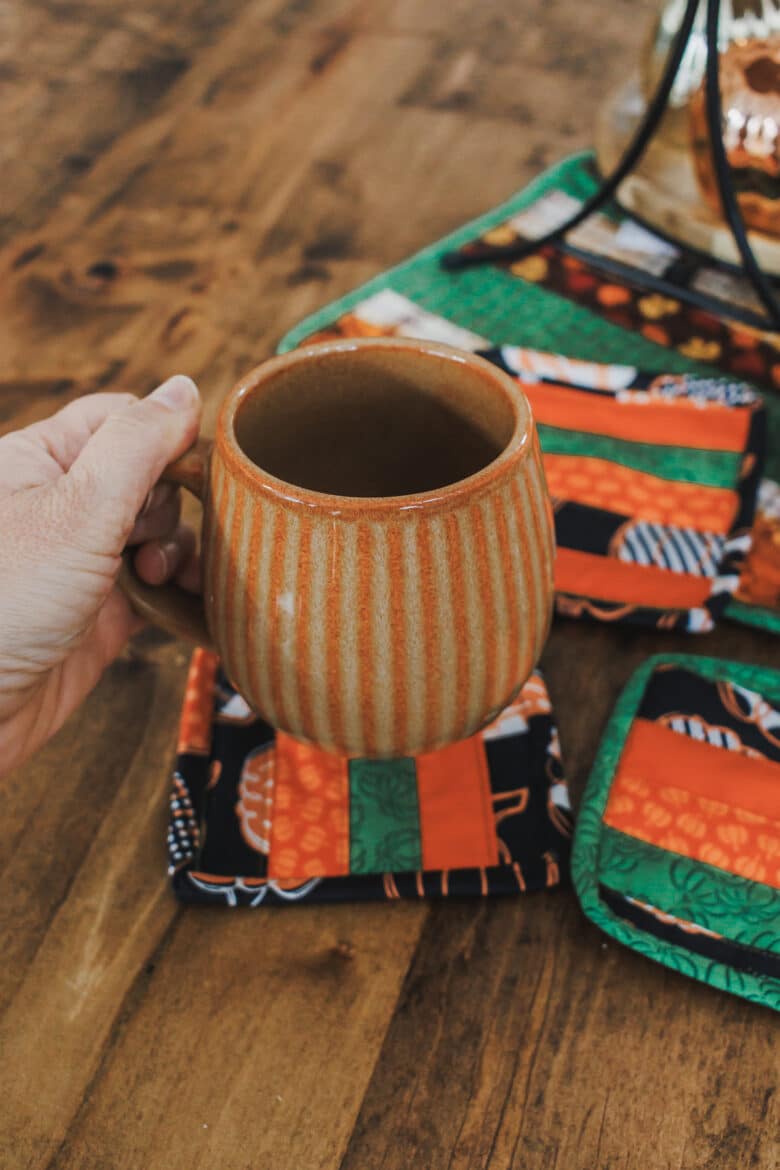
Now repeat and enjoy with your new fall mug rugs!


Leave a Reply