This faux chenille blanket sewing tutorial is a remake of a tutorial I did several years ago. The post has been a huge hit over the years, but that tutorial focused mainly on the binding, so this blanket tutorial will give you all the steps for the rest of this faux chenille blanket tutorial. This blanket has two very different and gorgeous sides, both soft and cuddly. Be sure to scroll all the way down for a video detailing the steps. 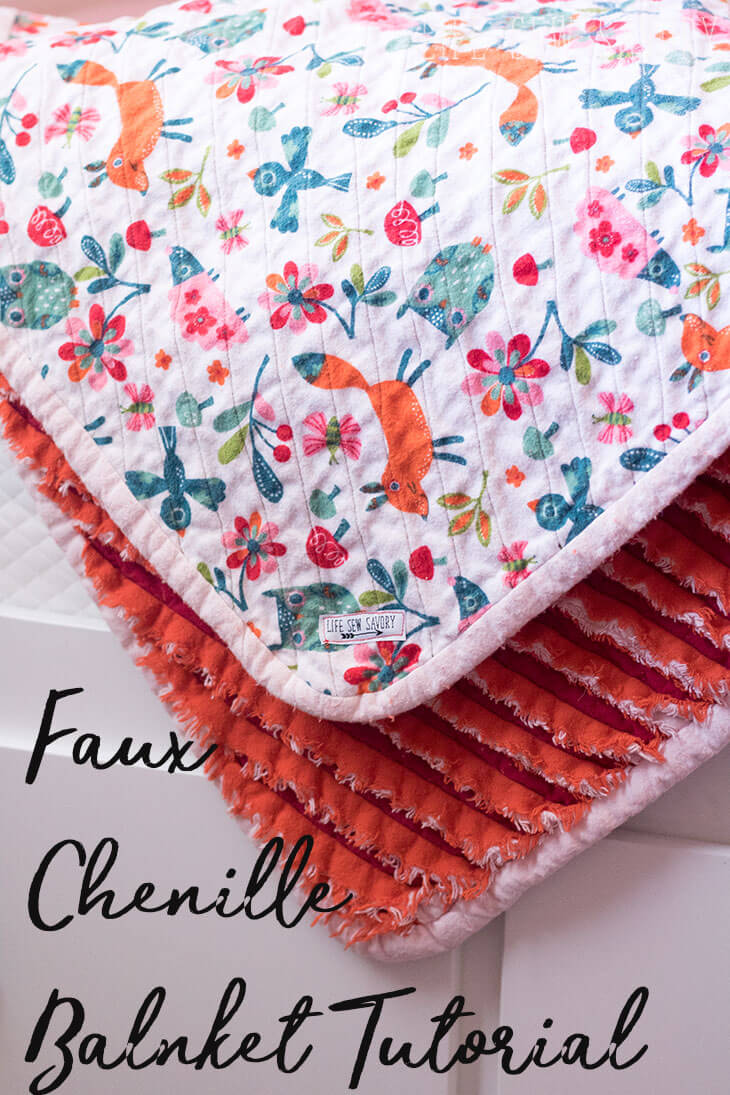
Faux Chenille blanket sewing tutorial –
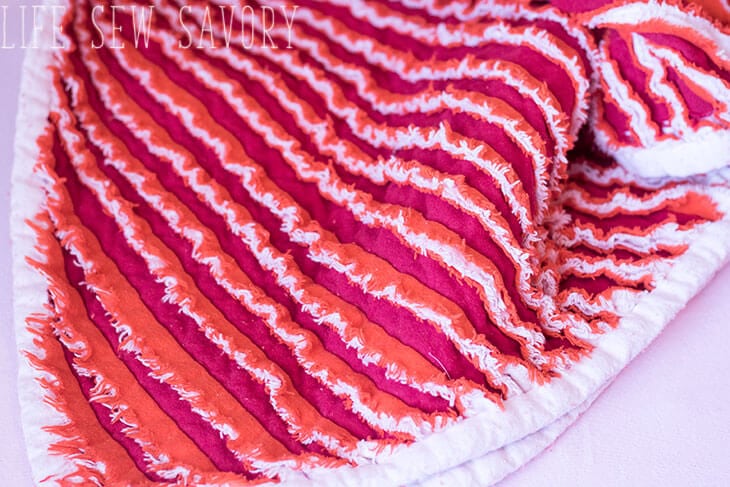
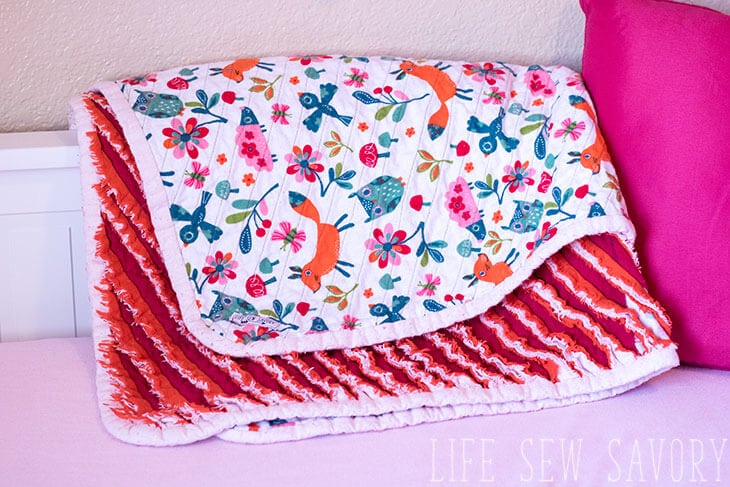
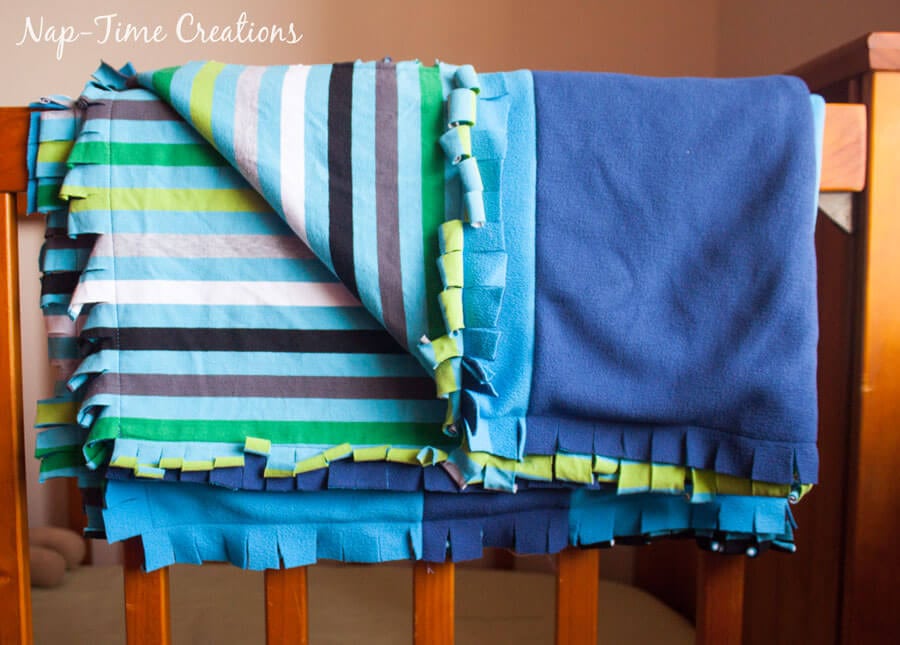
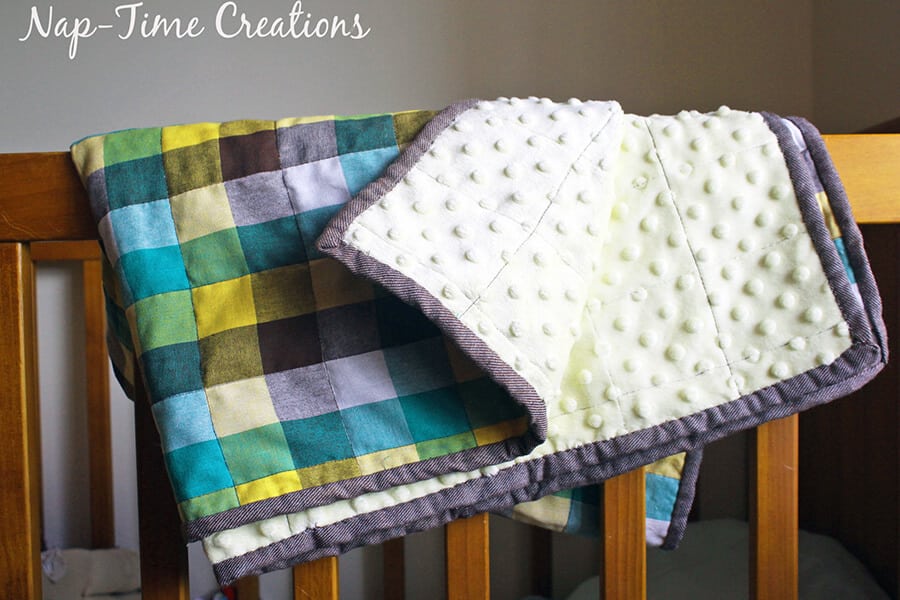
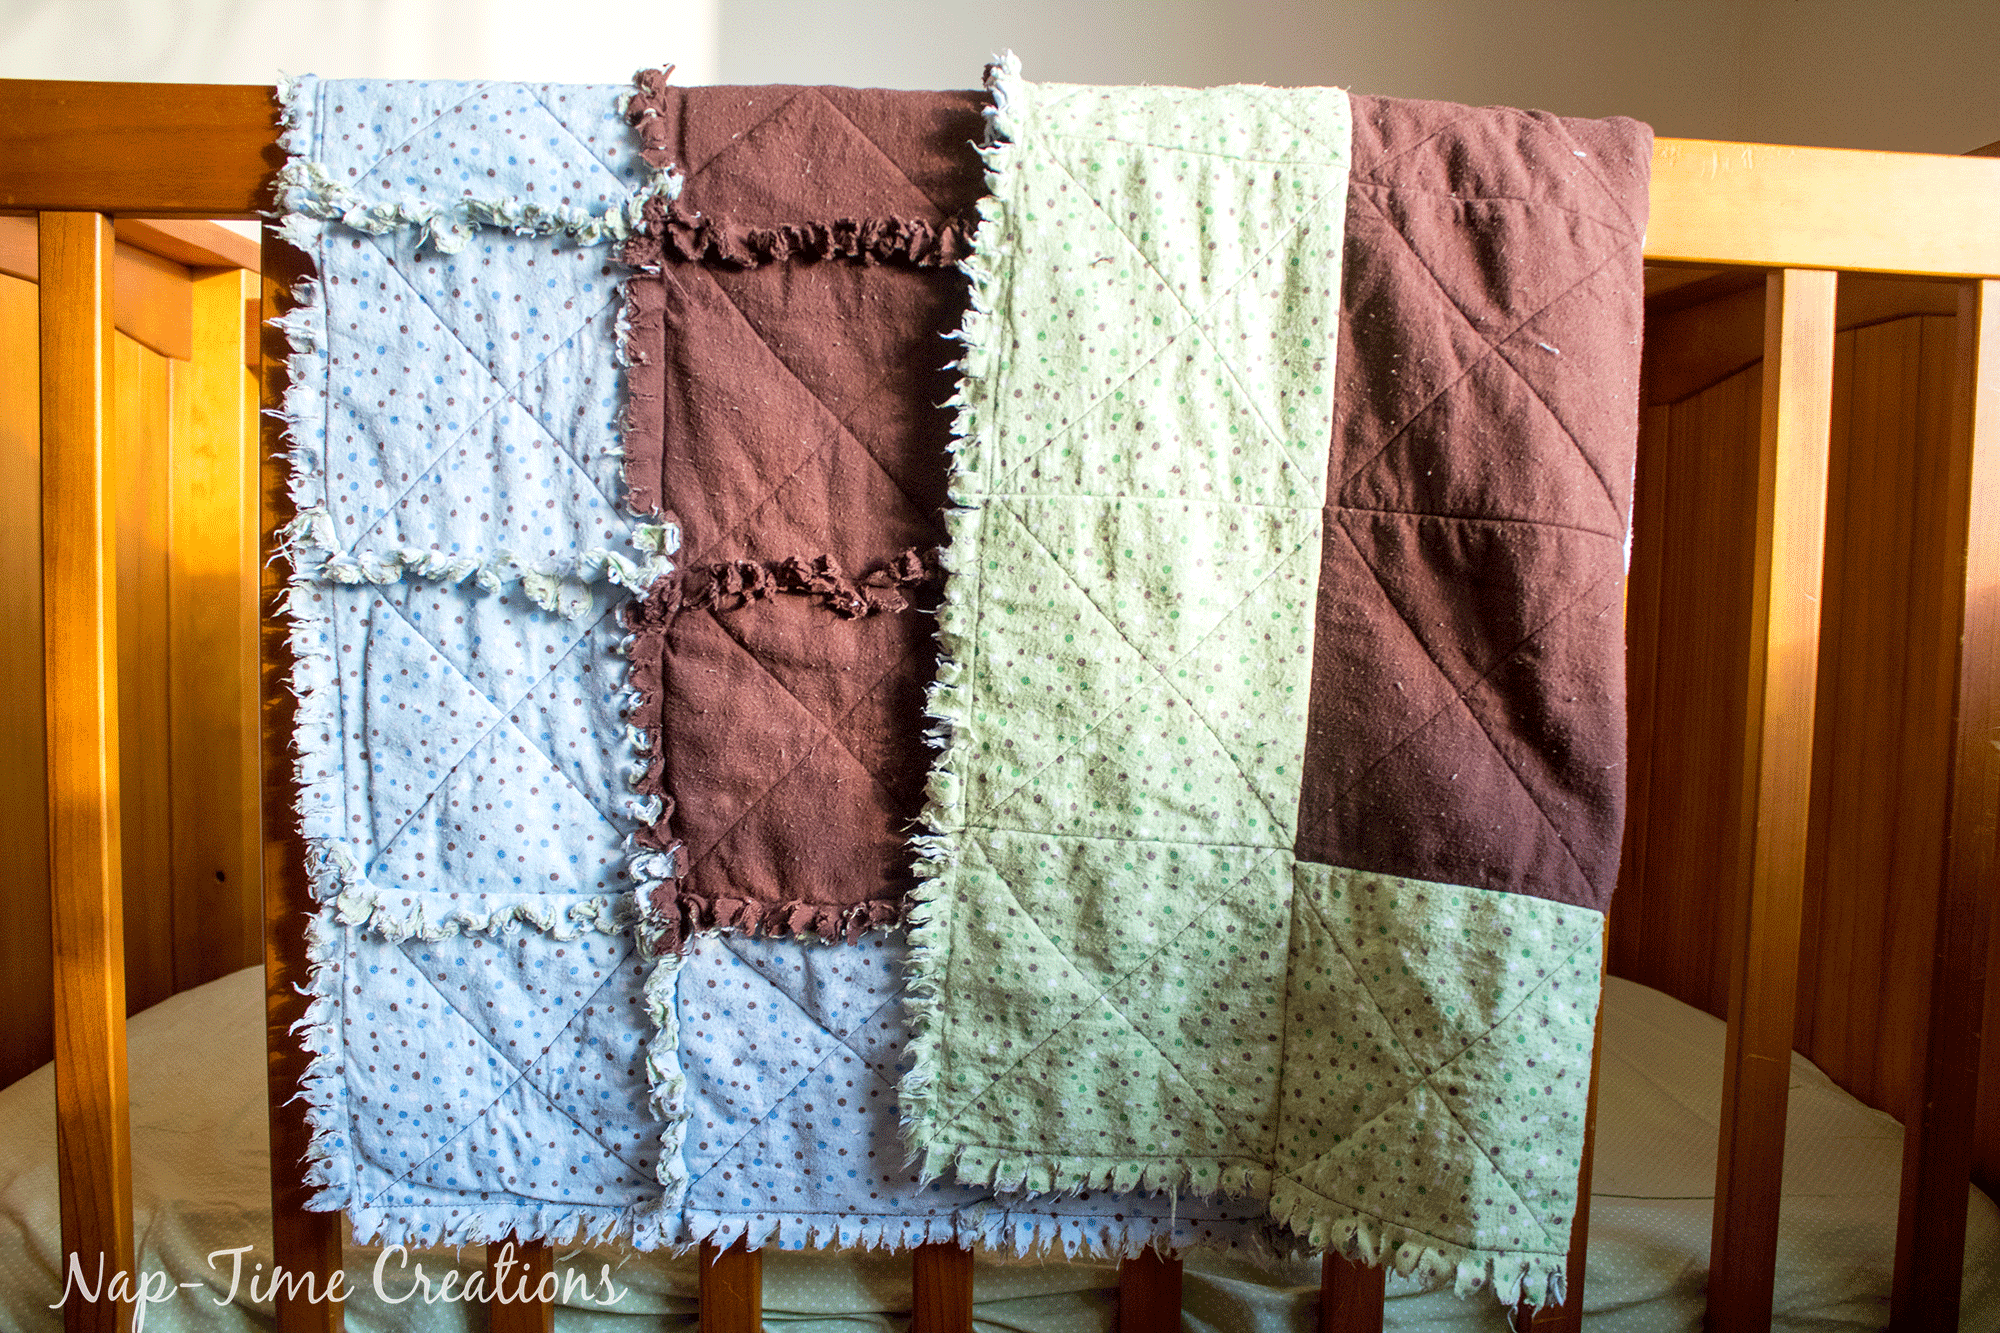
How lovely is this blanket? One side is a beautiful flannel print and the other side is frayed cuddly flannel. Both sides so cute.
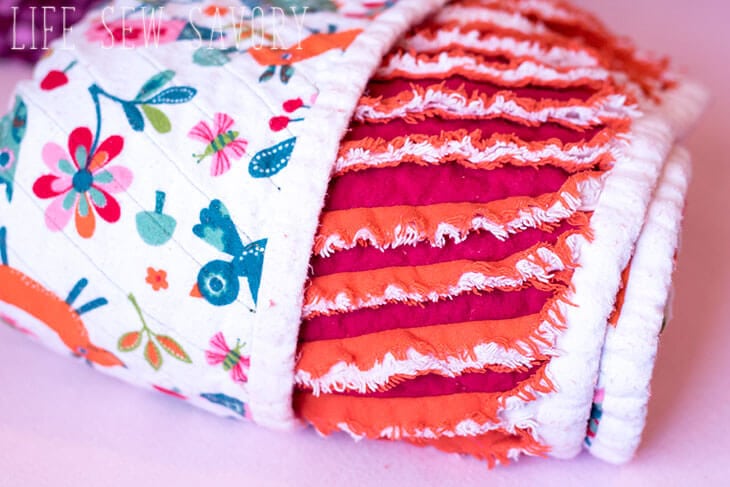
I saw this fun fabric and just knew I had to make a faux chenille blanket with it. I gave this blanket as a gift…. baby blankets make the best gifts.. you can never have too many pretty flannel blankets.
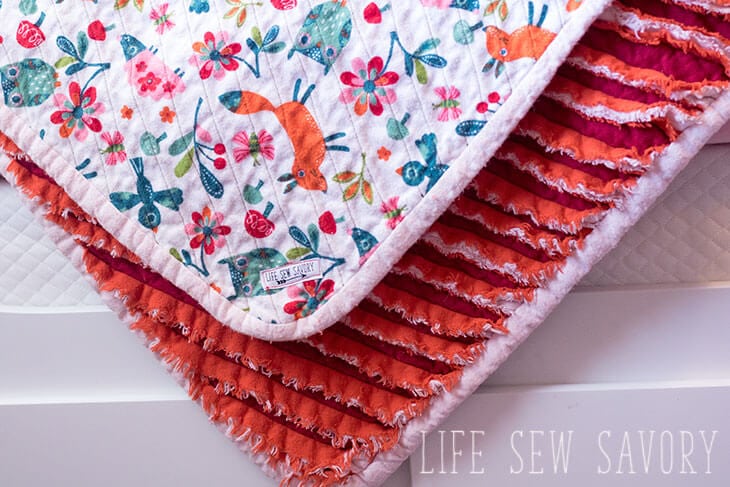
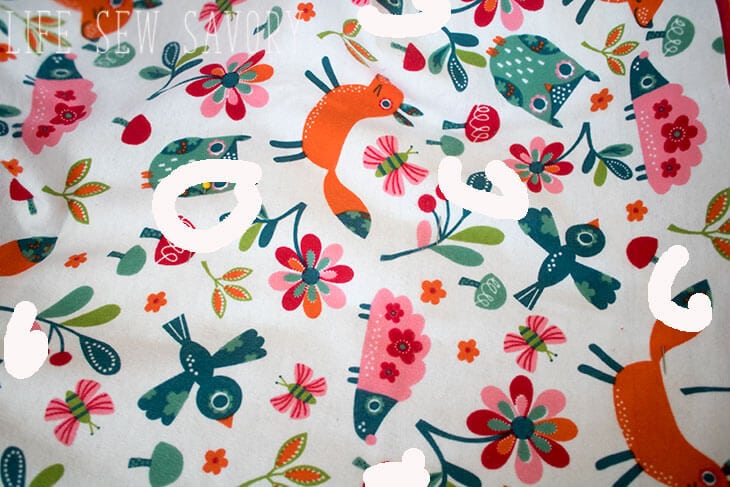
Lets get started!! You will need 1.25 yards of flannel – at least 4 layers, five is even better! I would suggest 1 print and 3/4 coordinating solids. Square off the flannel pieces if you want the blanket to be square. You will also need 1/2 yard of the color you want for the binding. Lay your fabrics all on top of each other with the print right side up.
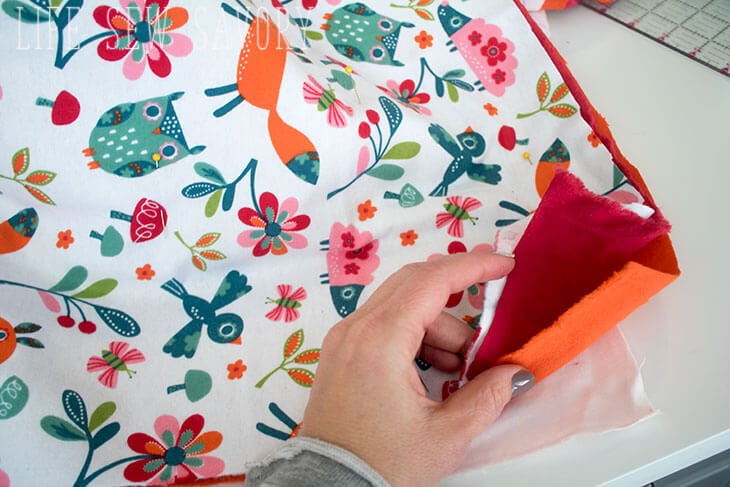
Then… PIN PIN PIN PIN PIN PIN… and PIN some more {haha!!} I don’t use pins, but for this project I PIN ALL OVER. The whole thing!
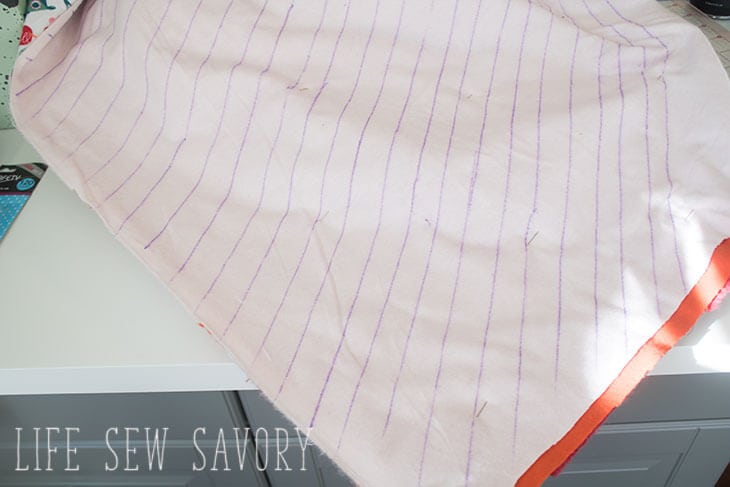
Use a yard stick or long straight edge to make lines 1″ apart. Use a washable marking pen. Start diagonal at one corner and work all the way across the fabric.
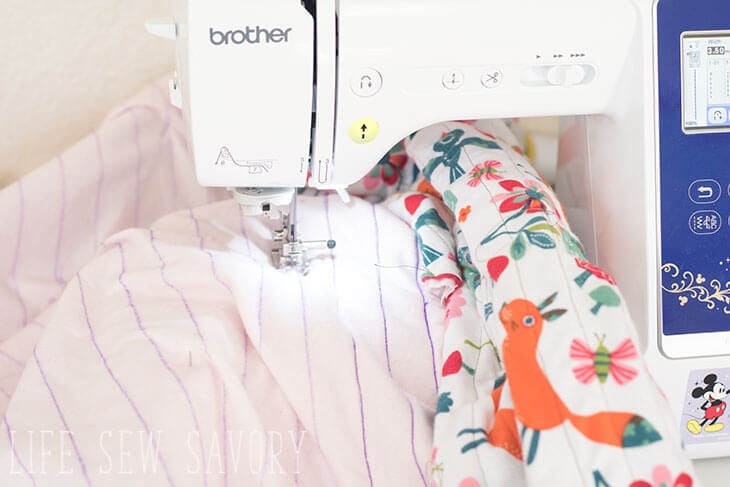
Now comes the tricky part… you have to sew all those lines! {yikes!} I start on one side and then roll up the fabric as I go… You also need to remove the pins as you go… usually I get one or two good pokes in! When you get to the center, turn the blanket and restart from the other side. A walking foot is usually a good idea for this step. I set my stitch length to 3.
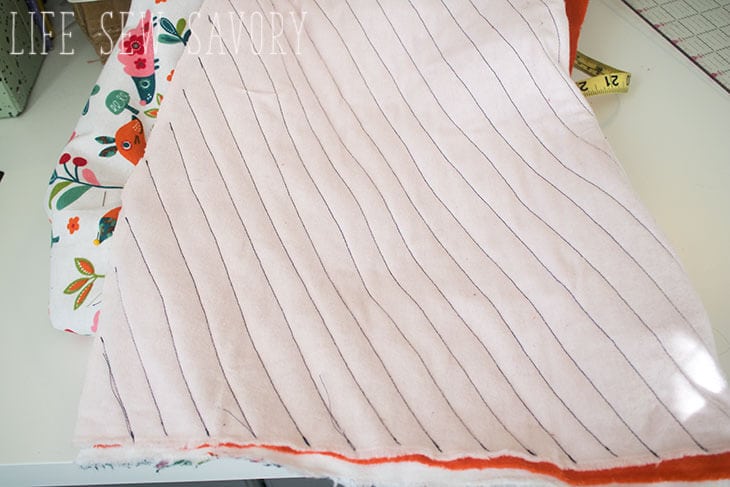
Now comes the fun part… CUT>IT>UP! or at least part of it!! Spring loaded scissors are a must – otherwise your hand will cramp and die {haha!} Cut down the center of each and ever seam. If you used 4 layers, cut 2, if you used 5 layers, cut 3.
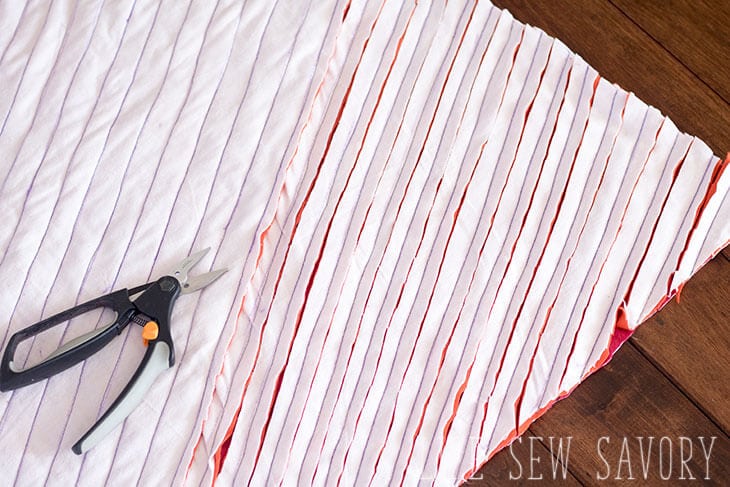
Then from the cut side, baste stitch around the blanket. This will keep the layers all orderly while we add the binding. If you need to trim any layers of your blanket, do it now.
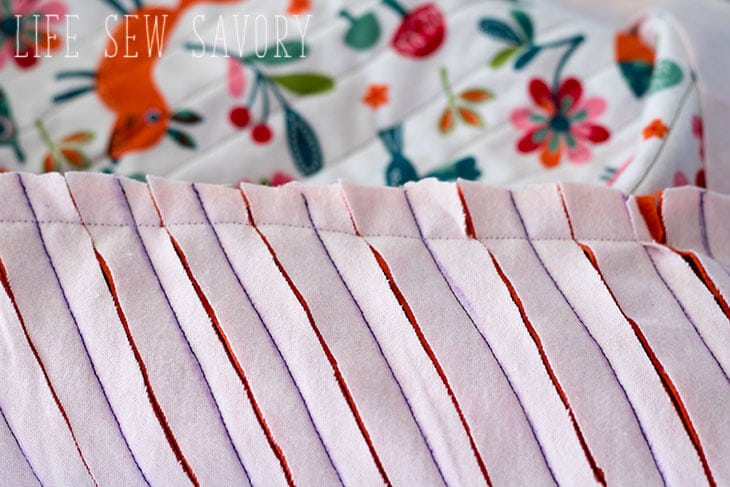
Cut your binding fabric into 2.5″ strips. Connect enough strips to go all the way around your blanket. For more binding details check out my other blanket post. Match one raw edge of your binding with all the raw edges of your blanket. Sewing binding to the blanket with a 3/8″ seam allowance, catching all the layers of your blanket and cuts. When you get all the way around connect the ends as shown on the other post.
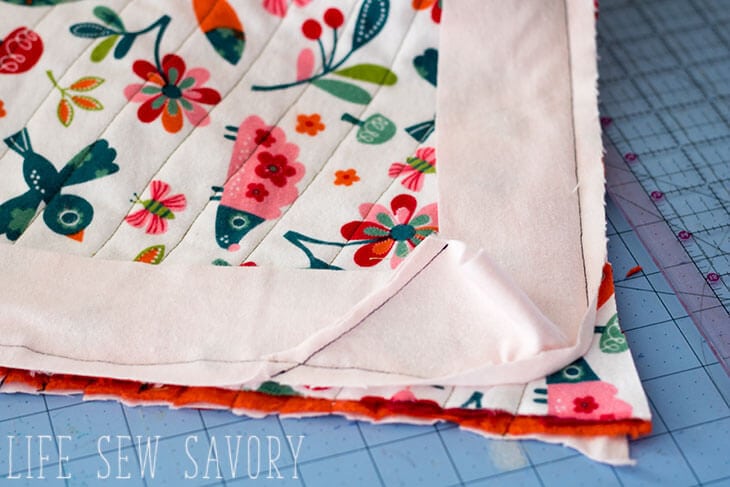
Turn your blanket over to the cut side. Fold the binding over to the back, then fold under a 1/2″ and stitch the folded edge to the back of the blanket. Hand stitch around the edge of the blanket.
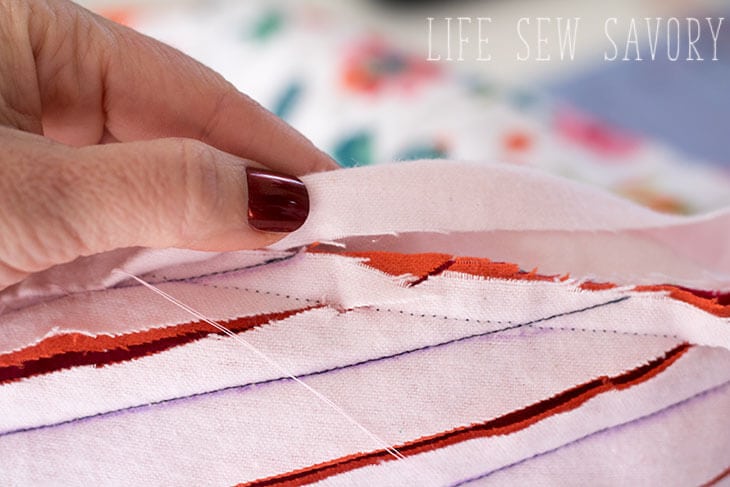
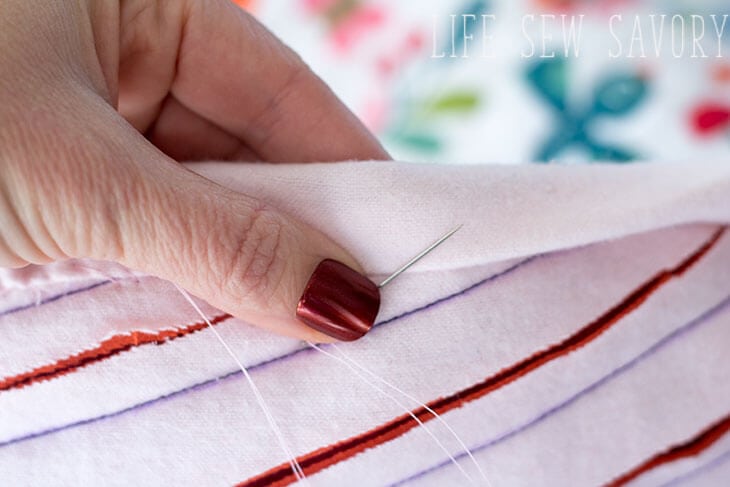
So cute right? I’ll be the first to admit my corners aren’t perfect… and real quilters would have a million corrections for me, but for the purpose of this faux chenille blanket, my cozy flannel binding is perfection.
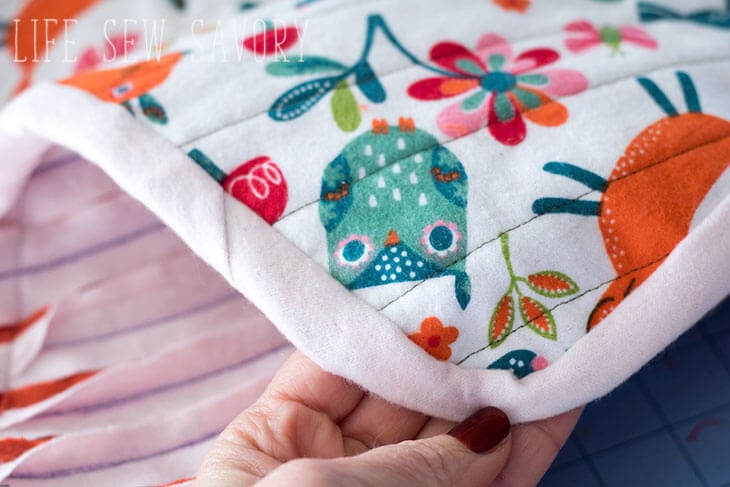
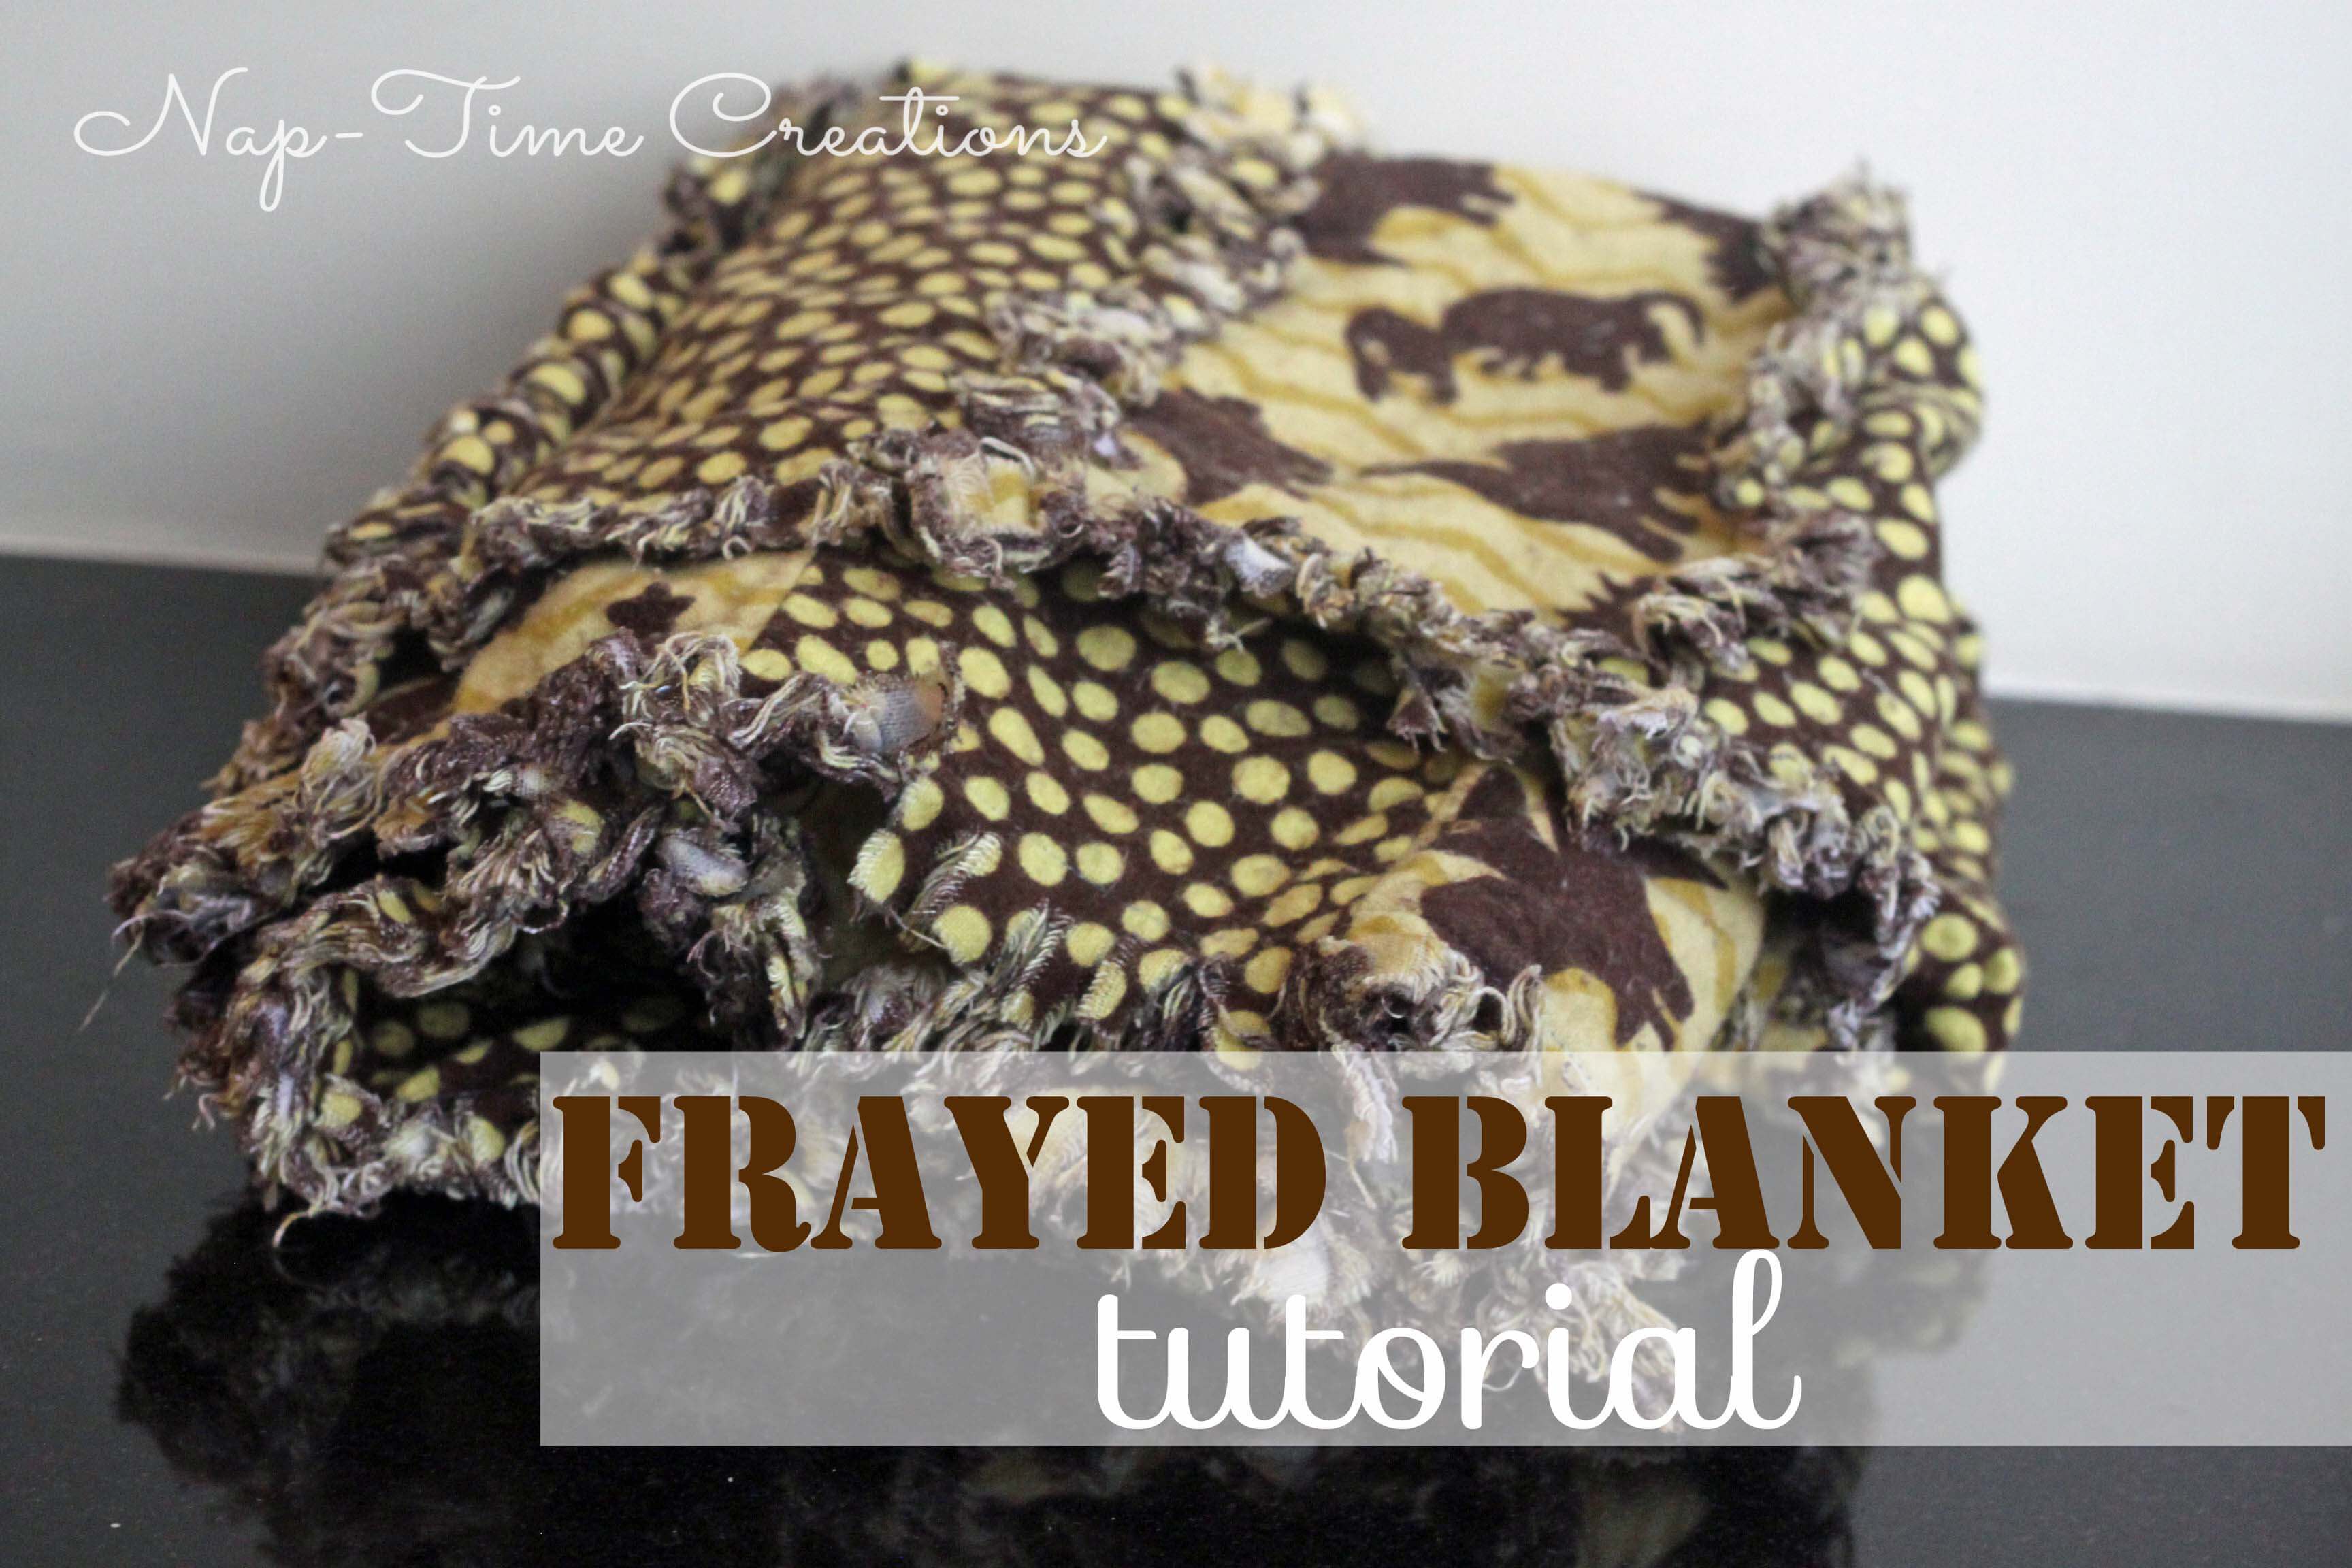
Now, you might think you are finished, but a very important step remains!! You have to wash and dry and wash and dry at least 2x to make the flannel fray and the softness to set. You WILL need to clean our your washer filter, this blanket makes a mess… yikes.
Here’s a video version of this tutorial:
I’ve made these in so many colors, and having a cute print for the top is key! Please show off photos if you make one! I’d love to see yours!
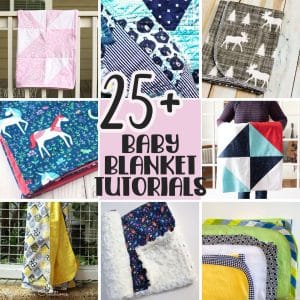
Here are a few other baby blanket sewing tutorials I’ve made.




Cheryl Greenawalt says
Emily, I made a blanket a little larger than this (like a throw) about 20 years ago for a gift for my father. I will never forget how easy but so time-consuming it was! He is now with the Lord and it is a treasured possession of mine to remember him. I love how ‘fast’ you made yours! It brought back memories of each step, including little ones crawling on top and around it. They now have littles of their own. Keep inspiring us!
Emily says
WOW! I can only imagine how long a big one would take!! and how hard it would be to fit in my sewing machine ;o) Thanks for your kind words.
Kim~madeinaday says
Very pretty blanket. I love the fuzzy side! I can bet it took some time to cut the strips. Thank you for sharing on Merry Monday! Hope to see ya next week!
Kim
Adje says
Lovely blanket and I agree the top fabric must be cute and yours is! Thank you for sharing.
Mary Holmes says
Thanks for the tutorial!
XYZ
Sheri says
Love this! Great tutorial! Thanks so much for sharing at the To Grandma’s House We Go DIY, Crafts, Recipes and More Link party! Pinned this! Hope you join us again next week!
Theresa says
I love the fabric you used for this blanket. Thanks for sharing at the Inspiration Spotlight party @DearCreatives pinned, and sharing. See you again soon.
Jodie says
Hi Emily. What a snugly blanket and looks easy to do. Thanks so much for sharing your tutorial. Our readers will love it. We’ve included it in our craft inspiration roundup here. https://craftylikegranny.com/little-things-that-make-life-big/ Cheers Jodie 🙂
Jodi says
I made one when for my kid when he was a baby, heres a link to the post with a picture of it: https://biscuitsandbobbins.wordpress.com/2011/03/21/chenille-blanket/
I would suggest buying the chenille cutter if you see it on sale. Also, note that the last layer of flannel that you add will be the most prominent color, I made that mistake! But still, love me some AMH fabric, so I still like seeing this one around the house!
Kris says
Hello! I love these blankets and have made about two dozen of them over the last few years as gifts. I love that you line your blanket by hand! That is one step I added after following a tutorial that didn’t suggest it. I know this is an old post, but wanted to say that Crayola washable markers are perfect for this and wash out 100%, at a fraction of the cost of sewing markers. Also, Elmer’s glue works perfect between layers and you don’t have to pin it! Just be careful when you cut that you don’t go through the wrong layer if you get stuck on a blob. The rest washes out completely. You can also wash once before cutting. Thanks for the fun tutorials!! I’m sorry I don’t see how to add a photo.