Several years ago I gave my friends and sister in law some Christmas tree growth charts… The idea is that you have a Christmas tree decoration, and a bunch or ornaments that go on the tree. Each year you measure your kids, label the ornament and stick it on the tree. Each Christmas season you add another and enjoy seeing how your kids are growing. It’s also a great growth chart to take with you if you move and it rolls up for easy storage from year to year. This year I modified my original design a bit to make the project no-sew and felt… so… here’s my felt Christmas tree growth chart!
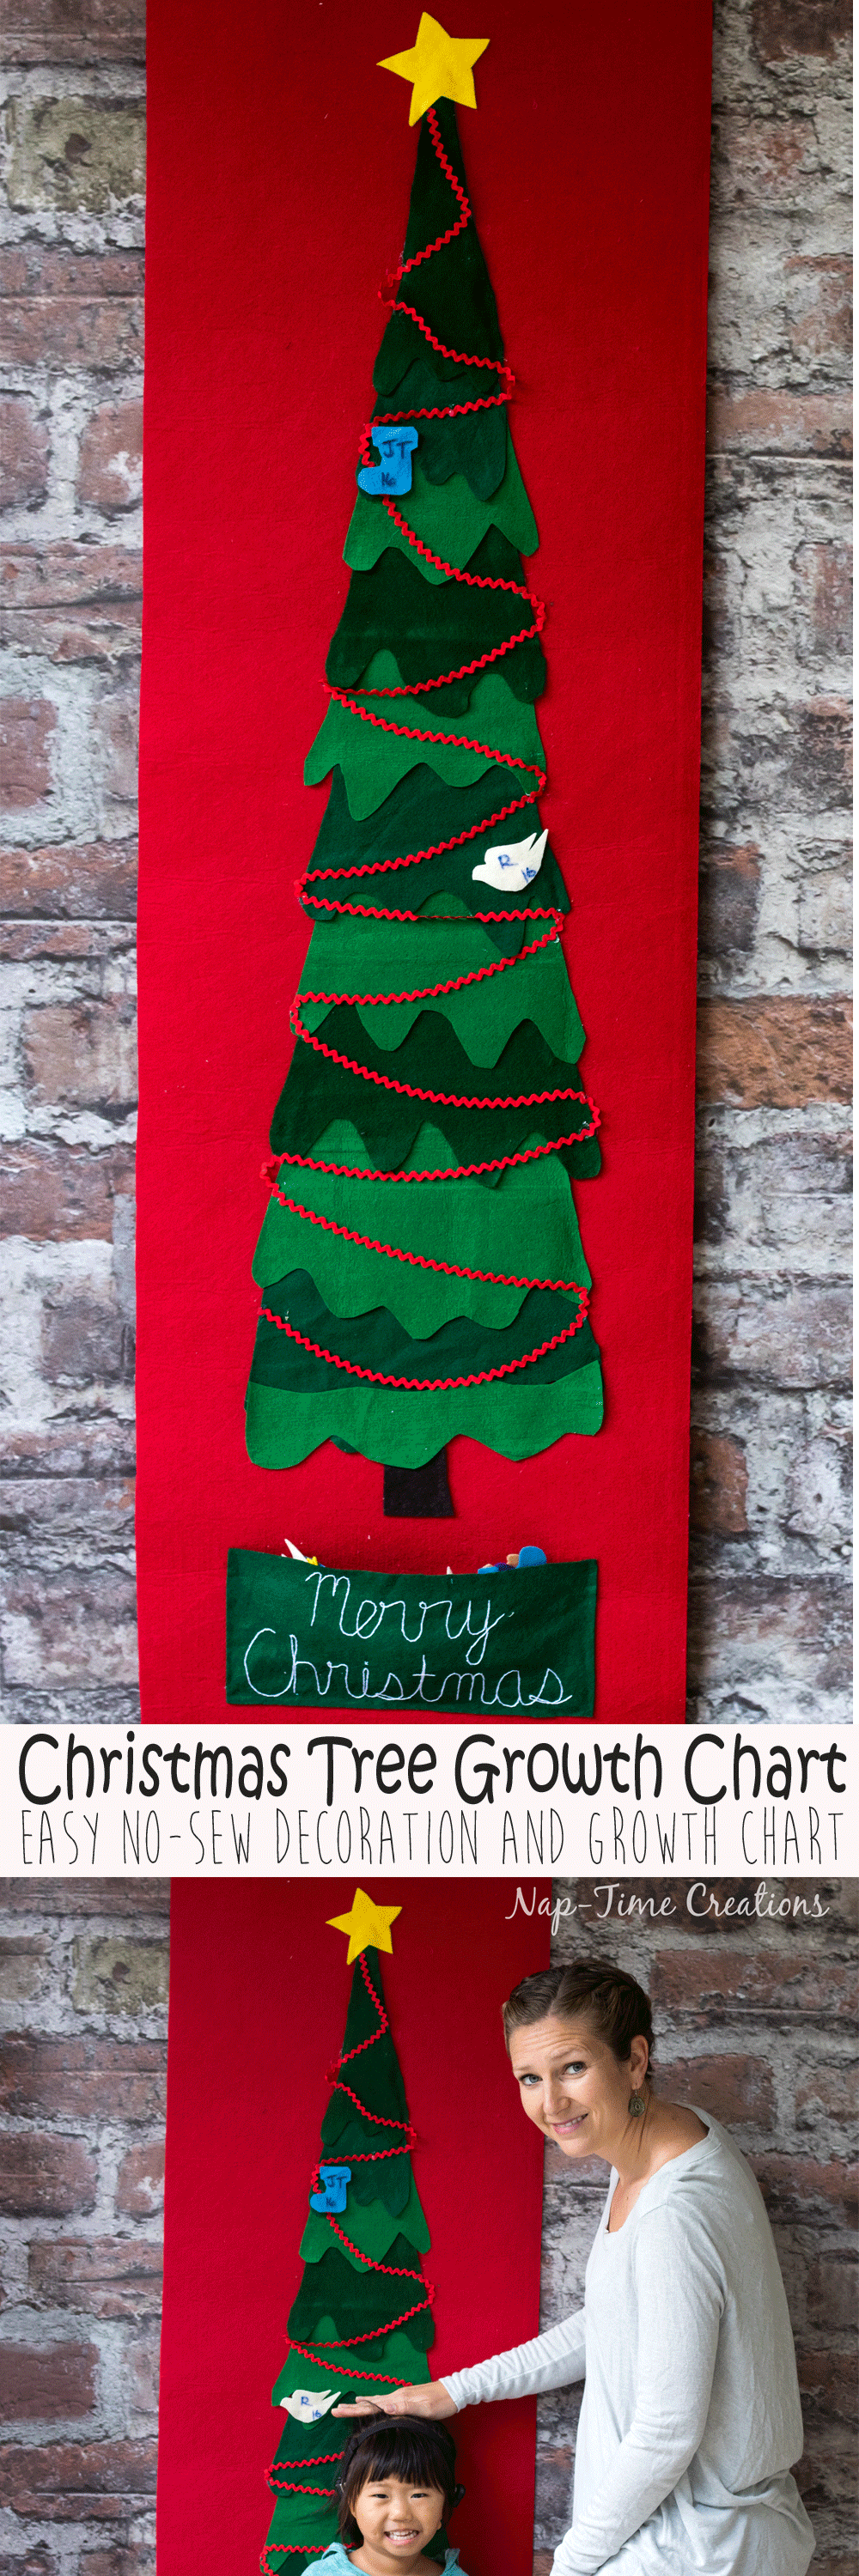
Felt Christmas Tree Growth Chart
So cute, right? Hang this on your wall and let the kids measure themselves and add an ornament each year. the tree will fill up over time and be full of cute felt ornaments as you kids grow. I think this also make a great gift for a mom of young kids. I’ll walk you through making one, or you can scroll to the end of this post to see the video version of me making this felt Christmas tree growth chart. The free template to make your own is also at the bottom of the post.
Okay… to make one you will need:
Thick/stiff red felt {or fabric} 24″ wide x 72″ or 2 feet x 6 feet.
Assorted green felt 2 yards total or 1/3 yard of three colors {recommended}
Assorted other colors felt for ornaments and tree trunk
Free Template for tree and ornaments
Ric Rac, beading or ribbon for tree garland
Dowel and ribbon for hanging
Your tree might be pretty empty the first year, but the goal would be that over the years if fills up with cute little ornaments. You can always go back and add in ornaments for past years if you have a height record for your kids. The tree will decorate faster the more kids you have {ha!}
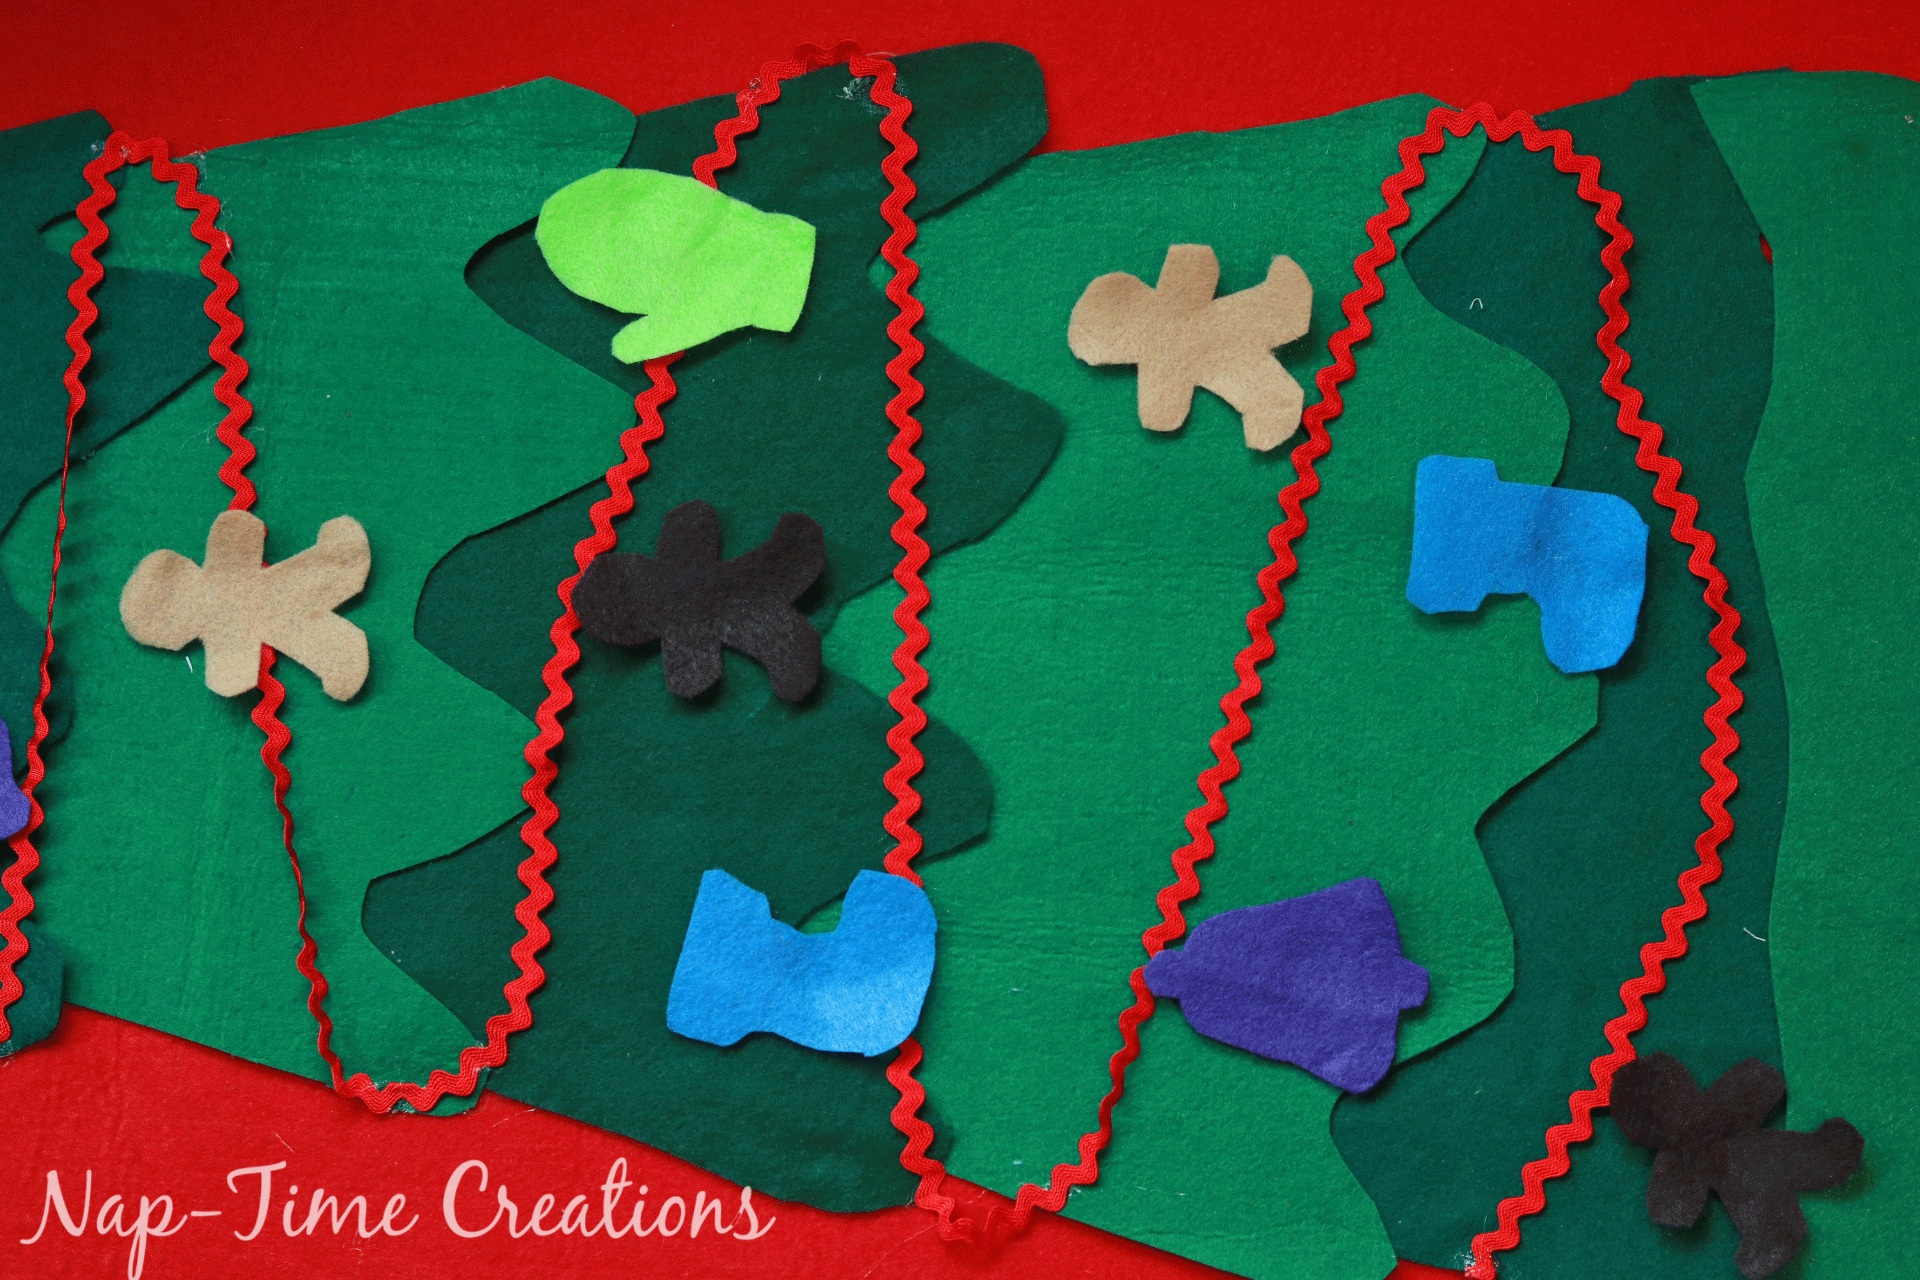
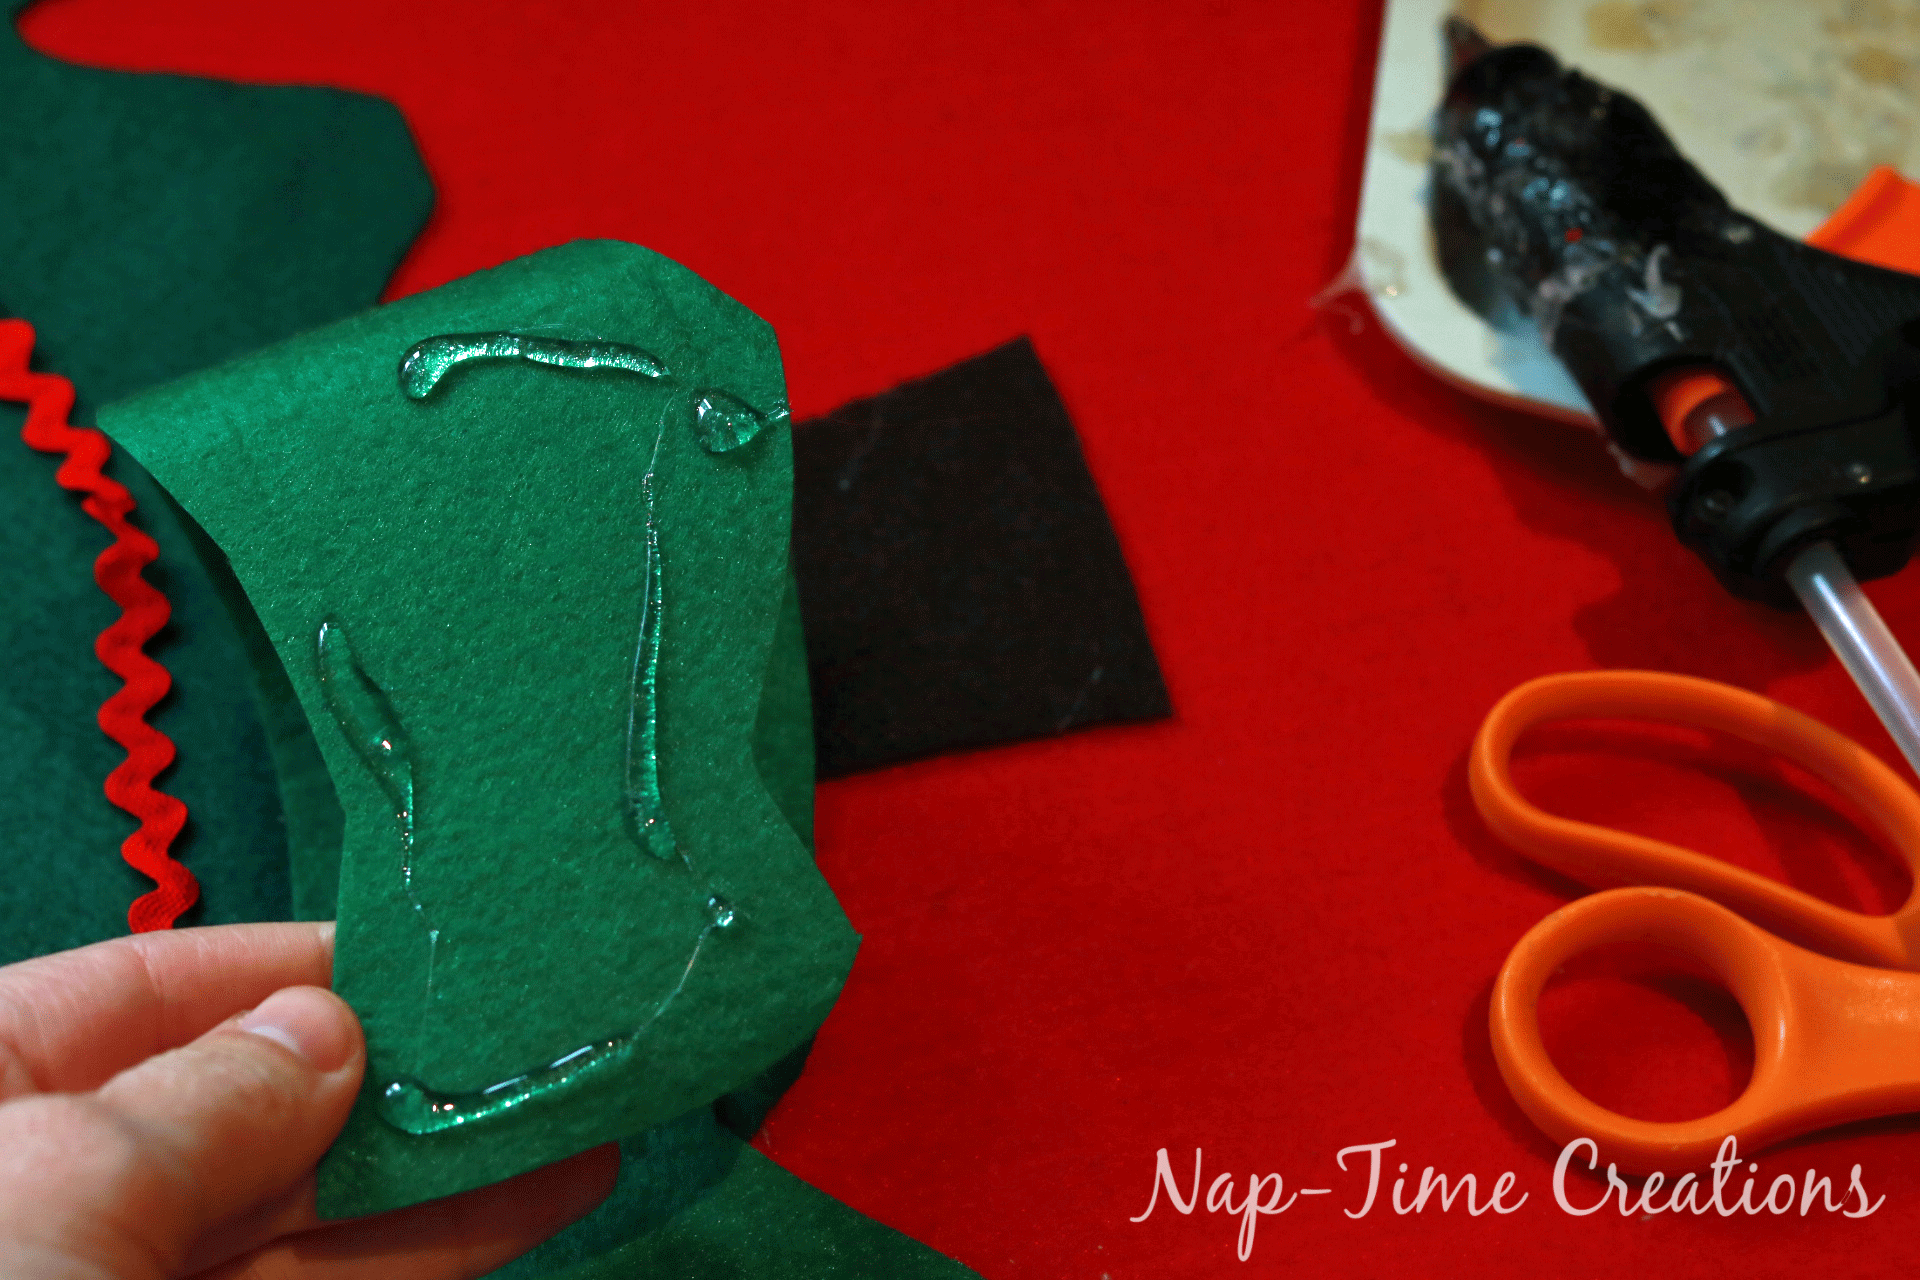
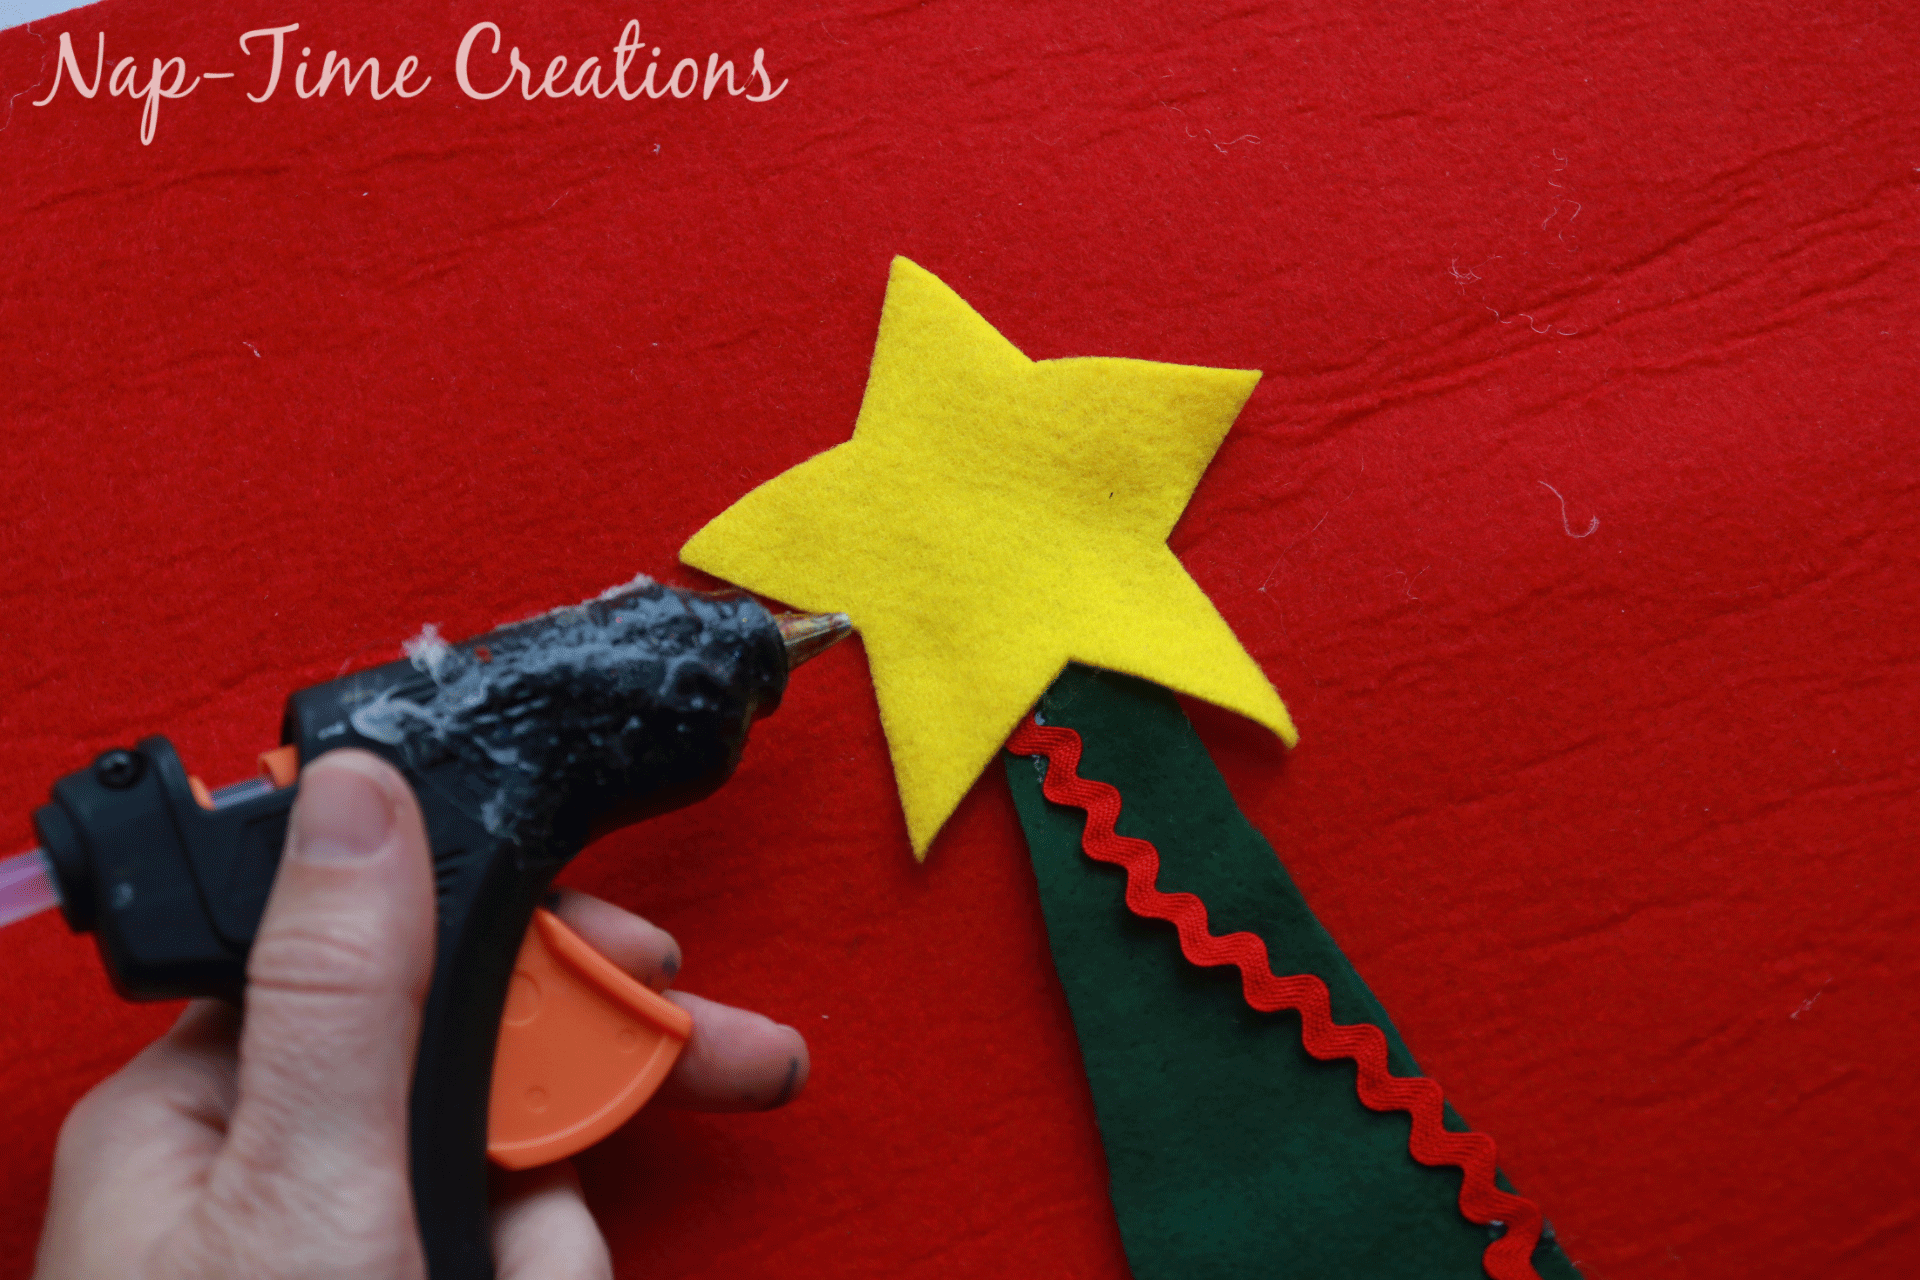
Print and cut out the paper template. There is a layout guide at the end of this post if you need help taping it together. You can also check out the video at the end for tree help. I just used a hot glue gun to glue the tree to the red felt. Start the tree bottom 18-20″ from the bottom of the red felt. No baby is 6″ tall, so you want to start your tree where you will actually have an ornament to hang! Each template piece is cut 2x, one slightly smaller than the other {see template} I made my tree taller by not gluing the tree pieces too close together. s-p-r-e-a-d the tree out. Glue some decoration on the tree, ric rac, ribbon… any sort of garland to make the tree pretty while you wait for the years to fill the tree with ornaments.
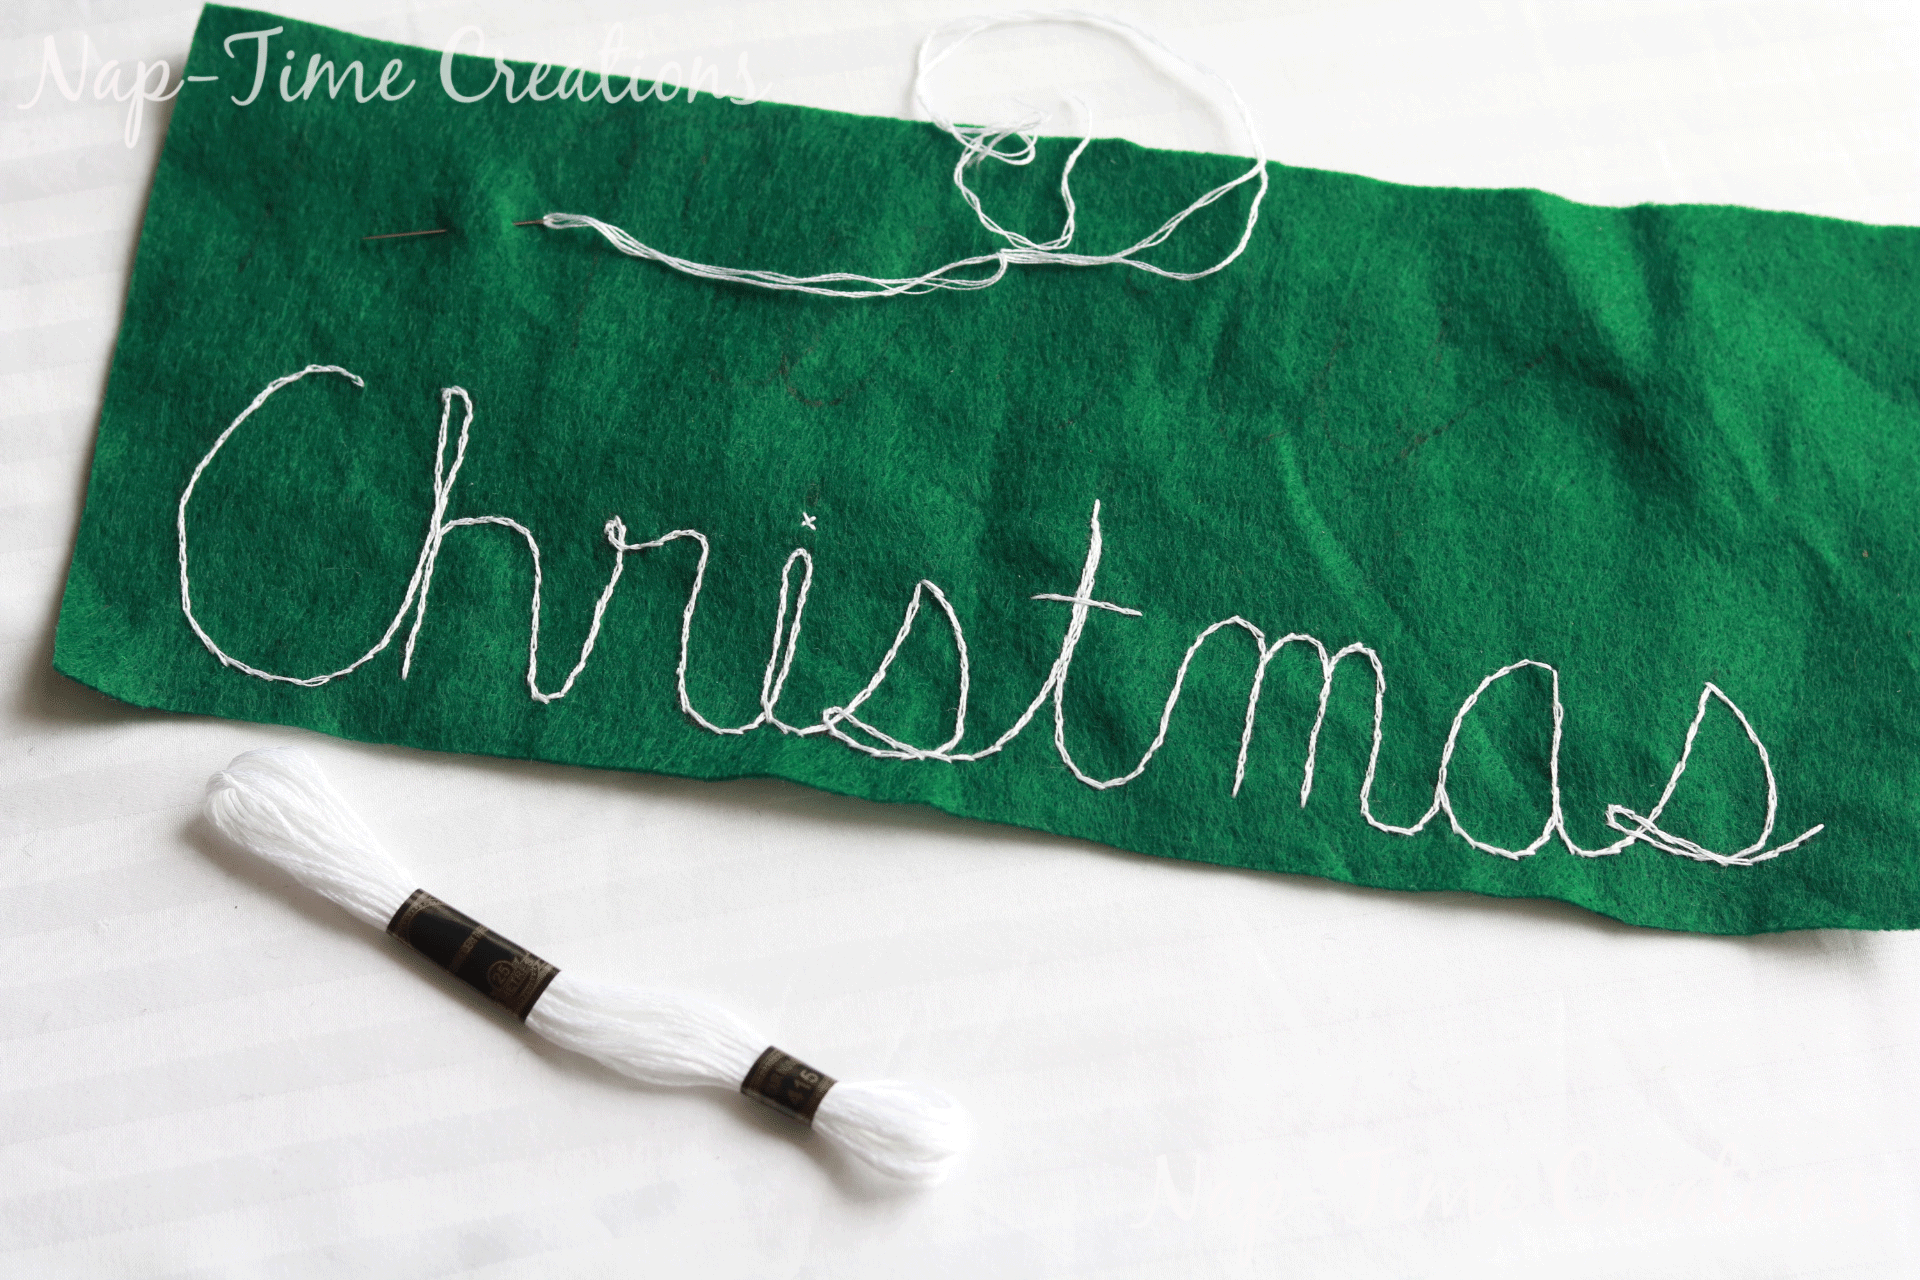
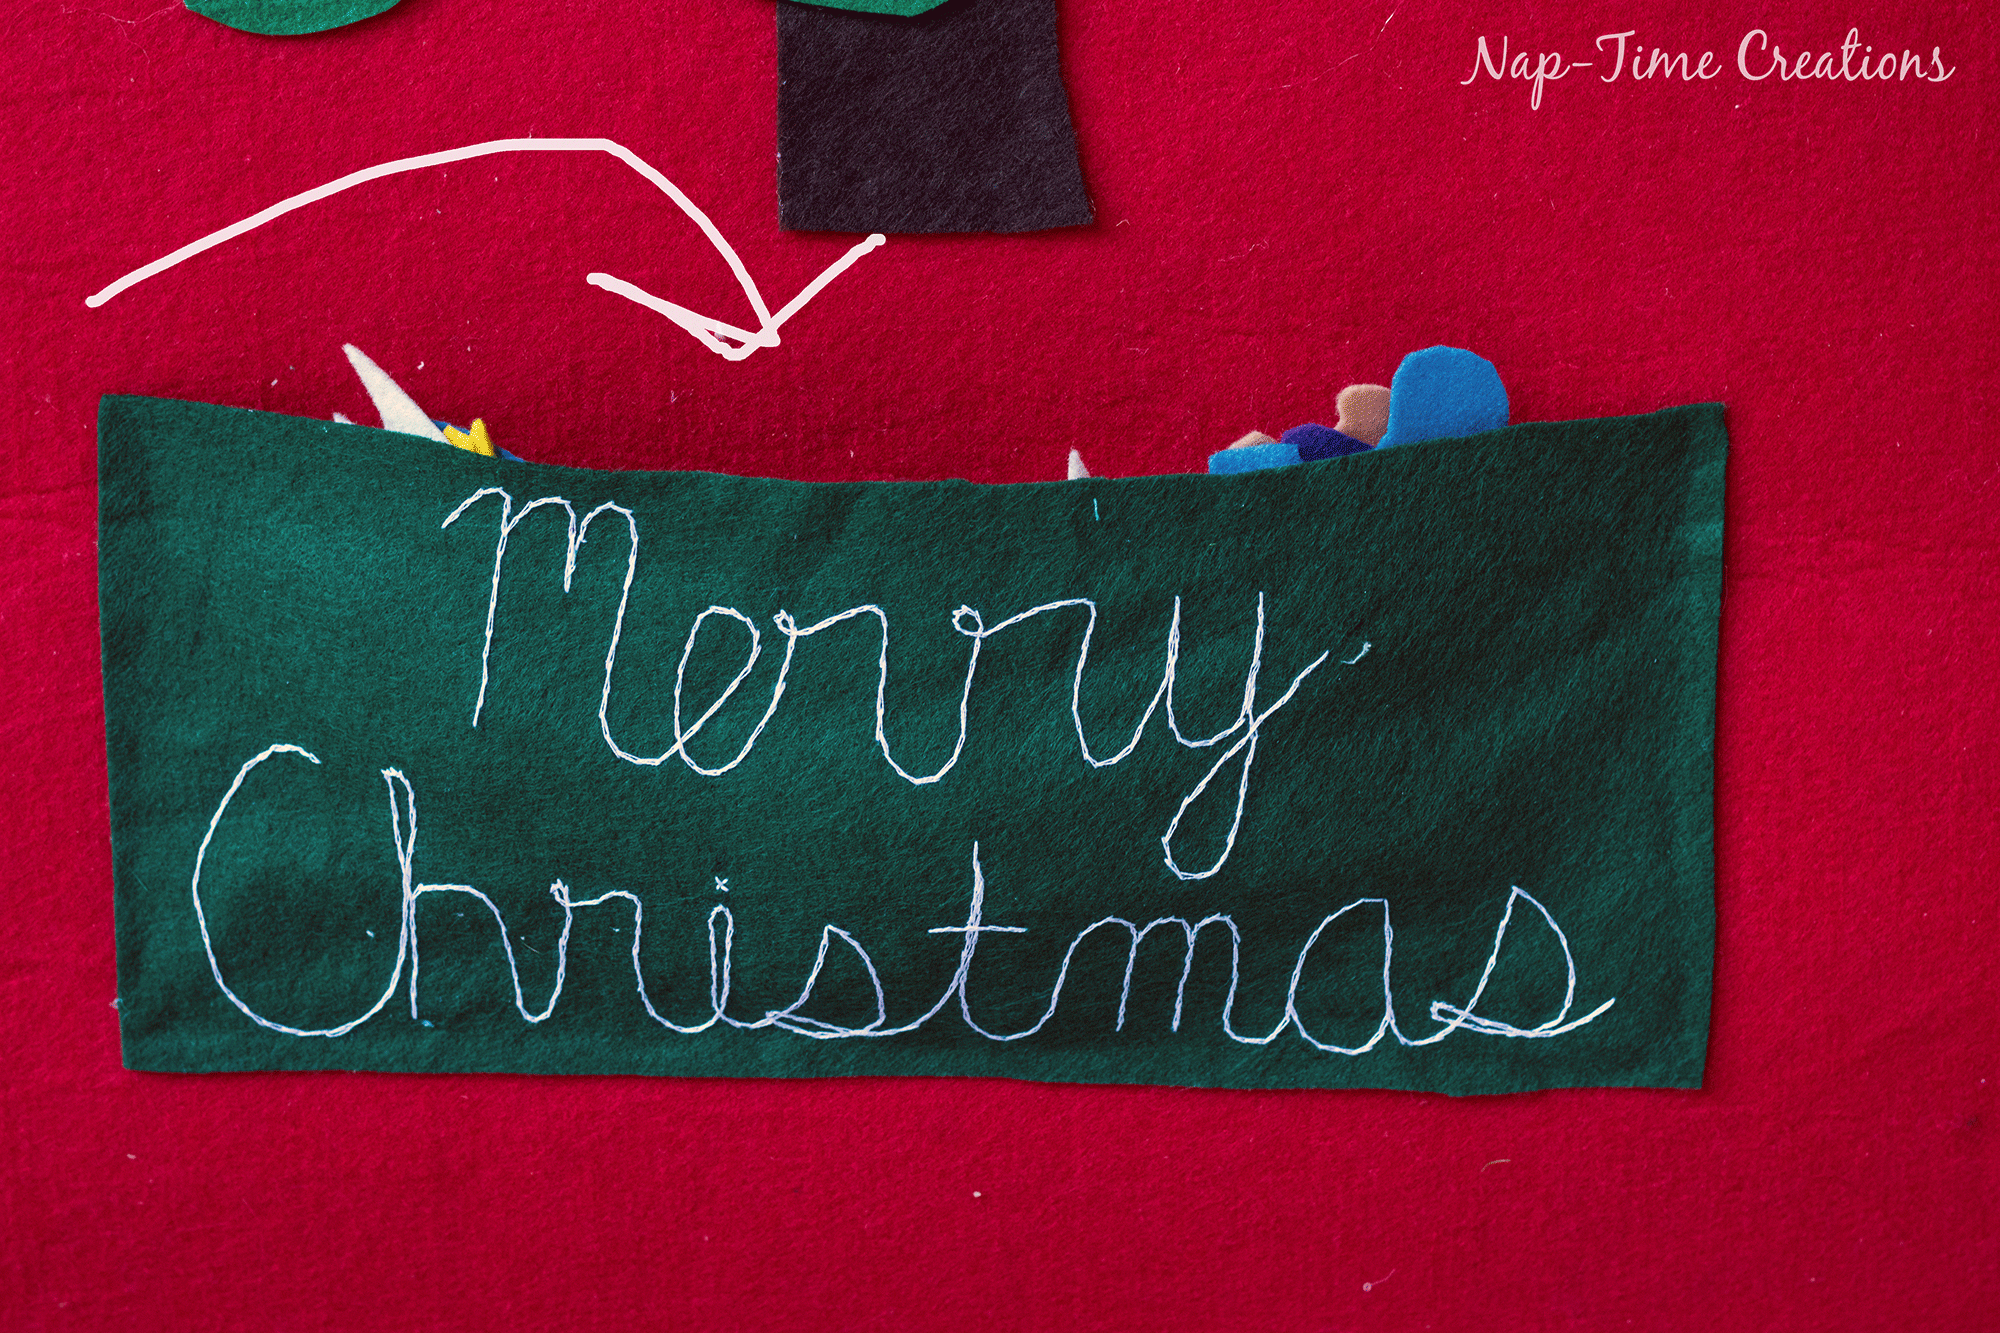
Cut a pocket for the ornaments. Mine is about 15″ x 8″, but you can decide the size you like. I embroidered the words Merry Christmas on mine, but you decorate as you like.
Glue the pocket on under the tree. Only glue the sides and bottom so you can fill with ornaments.
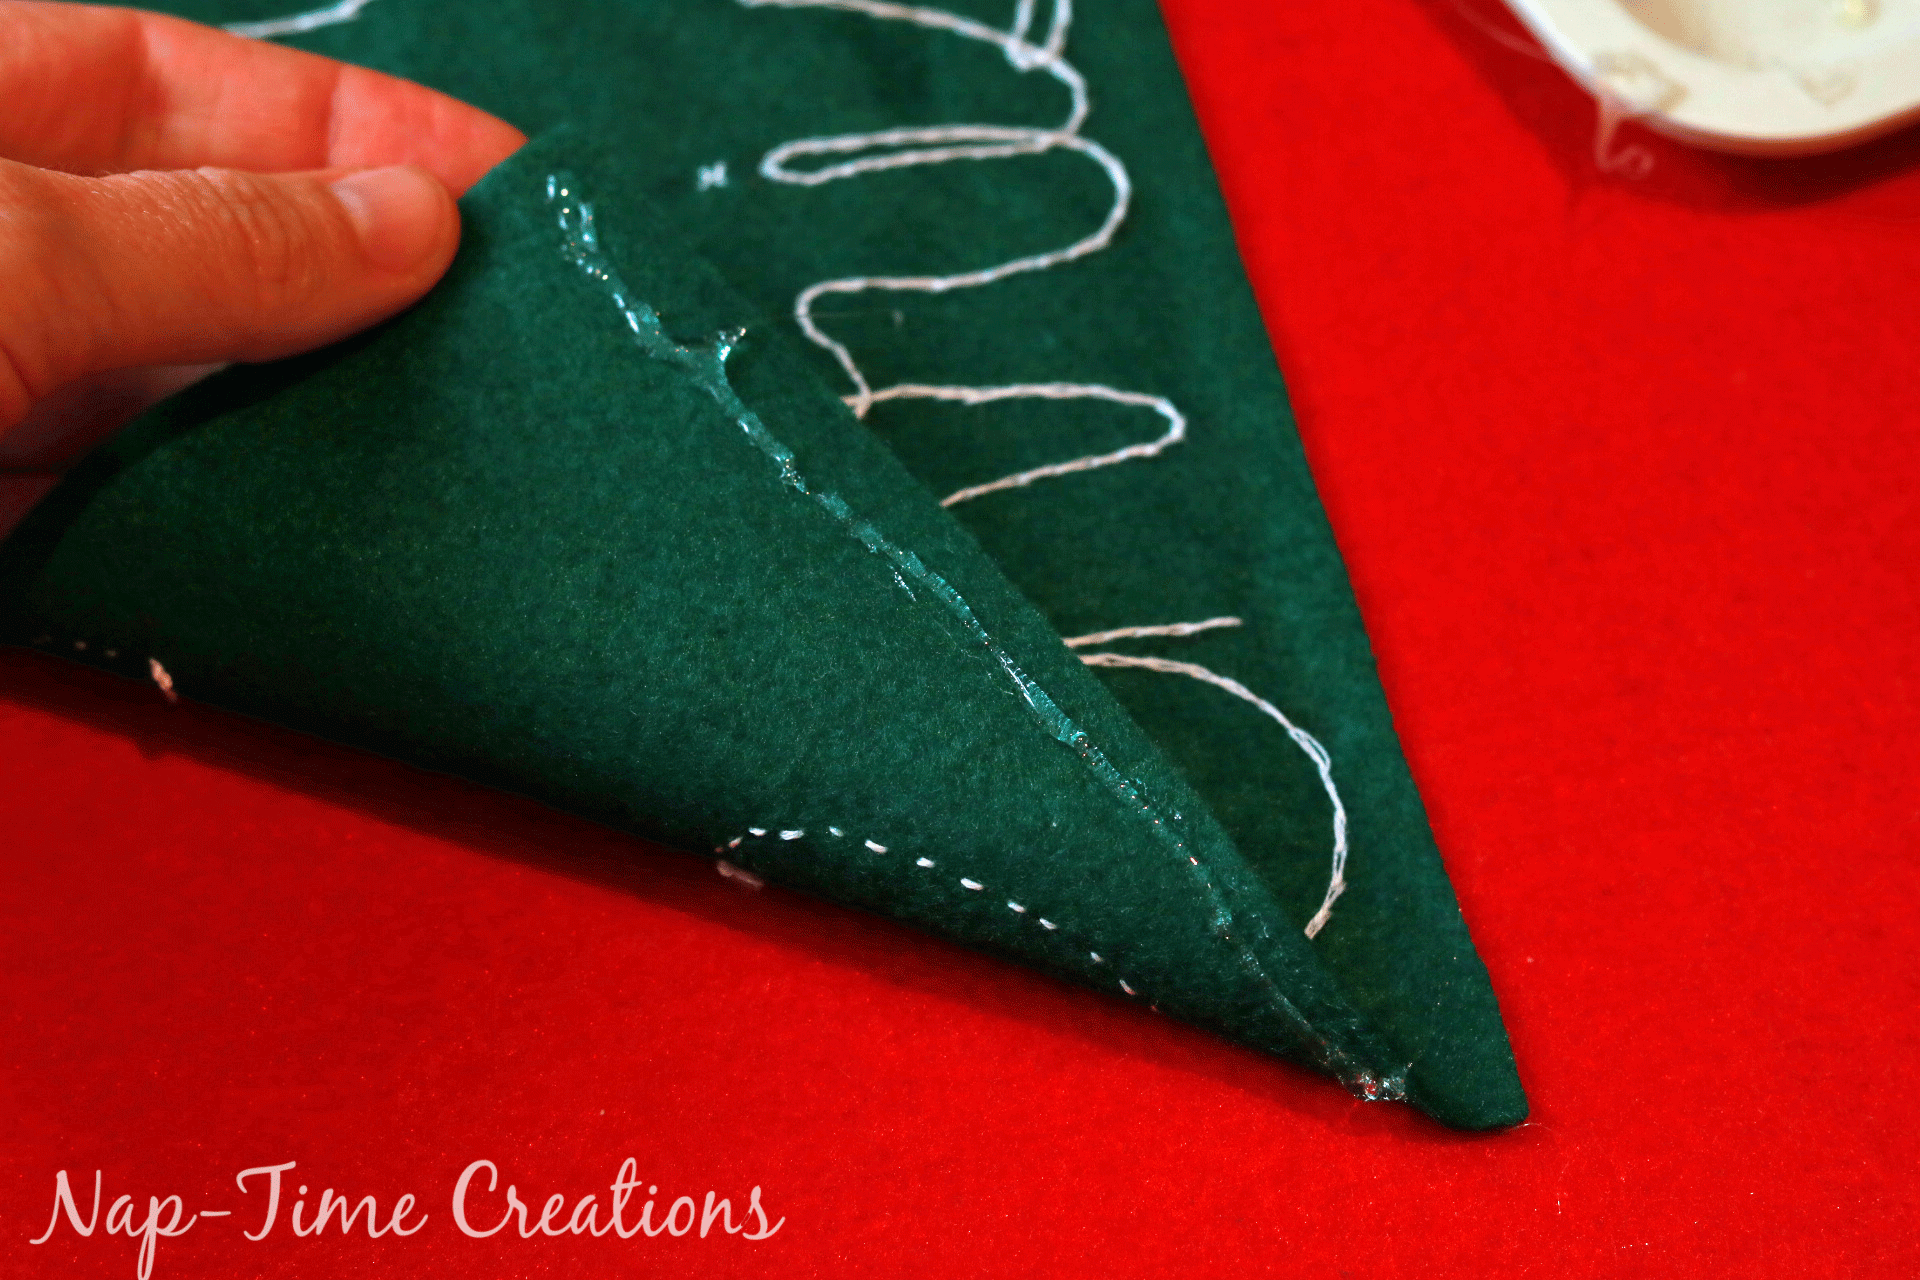
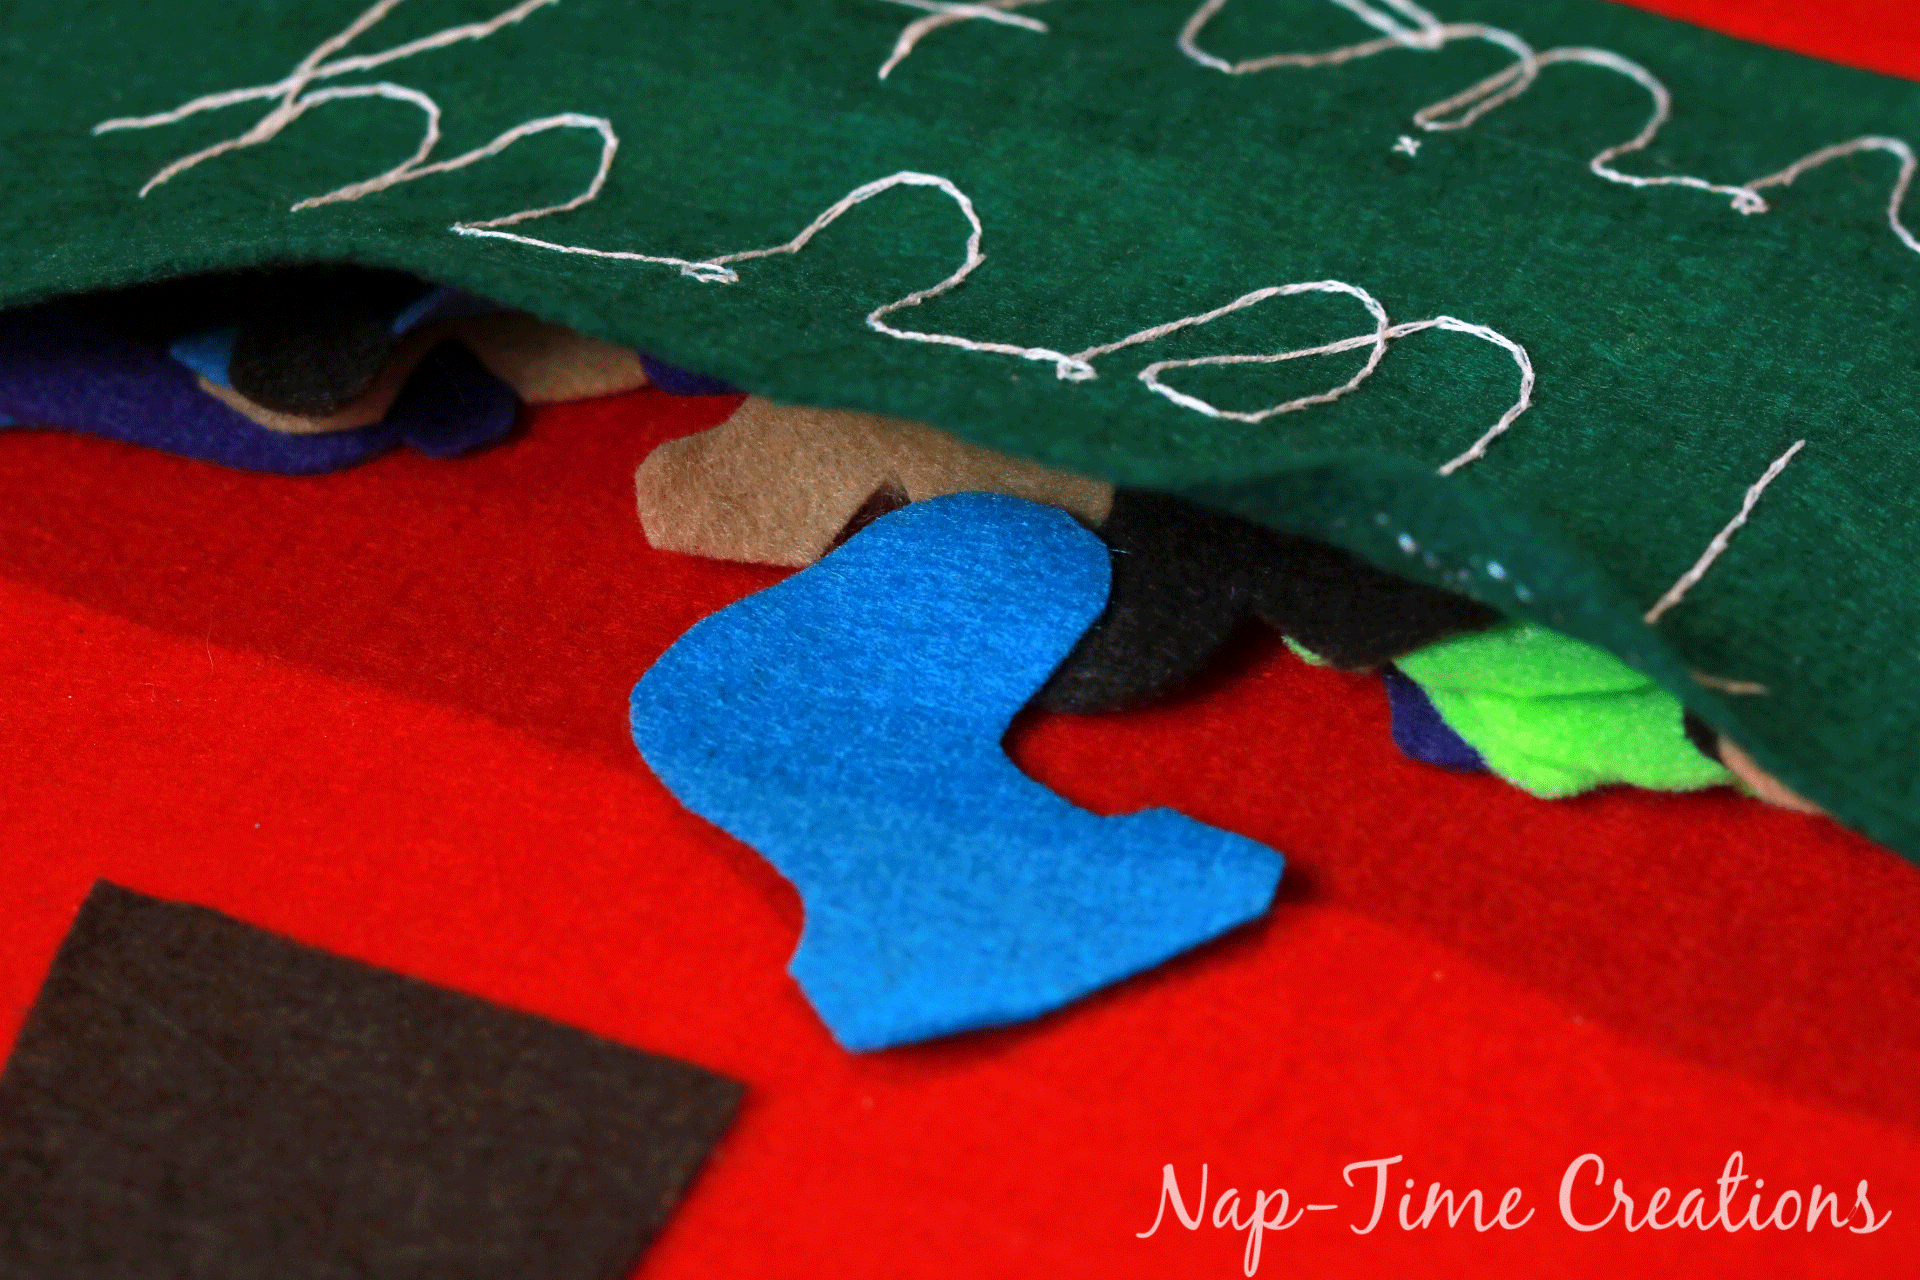
I made this for someone who has three kids and may have a 4th someday, I made 12 ornaments x 4 kids… so it’s a pretty full pocket of ornaments!
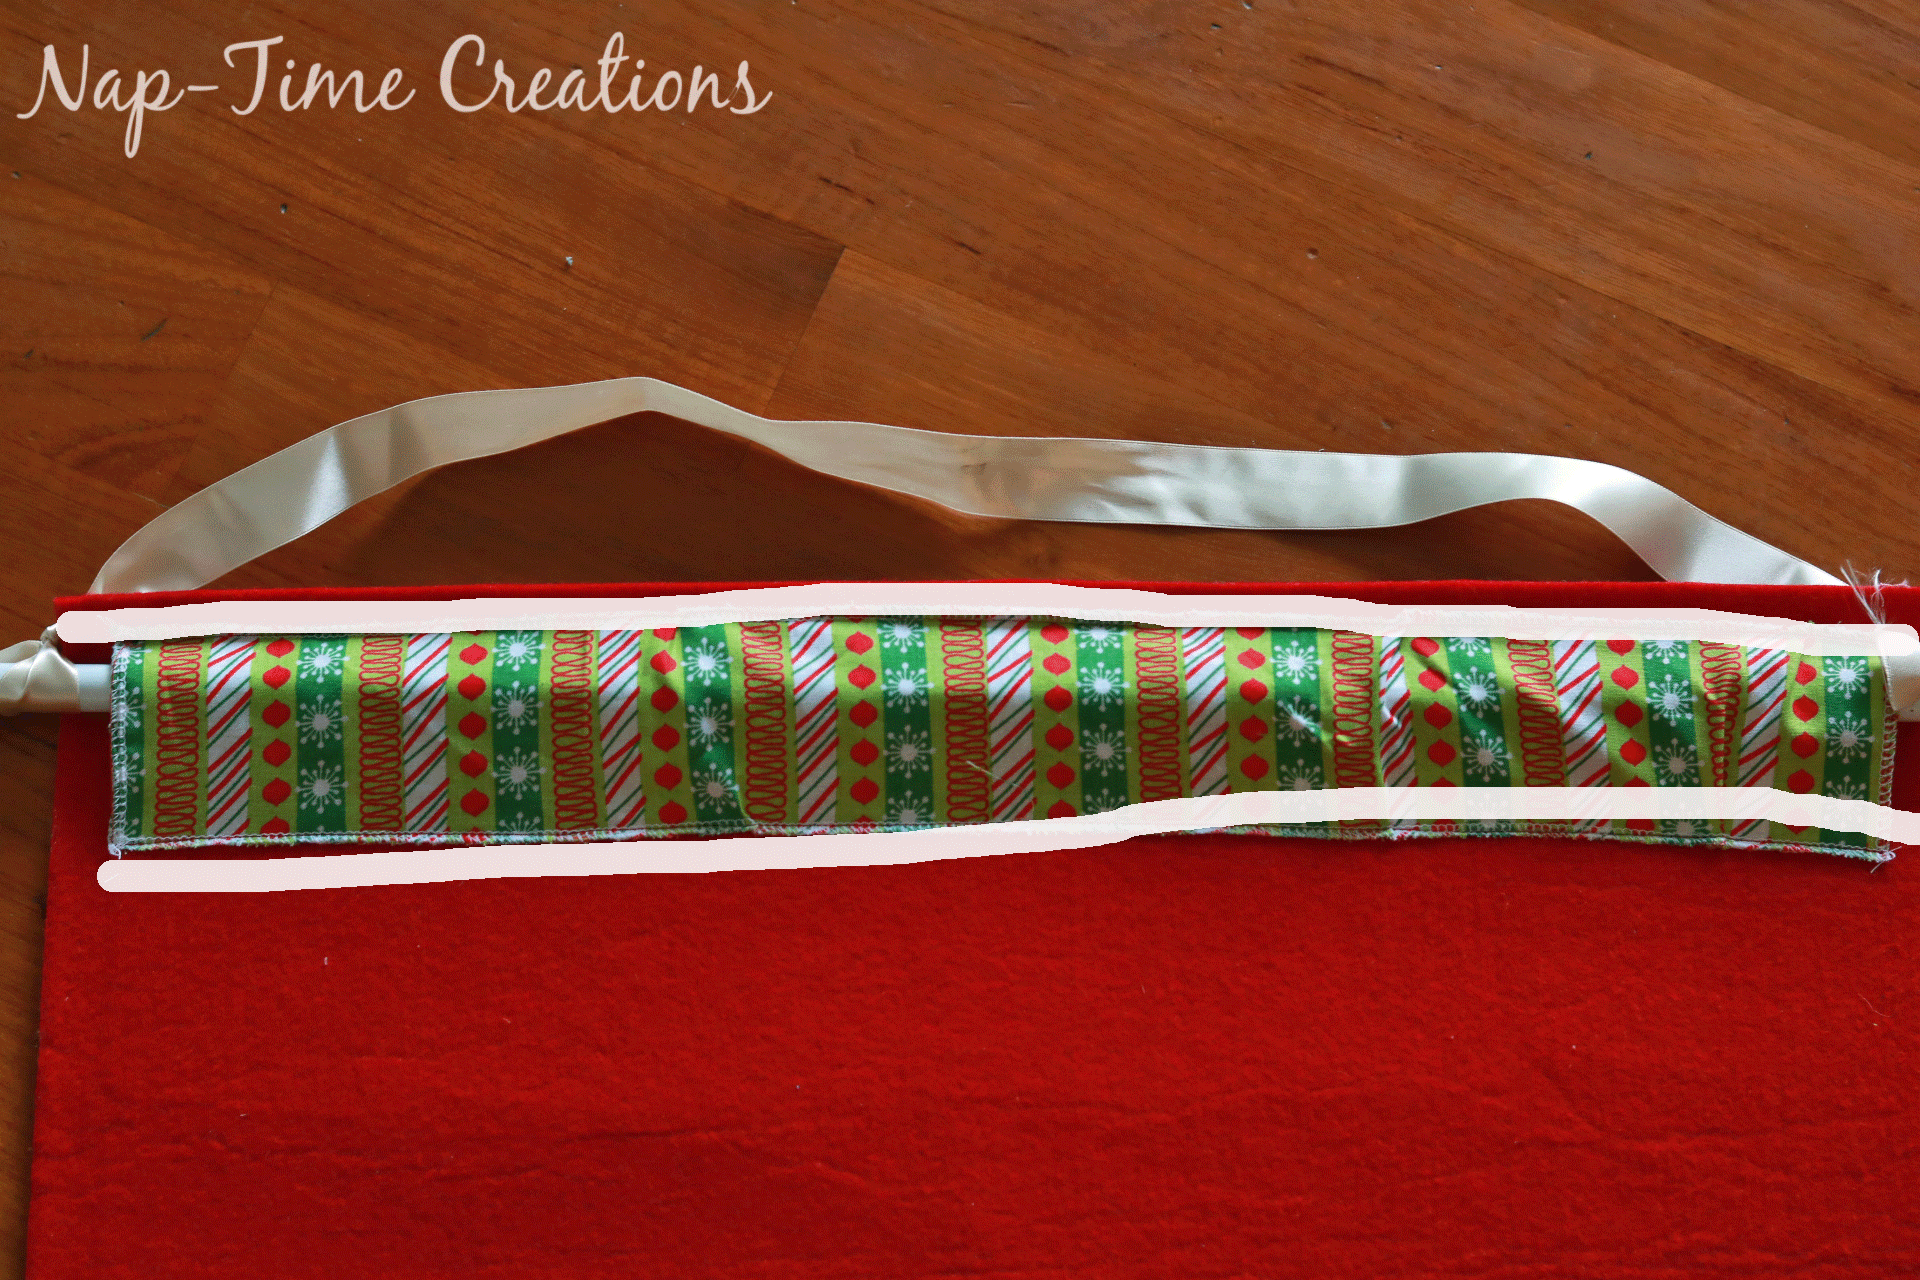
To hang, I sewed a piece of fabric {you could also use more felt} to the back side of the tree. You could use hot glue and felt as well. Thread the dowel through the sleeve and tie ribbon to the ends to hang the Christmas Tree.
Add a star or angel to the top of your tree.
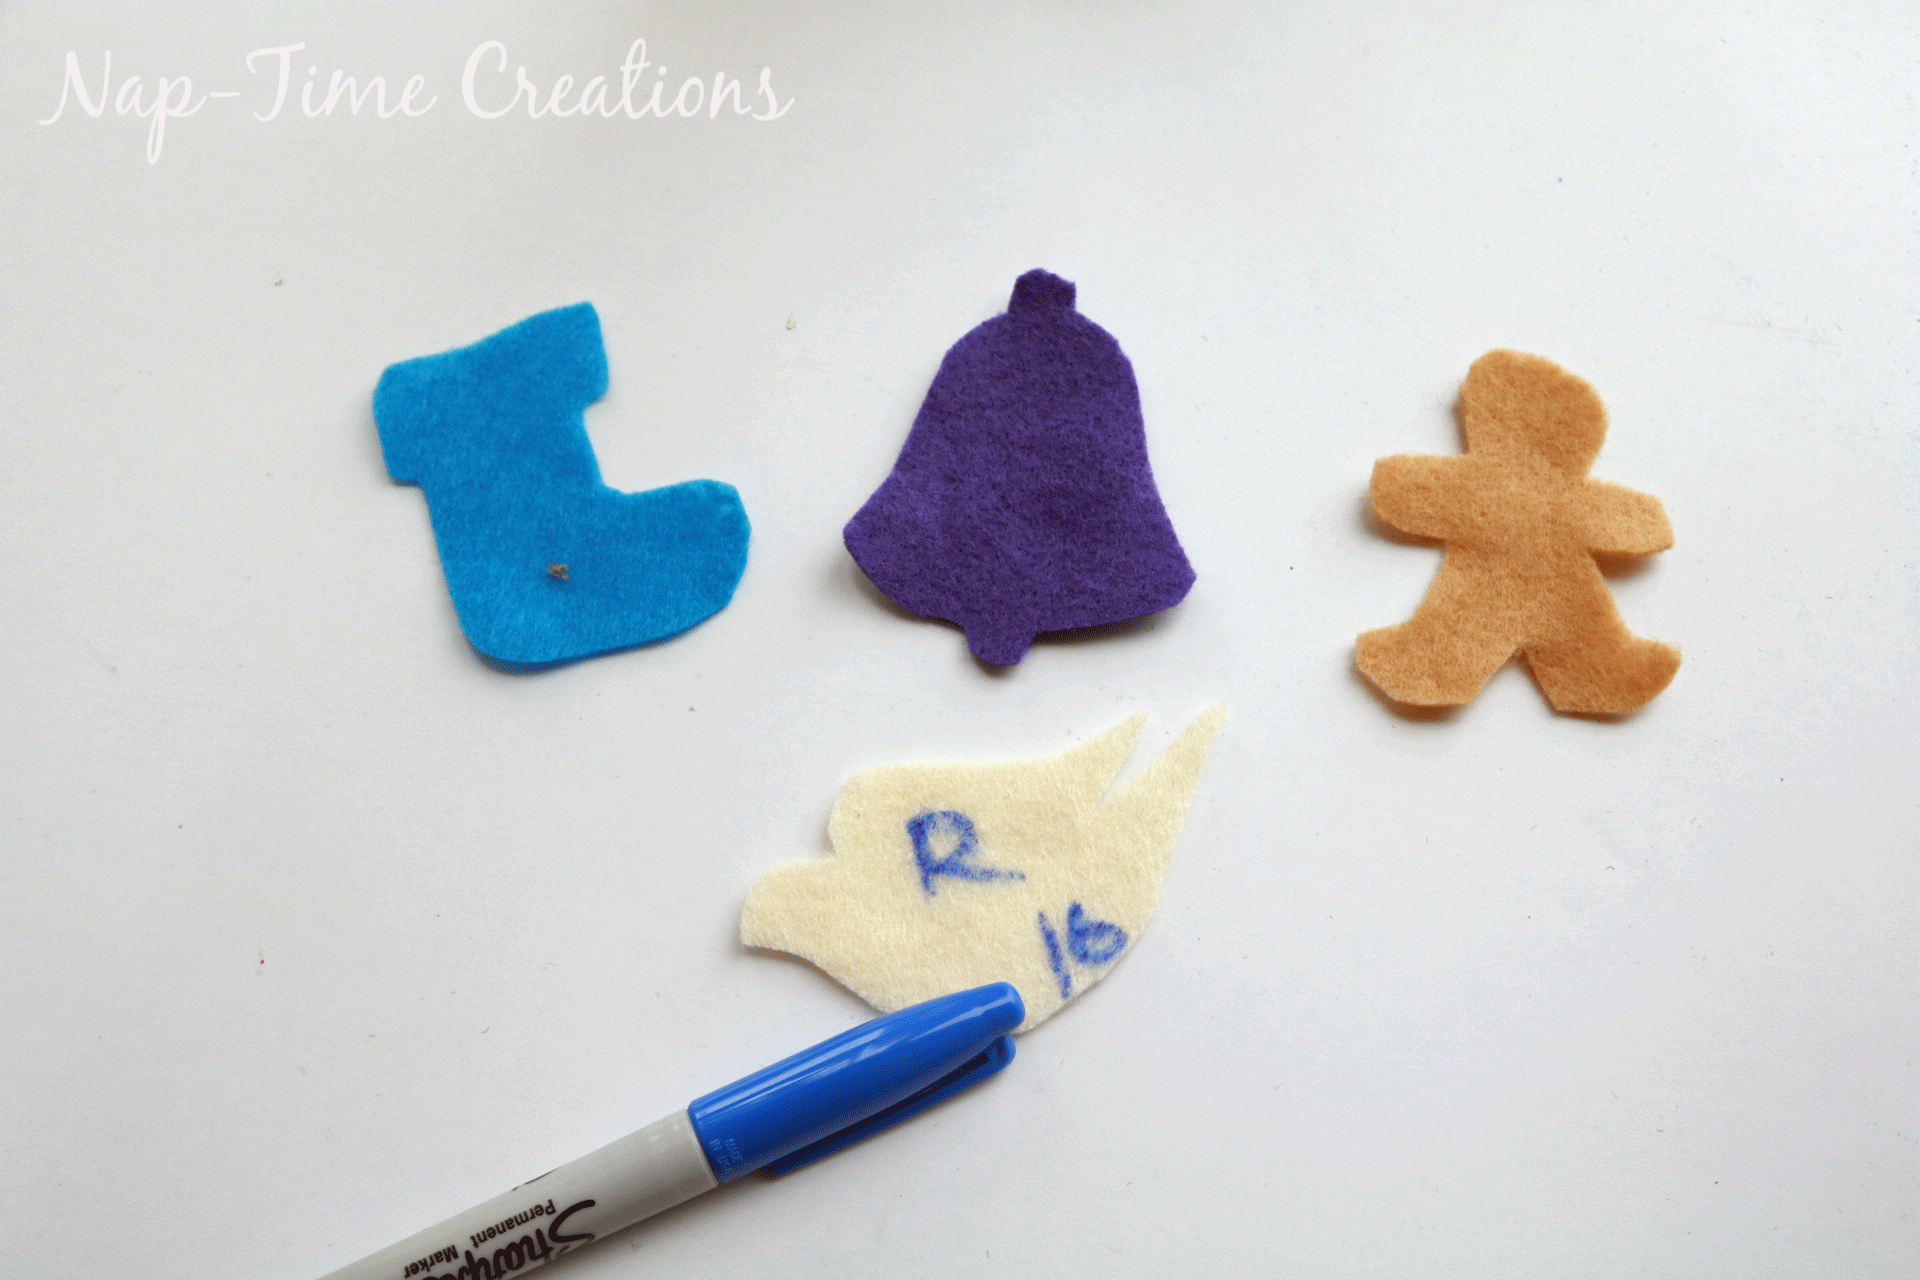
Each Christmas season when you pull the tree our of storage, prepare one ornament for each child. Use initials and the year to mark the height of each child each year.
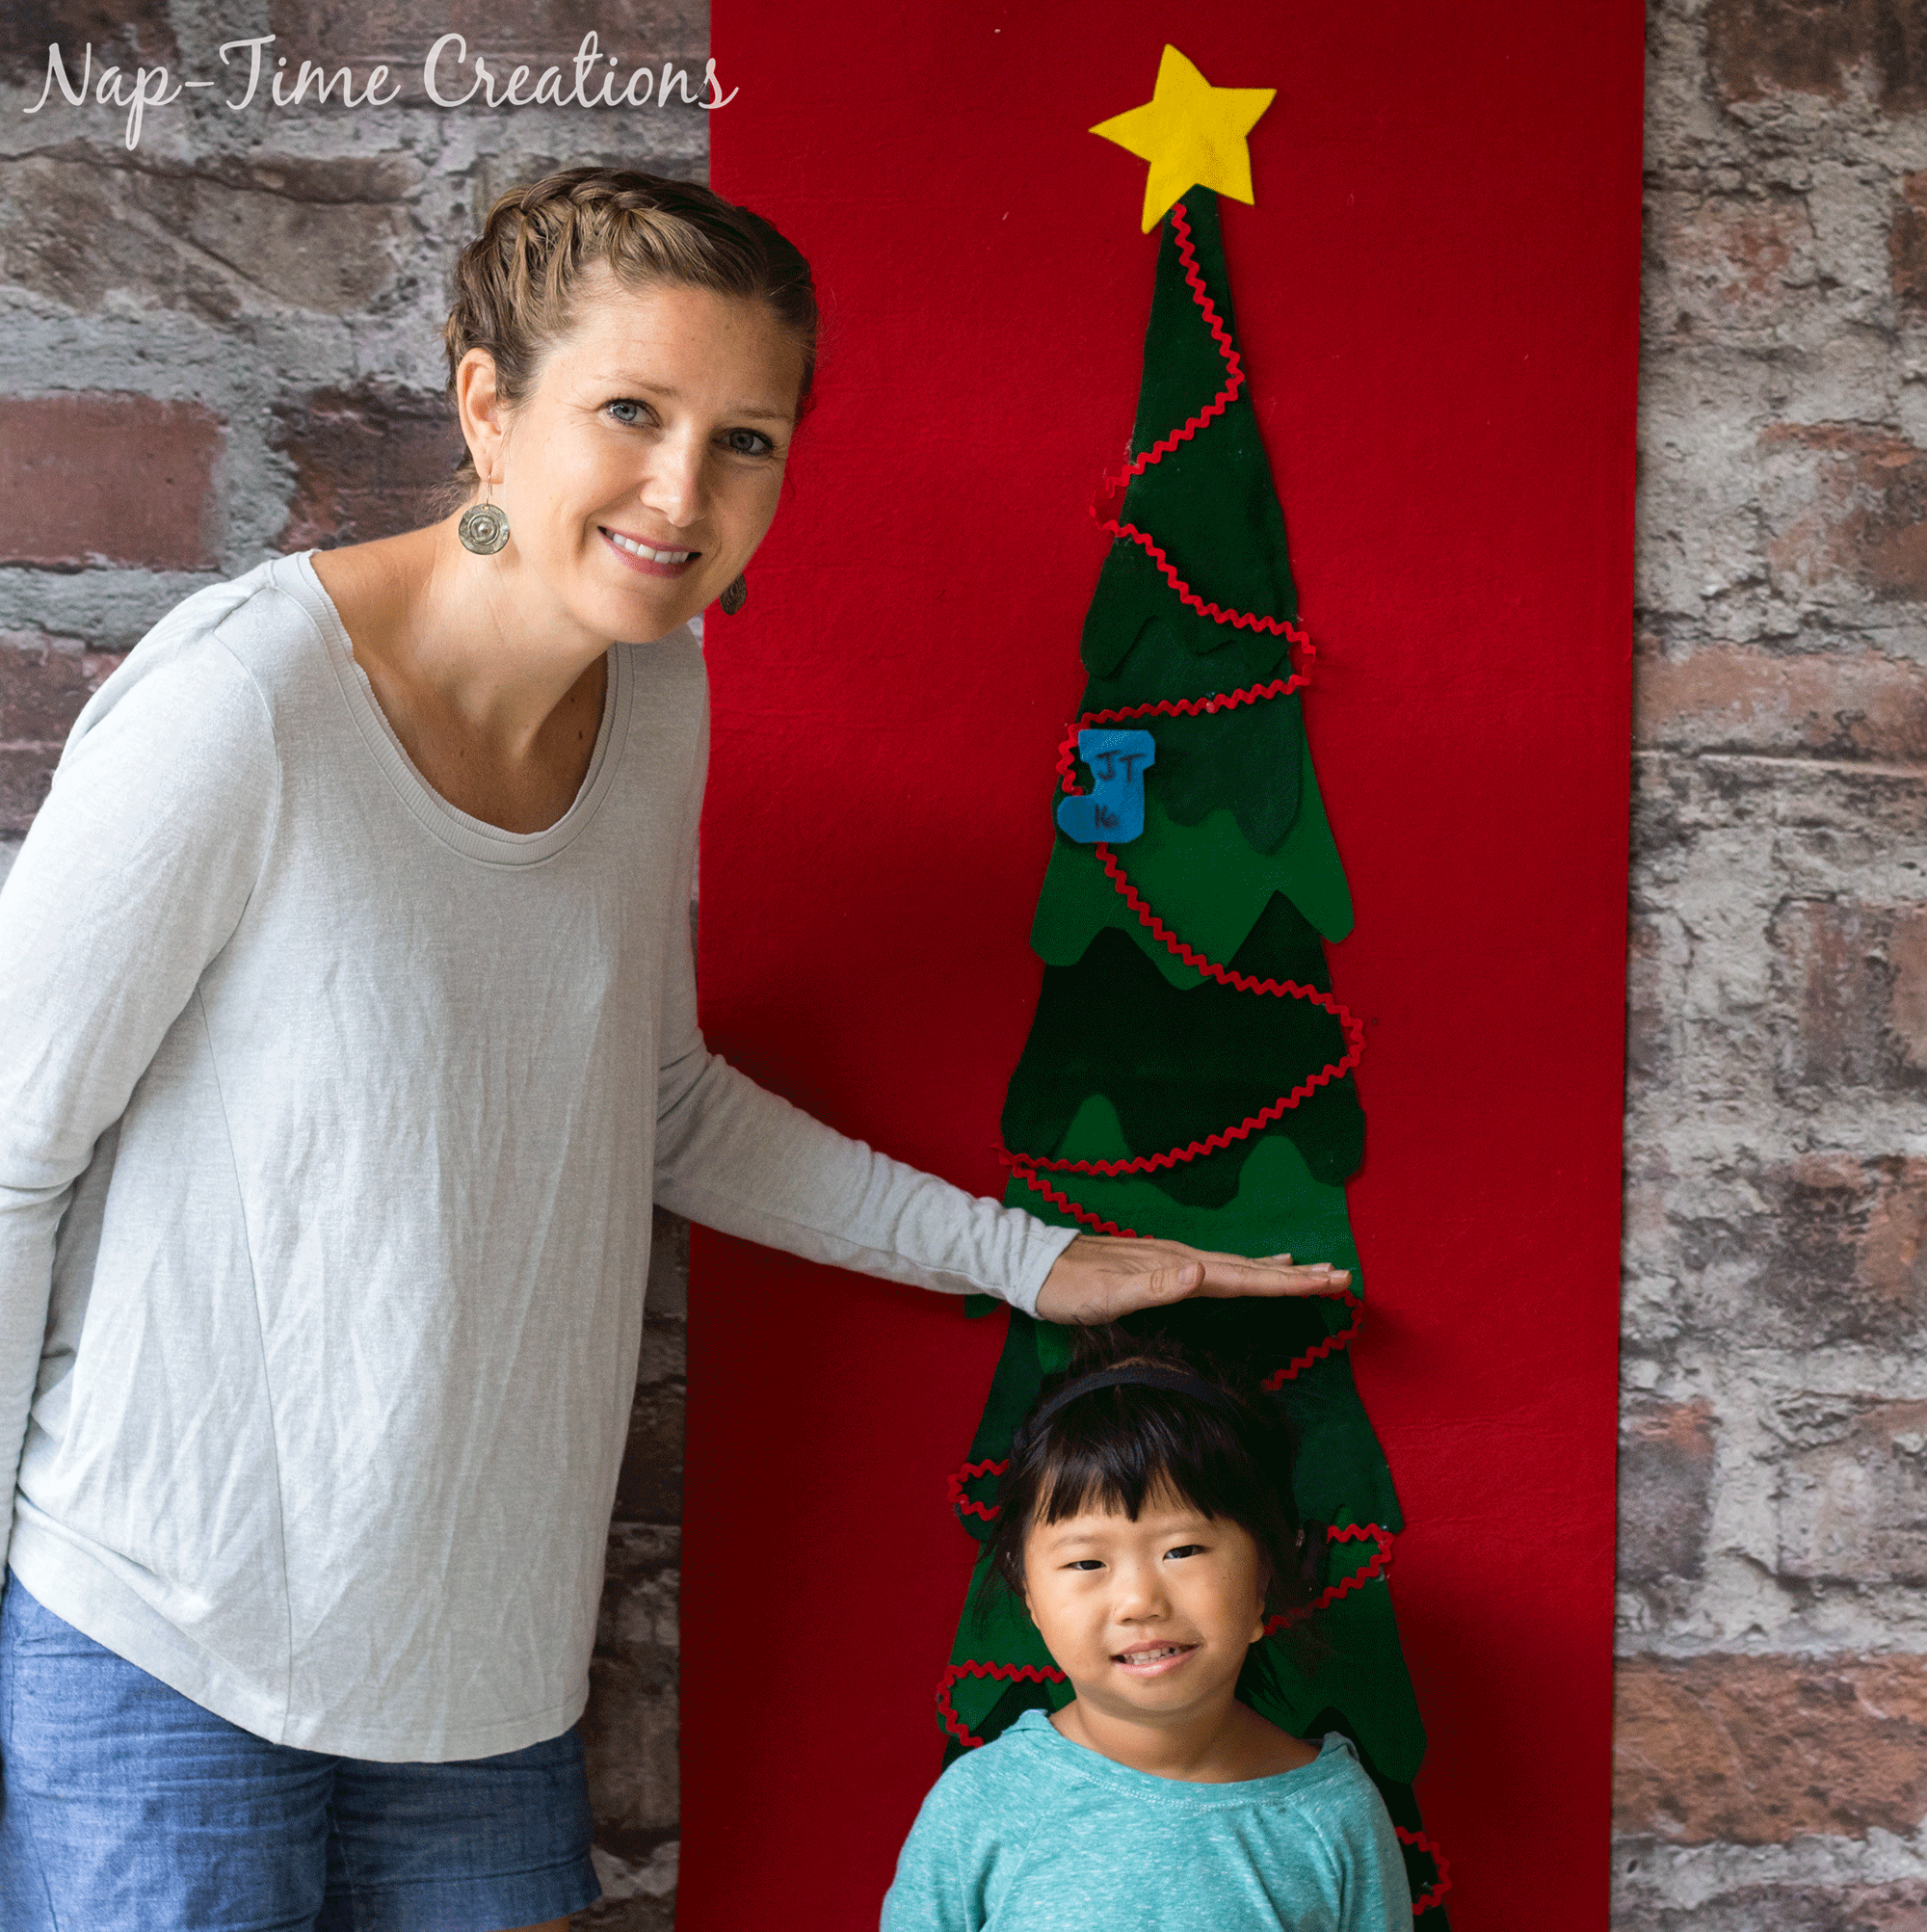
Then measure your kids and glue the ornaments to the tree. Each year you can see how much they’ve grown and also add this tree to the decor in your home. With it’s long narrow size it makes a great door hanging.
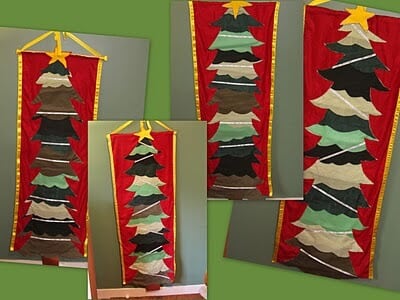
Here are the trees I made several years ago to give you more inspiration to make your own.
Christmas Tree Growth Chart
You can download and save the felt Christmas tree growth chart template>>> HERE and this is what it should look like taped together. The pages and numbered.

Want to see me put it together? Here’s the video of making mine…. Feel free to fast forward through the slower parts, but this describes in detail how to stretch the tree, cut the ornaments, and design your own felt Christmas tree growth chart.





Anne says
This is the best idea for a Christmas banner! I’ve got a Craft Gossip post scheduled for later today that features your tutorial: http://sewing.craftgossip.com/?p=90409 –Anne
Morgan @ Morgan Manages Mommyhood says
Oh my goodness, this is the BEST. I am going out tomorrow to get things for things! My boys ate 2.5 and 7 months so this is the PERFECT time to start this!!
Charlene Asay says
What a great way to see how much your kids have grown each Christmas! Very cute!
Leanna says
This is an excellent. You can put the tree up every year and see a huge change. I loved seeing you online. In Malaysia no less.
Lisa/Syncopated Mama says
What a fun idea! I love the thought of measuring at a different time each year than birthdays!
Lindsey says
Oh how cute is this! My kids are 4 and 2, and so I might just have to start this this season. Thanks for sharing for the Home Matters party.
zoyoyayep says
WOW, Outstanding tree, I wanna use it for banner and hopefully it’ll free banner ad design cost for us
Rita says
You lost me at hello, or shortly after. After 3 or 4 minutes with you not being able to stay focused I moved on. I did however stop by here to see the finished product because it looked like something I would make. Good concept wished the video was more attention getting.
Kristy says
Thank you so very much for the wonderful Christmas idea for next year! I am currently thinking of making two of these trees one for my daughter’s family. She and her husband are in the process of adopting their 5th child. In the past 3 years they have created a very beautiful family that they never expected to have. The second tree will go to my nephew and his wife who are expecting a little one early next year. These two young families will love these trees and the memories they provide over time.