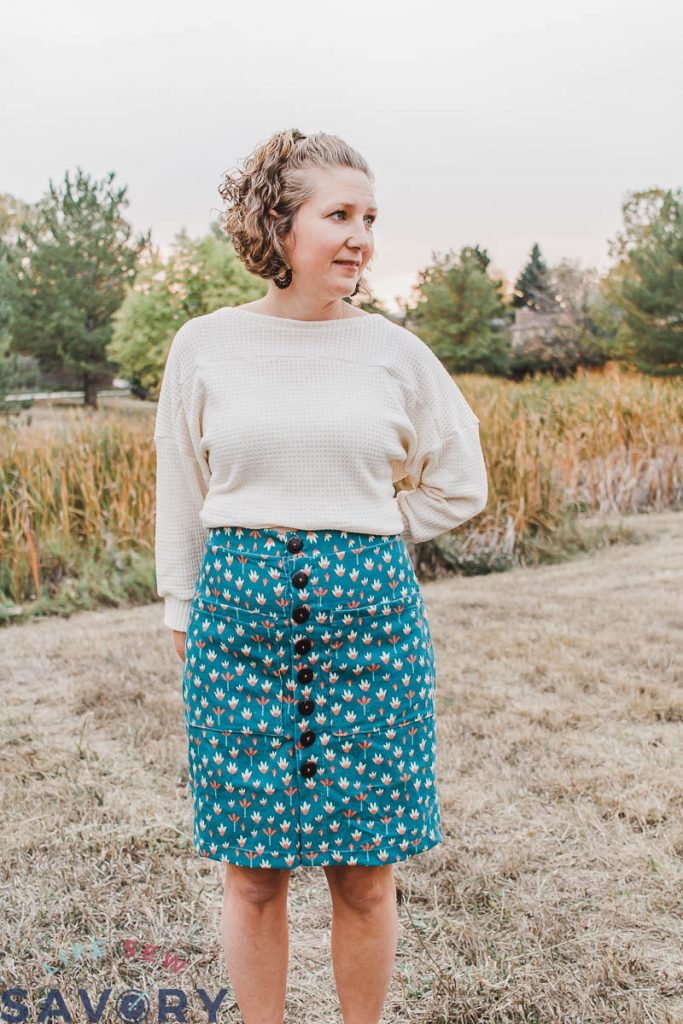
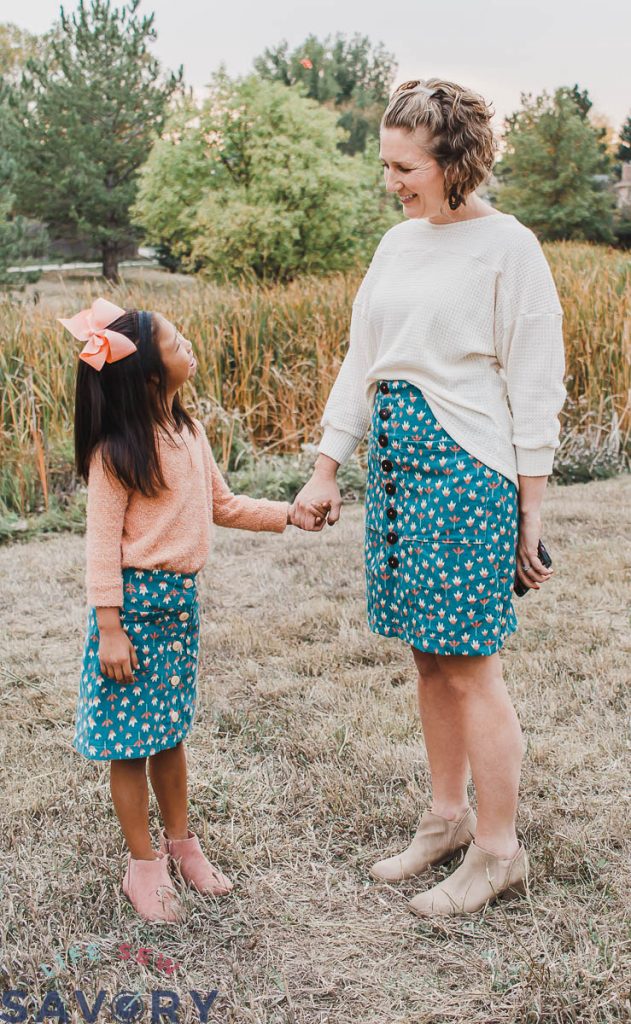
inside: The women’s version of the free corduroy skirt pattern with buttons. As promised, then matching women’s version of the button front skirt. Now girls and women of all ages and sizes can wear this adorable skirt with this free sewing pattern.
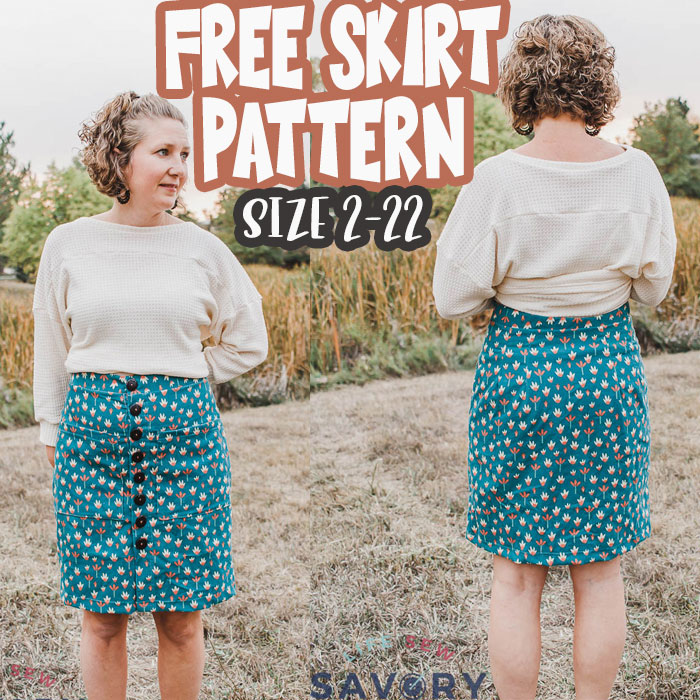
I was pretty jealous last week when I took the photos of Rose in her button front skirt. I knew I had plans for a free corduroy skirt pattern for women as well, so I’ve been working hard to make that happen for all of you. This free skirt is the PERFECT fall pattern and I hope you will make a few of them to add to your fall wardrobe like I have.
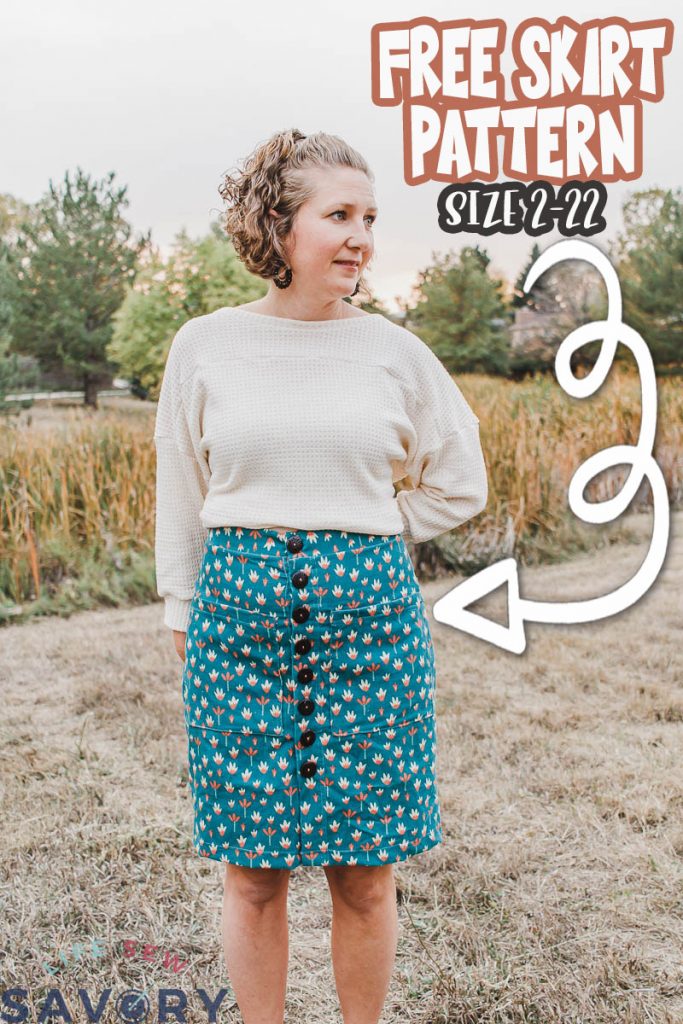
Free Corduroy Skirt Pattern –
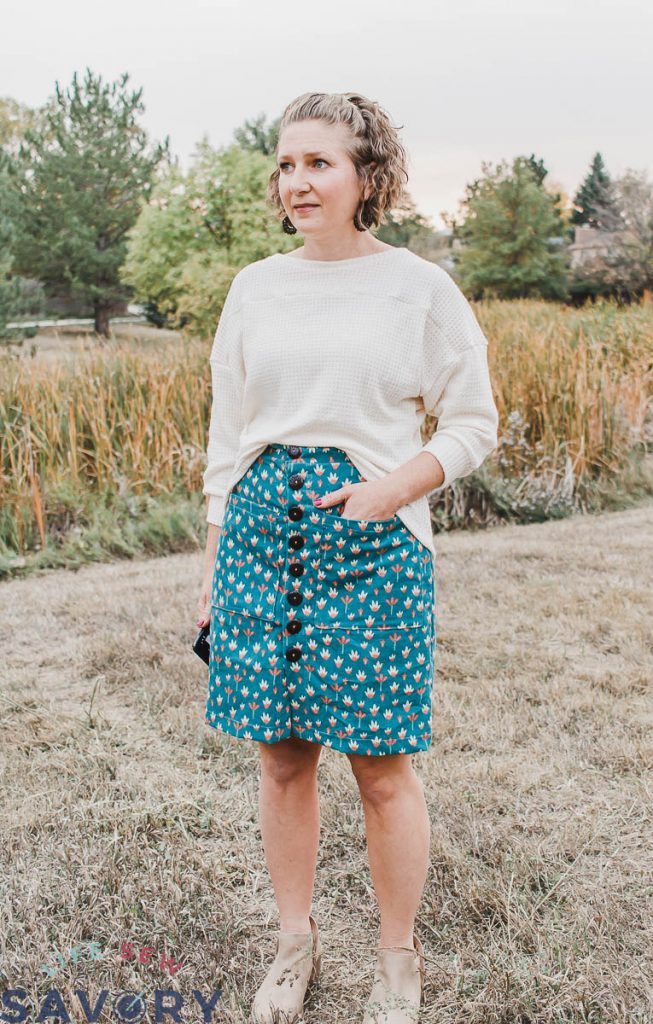
The air is crisp with fall breezes around here and we are ready for fall! I just love sewing for fall! Fall fabrics and patterns are my favorite and I’m excited to bring another free sewing pattern your way. Ok, let’s take a closer look at my skirt.
As mentioned above this is the matching skirt to the girls version of this pattern. You can find the girls version of the skirt here. And how cute do we look together?
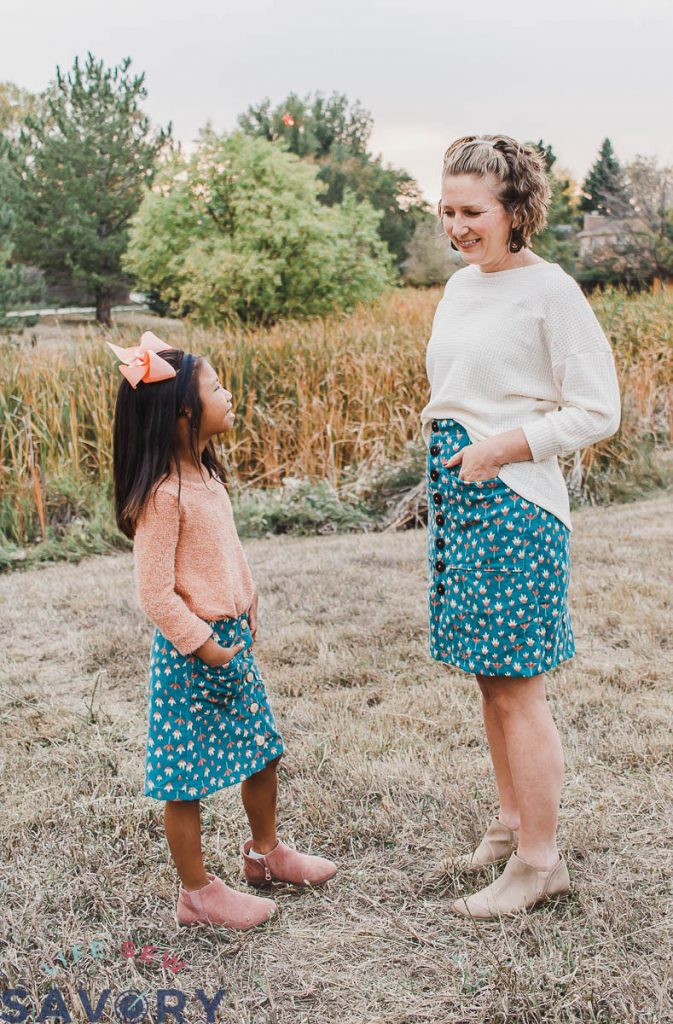
Rose’s top is my girls sweatshirt tunic free pattern and my shirt is a modified Spring Tee free pattern. I’ll be sharing the hack to make this version next week.
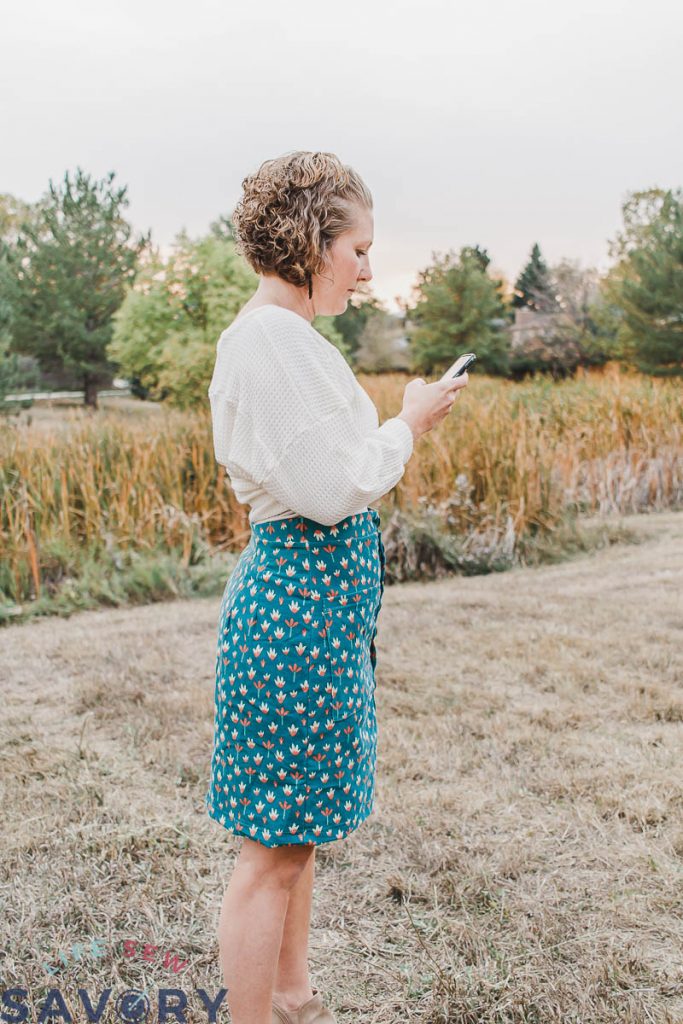
The women’s free skirt is very similar to the girls, except for a bit more fitted for the curvy women. {big or small curves} The back has several darts to give the back just a bit better fit.
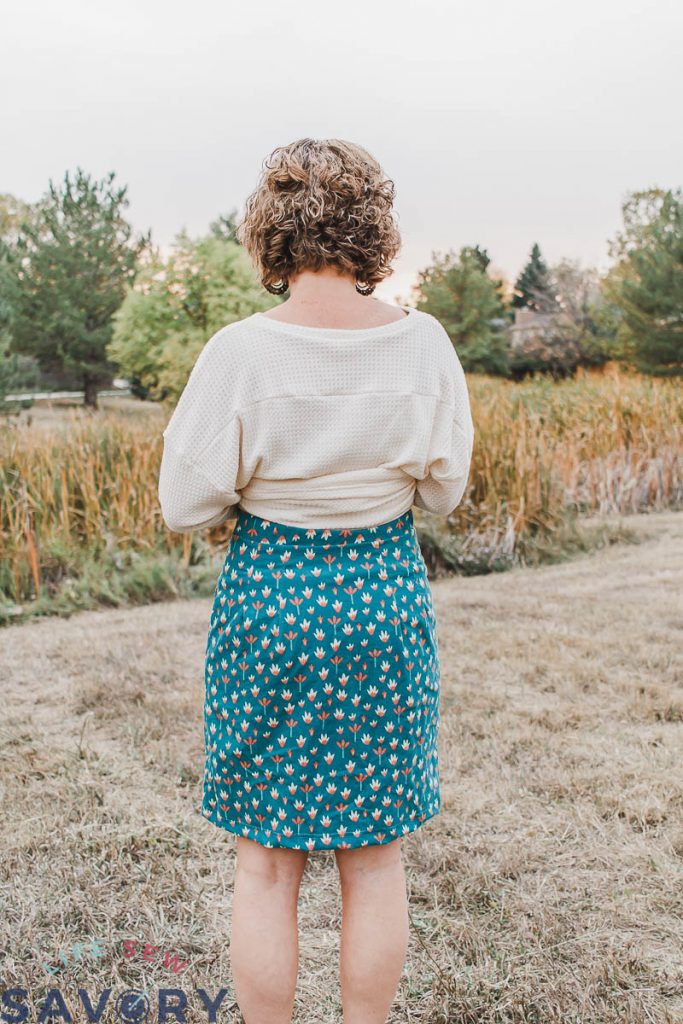
The front is a flat front just like the girls and an optional elastic back waistband can help give a little more adjustment to the fit.
Other free skirt patterns you may enjoy –
Ready to sew? Let’s sew a skirt!
Free Skirt Sewing Tutorial –
Head over to my shop and download the pattern using the link below.
Need help with your account and pattern downloads? Tutorial here
Help with printing, assembly and pdf patterns tutorial here.
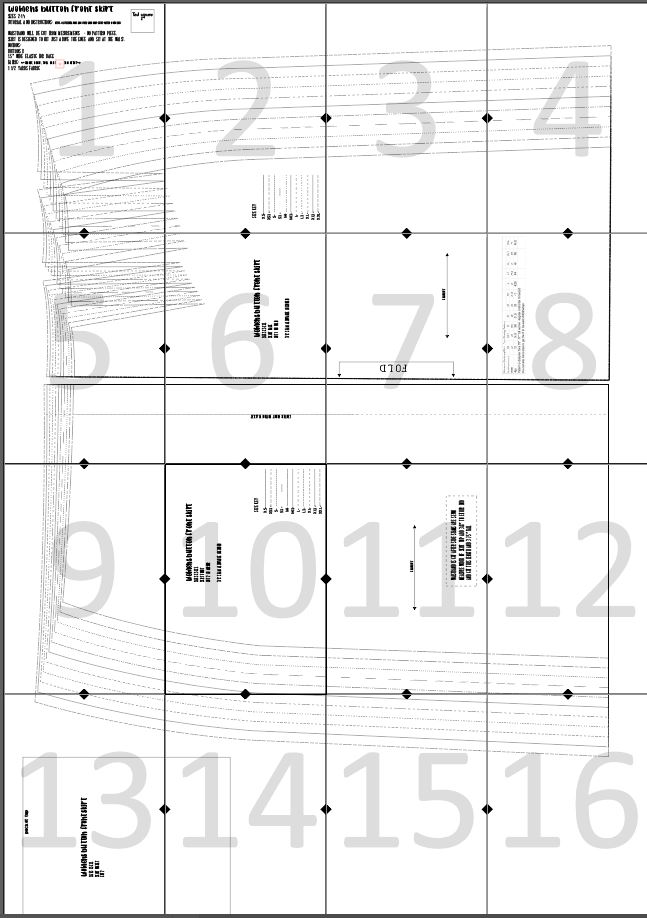
Here is the layout guide for help with pattern assembly.
Use this size chart to choose which to cut and sew for you. Start with hip measurement and then grade for a different waist if needed. You can also adjust the length if needed as well.

This chart follows my legging pattern closely in sizing, but it’s my first bottom pattern with non-knit.. SO… I’ve added several sizes to help make more options for a better fit. I’ve called them the normal size and then size1 for the second part of the size. Please uses the measurements as your guide for choosing pattern size.
I made myself the S1 {on the larger size range of a size S as normal} and the fit is good.
I’m going to write out all the directions for the skirt, but I’m not going to have a full photo tutorial.. If you want to see step by step photos of ALL the steps, you will be able to find them in the girls version of this tutorial.
The materials you need are all listed on the first page of the printed pattern. Notions and fabric:
- Buttons 8
- 1.5” wide elastic for back
- Fabric: {couroy, demin, twill or other bottom weight}
- 1 1/2 yards fabric
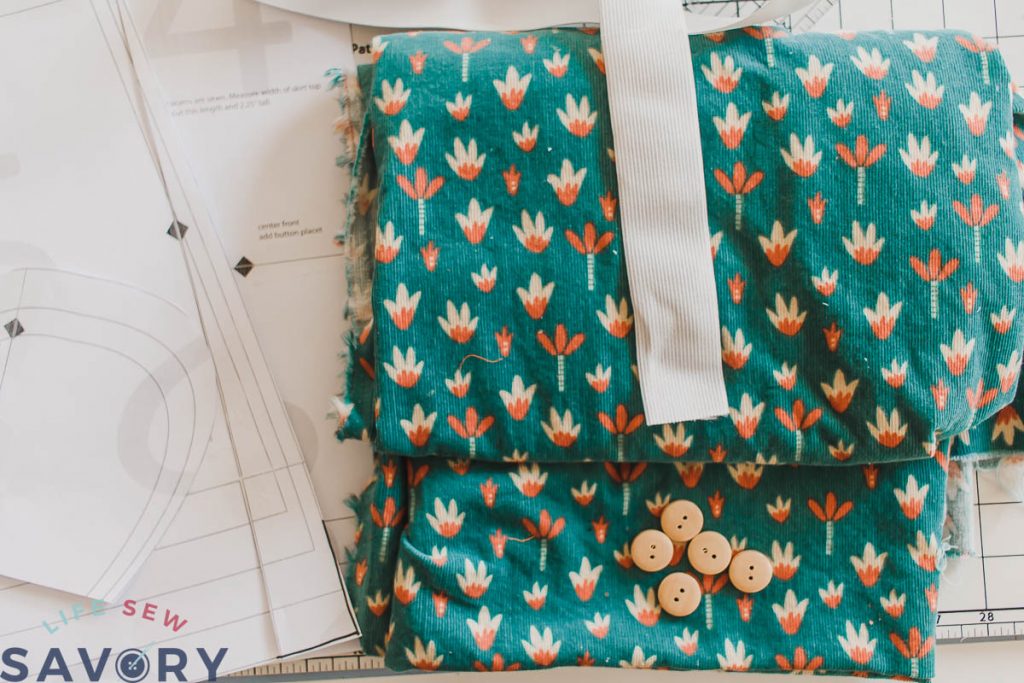
Start by finishing the front and back pieces of the skirt.
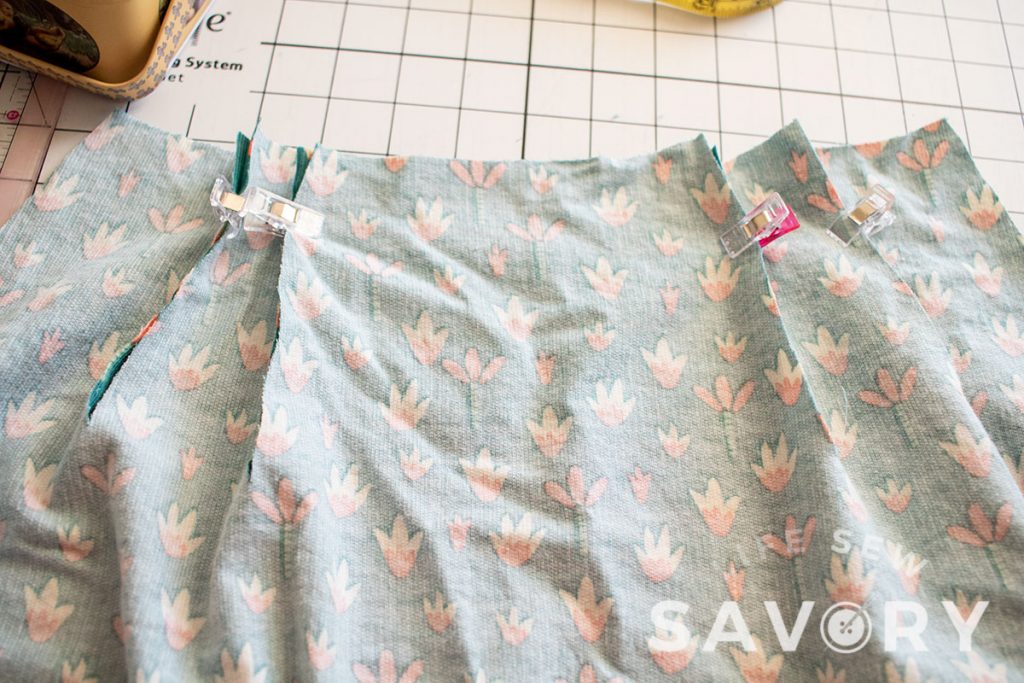
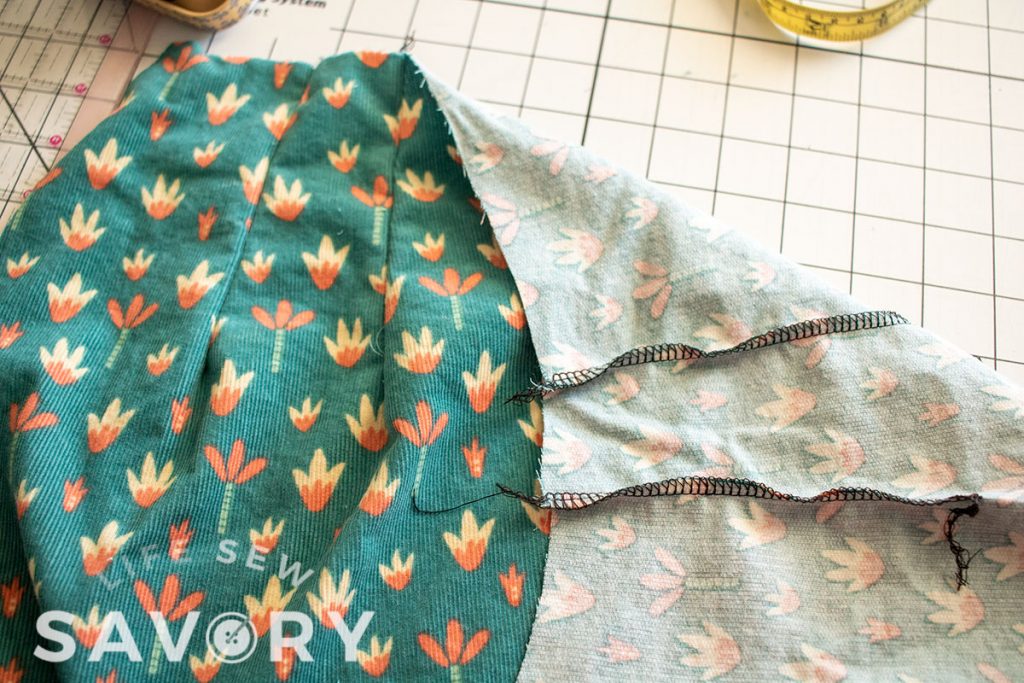
Fold the back darts together with right sides of fabric touching and sew. I like to sew from the bottom of the dart, then up towards the waistline of the skirt.
Press the darts, and set the back aside for now.
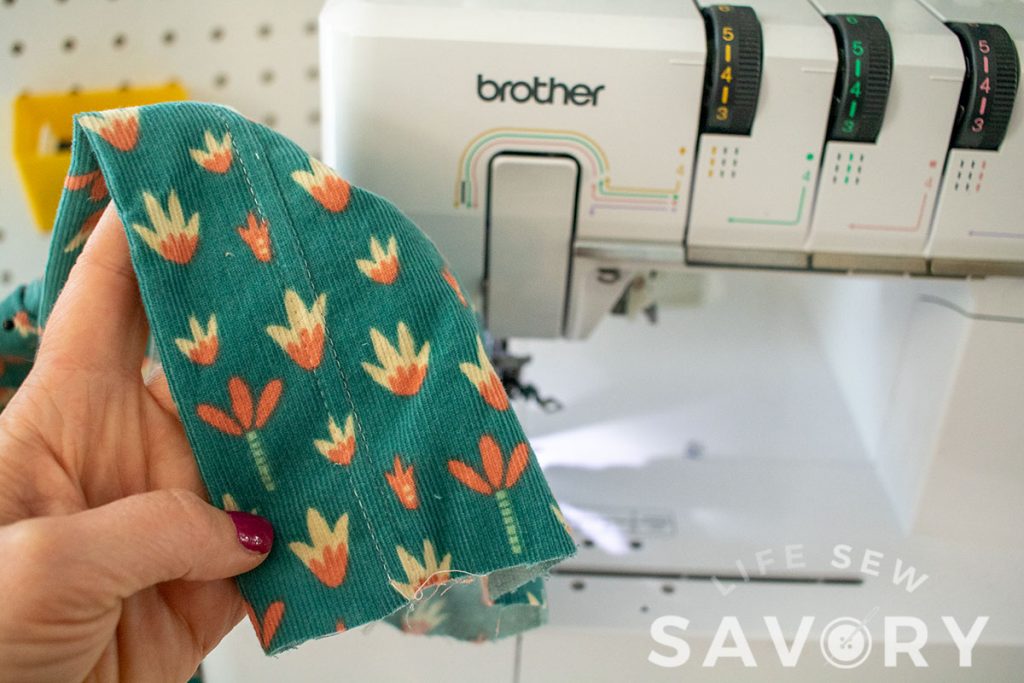
Finish the flat front edge of each skirt front. You can finish with a serger or zig zag stitch, then press back on the facing line on pattern or 1.5″ {same} Top-stitch the facing edge to the skirt to secure. I used my Brother Coversitch to finish and top-stitch all in one step.
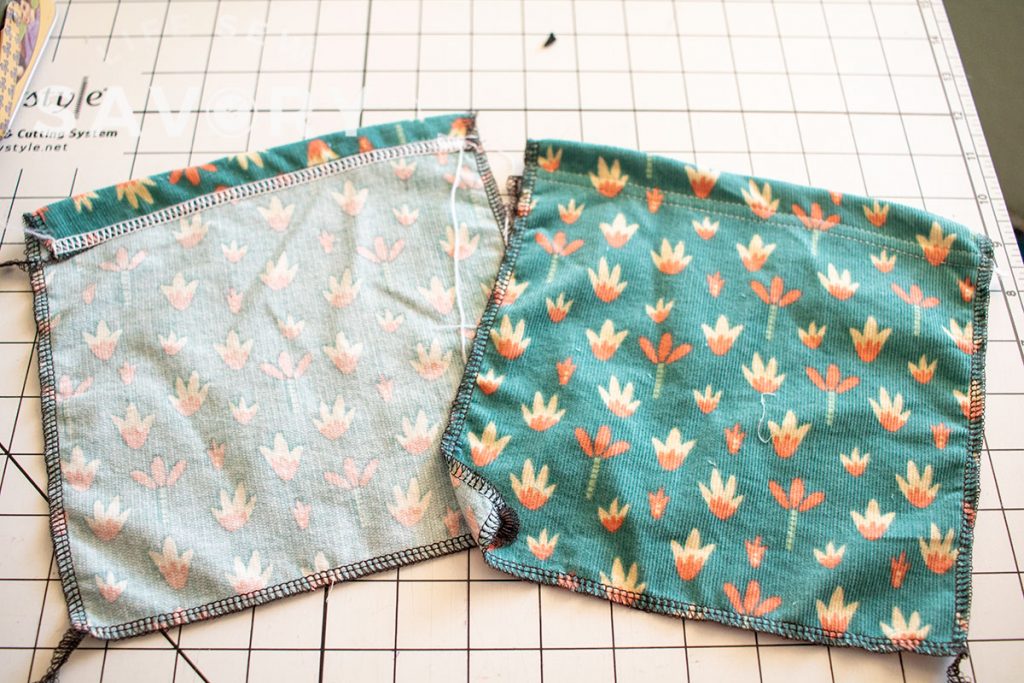
Take the pockets and finish all four edges with a zig zag or serger. Press the top edge 3/4″ over and them, then press back 1/4″ on all the other sides.
Pin the pockets in the center of each front piece and 4″ down from the top.
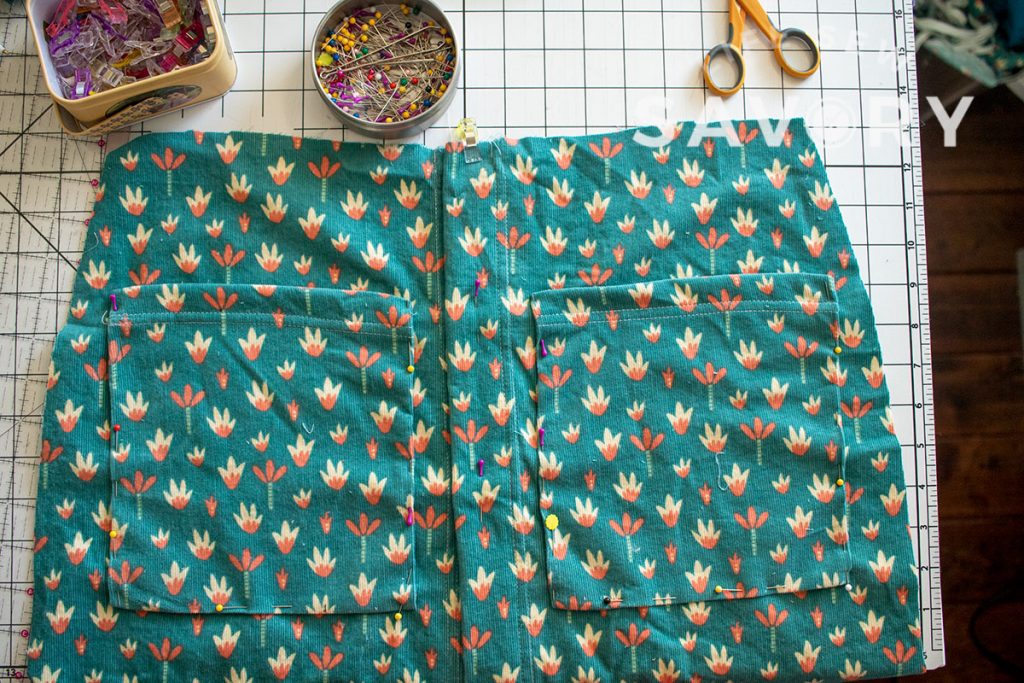
Sew the pockets in place by sewing the sides and bottom of pockets with stitching close to the edge of the pocket on the right side of the fabric.
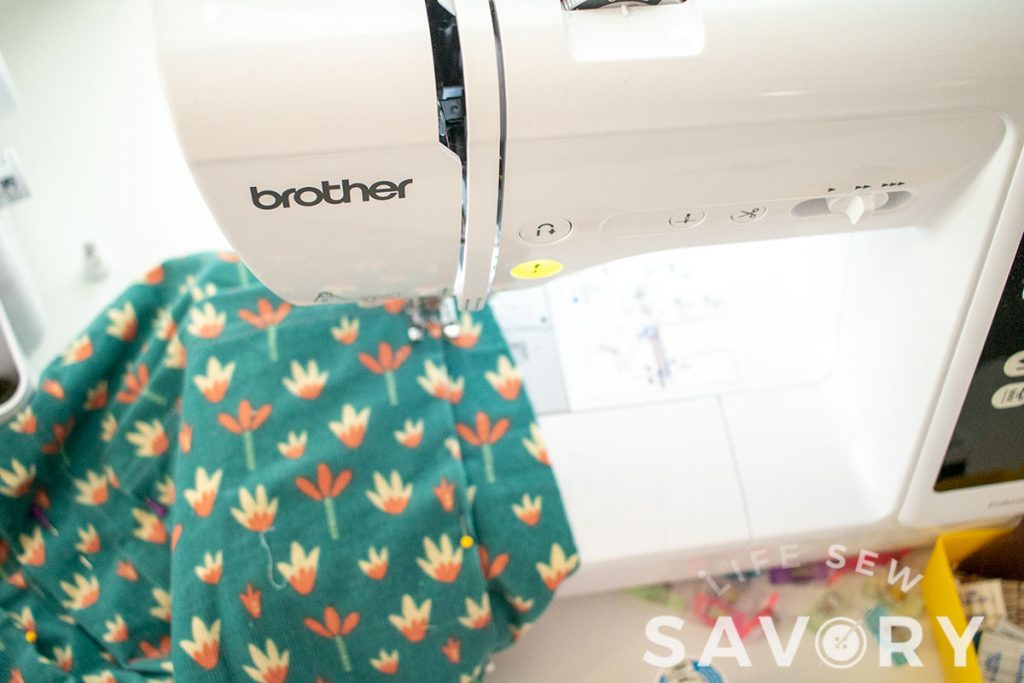
After you have finished both pockets overlap the front plackets by 1.3″ and secure with pins.
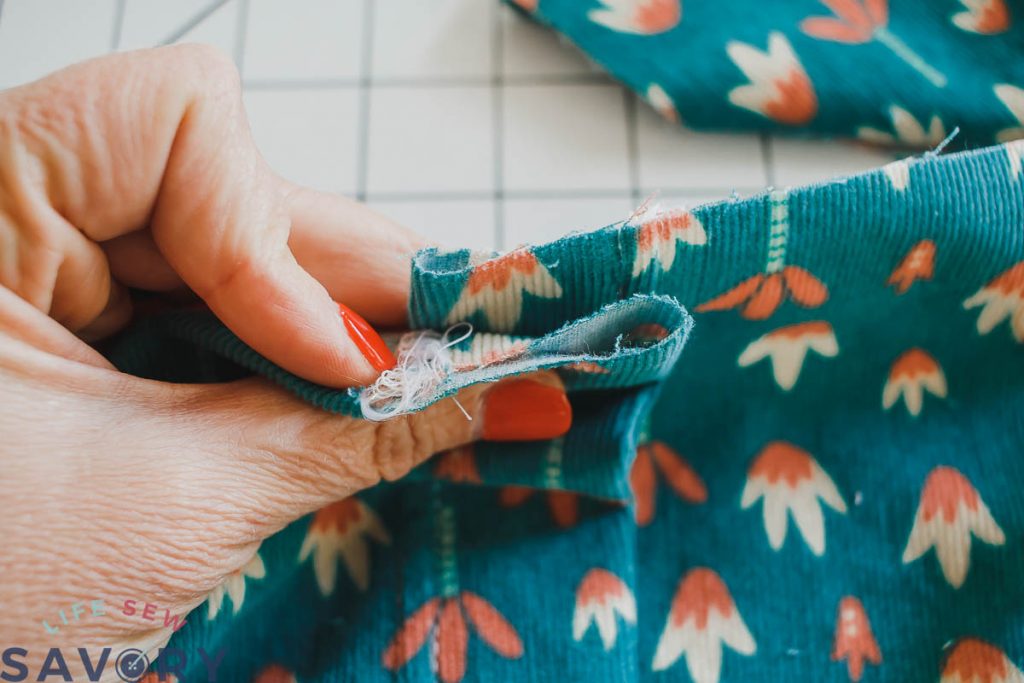
Place the front and back together with right sides of the fabric touching and sew the side seams.
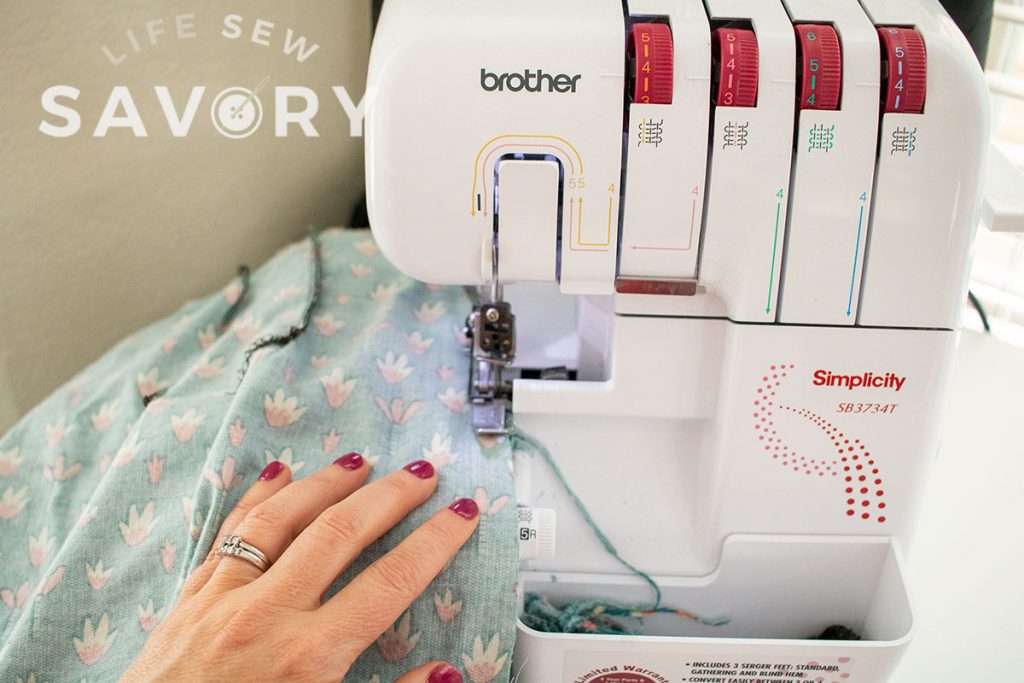
Now open up the skirt and measure the top edge of the fabric from facing to facing.
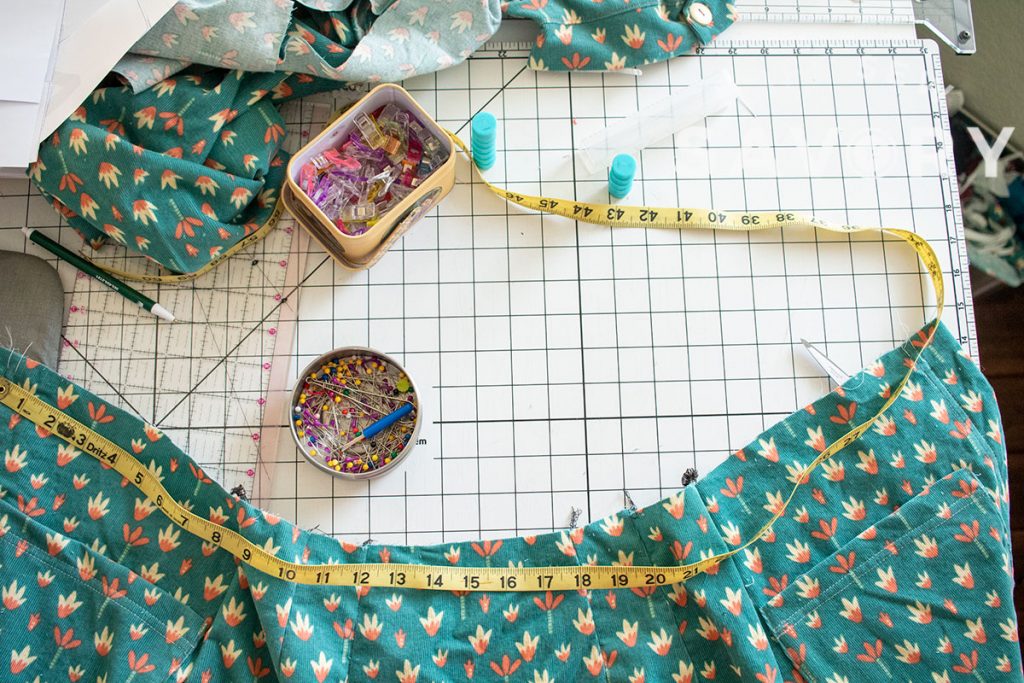
Cut a waistband using this measurement. The waistband should be the measurement of the top of the skirt plus 3/8″ seam allowance on each side. for example 28″ + 3/8″ + 3/8″ = waistband length. The height of the band is 3.75″.
Sew the short ends of the waistband with right sides together, then turn the ends right side out. Line up the short end of the waistband with the end of the button placket on the skirt. I pin both ends, then work towards the middle. It should fit perfectly if your measurement was correct.
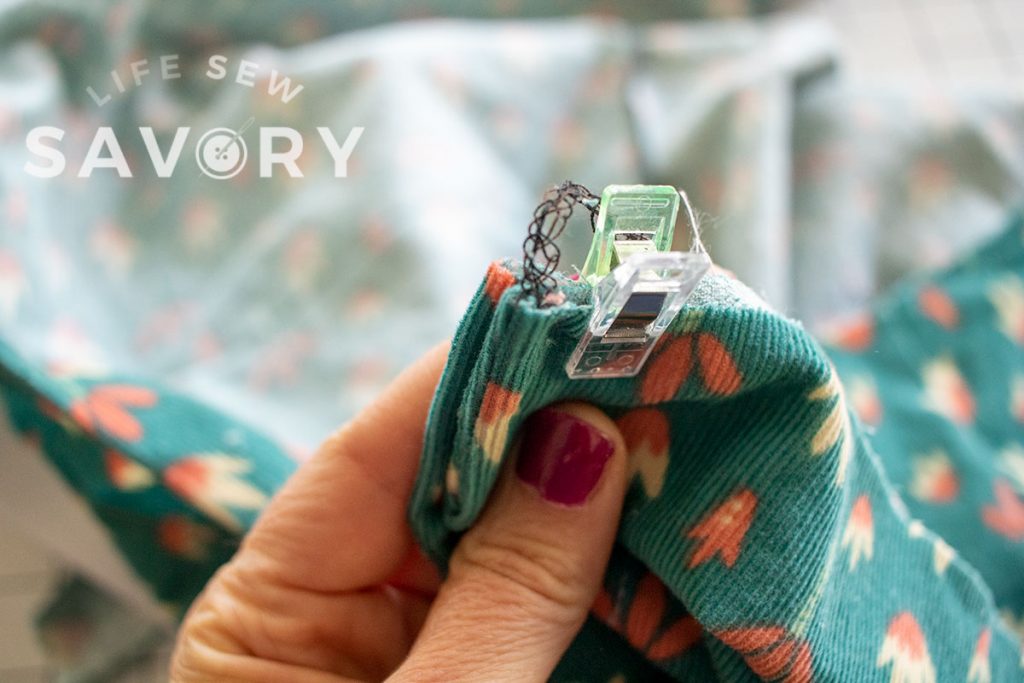
Mark and opening at one of the side seams to leave an opening. If you are not adding elastic you can skip this step. Sew the waistband onto the top of the skirt, leaving this opening on the side seam for elastic.
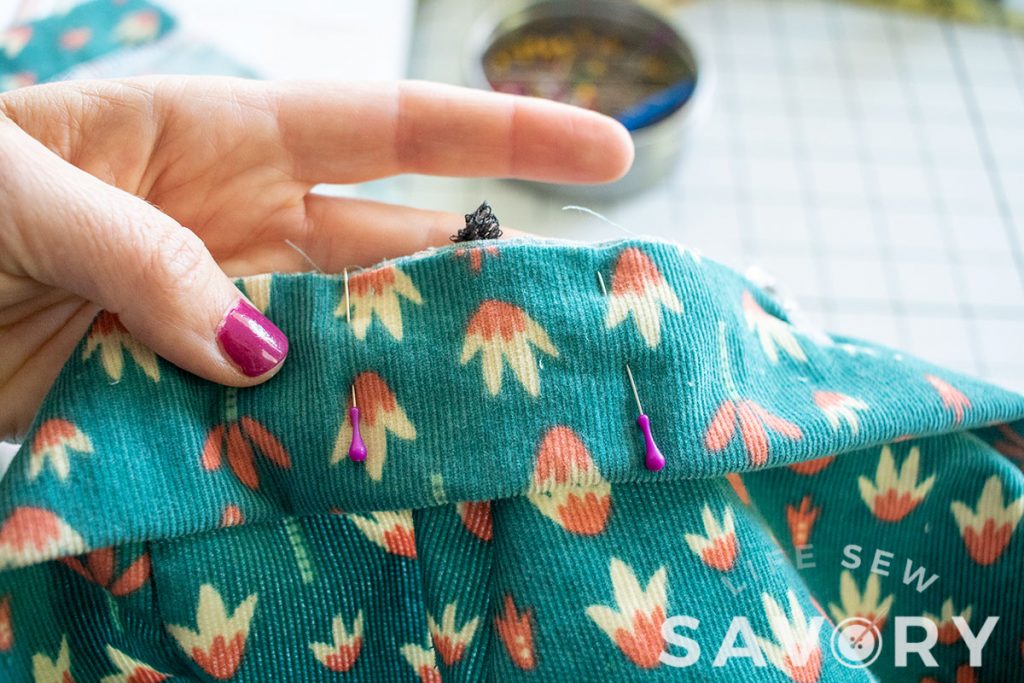
Cut the elastic the same width as the back of the skirt.
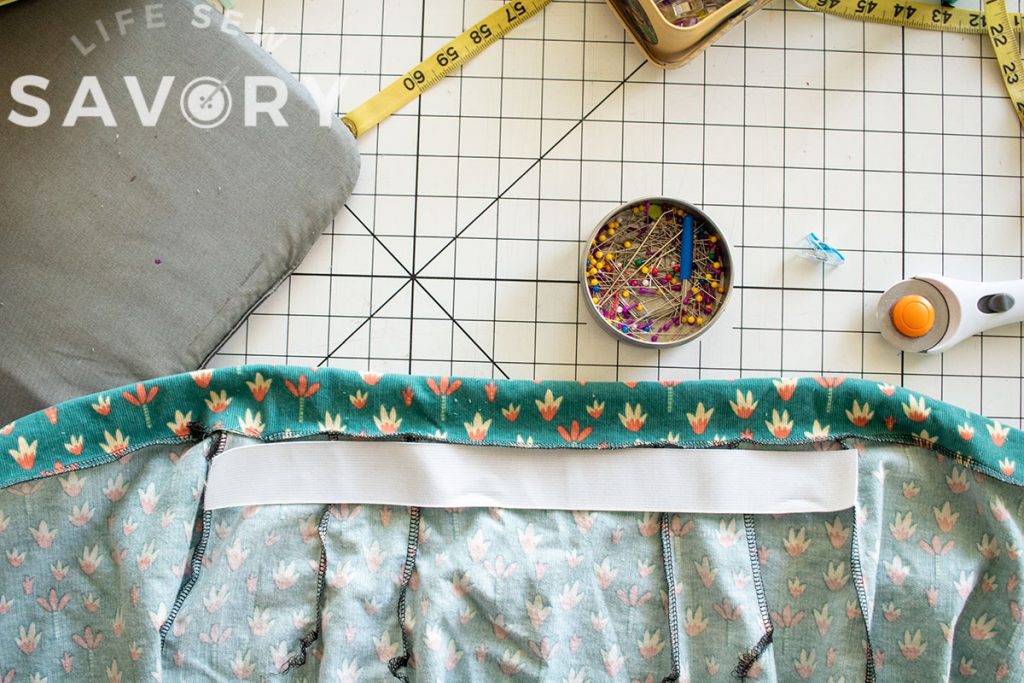
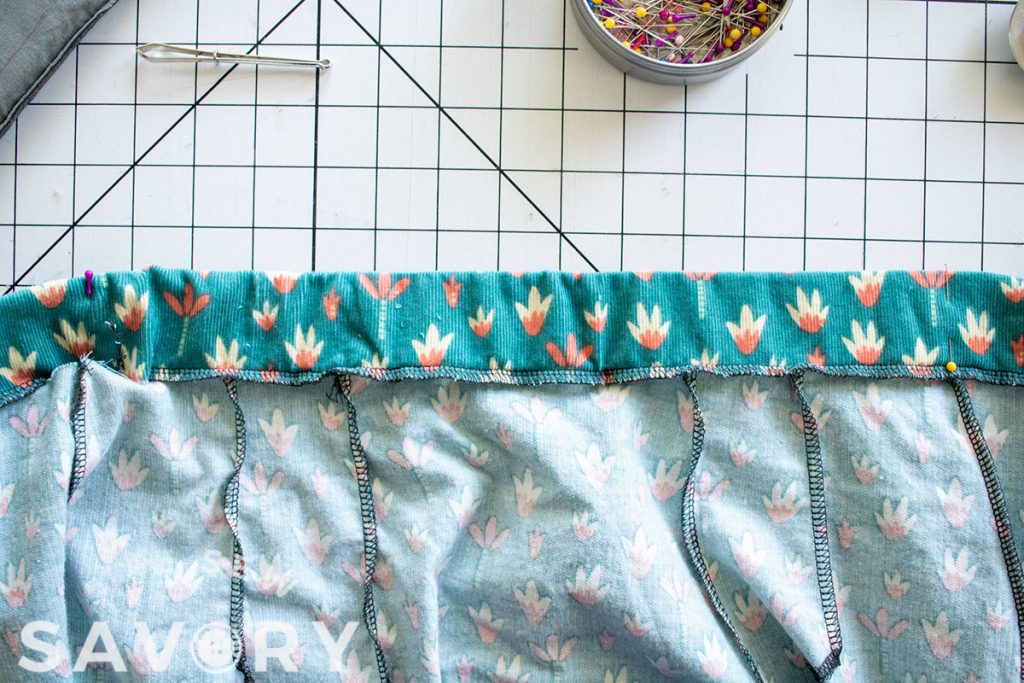
Thread the elastic through the hole you left in the waistband at the side seam. Put the elastic from side seam to side seam and pin to secure, then sew to attach to waistband. Close the opening in the waistband.
Layout one side of the button facing and position the buttons. Start with the center of the waistband, then put a button every 2″. I used 8 buttons and left several inches without buttons at the bottom of the skirt.
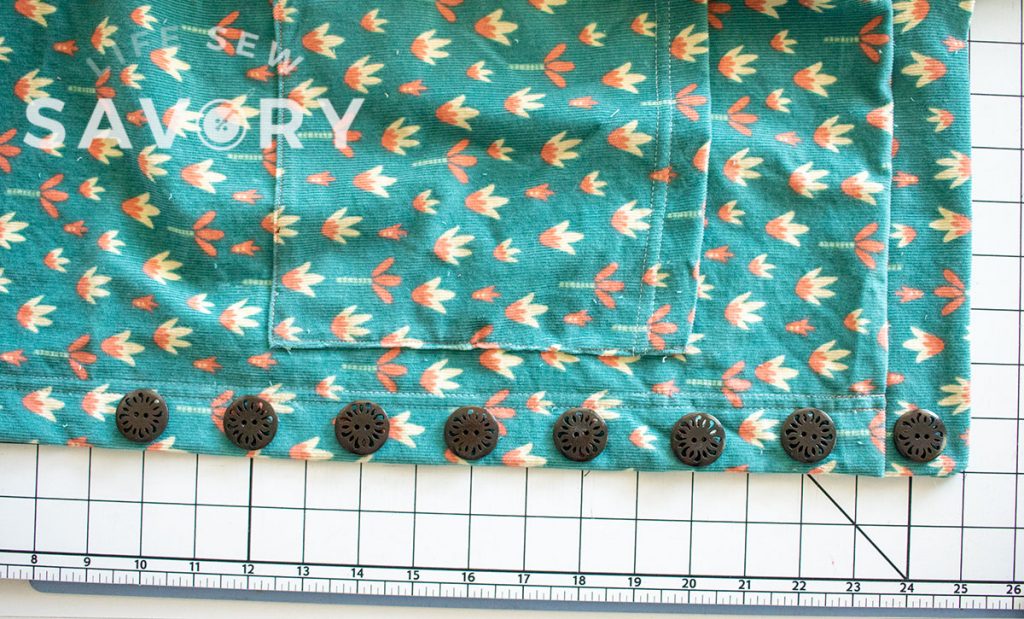
Handy tip… use clips to hold buttons in place while sewing them.
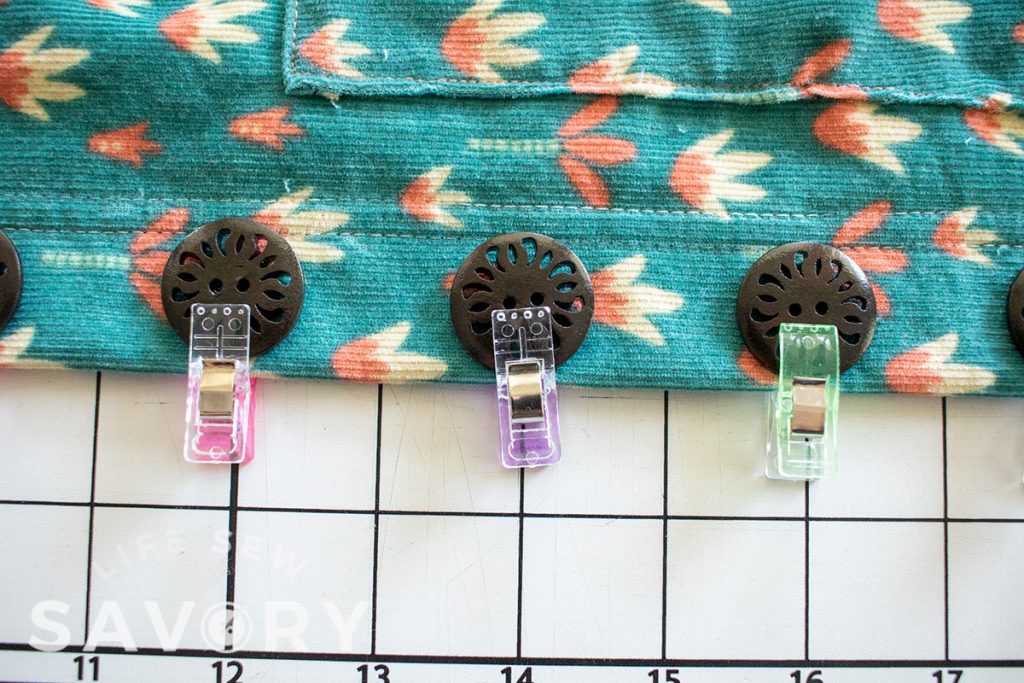
Sew the buttons in place and then mark the corresponding button hole locations.
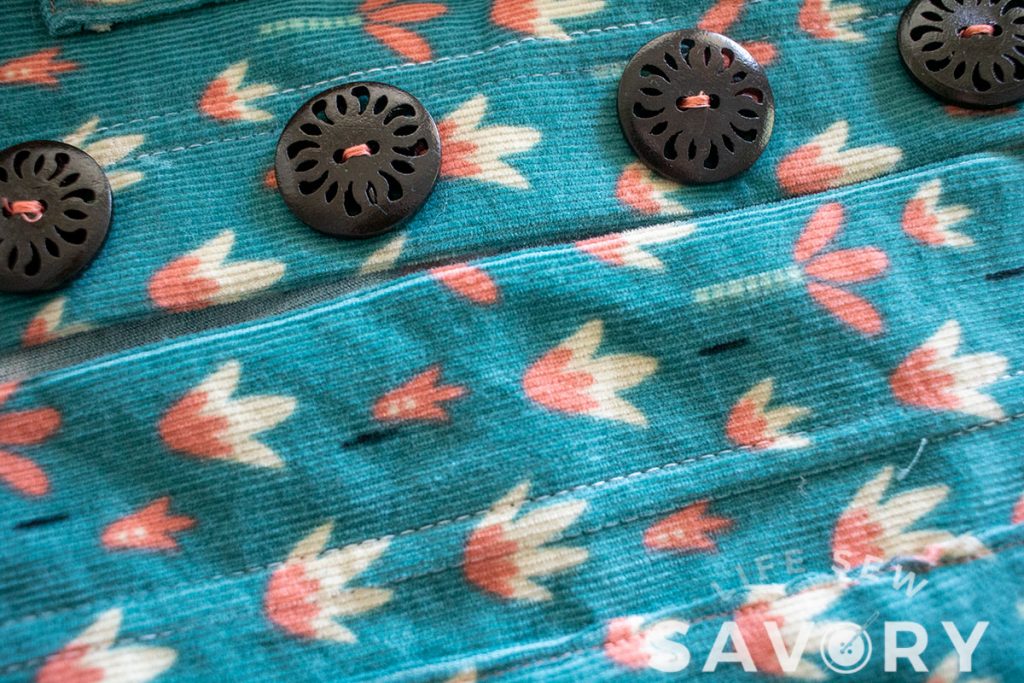
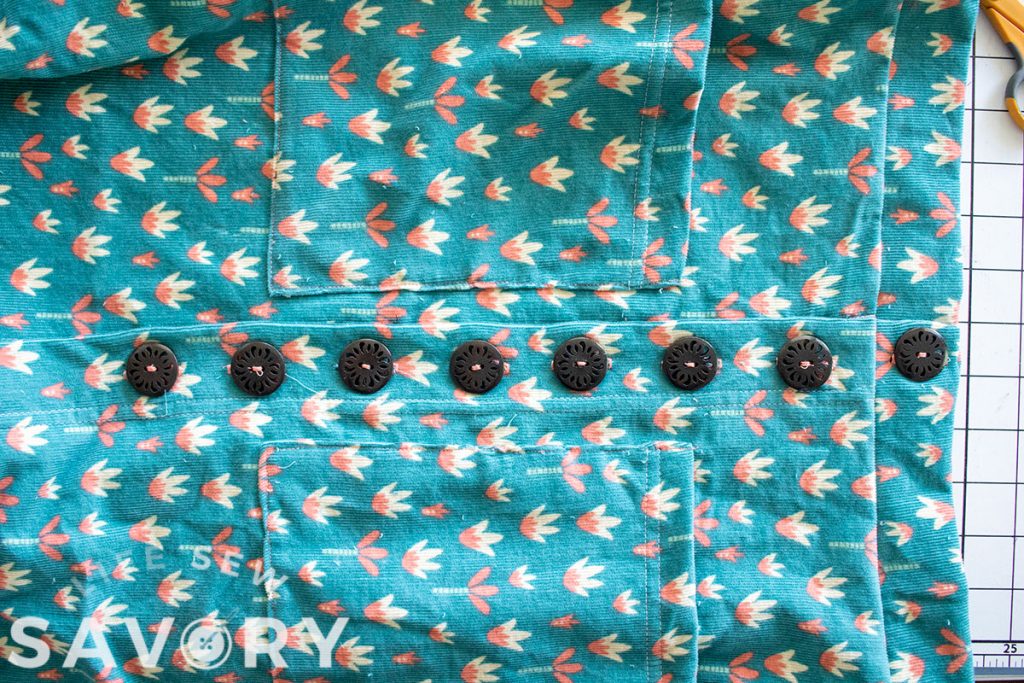
Here is the final finished button placket.






Jean says
What size buttons did you use? I can’t wait to try making this skirt. Thanks for the fabulous pattern.