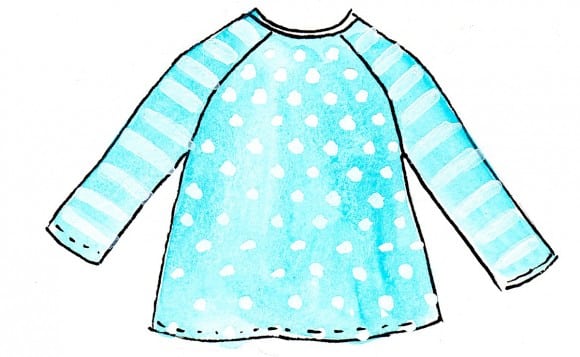
inside: Sew this free raglan shirt pattern for your kids. Classic fit with so many possibilities.
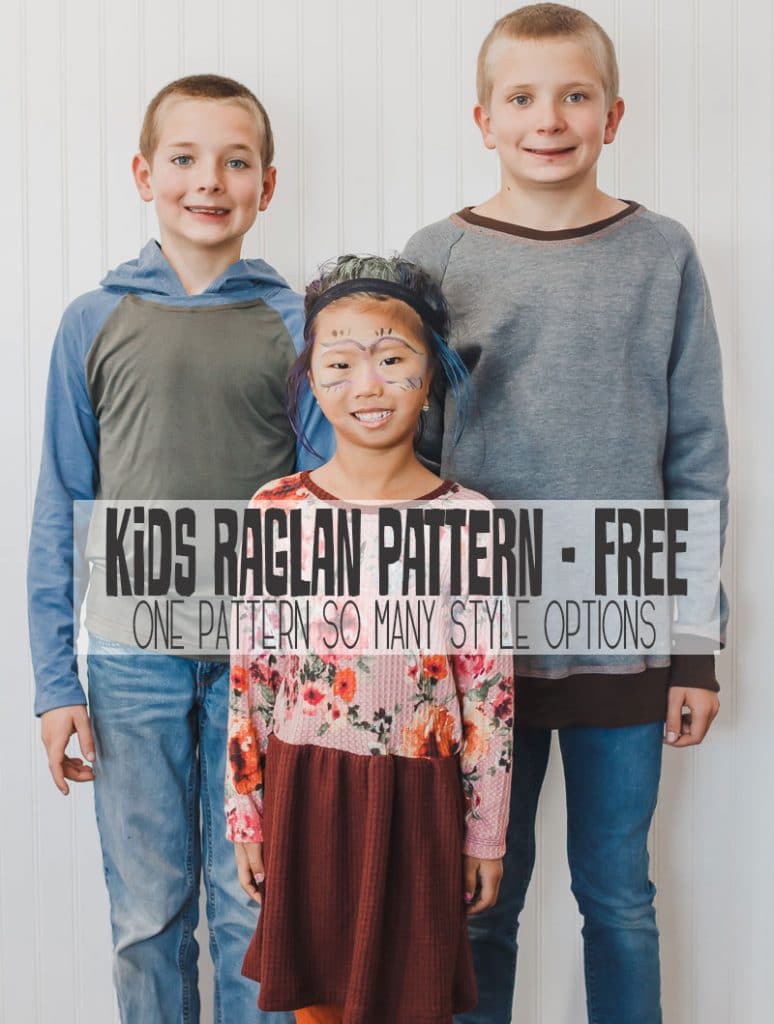
**The Free Raglan Shirt pattern updated 10/31/19** This photo is from the new updated version see this post for hack info on each of these outfits.
Today’s free raglan sleeve pattern sewing pattern is my first real multi-sized pdf pattern and it’s for kids size 18 months to 6t. {well, I did show off my skills with my free pj shirt... but this is even better!!} I even downsized the smallest size to fit a 1 year old. I needed size baby 4t and 6t and I created all the sizes in between to share with you! The second version of the free raglan shirt pattern included sizes up to 10, and as my boys have grown I’ve sewn all the sizes.
Join the LifeSewSavoryPattern Group for support on this pattern! Make sure to check out all my Free sewing patterns here.
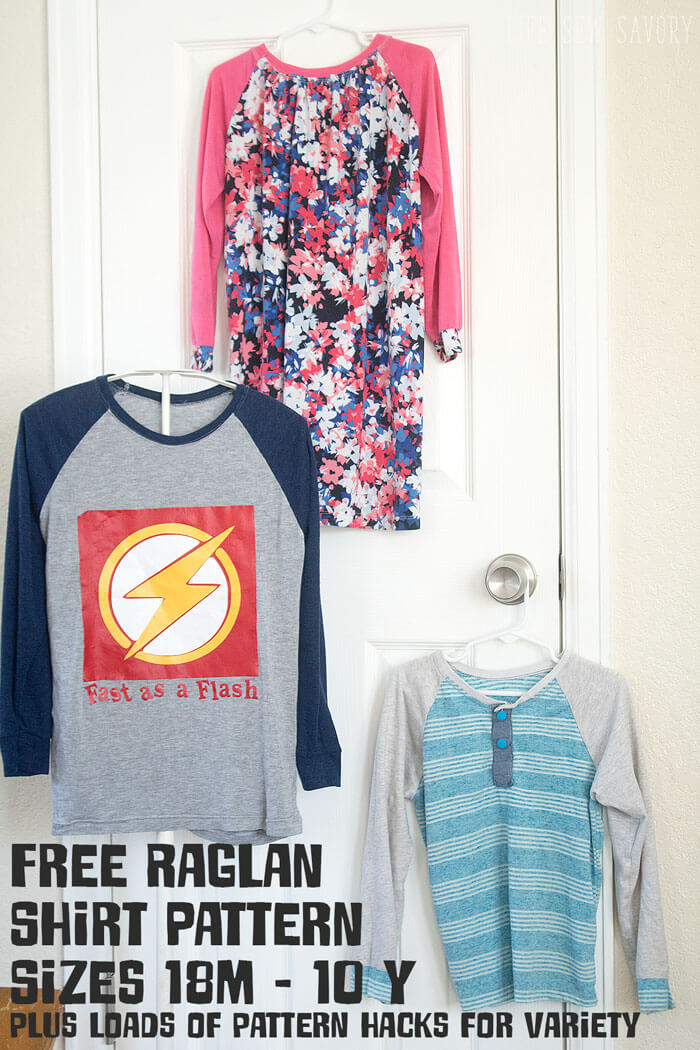
Free Raglan Sleeve Shirt Pattern –
You can grab the raglan tee 18m-10Y pattern here. Enjoy! The full tutorial is below.. I used my husband’s t-shirts for the sleeves… and you can see a hint of graphic here and there… My favorite fabric to use is any lightweight knit… I upcycle a lot of old clothing and also use fabric.com for great lightweight knit.

This Raglan pattern works great for both boys and girls and is a classic cut shirt. Here are several posts with hacks using this raglan pattern.
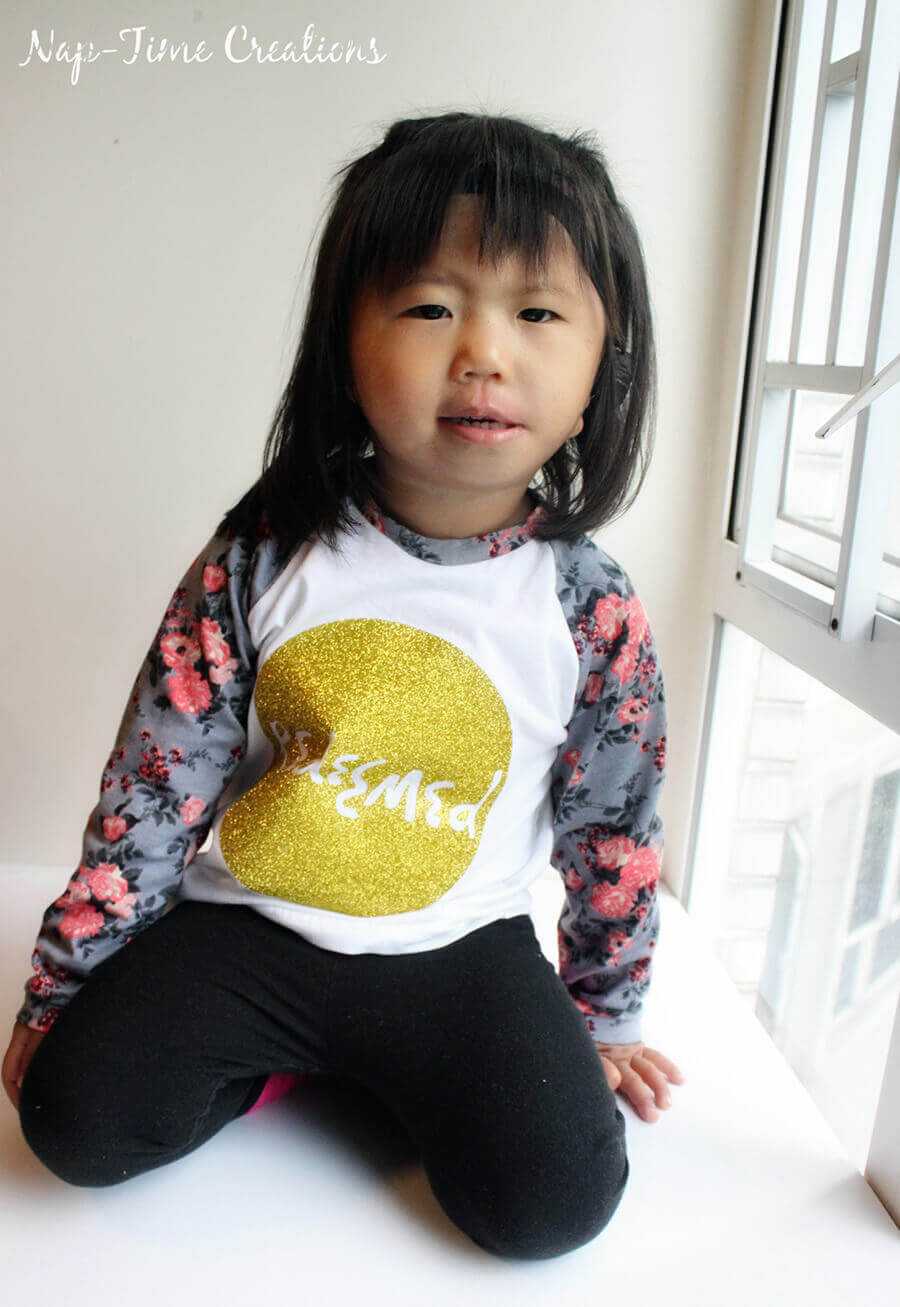
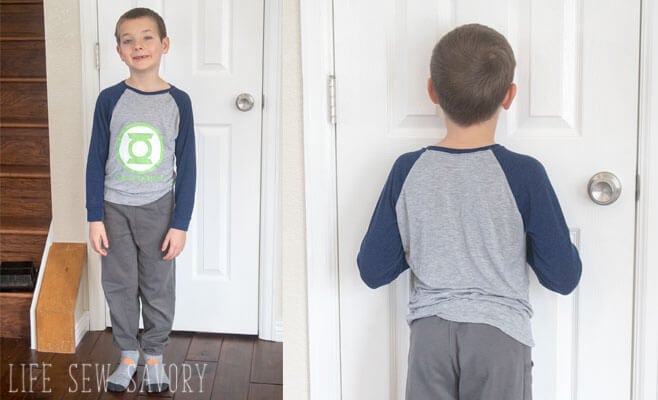
Need a specialized shirt {like one for super hero day at school?} add a bit of vinyl for a cool looking shirt. I usually order from Expressions Vinyl and cut it with my ScanNCut.
Lets get to making the raglan sleeve pattern!
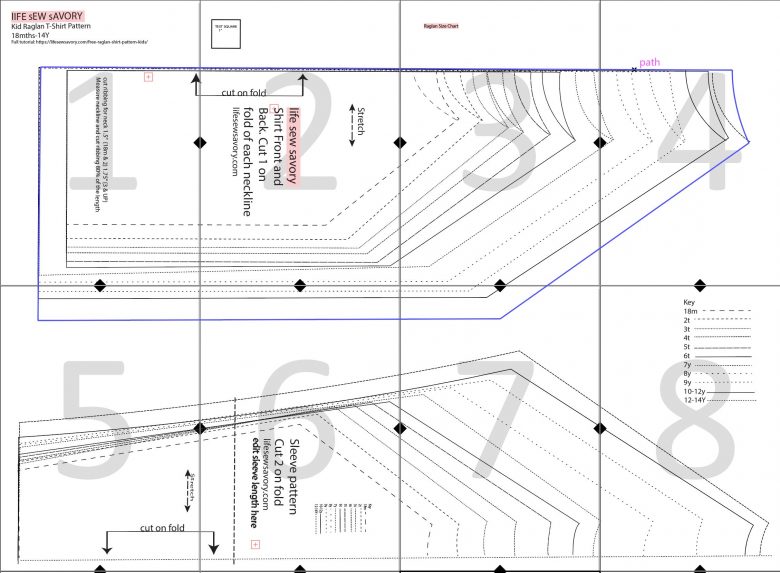
1. Print the FREE RAGLAN PATTERN, assemble the pieces… it should look something like below {I’ve made a few edits since this screen shot, but the layout is the same. Cut out the fabric following the stretch markings. A 1/4 in seam allowance is included! use this size chart to choose your size. The pattern gives dimensions for neckline up to the 6… for larger sizes you will also cut 1.5″ wide { I like a thinner neckline as seen in the blue/grey shirt, cut wider 2″ for a bit more neckline}. For all necklines I would recommend cutting the length at %80 of neck circumference. Ex: if the neck measures 10″ you would cut 2 x 8″ and stretch it to go around. This formula creates a nice neckline. If your fabric isn’t very stretchy, cut it at 90% of neckline.

I would recommend measuring the arm from neck to wrist before cutting. I thought my boys should have had a bit more length. You could also add a cuff to the sleeve. I used old t-shirts for the sleeves and a great striped knit.. check out the selection on fabric.com . The layout is now 8 pages with the larger sizes.
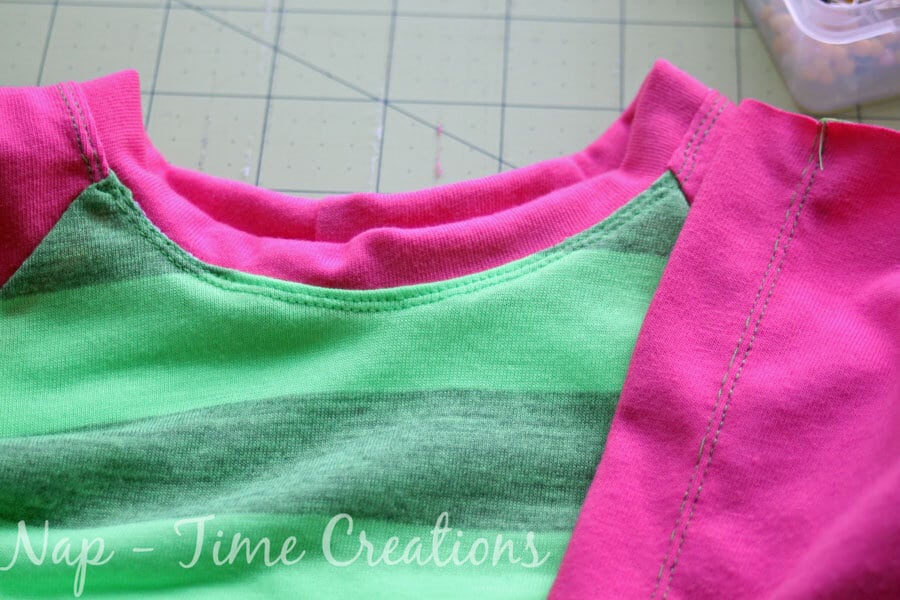
2. Take the front of the shirt {the lower neck side} and place one sleeve oon each side right sides together. Sew.
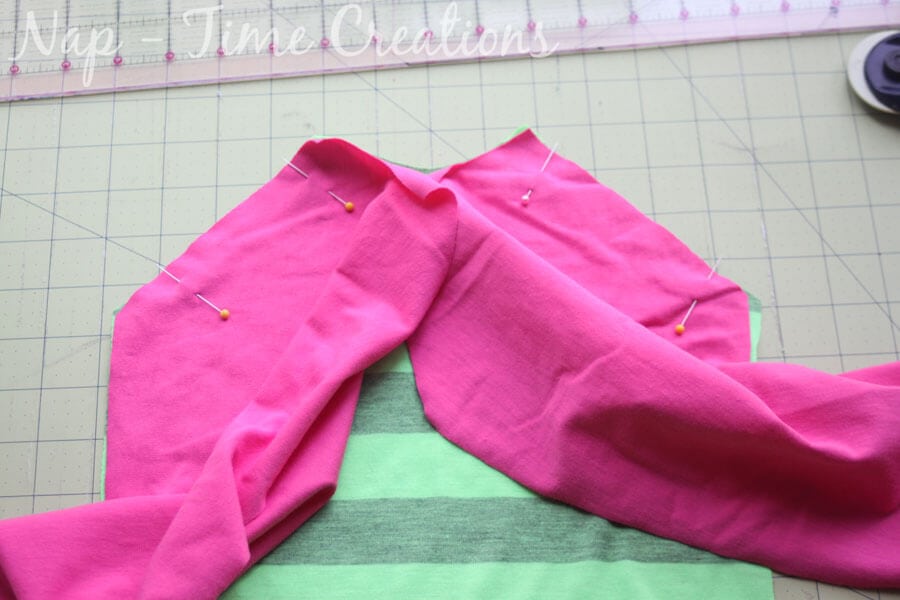
It should look like this…
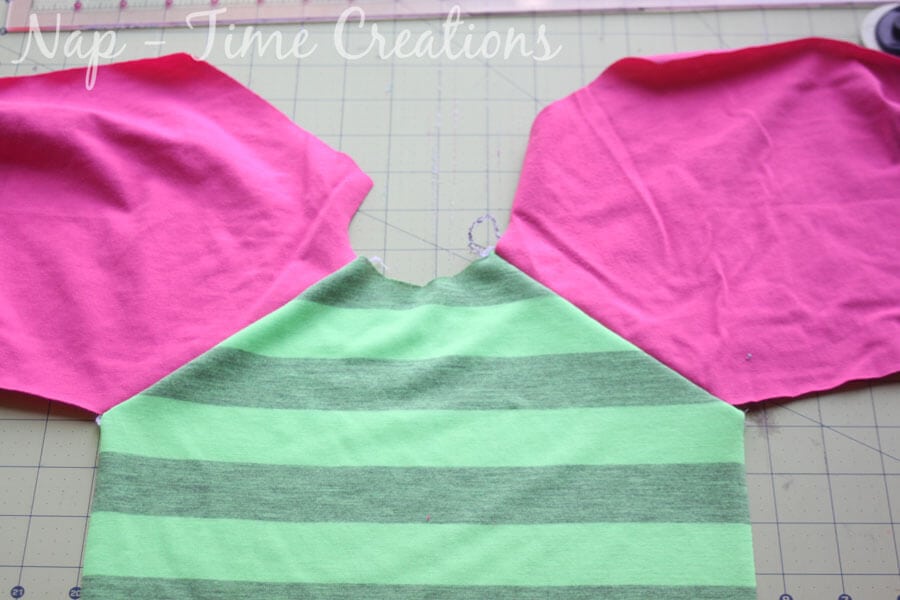
3. Sew the back to the arms, right side together. It should look like the photo below…. If you want to sew the neckline on an open neck, do not sew one side of the back.. and skip down to neckline instructions before completing.
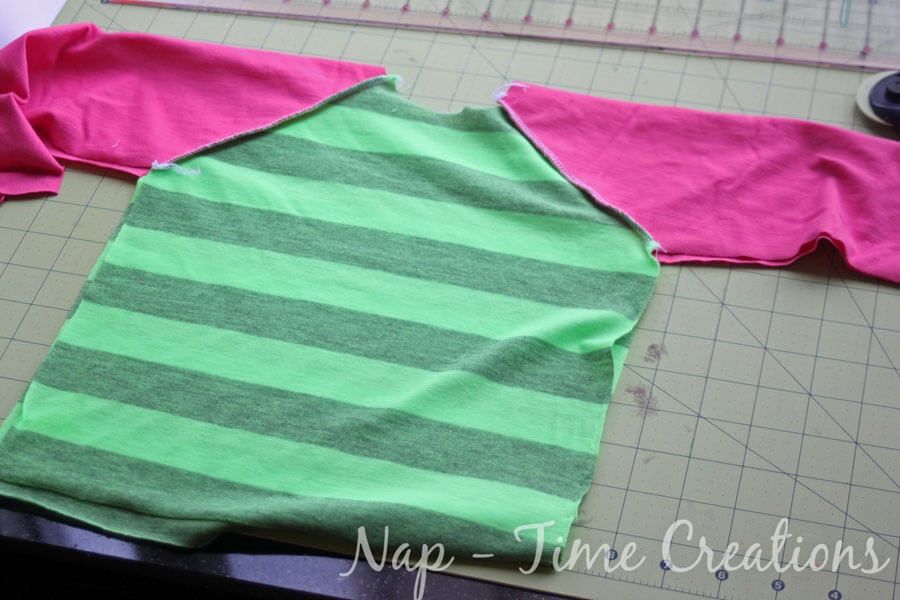
4. cut neck ribbing length as directed on pattern sheets. { The pattern gives dimensions for neckline up to the 6… for larger sizes you will also cut 1.5″ wide. For all necklines I would recommend cutting the length at 80 or 90% of neck circumference. Ex: if the neck measures 10″ you would cut 2 x 8″ {or 9″} and stretch it to go around. This formula creates a nice neckline.}
I used more of the same arm fabric OR a neck cut off another t-shirt.
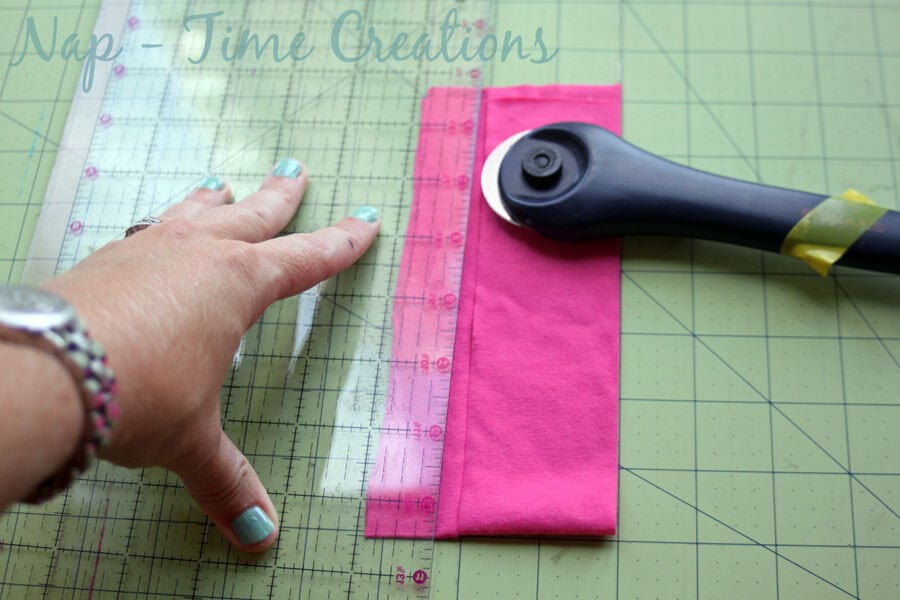
Instructions for sewing on an open neckline…Measure neckline and cut band…
Need more help with the neck band? Here is my post all about shirt neckbands…
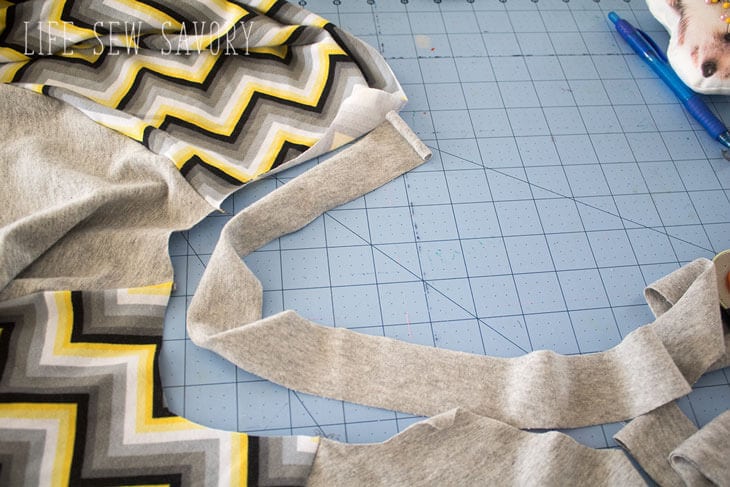
You will be folding the band in half before sewing. Wrong sides will be touching.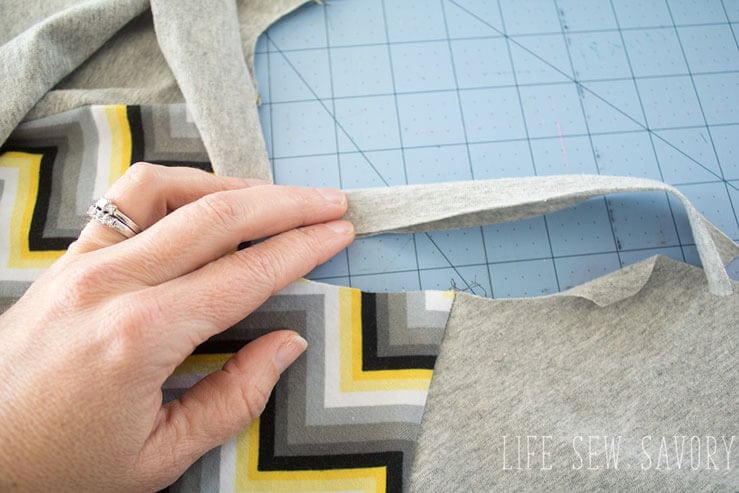
Stretch and sew on the band. You will be sewing through 3 layers of fabric, 2 of band and one of shirt. 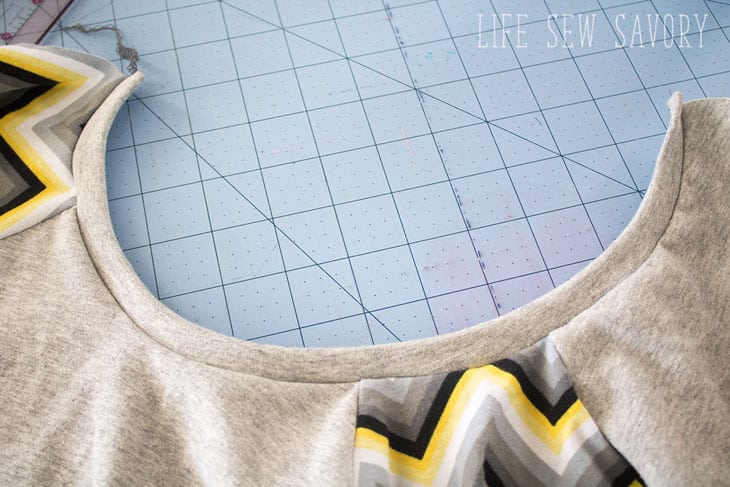
Topstitch {see below} then sew the open shoulder closed before sewing side seams.
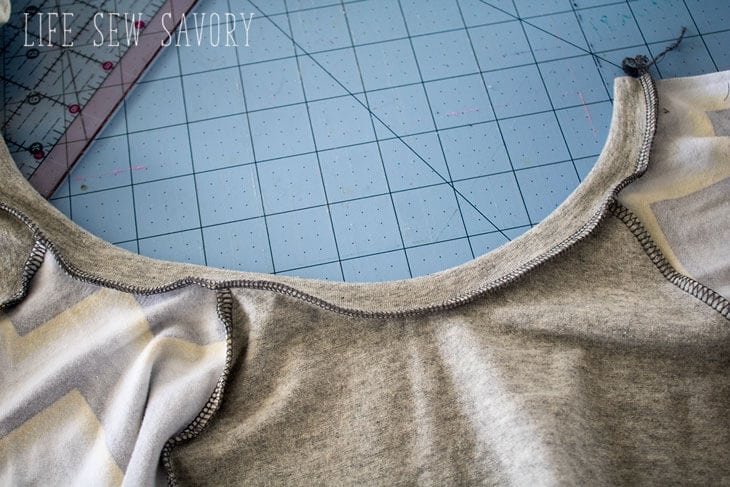
Instructions for band on a circle… 5. Sew the short end of the band right sides together as shown in the pic.
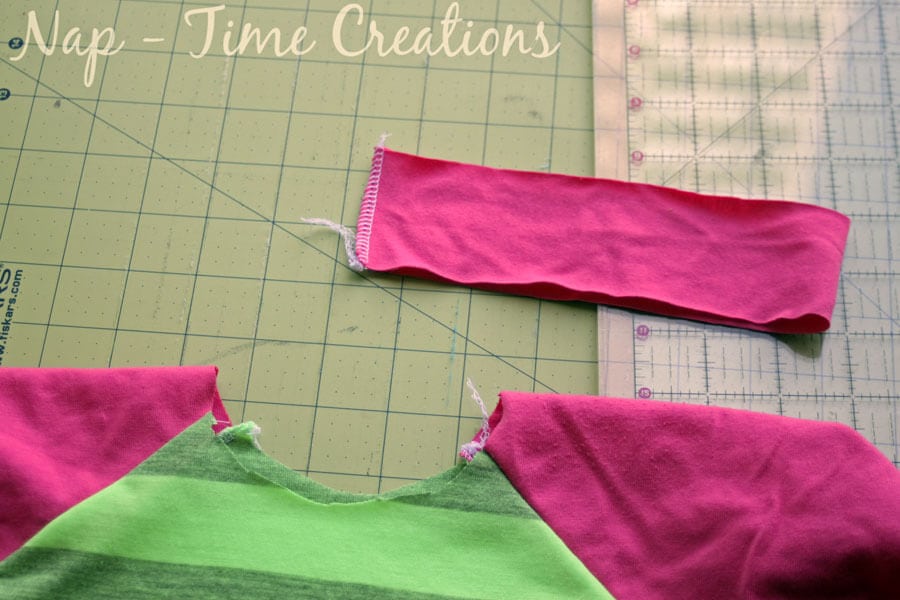
6. Fold the neck ribbing WRONG sides together, then pin, stretch and sew to the neckline of the shirt on the right side.
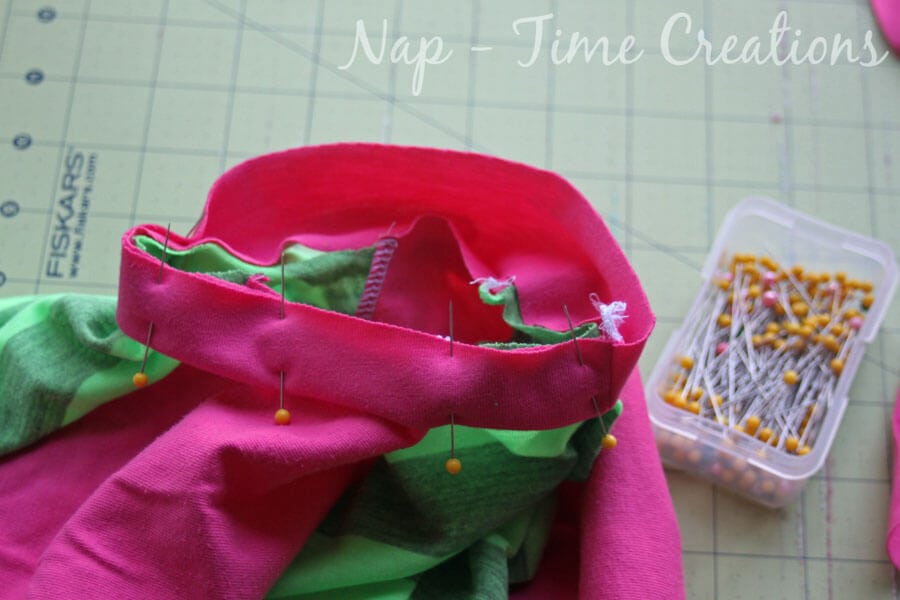
7. With either method of neckline. Top stitch around the neck using a zig-zag, knit stitch, or double needle {if using a double needle I would recommend woolly nylon in the bobbin.} See my video HERE for knit hem tips.
8. Turn the sleeves under 1″ and sew using one of the methods mentioned above. If the sleeve isn’t long enough, you can add a cuff now.
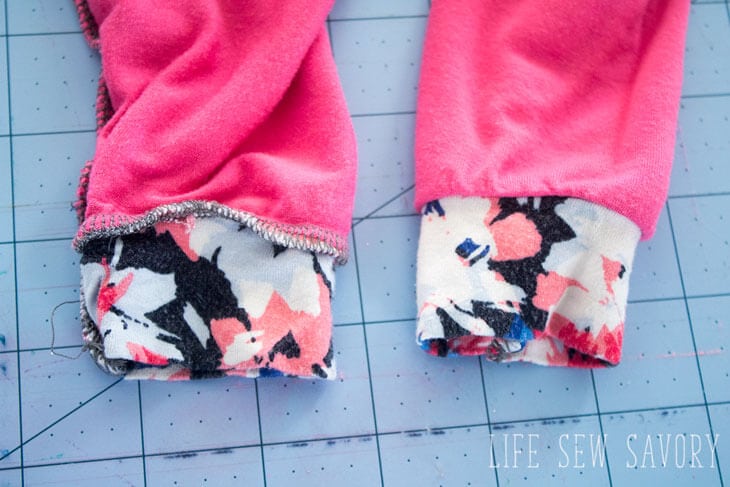
To add a cuff… cut 4 inches tall and not as wide as the end of the sleeve. I like my cuff to be smaller than the end of the sleeve to pull in it. Fold the cuff wrong sides together and then stretch and sew to the open end of the sleeve {before you sew the side seam} Here are finished cuffs.
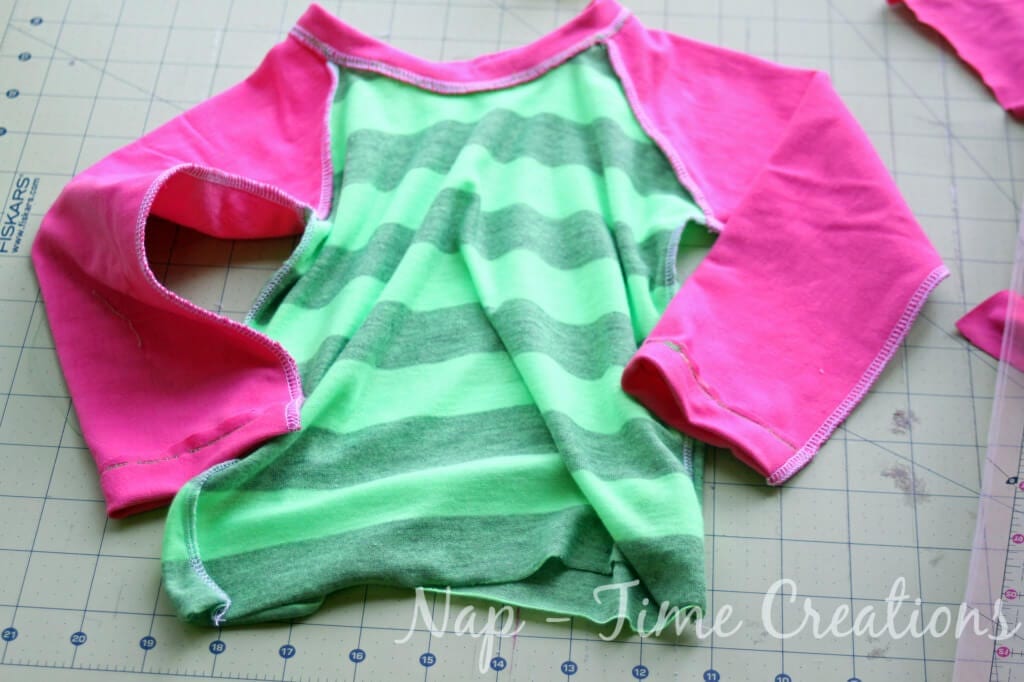
9. Sew up the side seams… it should now look like this..
10. Hem the shirt with a 1″ hem…
And there you are! Enjoy your raglan shirts!!!
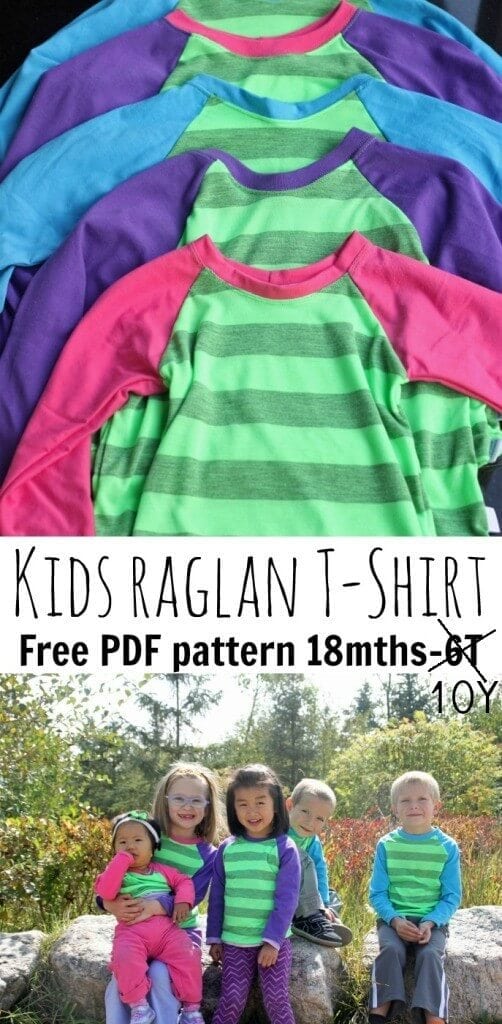
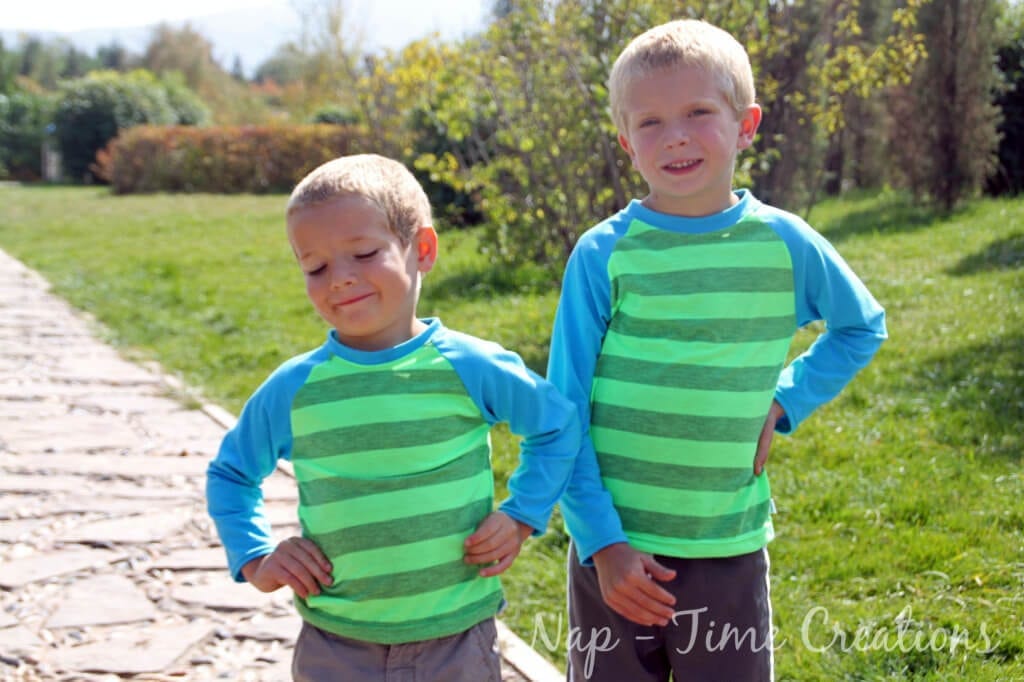
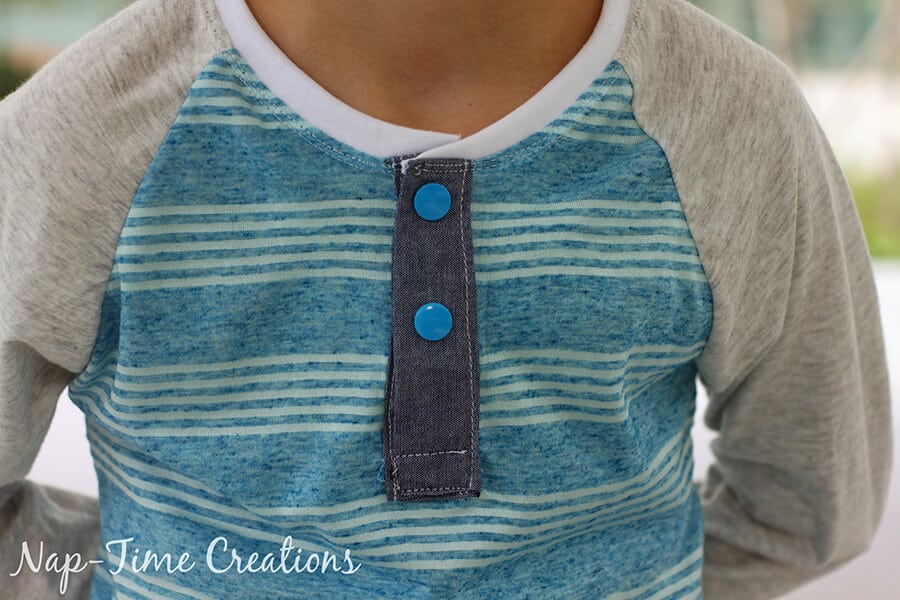
Now that you’ve made one…here some Raglan t-shirt variations.. you can use my free pattern as the base to create any of these amazing projects… {have a neato Raglan design? use this pattern to create a variation? Leave the link and I’ll add you to this list!} Oh, I recently made a raglan for me... love them!} You can also add a Henley Neckline to this free pattern..
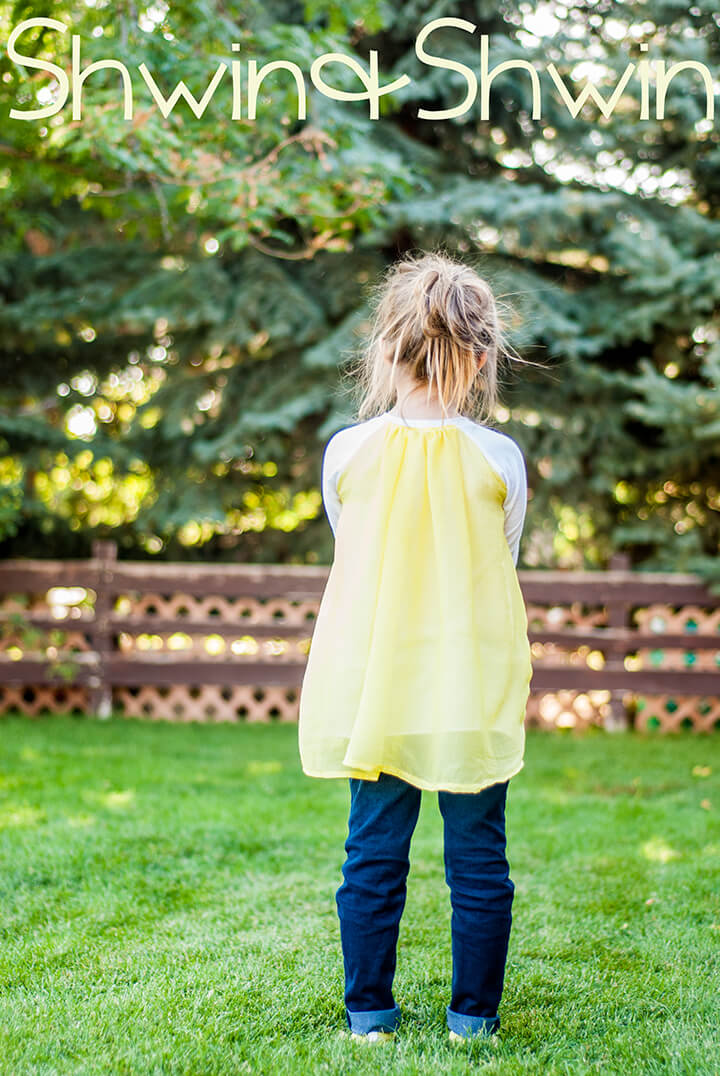
Flowy Raglan T.. by Shwin and Shwin
Offset Raglan Top on Sew Mama Sew
A Line Raglan by Oliver + S
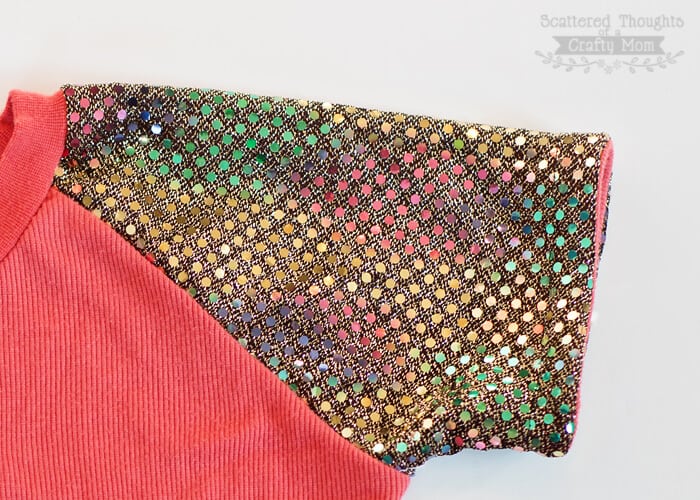
Blinged out Raglan {sleeve variation!} by Scattered Thoughts of a Craft Mom
Raglan Dresses by Whats Mummy up to?

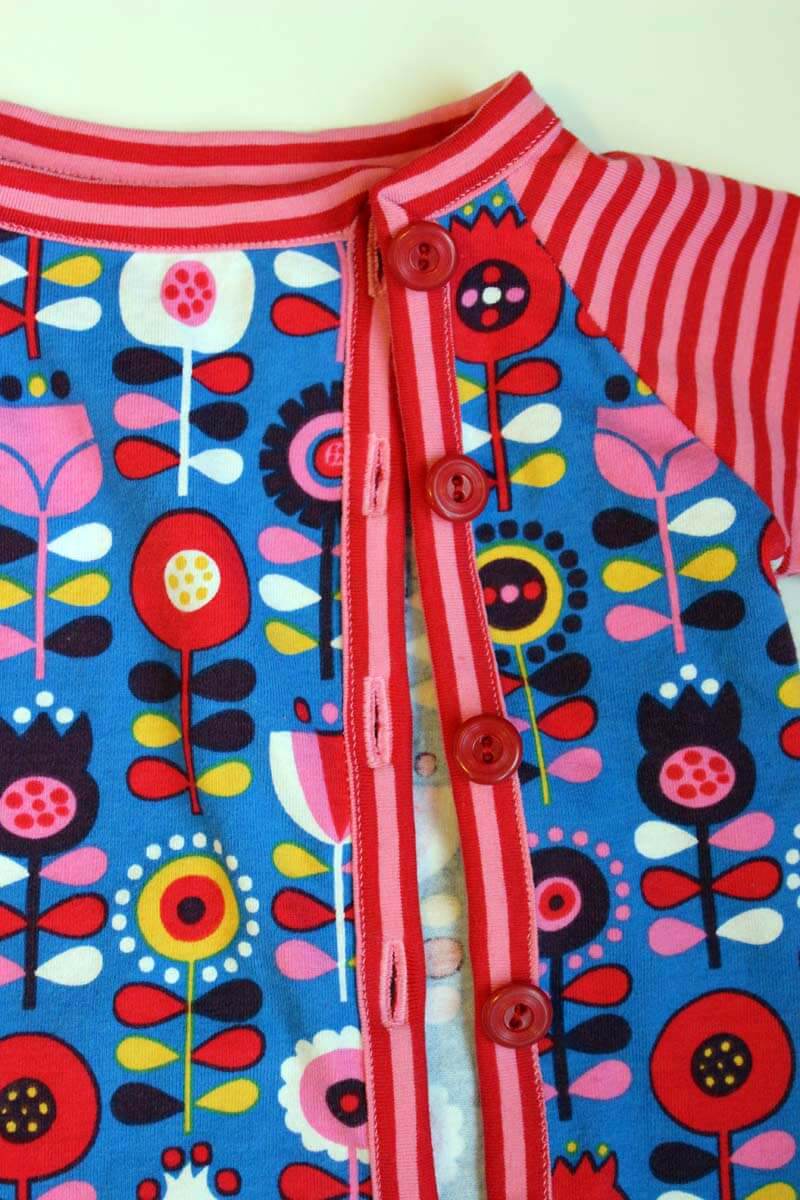
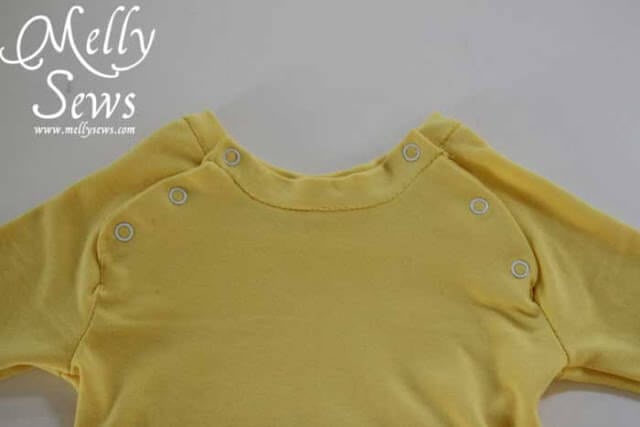
Button Shoulder Raglan by Melly Sews
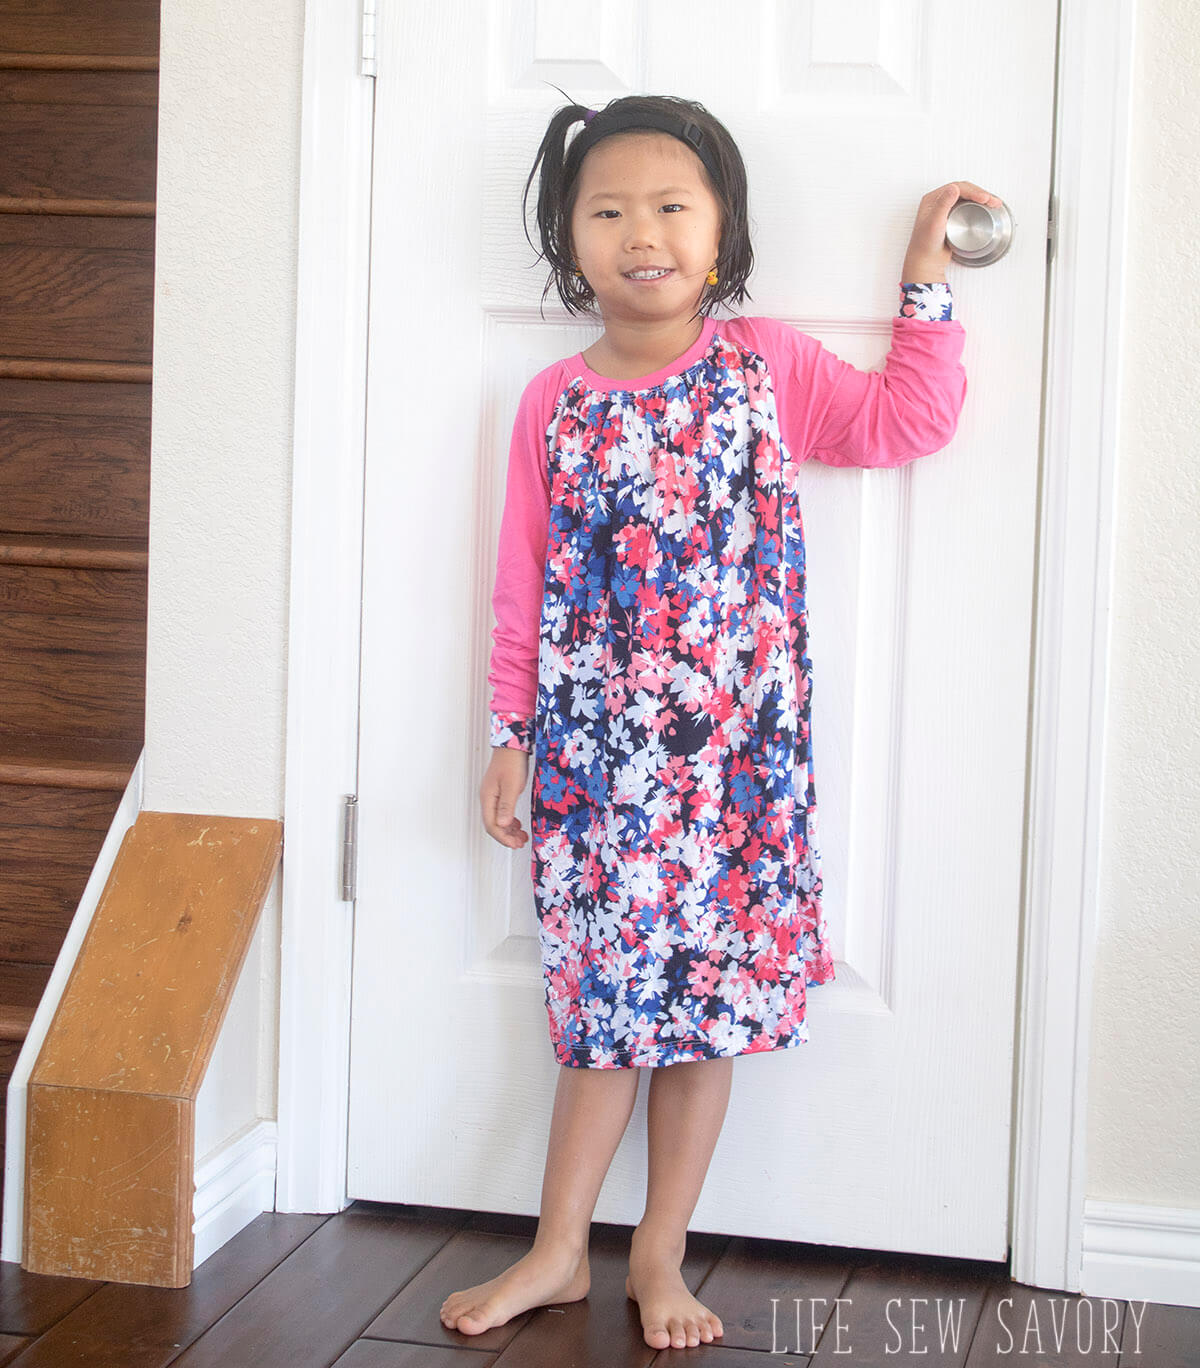
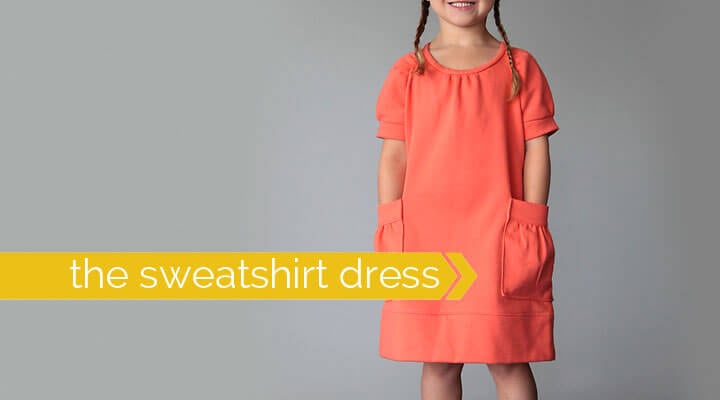
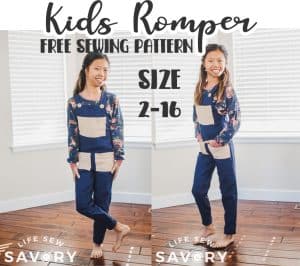
Gathered Raglan Dress by Its Always Autumn






Pam @Threading My Way says
The combination of stripes and solid colour looks great, Emily!!! Great job using old t-shirting for the sleeves.
Emily says
thanks! I didn’t have enough of the stripes for 5 shirts… and no other solid knits… time to raid my husbands t-shirt drawer.. ha!!
Pam @Threading My Way says
He’ll be locking his cupboards soon.. LOL!!! Featured this week, Emily.
Kristen says
Do you still offer this free pattern?
judie roberts says
I think you are very talented and very generous to share all your beautiful designs and ideas with us. I have pinned everything to come back to when I have time. Now that you have a daughter perhaps you will turn your talents to making American Girl Dolls or other 18 inch dolls clothes
which is what I am sewing at present for 7 granddaughters. I look forward to that .
Many thanks
Judie from the UK
Emily says
thanks! I’m happy to share my patterns!!
Joy Candrian says
I have a sweet little 5 year old friend that was adopted from China. Love this amazing girl! She has an older & younger sister also adopted. The process sounds mind boggling but the so worth it. Congratulations on finding your little one. Good luck through this process. Thanks also for the fun pattern.
Emily says
awww thanks! I love hearing other adoption stories!!
Jamie @ Scattered Thoughts of a Crafty Mom says
Very cute shirts! Thanks for the mention!
~Jamie
Emily says
you are welcome! I love your projects!
Mel says
Beautiful shirts Emily, well done on doing so well in your pattern class they look great. HUGE HUGE HUGE, love & prayers that everything goes well with your adoption process and that beautiful little girl is brought home to you.
Emily says
thanks for your kind words.. we appreciate any and all prayers for a successful adoption!
Wen says
Thanks for the shout-out for my raglan dresses … and thanks for an amazing free pattern. I’m seeing a LOT more raglan tops/dresses in my future!!
hollyre says
I’m a little confused, it seems like the key is backwards. The dotted line labeled 6T seems to be the smallest one and the 18 months seems to be the largest. Am I crazy? Or doing something wrong? This is my first time doing this and I want to make sure I’m cutting the right size. Thanks for the pattern and any help you can give me.
Emily says
I just took a look.. It’s correct… if the key is confusing, just count the lines to find the size you want. I will admit that the 18mths and 6t lines are pretty similar… probably shouldn’t have made them so alike. I hope you are able to figure it out! I would love to see a photo when you are done!
Kim says
I was thinking the same thing… I’m making a 3T
Emily says
there are two lines that look really similar! So sorry! I’ll make that clearer next time.. just count lines to find the size rather than the key if that’s confusing!
Shaina says
I agree about it being backwards, but it’s easy to figure out. Thank you for the free pattern! I hate spending money on patterns I’ll only use a few times. 🙂
Kimberly says
Super cute! Love your models. Pinned. Lou Lou Girls
Elizabeth says
This looks like a great pattern, and so sweet of you to share! Every time I click one of the links it takes me to bloglovin’ and asks me to follow (which I am, yay!). For some reason it won’t let me access the actual pattern.
Elizabeth says
It actually appears that bloglovin’ has taken over nearly all of the links on your page, I’ve used both Firefox and Chrome. I can’t even click pictures or links to other places on your blog. Not sure what’s going on, but definitely thought I’d share as I’m guessing that’s not your intent.
Emily says
Hmm, very strange. I just checked it out and the links are working for me. Please try again and let me know if it’s still not working! thanks for letting me know!
Elizabeth says
I finally had a chance to come back and try again, and it works! Printed out the pattern over the weekend and have a shirt nearly done. Thanks so much! I may have traced the wrong one as my 18m size is fitting my 4 year old (wears 3T normal). It’s ok though because he likes it. I’ll double check my tracing and try another one for the smaller guy. You are too sweet to share a multi-size pattern, and a beautiful family!
Ana says
Hi, I tried to prin the pdf format but all it shows me is a white tinu dot in .gif image. Is there another site where I can print this from?
Thanks
Ana
Erin says
I’m trying to download the pattern but none of the links work.
Wendy says
I just used your pattern to make one of these for my son and I can’t wait for him to wake up from his nap to try it on! I used one of my sister’s old college Tshirts for the front and back and one of my old random tshirts for the sleeves (keeping the bottom edge of the shirt as the sleeve hem), and serged it all together! It took just under an hour from cutting the pattern, to stopping to measure a sleeve on one of his other shirts, to finish! For the bottom hem on the shirt itself, I just serged across it in coordinating colors. Thanks so much for sharing! I’ll be making matching shirts for my son and my baby on the way soon using a stack of old shirts! 😀
Emily says
yeah!! I’m so glad you were able to use this pattern! I LOVE keeping original hems from shirts… saves so much time! I’d love to see photos!! ;o)