Inside: This free baby romper pattern for babies is a site favorite and can be made with woven or knit fabric. Download the free pattern here and sew it up.
Pattern and post updated 4/2015
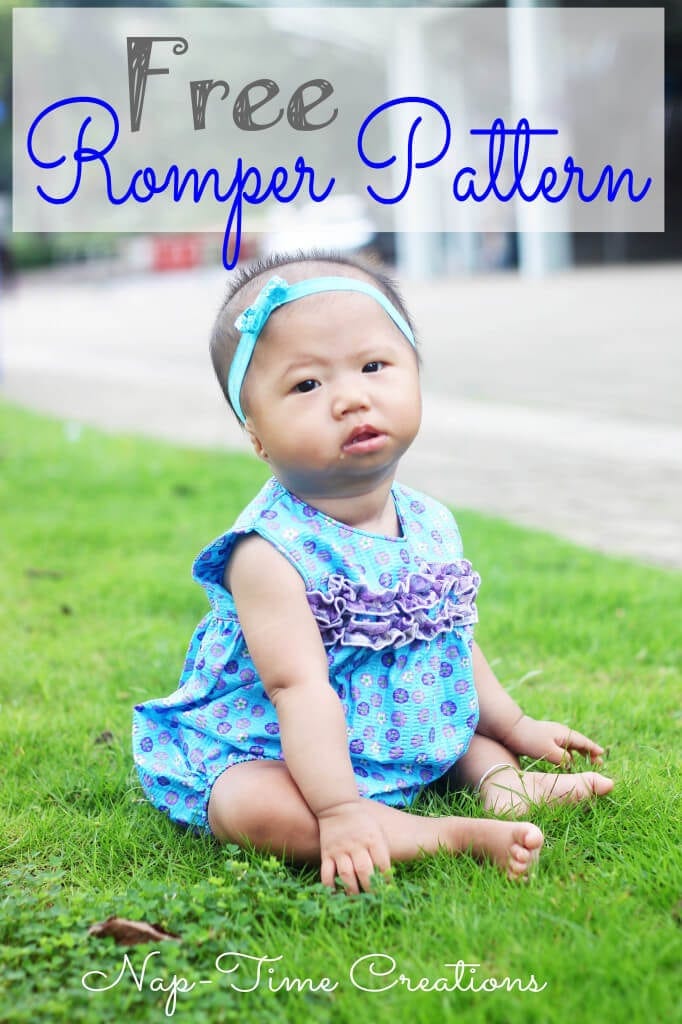
Today I’m so excited to share this free baby romper pattern. Its my first pattern available in four sizes! 0-3, 3-6 and 6-9 AND now 9-12 months. This free baby romper pattern has a front and back yoke, with gathered bubble bottom. I used snaps to close the back and the diaper area. You can add optional ruffles on the front to make this outfit extra yummy.
Join the Life Sew Savory Pattern Group for support on this pattern!

Free Baby Romper Pattern and Sewing Tutorial
Last week I was part of the You and Me series at While She was Sleeping, hop over to that post for more photos of the two of us and some thoughts on sewing… go check it out! I’ll be sharing the tutorial for this skirt next week.
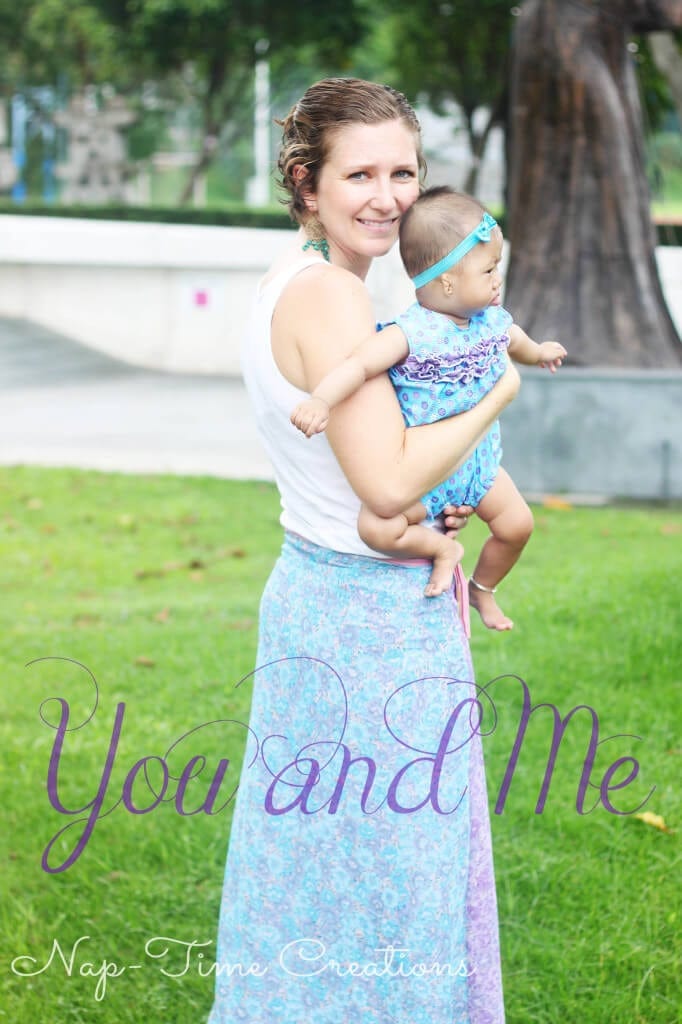
You can print the free romper pattern here. {NOTE: now a fully digital pdf pattern with sizes from 0-12 months} I’ve also got step by step instructions for this romper, so scroll down and enjoy. oh and I would LOVE any photos or feedback if you do make this pattern.
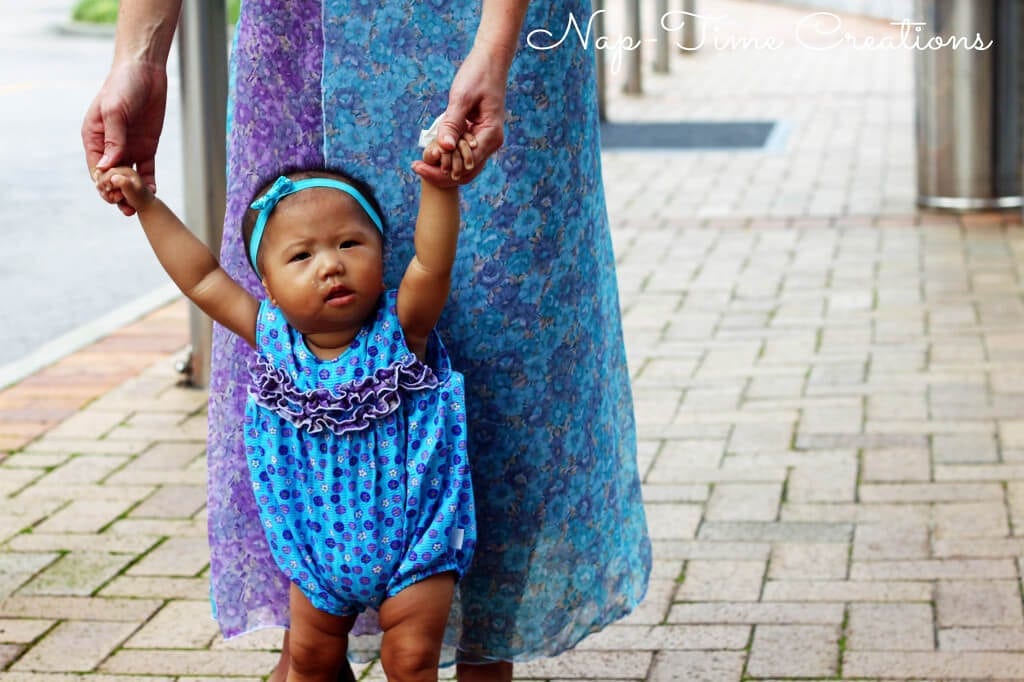
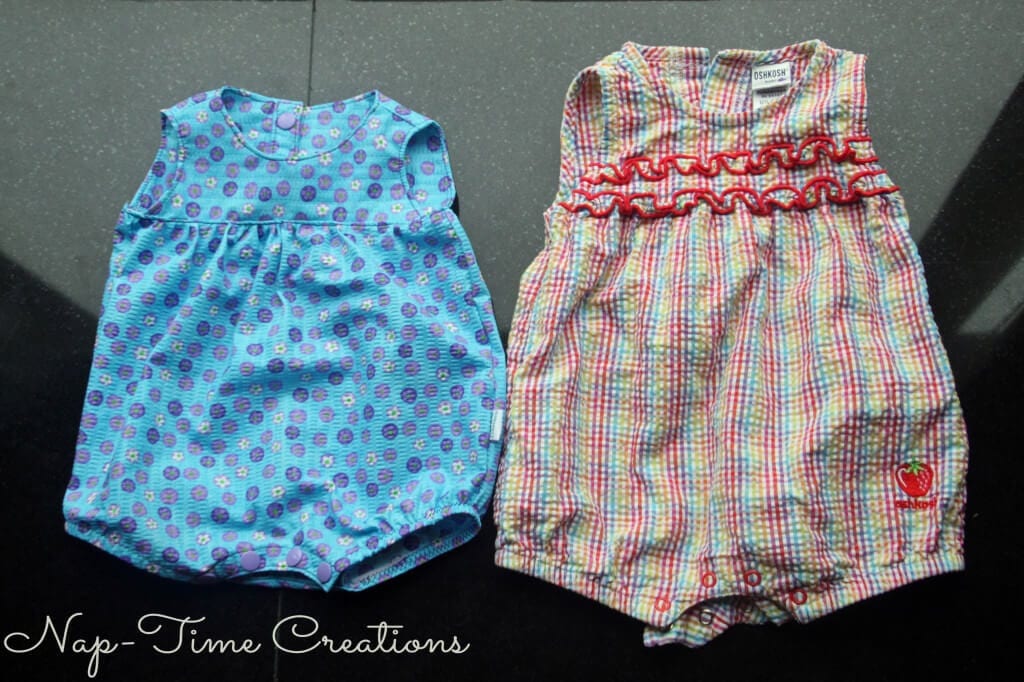
This pattern is not my original design, I copied this romper from Oshkosh. It was a 6 month size. The romper I made on the left is the smallest size of my pattern. I also sewed up the largest size, but forgot to get a photo of all three {and I gifted the small one!}
Okay… so go print the pattern and let’s get started.
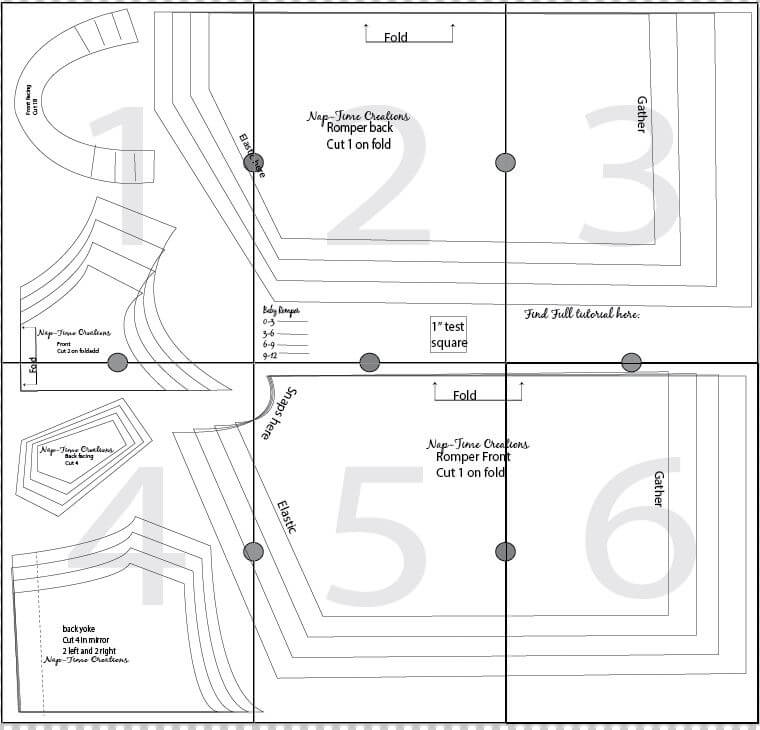
How to sew a free baby romper –
Pattern NOTES {READ FIRST!}
1. I made the 6-9 month romper and it wasn’t very long. {new pattern has updated length included… you can always add length at dotted line on pattern.
2. you will need 3/4 of a yard fabric, 1/4″ Elastic and 6 snaps. I used KAM snaps, but regular set metal ones would work fine.
3. Seam allowance is included, but small 1/4-1/3 inch…
4. This pattern is intended for woven fabric, but if you know what you are doing, knits should work too.
Cut out the front yoke {x2} on the fold and back yoke {x4} and sew the shoulder seam to create two yokes.
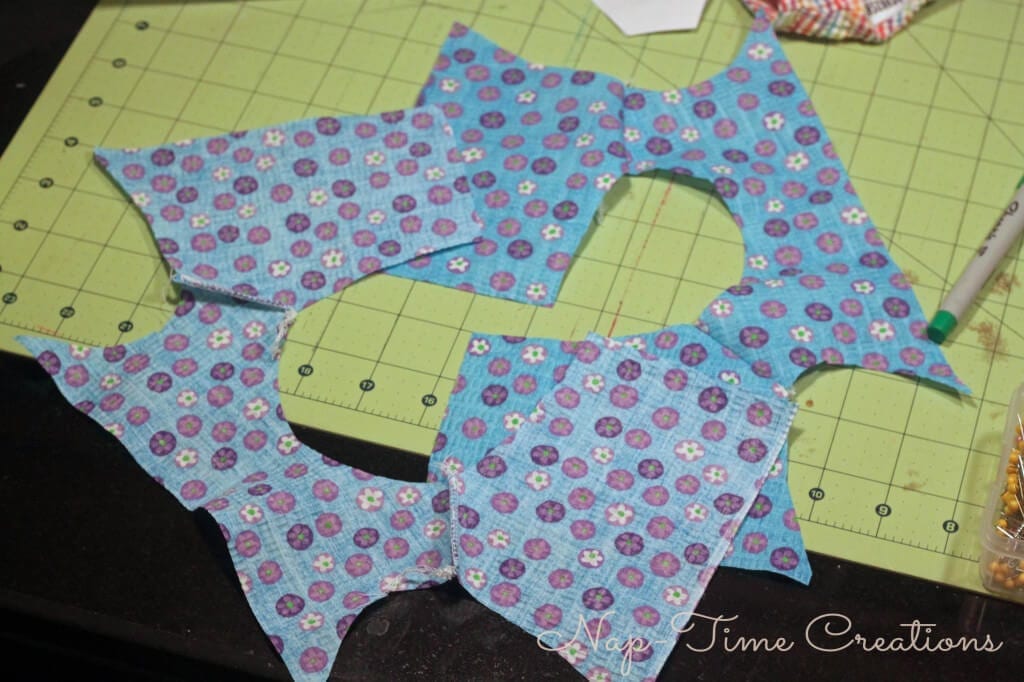
Place the two right sides together and sew the neckline and arm holes. If you don’t use a serger, clip the seams now.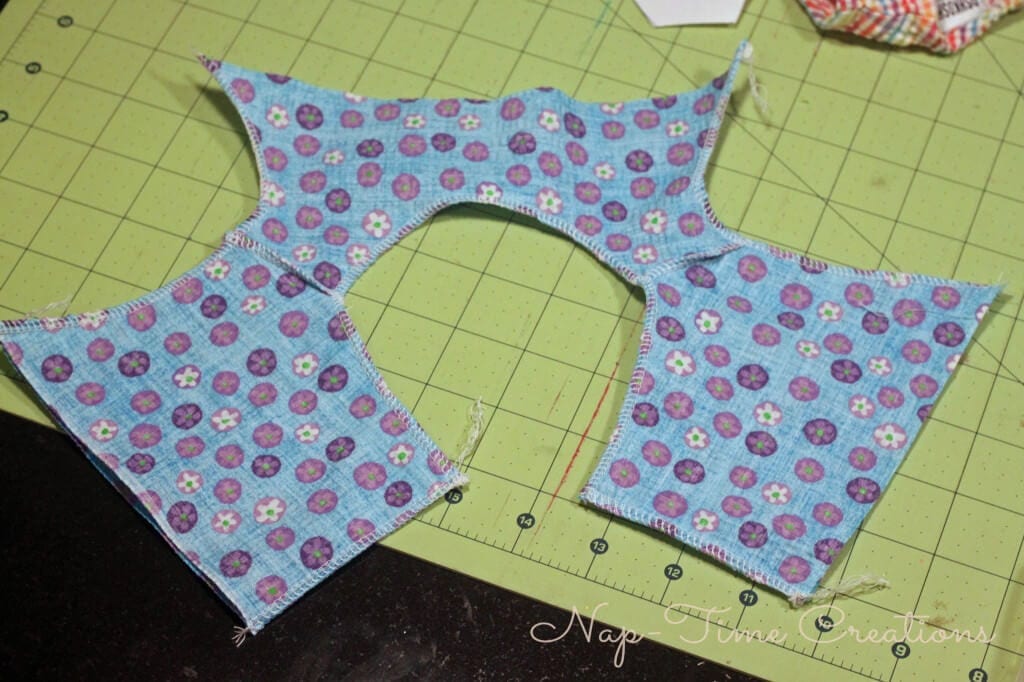
Pull the back yoke through the shoulder seam on both sides to turn the yoke and create clean seams. The front bottom and back bottom should still be un-sewn. Top-stitch the neckline and armholes close to the edge.
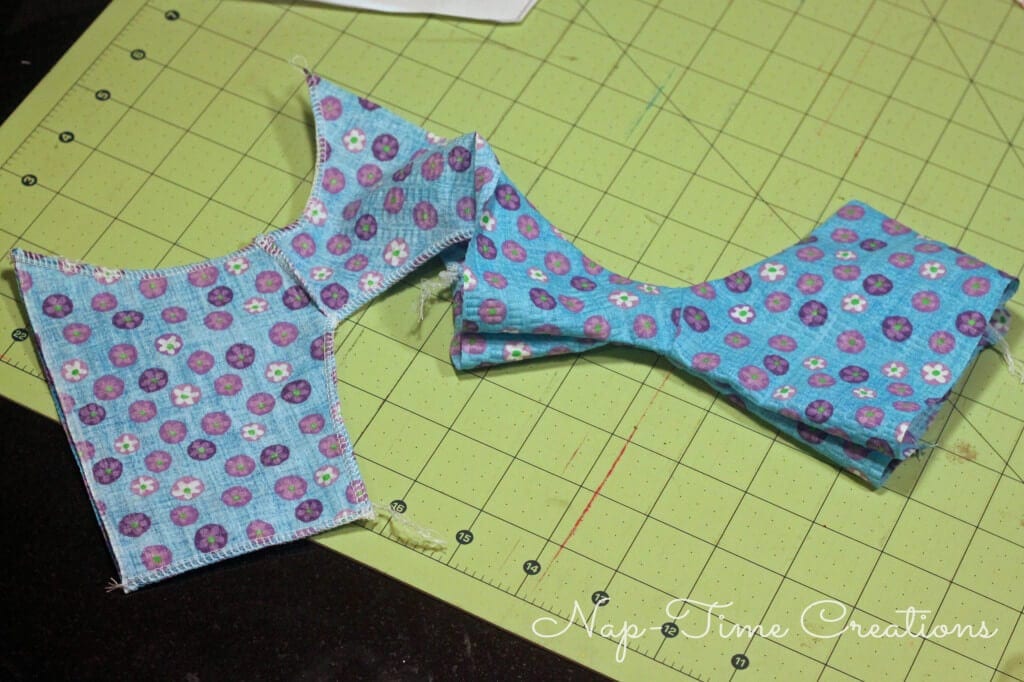
Fold back 1 inch of the left back yoke. Sew.
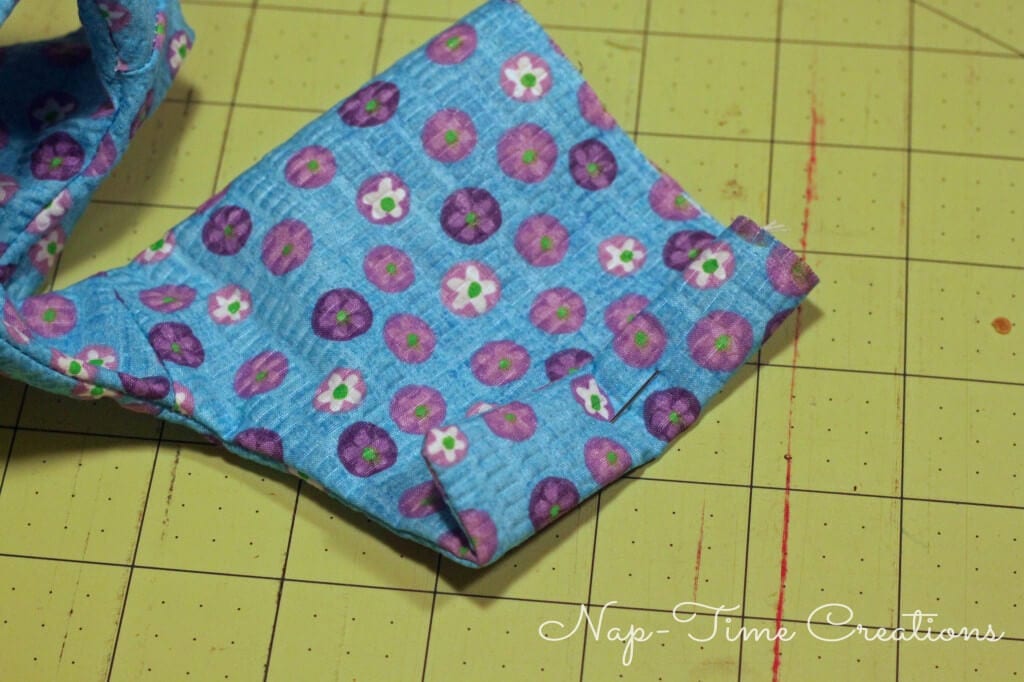
I have edited the bottom facing pattern piece. You can see the crossed out one on the pattern, ha! So I think its okay now, but if the facing doesn’t match the bottom of the romper, you can create your own by tracing the romper line and then cut a 3/4 inch wide semi-circle. Size guidelines are given on the facing piece, but place on the front piece, then trace.
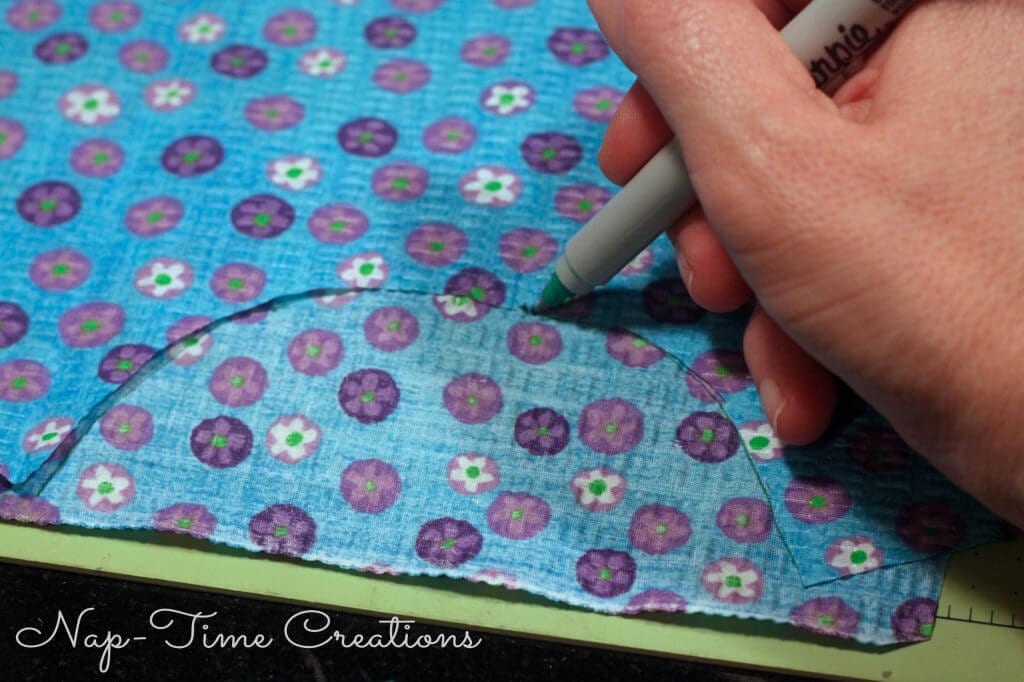
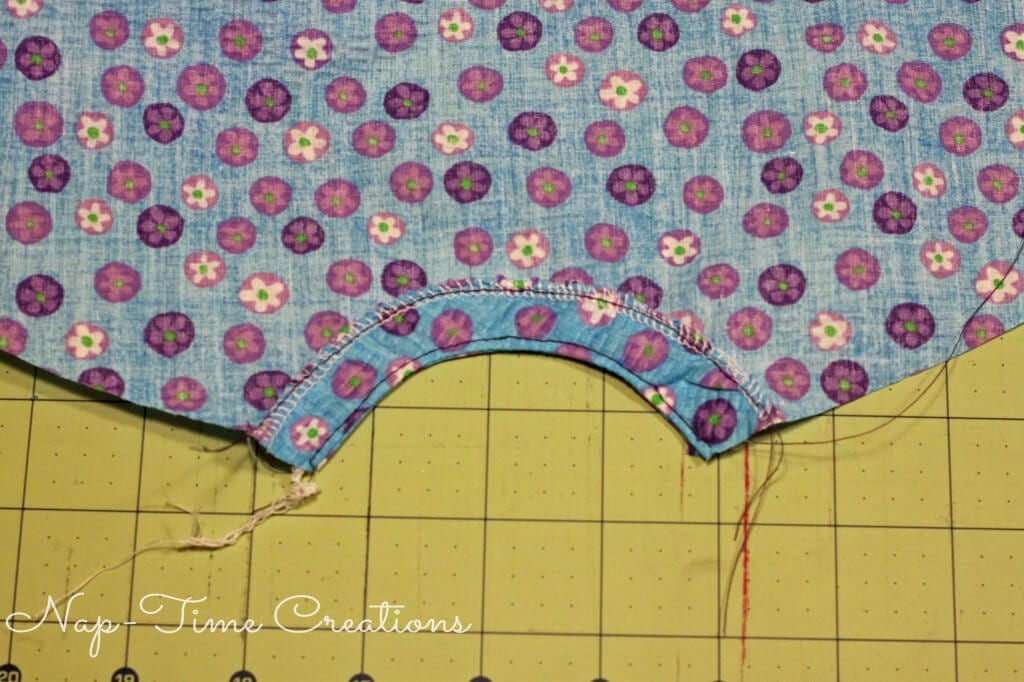
Finish the longer edge of the facing, then sew the shorter edge to the romper bottom. Right sides together.
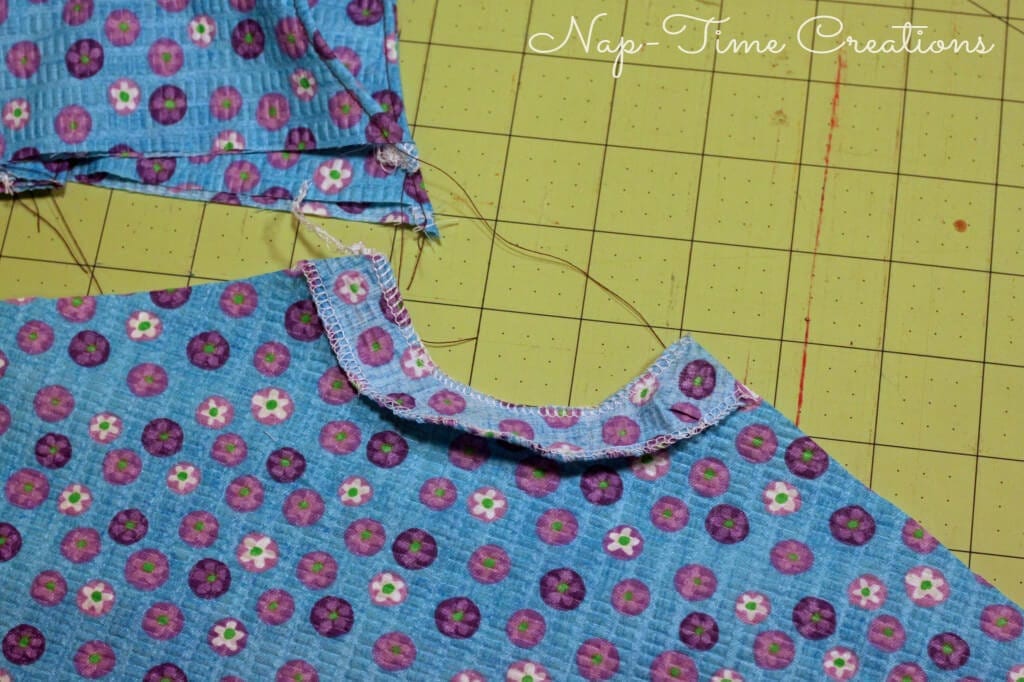
Top-stitch both sides of the facing to secure it to the romper. Front romper facing now complete.
Back romper facing. This should be four small pieces. Sew two together in the center, repeat with other two.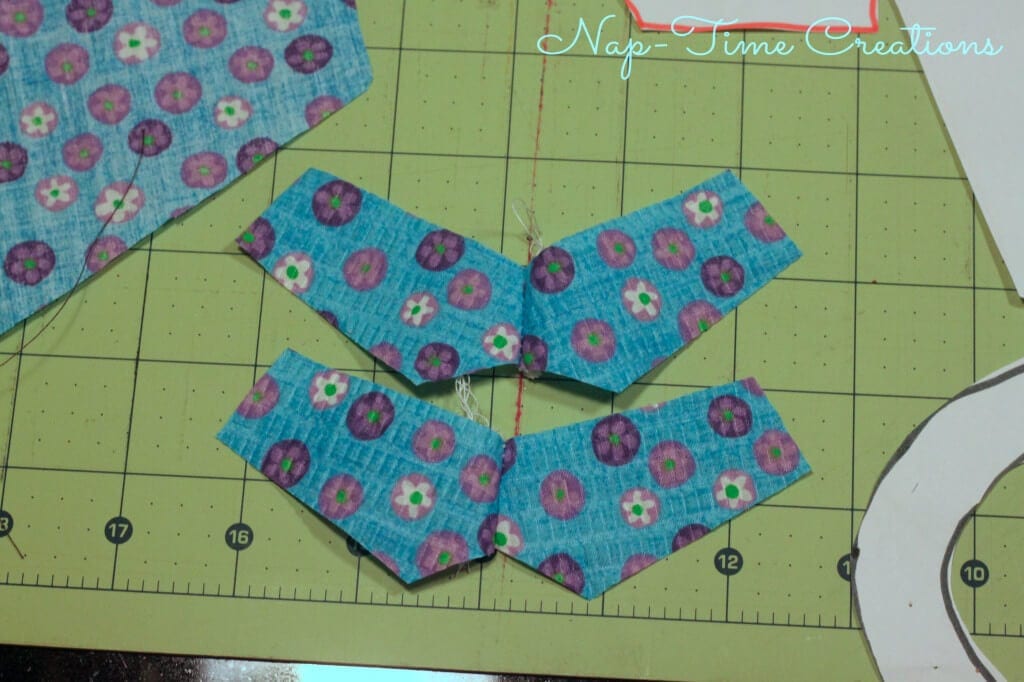
Place the two pieces right sides together, turn and top-stitch. The facing should now look like below.
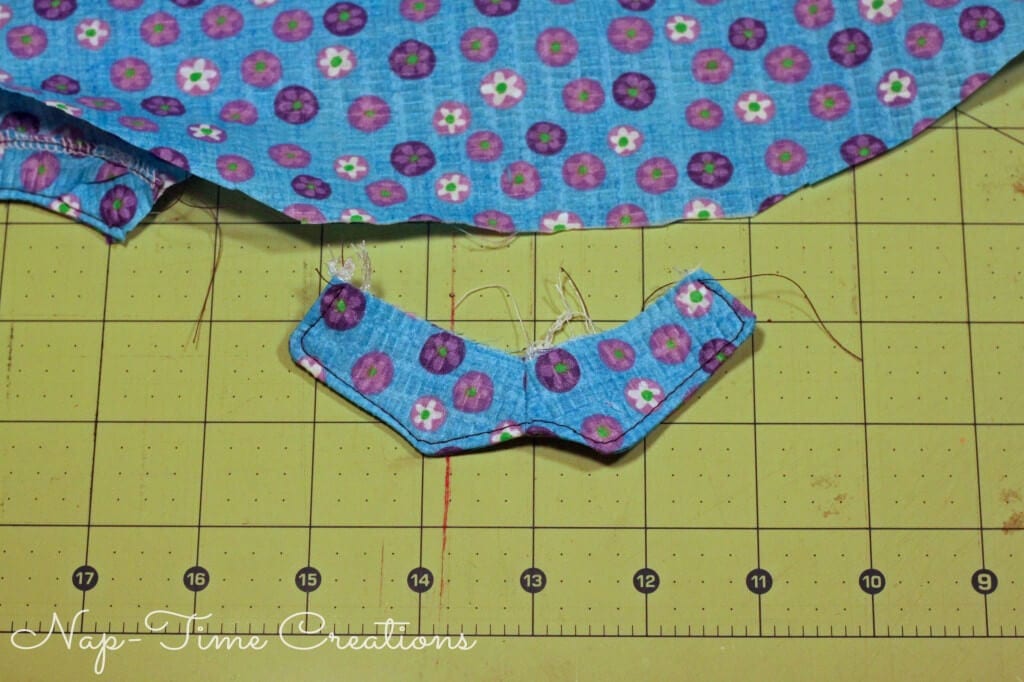
Sew to right side of back romper.
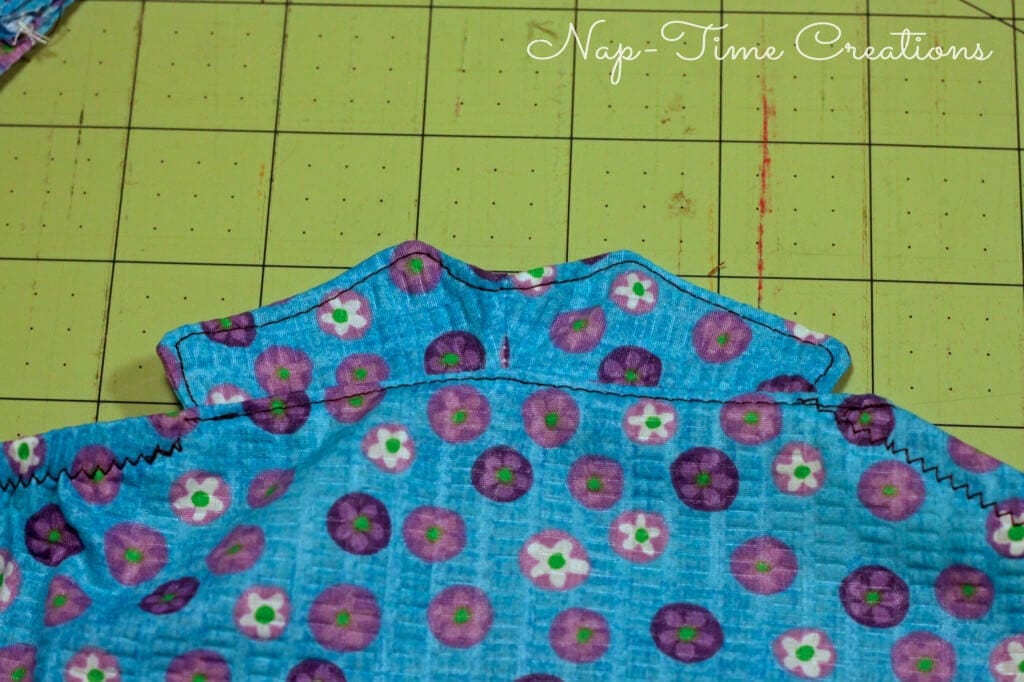
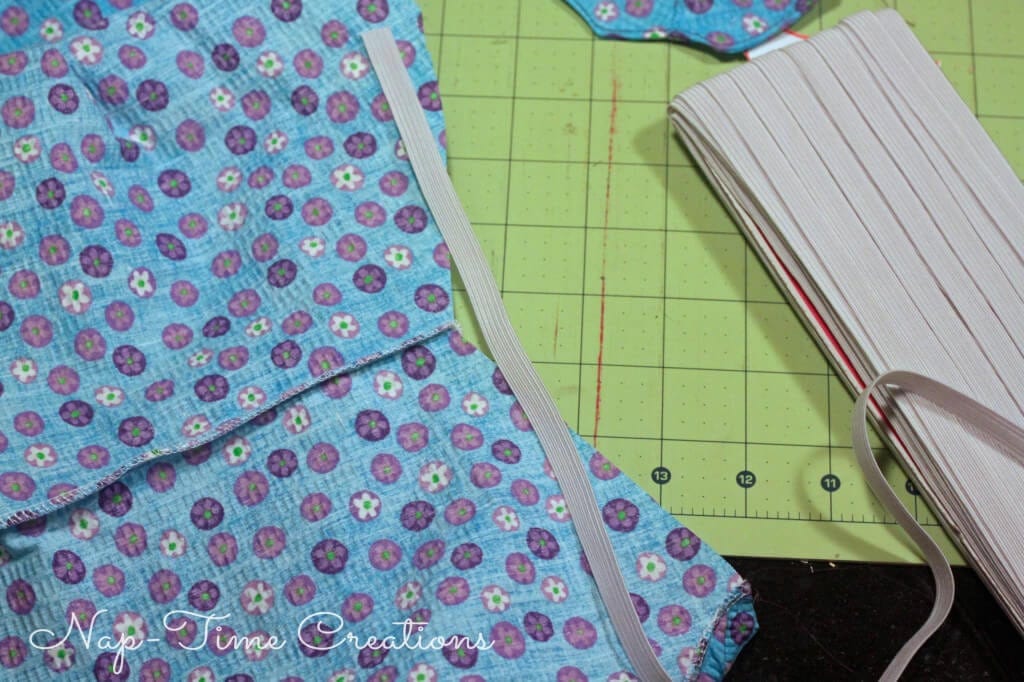
Sew the side seams of the romper, right sides together. Measure the leg openings, and cut elastic 3 inches shorter than opening.
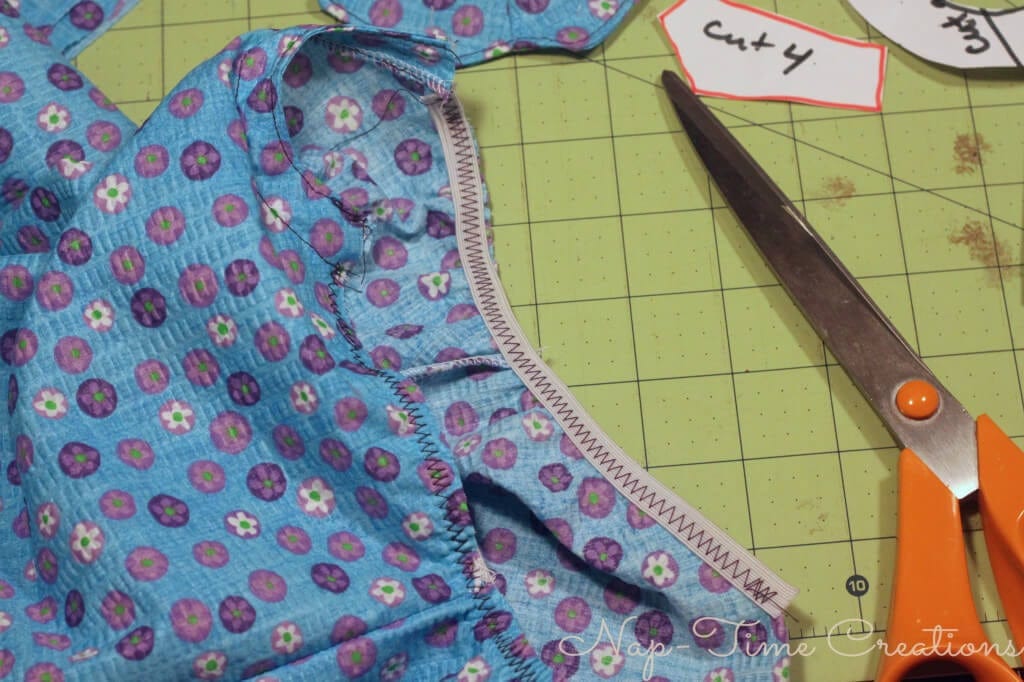
Sew elastic with a zig-zag and stretch the elastic as you sew. Fold elastic over and sew again to finish the leg openings.
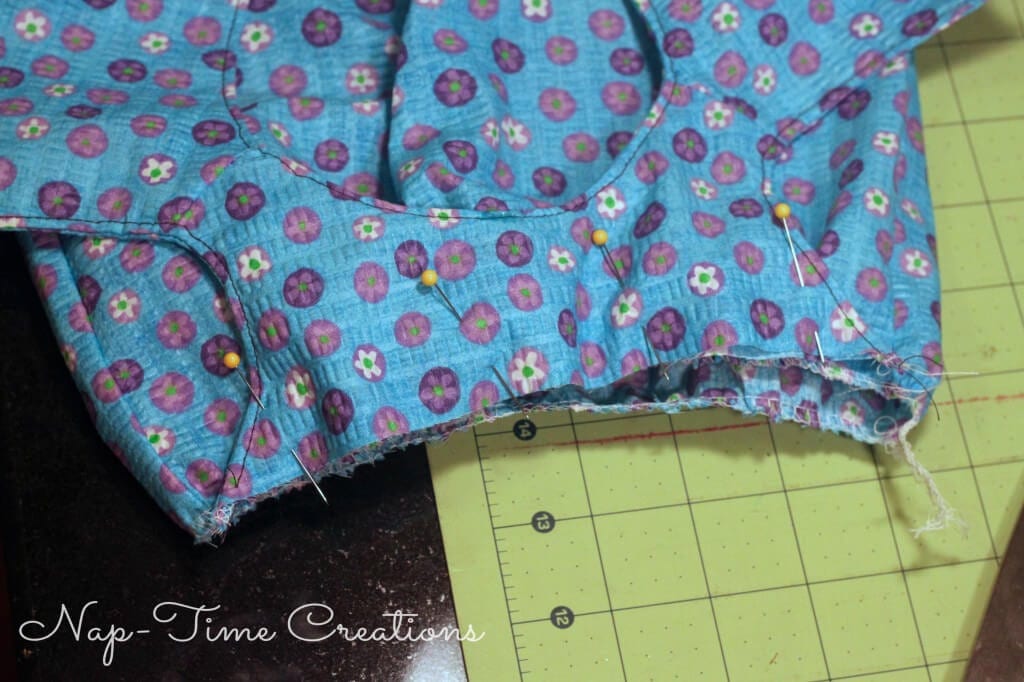
Gather the top of the romper bottom. If you need tips for gathering – here’s a great gathering post} It should be 2 inches bigger than the width of the front and back. Pin the front, centering it between the side seams. Sew.
Pin the back {there should be 1 inch between the front and back yokes under the arms} Over lap the back yoke pieces by about 1 inch. Sew
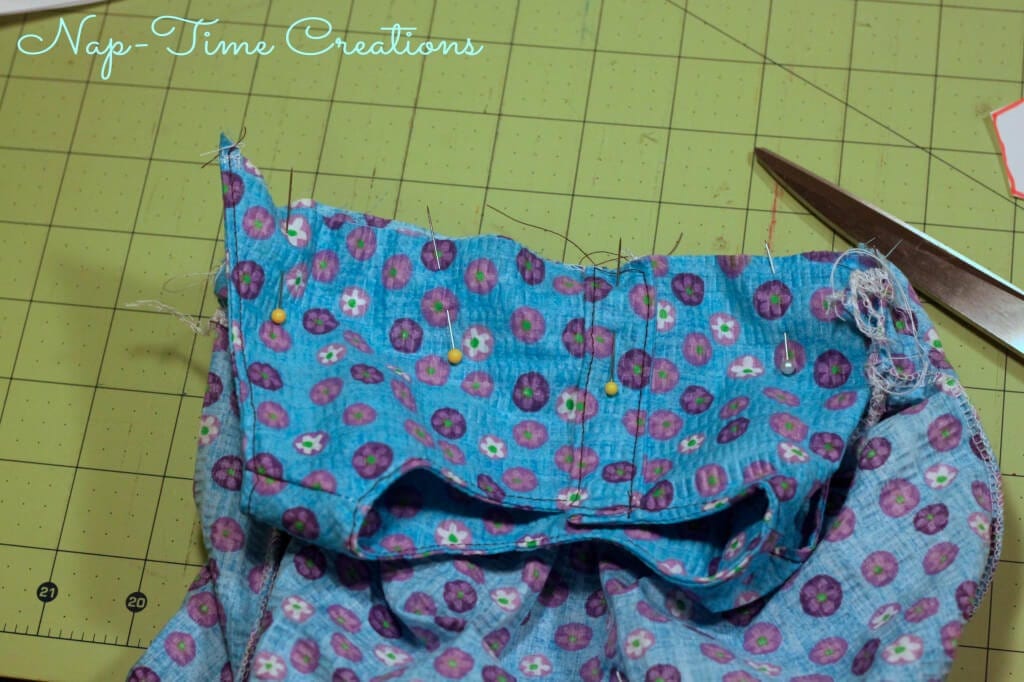
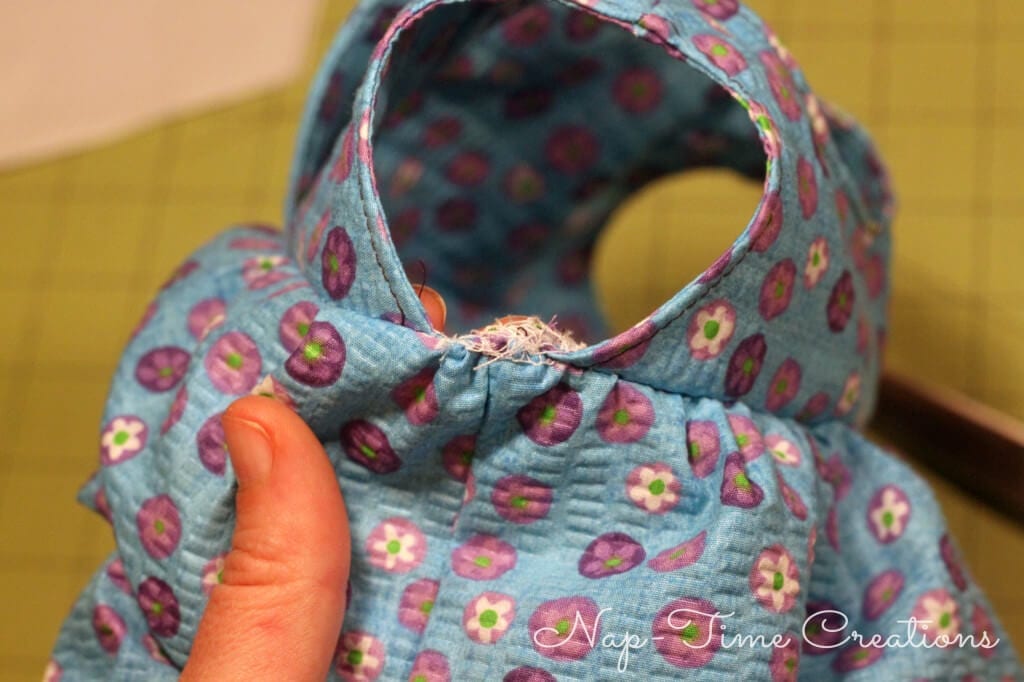
You now have finished edges, except for under the arms.
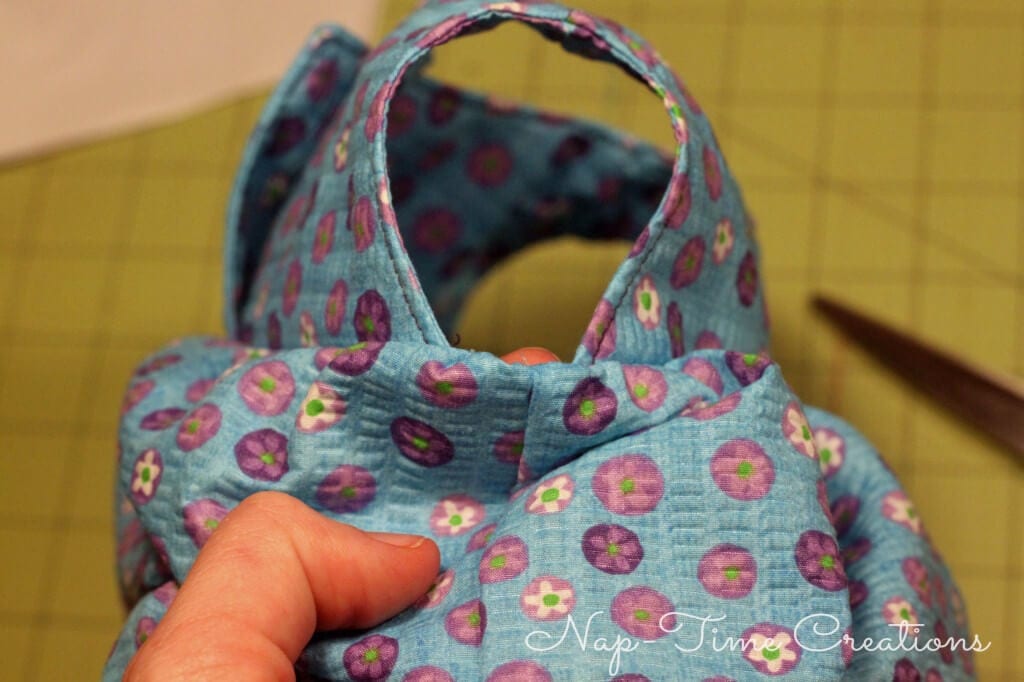
Fold down and pin. Top stitch around the entire gathered top of romper, securing the under arms as you go. Put four snaps evenly placed in front and back bottom facing. Place two snaps on the back yoke as closure.
The finished back.
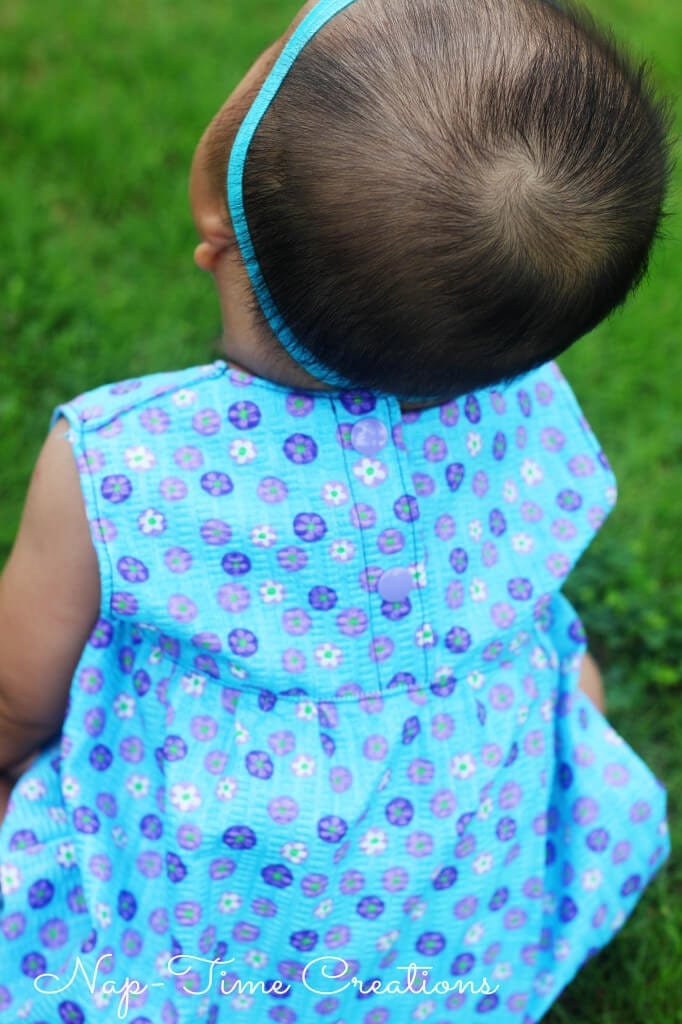
Cute right? The baby romper and the kids are pretty adorable if I do say so myself!

You can add ruffles to the front if you want. I didn’t take step-by-step photos of the ruffles but here is the idea.
1. Cut fabric 1 inch x 24 inches. Cut 2 if thicker and 4 if thin {like mine.. I used chiffon}
2. finished the edge with a rolled hem. Mine were two layers, but if it was thicker use only one.
3. Gather down the center of the fabric strip. It should be 1 inch longer than the front of romper. Pin 1 ruffle right above front seam and sew down the center. Fold 1/2 inch around armhole. Sew the other ruffle right above the first, fold over ends the same way.
Okay, I think that’s it! here’s one last link to GRAB THE PATTERN. Please let me know if you have questions while making one of these cute rompers. I’m happy to offer this free romper pattern for personal use and can’t wait to see what you come up with! I’d love for you to check out my sewing for kids page for other great ideas.
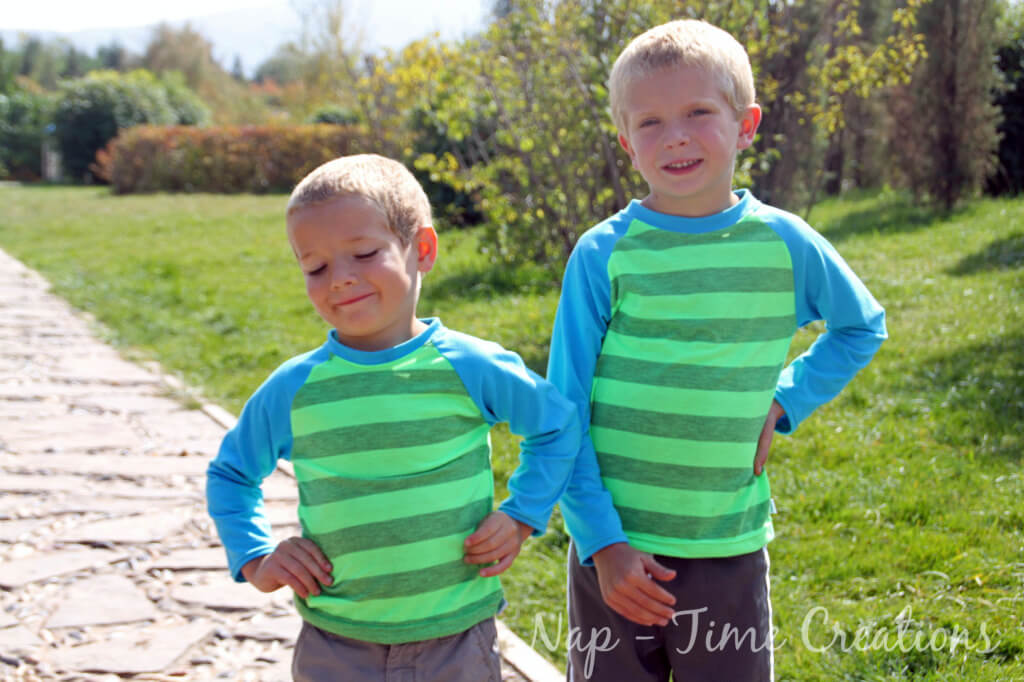
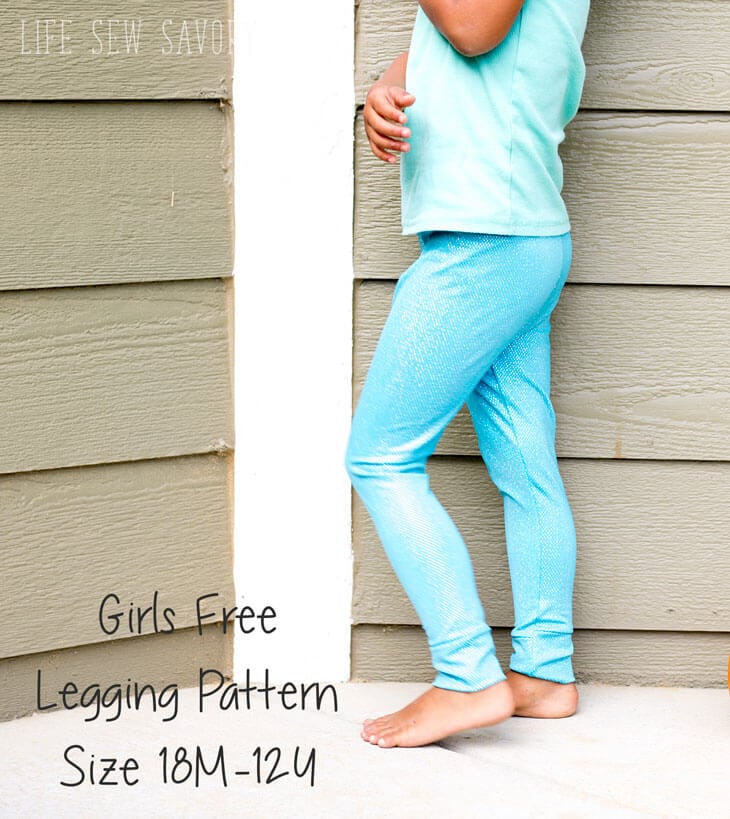
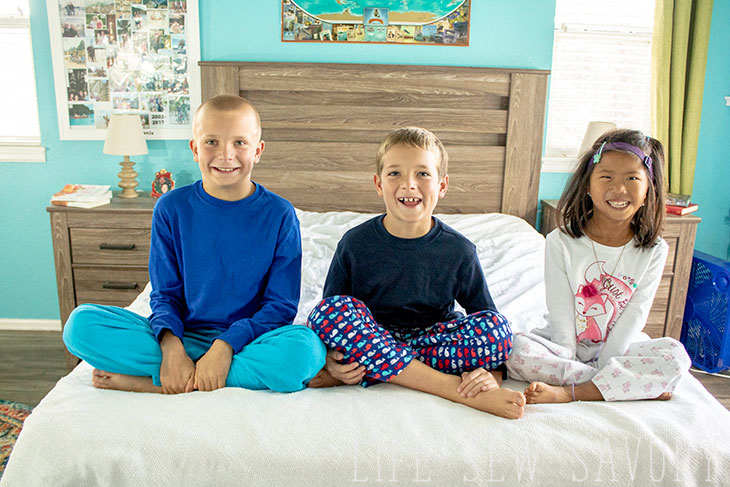
here are some other favorite kid free patterns






Candace says
Wow – how darling is this romper? I loved it when my kiddos were little and could wear one pieces all summer long. Not that they are that big now…but out of the romper clothing, and I miss it!!! SO cute!
Emily says
thanks!! Rompers are my favorite too! My boys lived in them. Love having a little one around again so I can make more rompers…
Jenya says
Gorgeous romper Emily 🙂 Thank you for sharing your patterns and tutorial 🙂
Emily says
thanks Jenya!! I love your series!!
Pam @Threading My Way says
Just adorable, Emily!!!
Emily says
thanks Pam, I had so much fun sewing for a little girl and I love rompers!
Mel says
Adorable almost makes me want another baby….maybe I need a cute loaner like you 🙂
Mareike says
Oh thanks a lot!!! Quite what I need for my little summer baby!
RaeAnna Goss says
You are so generous to have this pattern for free! It is adorable!!! And the model is such a cutie! Thank you for linking up to the Romper Week Link Party!
Emily says
Thanks so much!! I need to stop back over and see all the other rompers linked up!!
Frances Suzanne says
What a cute romper!!! Thanks for sharing the pattern with us…
Susan says
This is amazing! I didn’t know you sewed! I’d love to pick your brains on patterns later 🙂
Emily says
sure! any time! do you have a machine here?
yusaida says
HOLA BUEN DIA, ME ENCANTO ESTE MAMELUCO MUCHAS FELICITACIONES. ME GUSTARIA OBTENER EL PATRÓN Y PODER HACERLO PERO NO HE PODIDO DESCARGARLO, ME AYUDAS PORFIS. GRACIAS
Rhonda says
I’ve just finished making your romper for my niece for Christmas. It’s so cute! Think I’ll be making more in the future! Thanks for sharing the pattern.
Terri Goldy says
I’m confused when it comes too the bottom, piece where you say the pattern is curved am i missing something.?
Shirley says
Where do I post photos of my finished romper? Had SO much fun making this–along with a matching bonnet!
elizabeth hamill says
just finished sewing yr romper pattern which im really pleased with, thank you for such an easy tutorial too
Vicky says
Could you please tell me how you finished the bottom? Would really appreciate some help as I don’t see any answers from the lady who has put the pattern up. Thankyou!
Heather says
Cute pattern. The instructions for finishing the bottom are not clear and the pictures do not match exactly. When adding the back little piece, there is no place to turn up for the elastic. ?
Miriam says
I had the same problem as Heather. How do you fasten the elastic between the front and back facing?
Vicky says
Please show us how to put together the pattern pieces for the bottom of the romper. They do not match. Thankyou
Emily says
can you show a photo of your problem? I’m not sure exactly what you mean.. thanks.
Denise says
Bonjour,
Merci beaucoup pour ce tuto!! Je viens d’en faire une pour ma petite fille et je suis ravie. Cette barboteuse est très jolie. Vos explications et vos photos sont super.