inside: this loose dress free sewing pattern is perfect for woven fabrics in all seasons. Use this free dress pattern to create a beautiful dresses with a variety of fabrics.
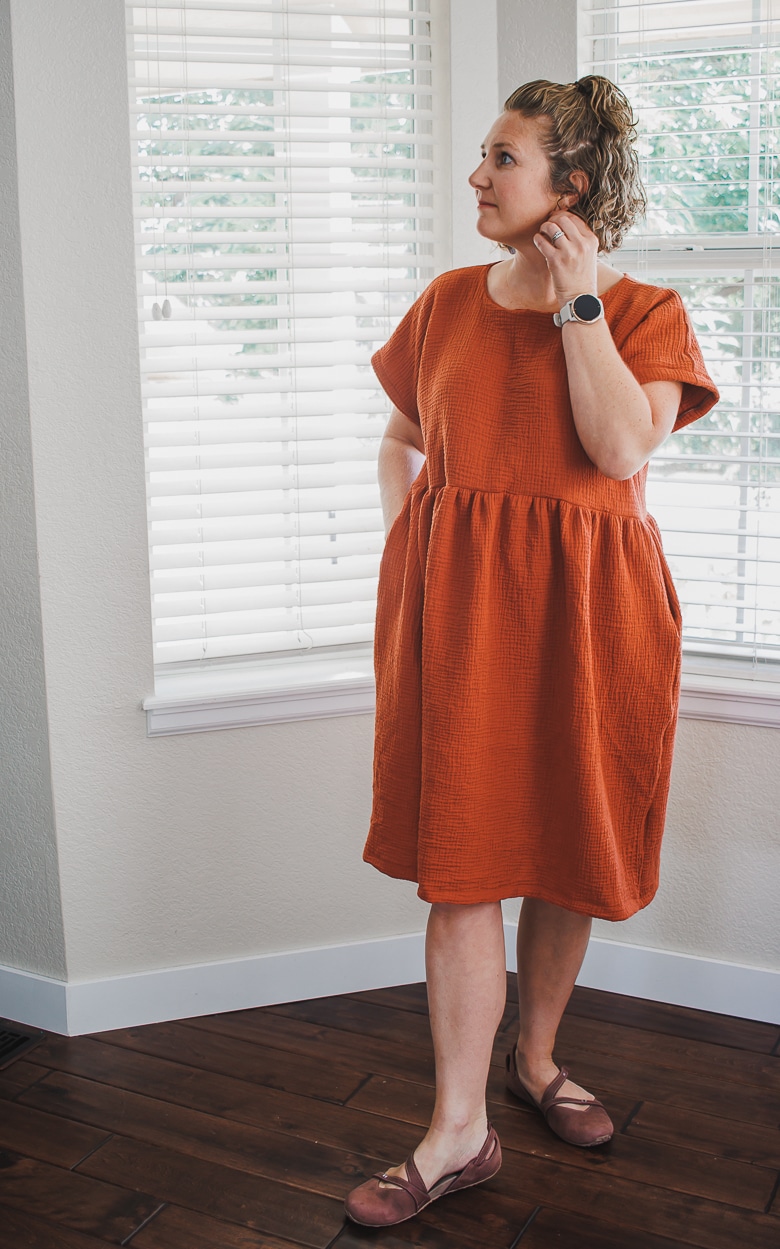
I’ve had a vision of this dress in my head since I bought this double gauze months ago. I was originally thinking of making a fall version of this free dress pattern {it may not be free anymore}, but then I decided to create my own dress for this fabric. I have a dress similar to this that I bought with a square neckline. Here is my simple version of the dress for sew…
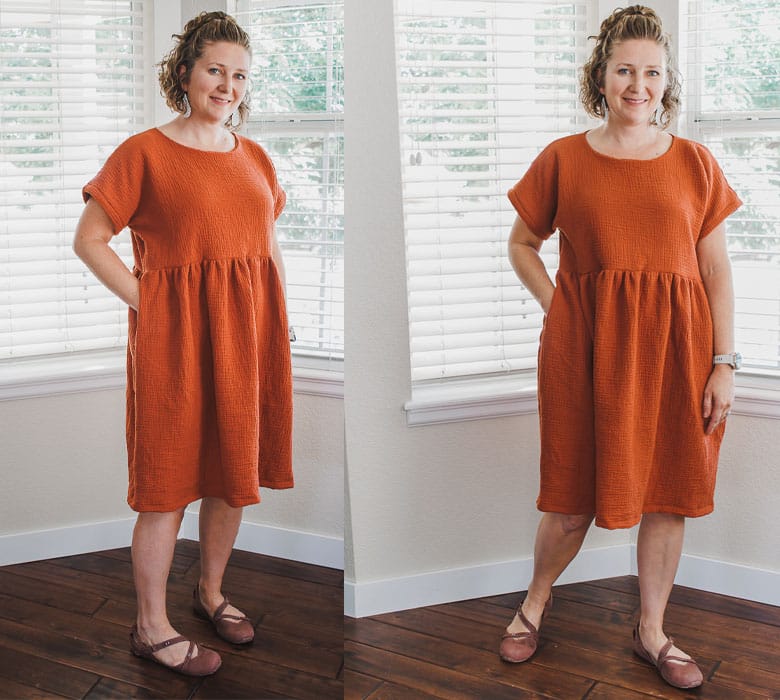
Loose dress free sewing pattern
So cute right? This fabric choice is perfect for fall, but I’m already dreaming of how this might look in a light spring print. It would be amazing in a light spring fabric as well. Let’s take a closer look at this loose dress free sewing pattern in gauze.
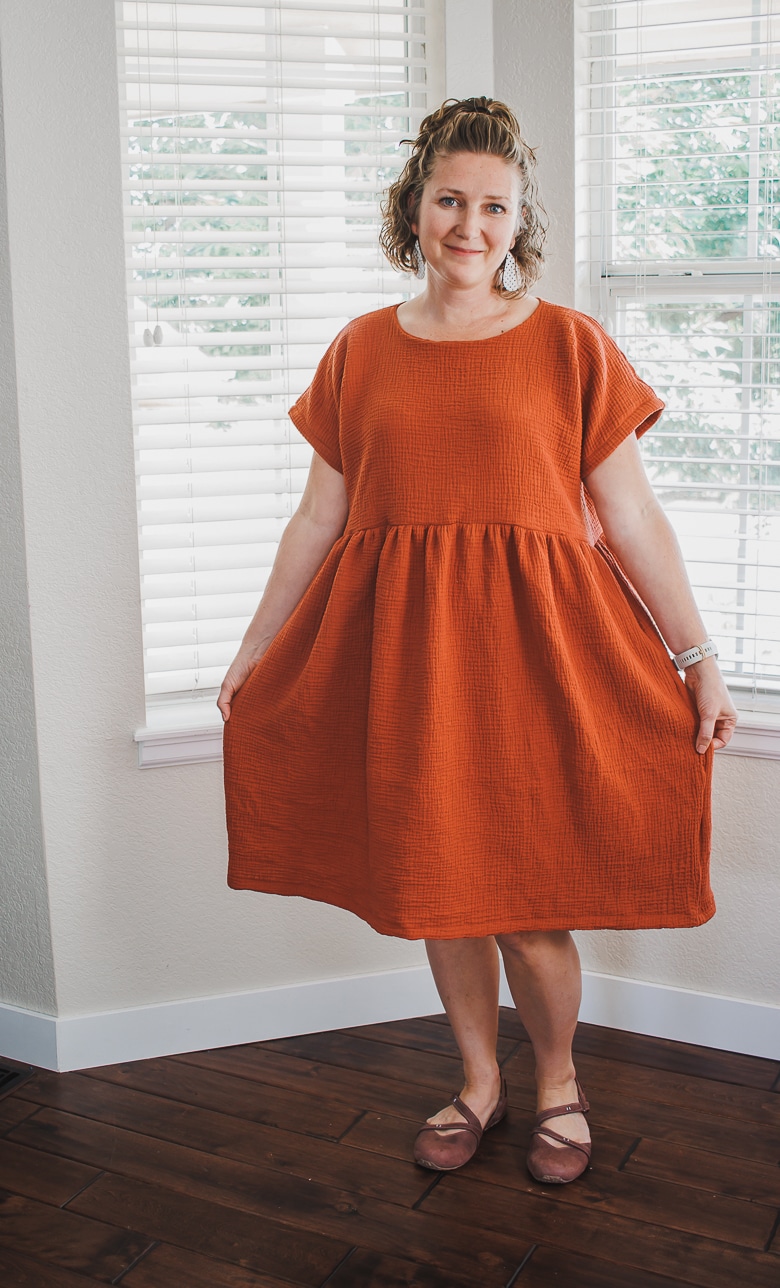
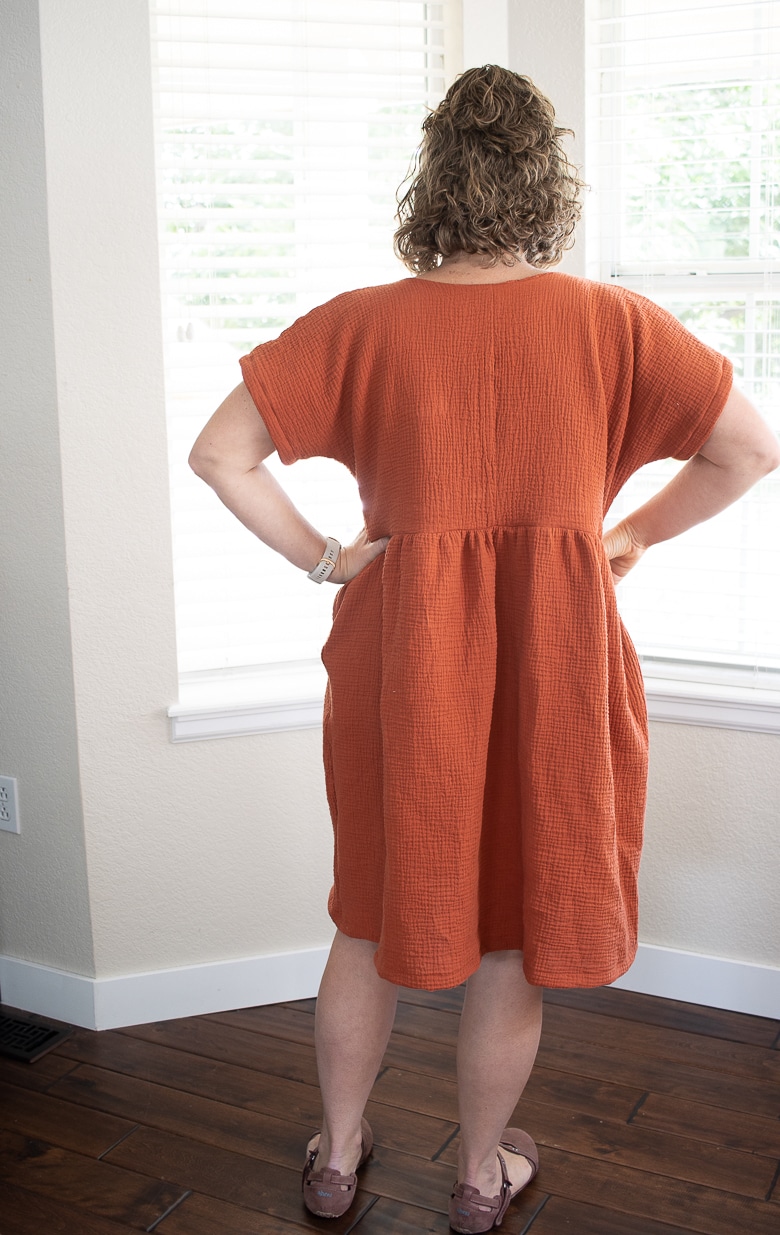
The top of this free loose dress pattern is fully lined, but you could also just create a neck facing if you don’t want to line the whole top. It is a bit thicker with two layers of the double gauze fabric, but if I had a similar color of just cotton or other lining I think I would have wanted to use that as the dress top lining.
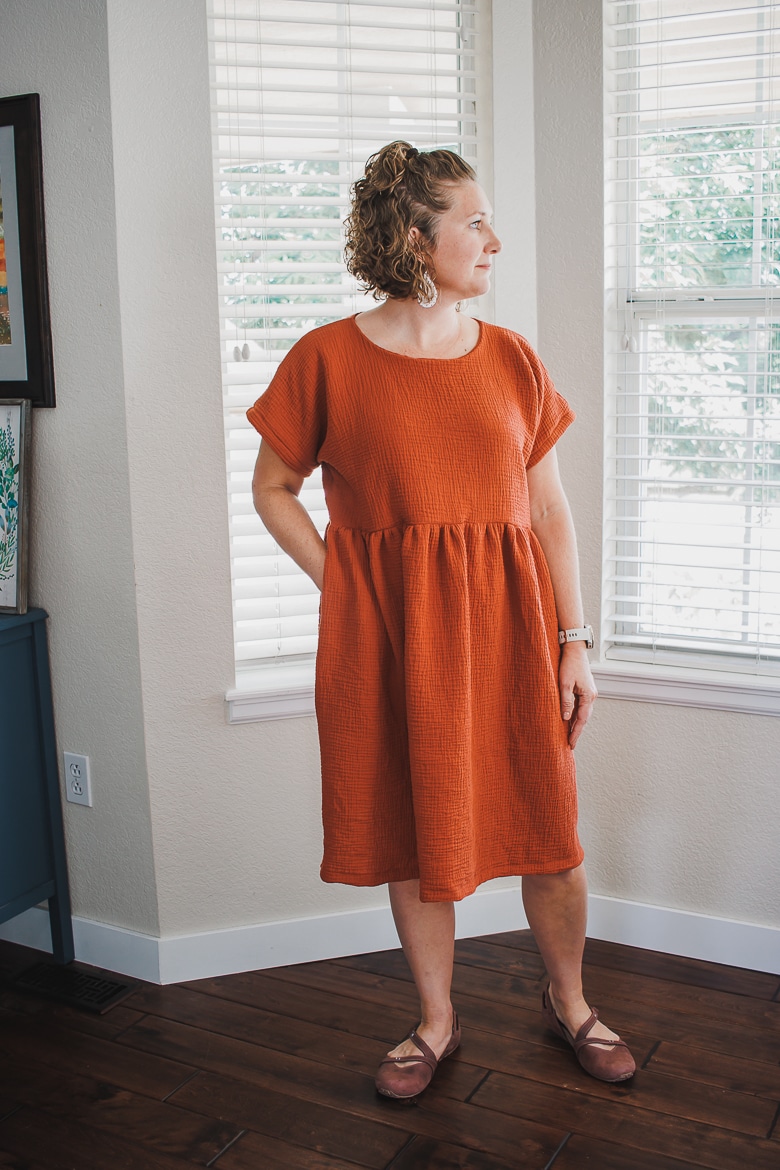
fabric choices for loose dresses
Here are a few fabrics that I think would be lovely for this style dress. The lighter the fabric and if it has some stretch you may need to adjust the sizing a bit. If you are on the smaller end of a size I would size down if you have a very light or fabric with a bit of stretch.
- Double Gauze as shown here
- Stretch Woven {the dress I bought with similar shape is stretch woven}
- Stretch Crepe could maybe size down with this fabric
- Rayon Challis a beautiful light spring/summer fabric
What is double gauze?
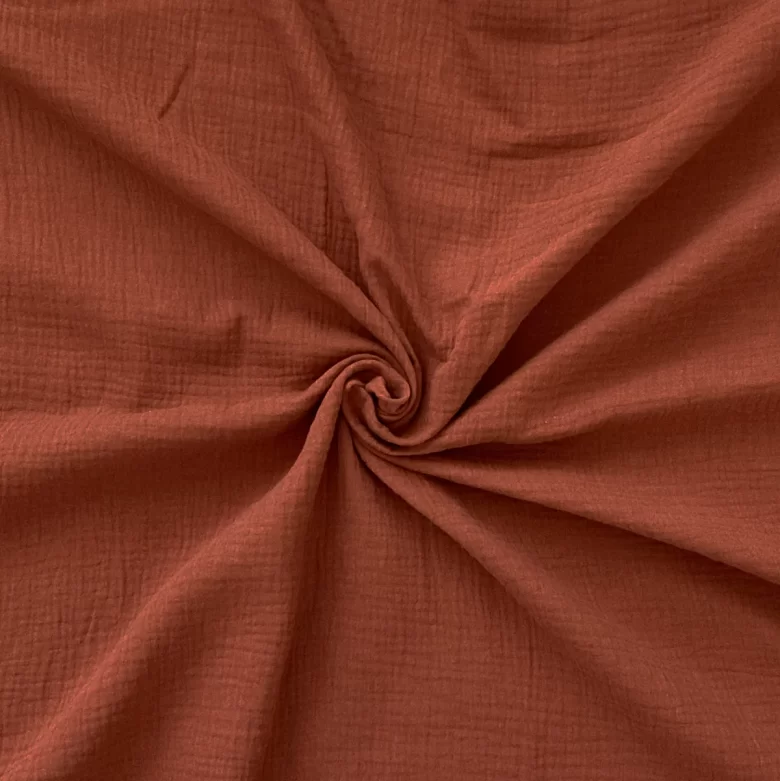
Double gauze is typically make from two very fine layers of cotton that are invisibly stitched together. The weave of each layer tends to be quite loose, so that combined with the double layer of fabric tends to make the fabric almost a bit spongy/fluffy/springy.
This is not a fabric to iron flat, you want to keep the springy/spongy texture of the fabric when sewing and cutting. It’s a delightful fabric for dresses or pants. I used it here for the top of this romper for my daughter. I’ve also made here a couple other dresses, but not ones I’ve written up here.
How much fabric do you need for this dress
I had just over 3 yards of the rust double gauze, and ended up with a bit left over. I estimate 3-4 yards would make all the sizes. You can also save fabric by using another fabric as the lining. If I had a coordinating cotton I would have used that as the lining for the top.
how to cut gauze fabric
The trick to gauze fabric is to get is smooth, but not completely flat. I like to put it in the dryer to smooth. I did this fabric on timed dry for 20 min before cutting it. You can see how it still has lots of texture, but it isn’t wrinkled. There is a difference.
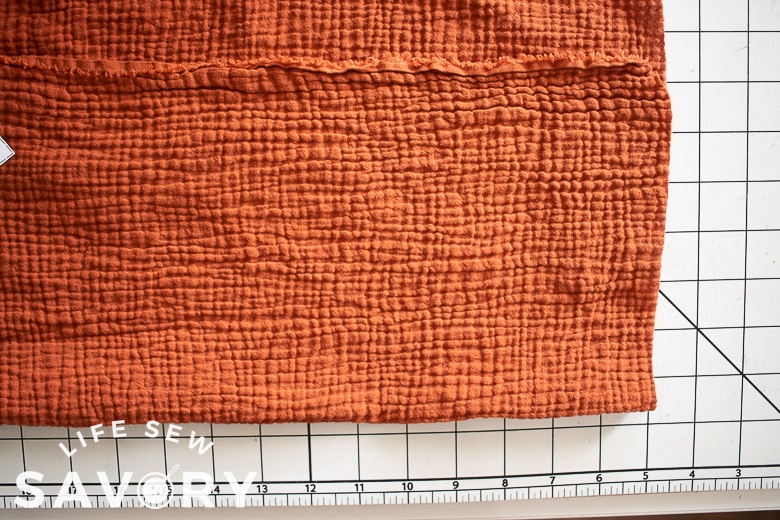
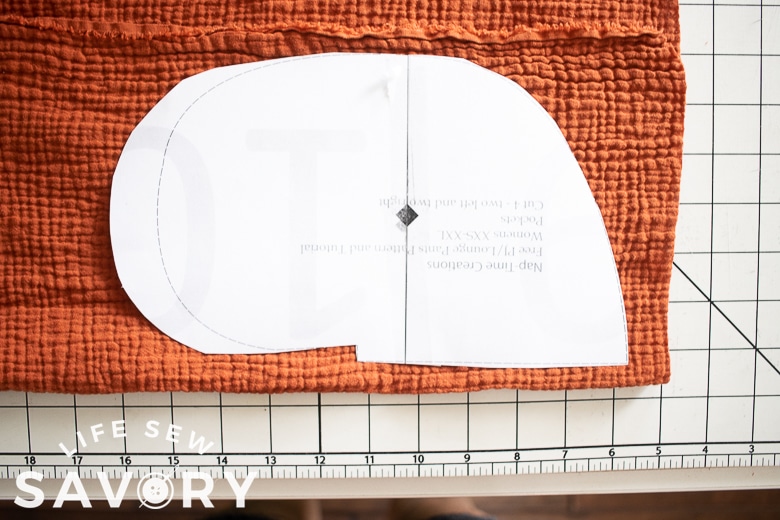
You do not want to iron double gauze fabric. You can see in the photo on the right that the fabric can be stretched out and made flat. When cutting out the pattern pieces you just want to keep the fabric flat, but not stretched out.
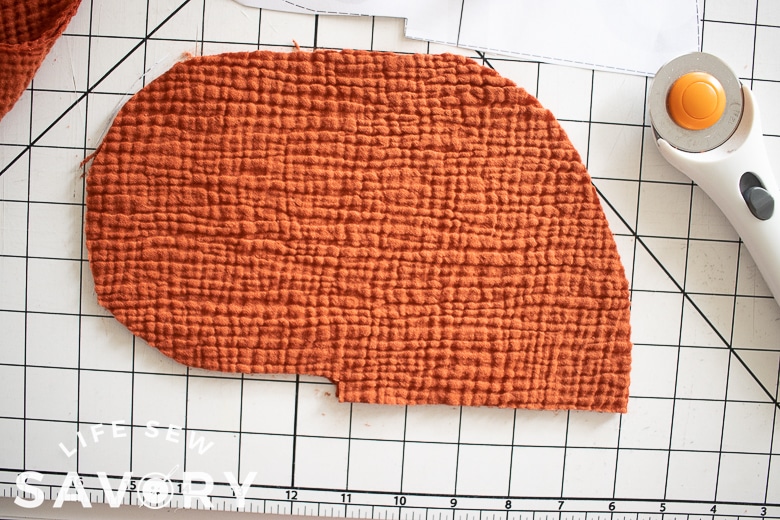
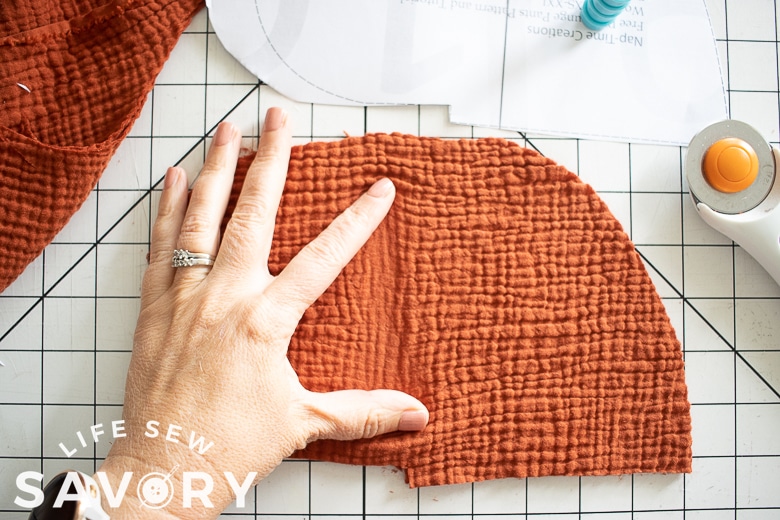
free loose dress pattern
This is a loose fitting dress pattern with no darts extra pattern pieces. Do to this nature you may need to make a couple of adjustments to the patter top piece. When cutting this dress top you will want to go with your full bust measurement first. If your full bust and and waist are close on the size chart you can cut a size just as on the pattern.
If your bust and waist measurement are way off you may need adjust the dress top pattern. If your bust is way larger than your waist you will want to start with the pattern size just for your bust. You probably will need to then take in the arms and waist as shown below so that you have room for your bust, but the waist and arms aren’t swimming on you!
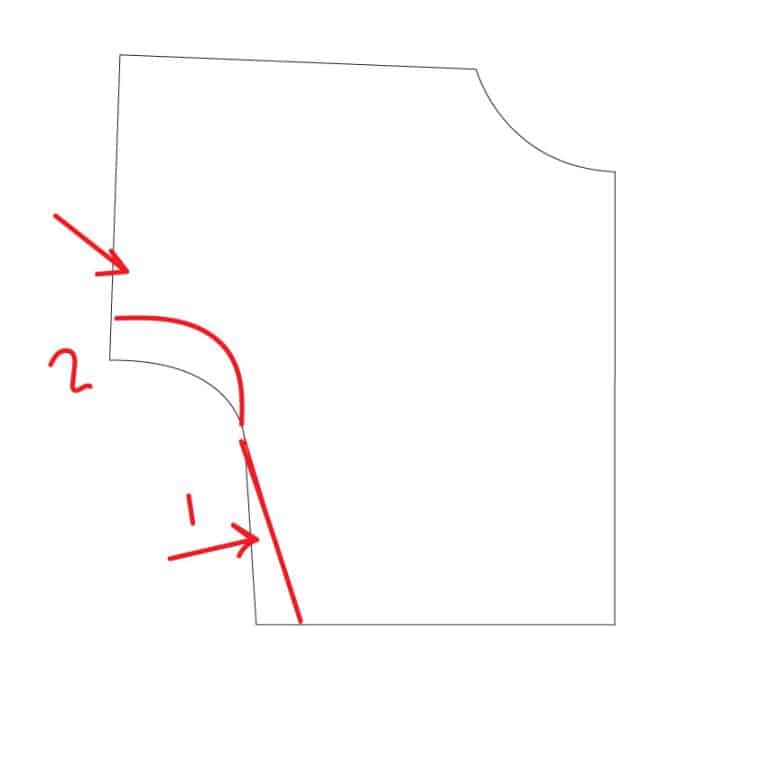
If the opposite is true and you have a large waist and small bust you will want to still start with your bust measurement and then instead of grading the fabric in, you will ease the fabric OUT from the under arm to expand the waist to the larger size as needed.
Grab the free sewing pattern {top part only} using the button below. The skirt is cut using the tutorial below.
how to sew a dress
Ok! Now it’s finally time to sew!!! You need to cut out two of the front pieces at the lower neckline and two of the back at the higher neckline. If you want to conserve fabric you can cut the back as two pieces and not on a fold. I did this for one layer of back and cut it on one side of the fabric, then folded the other side of the fabric to cut the two fronts.
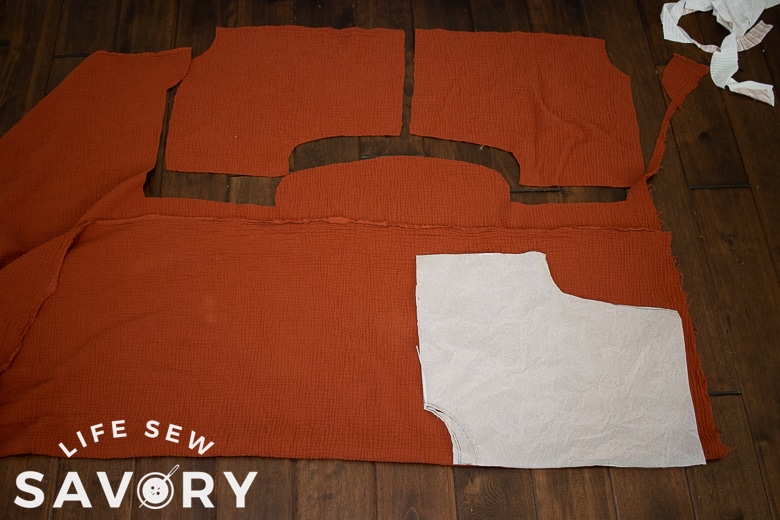
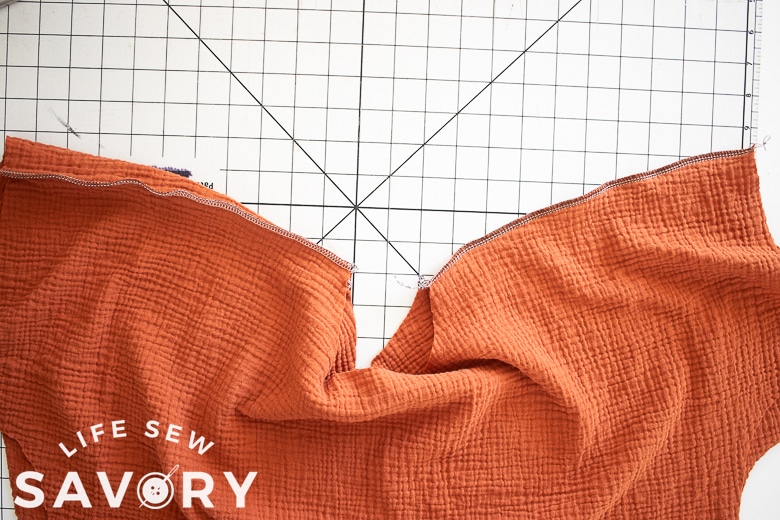
If you cut the back in two pieces, start by sewing the back seam. Then with one front and one back right sides together, sew the shoulder seams on both sides.
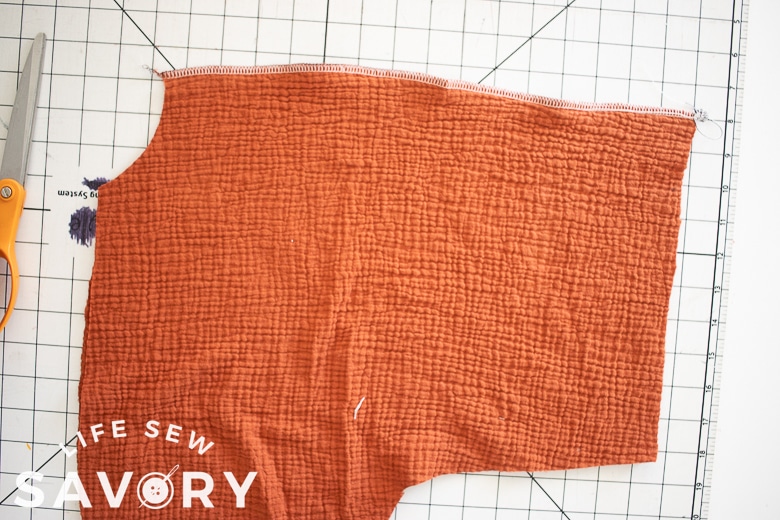
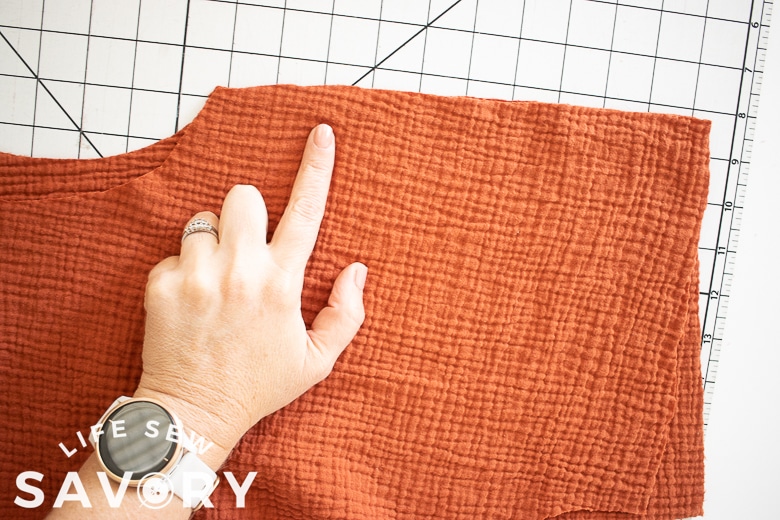
Try on the top to see if the neck is big enough to go over your head. {haha} I think the neck is large enough, but it’s always best to check. If it’s not big enough, cut the front just a bit lower to make more room.
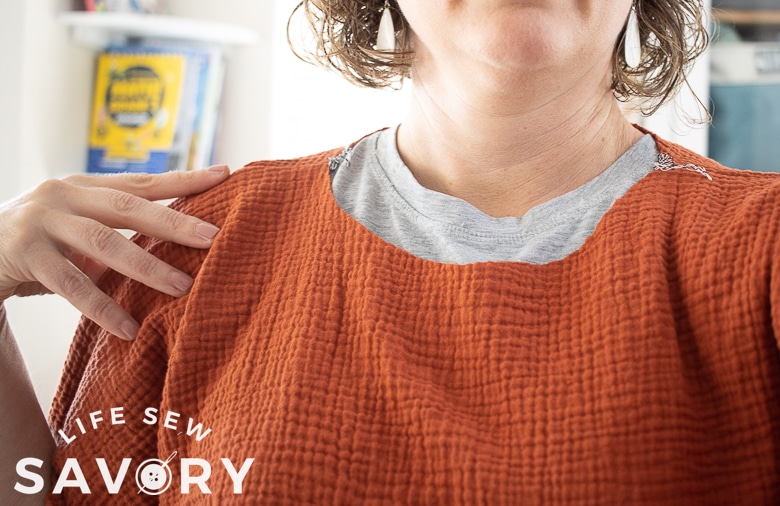
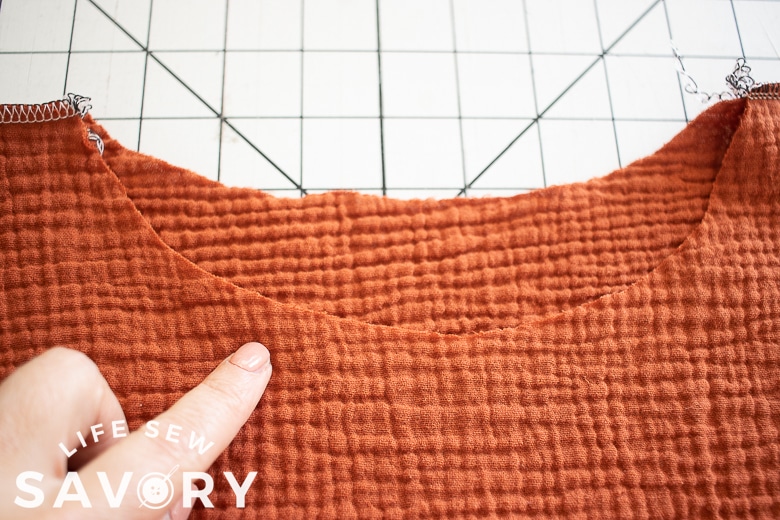
Repeat the shoulder seams sewing with the lining fabric. Place right sides together and line up the front and backs at the neckline. Pin or clip then sew around the neck opening.
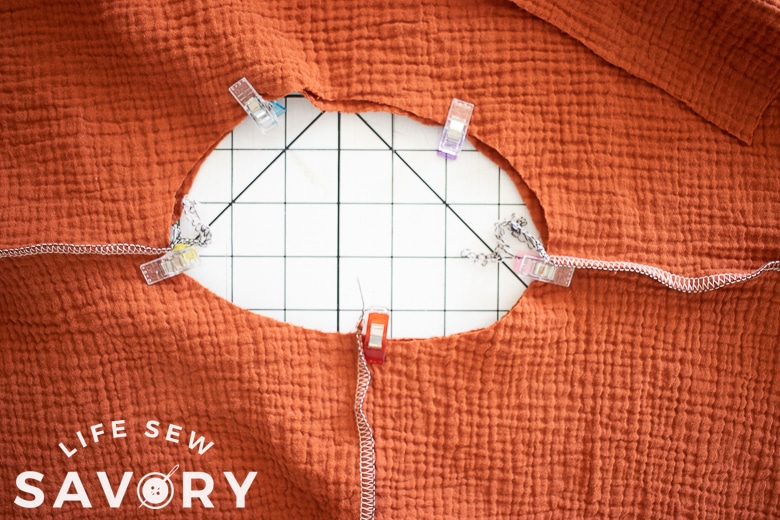
Turn the top right side out and see if the neckline looks like this.
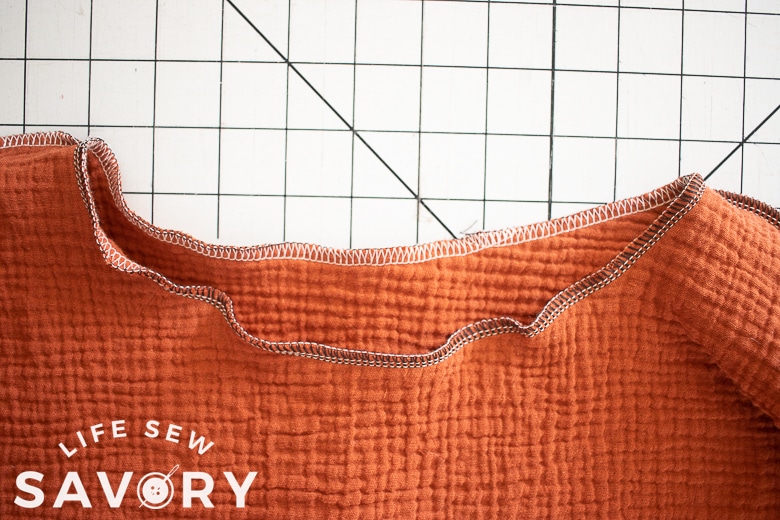
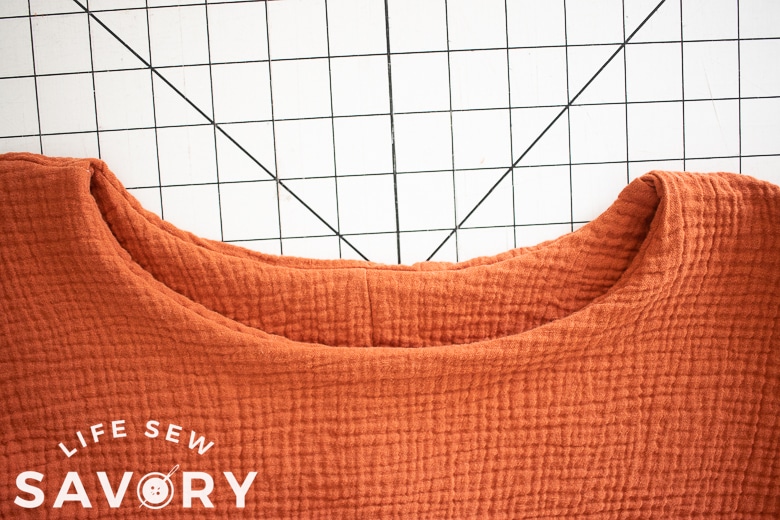
Now it’s time to sew the side seams. Open up the fabric and with right sides together sew the side seams on the main fabric and the lining fabric {also right sides together}. After you sew the side seams, turn the right side out again and pull the arms through each other and line up the bottom too.
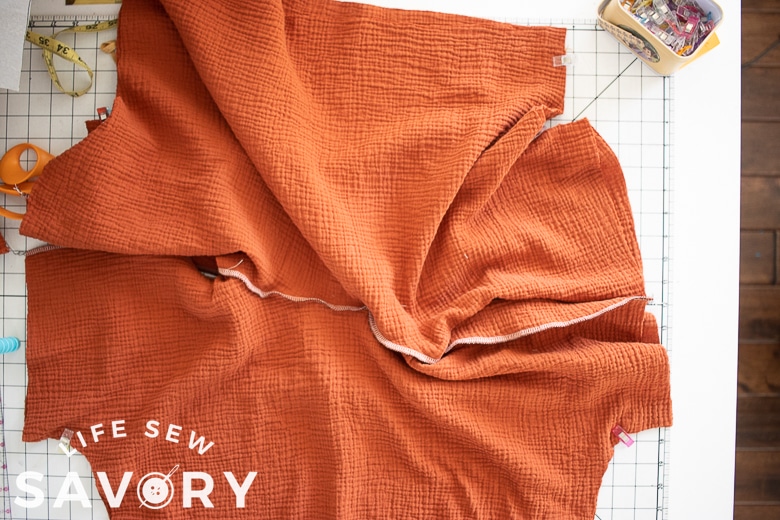
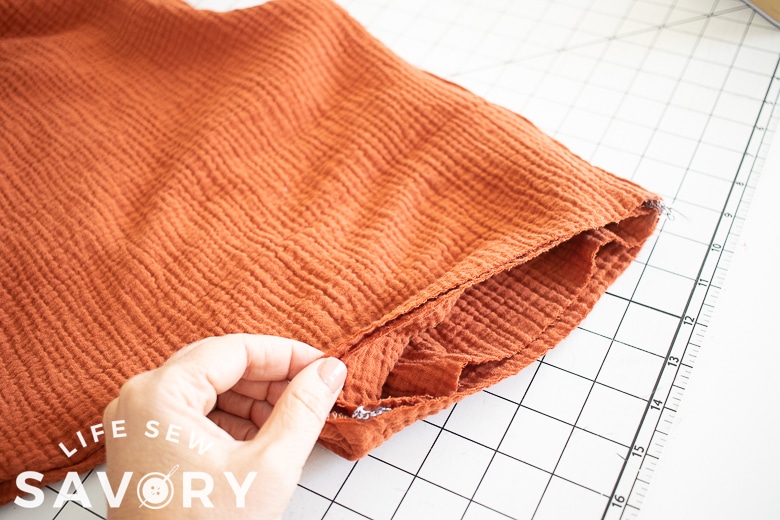
Time to cut the skirt! Determine the length of the skirt by measuring the total length of the dress you want OR measuring from the bottom of the top, down to where you want the skirt to end. The width of the skirt should be 1.5x the width of the top. Cut two, one front and one back of the skirt, they should be the same width.
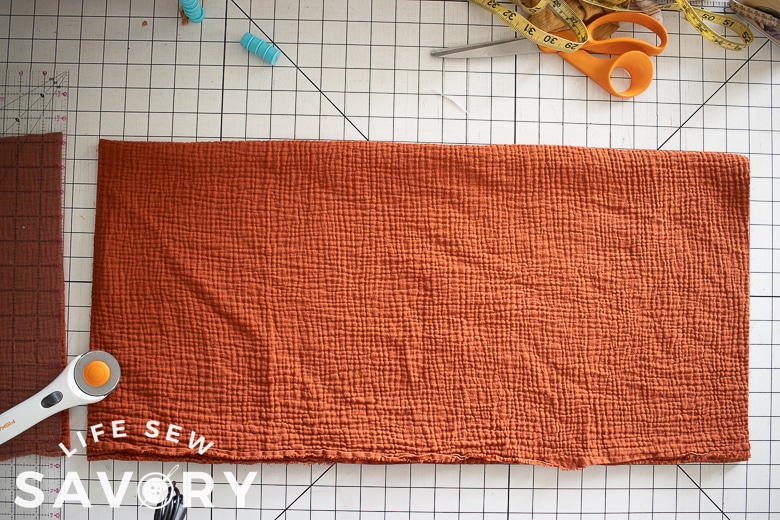
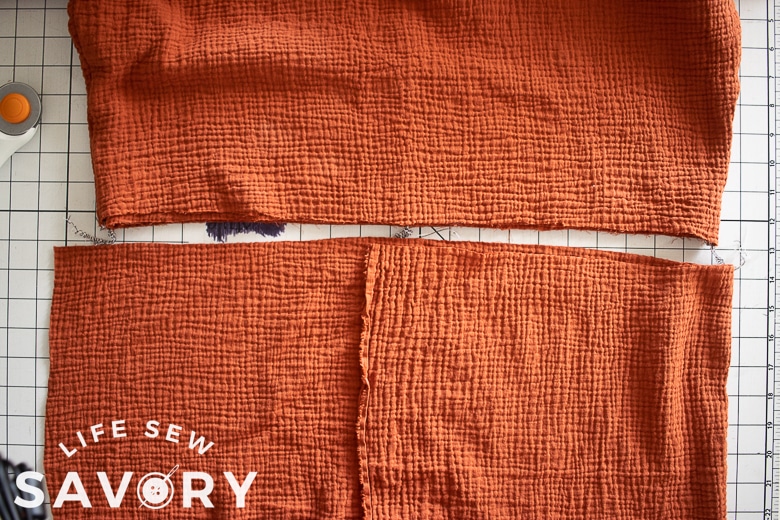
If you are adding pockets, place one pocket piece on each side of the skirt. They should start 2″ down from the top of the skirt. Clip the straight part of the pocket to the side of the skirt.
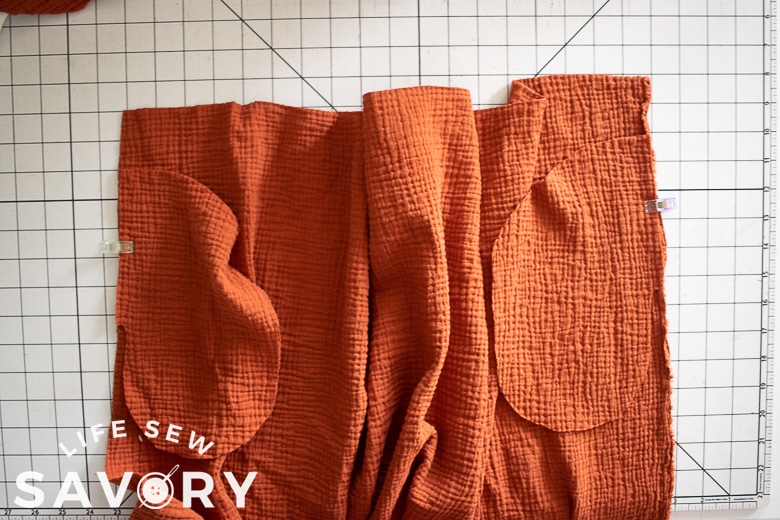
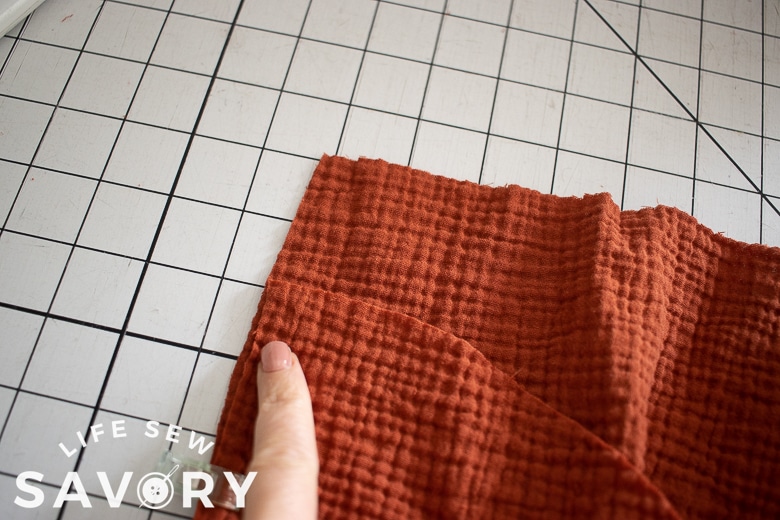
Sew the straight edge to the skirt side. Place the skirt and pocket pieces right sides together and pin/clip the sides of the skirt AND the pockets together. Sew down the side seam and around the pocket to finish the side seams.
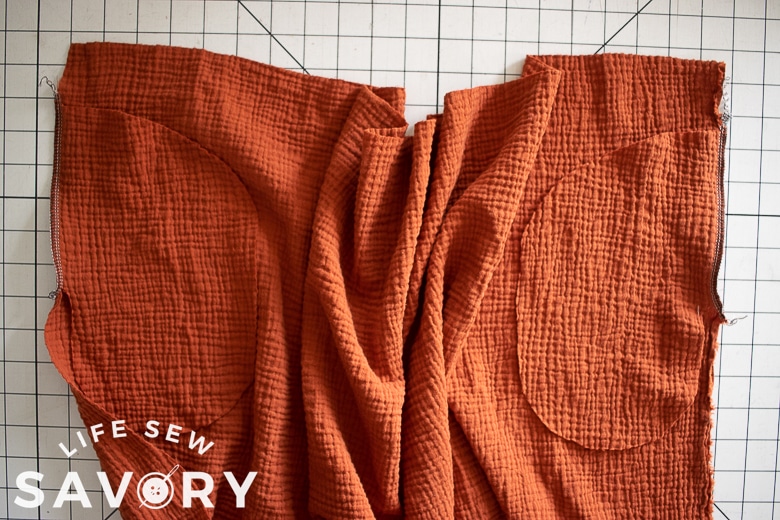
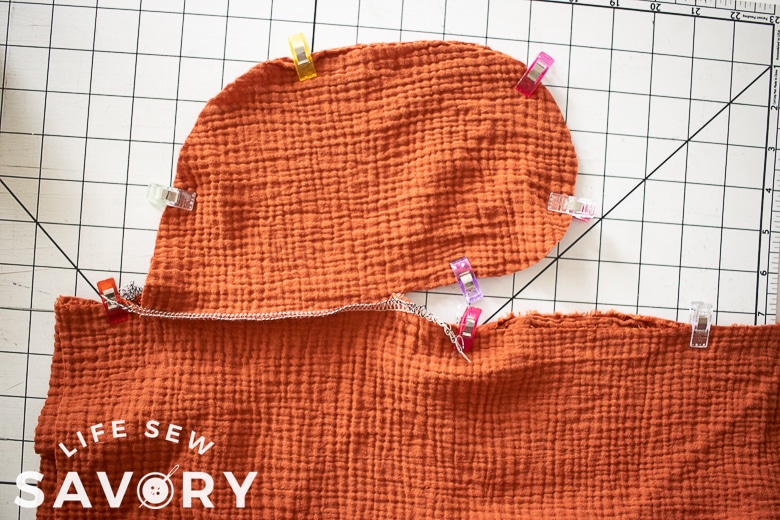
Push the pocket inside the skirt.
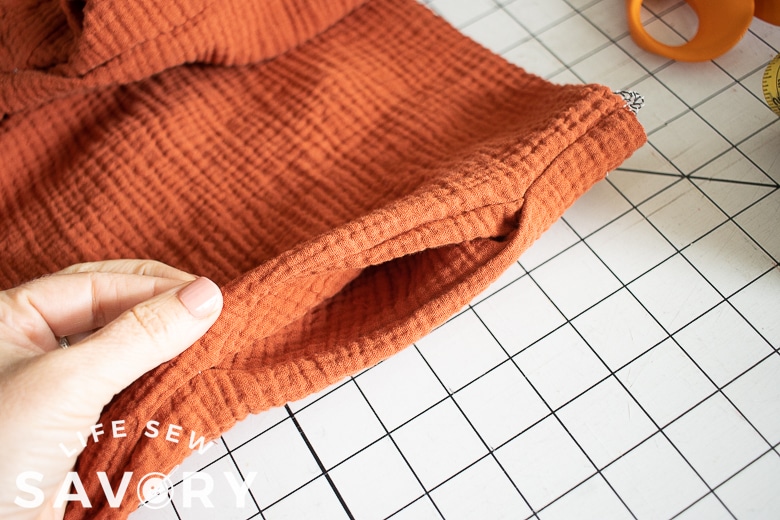
You can now adjust the length of the top and skirt if needed. I felt like the top was hitting me a bit low, so I trimmed off 1″ before sewing on the skirt. You can adjust the skirt length later before hemming.
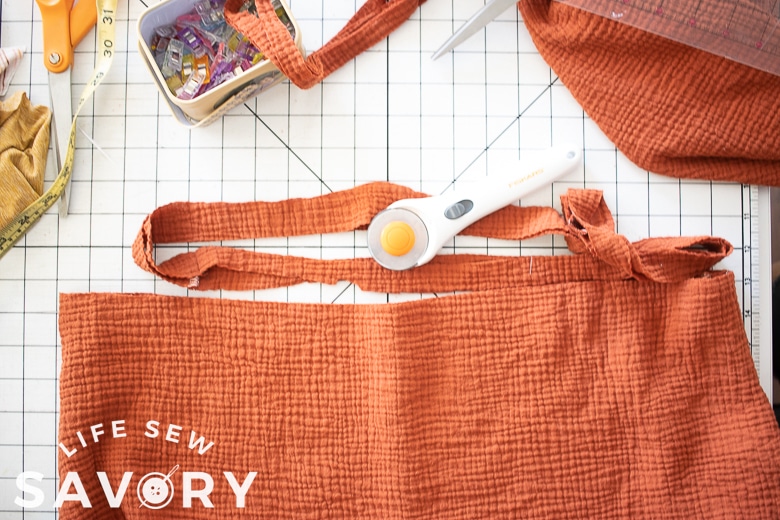
Now it’s time to gather the skirt top to fit the bottom of the bodice. Sew two gathering stitching along the top of the skirt and use them to gather the skirt until is matches the width of the top. Need help with gathering? check out my tips here.
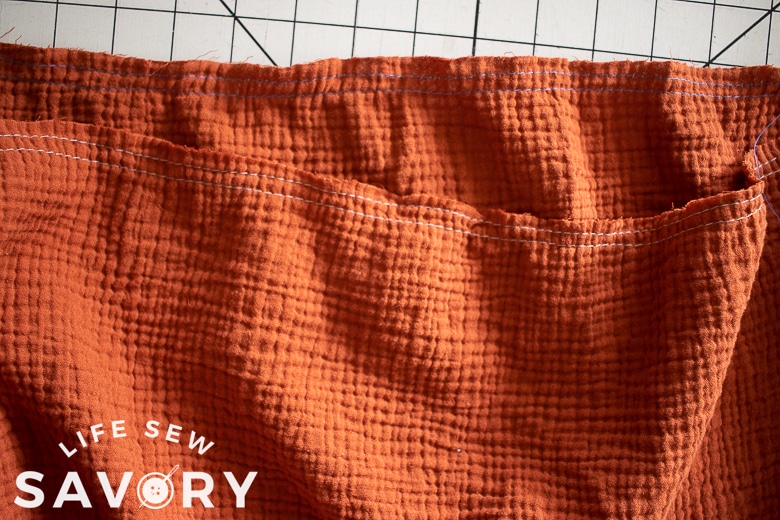
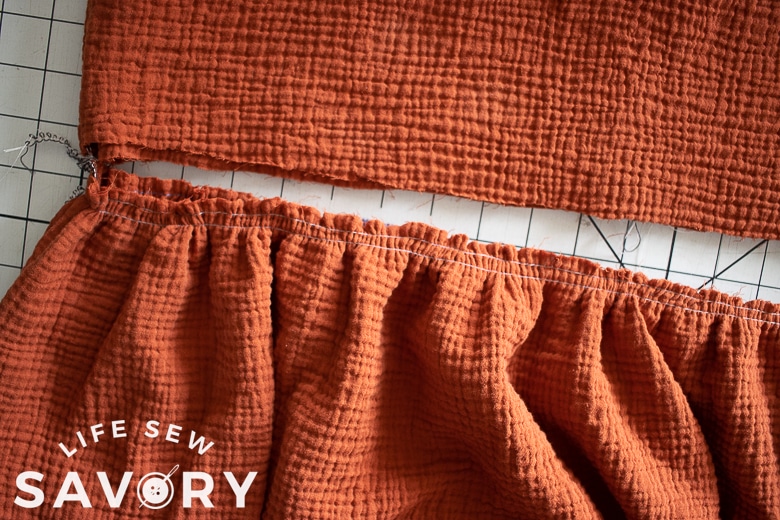
With right sides together match the side seams of the top with the side seams of the skirt and then pin or clip together around the rest of the opening. Sew with a serger or zig-zag stitch to attach the skirt to the top.
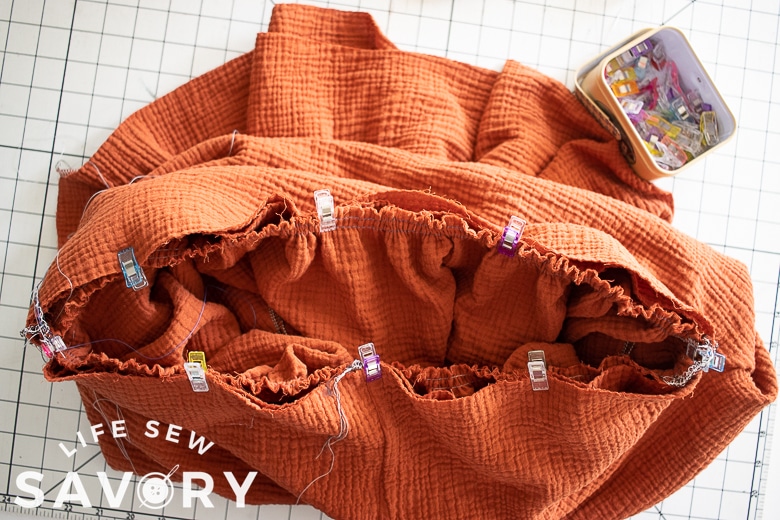
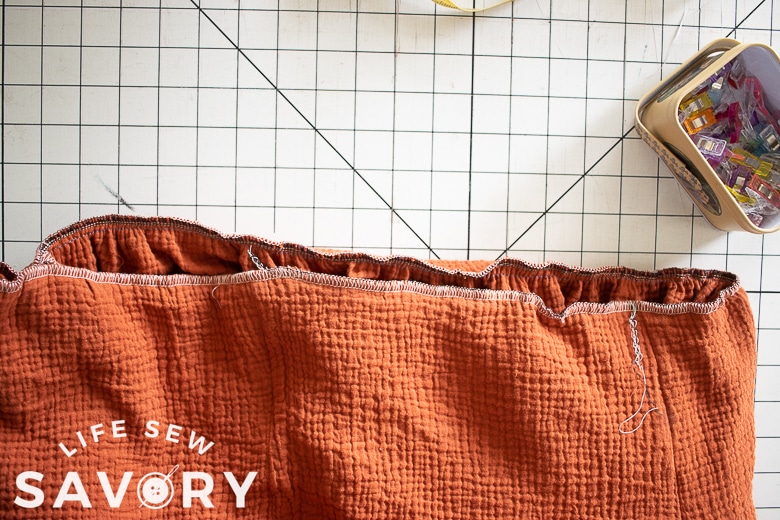
If you can still see any gathering stitches after you sew, remove the with a seam ripper so you cannot see.
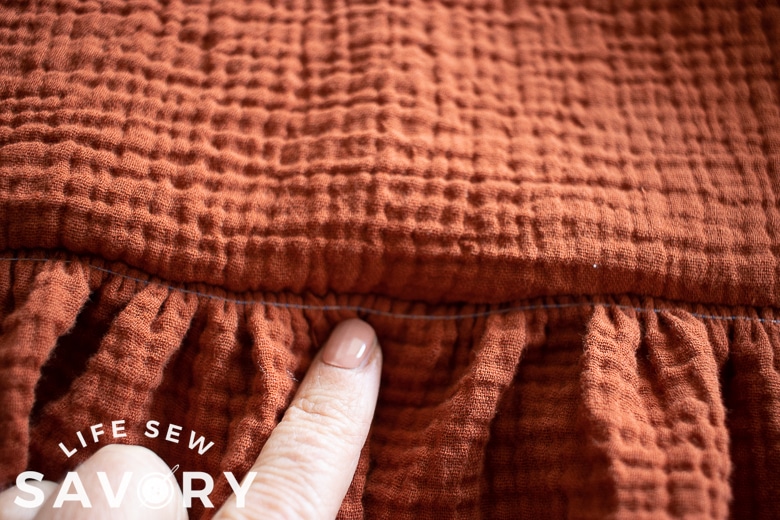
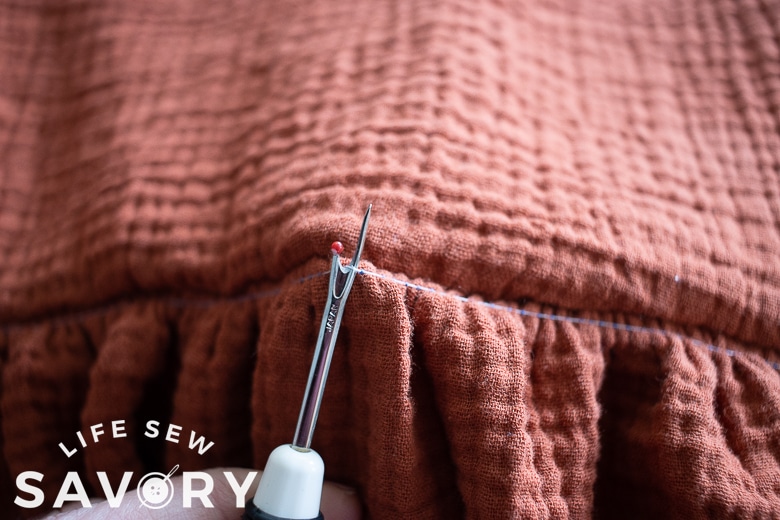
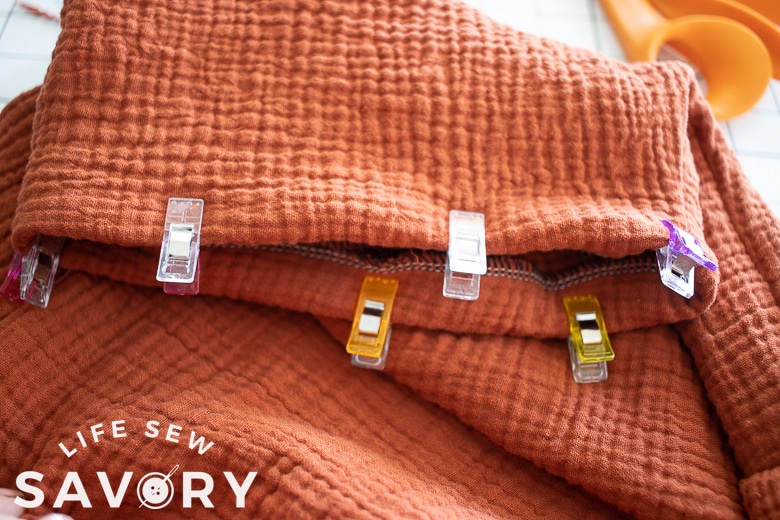
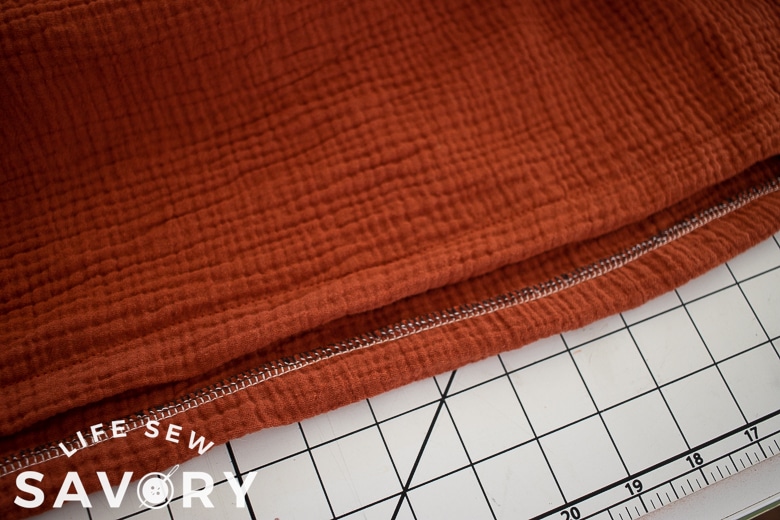
The dress is not almost complete. Finish the skirt bottom and sleeve raw edges with a serger or zig-zag.
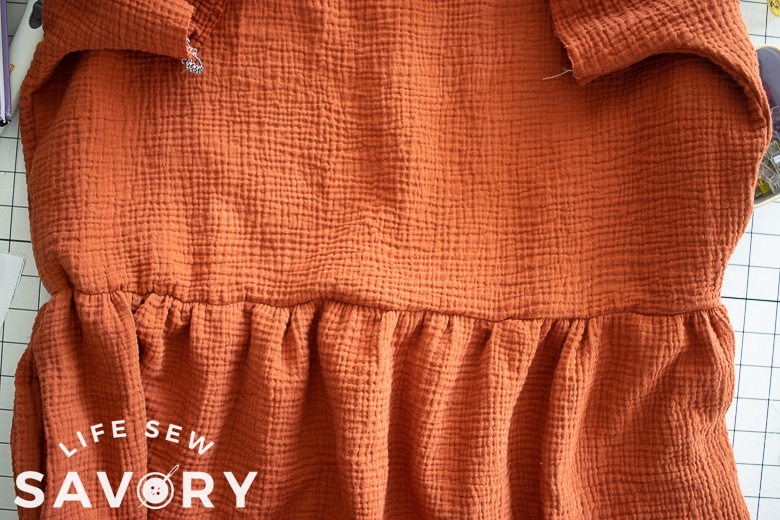
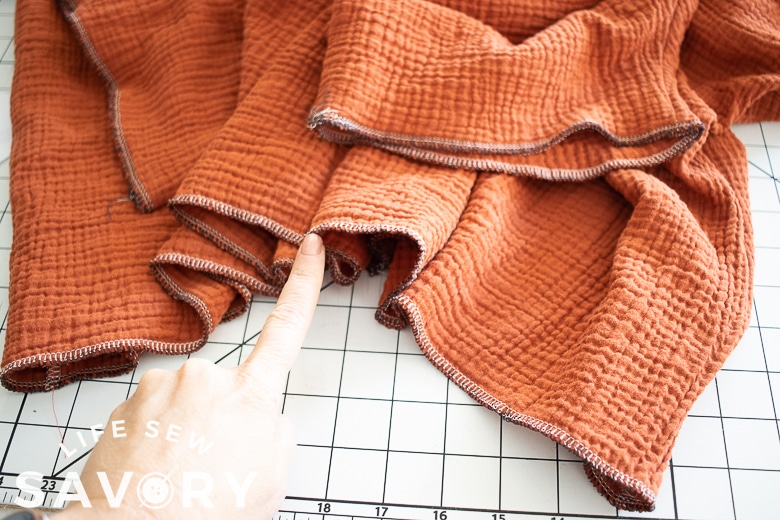
Fold over a 3/4″ hem on both the sleeves and bottom hem then sew.




maggie boian says
This is so helpful. Thank you! I have been wanting to sew a dress but haven’t found a great pattern. So this is great!
Alma m Todd says
Would this pattern work well with 100% cotton fabric? I thifted this beautiful sheet. I think the silhouette of this pattern would work great.
Maria Ferreira says
It’s beautiful 😍!!!
Lily says
I can’t find what the seam allowance is???
Emily says
3/8″