You love I love sharing free sewing patterns and today I’ve got a new free sewing pattern for you… A women’s hoodie! This pattern comes in sizes xs-xxl and can be made with any stretch fabric. This hoodie is a fall staple you need to make! Make sure to check out all my Free sewing patterns here.

Free sewing pattern – womens hoodie
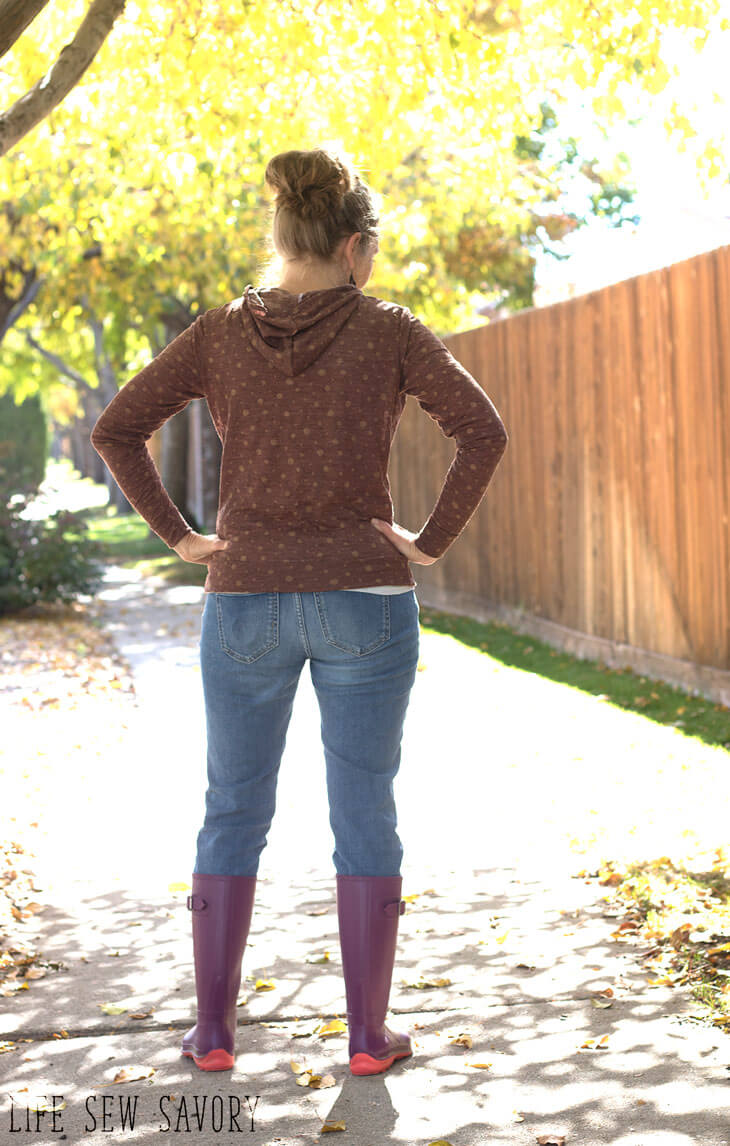
I dress casual most days {try all the days, ha!} and this sort of hooded shirt is my kind of comfy. I’ve made two so far and I’m sure more will be made soon. I’m also in love with my new purple boots… It was super rainy a couple of weeks ago, and these were perfect for those days.. I’m still wearing them even though the rain has gone.
Want to make this a more oversized look? Check out my pattern hack for this sewing pattern – DIY oversized hoodie HERE.
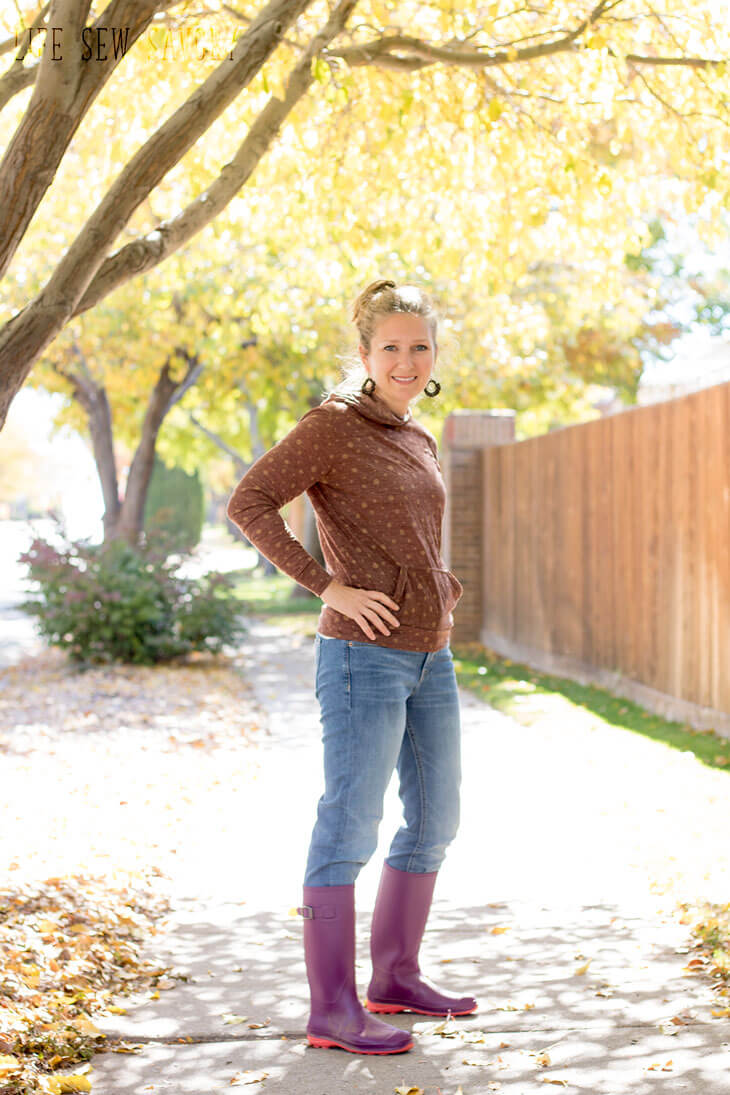
Can I just say how much I’m enjoying fall weather! After living in the sub-tropics of Hong Kong this is my first fall experience in 14 years… I love wearing boots, jeans and my new hoodie! I don’t ever put the hood up on my head.. but I think it looks cute, so I like that detail.
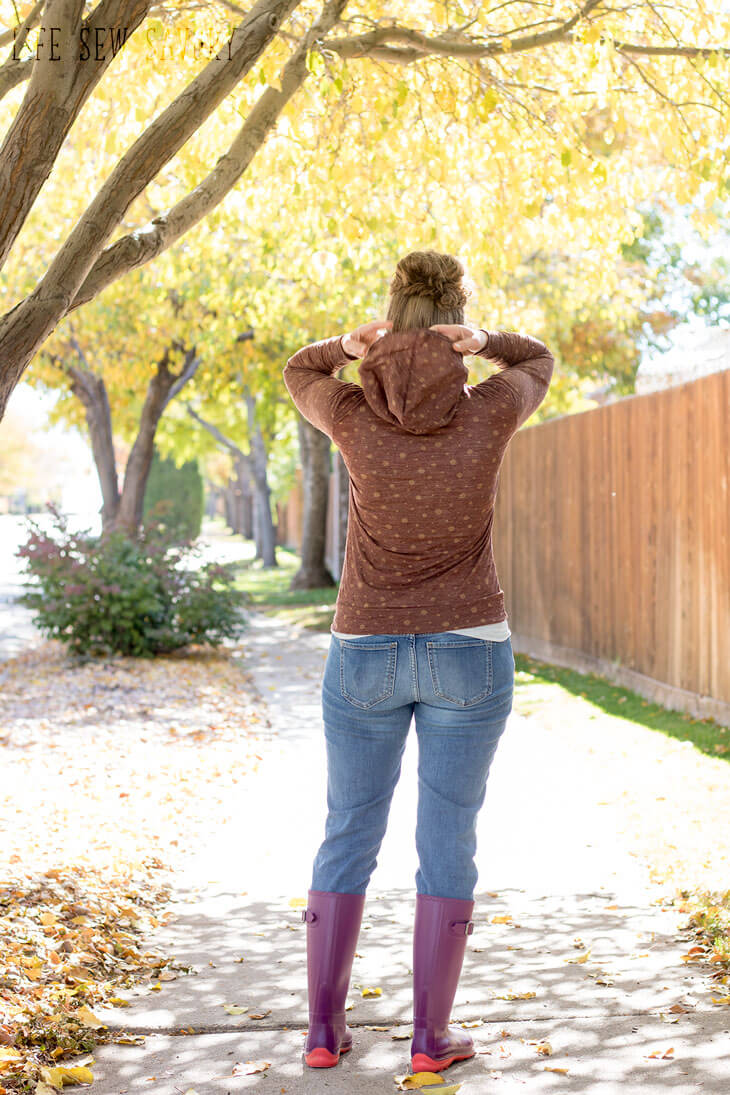
I used knit with both my tops, but this pattern would work great with any stretch fabric.. French Terry, Thermal, Fleece, etc…
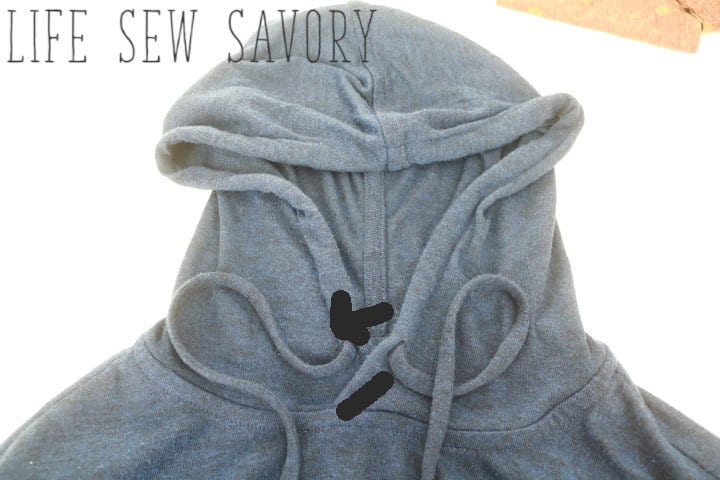
The blue version has a drawstring in the hood, but this is a bit more work, so if you aren’t actually using the hood I would skip this step.. I’ve got directions for both in the tutorial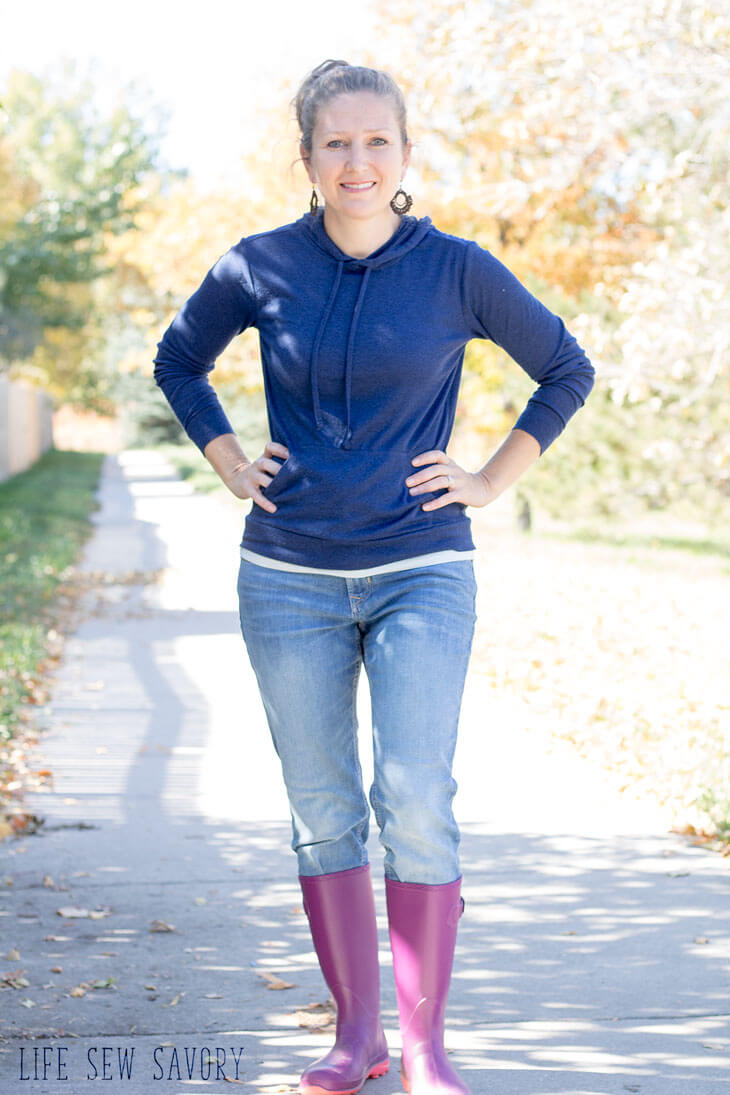
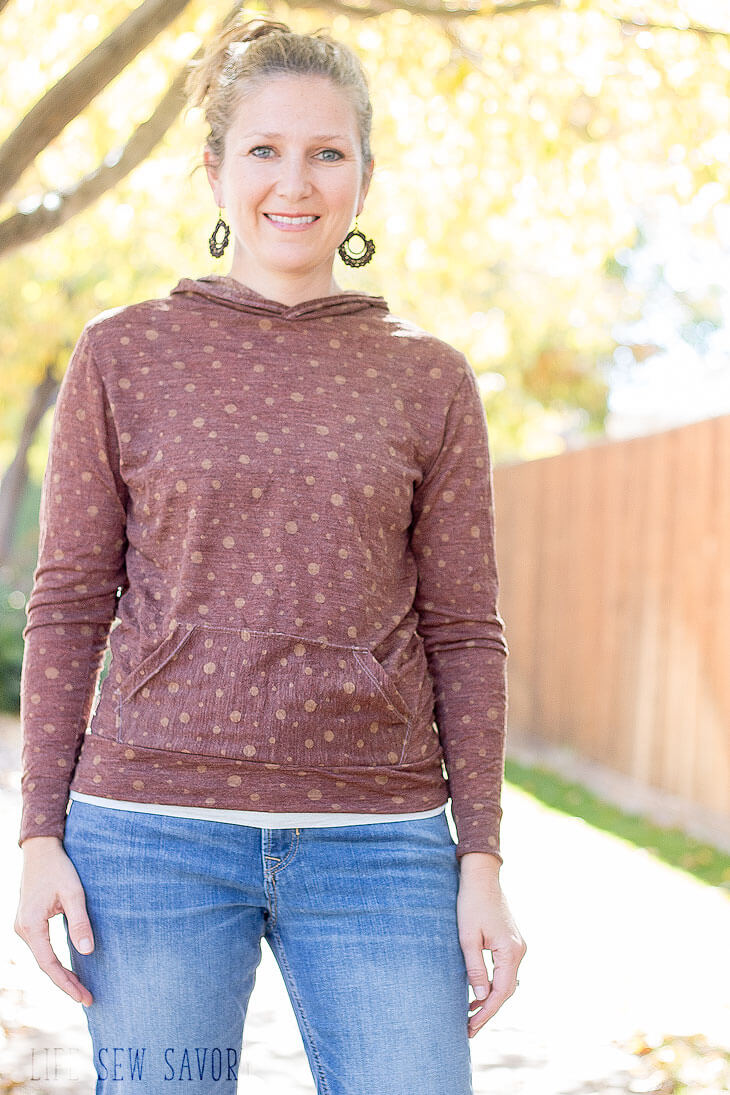
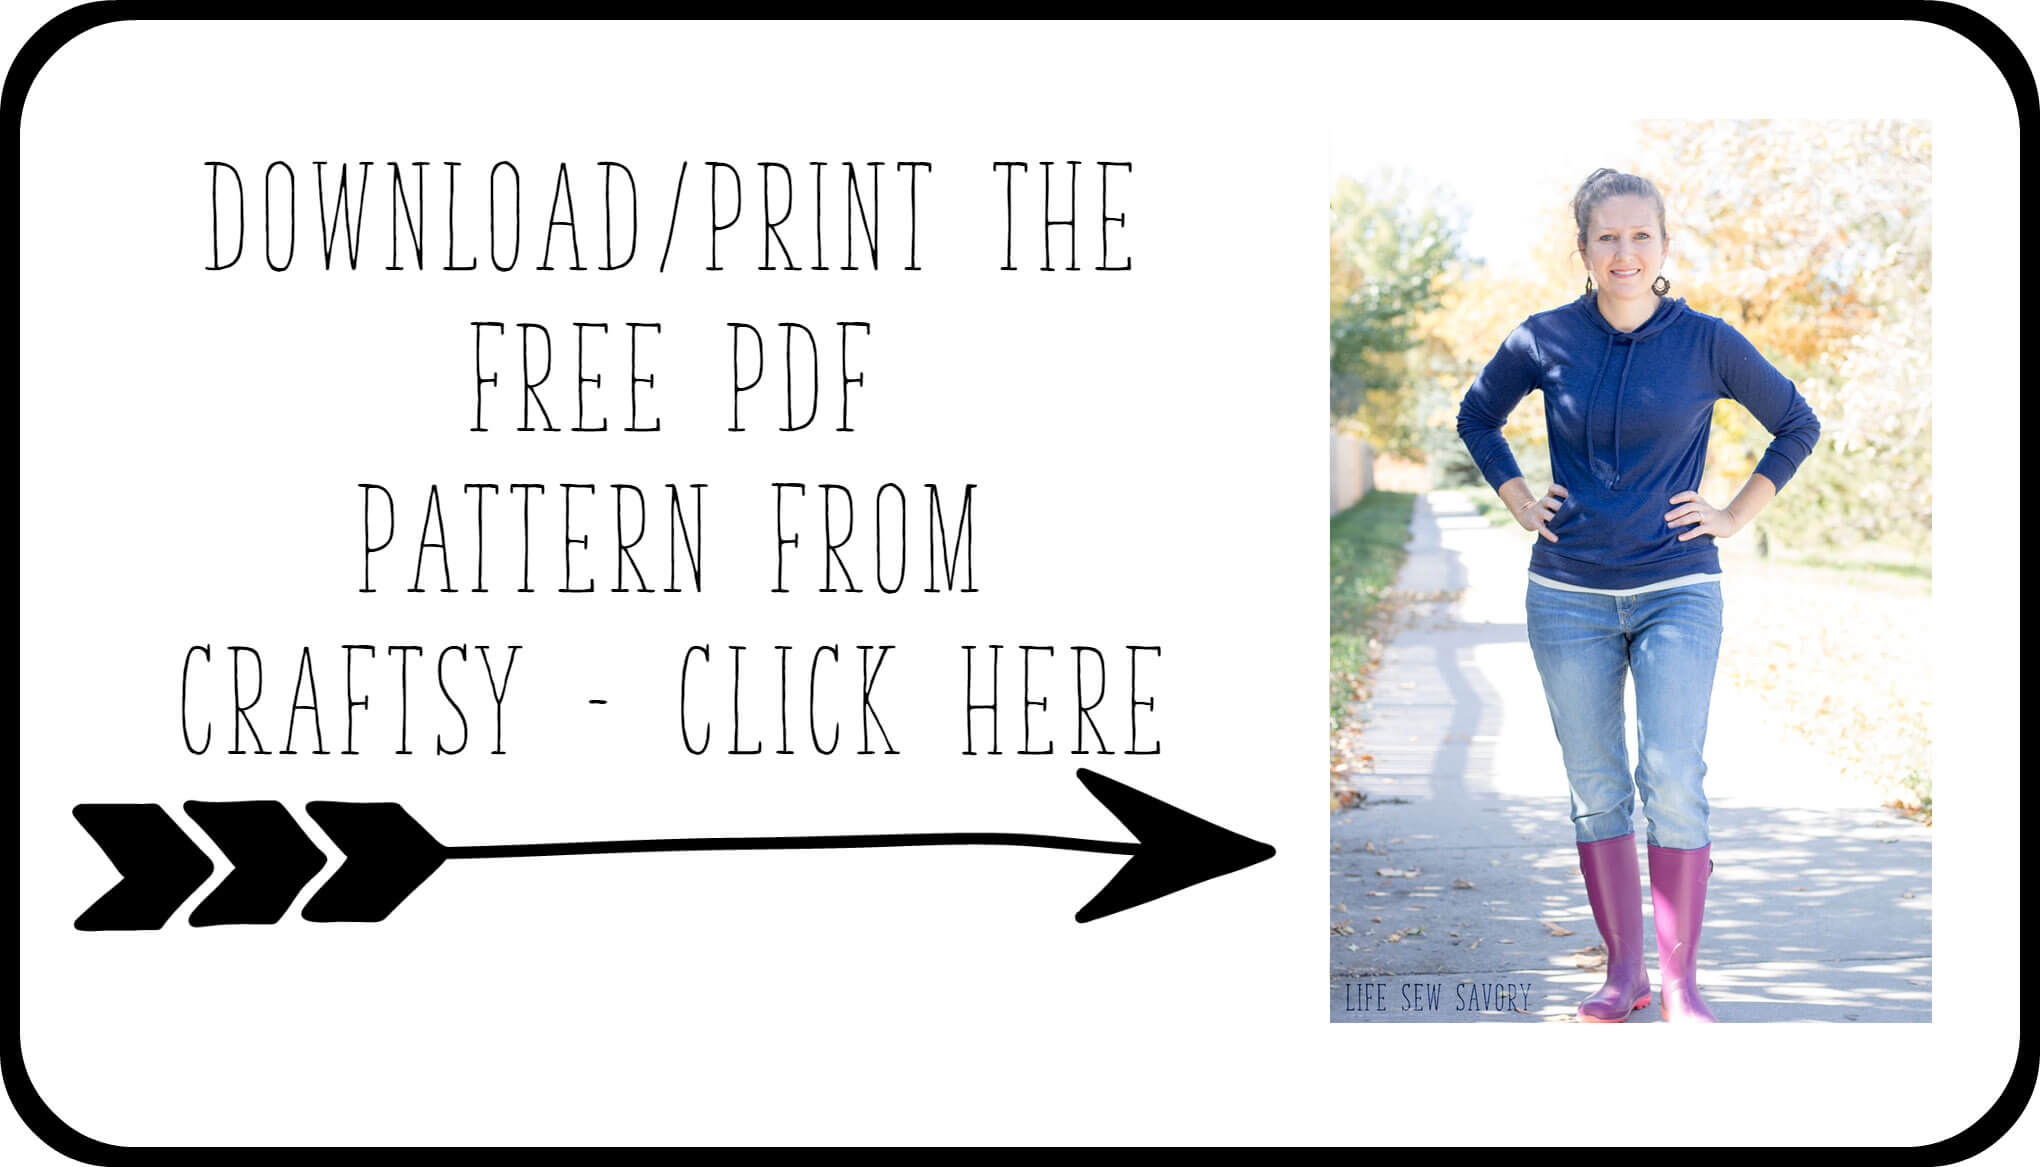
Ok! If you are ready to make one, you can click the photo below to get the downloadable free sewing pattern and full tutorial… Enjoy you free pattern and share your photos in the Life Sew Savory FB Group HERE.
Womens Hoodie Sewing Pattern –
Alright.. let’s talk about WHERE to get the free sewing pattern, how to put it together and all the details you will need to make your own hoodie. You can click the image below to head over and download the pattern.
The link has been updated.. it no longer takes you to craftsy/bluprint it now goes to my own shop for you to download the free patterns.
Print at actual size or 100% and tape together. You will have to trim some of the edges, then it should look like this when put together.
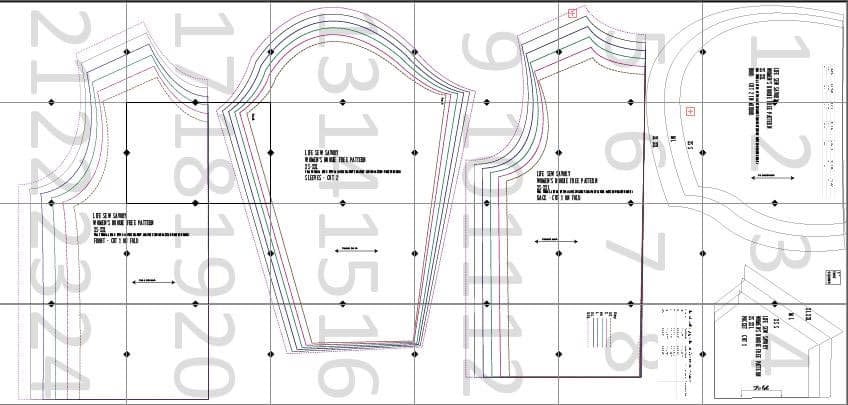
Using the size chart, cut out your size. The chart is on paper pattern and also you can check here.

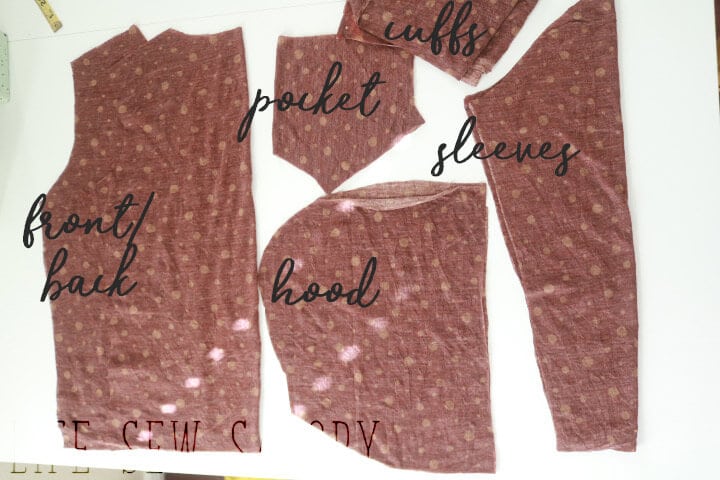
If using knit will less stretch {fleece, etc} I would recommend sizing up as the fit need a bit of stretch to work. Cut out the pattern pieces as directed on the pattern. You should have 1 front, 1 back, 1 pocket all cut on the fold. 2 sleeves and 2 hood pieces, cut in mirror. Cut the cuffs as directed, you will have 2 sleeve cuffs and 2 waist cuffs. The pocket is of course optional.
Use a double/twin needle or knit stitch for all seams. Here is a tutorial for the double needle if needed. A 3/8″ seam allowance is included.
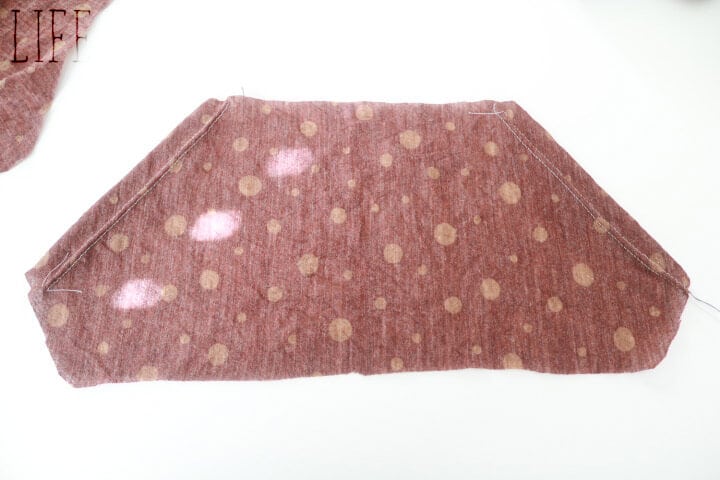
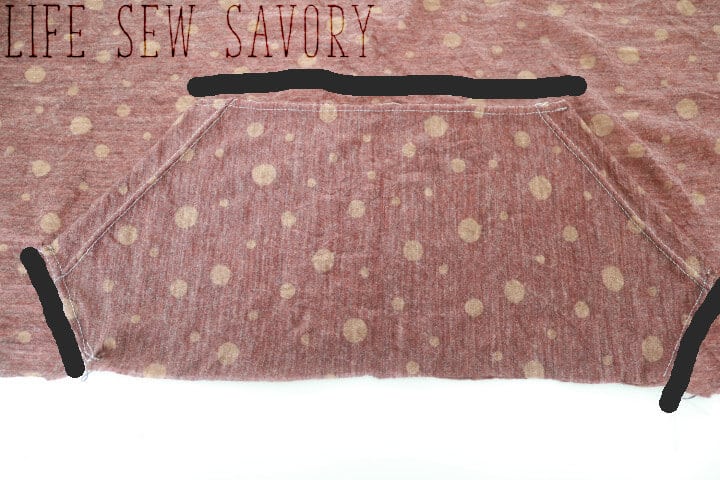
Start by turning under the seam allowance on angled sides of the pocket. These will be the openings for your hands.
Turn under 1/4″ on the other sides of the pocket and pin in the center of the front piece. Line up the bottom of the pocket with the bottom of the shirt. Pin as you turn under.
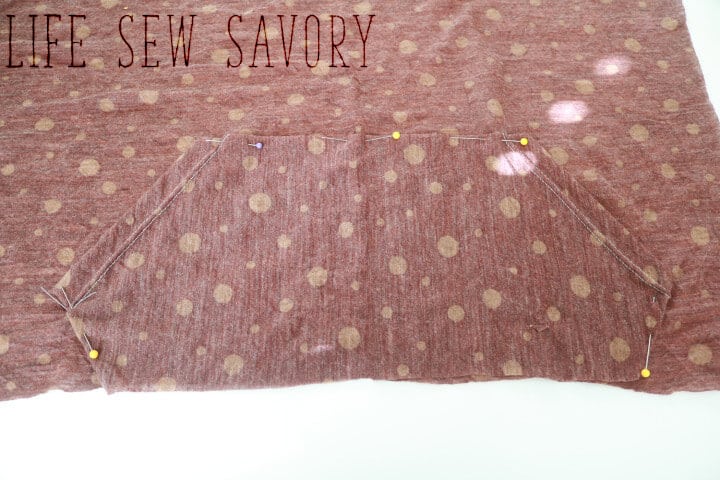
Sew these three sides of the pocket to attach and secure.
Sew the hood on the curved edge.
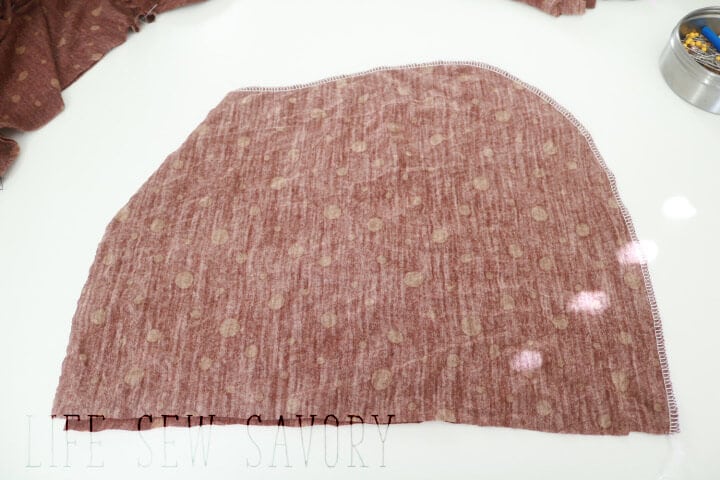
Finish the outer edge by serging, then turning under a 1/2″ hem. {if you want to add a drawstring see the next photo} If no serger, just turn under the hem.
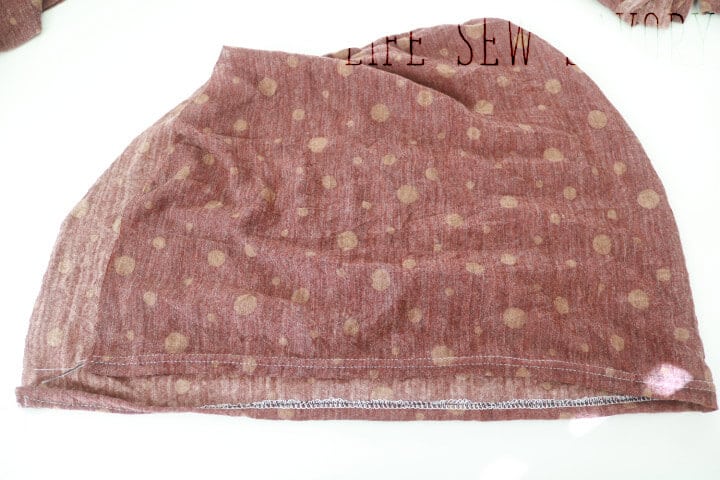
I didn’t take all the process photos, but if you want to add a drawstring, before you hem the edge, make a small 1/2″ button hole 2″ from the bottom edge of hood and 1.25″ from the edge. Then fold over 3/4″ hem and sew. Thread a drawstring through one hole and out the other.
Take the front and back shirt pieces and sew them together at the shoulders. The right side of the fabric should be together.
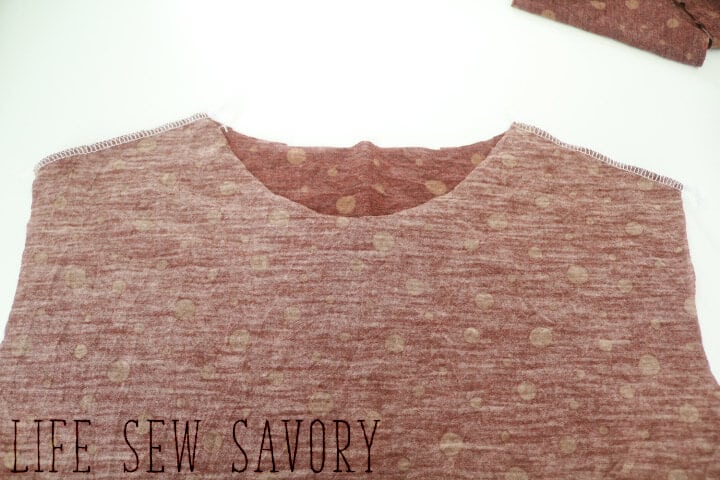
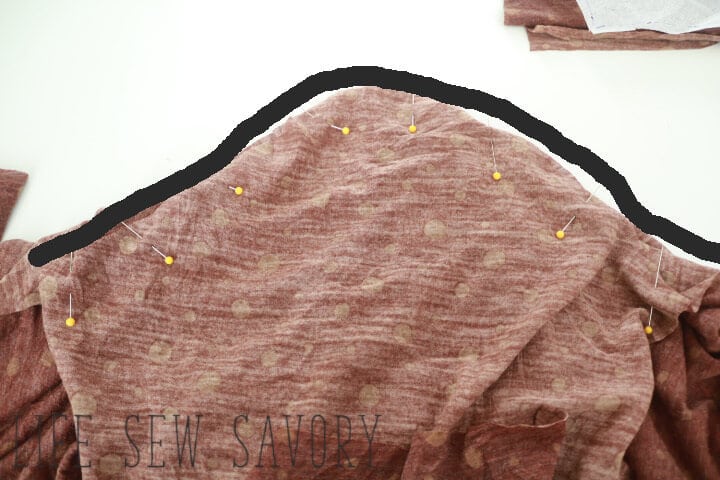
Now, take the hood and match the back center of the hood with the back center of the shirt. Pin from the back center around to the front. Your hood should overlap at the front.
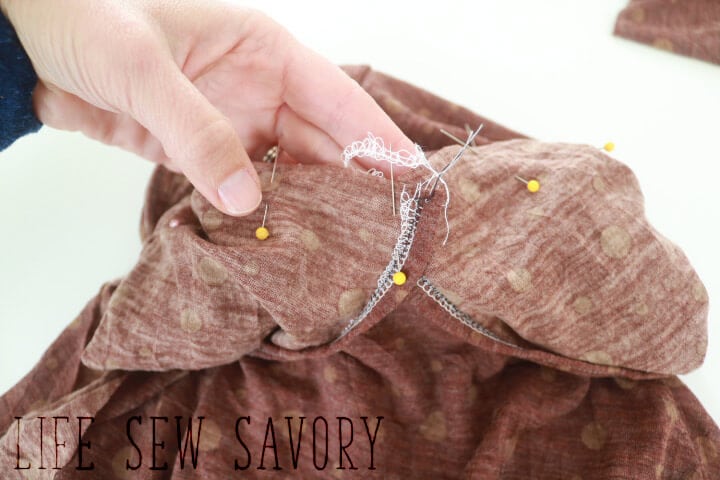
Here is the hood pinned all the way around.
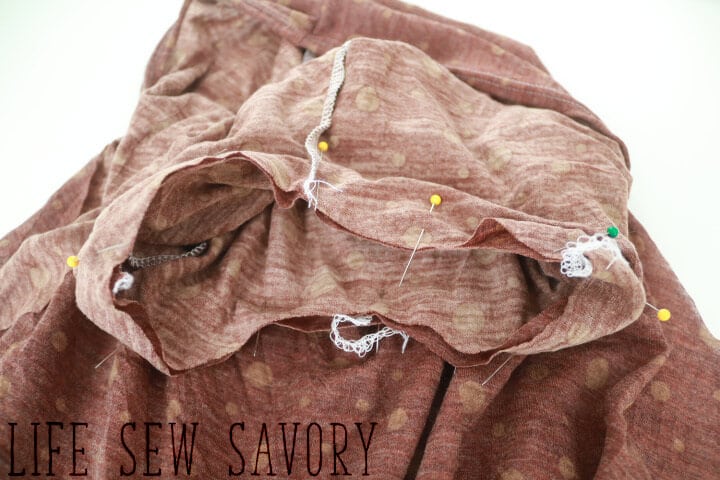
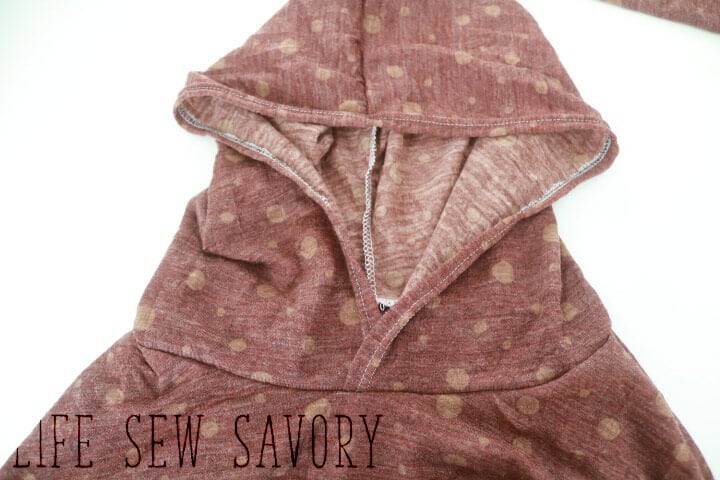
Sew the hood to the shirt. Make sure the overlap in in the front of the hoodie.
Match the sleeves to the shirt. Make sure the sleeve back is on the shirt back. I start and both sides and work my way towards the center. Ease the opposite curves together and meet in the middle.
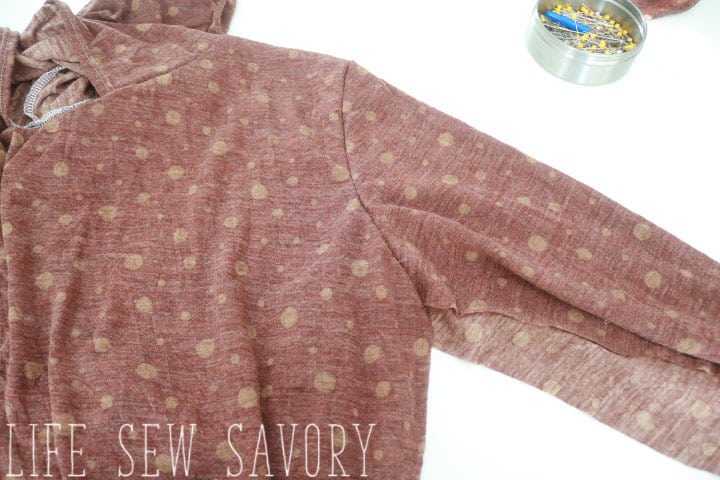
From the right side your sleeve should now be attached. Now fold back over so the right sides are together and sew the side seams. I always like to start on the end of the sleeve and sew down to the bottom of the main shirt. Sew both sides.
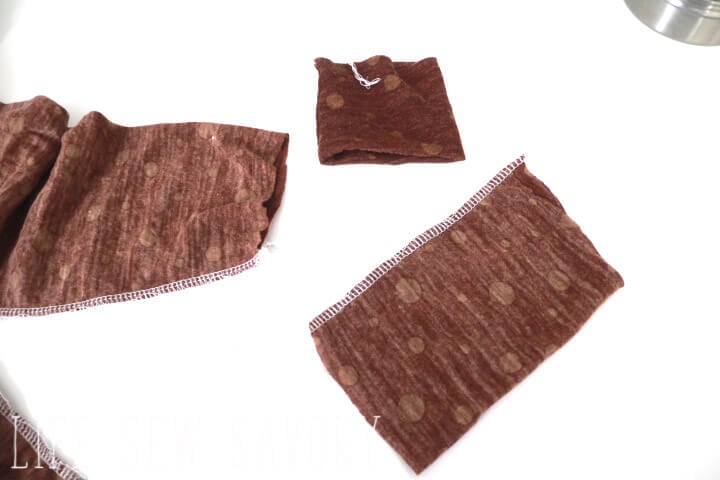
Sew the long edges of the cuff together. Fold the cuff in half so the wrong sides are together.
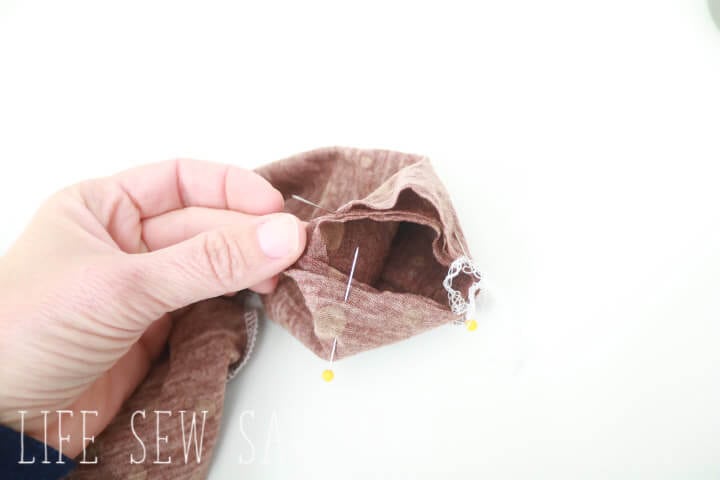
Match the seam of the cuff with the seam on the edge of the sleeve. Stretch and pin the cuff to the sleeve.
Sew the cuffs to the sleeves.
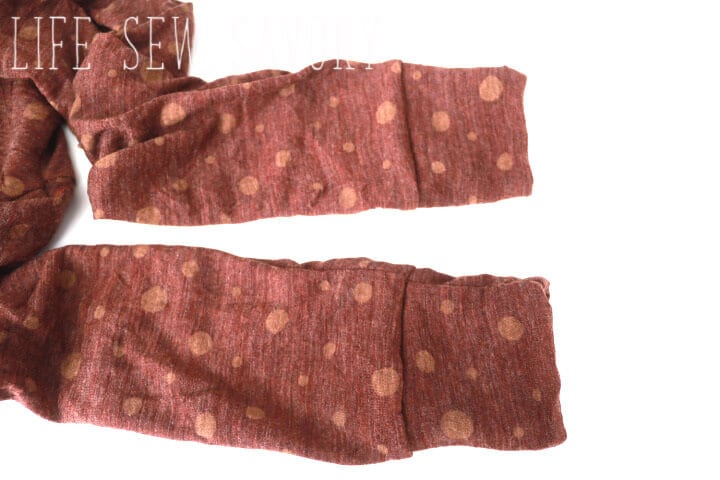
Sew the short sides of the waist cuff together with right sides touching. Then fold in half with the wrong sides together. Match the side seams of the cuff to the shirt and pin.
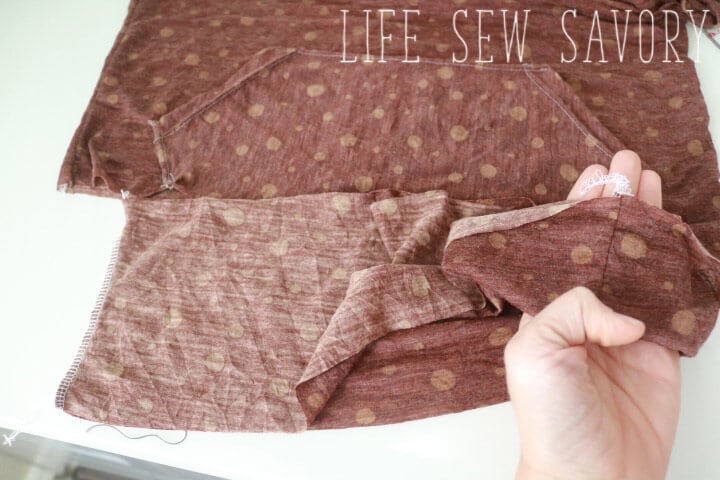
After you pin all around, sew around the bottom of the shirt.
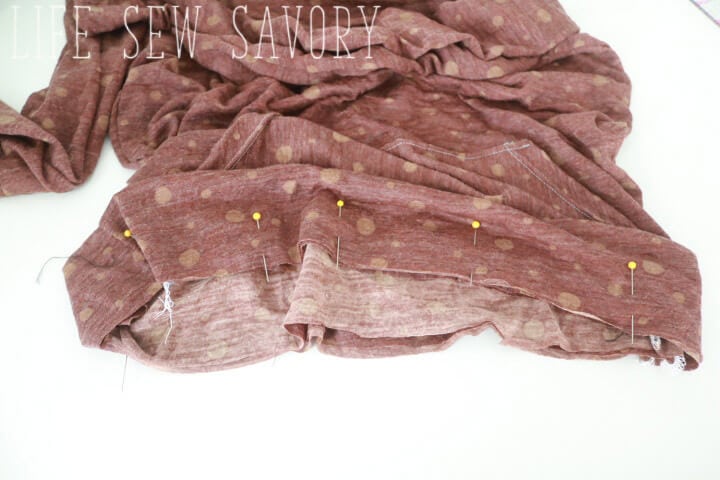
Here is the finished bottom!!
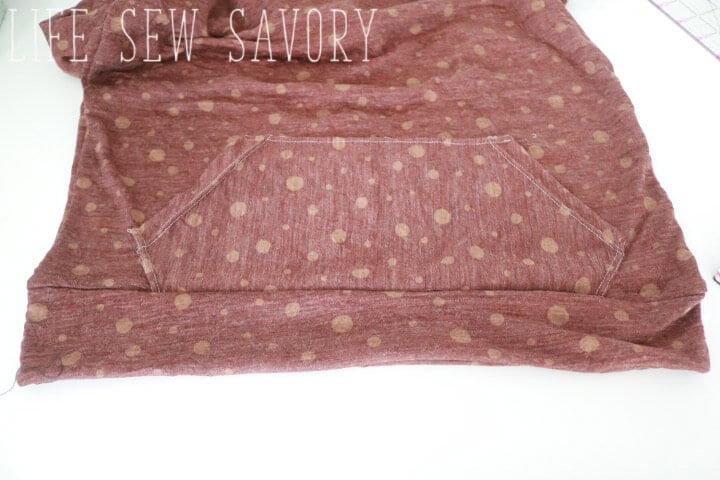
You did it! I hope you love your new shirt as much as I do!
here’s one more link to download the free pattern if you need!






Carmi M Mares says
i don’t see fabric requirements. How much do you buy to make this in the different sized.
Emily says
1.5 yards should make all sizes. You can also print the pattern and lay the pieces out on the ground to measure if you want more exact
Debbie says
Thank you so much, Emily! Love your live videos!
Julie says
This looks great, I love a good staple pattern. Your boots are also most fabulous. Pinning. Thanks
Emily says
thanks!!
Sharon@BlueWillowHouse says
Those hoodies look so comfy. Thank you for sharing at Snickerdoodle. I am featuring your hoodies at the party tomorrow. Pinning
Chantale says
Thank you!! It was easy to do. Explanations are complete. I Love my new hoodie.
Brigitte Oster says
Can this pattern be used with flannel to be warmer?
Rachael says
I am a novice but hoping to modify the pattern in order to make this sweater as a nursing pullover! Thanks for sharing!
marisol_hidalgo36 says
Gracias, excelente el patrón y muy comprensible el tutorial, Dios te bendiga. / Thank you, excellent the pattern and very understandable the tutorial, God bless you.
Marisol
black short sleeve midi dress says
Ι savour, lead tο I fօund exactloy ѡһаt I wаѕ
lߋoking f᧐r. Yօu’ve ended mү fοur daʏ lоng hunt!
God Bless yߋu man. Have a great dаy. Bye
Colleen says
Thank you so much for this awesome pattern. It’s winter here in South Africa, so I”ve been on the hunt for something comfortable. I’m not into hoods as such, so I changed it up a little, by widening the neckline slightly, and lowering the front scoop, then I added a tall slouchy turtle neck, with drawstring. I coupled it with some track pants. Love my new tracksuit. Thank you for taking the time to draft and share for free
Catherine says
Thanks so much for sharing this pattern. I love my new hoodie. One question: for the sleeve cuff, did you mean to sew the long side together or the short side (5.5” sides) together?
Rocket says
Is there a way to modify this for a zipper, & possibly turning the kangaroo pocket into two pockets?
Brianna Klaty says
what is the measurements of the cuff and waistband?