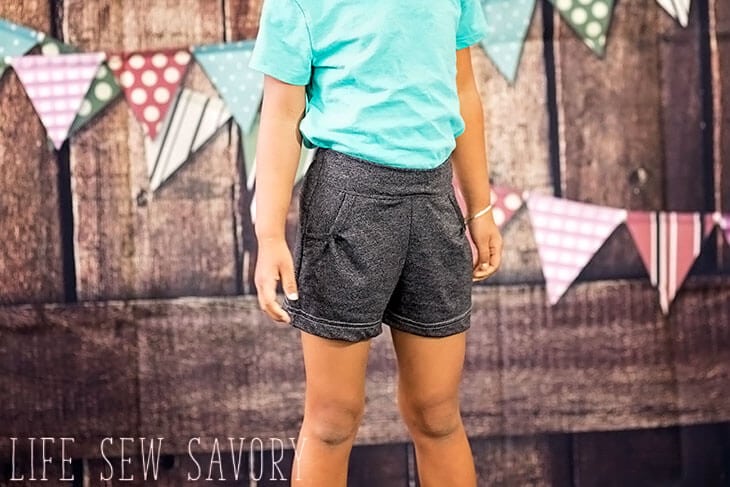
We are in love with this new free shorts sewing pattern. I can see Rose wearing these all summer long. Made from knit with pockets, this free shorts pattern will be a new favorite! I’ve got these for you in sizes 12m – 6t and they are easy to adjust to get just the fit you need. 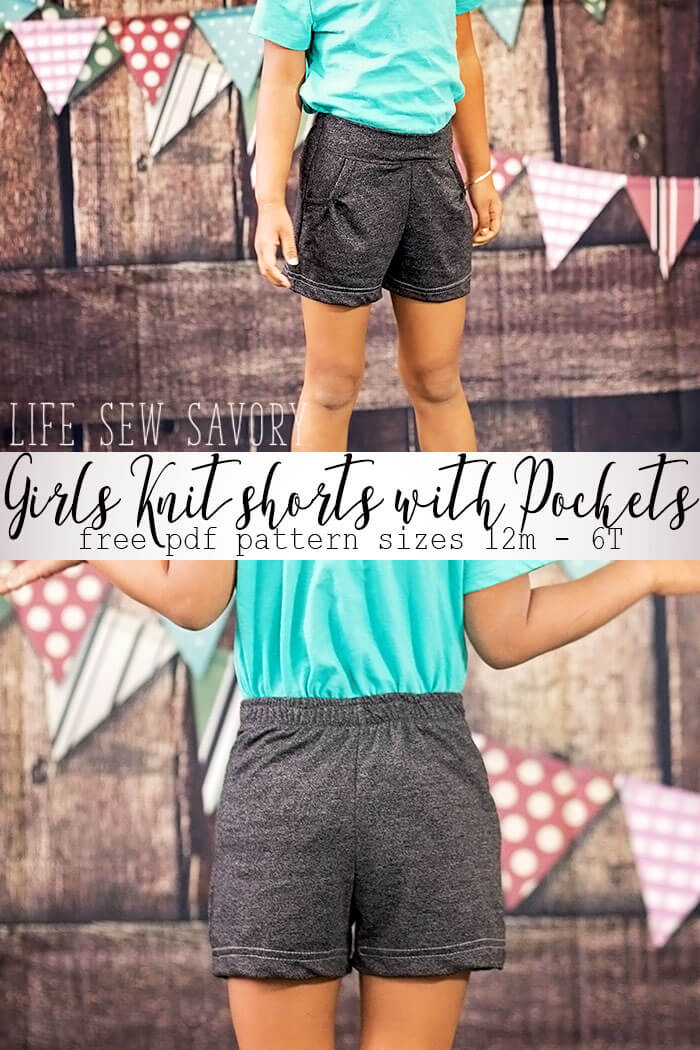
Shorts Sewing Pattern – Free for girls…
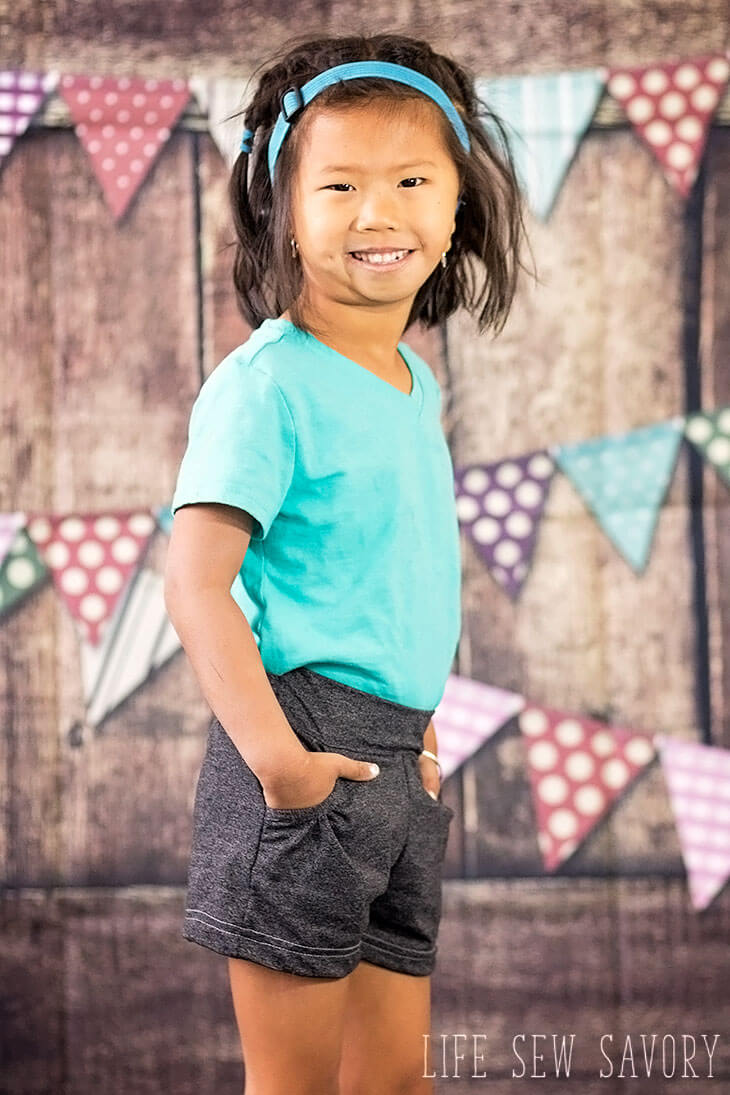
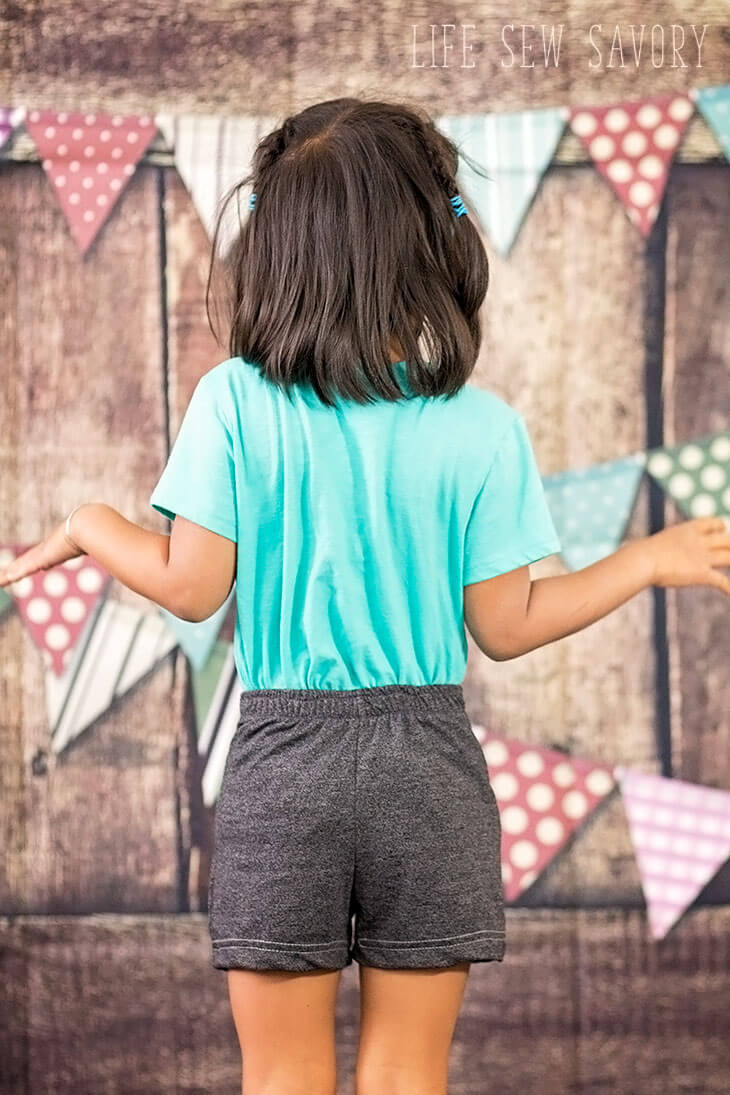
When I say they are easy to adjust, I know because I did with these! This gorgeous girl shares so many of my characteristics, but not my genes {haha} And by that I mean she has no butt or hips… she is only 4, but she’s also Chinese, so she is tiny! These shorts are the 2t for width and 5t for length and fit perfectly.. Blend the sizes as need to achieve the fit you want. I will point out that we have a tiny waistband pucker in these photos and that’s because I was trying to make piece of elastic work that wasn’t the right width… You won’t have any trouble if you follow the elastic guide below.
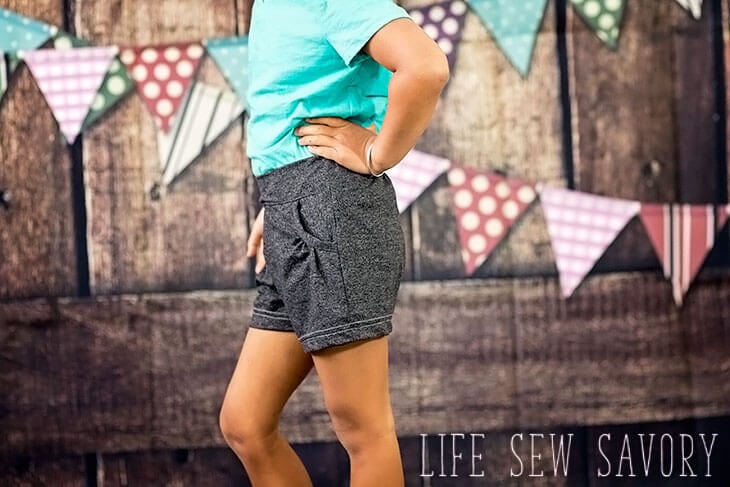
How great are the pockets? They are my favorite part of this shorts sewing pattern!! I love the gathering detail and the binding along the top. I haven’t made pockets quite like this before and I’m so pleased how they turned out.
Girls Shorts Pattern Sewing Tutorial –
Okay! Let’s get sewing. Please let me know if you have any questions. You can email me or post questions and photos in the fb group. {join here} PLEASE show off what you make from this free shorts pattern!! click through the button below to go download the free shorts pattern for girls.
Print the 6 sheets of paper and trim edges, tape together like this. You don’t have a 7 and 8, they just show on my layout screen.

How to make shorts for girls –
Here’s what you will need to sew these up!
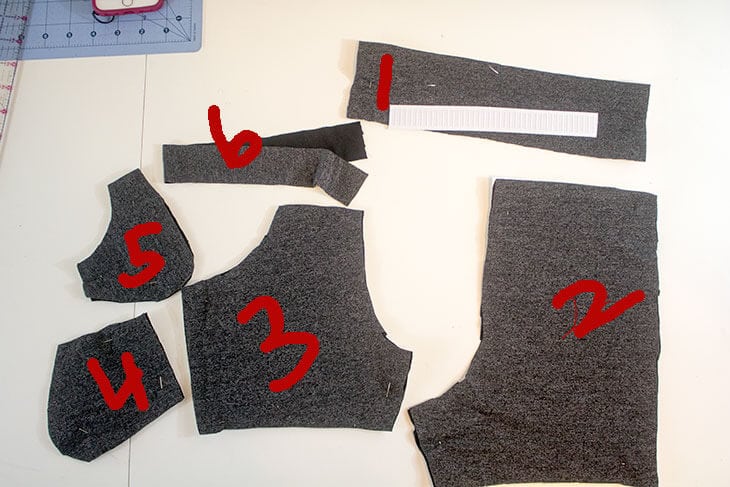
1/2 yard of 60″ knit fabric. You will want something at least medium weight, but any kind of knit will work. I sewed these shorts with a yoga knit.
1.25″ wide elastic {1″ doesn’t work! You saw my waistband puckers!!} cut length based on lines on pattern pieces.
scrap of lightweight fusible interfacing for waistband.
In addition to the pattern pieces cut a 10″ length of 1.25″ wide binding for the pockets. Cut on the bias for best results.
You will use a 3/8″ seam allowance unless otherwise stated.
Gather between the marks on the shorts front pieces. Pull the threads until the curve on the shorts matches the curve on the pocket piece. 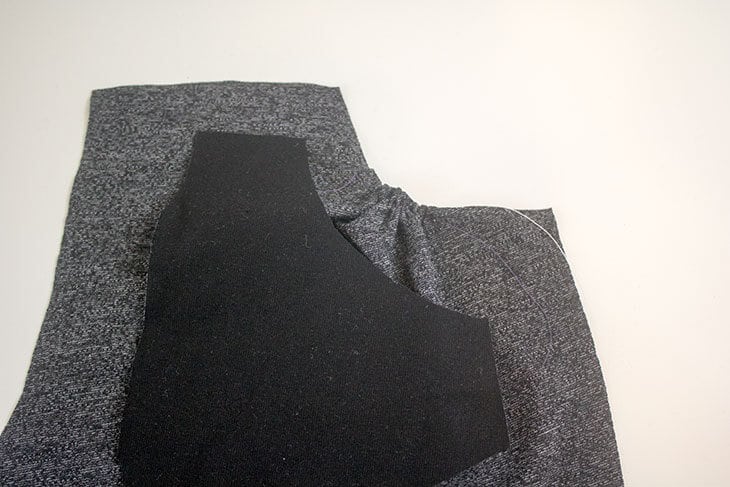
Place the pocket on the back side of the shorts, the wrong sides of the fabric will be together. 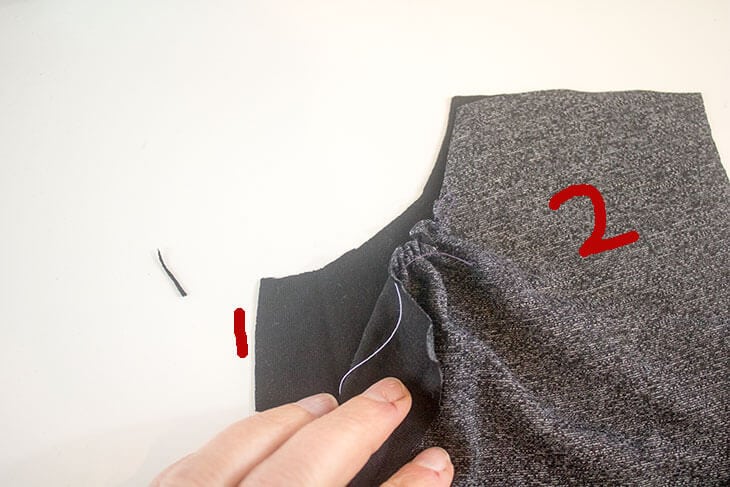
On top of both of these place the pocket binding. You will need to trim the binding from the 10″ that you cut before. Put the right side of the binding touching the right side of the shorts. 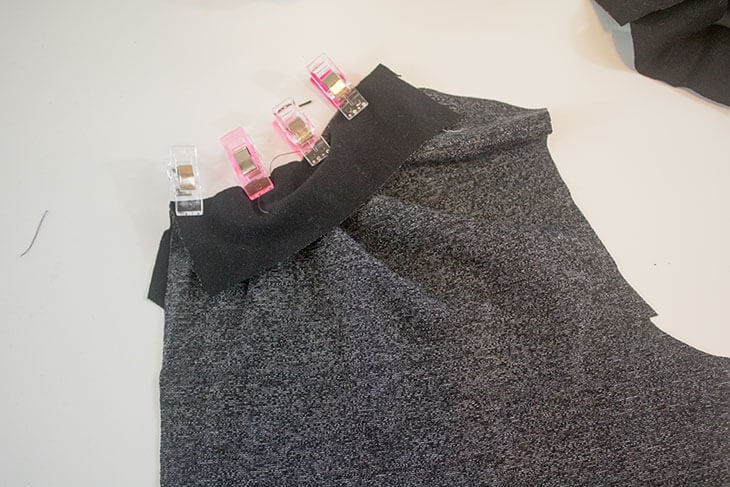
Sew through these 3 layers. 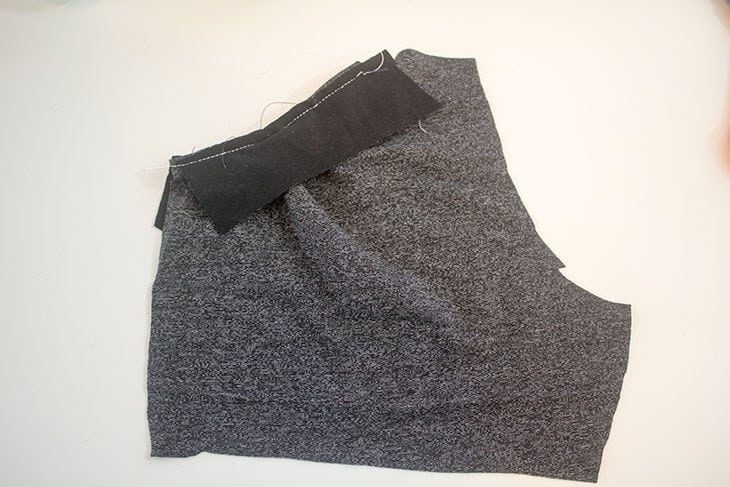
Fold the binding to the back of the shorts. Fold the binding over so the raw edges are touching, then fold again and enclose the seam allowance. Pin or clip. Sew along the edge of the binding, catching both the front and the back in your seam.
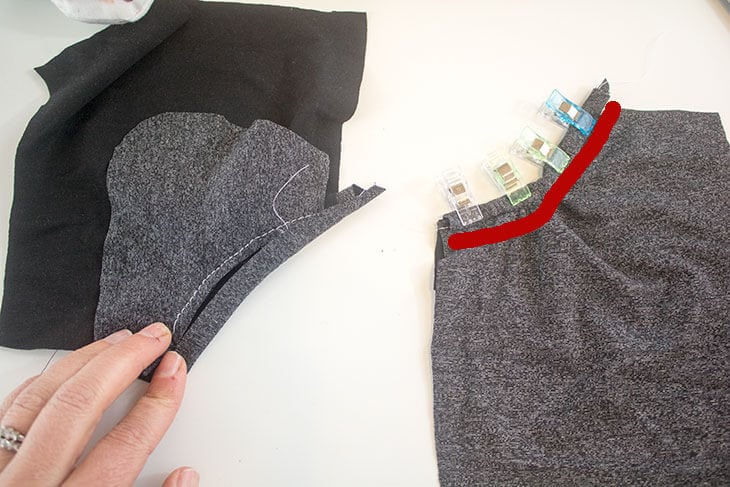
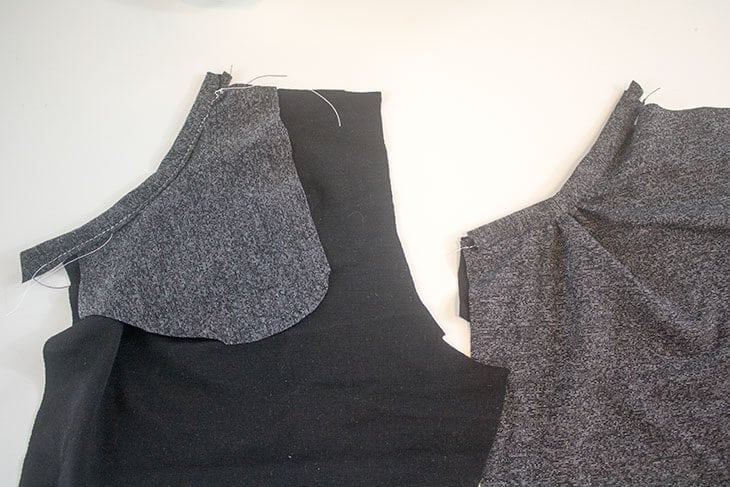
Place the two front pieces together and sew with right sides touching the front center seam. 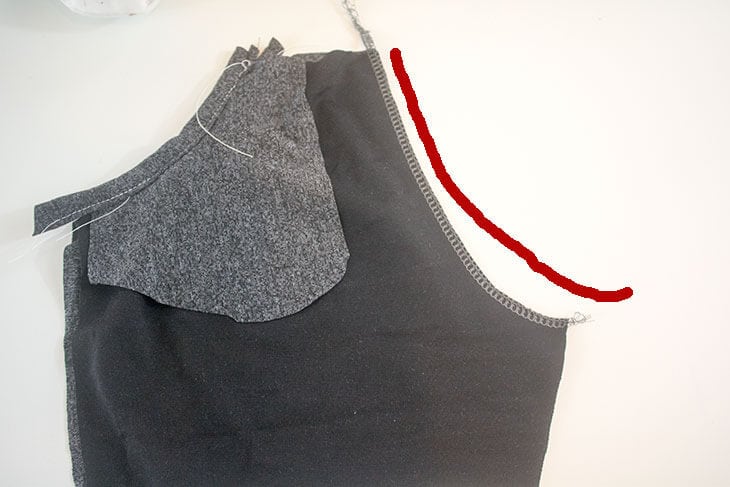
Line up the pocket pouch with the curved edge of the pocket. The top and side of the shorts should also line up.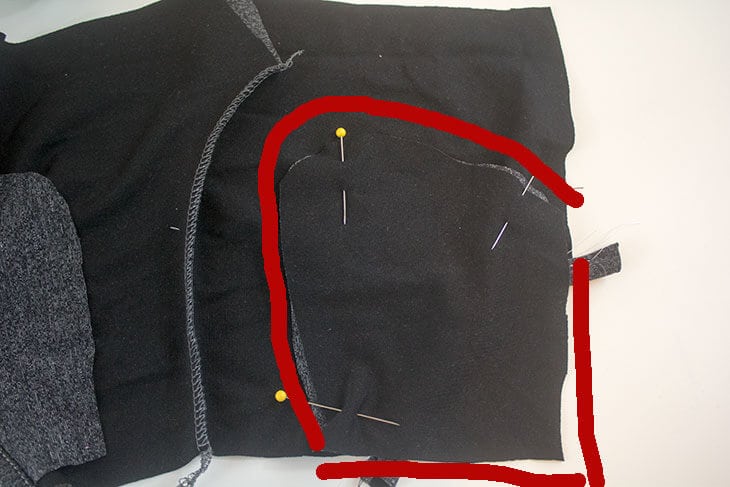
The right side of the pocket pouch should be facing out.
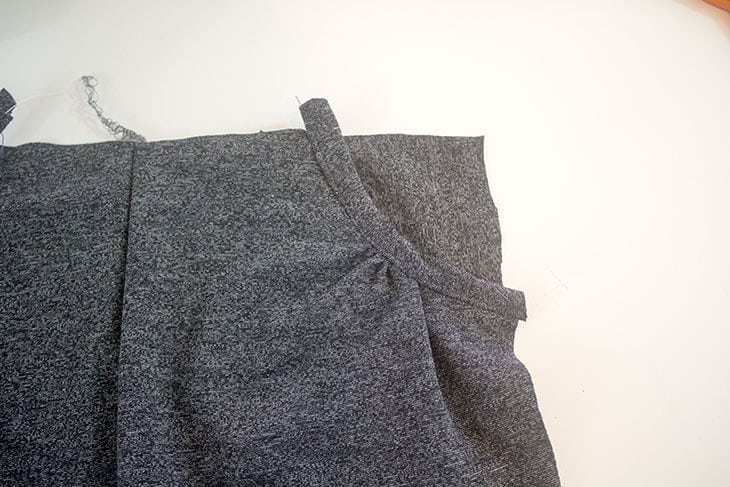
Sew the curved edge of both pockets. 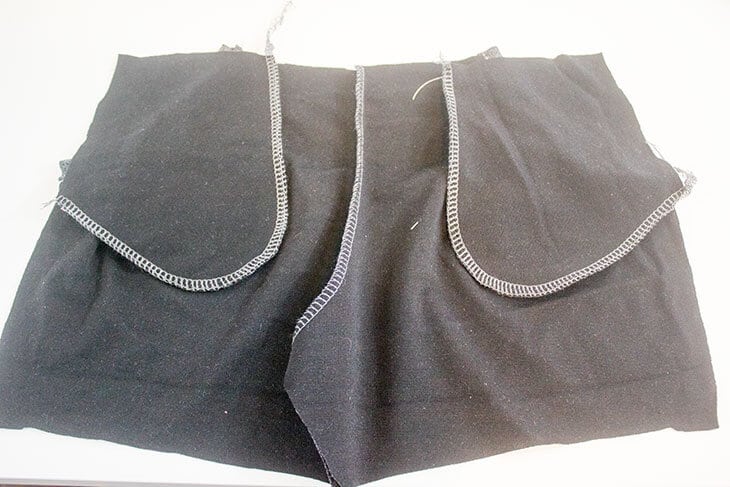
Fuse the interfacing to the wrong side of the waistband. 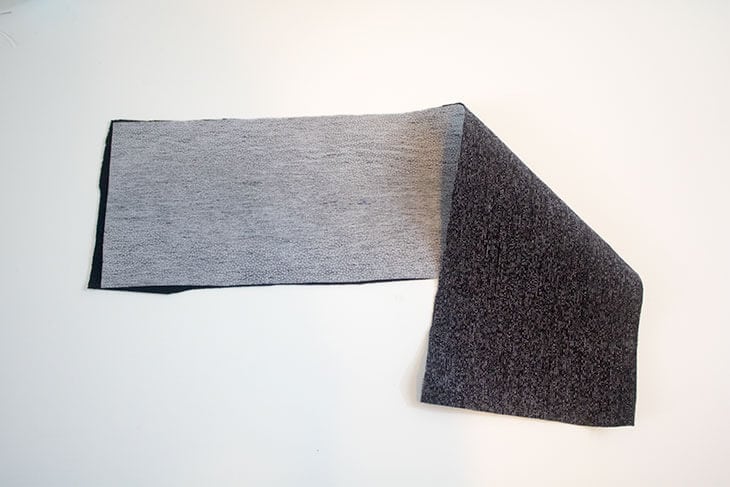
With right sides together, match the waistband to the top of the shorts front. Make sure the pockets are pinned flat and not bunched up.
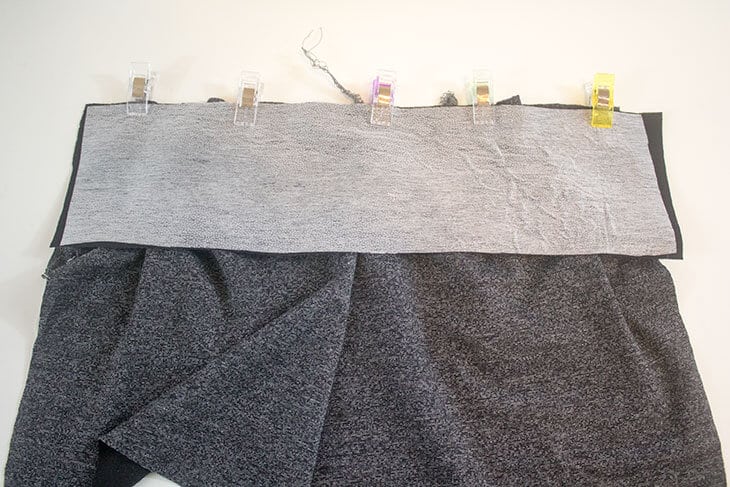
Sew and trim any extra waistband. 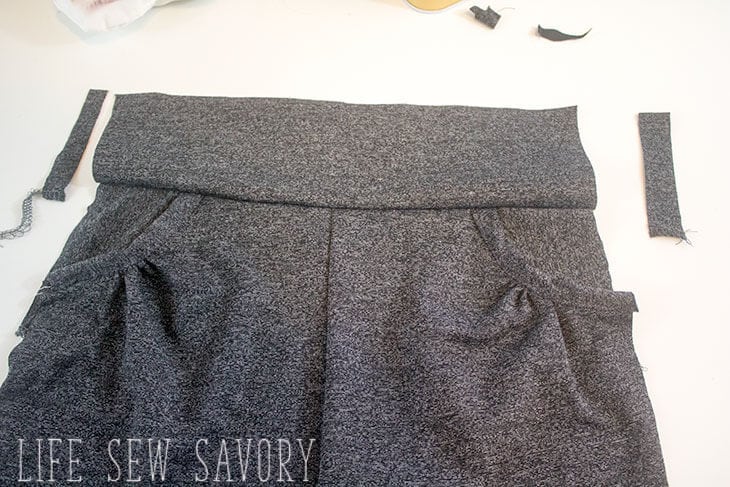
Sew the the back two pieces together on the center seam. 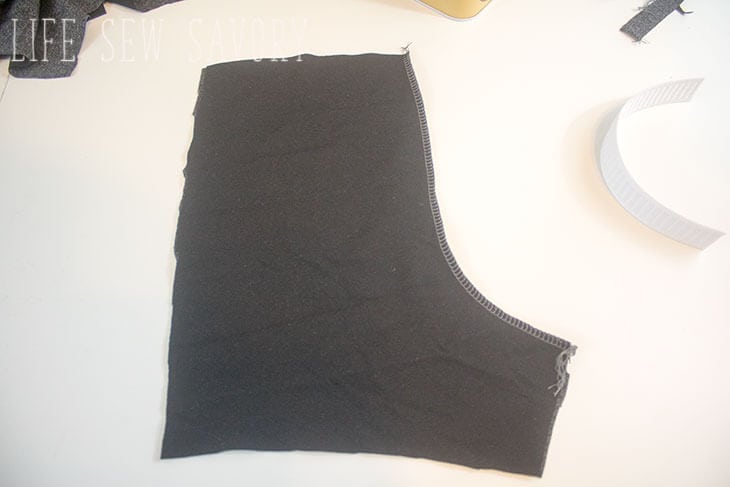
Open up and sew the elastic to the wrong side of the back along the top. You can use your serger to connect the top edges, or a zig-zag stitch. Sew right along the edge of the elastic and line it up with the shorts top. 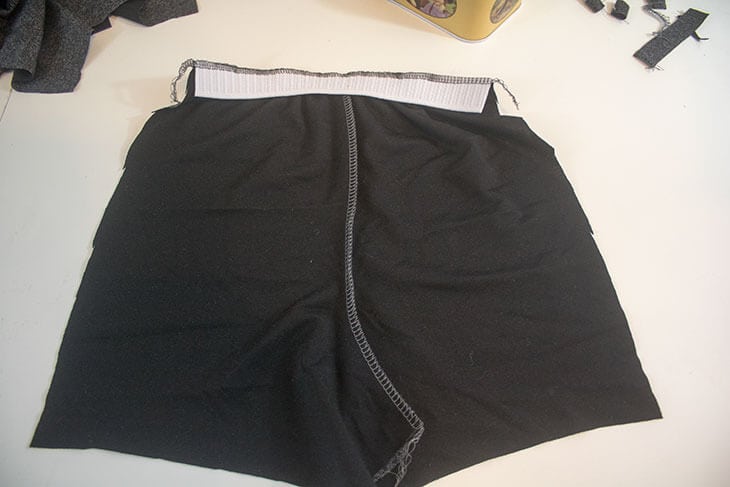
Match the side seams of the shorts front and back with right sides together. Make sure to catch the elastic from the back in the side seams when you sew it up. 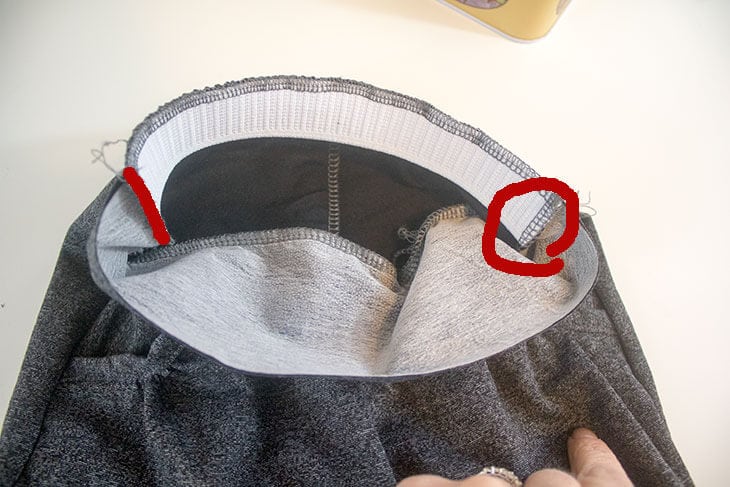
Fold the elastic in to the inside of the shorts to enclose the elastic. From side seam to side seam stitch across the back. I used a straight stitch. Sew one along the top, then bottom edge and then another in the middle if you want to secure the elastic and enclose it.
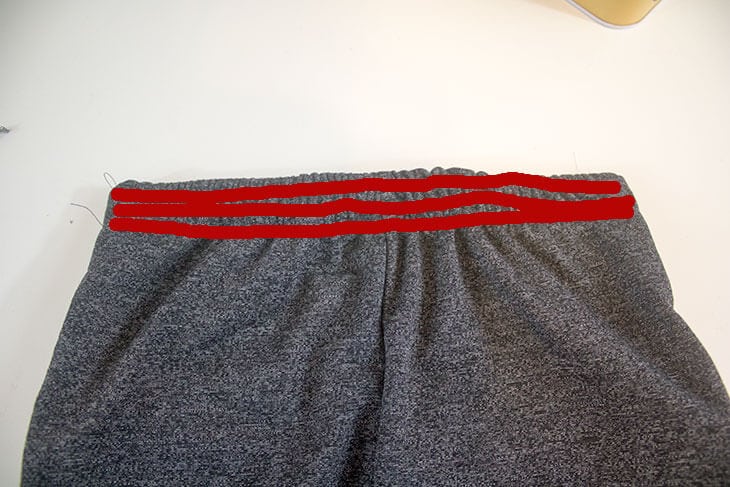
Fold over the front of the waistband {this is where I had issues with too narrow elastic} and top-stitch it down. I pushed the seam allowance up toward the waistband and sewed close to the edge. 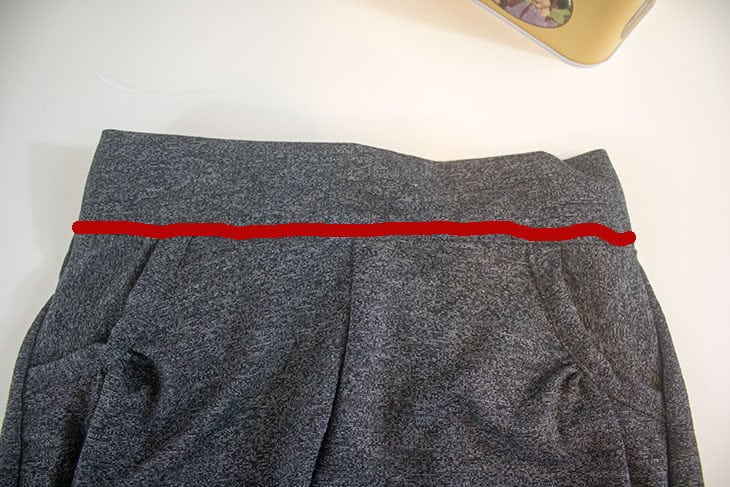
Sew the inseam, matching the center seams. 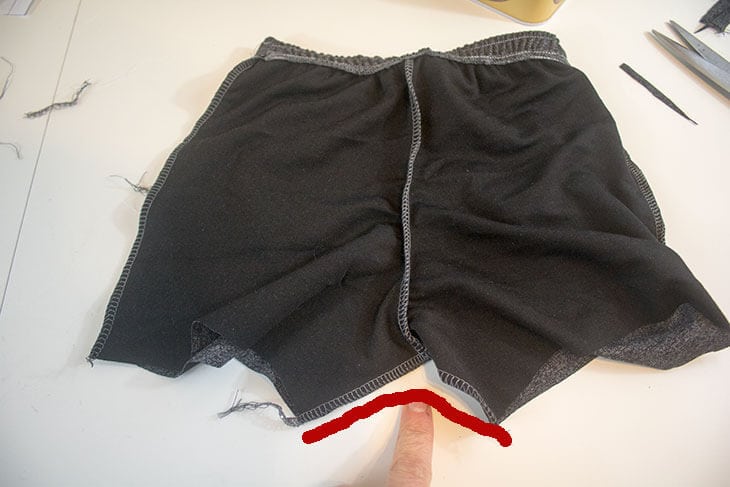
Turn up a 3/4″ hem and stitch with a stretch stitch or coverstitch. 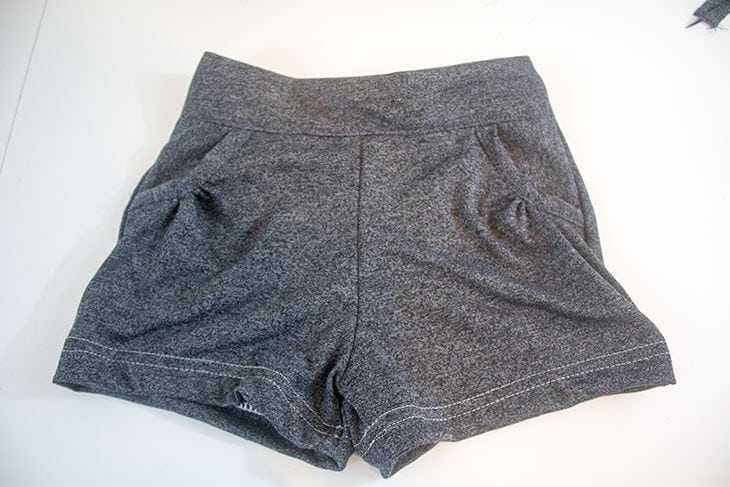
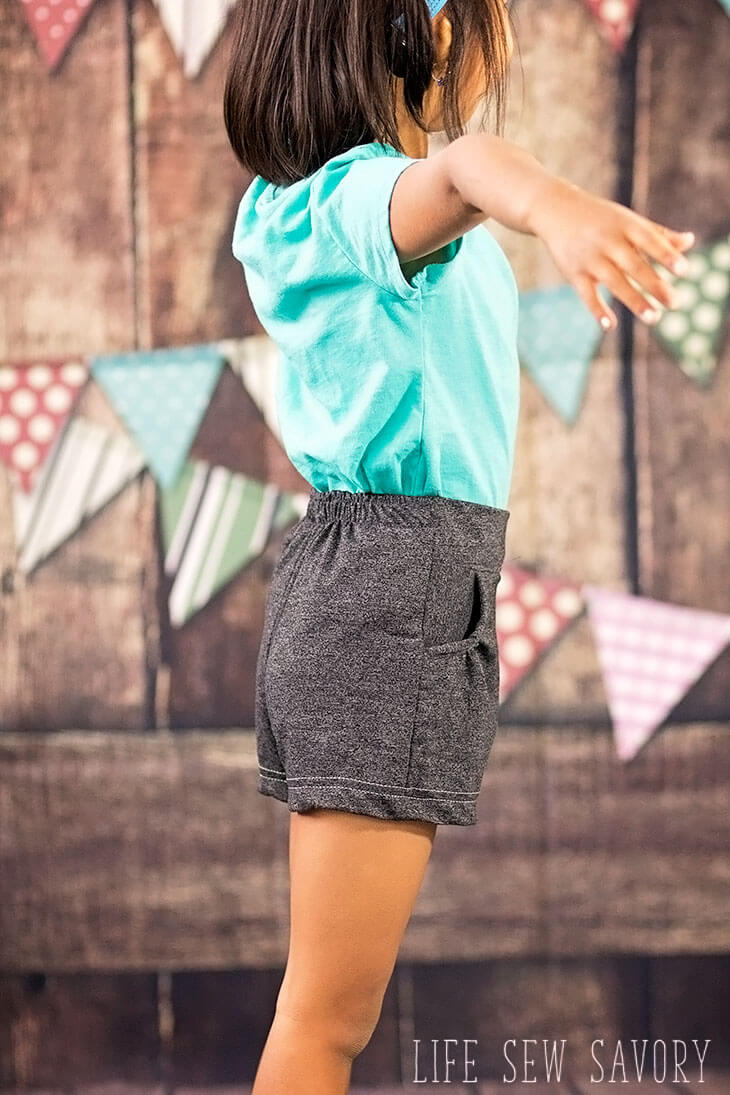
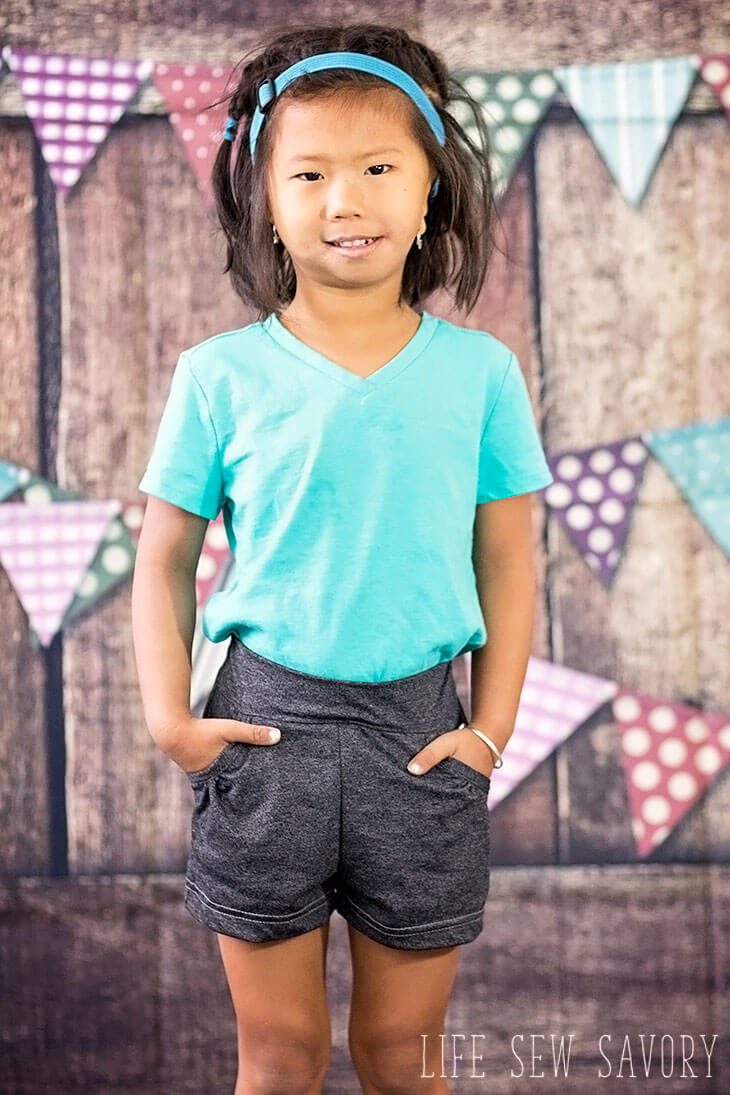
Such cute shorts!! Don’t they look great? I love the fit and they are so comfortable in the knit fabric.
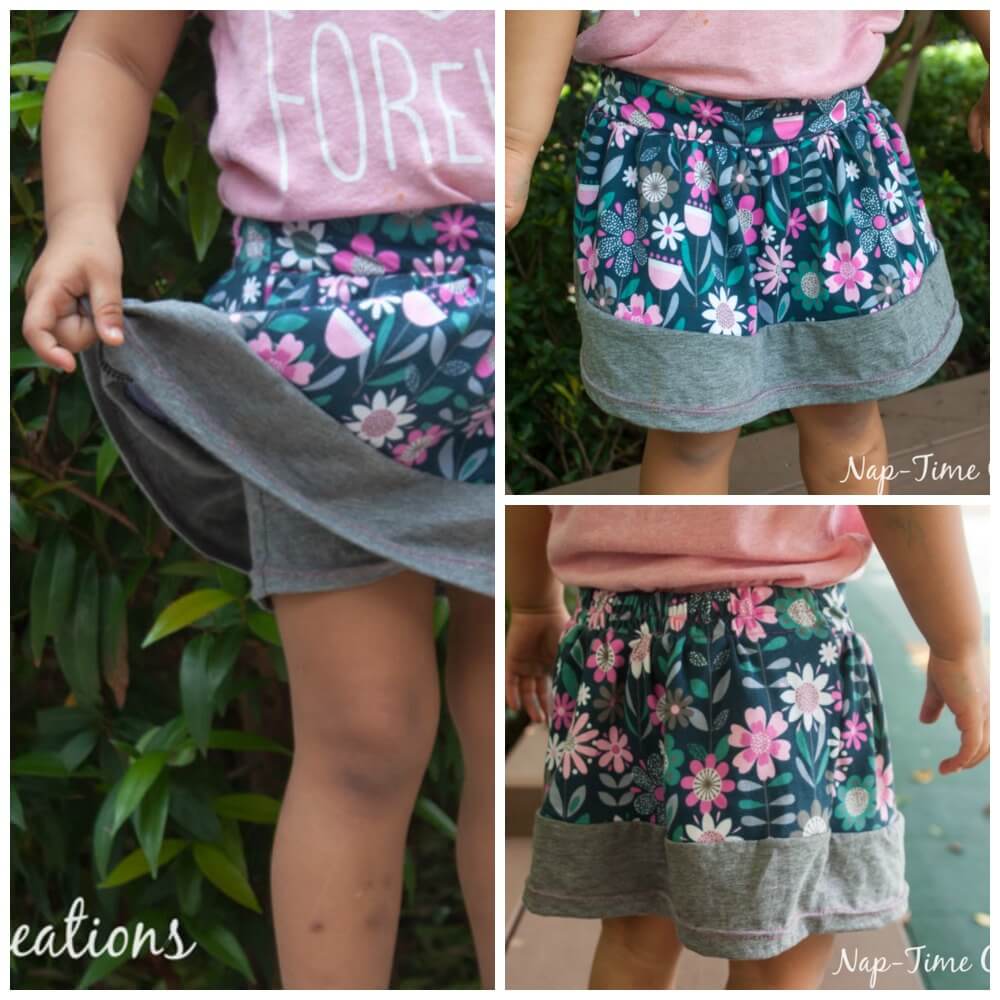
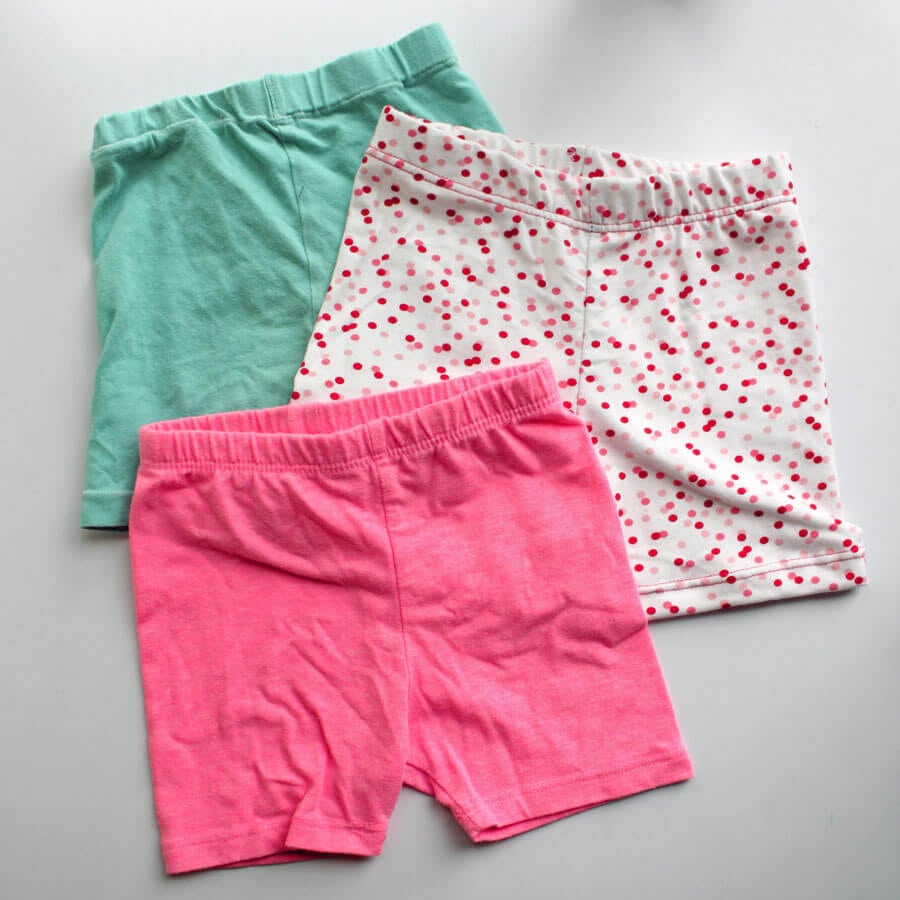
Other fun shorts and skirt patterns…








Jann Olson says
Very cute! Thanks for sharing the pattern with SYC.
hugs,
Jann
Karren Haller says
Hi Emily, I used to make all my kids clothes, even levis when the kids where under 12 years old and continued to make my own for many years. I think you offer a great gesture with your free shorts pattern and have it featured on Friday Features Linkup this week!
Hope you’ll stop by and linkup again.
Hope you have a great weekend!
Karren~
Susanna Edwards says
I am in love with this design !!! I just can’t figure out how to make it works for the top of the shorts for front or back. is there a way you could illustrate that, please?
Polly Shelly says
Could you make the shorts in a light weight knit? I will have to make the legs longers.My grand daughter doesn’t like them to short. Thanks a bunch for the free pattern, I will give it a go.
Penny says
I love the look of these shorts. Do you have a pattern available for size 10 or 12 girls. And I’d love to make an adult sized pair.
Kristen Earl says
I was just going to ask if there was a 10/12 pattern for my oldest daughter and I saw the above comment! Thanks for the pattern in the current sizing. I know my other daughter will love the look of these shorts with the cute pockets!