inside: make gorgeous DIY mugs with these free svg cut files. Seasonal mugs with vinyl and your Scan N cut or similar cutting machine.

This fun project was one I made for a Christmas gift last year and they turned out so well I will be making several more sets next Christmas. Use the free svg cut files provided here to make these cut seasonal mugs. Don’t like my designs? Be inspired here to make your own vinyl designs to put on mugs.
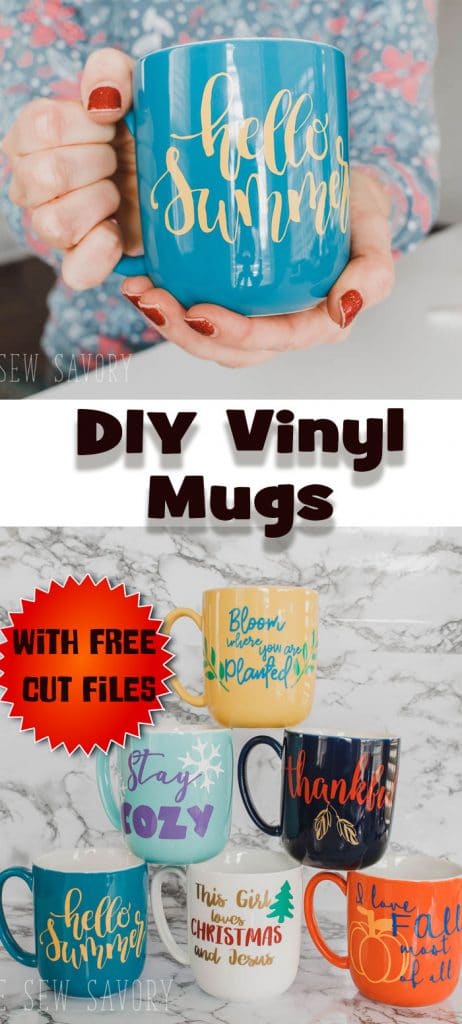
Seasonal Vinyl Mugs tutorial –
I was so pleased with how well this project turned out, each mug has it’s own gorgeous seasonal design making a set you can use all year long.
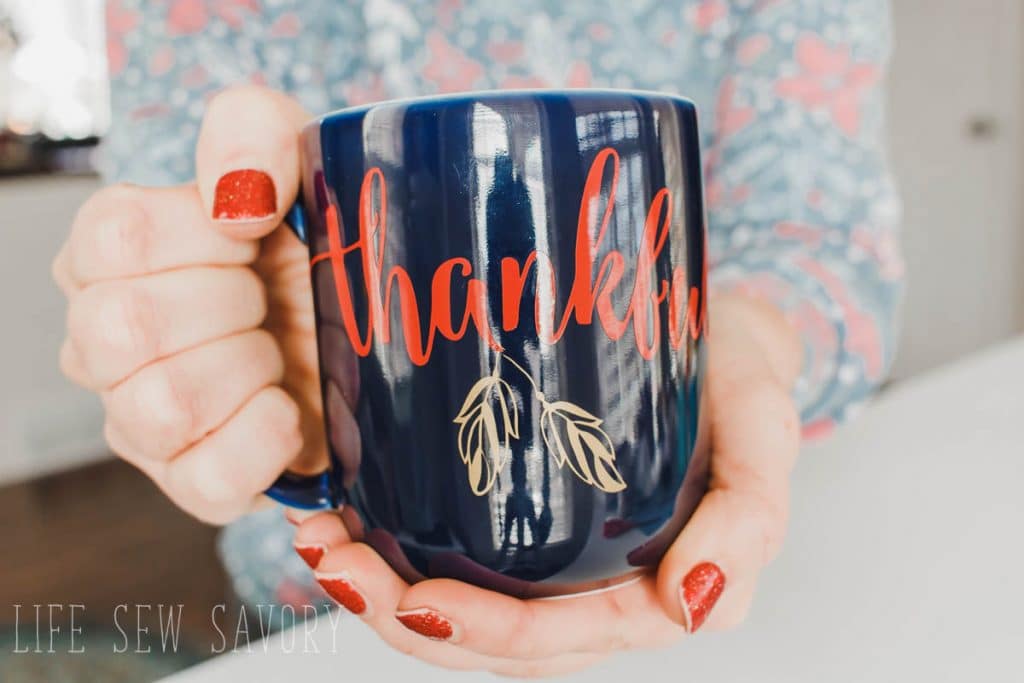
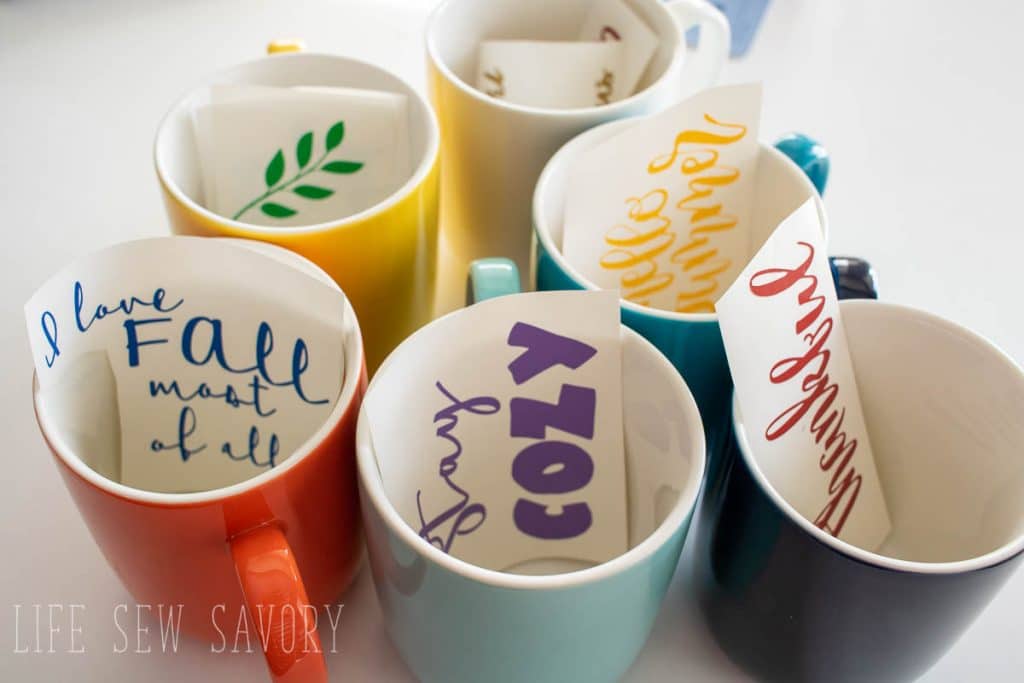
I LOVE how detailed the Scan N Cut can cut vinyl. Look at how each mug has a unique design and can be cut in a single color or with a few colors. I’ll get into the details and tips for making your own mugs below.
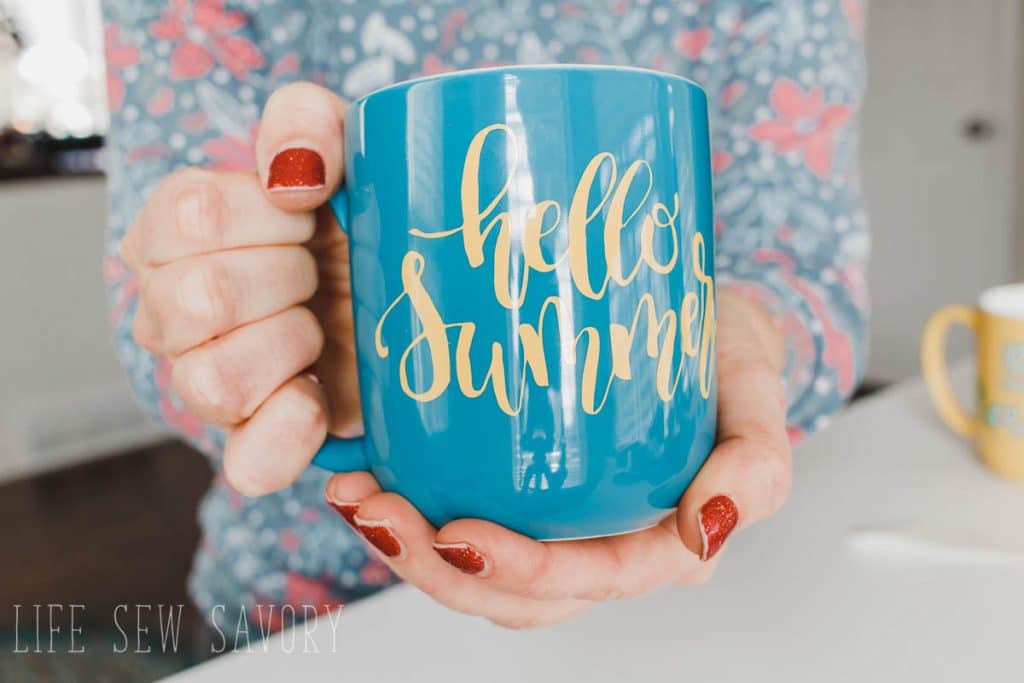
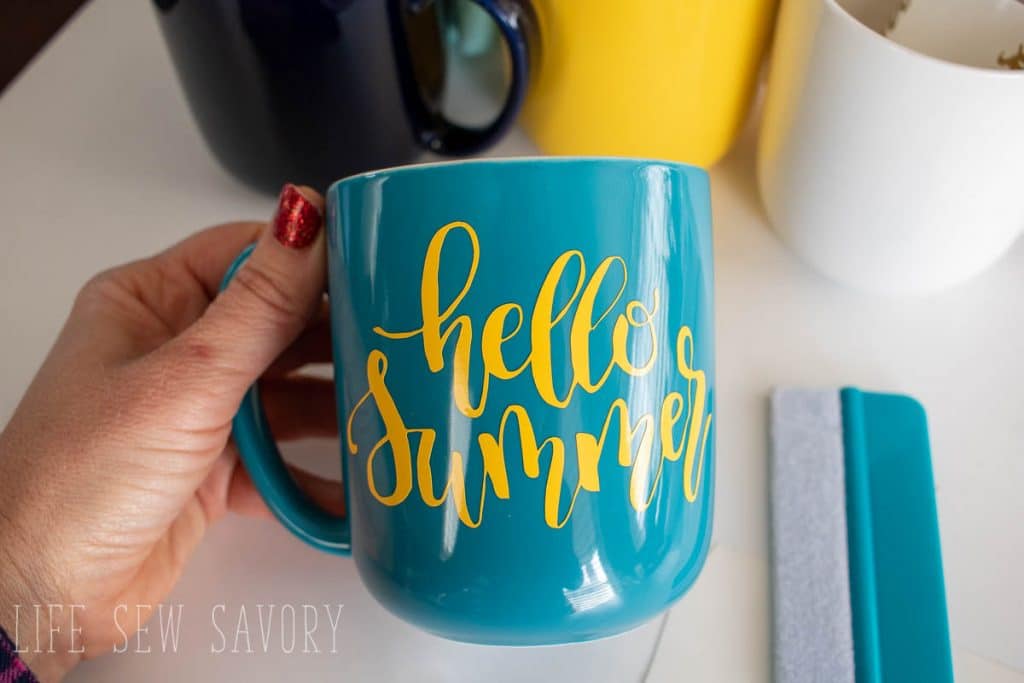
I think the summer one shown here is my favorite of all the mugs I made – the colors just make me so happy. Ready to make a set of beautiful mugs?
Supplies for Scan N Cut Vinyl Mugs –
- Colorful mug set from Amazon
- Scan N Cut or similar
- Craft permanent vinyl
- Transfer tape
- FREE SVG CUT FILES
Free SVG Cut Files –
There are seven cut files for the six mugs. I made two versions of the Christmas one. I love Jesus, but not everyone may want that, so there are two Christmas versions.
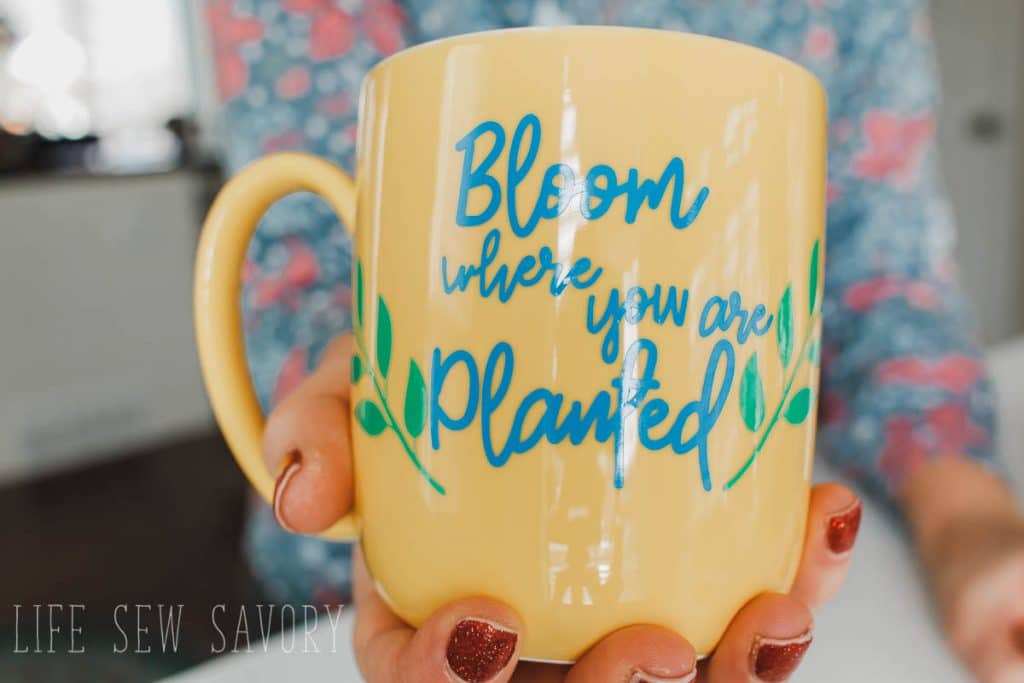
Now that you have gathered all your supplies you are ready to get crafty! I LOVE this colorful Mug set I got on Amazon, but you can use any blank mugs you want.
Begin by unzipping the svg files and uploading one to your cutting machine software. I use Canvas workspace and my Brother Scan N Cut, but the svg files will work with any software. Decide if you are cutting a single color or multiple colors and select the part of the design to cut the first color.
Cut each color using a vinyl setting or half cut on your machine.
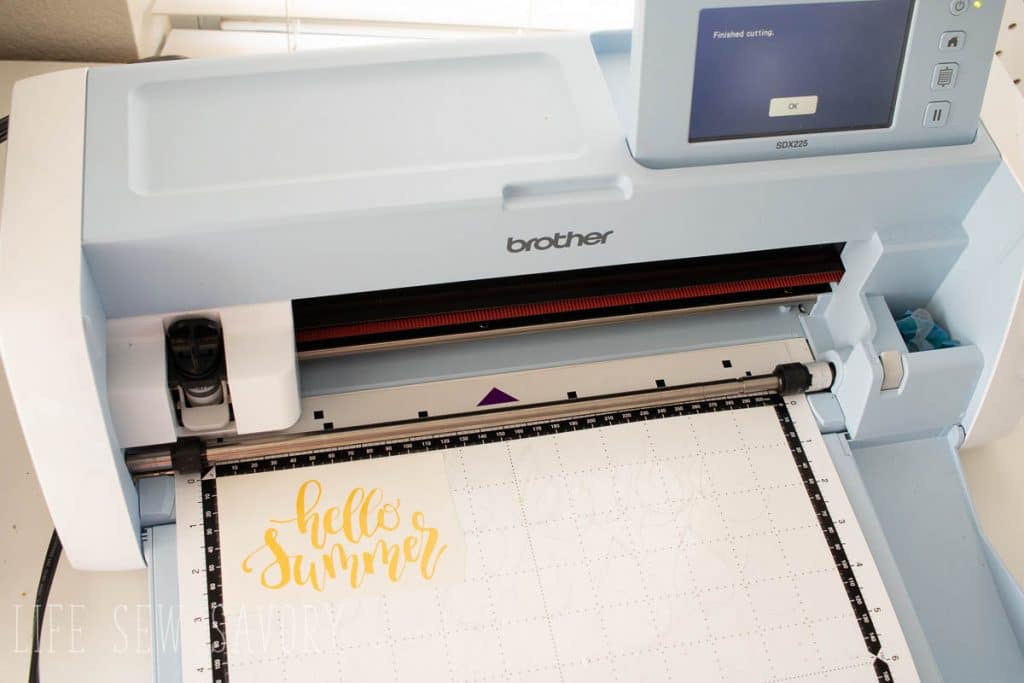
After cutting, weed the vinyl design for each season.
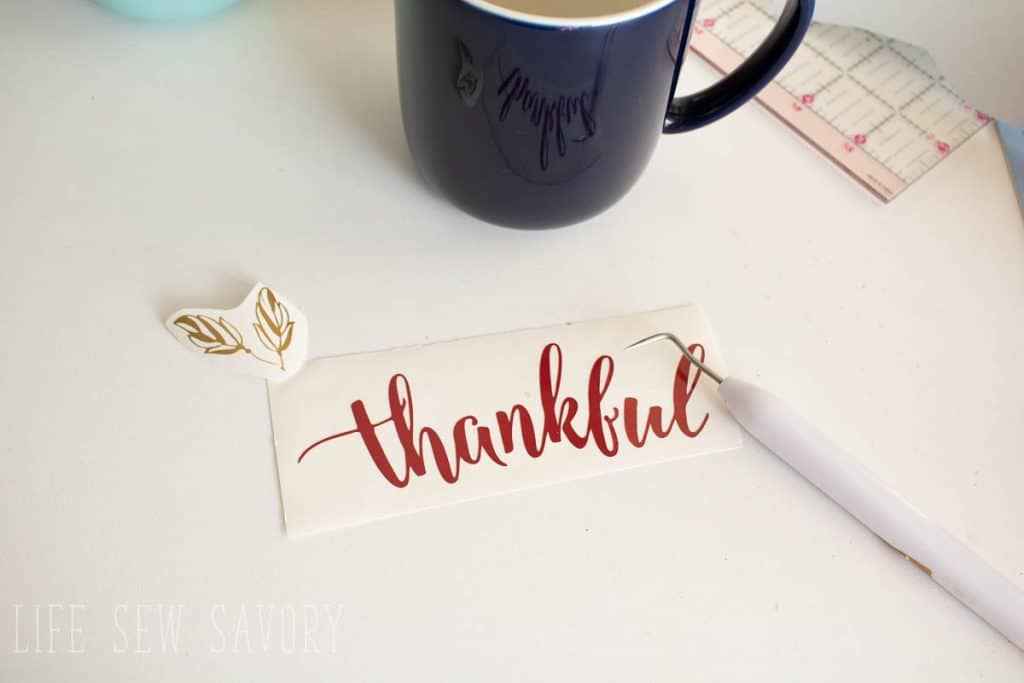
I ended up cutting all my designs first, then going back and deciding which one to put on each color cup. You may want to be more organized before you cut, but this method worked for me.
Cut a piece of transfer tape big enough to lift your design. You can see this whole process walked out in the video attached to this post.
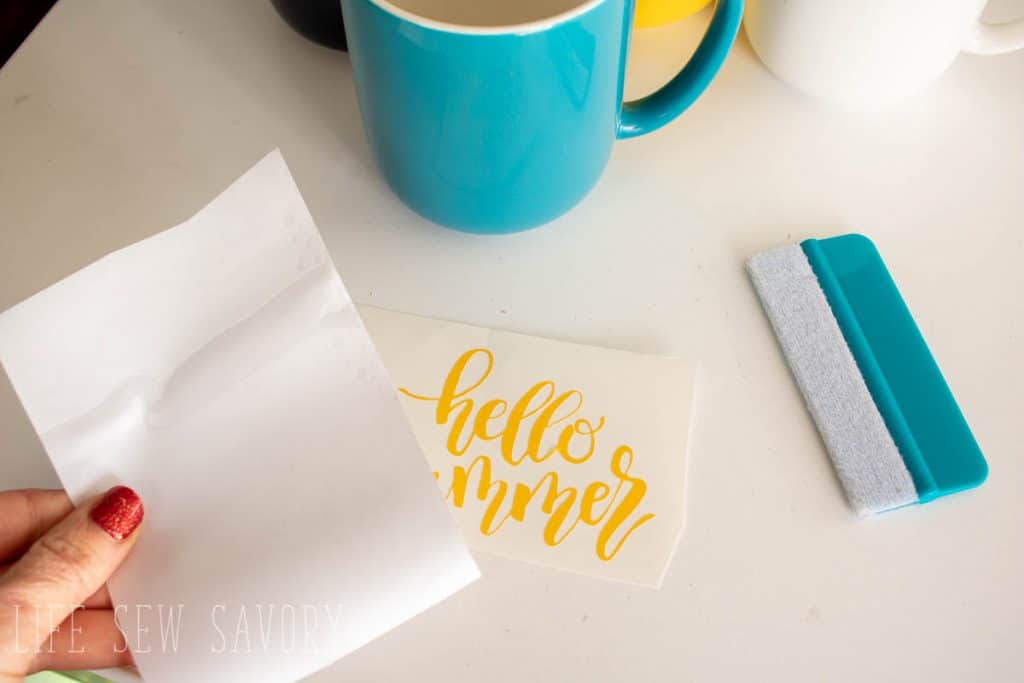
“Burnish” your design with a tool or credit card to get the vinyl to stick to the transfer tape.
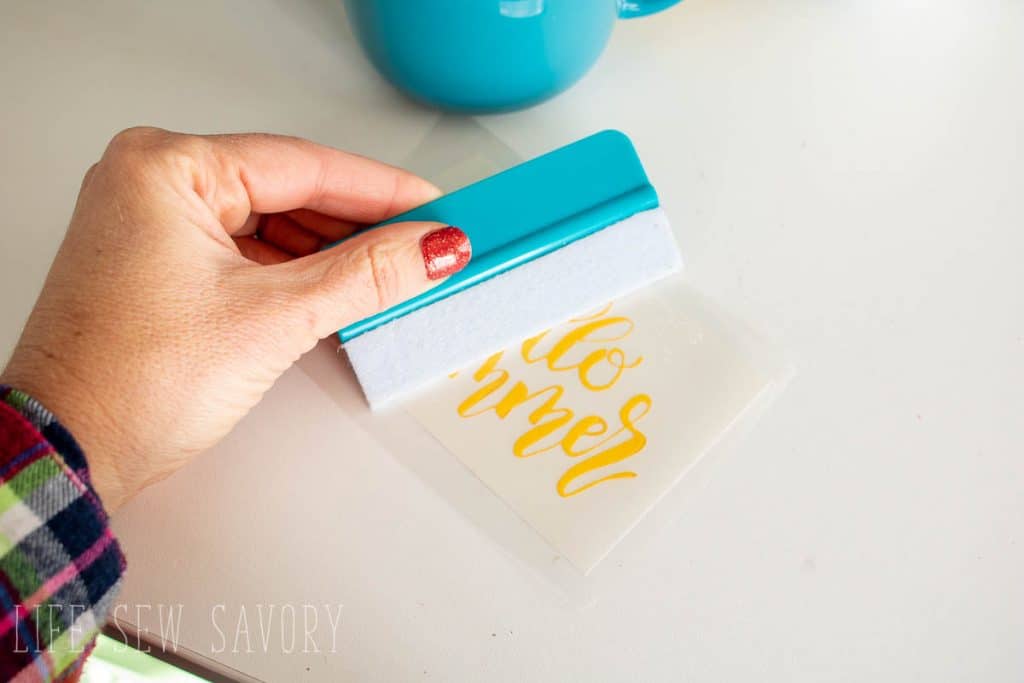
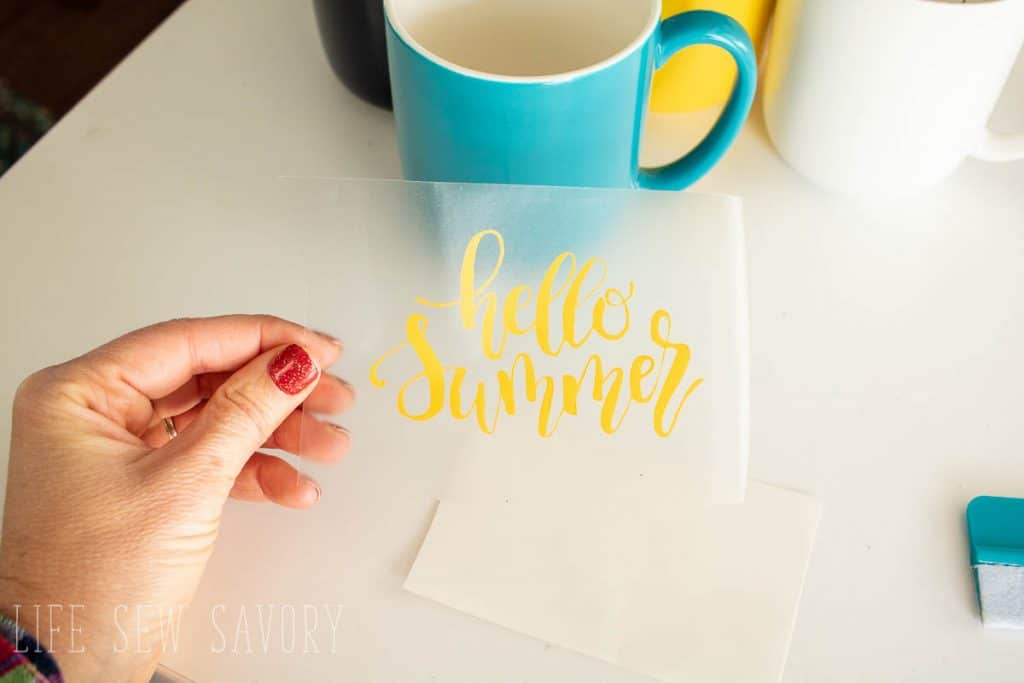
You can now lift the design off the backing and use the transfer tape to move the design from the cut backing to your mug. You will be able to lift and move as needed to position your design on the mug.
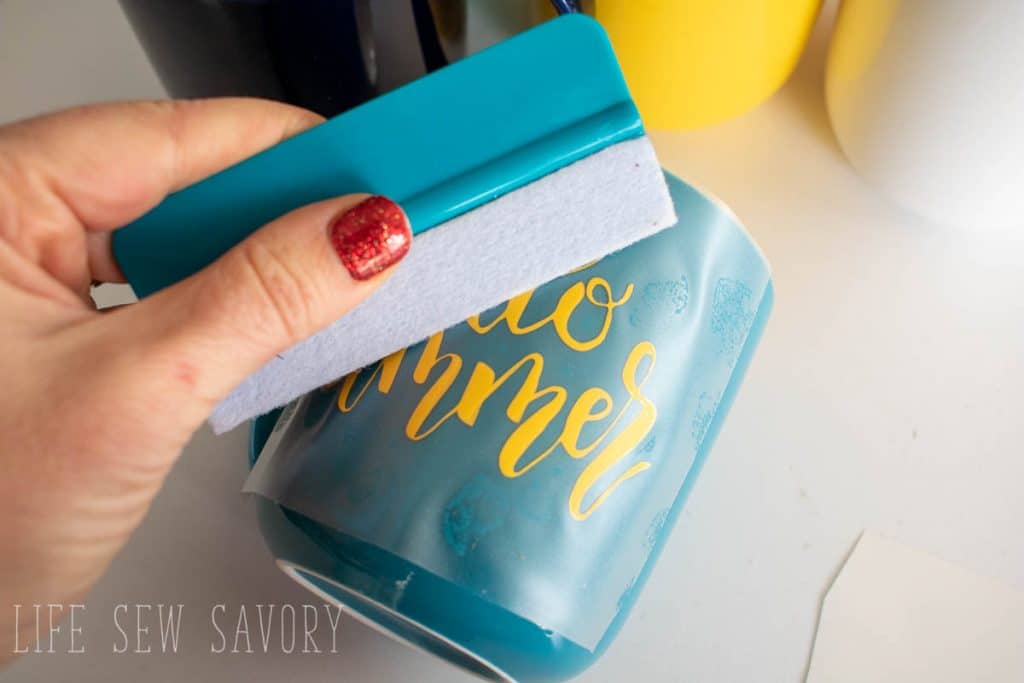
Use your tool to rub on the transfer tape to help the design to stick to the mug.
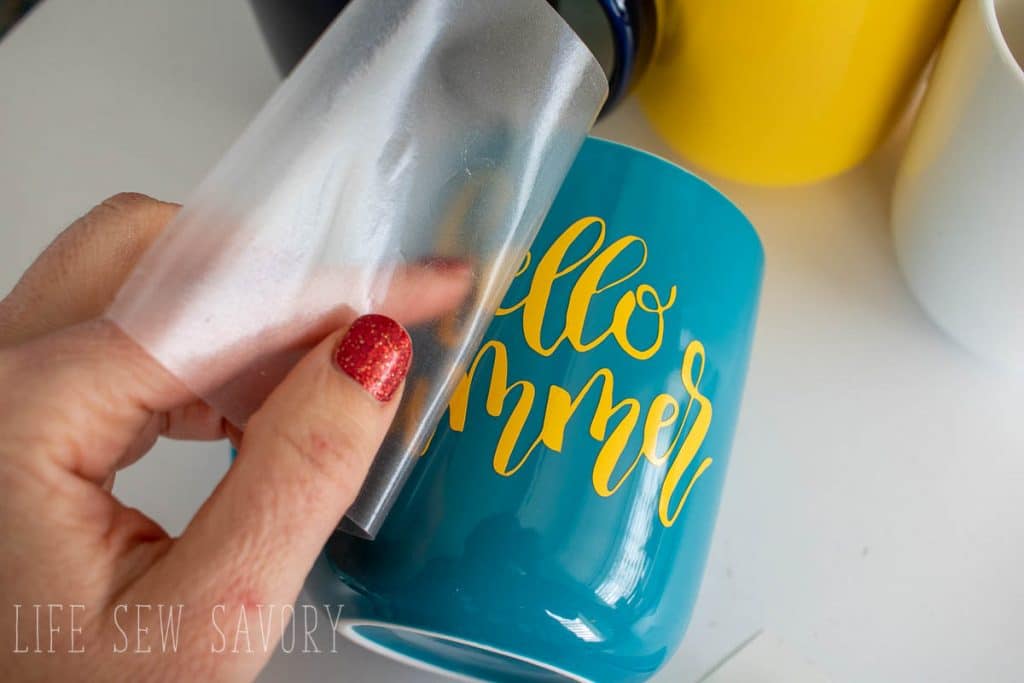
Remove the transfer tape to reveal the design stuck to the mug. You may need to use a tool or your fingers to really make sure the design is stuck on the mug.
Let the vinyl “cure” on the mug for about a week before washing or using in the microwave.
This will ensure your DESIGN lasts longer on the mug.
It’s that easy! Once you get going you will be able to make a whole set of beautiful seasonal mugs in no time at all. Make a set for yourself or as a gift… a fun project and even more fun to use!
You probably want to test your mug/vinyl combination, but I have been able to put these on the top rack of the dishwasher with no issues after curing.







Leave a Reply