inside: Sew up a comfy T Shirt dress from this free pattern. This free tshirt dress pattern is easy to sew and is a perfect spring and summer dress. This is a must sew for your wardrobe.
It’s starting to warm up here, that means it’s time to sew all the summer things! I love summer dresses so this dress is a fun new item in my closet. I’m sure it won’t be the last one I sew this season. This loose fit free tshirt dress pattern is a great addition to any closet.
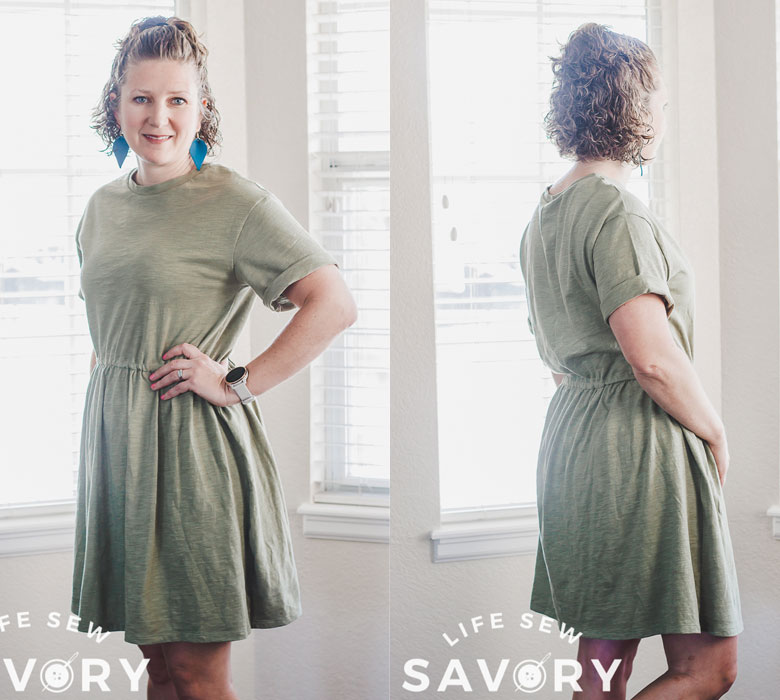
Free T Shirt Dress Pattern
It’s this so cute? Its also so so comfy! I wore this last weekend to run errands, go to a soccer game, and help my husband install a new storm door on our front door. I love it! Check below for my fabric suggests to make sure it’s super comfy.
The video here will give you a quick run through of how to put this dress all together. If you don’t see a video in this post try disabling any ad blockers or run a different browser.
This T-shirt dress is like wearing a super comfy shirt, as a dress. I love the loose fit and elastic waist. The waist gives it a bit of definition, but I kept it loose, so it’s not at all tight.
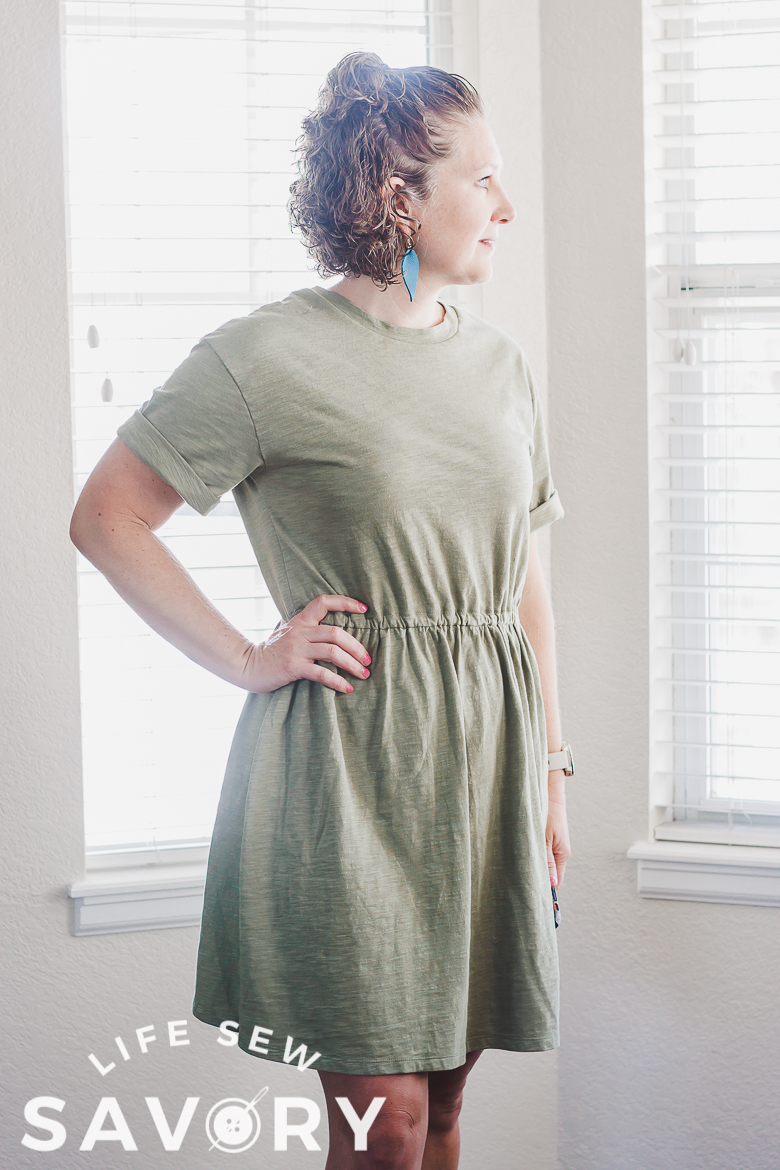
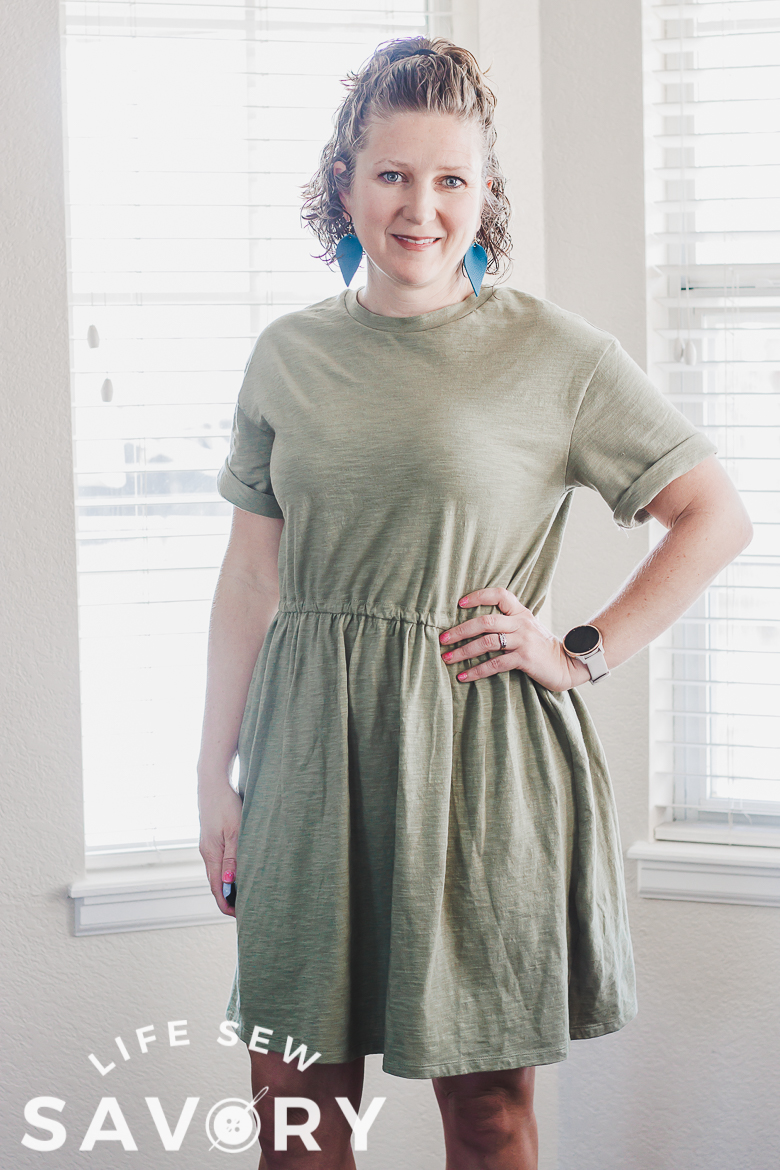
Feel free to adjust the skirt length, but I love the just above the knee. The sleeve can be worn cuffed as seen here, or straight down. When I wear this with a cardigan I un-cuff the sleeves so it’s less bulky.
I didn’t add pockets, but they would be easy to add in the side seam. The pattern doesn’t have a center back seam, but you can see here I was short on fabric so I did add on… keep this in mind if you need.
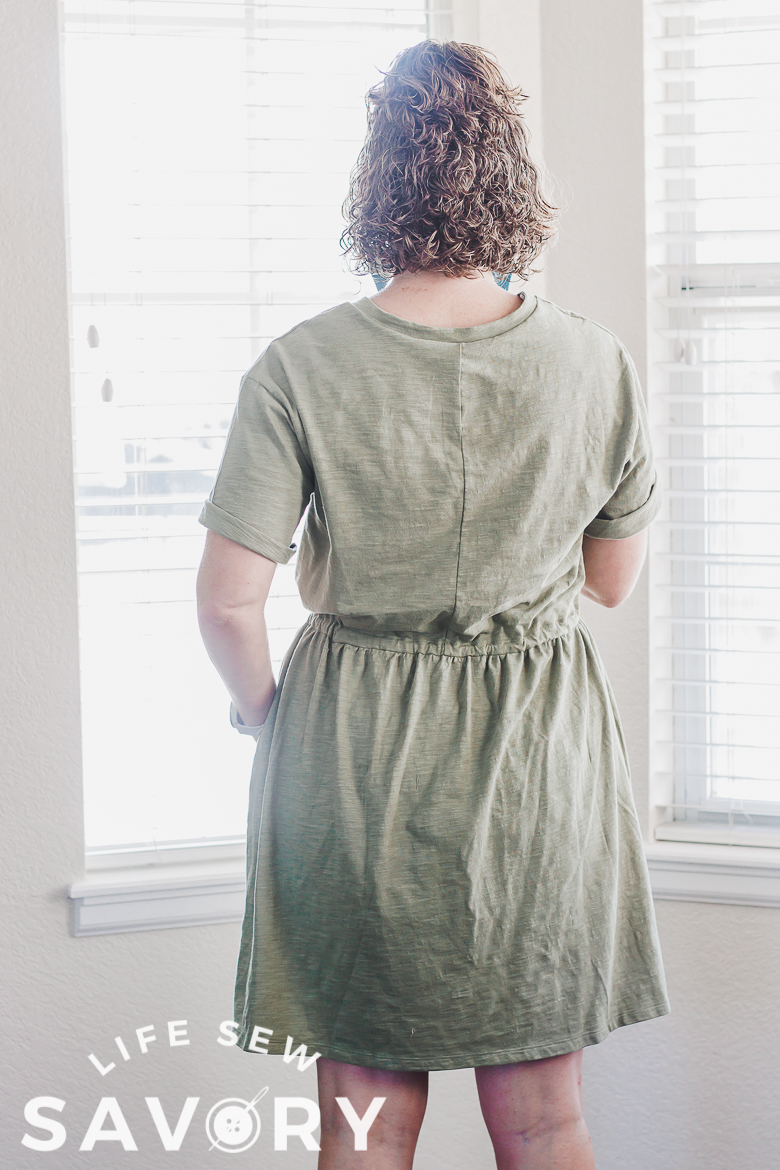
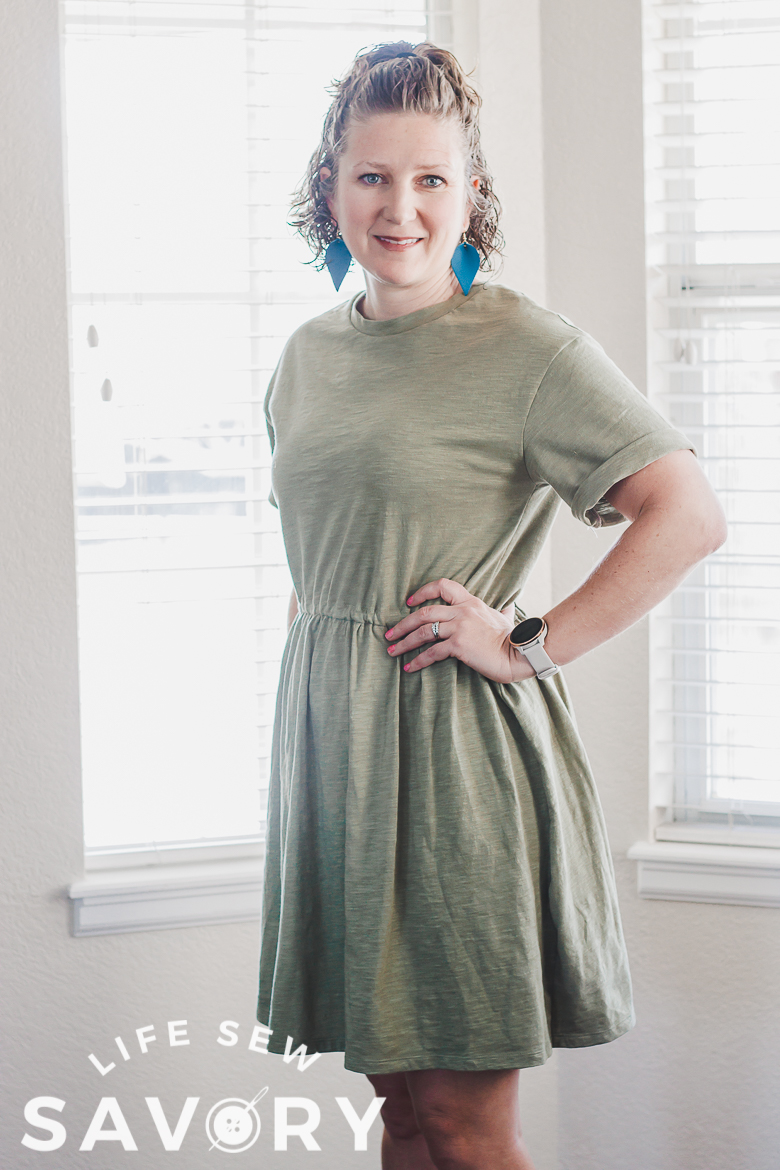
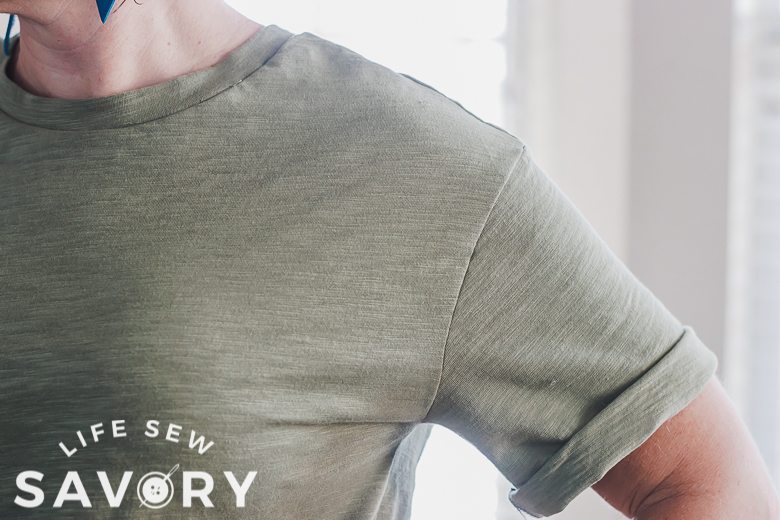
I love the loose fit shoulders and sleeves. Size up or down for even more relaxed fit or more fitted look.
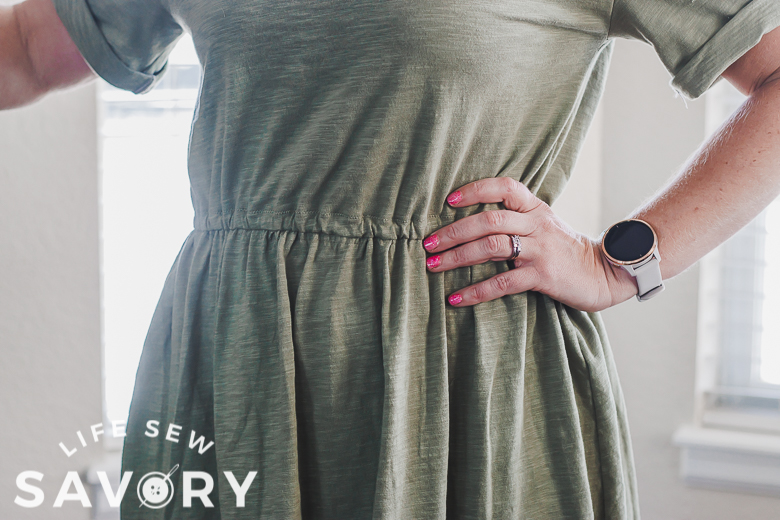
Keep the elastic loose for the relaxed fit, but I love how it gives the dress a great shape.
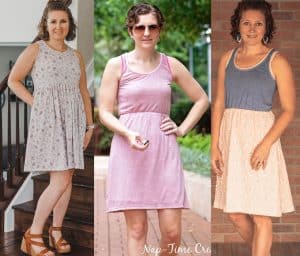
Other fabulous and free dress patterns.
Free Dress Pattern for Women
Ok! time to grab the free sewing pattern and some tshirt fabric. You can download the free pattern by heading to my shop. The orange button below will take you to my shop to download the pattern for free.
Need help with your account or pattern downloads? Account help here, pdf download help here.
This dress will take between 2-3 yards of fabric {60″ wide}. AND 1/4″ wide elastic {enough to go around your waist}
My favorite places to but t-shirt fabric {tri-blend}: Raspberry Creek fabrics and Knit fabric . com. Tri blend fabric is your traditional, thin, 2-way stretch knit fabric.
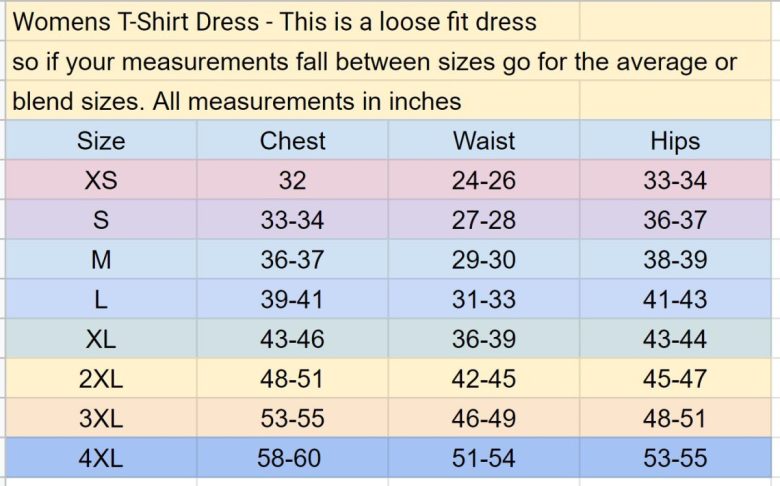
Use this size chart to determine the size to cut and sew.
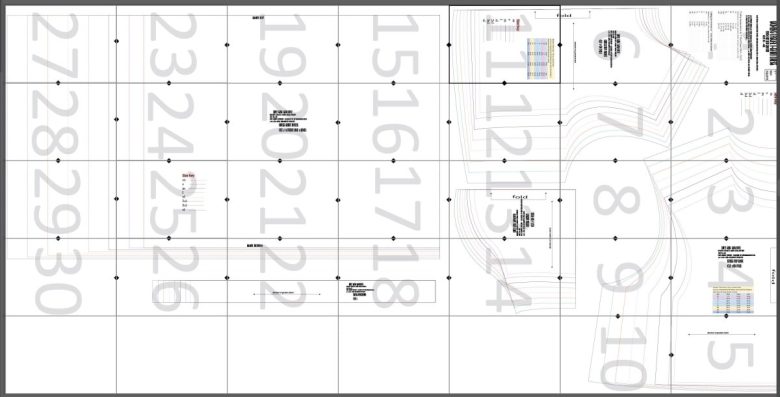
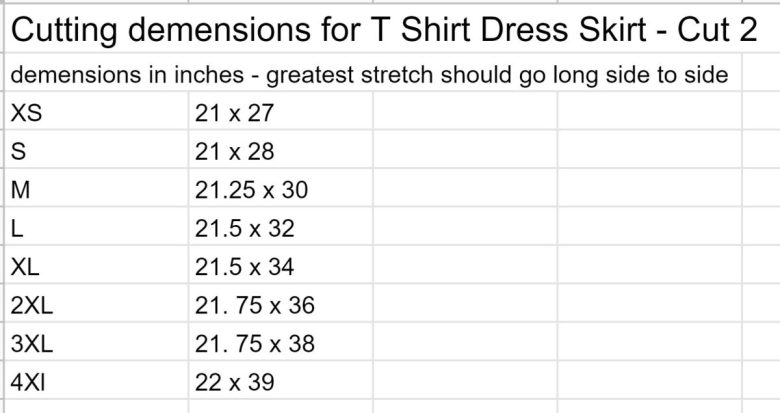
When you print the pattern it will look like this. Assemble the pages and trace or cut out the size you want to use. The skirt and neckband have pattern pieces AND a cut guide. To use the chart print only pages 1-14. To use actual pattern pieces print all pages.
Cutting chart for all sizes if using the guide and not the pattern pieces.
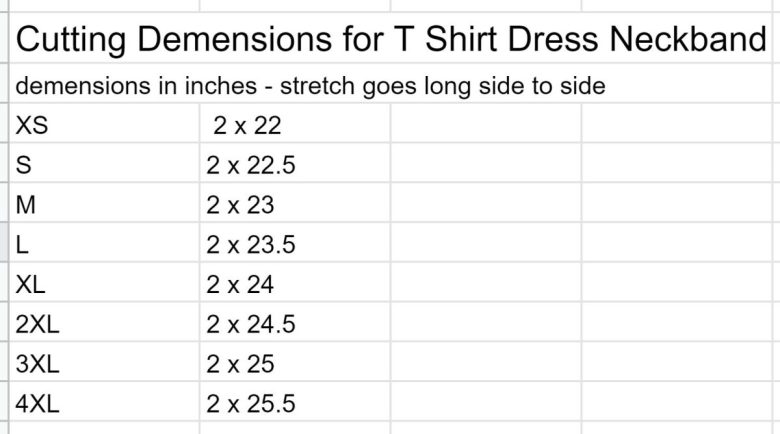
One more link to the free dress pattern if you didn’t download already.
How to sew a dress
Now you should have all your pieces cut out. Check to make sure that you have:
- 2 sleeves
- 1 front
- 1 back
- 2 skirt pieces
- 1 neckband
- 1/4″ elastic ready to go
All seams should be sewn with a 3/8″ {1 cm} seam allowance with a serger or knit stitch.
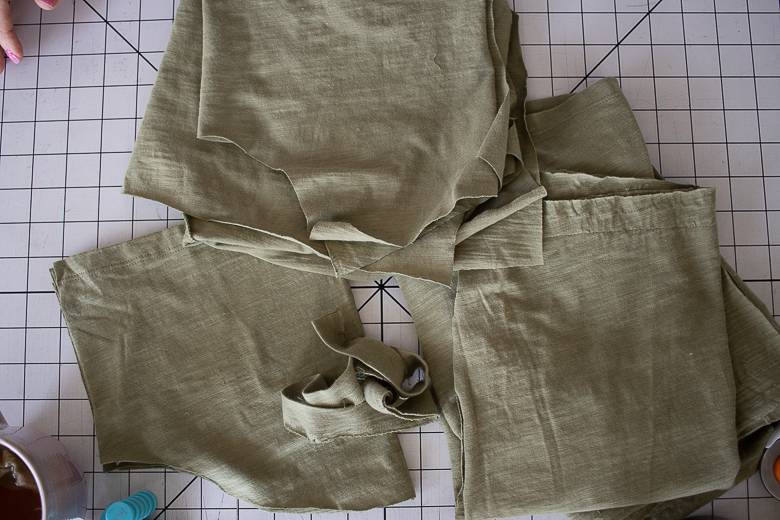
Let’s sew! With right sides together, sew one front shoulder seam to one back shoulder seam.
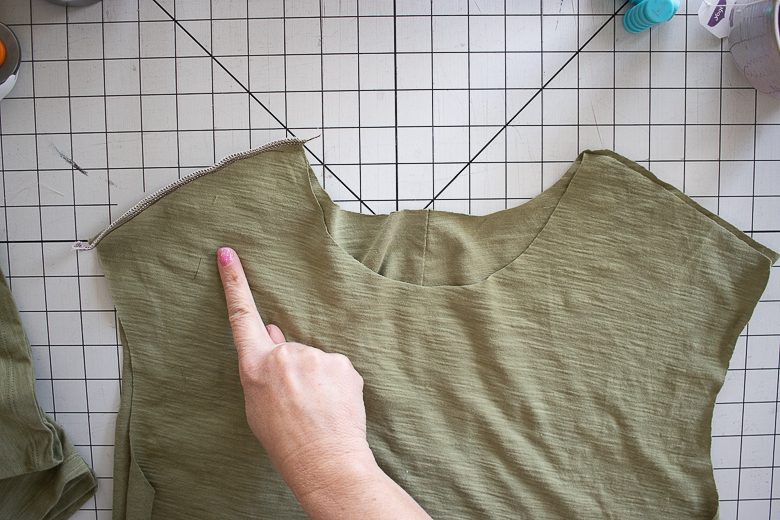
Take neckband and fold it in half with the long sides together and right side of fabric facing OUT. Stretch and sew the neckband along the open neckline. Need help with your band? Here’s my tutorial with all the neck line details. After you sew the band on, sew the other shoulder seam.
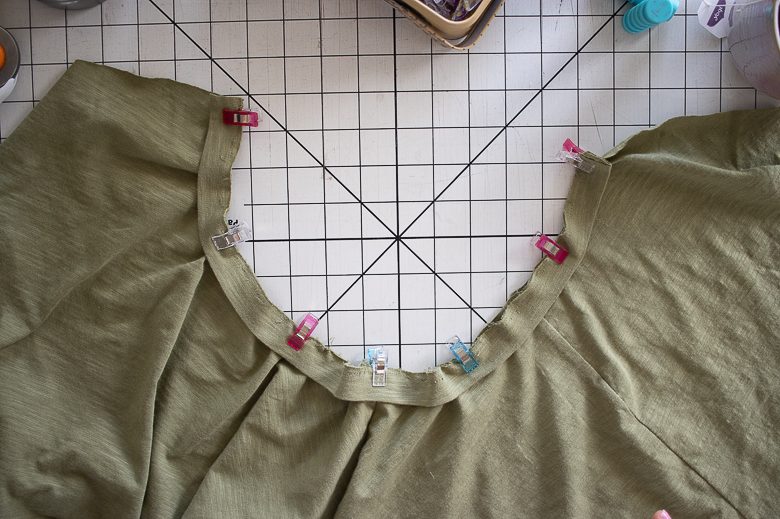
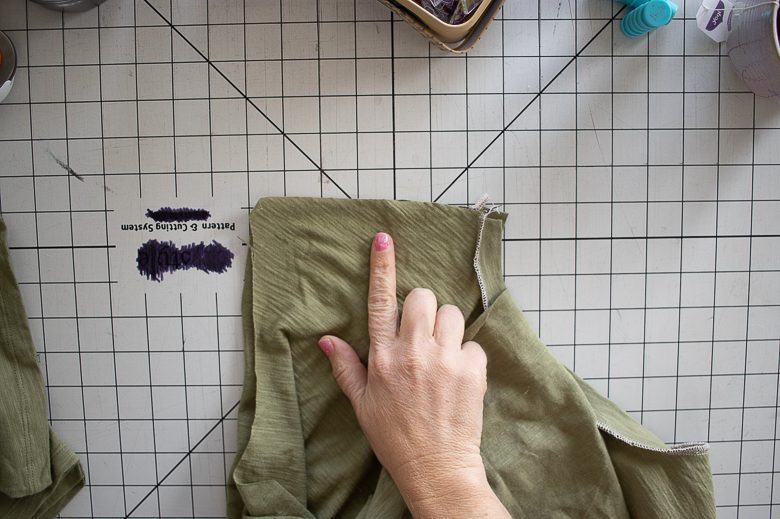
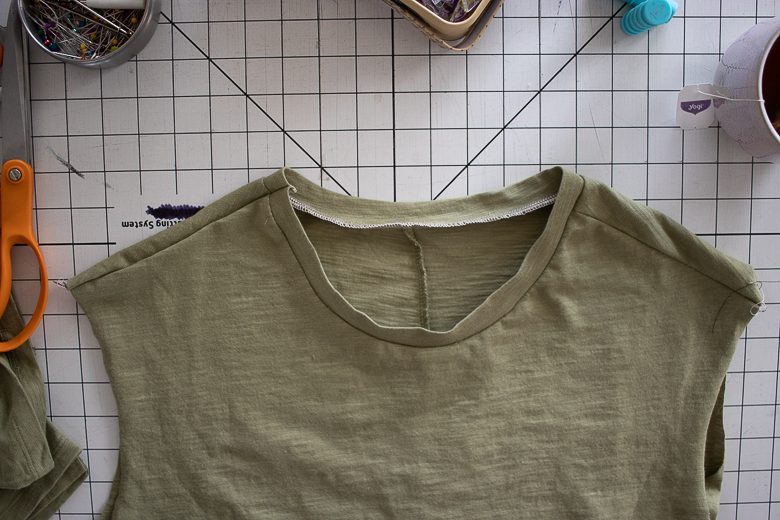
Open up the shoulder seam and with right sides together, pin the sleeve in the opening. Start on the outside edges and work the sleeve into the shoulder, easing the curves together. Sew. Repeat with the other sleeve.
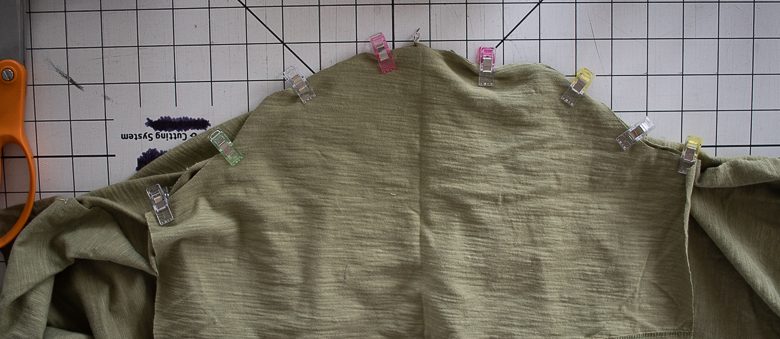
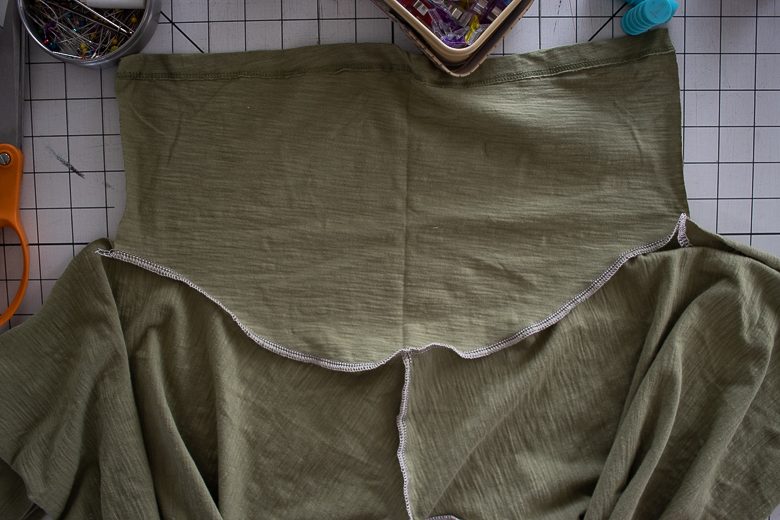
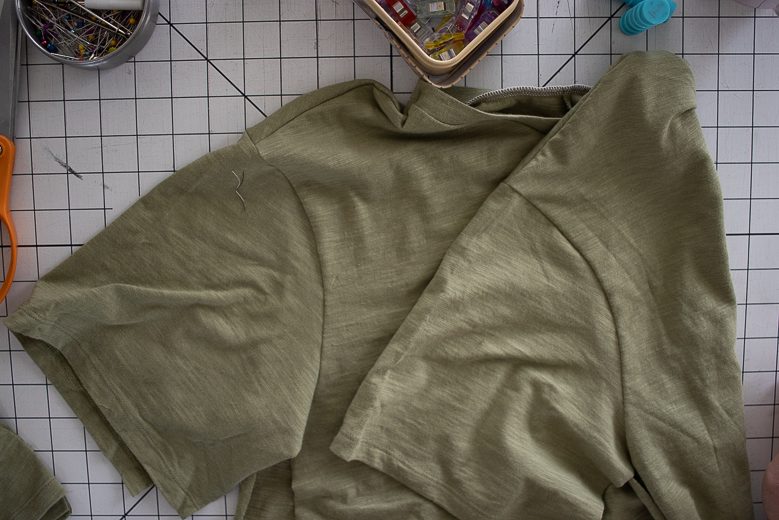
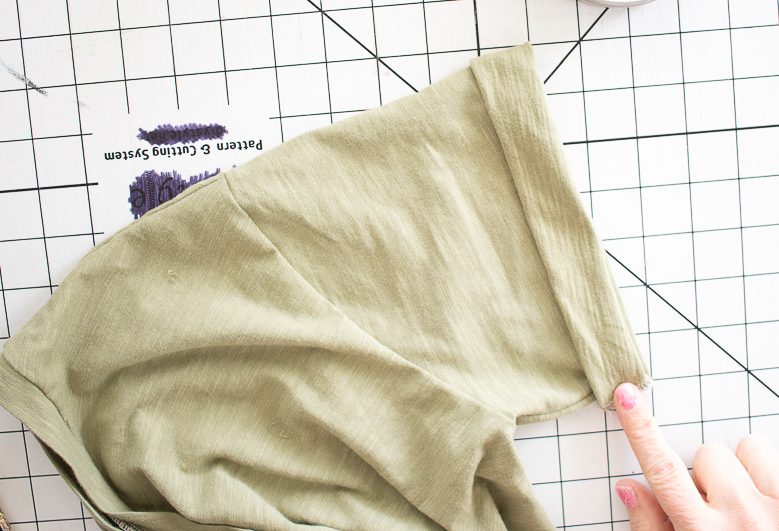
I like to hem my sleeves while flat, so if you also like that, hem the sleeve now. With right sides together, sew the side seams. If you want to hem the sleeve after the side seam, so that now. The sleeve hem should be 1/2″.
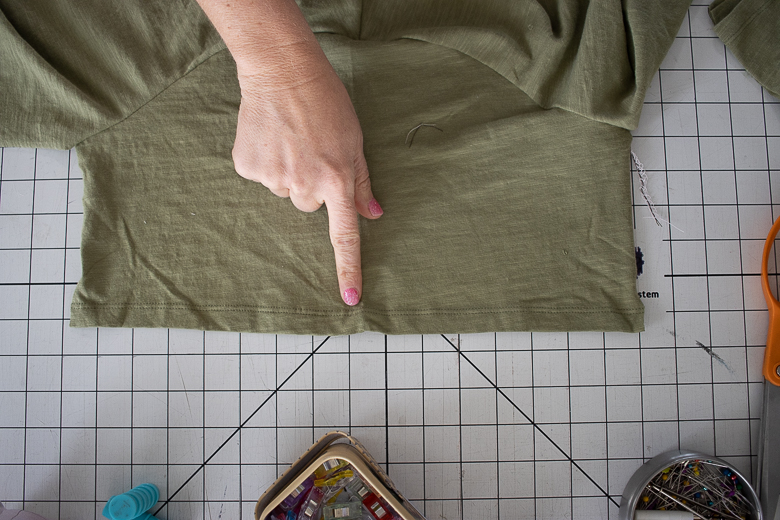
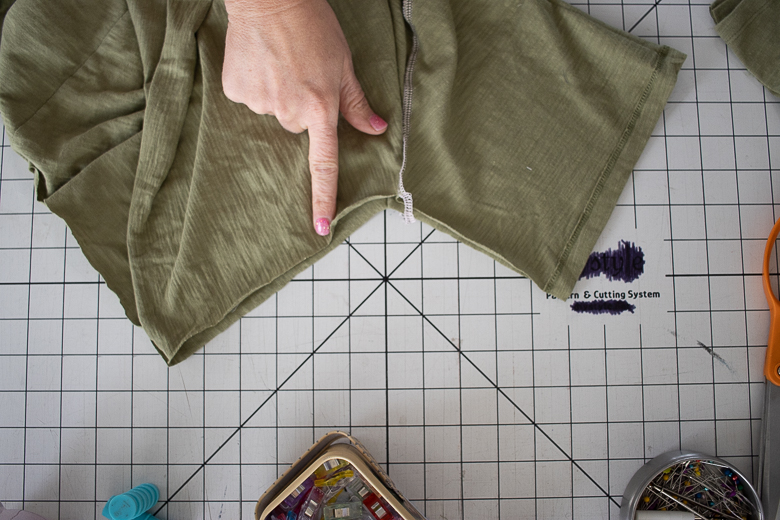
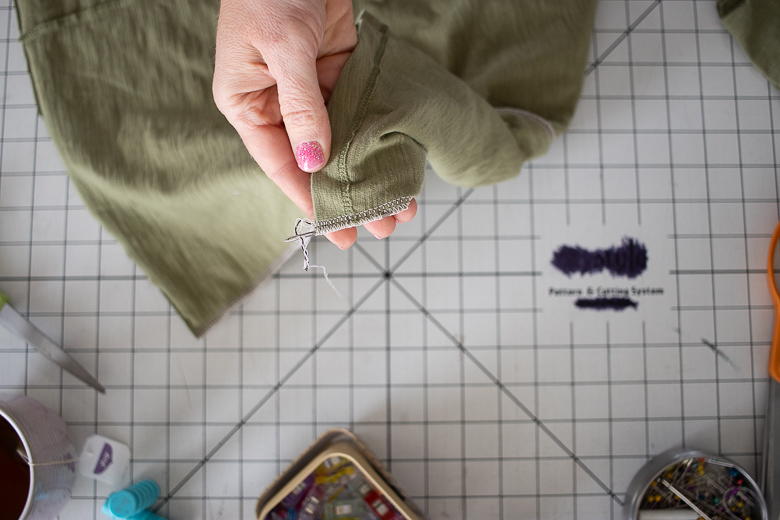
If you hemmed before the side seam, finish the loose serger threads by threading through seam or sewing back over on the seam.
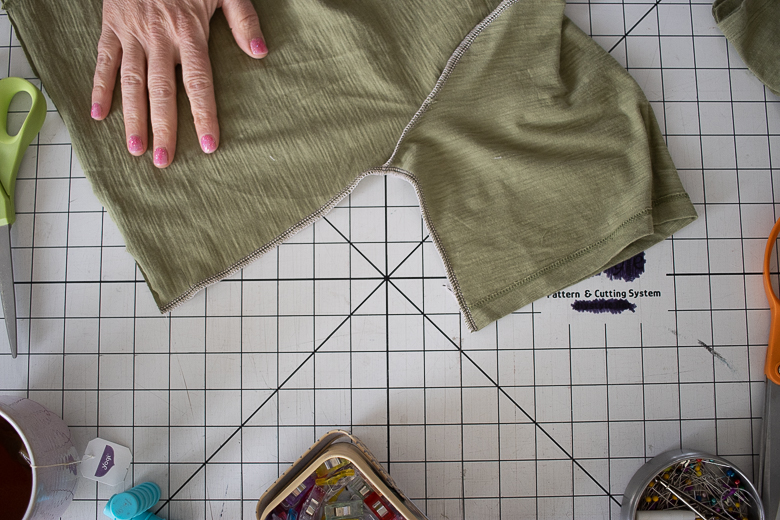
Take the two skirt pieces and sew the side seams {short sides} together with right sides together. After you sew the side seams hem the bottom of the skirt with a 1/2″ hem.
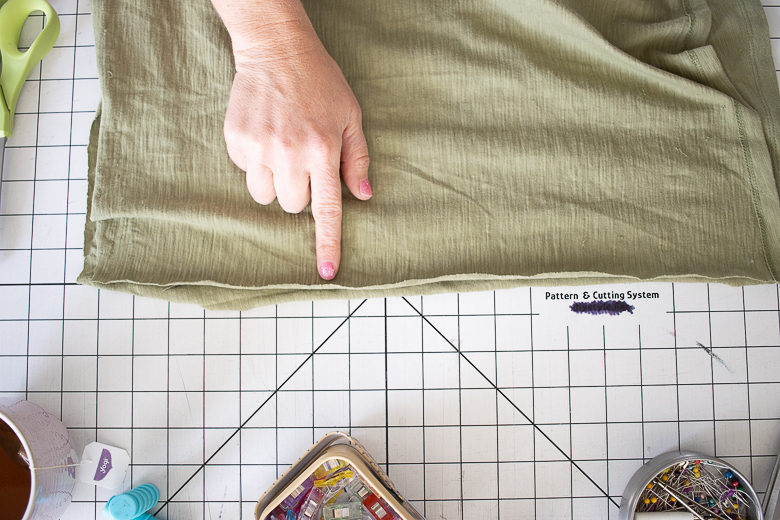
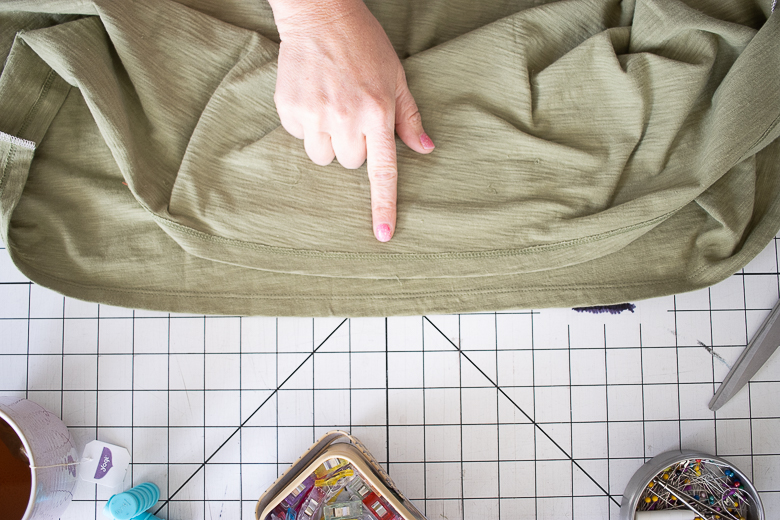
Now we need to join the top and bottom parts of the this dress. Run a gathering stitch along the top edge of the skirt. Pull the threads to gather the skirt until it is the same width as the . top
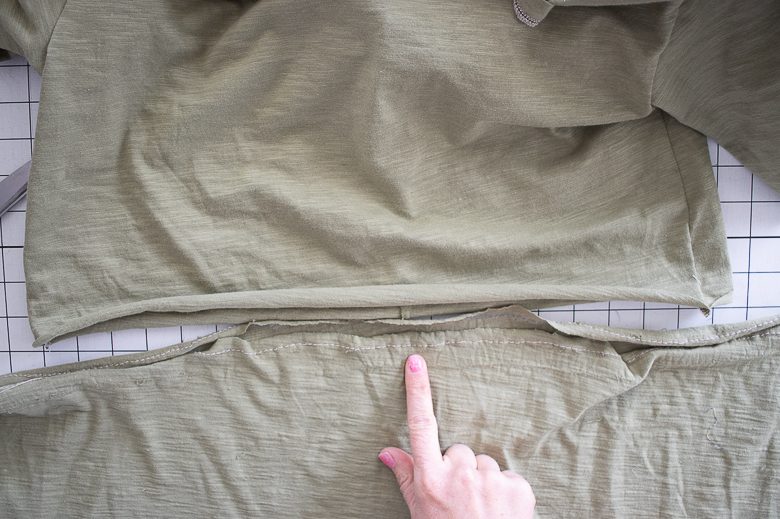
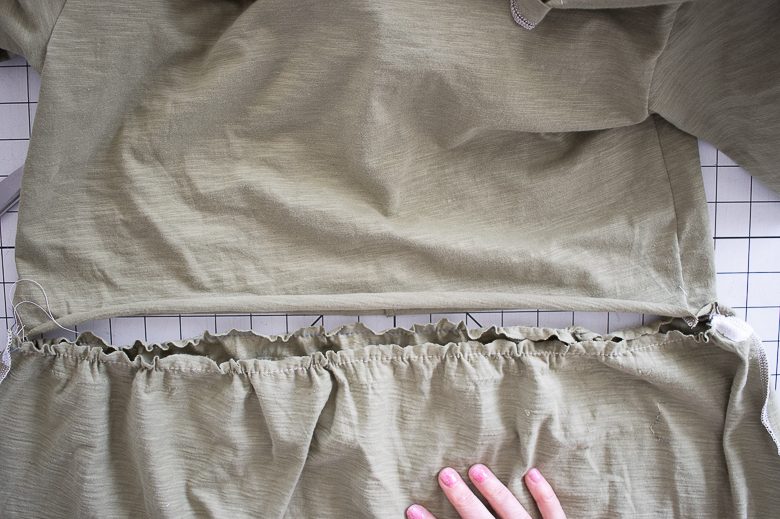
With right sides together, pin or clip the top and bottom together. Sew.
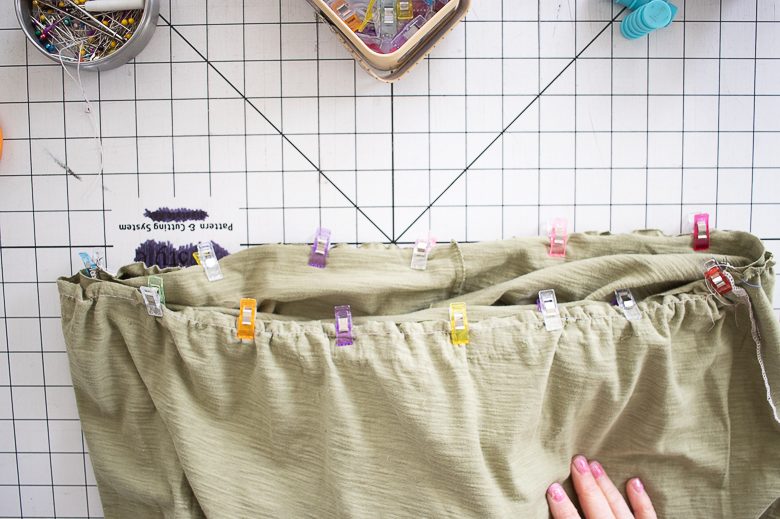
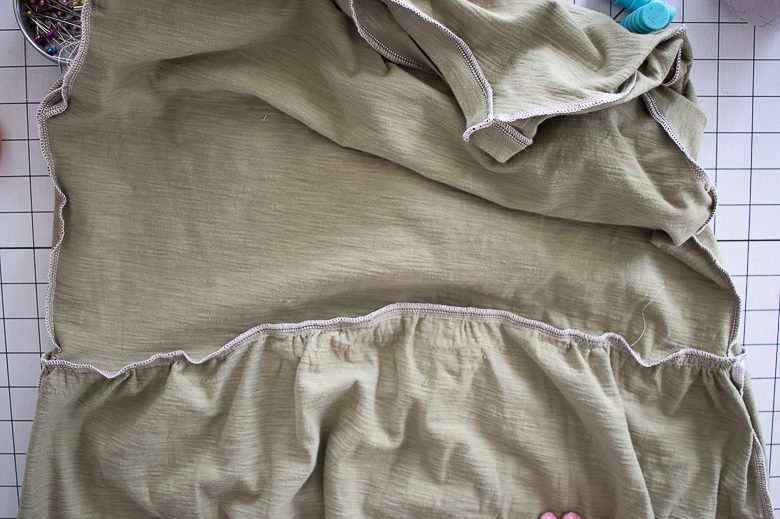
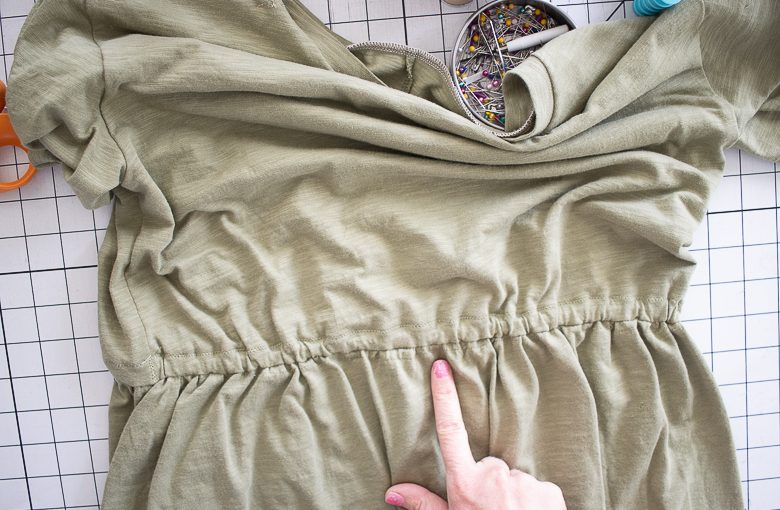
The next step is to start to create the elastic casing. With BOTH layers of fabric pinched together, sew 3/4″ from the sewn edge of the dress. The skirt WILL HAVE puckers! The dress top should NOT have puckers. You can see both sides shown here. One with the gathers and one without. Use a narrow zig zag where you can’t use a serger. Again, remember that you are sewing BOTH the skirt and top together.
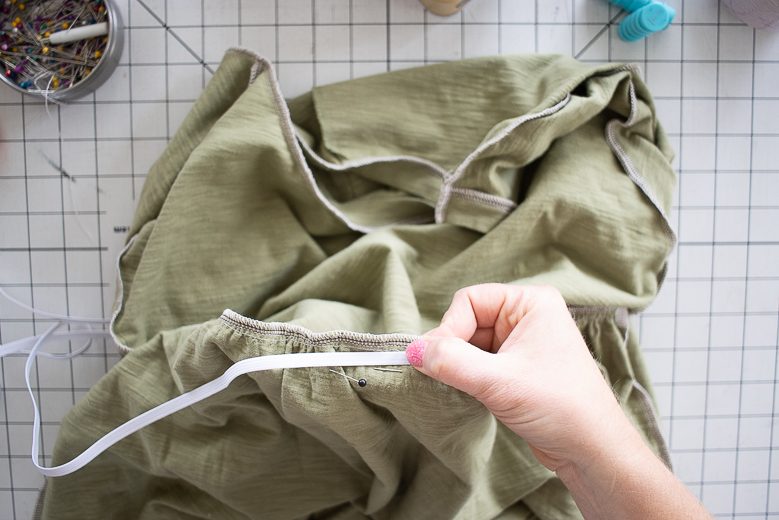
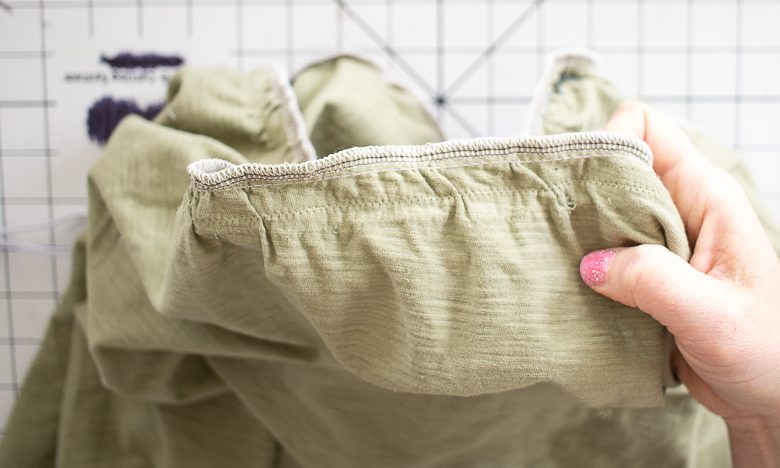
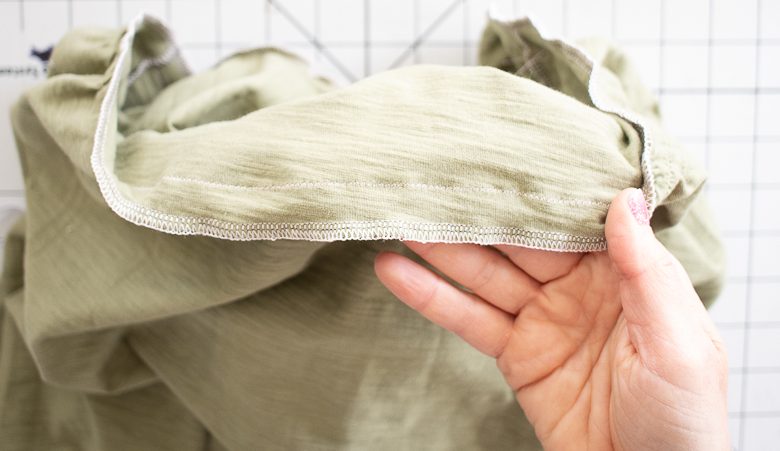
For the final step in the casing process, take that flap you just created and fold it UP towards the dress top. Pin and sew on the RIGHT side of the dress top to make sure it looks good and there are no fabric puckers.
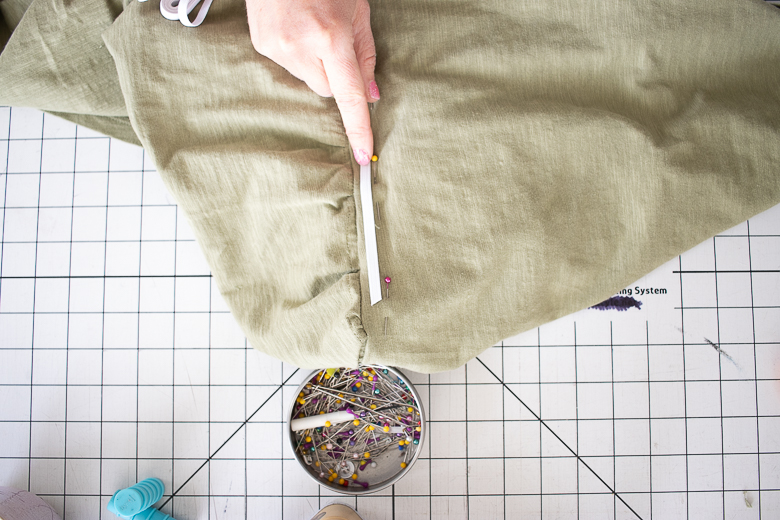
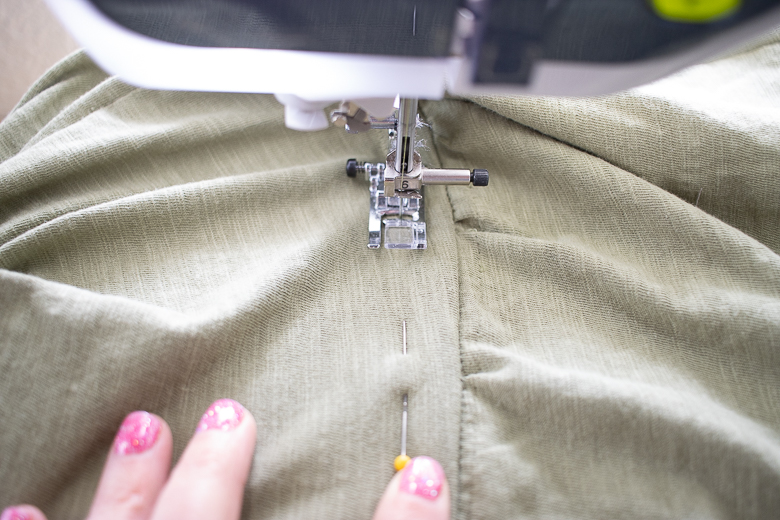
I used the same narrow zig-zag here and remember to leave an opening for threading the elastic. Thread the elastic through the opening and then sew the ends of the elastic together. Try best you can not to twist the elastic. Sew closed the opening in the casing. Top-stitch on the side seams to keep the elastic from twisting.
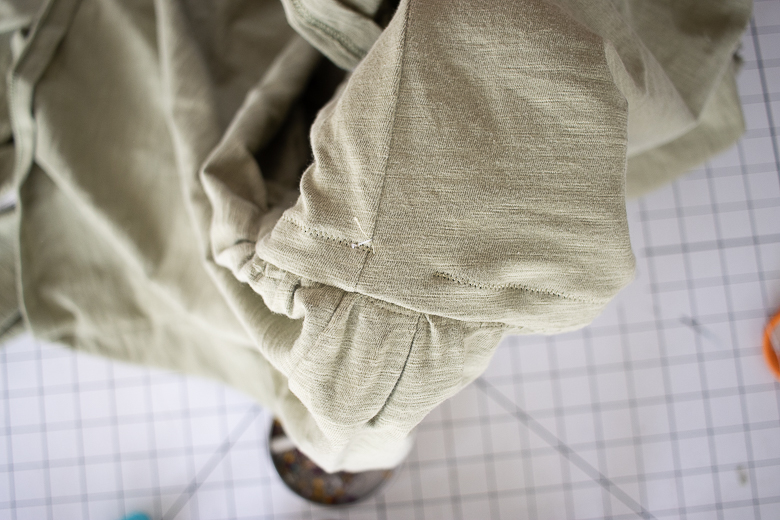
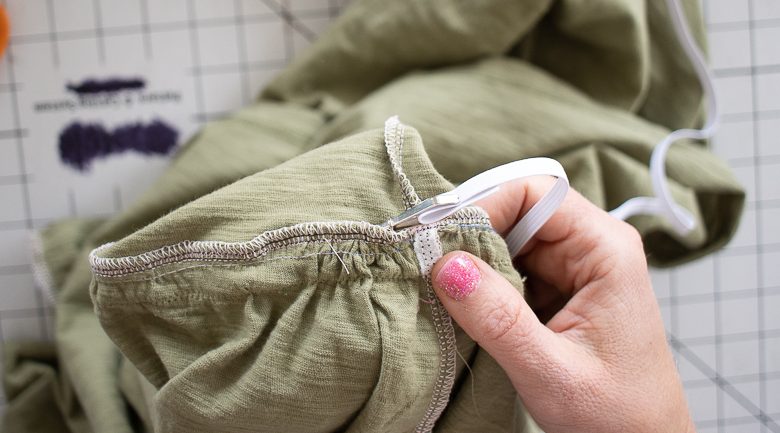
Now your dress is finished! I hope you love it as much as I do. If you think you will always wear the sleeve as a cuff you can stitch the cuff up so it stays.
That’s it! Once you sew this once it will be simple to sew up several! Be sure to share photos with me because you are going to love this dress.







Candra Brown says
Thanks for sharing! I hope to make a fun patterned dress for my daughter soon.
Meagan H says
Could I use a recycled jersey knit sheet for this dress? It’s Fall, but I’m already dreaming of summer weather again.
Lindsay says
I haven’t actually sewed this yet, but did run into a problem with the pattern not lining up properly (page 6 and page 8 or 9). There is no way to line it up correctly. Page 6 is the neckline and I just had to guess how to connect the bottom of the neck with the shoulder. I love all the patterns on this site, but this is my second issue with one. (The boys tshirt pattern also has a problem with one or two pages not matching, even with the diamonds lined up properly.)
Emily says
I’m guess there is a printing issue if the lines are not lining up. Are they straight rather than curved? Do the lines look like they do on your computer? If they are printing different then they look on the screen it’s a printer issue. Look up printing PDF as image on google to solve.
Lindsay says
Every line was good except for two or three pages of the pattern. I’ve printed the boys tshirt pattern several times for different sizes and the same page is always the problem…it lines up for the smaller size, but the others don’t work. Since it’s just one of the pages, it’s not a printer problem.