I’m so excited to be sharing another free pattern today – a free wrap cardigan. This free wrap cardigan pattern that I made for myself and it’s in a size small. This pattern is pretty forgiving size wise… so if you wear a size small {or close to that} in any ready-to-wear brand, I’m sure this would fit!
Join the Life Sew Savory Pattern Group for support on this pattern!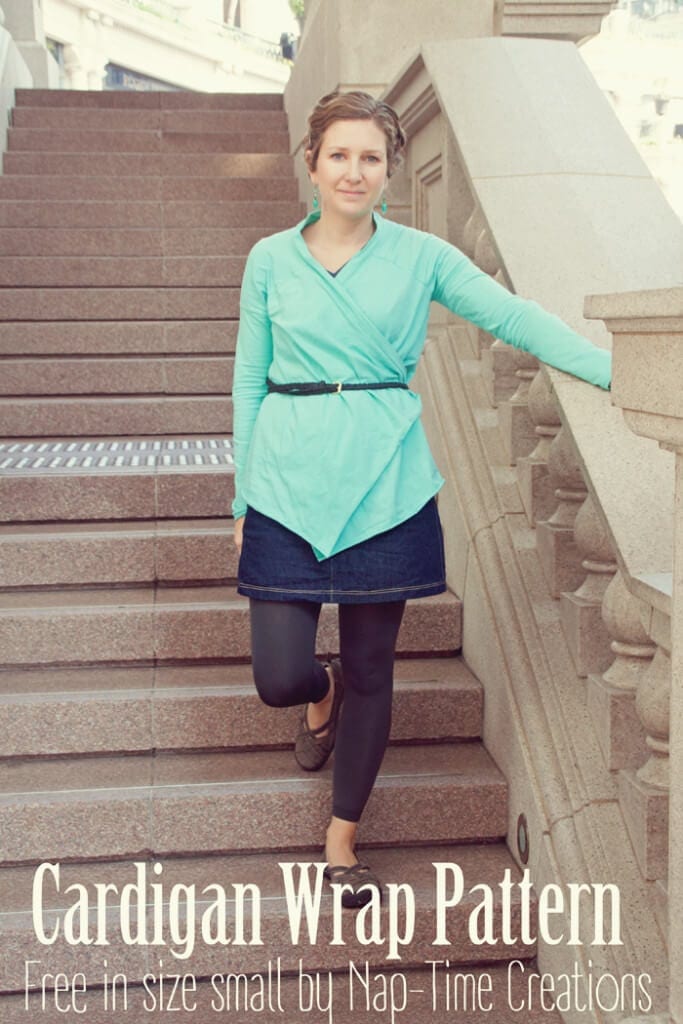
Free wrap cardigan pattern and tutorial-
So when I started this blog almost 5 years ago, I didn’t really think about myself being a model for it. {ha!} I bet my husband didn’t think he was signing up for the job of photographer either! Well, here we are.. both a bit out of our element.. showing off another free pattern.
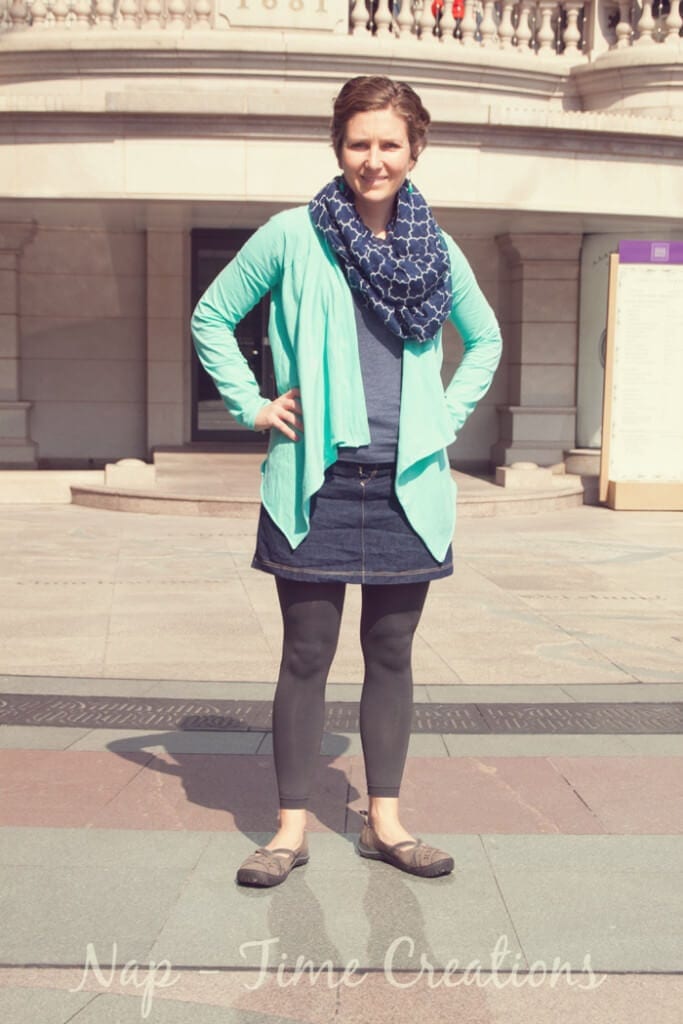
You can wear it with a belt at the waist or open. I’ve worn it both ways and both have worked well.
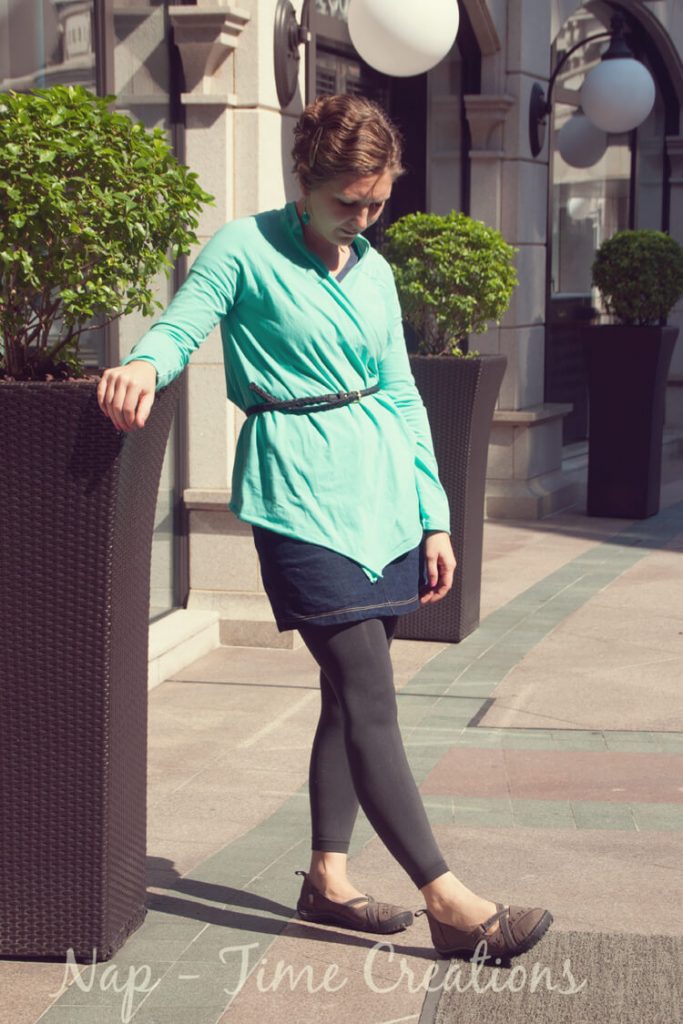
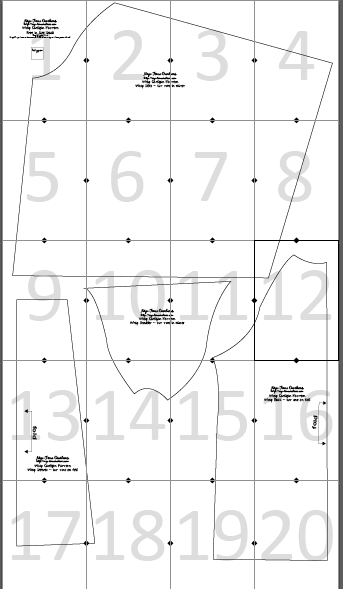
Ok… let’s get started with this easy wrap! You can get the Free Wrap Cardigan Pattern HERE. Download and print the pattern. Please let me know if you have questions about anything. here is what it should look like taped together.
here are other details to know:
- Seam allowance 3/8″ included
- need 2 yards of knit fabric -light weight is better
- Cut an additional strip of fabric 3″ x 60″ for the front edge
- I didn’t finish any of the edges.. I just let the knit roll naturally
- use a serger or zig-zag all the seams
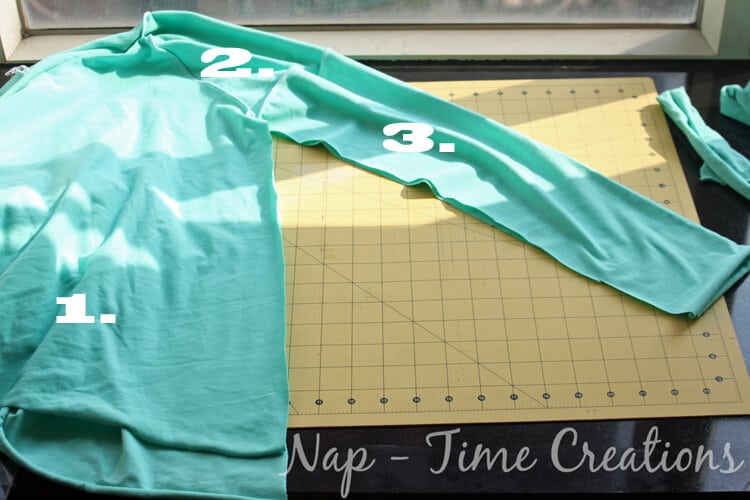
Okay, let’s put this together! You will start the shoulder pieces and the front sides. The shoulder piece one straight side and three curved. The shorted of the curved side is the neckline, the other two curved sides will be sewn to the front sides and the back piece. The neck curve has one point that is taller THIS IS THE BACK.
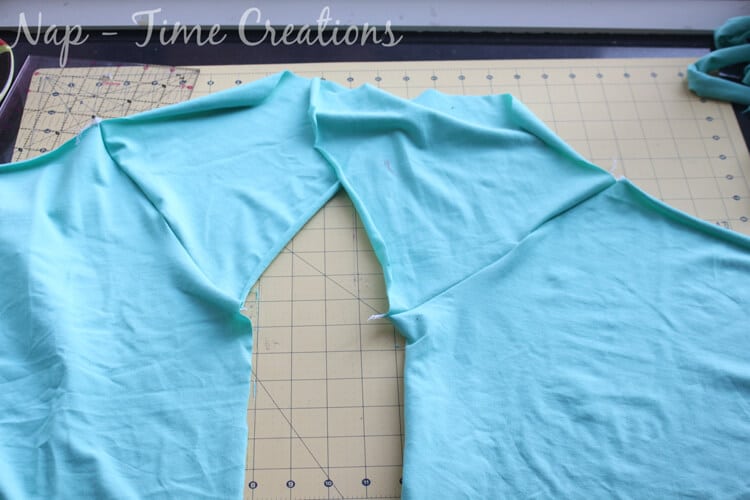
1. Sew the front sides to the front {shorter curve of the shoulder piece} The front side pieces have one short curved side, this gets sewn to the shoulder piece. In the diagram below, then front side pieces are right side up, you can use that to get your bearings. You should have a left and right.
2. Sew the back of the wrap to the opposite side of the shoulder pieces.
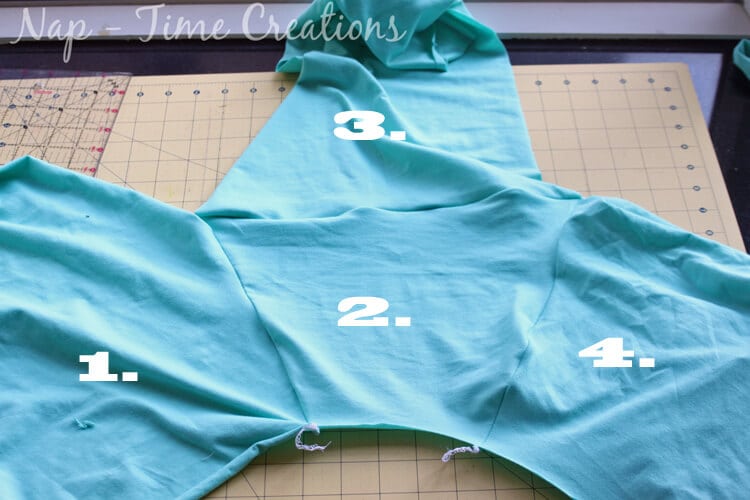
3. Sew the wider edge of the sleeve to the straight edge of the shoulder piece. Below:
- Front side
- Shoulder piece
- Sleeve
- Back piece
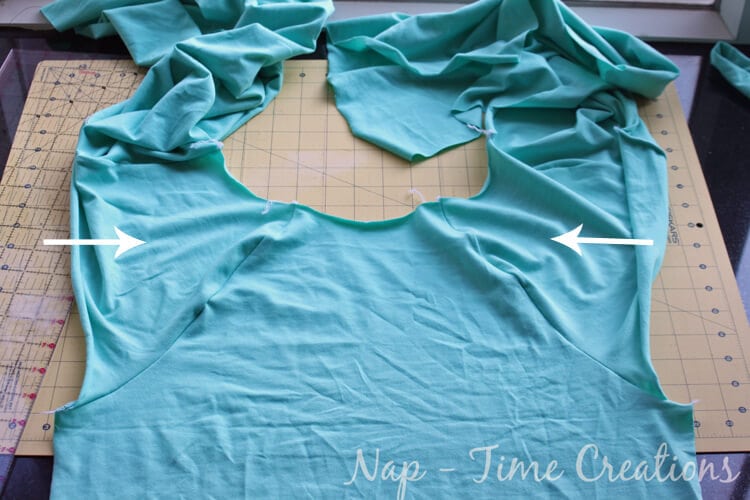
4. Turn right sides and fold to match up the sleeve and side seam. You can see in the photo that my side seams aren’t the same length.. I think I fixed this in the pattern version I shared with you, but let me know if it’s still off. Sew up the side and arm seams.
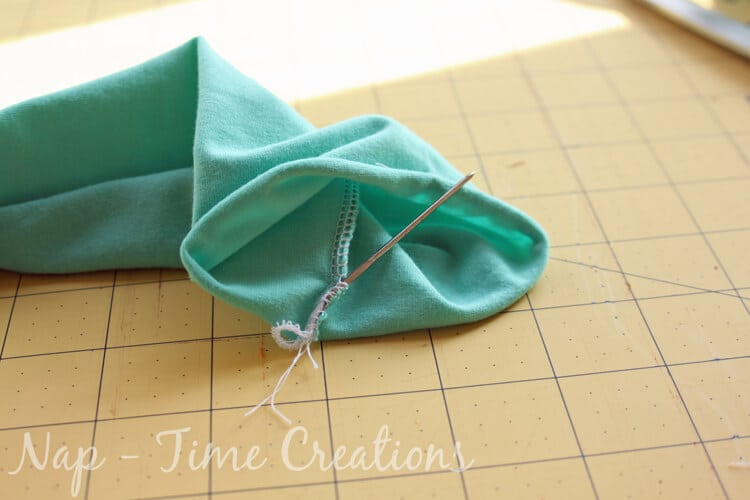
5. If you used a serger, finish the open seams by threading the extra serger threads through the seam.
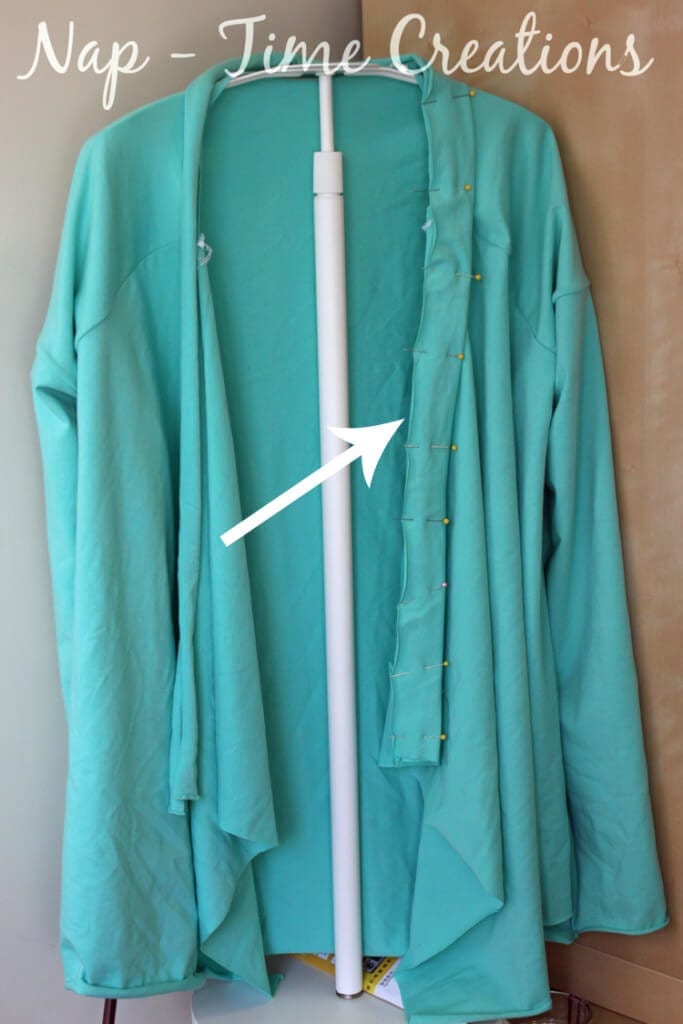
6. Finish the front with the 3×60″ strip you cut. Fold in half, wrong sides together and pin to the front edge of the cardigan. Sew around, then turn and top-stitch the seam allowance to the main cardigan body.
You did it!! All done! Please let me know if you need help with any step or find problems with this pattern. Again, the link to the free wrap cardigan pattern is here.

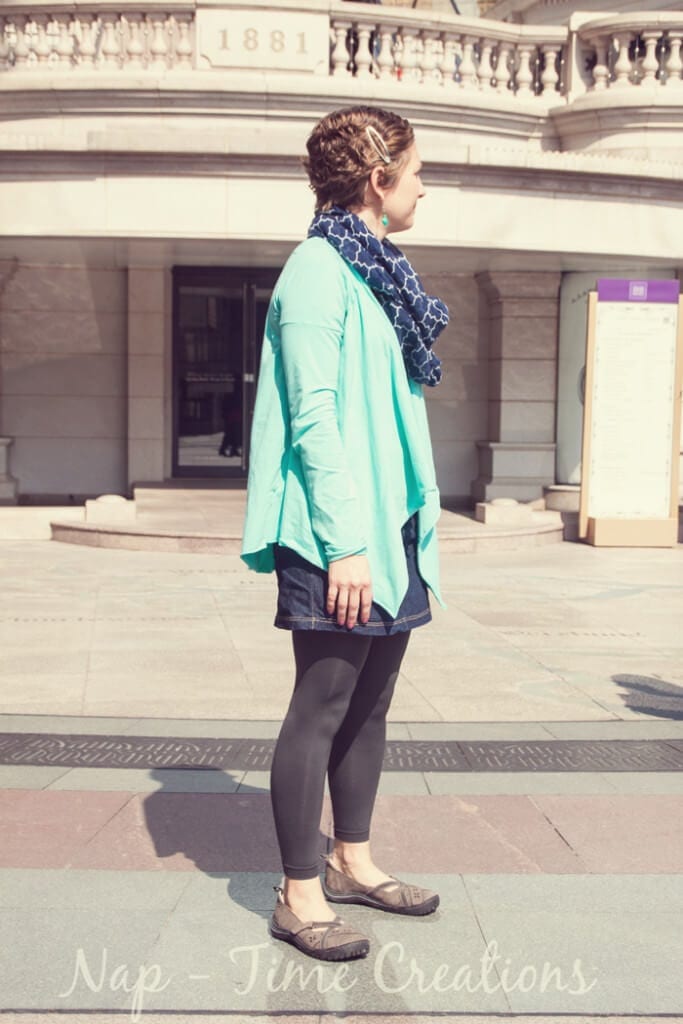
A couple more views of the wrap… I love how versatile this is… I like that I can dress it up a bit, or just wear it for casual..

A few other free patterns for women you might enjoy…







Diana Rambles says
Super cute!!
Leesha @ Living Contently says
I love this! It is so simple and looks so comfy! Thanks for sharing.
Katherines Corner says
Thank you for sharing at the Thursday Favorite Things Blog Hop. I featured you on facebook and google plus xo
Jessica says
This looks so simple and chic.
Emily says
thanks!! I love it!
Emory says
May I ask where you got the wonderful mint knit fabric?
Kristie says
In determining if you qualify, we applied
the certification calculator on my web site.
Bonnie C. Westrom says
Thank you for sharing your adventure. You have a wonderful family.
Luxurious Craving says
Very inspiring! I have been searching for a Wrap Cardigan like this forever.
I love this collection you’ve shared here. This info is invaluable and helpful to women for buying the best and perfect cardigan for her. Appreciate it!
Thanks for sharing.