inside: Sew a beautiful full tulle skirt in any size with this tutorial. This tulle skirt is the perfect party skirt and can be made with this easy sewing tutorial for any size.
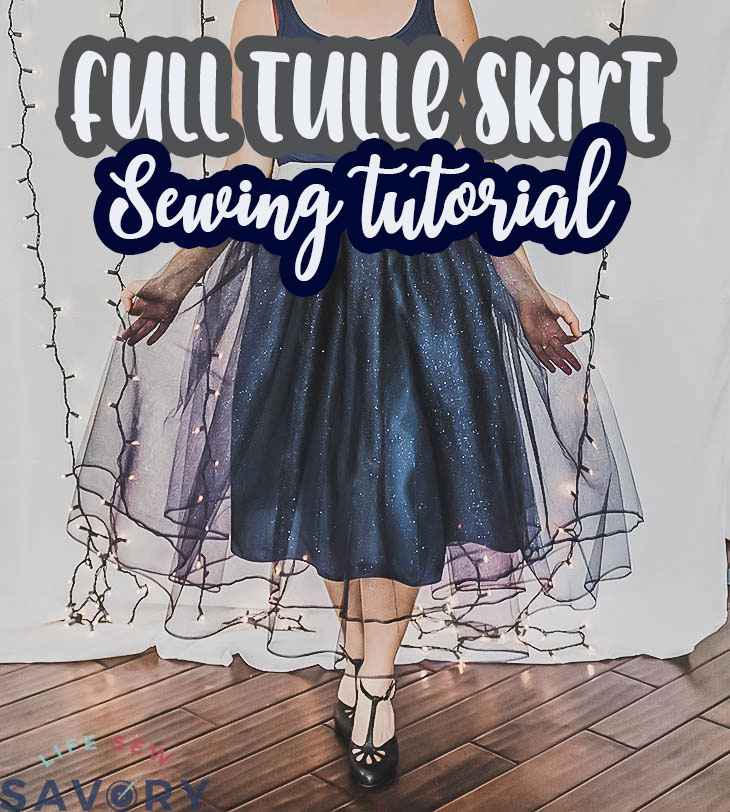
I sewed this skirt as part of the big Brother Sews holiday party scene last year. It was such a fun project I thought I would share it with you here today. This full tulle skirt tutorial can be used to sew a lined tulle skirt in any size. This sewing tutorial will give you the details so you can recreate this no matter what the size you are sewing for, kids or adults.
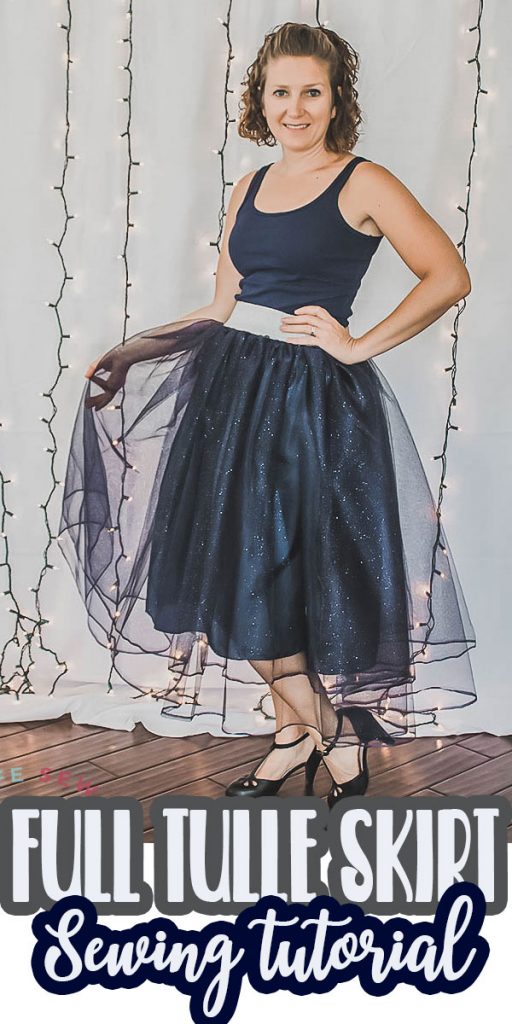
Full Tulle Skirt Tutorial –
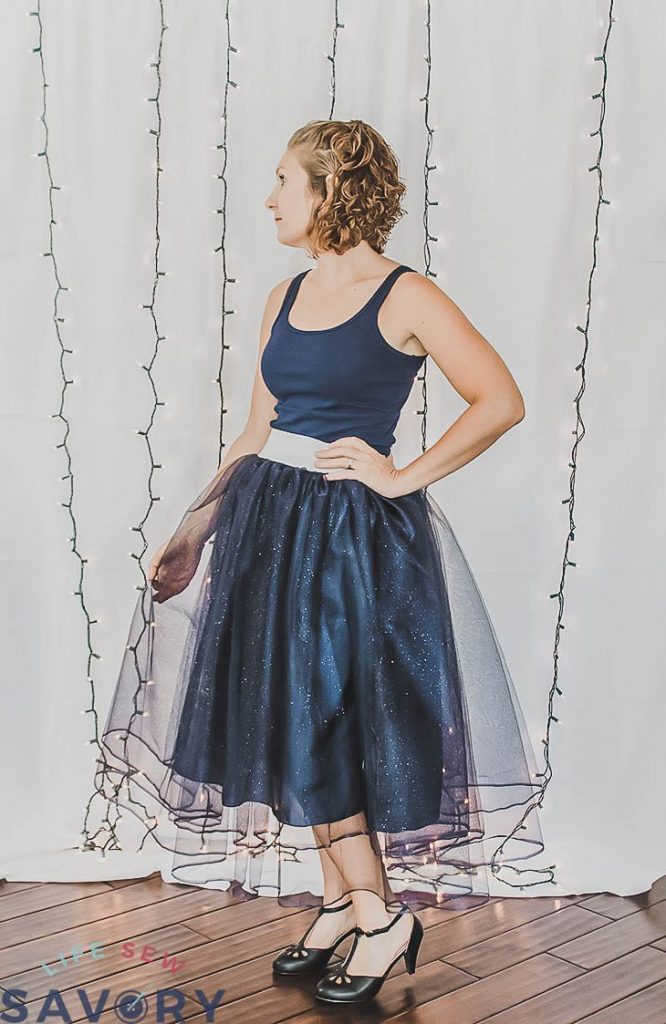
Here’s another close up of the skirt before we dive into the sewing tutorial.
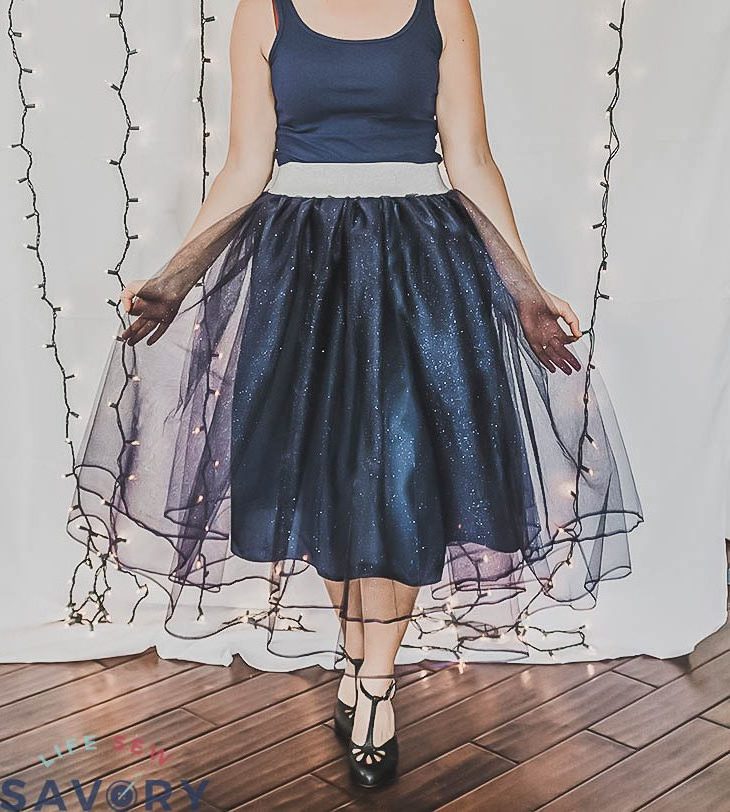
For extra effect this skirt was sewn with glitter tulle, and although it does get EVERYWHERE {and I do mean all over my whole house} I love the finished effect and would totally recommend using it for your own skirt project.
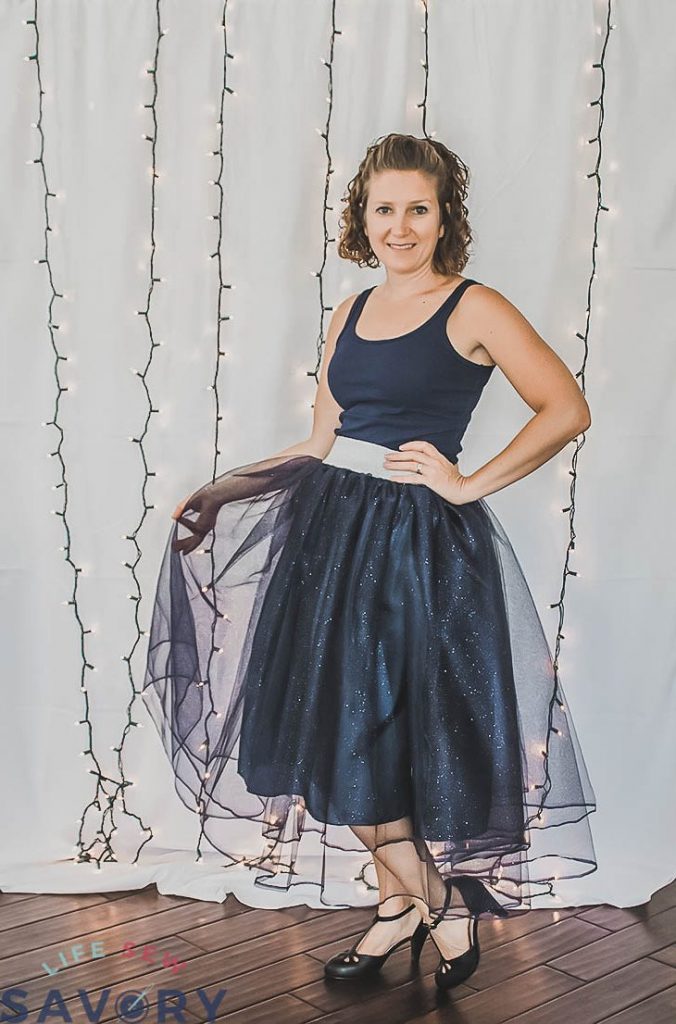
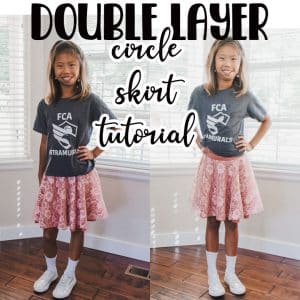
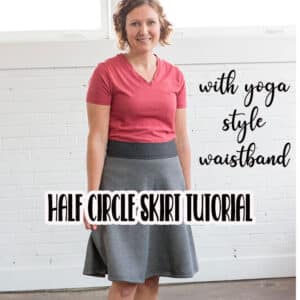
More free skirt tutorials-
Tulle Skirt Supplies –
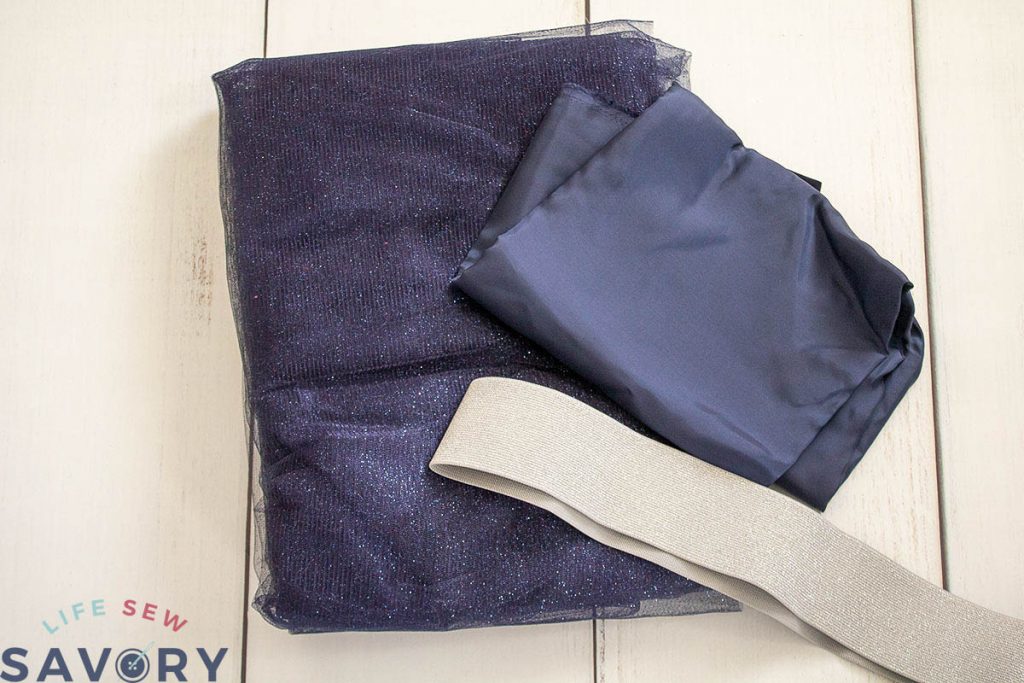
- Six yards tulle (or glitter tulle like I used). Note: The yardage should work for most skirt sizes. For a fuller skirt, add more yards of fabric.
- 2 yards light lining fabric
- 3” wide glitter elastic
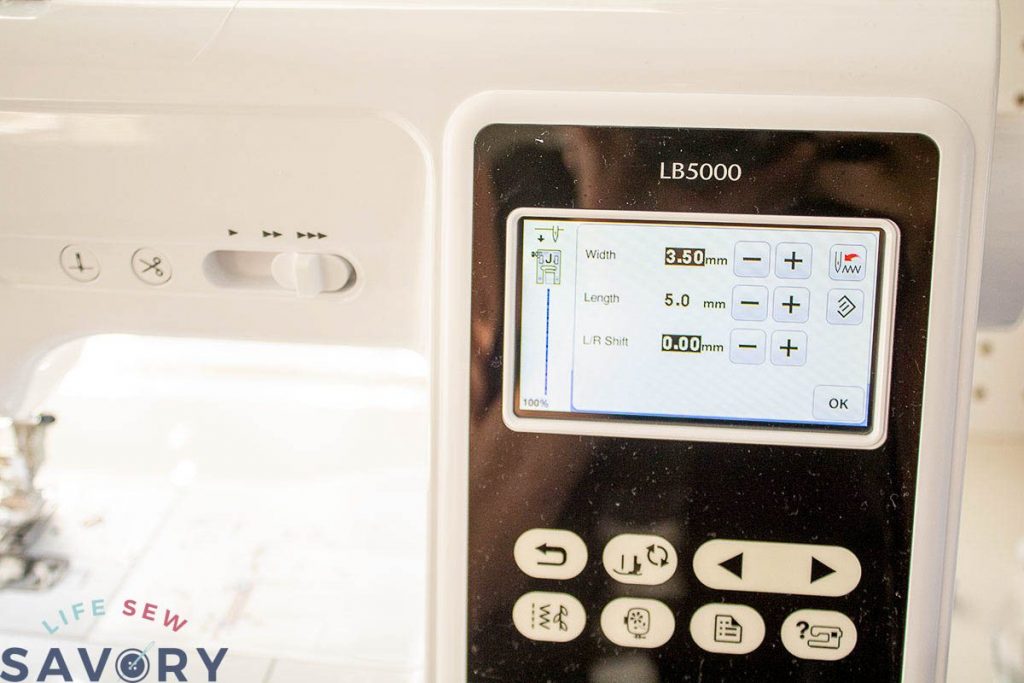
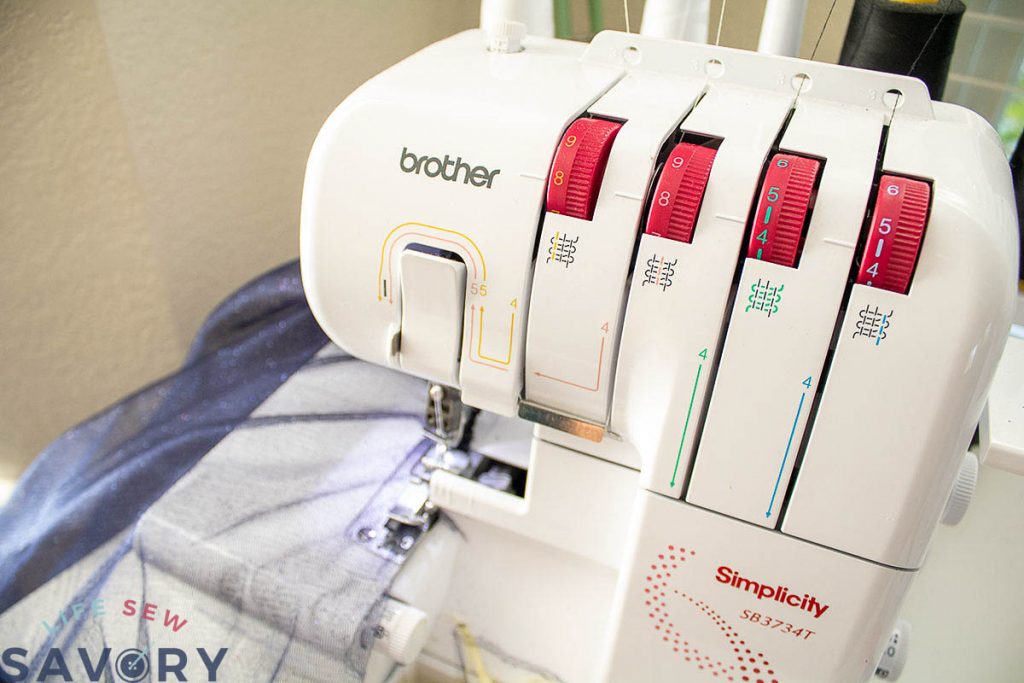
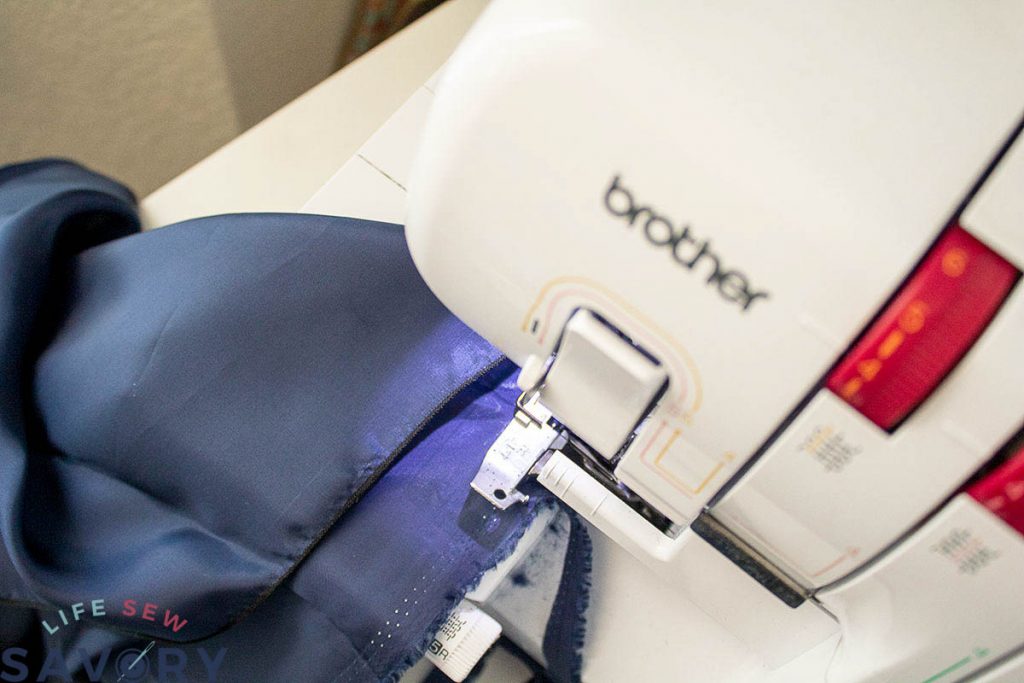
- I used my Brother LB5000M and my Brother Simplicity Serger SB3734T
Let’s get sewing!
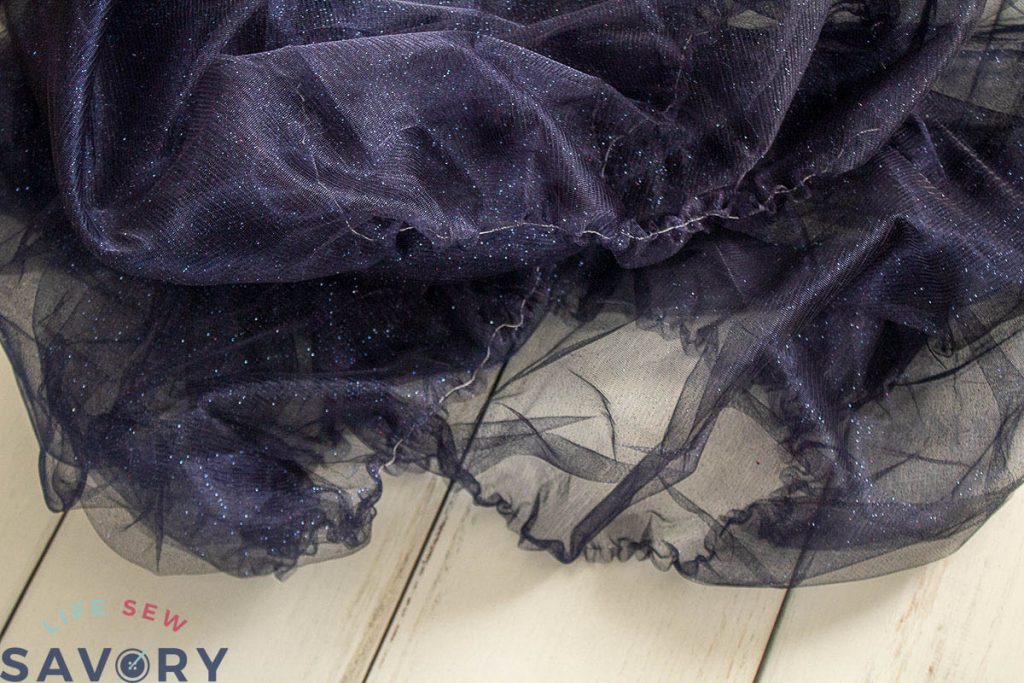
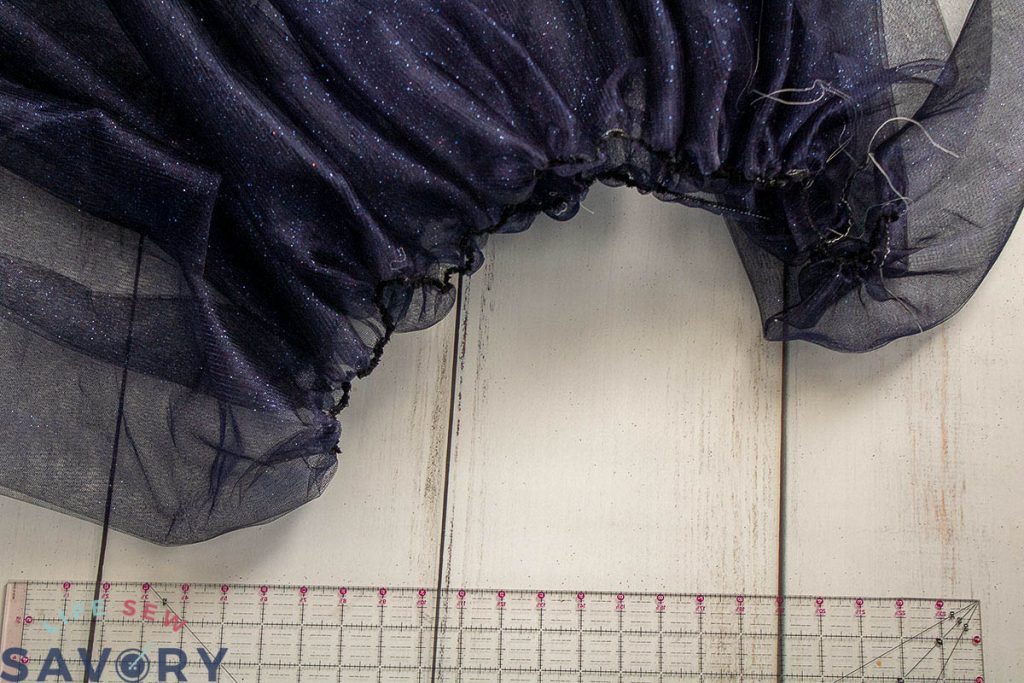
Because I was sewing an adult skirt I was able to fold the tulle in half and use the original edges as the hems. I choose to layer the two hems, but you could also fold exactly in half. Sew the top folded edge of the tulle with a long basting stitch. This will secure the fold and start the gathering. I sewed 6 yards of tulle folded in half the long way to start.
If you are making a kids skirt this fold will be still way too long. You will have to trim one long edge after you fold the fabric. Finish this raw edge with a rolled hem after trimming.
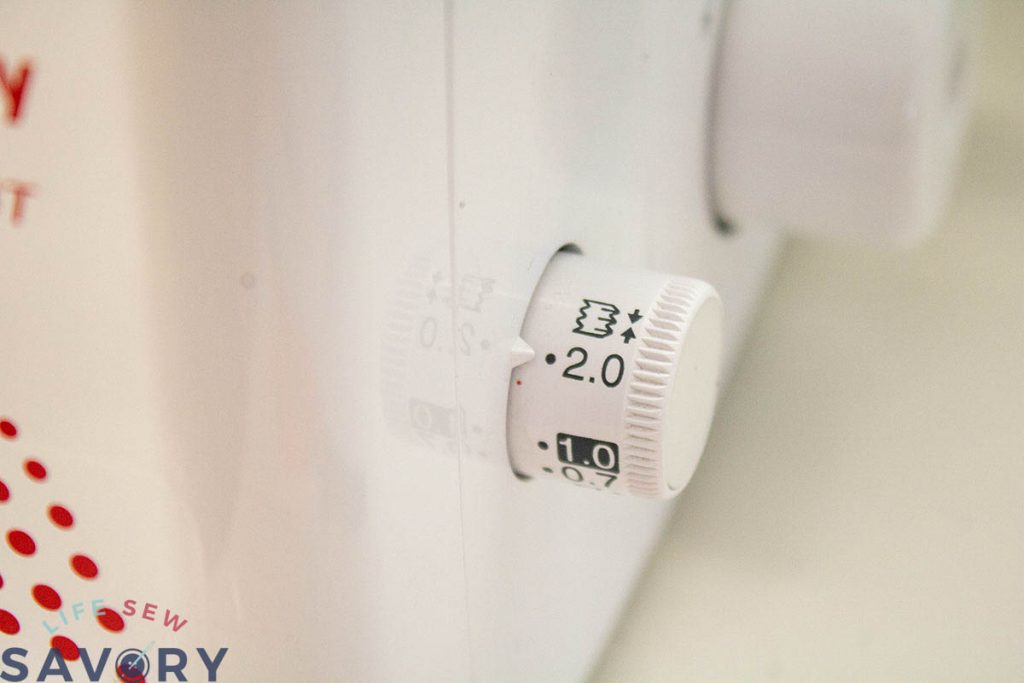
You can either sew another basting stitch and use those two thread to gather {need gathering help? See this gathering post for tips} You can also use your serger to easily gather the fabric. Set the stitch length to 2.0 and tighten the thread tension 1-2 numbers higher. Sew the top fold of the fabric and watch it gather.
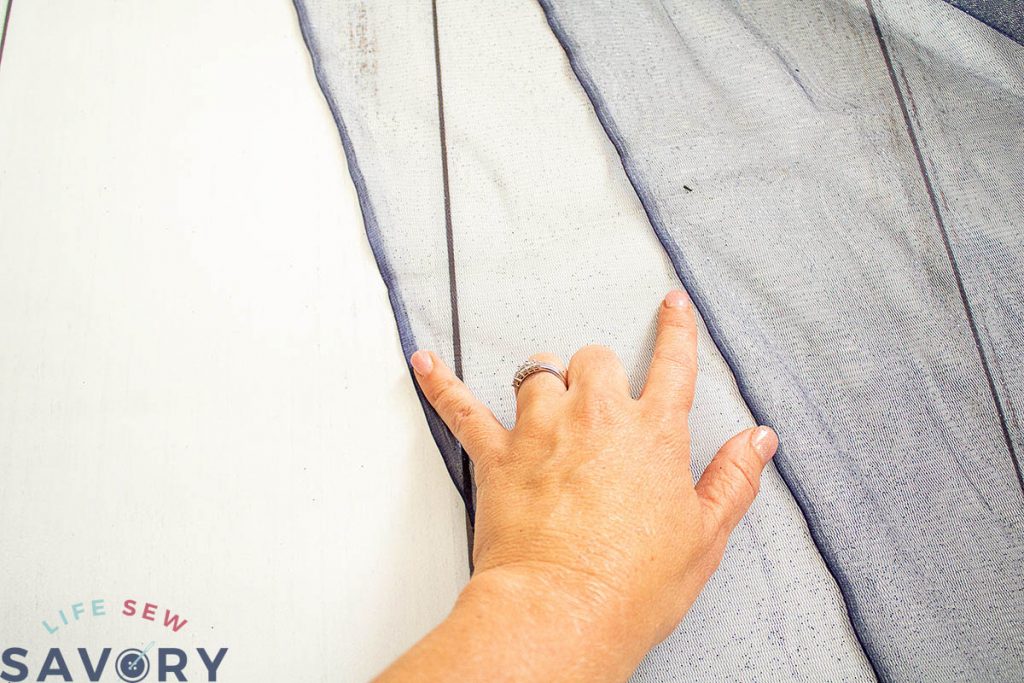
Take the two short edges and sew them together so now your fabric is in a circle. Gathers on one side and layered hem on the other as show. Don’t worry if the gathers aren’t tight enough yet, it should still be a bit too big for your waist.
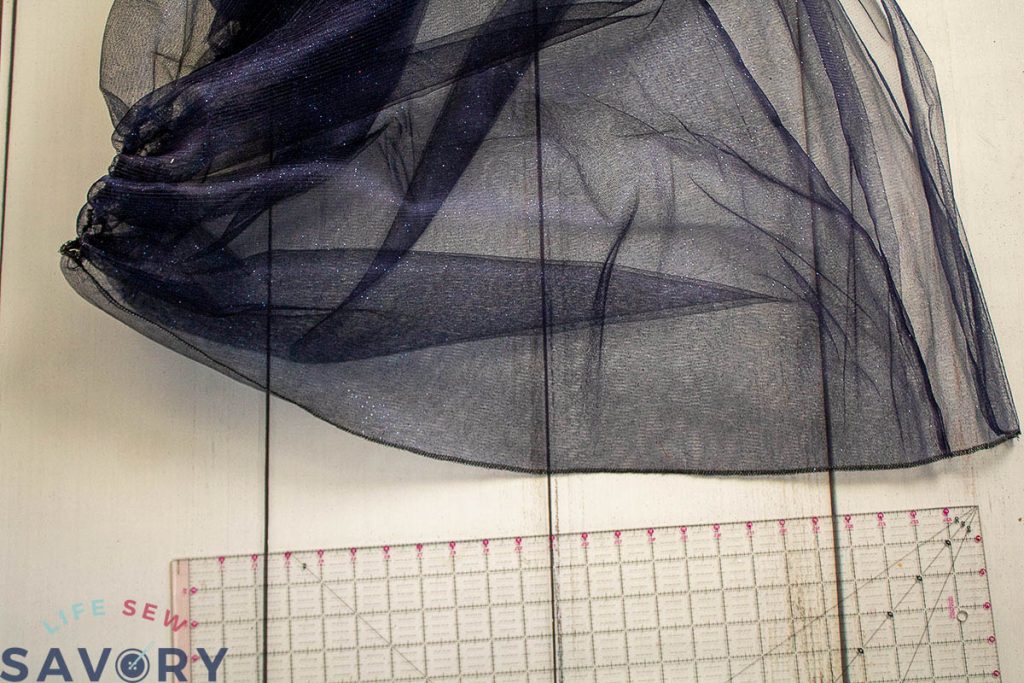
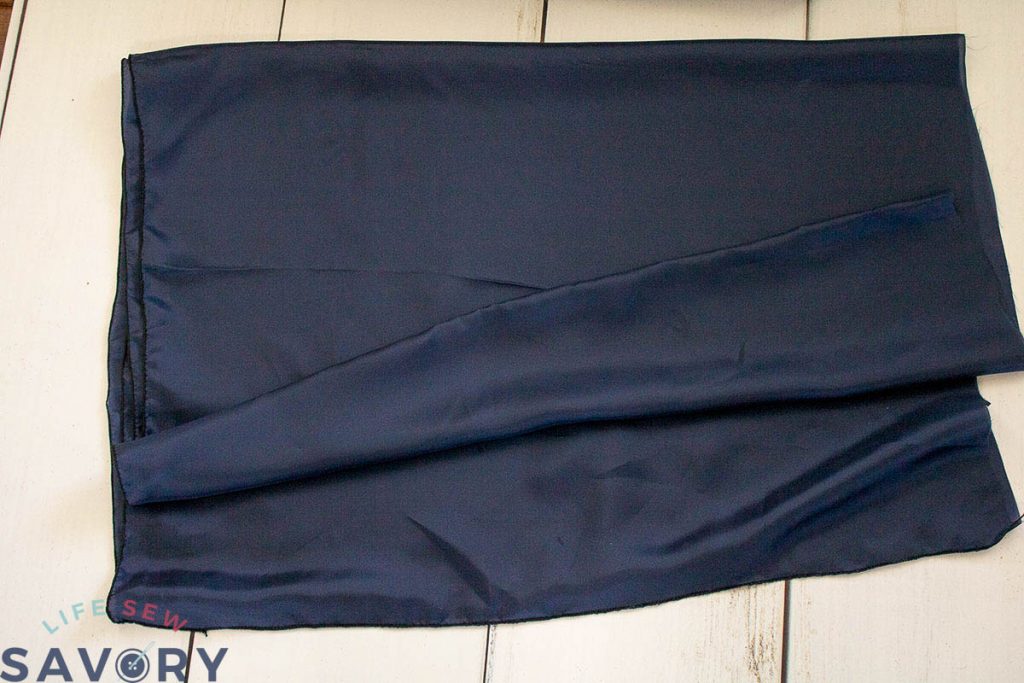
Cut the skirt lining length to where you want it. I wanted it shorter than the tulle layers, but this is up to you. You liner should be 2.5x you waist width to start and the length you desire. finish the bottom edge with a rolled hem on your serger or sewing machine to finish. Sew the short edges together to create a circle. I also finished the top edge of the lining with a zig zag to prevent fraying.
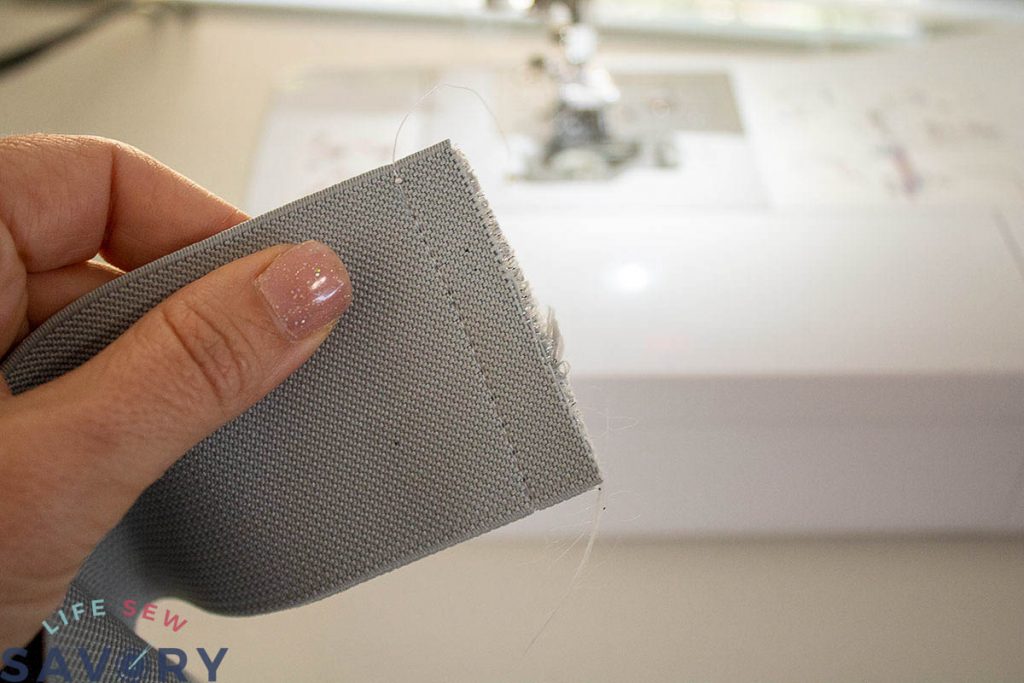
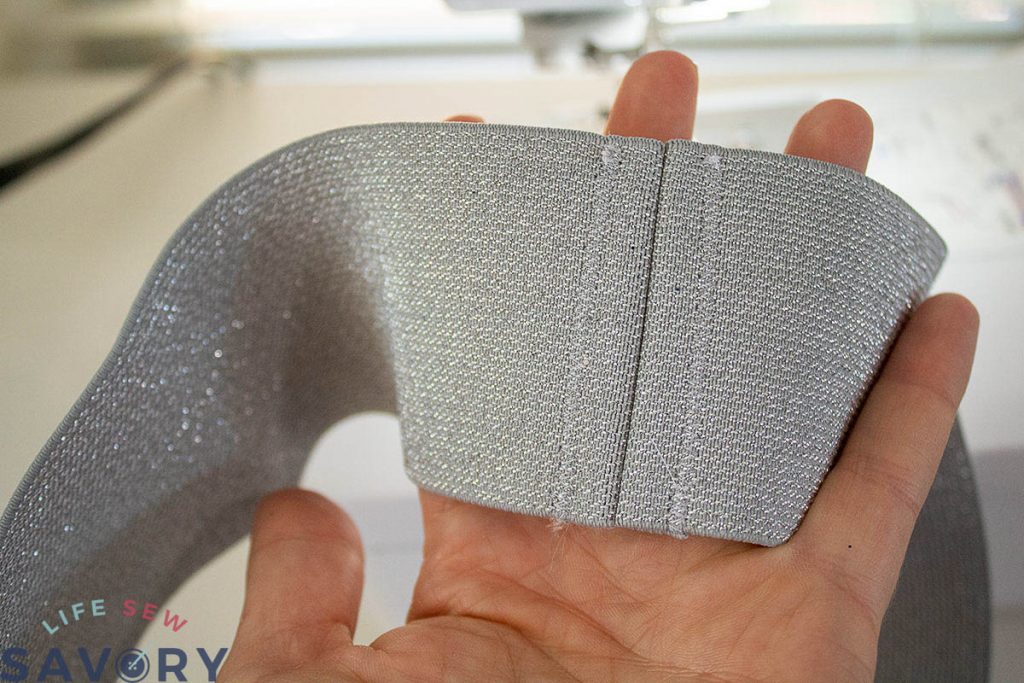
Prep the 3″ elastic by measuring your waist {low or high, depending on style} Cut the elastic to that length {do not add seam allowance}. Sew a 1/2″ seam with the right sides together. Then press open the sides and sew down as shown.
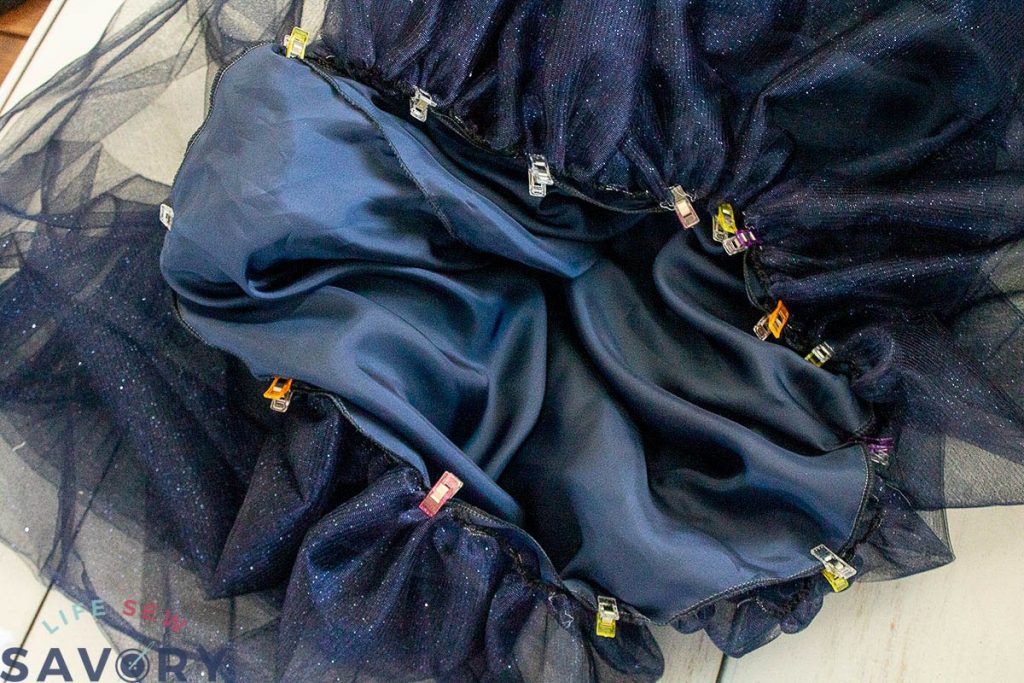
Place the two top edges of the skirt together. If you need to gather the tulle more do it now so the edges match. Baste the two layers together.
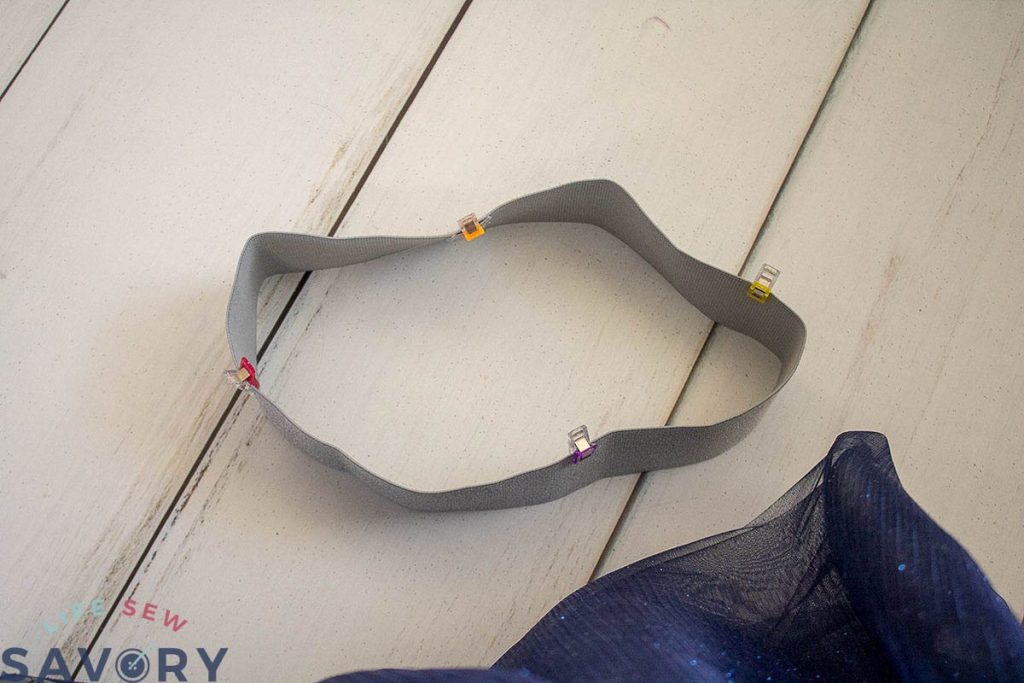
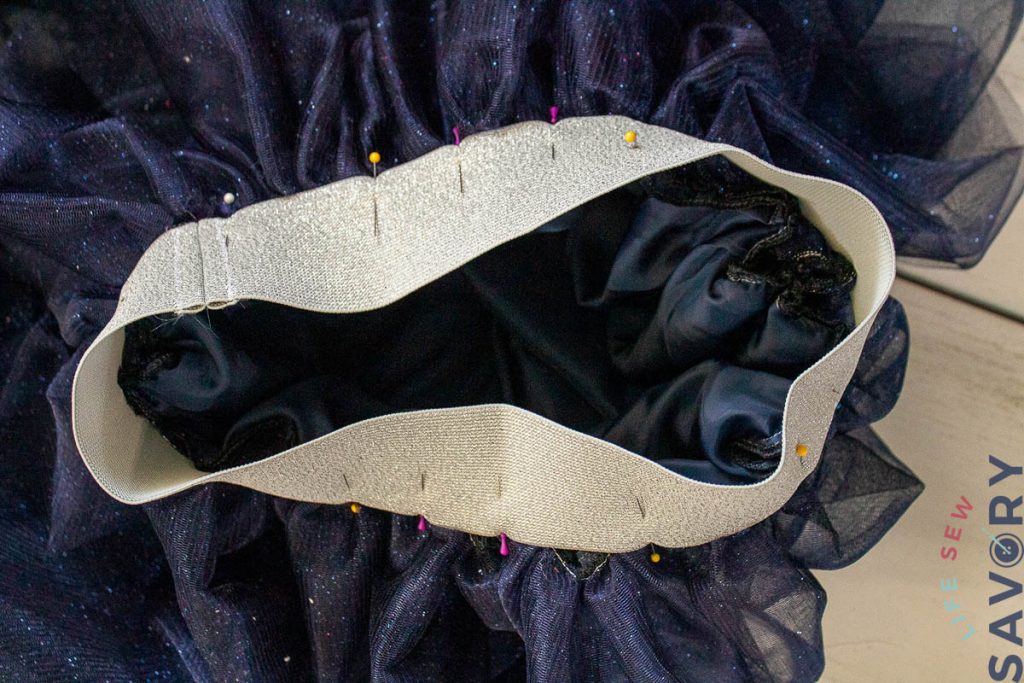
Quarter the elastic and mark it. Do the same with the fabric. Pin the Fabric to the elastic starting by matching the quarter marks, then stretching in between. You should place the gathered fabric on the BACK side of the elastic, overlap about 1/2″.
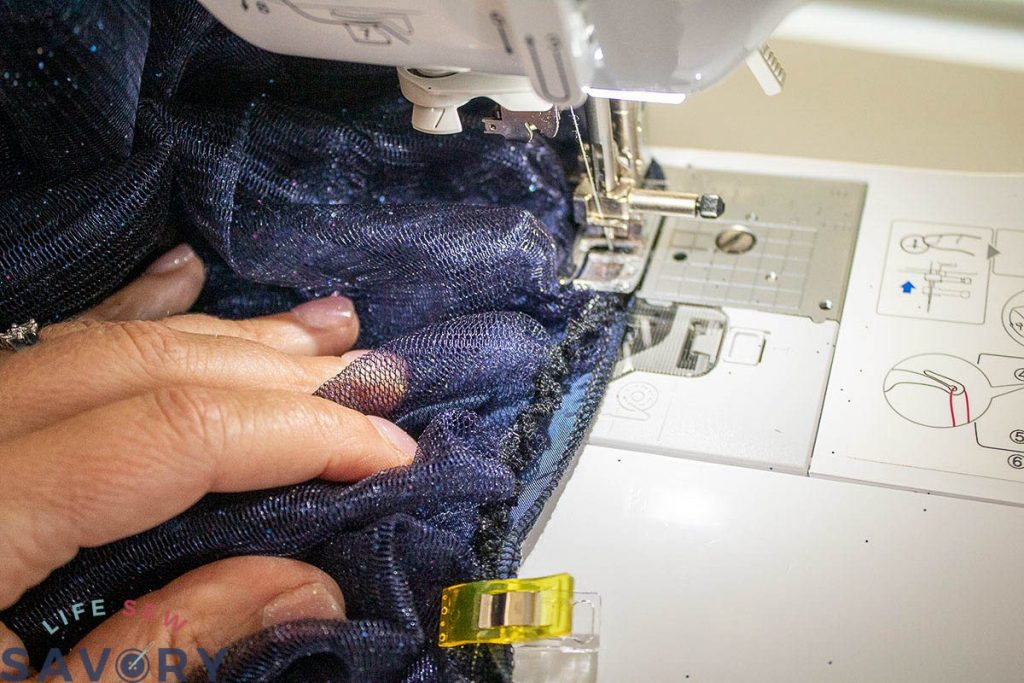
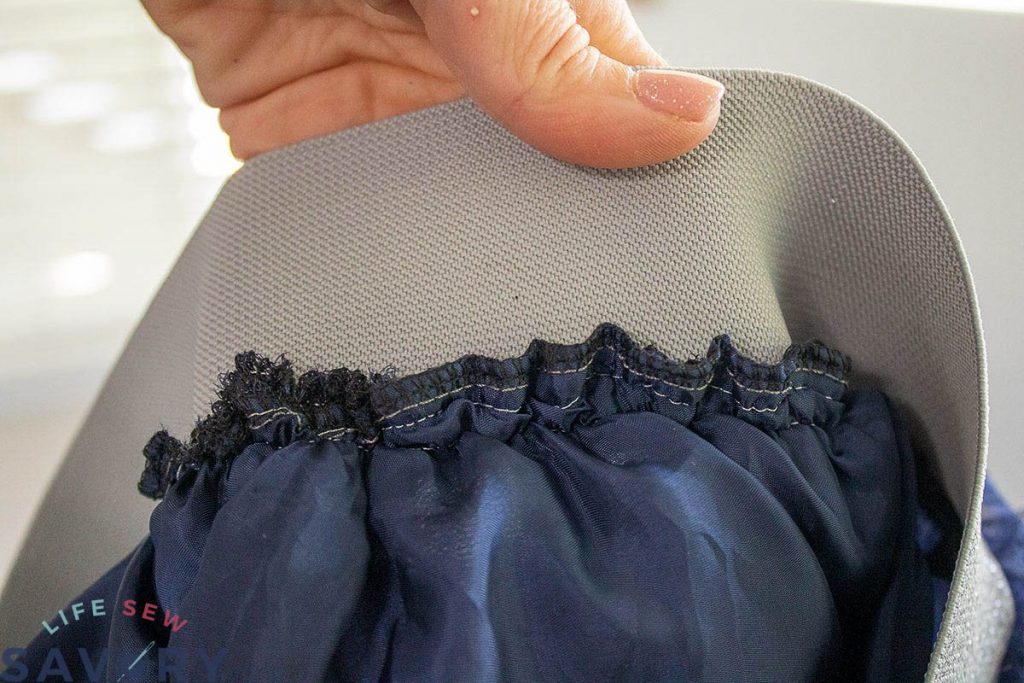
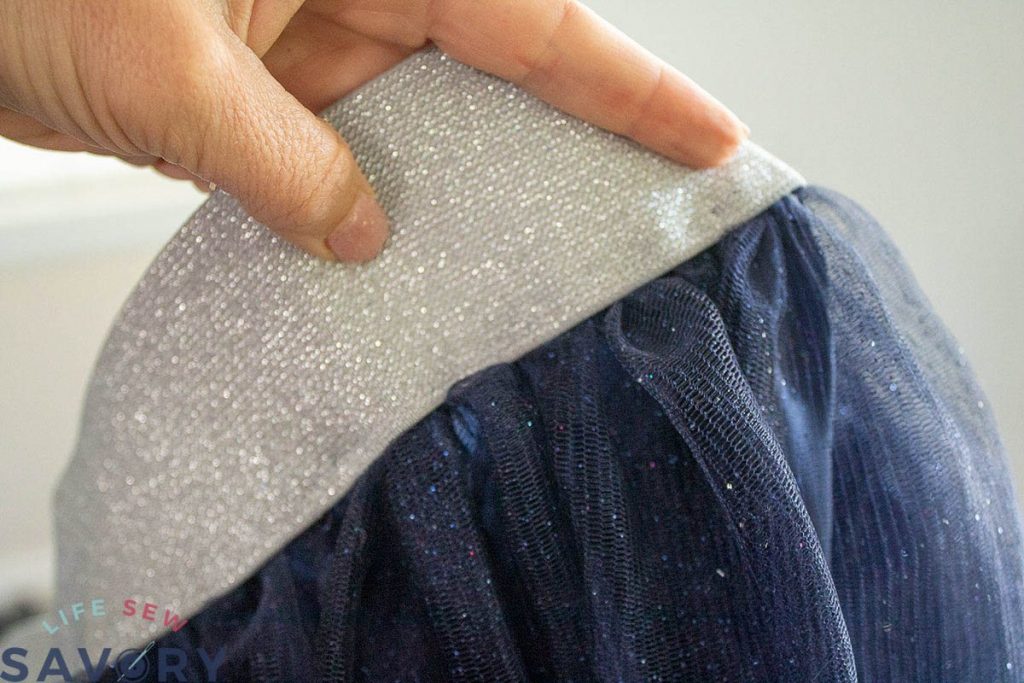
Sew with the elastic side up, keeping the fabric tucked under to attach. See how the fabric is sewed here to the back of the elastic. TIP: use a thread that will match the elastic so you don’t even see the stitches.
And you are finished! Enjoy your new skirt even if you just wear it at home this year. SO many color and tulle options to use for this project.





Leave a Reply