Inside: Use this tutorial to make DIY Giant Floor Pillows with handles. Perfect for lounging, tv watching and adding pillows to your bed. The handles make them easy to move around.
This giant floor pillow diy tutorial has been years in the making! I bought the fabric 2 years ago while walking through a fabric market in Kong Kong. After packing up four large boxes of fabric, and moving my family across the world, this fabric sat in a drawer for a year… This past fall I finally dug it out, ordered pillow forms and make these fun DIY Giant floor cushions. The fabric is a lovely tapestry and it works just perfectly for these pillows.
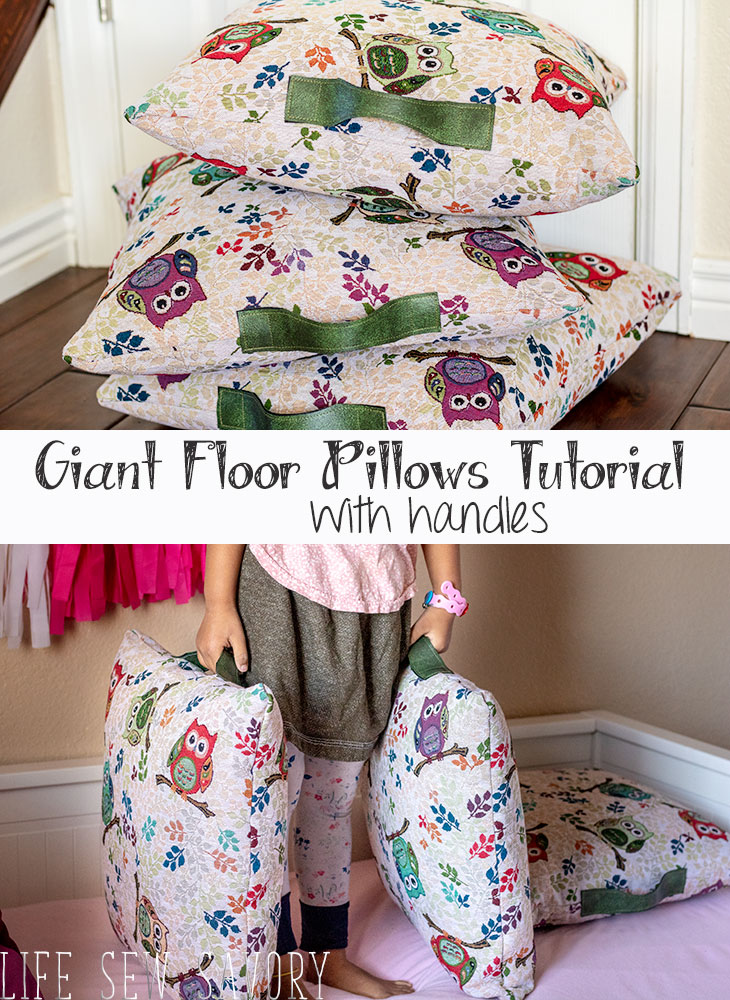
Giant floor pillows DIY –
I knew I not only wanted to make big floor pillows, but that I also wanted to add handles to them to make it easier for my kids to haul them around. DIY floor pillows are so much fun and even more fun when you can pick up several and move them from room to room. So much fun!! Fun for forts, movie watching and so many other ways to play with these DIY floor pillows.
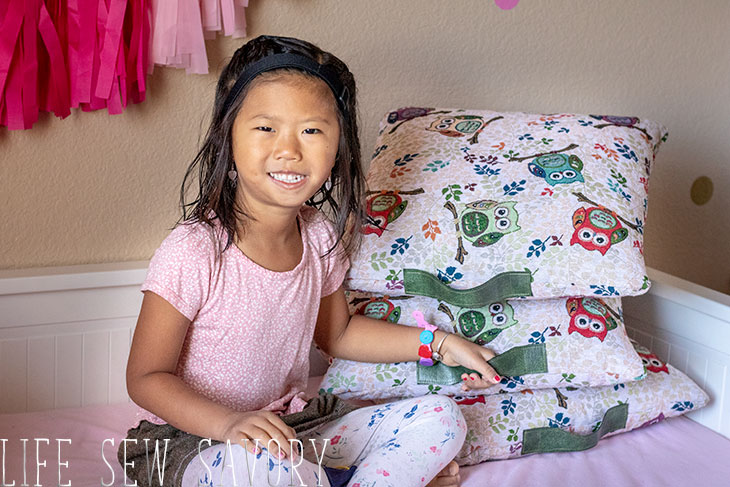
I used fabric panels I found in a Hong Kong Street Market.. they sat in a drawer for over a year and then I finally sewed them up! I’m sooo excited with how they turned out AND now I get to share a giant floor pillows DIY tutorial with you all. You won’t be able to buy the exact panels I used {unless you are wandering the HK fabric markets} but here are some fun pillow panels you can buy on Etsy..
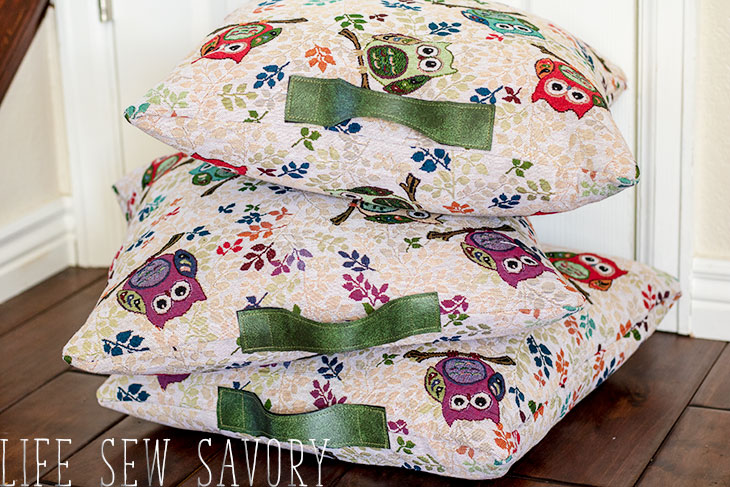
Diy Floor Pillows –
You can make your pillows in many sizes, but these 26″ x 26″ pillow forms are JUST AMAZING! and perfect for make the best Giant Floor Pillows. You can also buy faux leather on Amazon HERE.
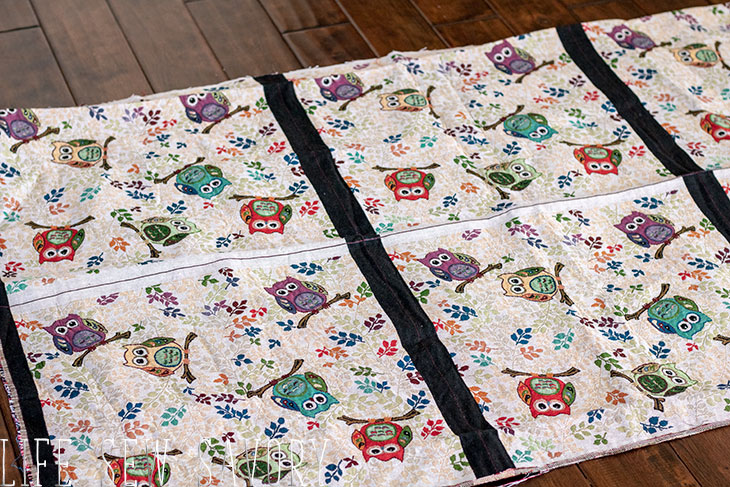
So to recap… to make these floor pillows you will need: Pillow Panels {or fabric to use}, Pillow forms {the bigger the better} and some small pieces of faux leather.
How to make big floor pillows
Let’s walk through the step by step..
Cut your panels apart and sew up ONE side. Sew with right sides of the fabric together.
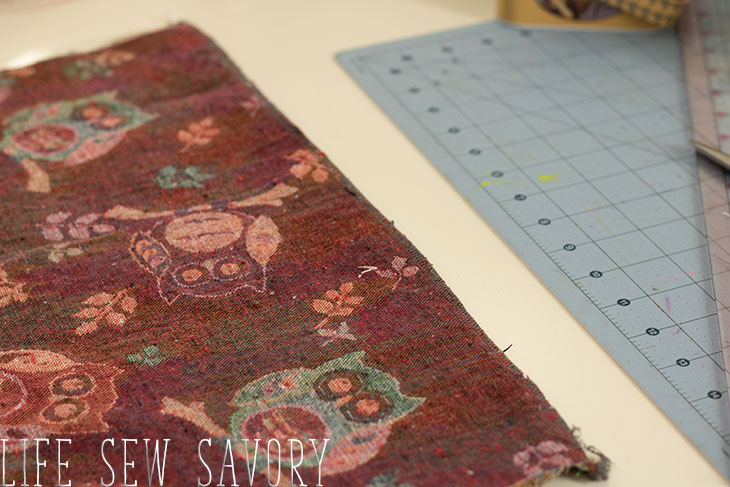
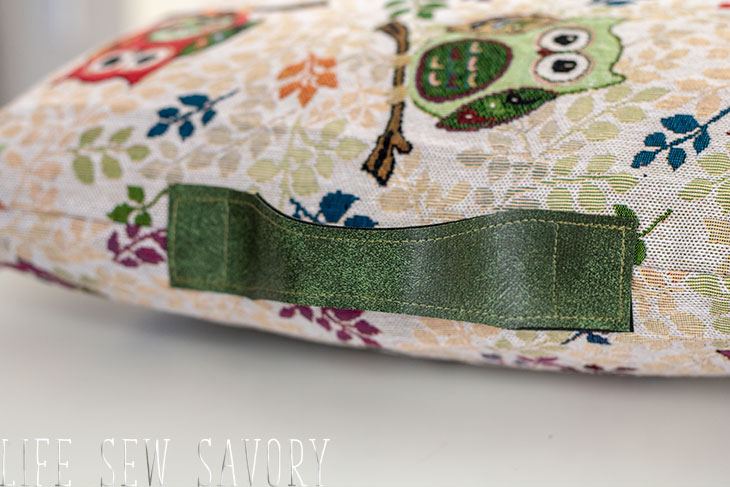
Next, cut a handle. Mine were about 7 inches long, about 1.5″ wide on the ends and slightly curved in the middle. Cut two for each pillow. You can see my shaping here.
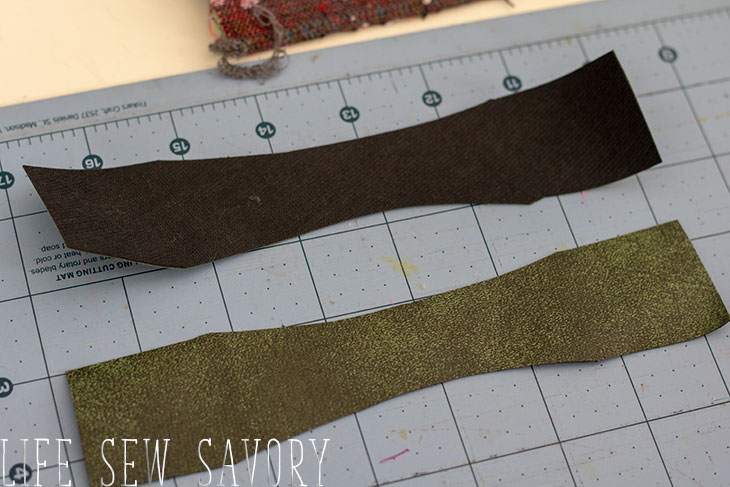
With wrong sides touching sew the outside edge of the handle. Sew closely to the edge. 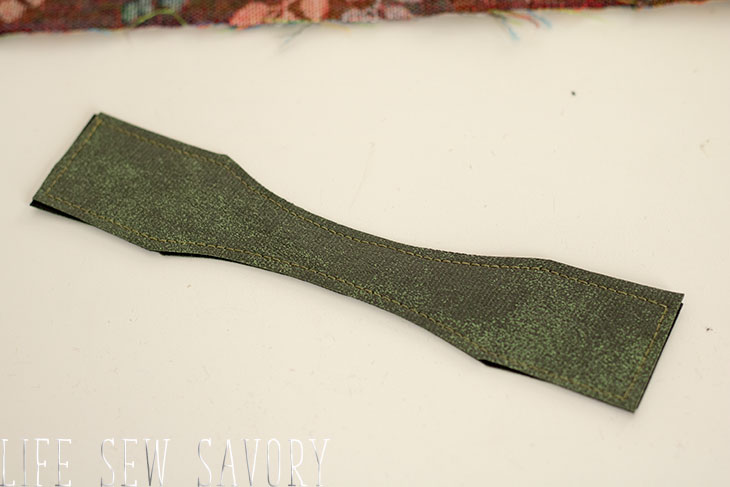
Pin ON TOP of the seam that you sewed on the pillow. Open up the pillow fabric so the seam is in the middle laying flat. Pin the handle in place and make sure the handle ends are pushed together so the handle “bumps” up. 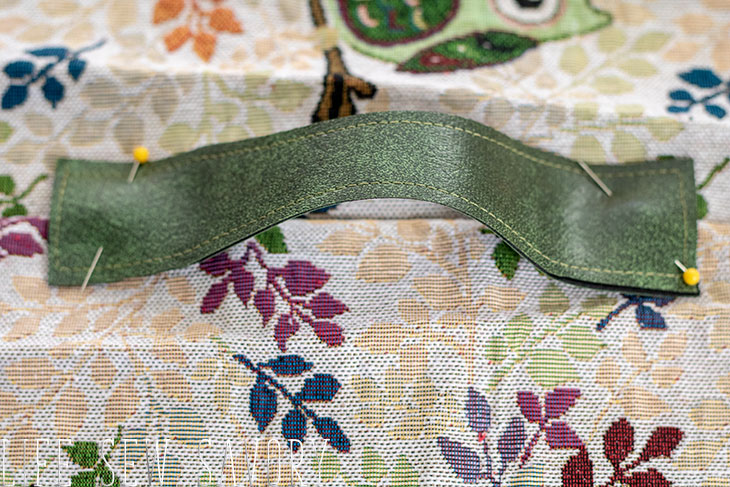
Sew a square shape on the each end of the handle to secure to the fabric. 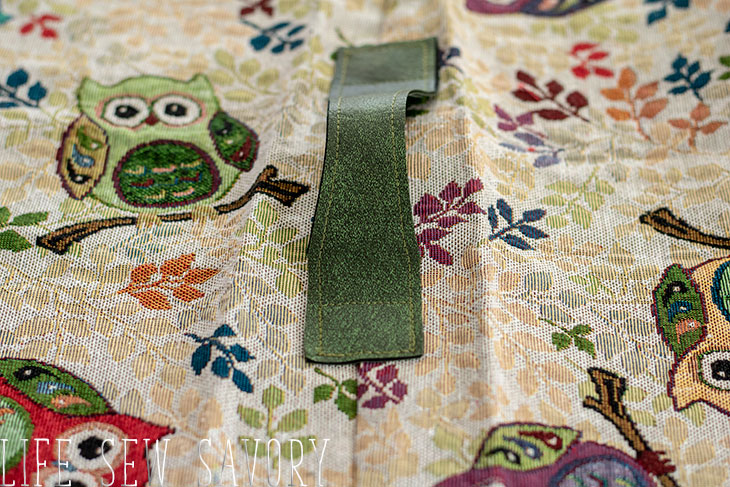
Fold the pillow back with right side together and sew the other three side, leaving an opening to stuff in the pillow form. 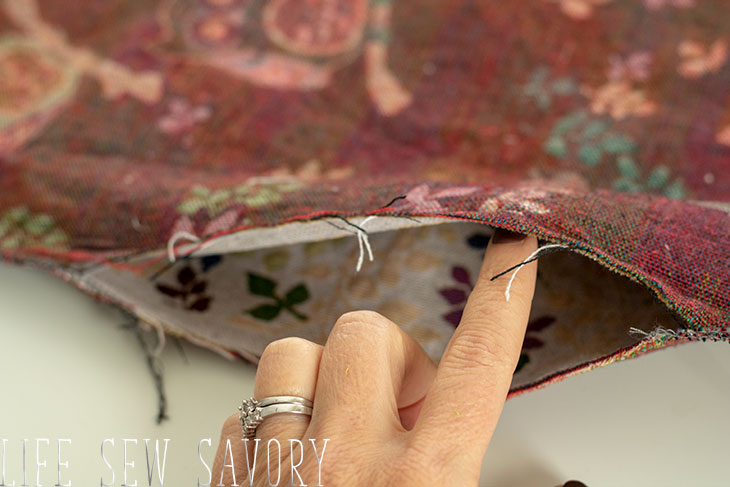
I made the mistake of not leaving a big enough hole and really had to work to get my form inside… do not make this same mistake. {haha}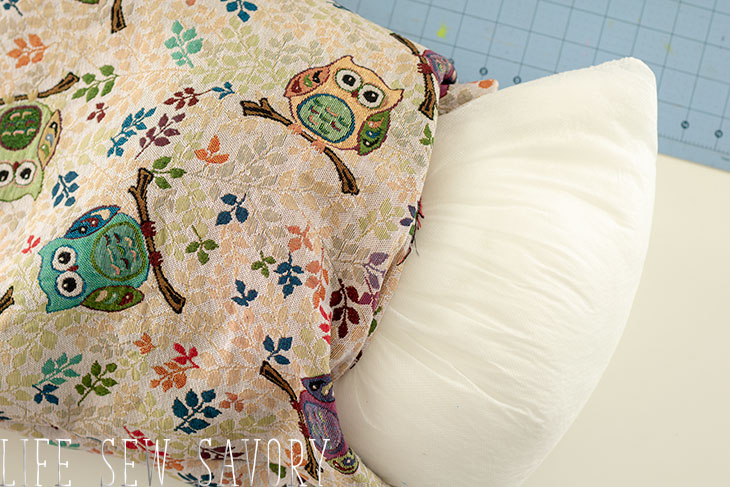
Fold the seam allowance into the pillow case and pin. I used a simple needle and thread to close this whole. You could also add a zipper if you want to have access to the pillow inside. 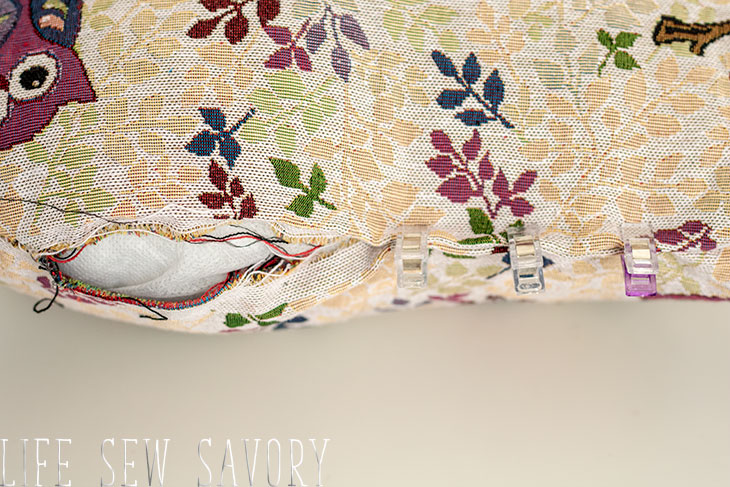 Look at how pretty that handle is right on the side seam!!
And one happy little one, so easy for her to lift and carry these pillows all over the house! 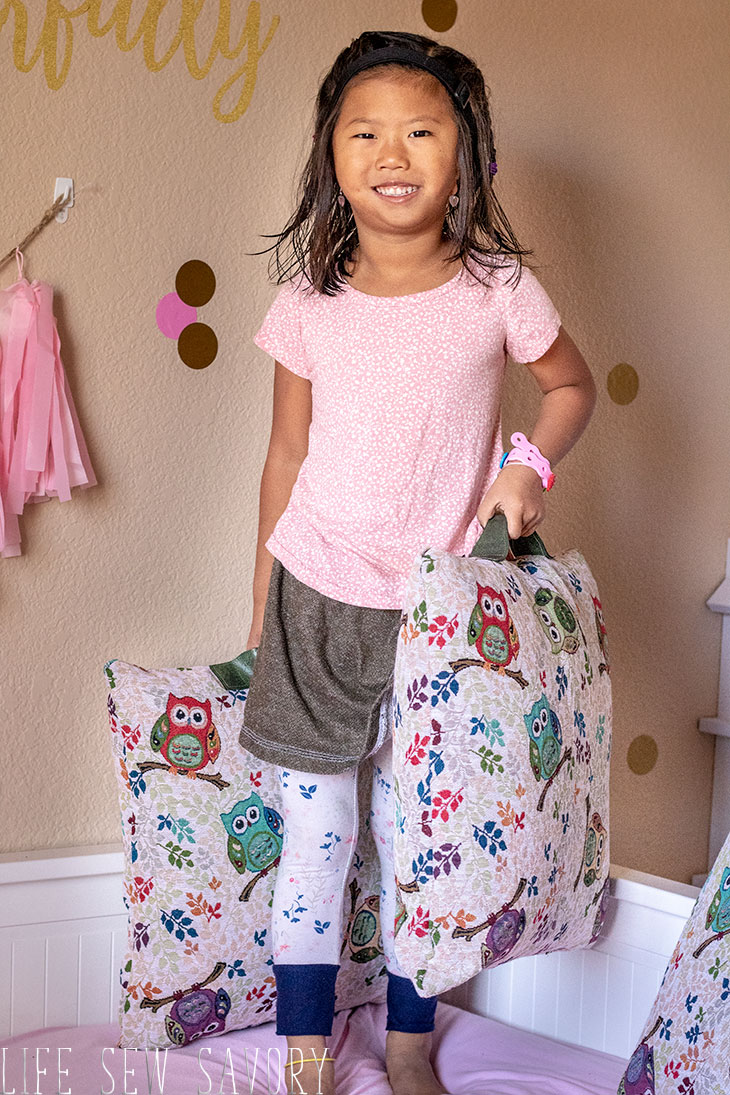
Here are some other fun pillow projects you should try…
Pillow Sham to Pillow Case Tutorial
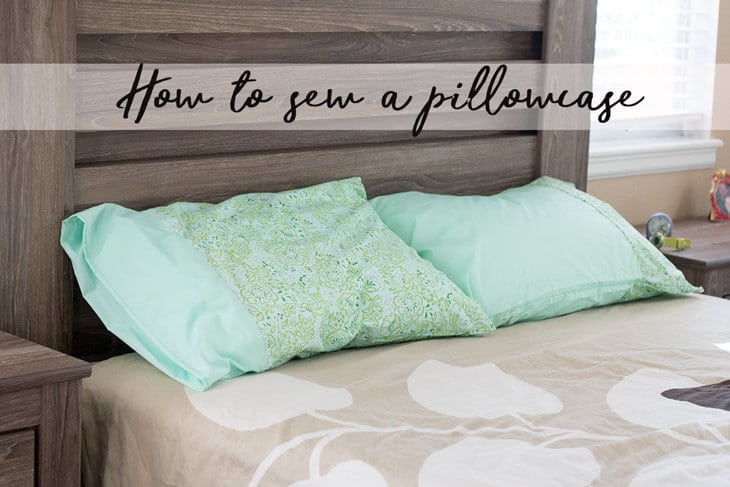
Easy Pillowcases






Leave a Reply