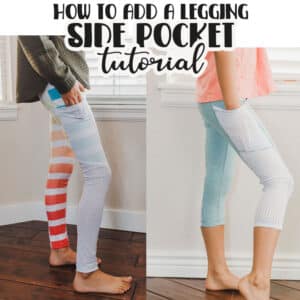
inside: How to sew a pocket without a side seam. PLUS a free pocket template for kids sizes to sew side seam pockets. Pockets for use with a side seam or without.
Last week I shared a free sewing pattern to sew these adorable and simple knit shorts. My daughter asked me to make a matching outfit for her tiny cousin and I decided to add pockets to this pair of shorts. Today I’m sharing a tutorial showing you how to add side pockets to knit bottoms, even if there is no side seam.
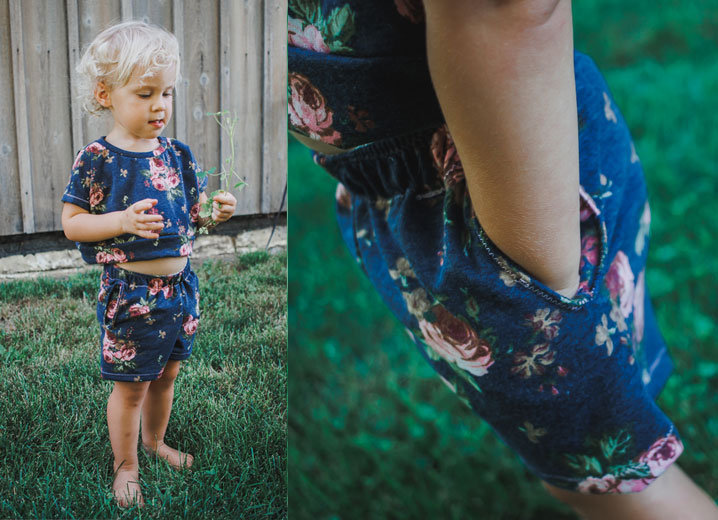
Add a pocket without a side seam
It’s very easy to add side seams to pants and shorts that have a side seam. The free template for a pocket that I’m sharing today can be used on bottoms with a side seam, but today we are going to focus on sewing a pocket when there isn’t a side seam.

Many knit bottoms don’t have side seams. My kids sweatpants pattern is an example where you could also use pattern in another way. These sports shorts have side seams, but you could use the same pocket template to add pockets to this pattern as well.


The free pocket template works for kids sizez 12m – 14Y. Feel free to use with any pattern, think about using it with shorts, pants and even skirts!
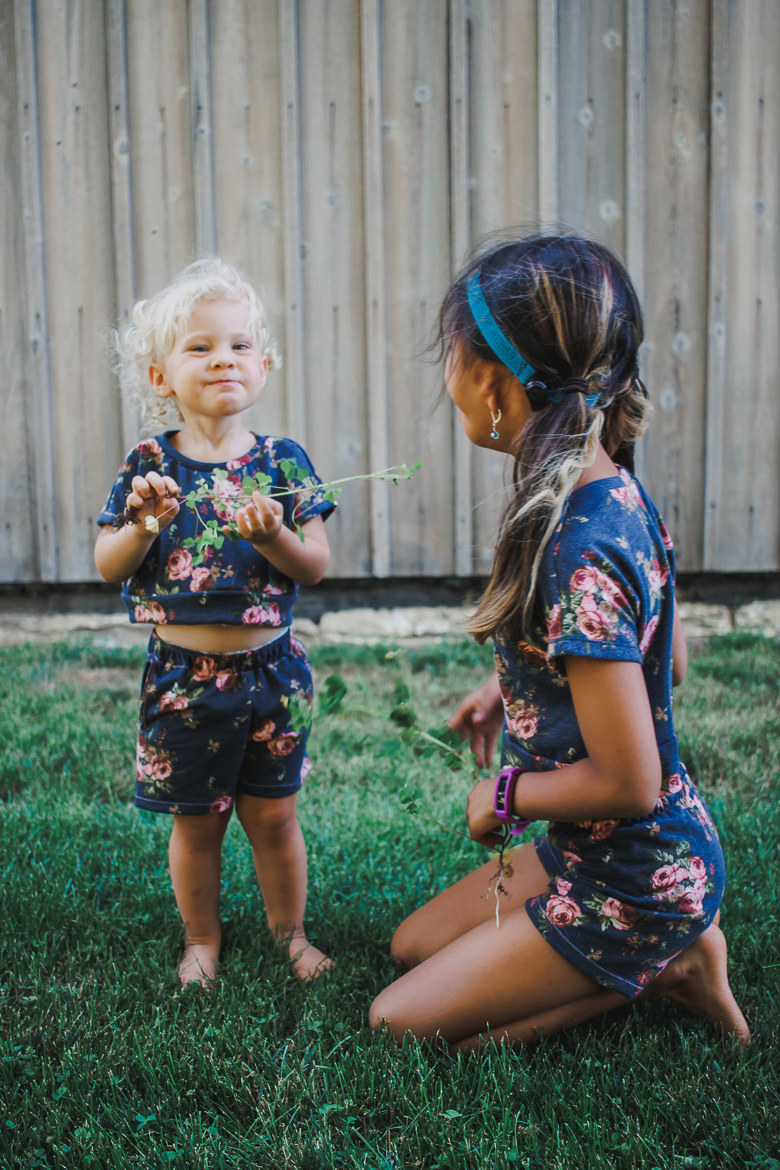
Nothing like trying to photograph a toddler with her hands in her pockets.
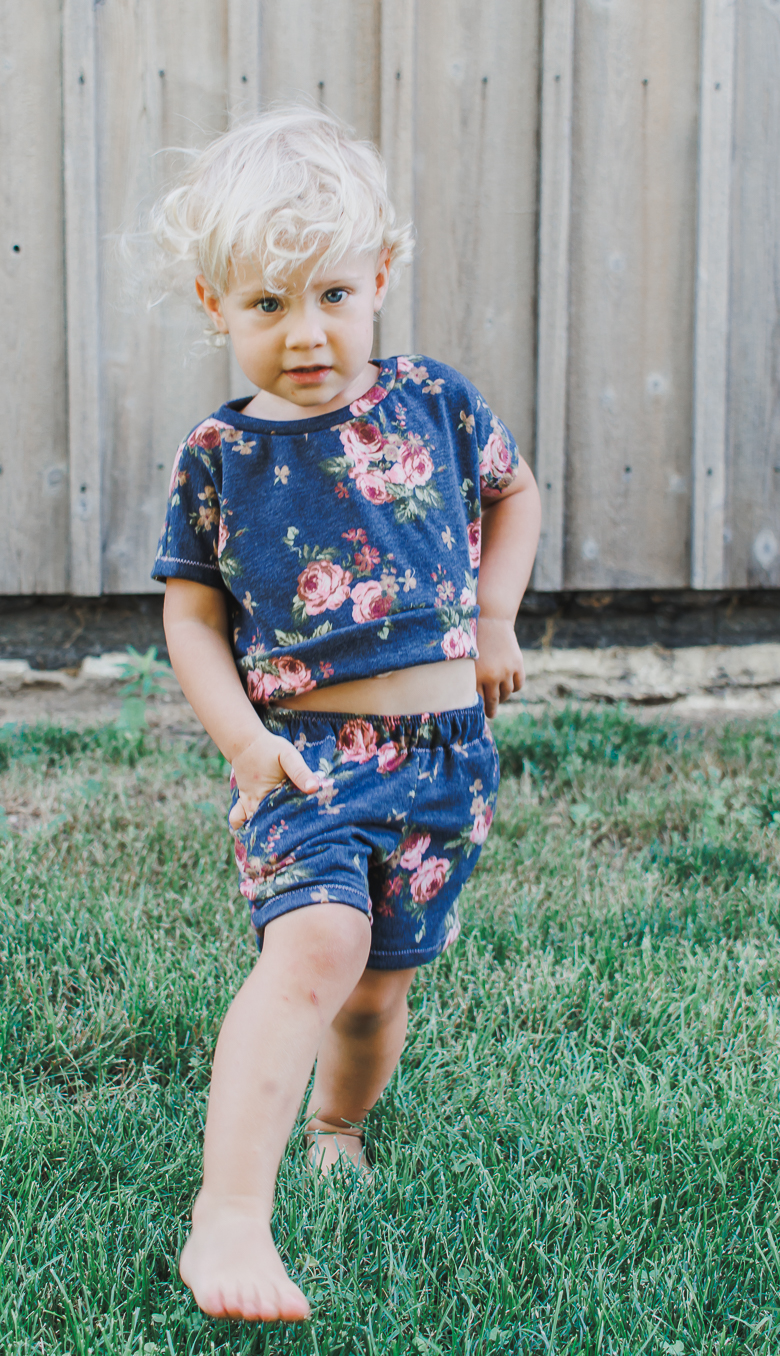
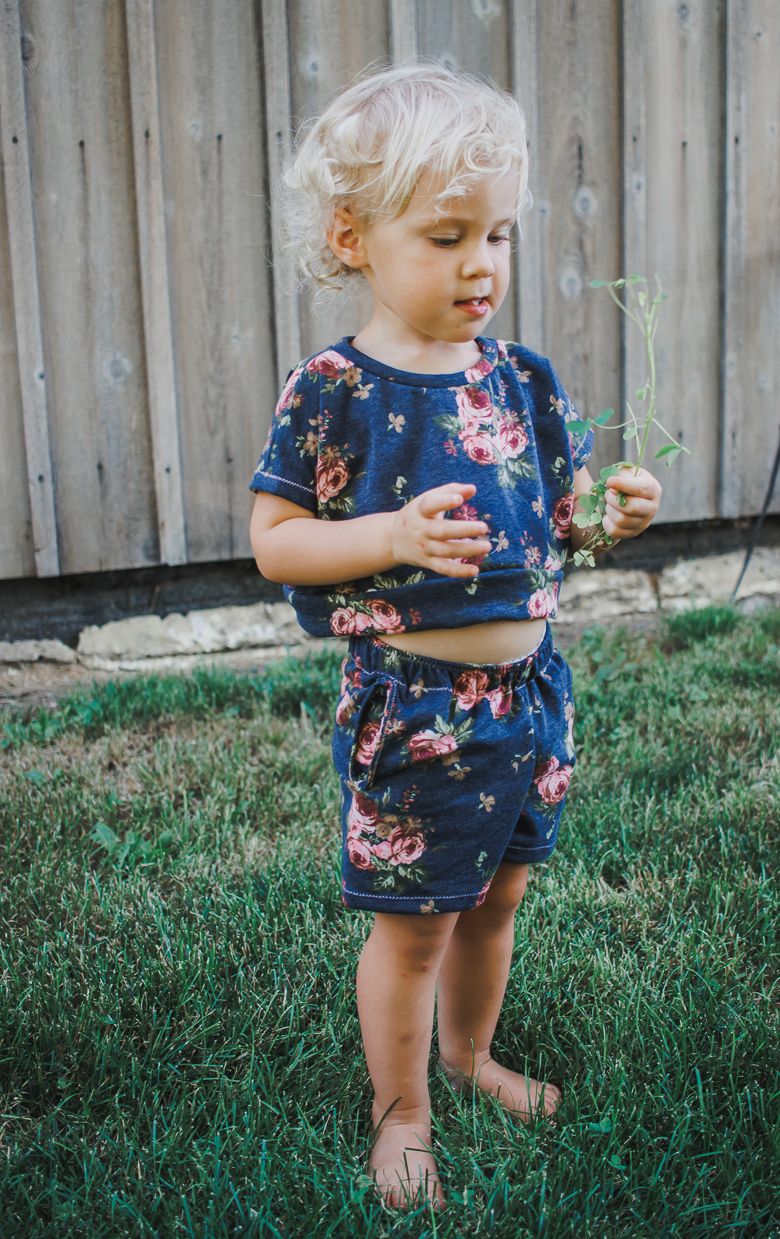
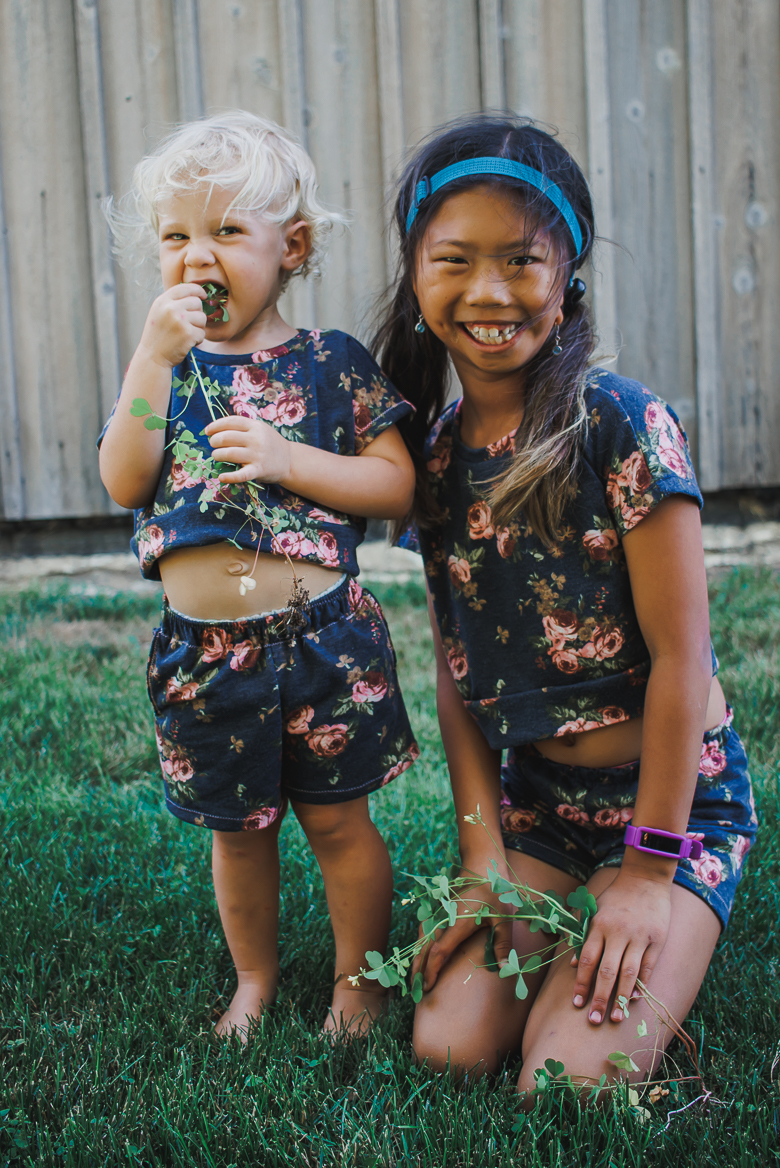
These two were so cute together and loved hanging out and taking photos together. If you are wondering what they are holding/eating in these photos they are enjoying the country delicacy sour clover.. It’s a weed that you can eat and tastes sour {if you haven’t had the pleasure of trying yourself}
Free Side Pocket Template
ok! ready to add some pockets? Everybody loves pockets, and I find that kids love them A LOT! These two cuties are wearing my free knit shorts pattern and the kids crop top. Check out those amazing patterns… I did have to cut down the crop top to make it for a two year old.


You can download the template using the button below and then the tutorial below to add them to your project. Cut two sets of pockets a right and a left, so 4 pieces.
How to add a side pocket
ok! grab the bottoms you are sewing and the free pocket template above. Sew your shorts as the pattern directs, but do not sew the waistband.
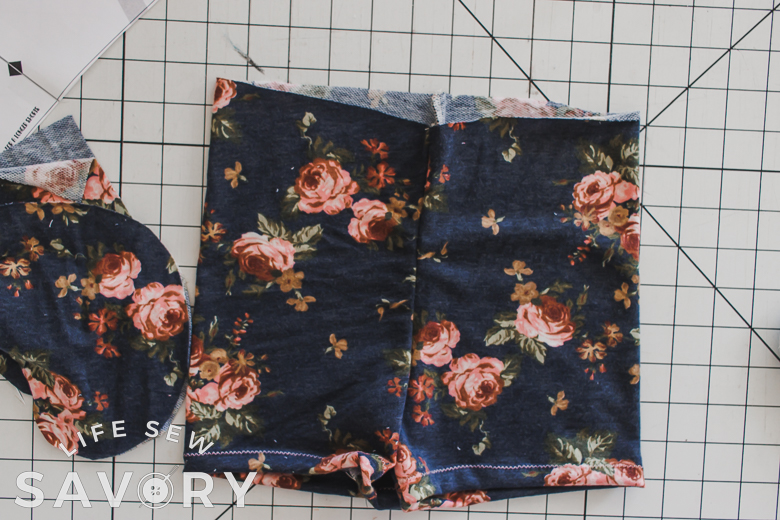
At this point you dont want to sew the waistband, but you do want to mark where the waistband will be. You can see below I’ve showed two different band options. The enclosed elastic casing and the exposed elastic. See the simple knit shorts tutorial for details on both. Mark the bottom edge of either option.
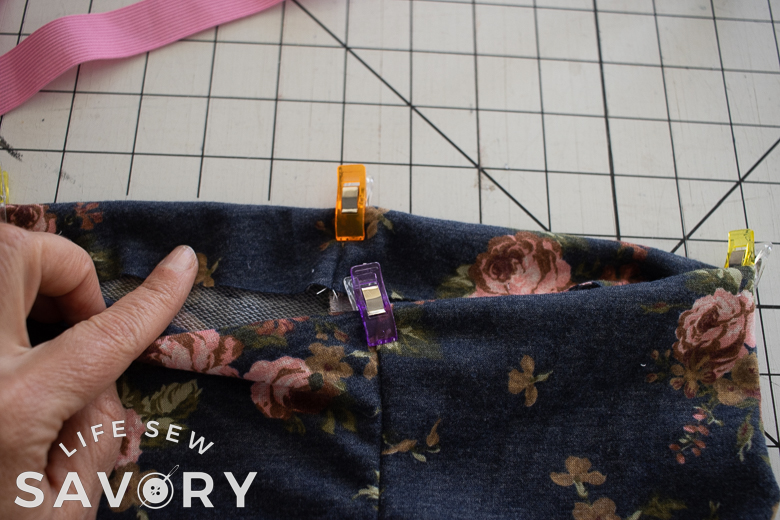
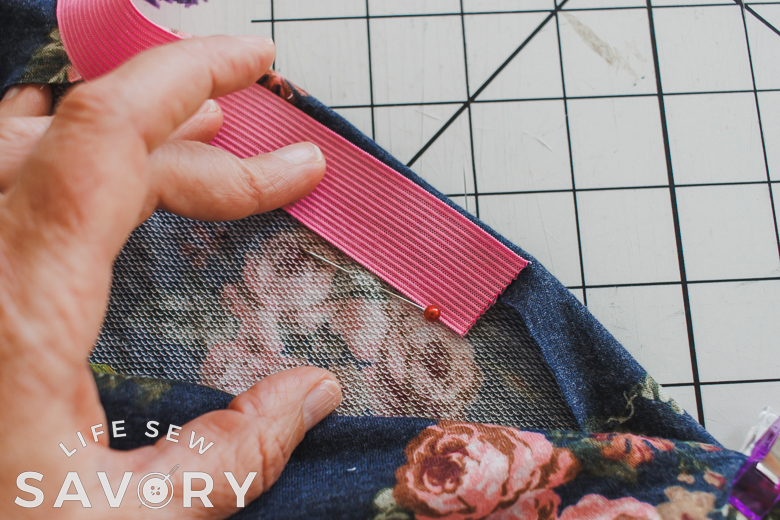
Sew the pocket sets together with right sides and a 3/8″ seam allowance. Lay the shorts/pants down so the front and back are stacked and the sides are on the sides. Lay the pocket next to the side and put the top of the pocket at the mark of the BOTTOM of the waistband. Mark with a pin the top and bottom of the pocket opening.
**note: sometimes I will mark this pocket opening top and bottom slightly to the FRONT of the shorts and not right on either side. You will notice that pockets are often placed to the front of the side seam and not right ON the side seam OR the side seam is pulled a bit to the front. SO, you can move this pocket placement 1/2″-1″ towards the front, rather than right on the side. **
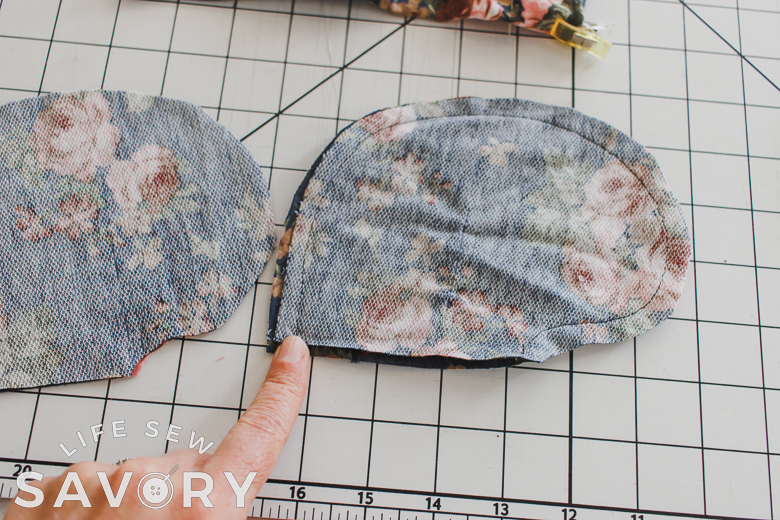
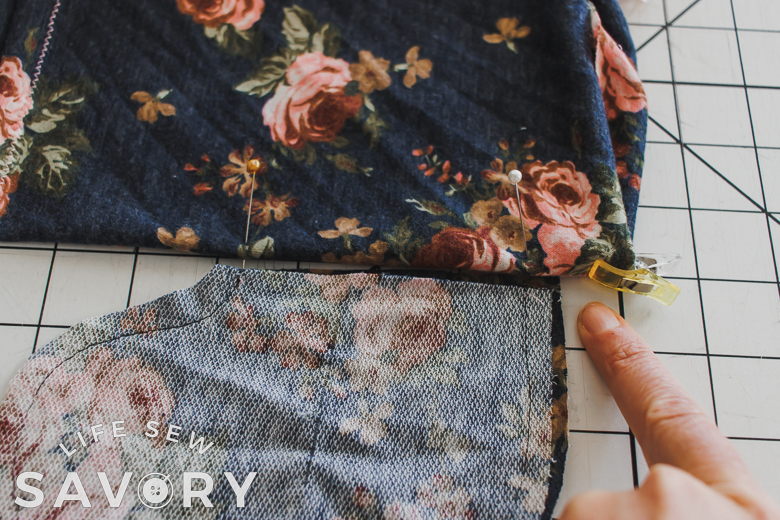
Cut the opening the you marked with the pins. Turn the shorts wrong side out and the pocket right side out.
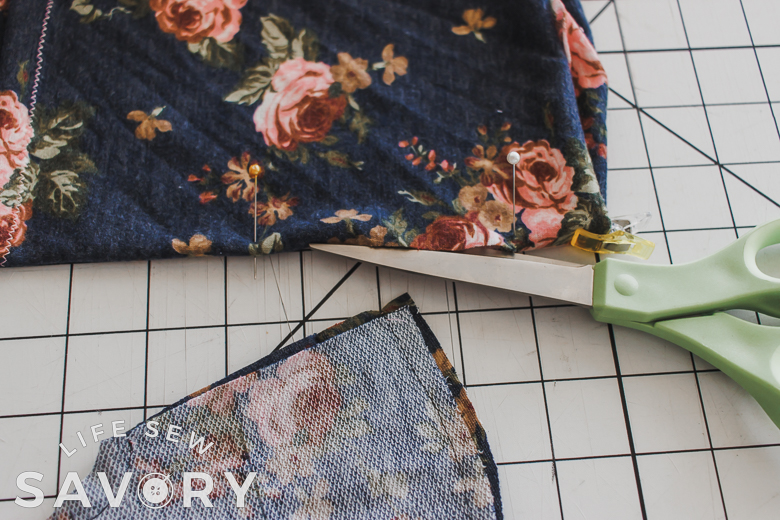
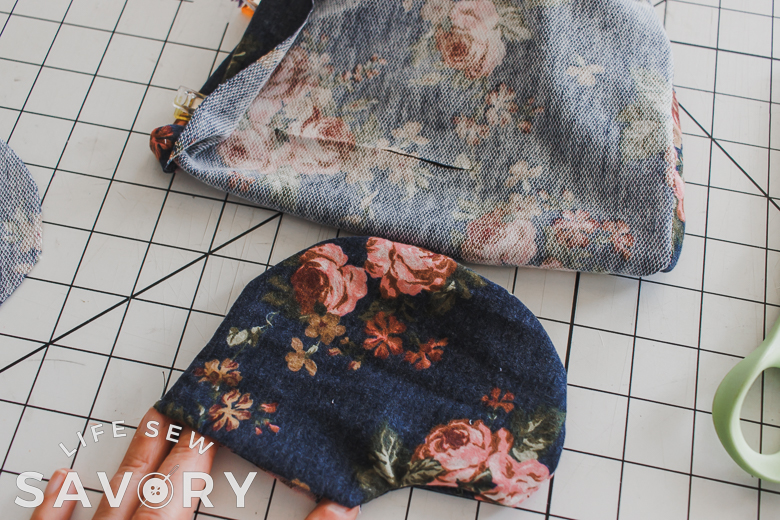
Pin the pocket in the opening with right sides together. Make sure to line up the bottom of the pocket with the bottom of the opening. Sew around with a knit stitch or zig-zag. Pivot at the top and bottom of the cut.
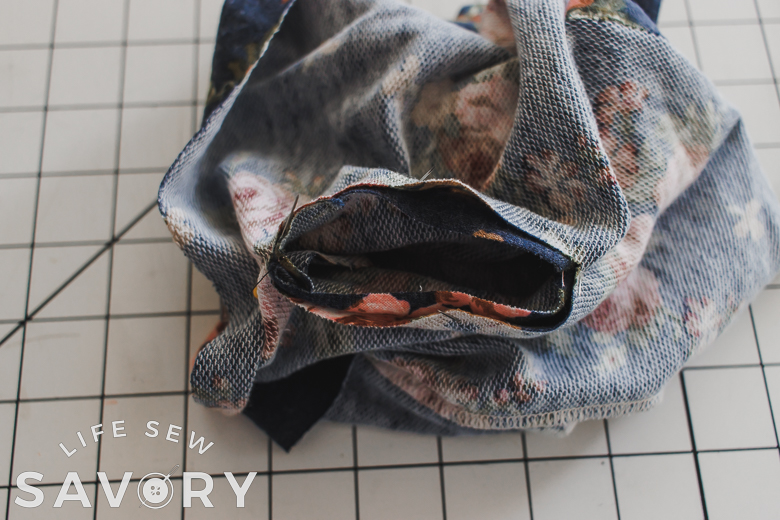
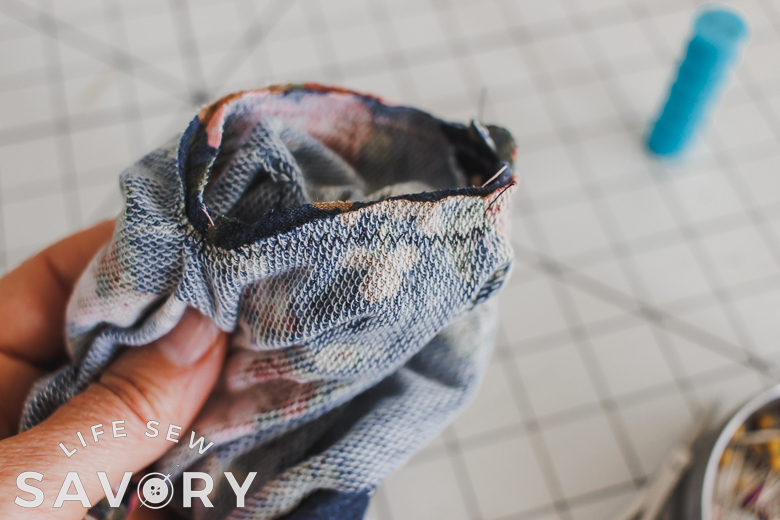
Pull the pocket out and make sure there are no holes. Push the pocket inside the shorts.
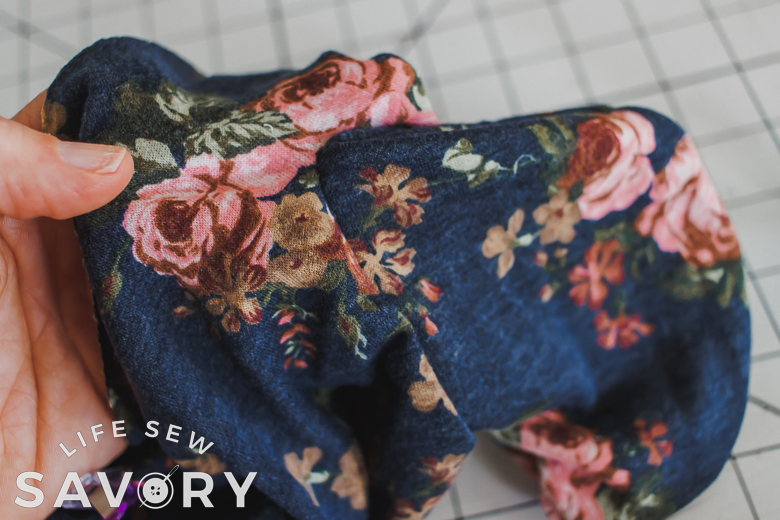
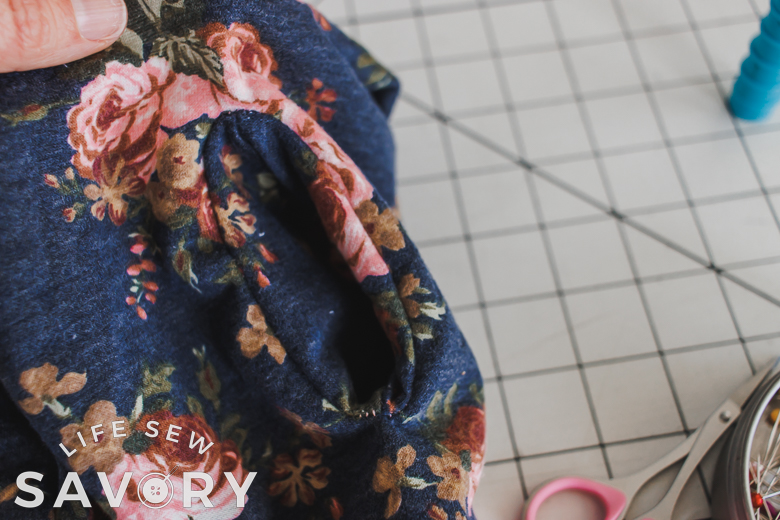
Topstitch or understitch the pocket to help it all play in place.
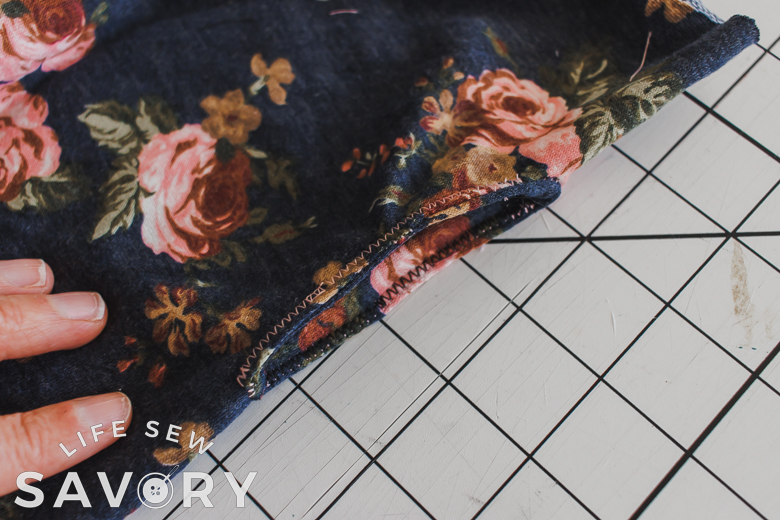
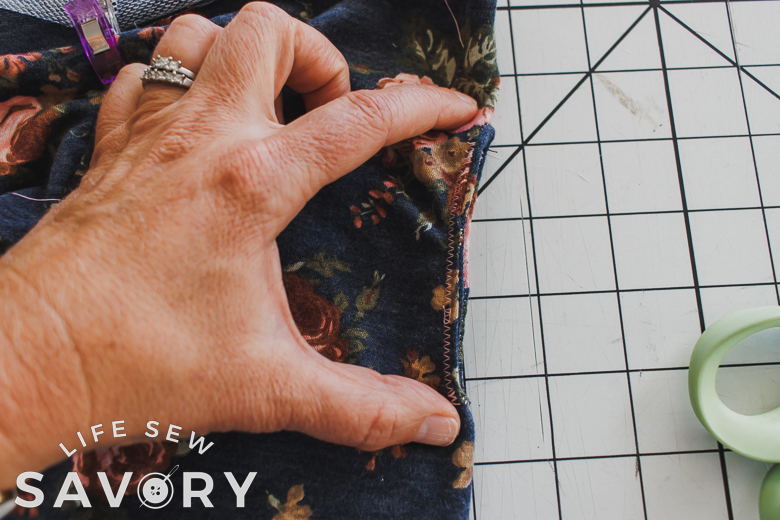
When you sew the waistband, catch the top edge of the pocket in the waistband or elastic. This will help keep the pockets facing the front and not be pulled to the back when walking.
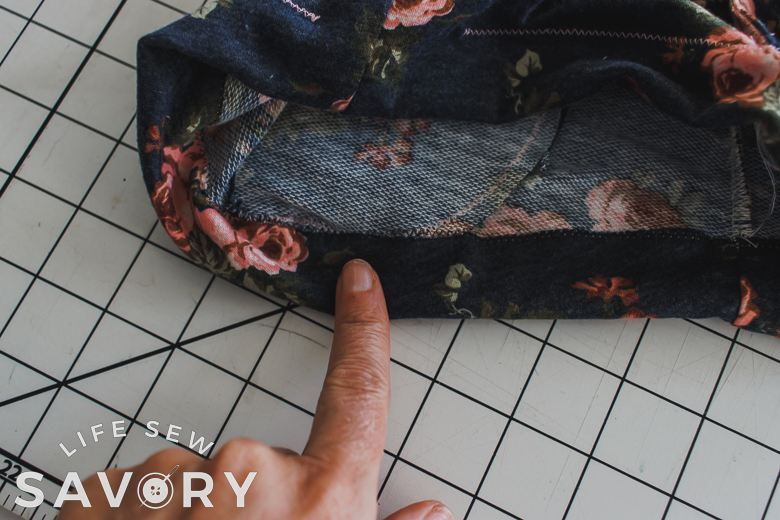
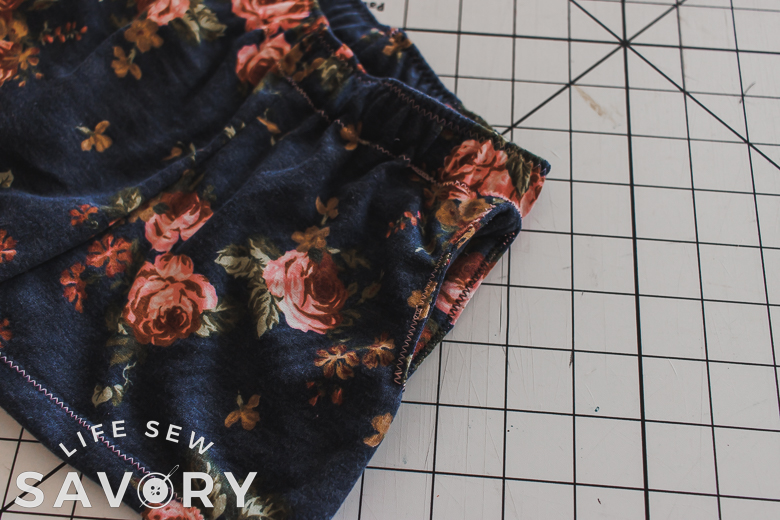
And that’s it! Super simple right? Hopefully this pocket template is a good size and fit for something you are working on. Here are the two patterns used in these outfits. Crop top free pattern and knit shorts free pattern.







Dee Kay says
This tutorial is amazing. I have a couple of circle skirts that need pockets desperately. But right now I am sewing myself a linen purse that is lined and I wanted an internal pocket. I have been sitting on this project for over a week, because every time I tried to figure out how to do it, I was afraid I was doing it wrong. This technique applies to the purse lining pocket too! So thank you very much! I will get to my circle skirts later this summer. I need to acquire some fabric that matches, which could be tough since they are a polyester/elastane mix.