inside: I’m so excited to show off my new Christmas sew project. Today I’m showing you how to make a Christmas Tree Skirt with a fun scrappy look. Take this sewing tutorial and make it your own.
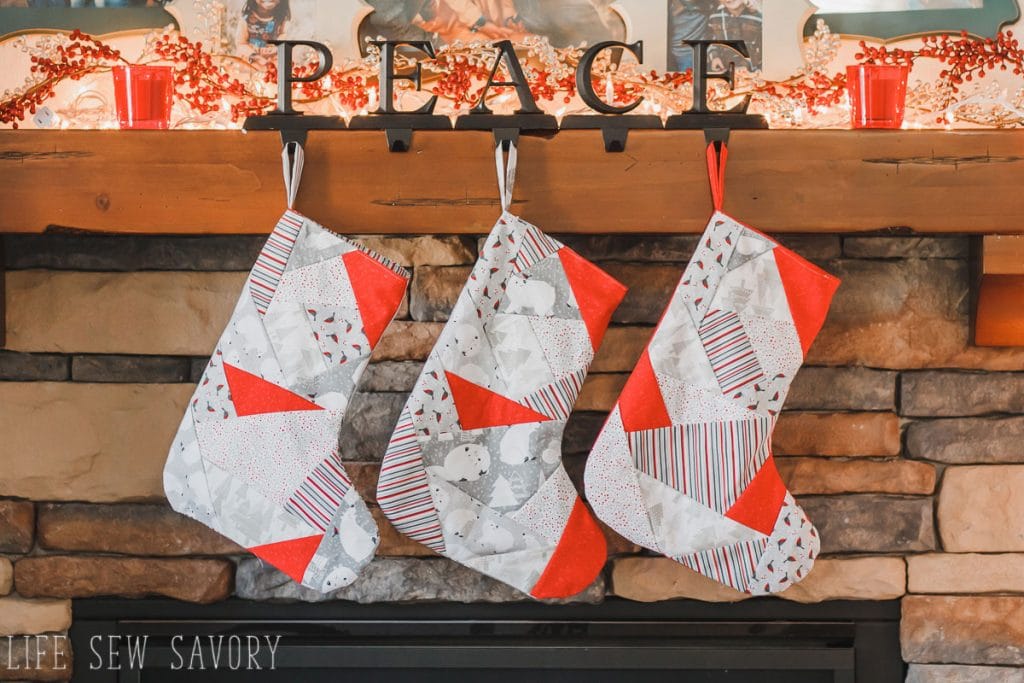
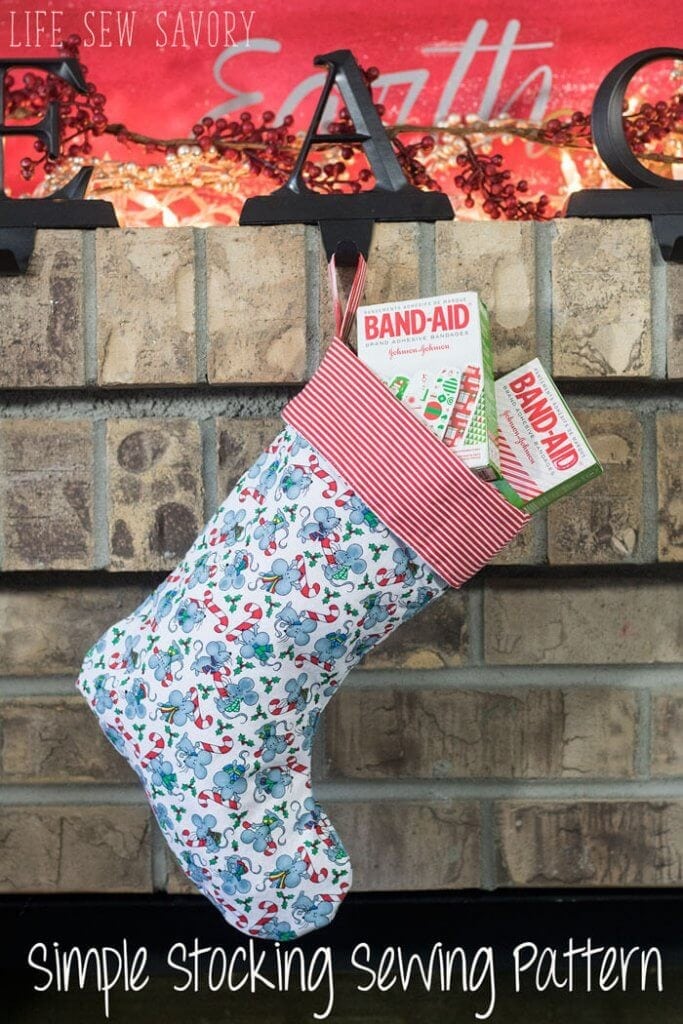
I sewed new stockings a few months ago and have been slowly working on a matching tree skirt. It was time for a bit of an update and I bought new Christmas fabric this summer to make both stockings and a skirt. Today I’m sharing how to make a Christmas tree skirt with fabric and create a gorgeous holiday look you will love for years to come.
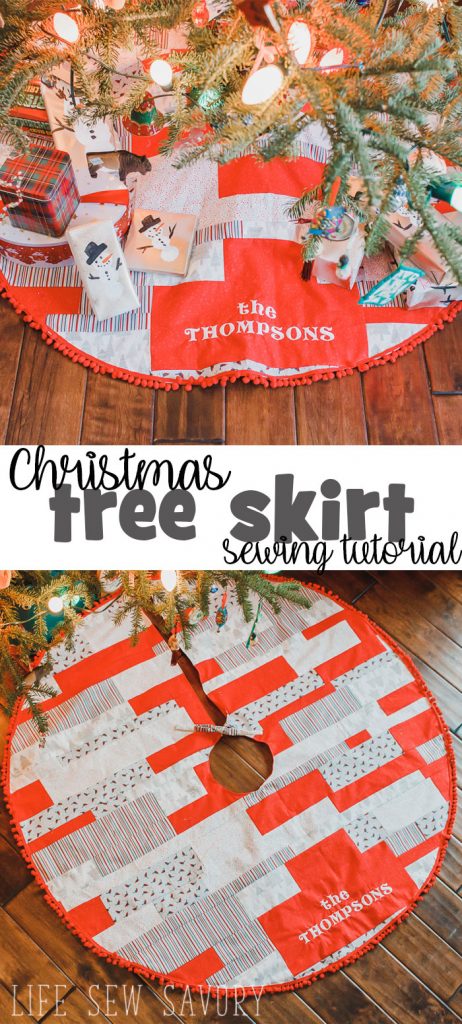
How to make a Christmas Tree Skirt
The video in this post will walk you through all the steps and I also have photos to give you all the details. If you have an ad blocker turned on you will have to disable to see the video tutorial.
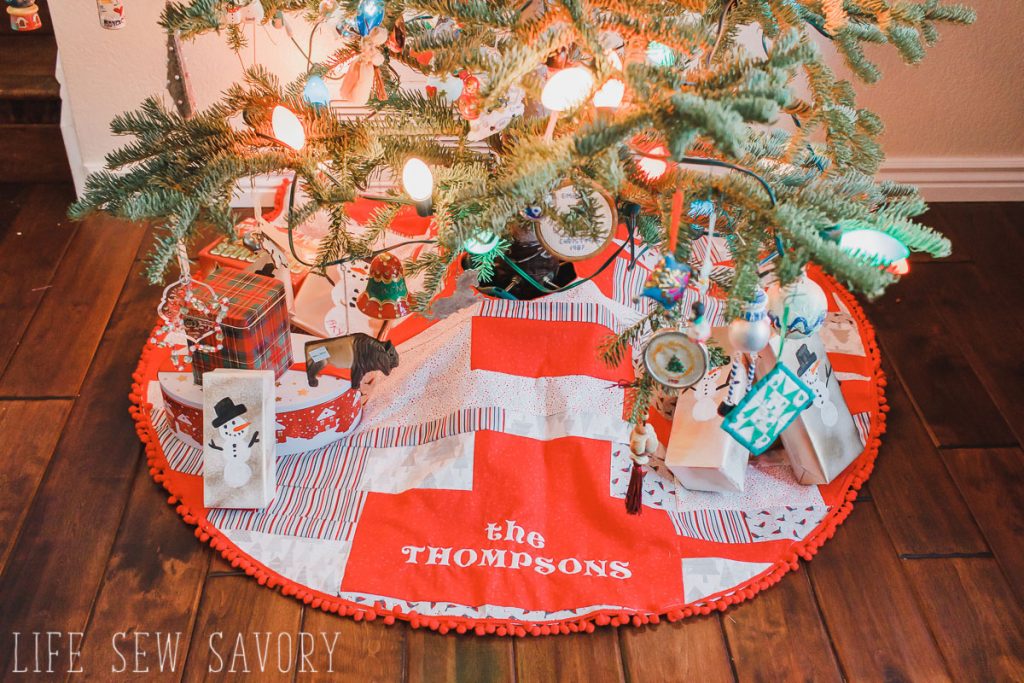
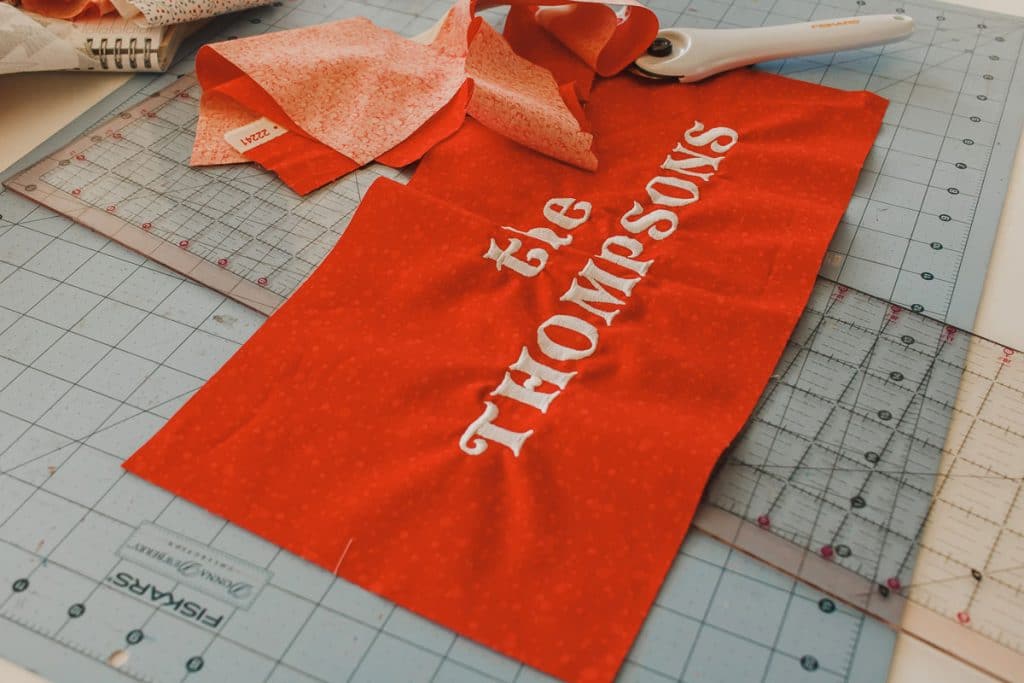
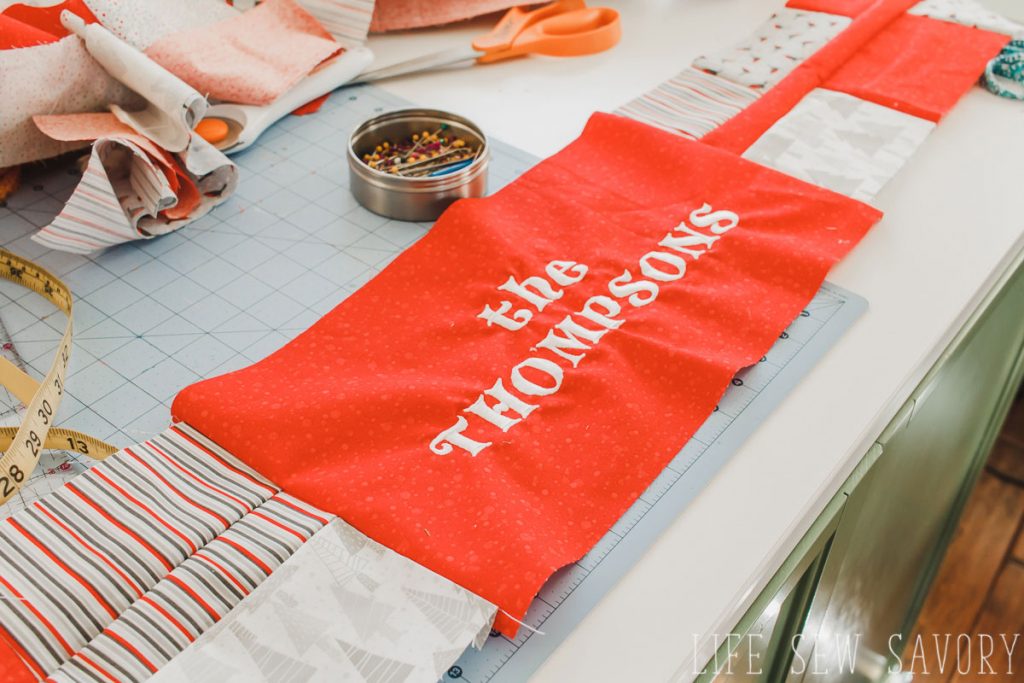
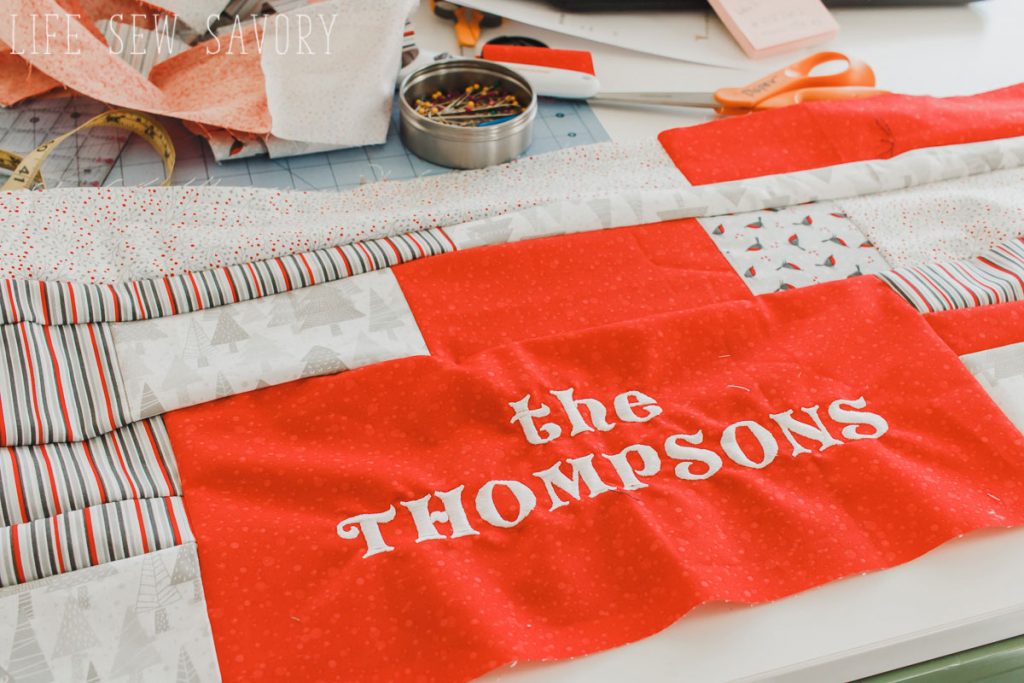
The finished result makes me so happy! It is just a bit whimsical, and so so pretty! I also was able to try out my new larger hoop embroidery machine and add a name panel to the tree skirt.
Let me know if you have any questions and be sure to share photos in our Facebook group here.
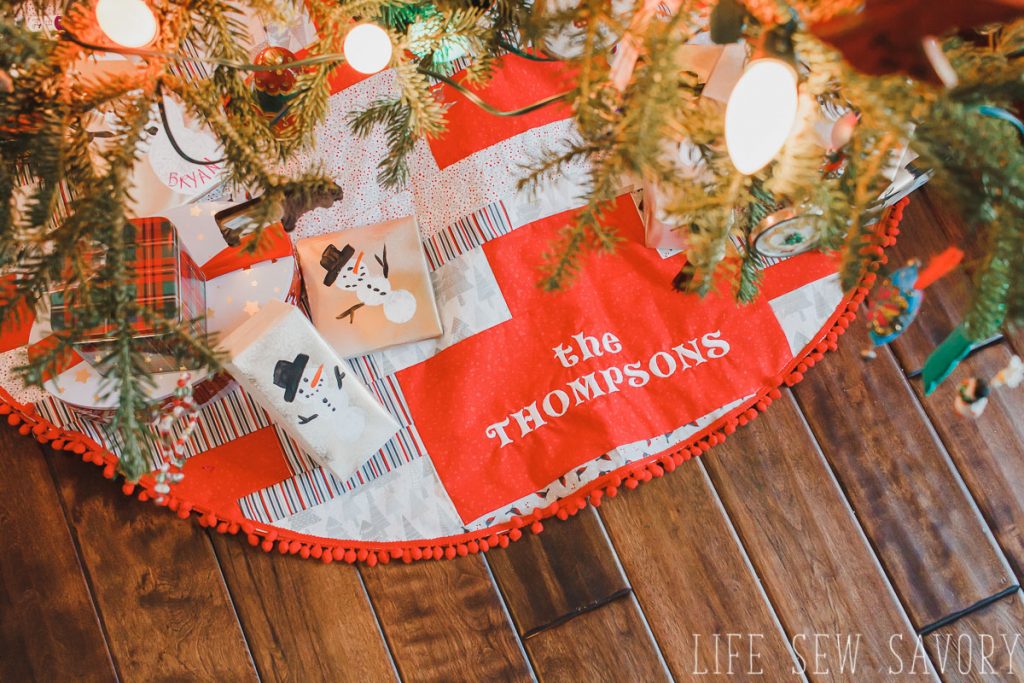
Since moving to CO we have gone and cut a tree in one of the National forests each Christmas {with a permit of course!} This means our trees are very natural and not as full as from a tree farm.
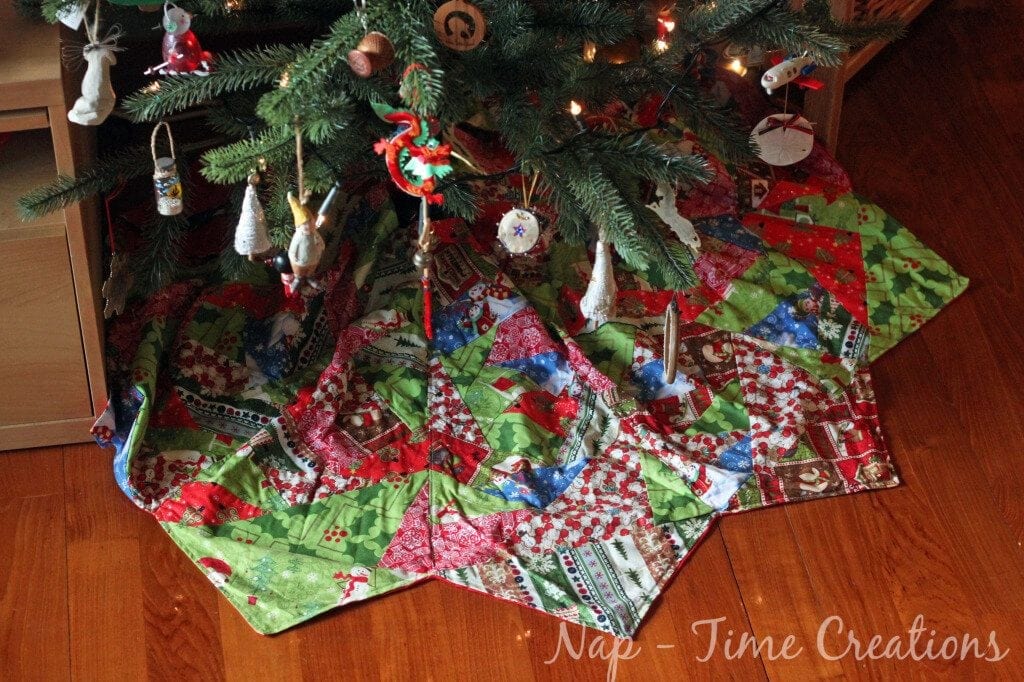
You can see how the skirt works perfectly with this size tree, but if you have a wider – more full tree you may want yours larger than this one. I give those details in the tree skirt sewing tutorial details below.
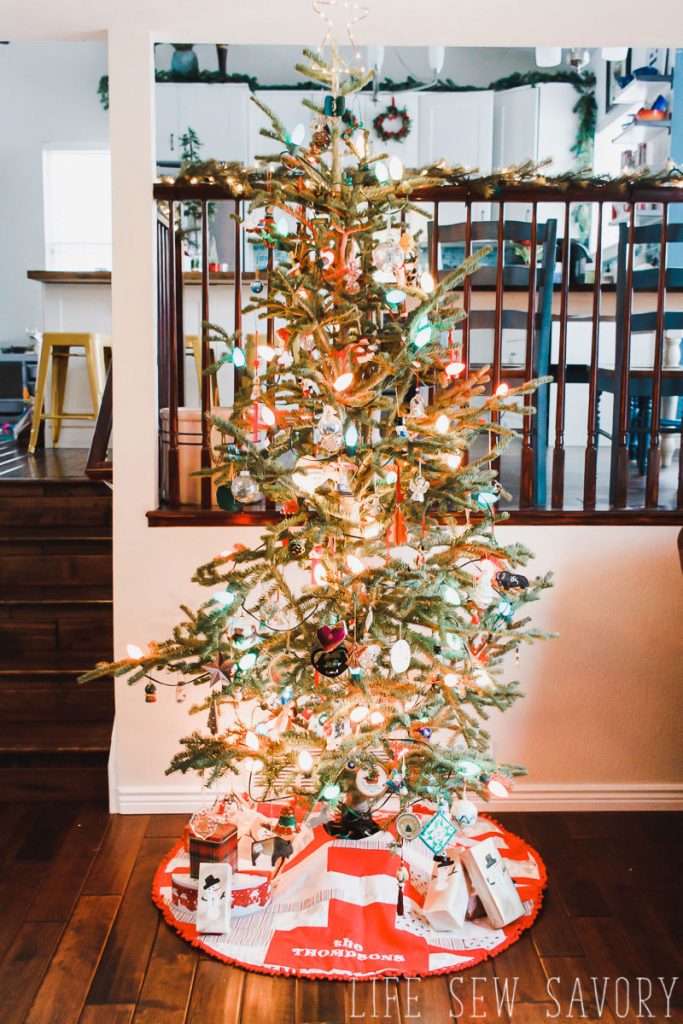
here’s the full skirt… I love the scrappy look, but it also is coordinated enough that it doesn’t look sloppy. It’s just what I was hoping for and envisioning in my head. I hope this tutorial will inspire you to make something similar.
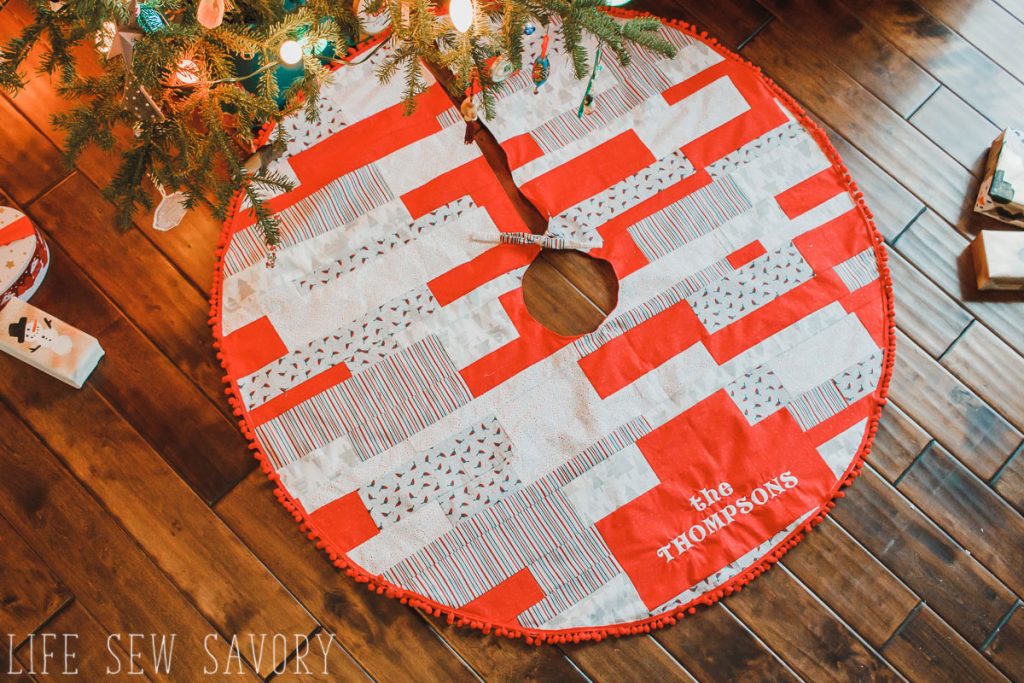
Tree Skirt Sewing Tutorial –
Time to sew! You will need fabric, fabric and more fabric for this project… You can also add an embroidered panel if you want, but it is optional. You can make this skirt just as described here without the embroidery.
Supplies needed:
- I used five coordinating Christmas Fabrics from Fabric{dot}com {1/2 yard of each fabric}
- 3 yards of fabric for backing
- Pom Pom Trim
This makes a 55″ wide tree skirt. It fits my narrow tree well. I would suggest 65-70″ wide for a fatter tree, but you can measure to tell for sure. You may need a bit more fabric for a wider skirt.
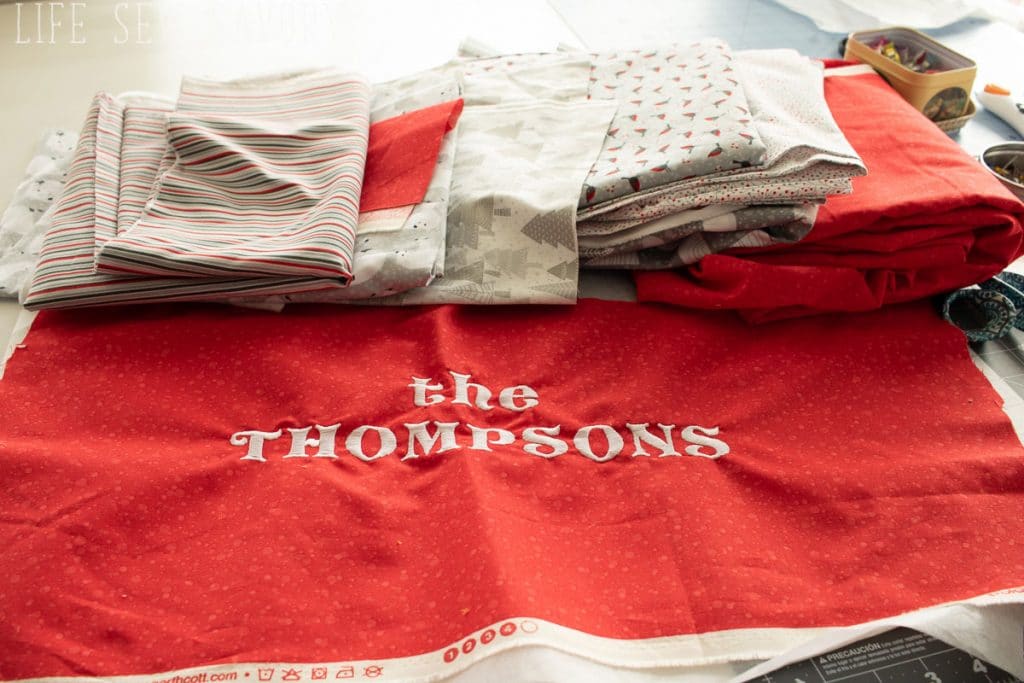
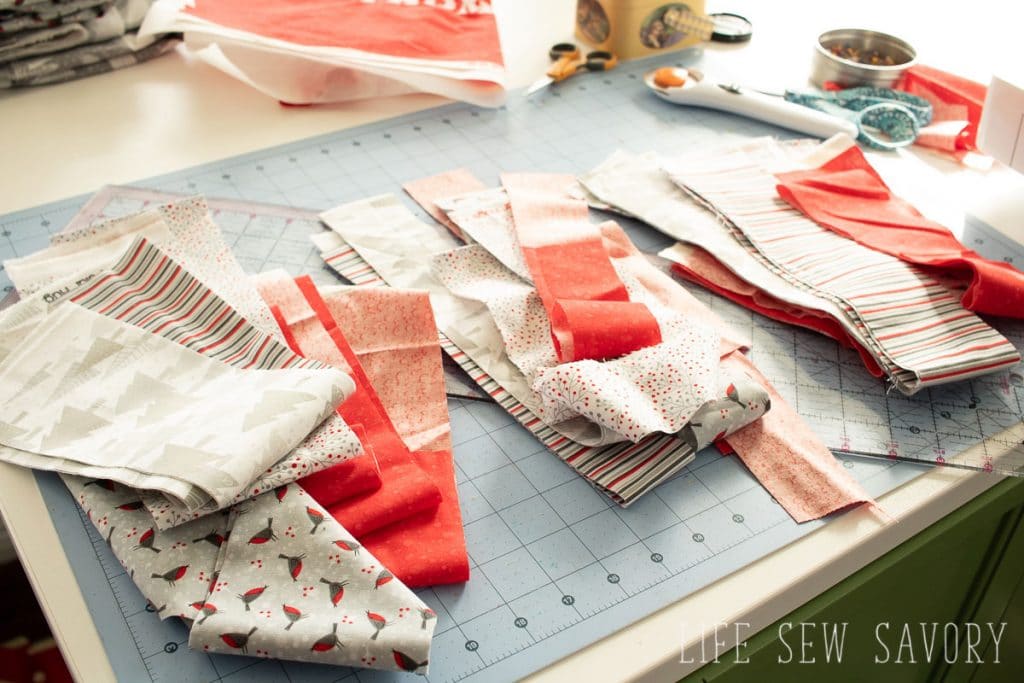
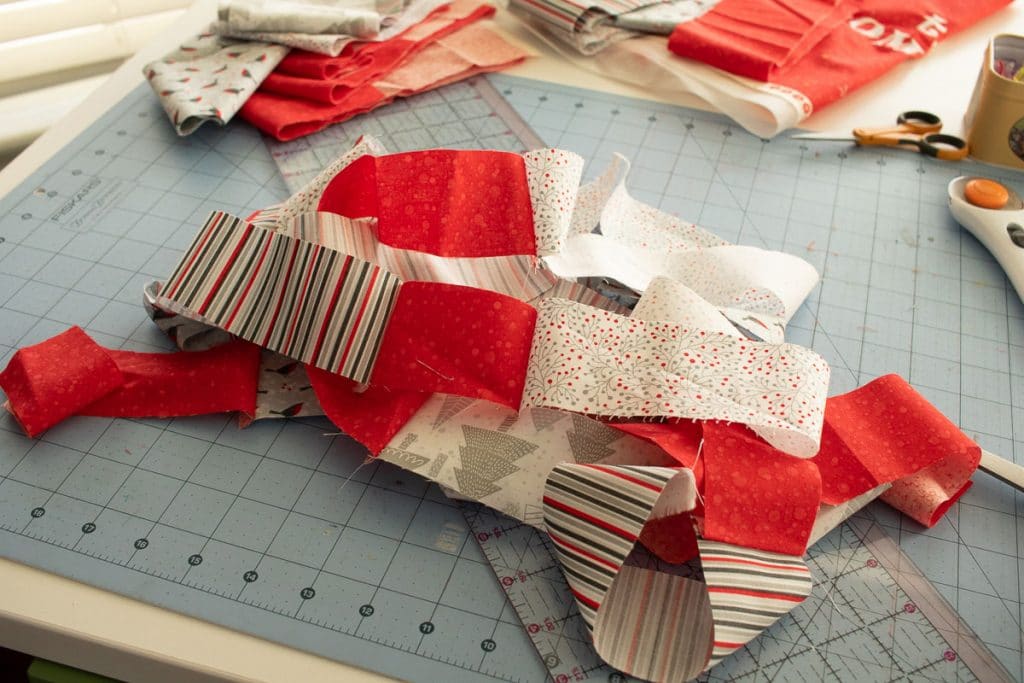
Cut the fabric into 2″, 3″ and 4″ strips. Cut up the 1/2 yard of each five fabrics. All the fabric will be the same length {width of fabric}, so cut them into smaller pieces all different lengths.
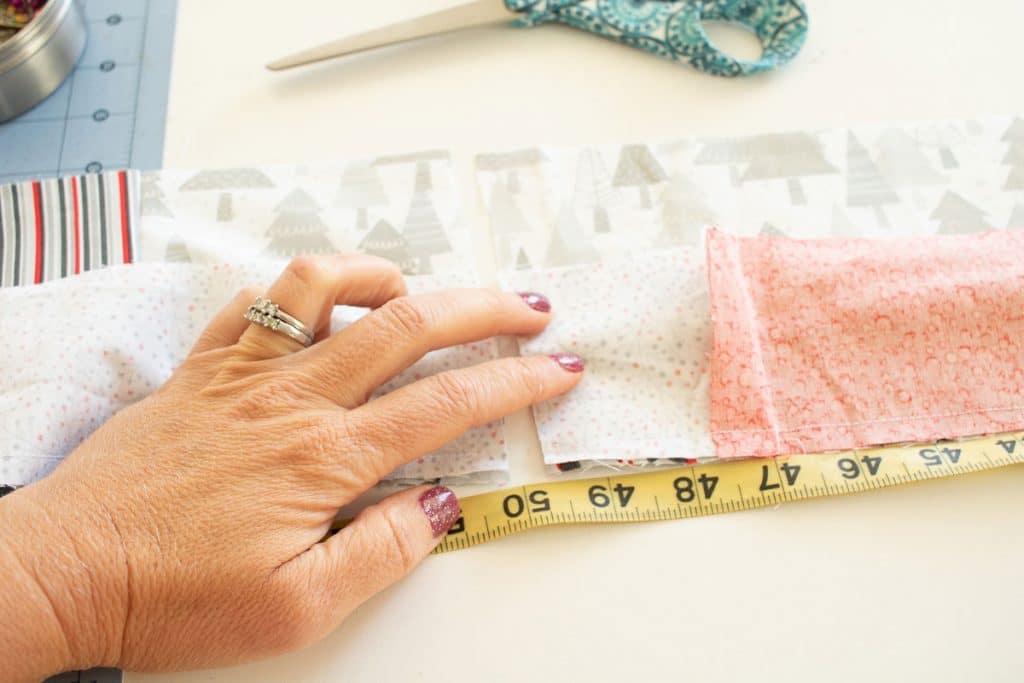
Sew end to end each width together. Cut the strips the desired width of your tree skirt {plus and inch or two of allowance}
I cut mine 50″ long.
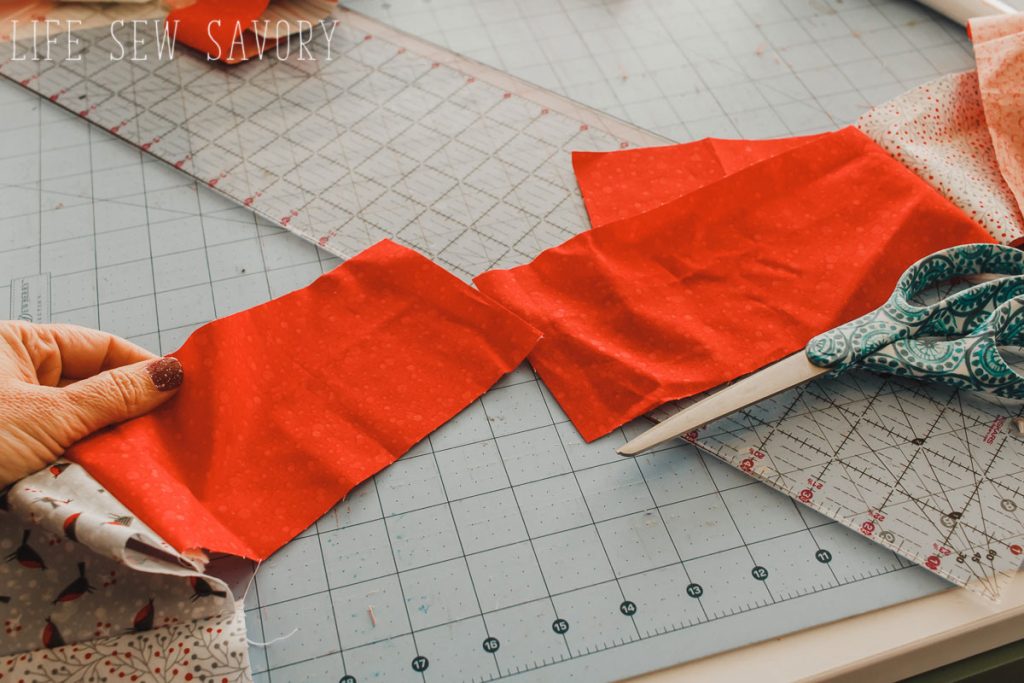
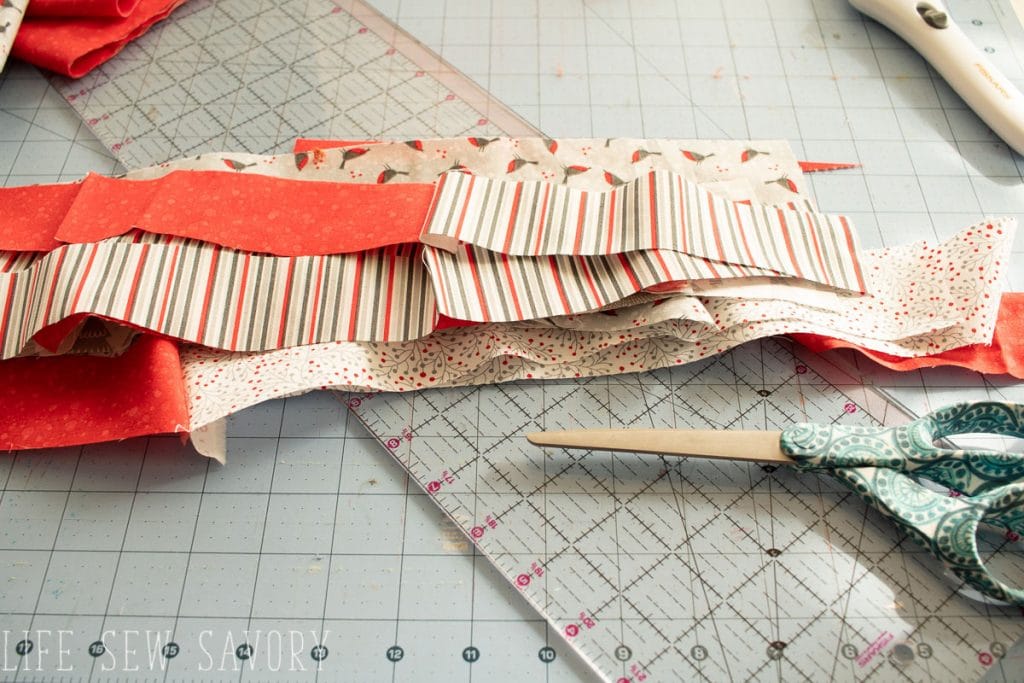
Sew the long strips together on the long side with various widths together.
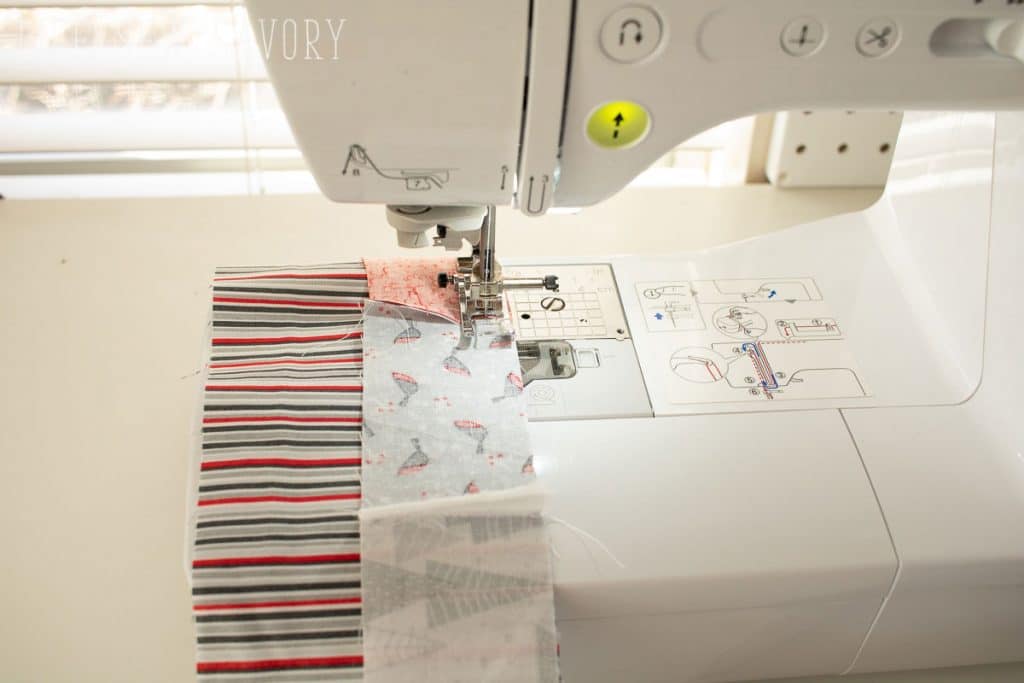
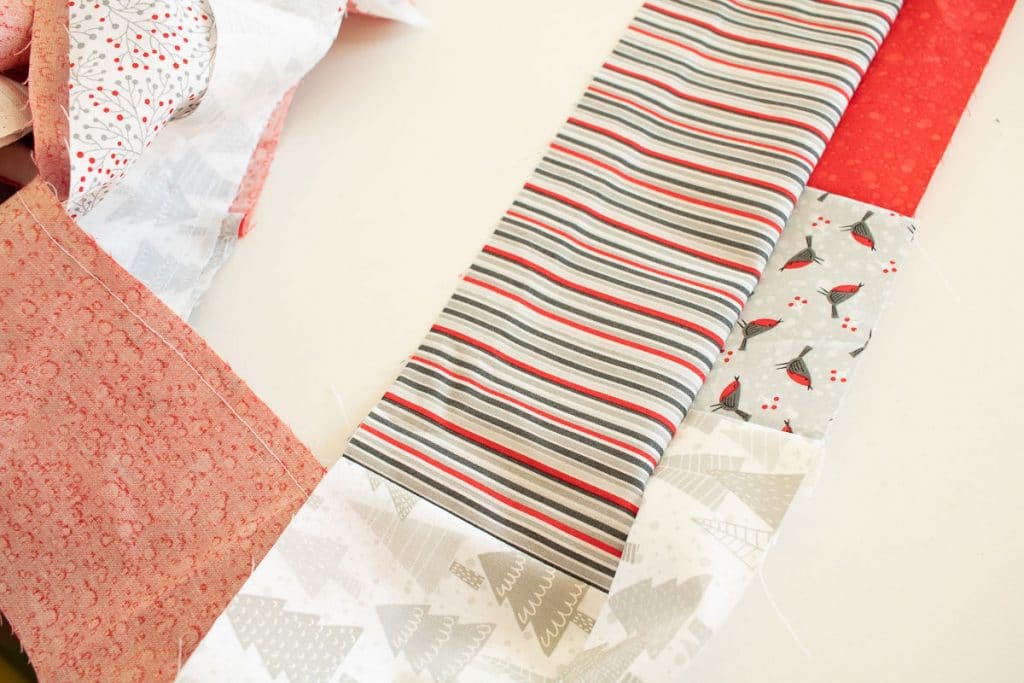
If adding an embroidery piece sew it at one side and piece around it. Then add more strips of fabric on top of it.
Continue sewing the fabric together until you have a bit square. The larger the square the larger the circle you can cut from it.
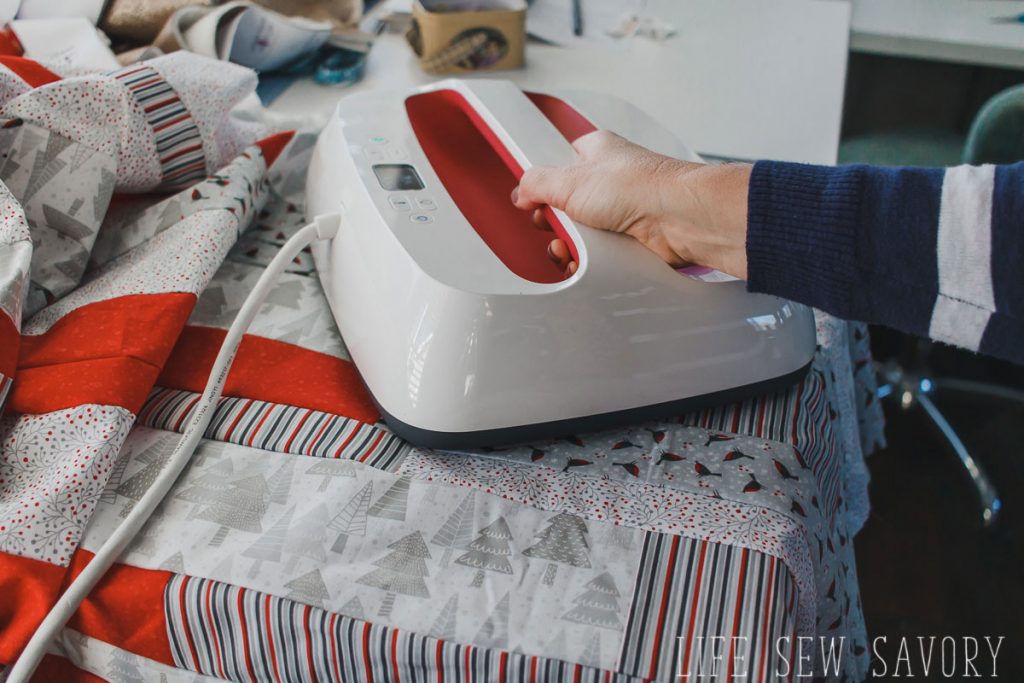
Press all the seams flat before cutting to a circle.
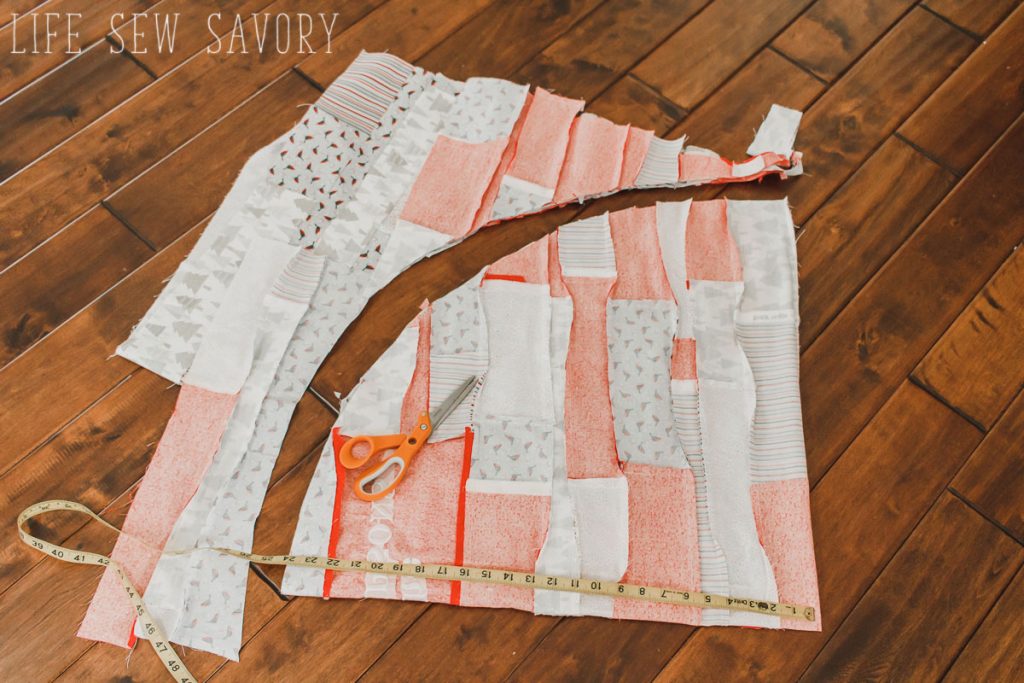
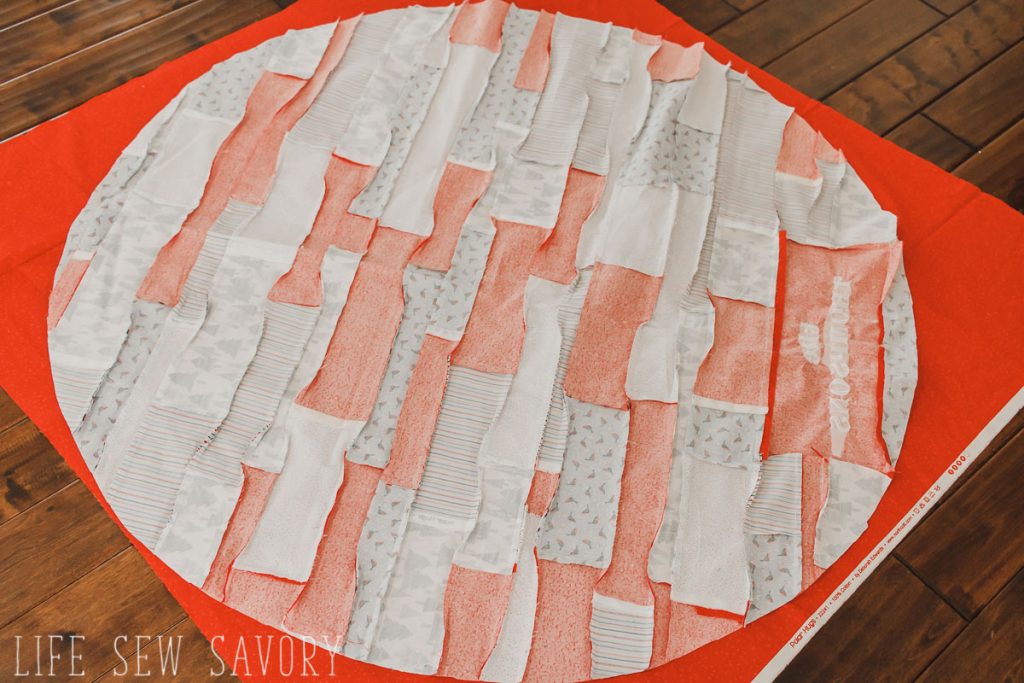
Lay out your fabric and then fold in half and then in half again to cut into a circle.
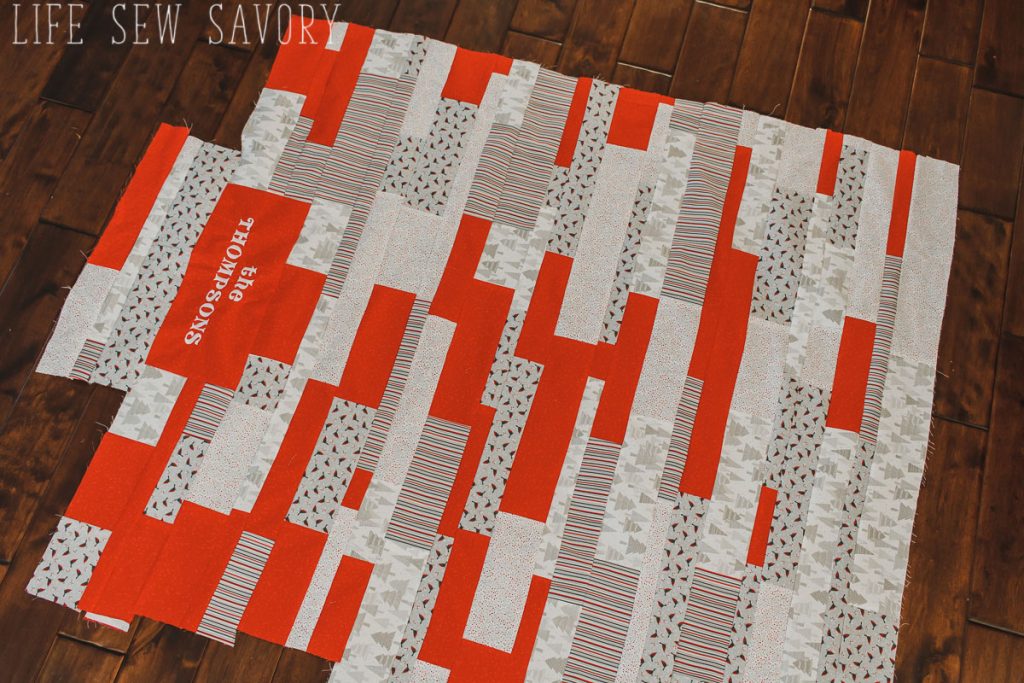
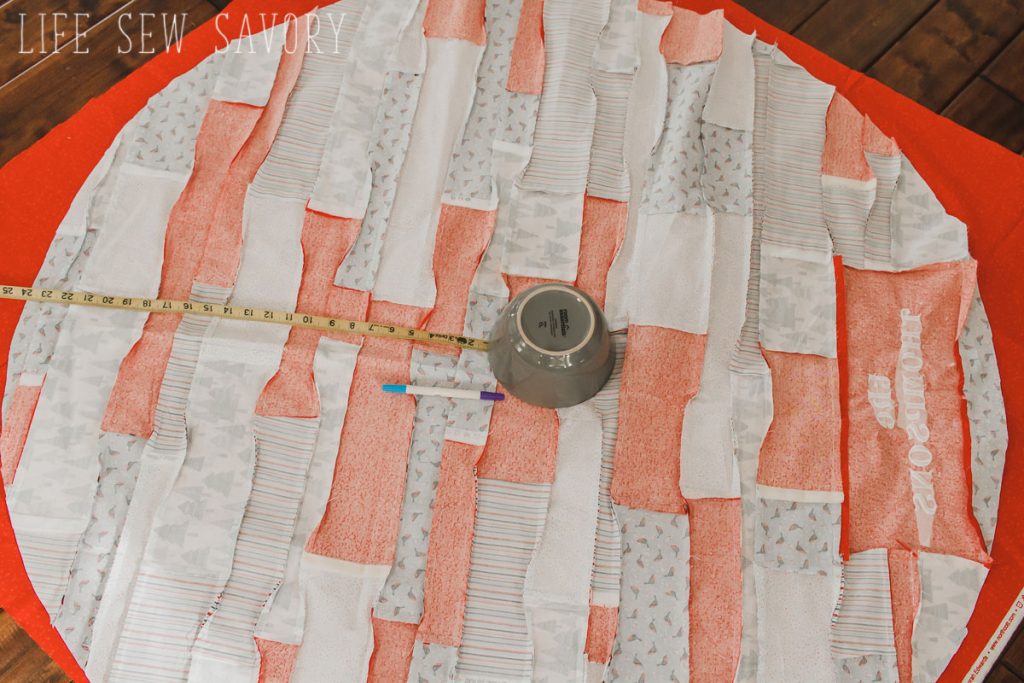
From the double fold corner measure and mark your cut line. I marked at 24.5″ all along the quarter circle, then cut at that line.
Sew two pieces of fabric together of backing material. Cut the same size circle from the backing fabric and lay right sides together. PIN PIN PIN.
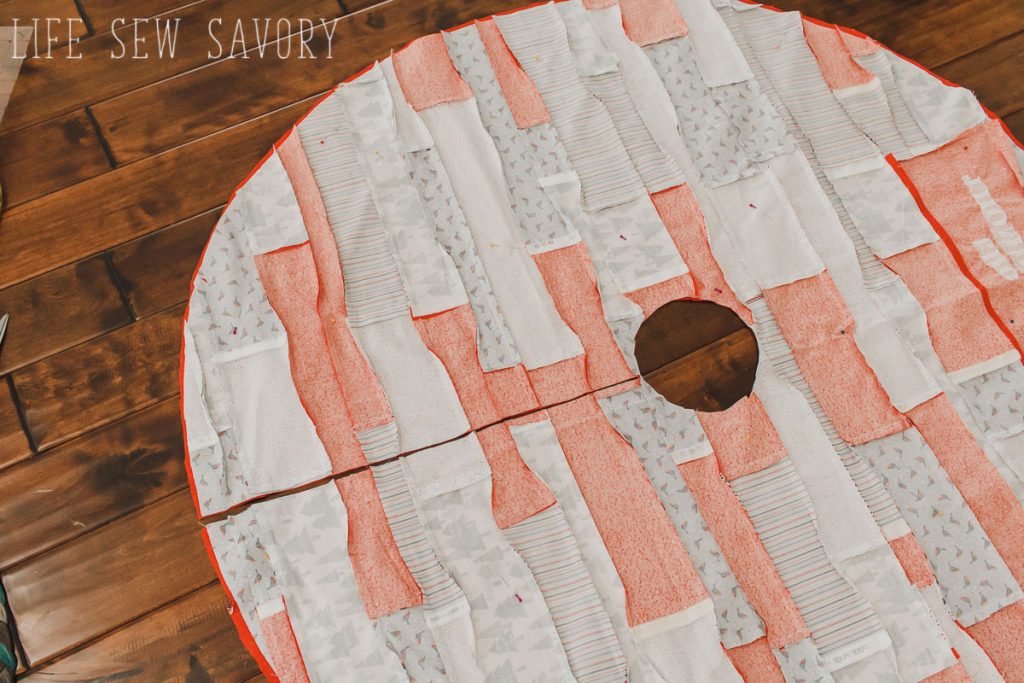
Measure and mark the center of the circle. Place a bowl {or something else} on the center mark to create the center hole for the tree. Also cut a line from the center to outside for the back of the skirt.
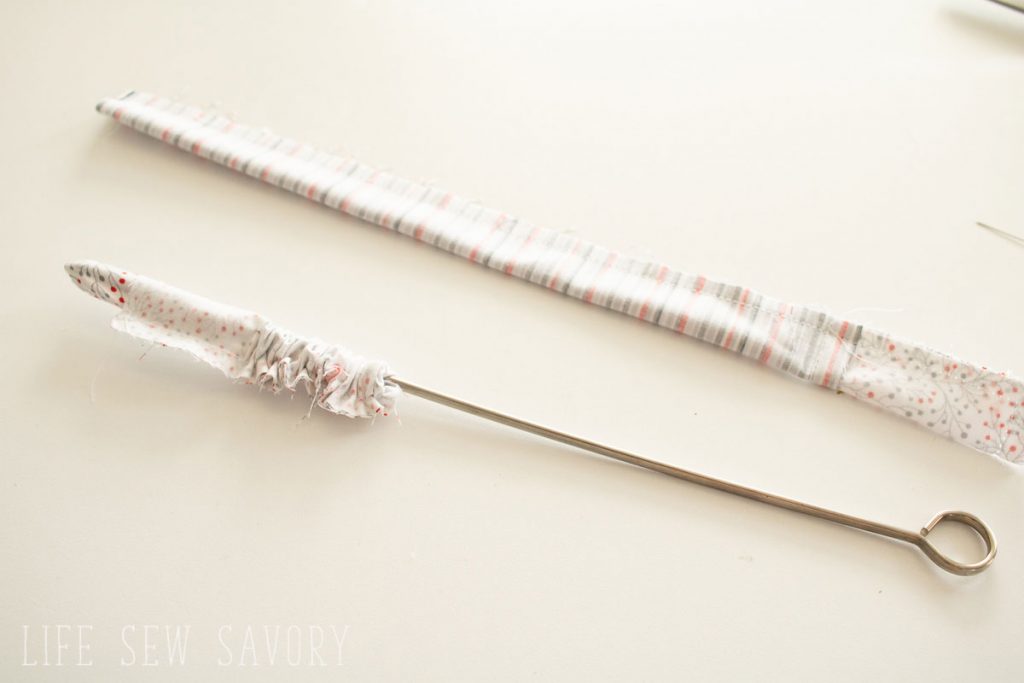
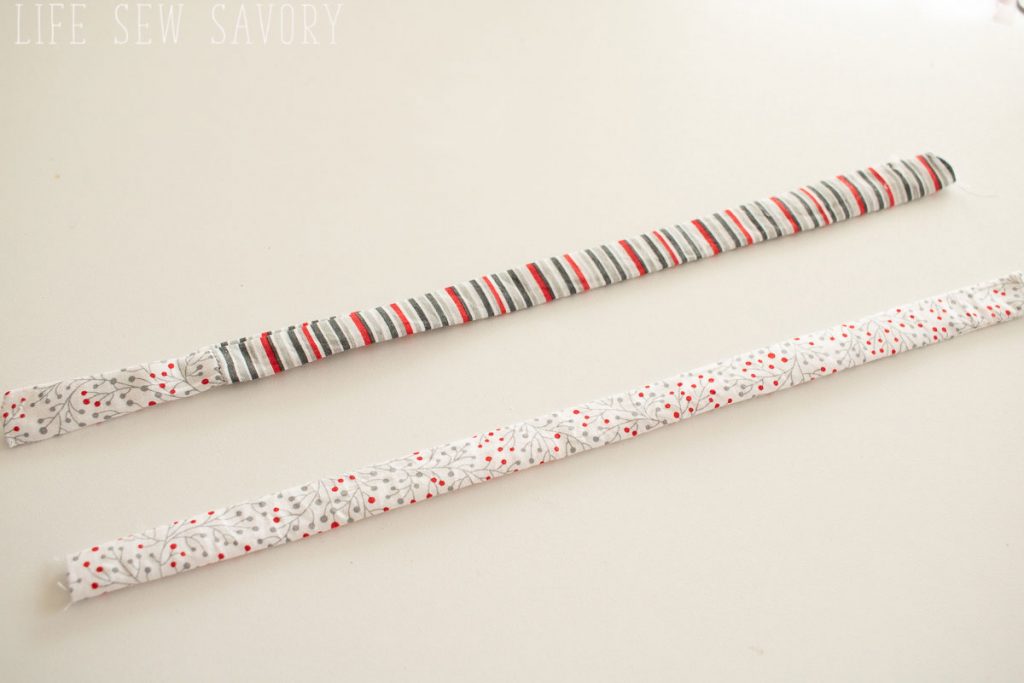
Use ribbons or create two ties from left over strips of fabric. These were some left over 2″ pieces that I sewed together and turned out.
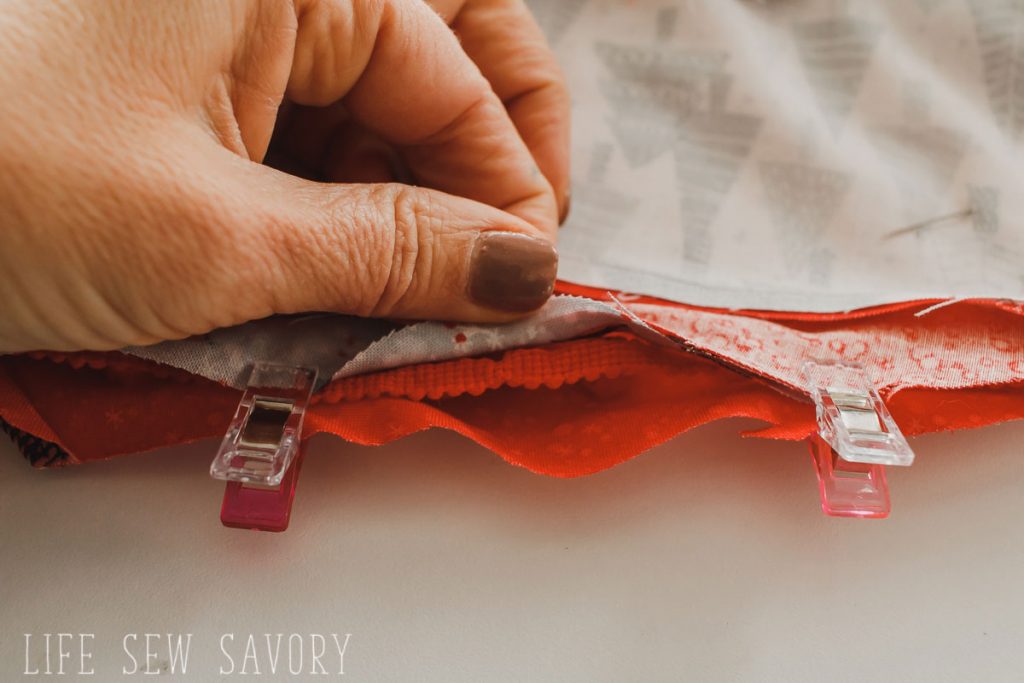
Place the ties between the layers of the tree skirt fabric at the corners of the middle small circle. Pin in place.
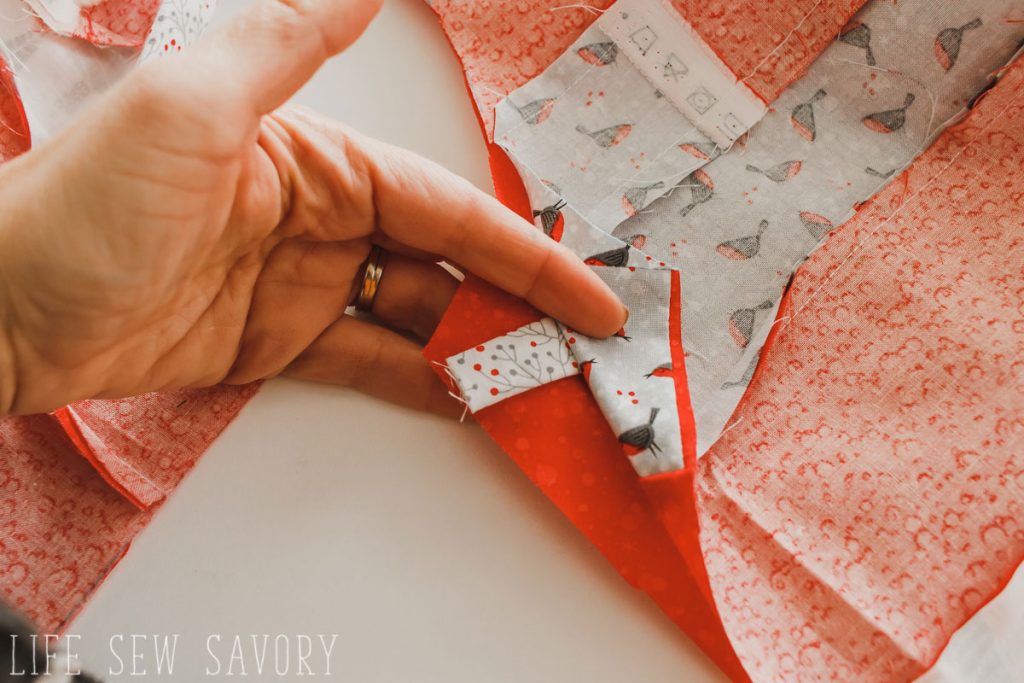
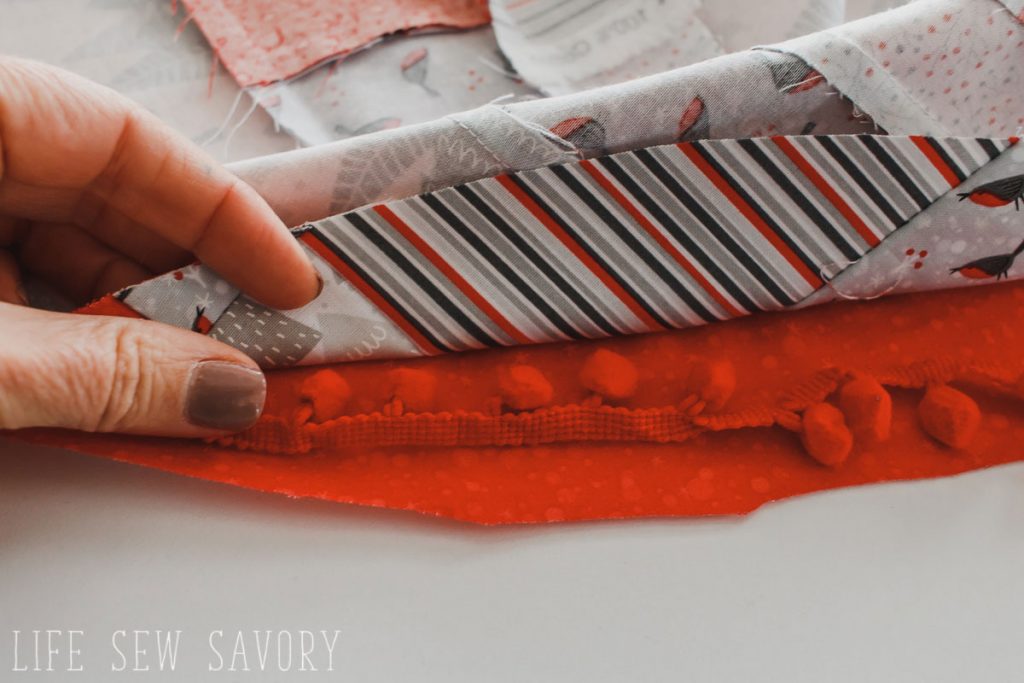
If you are adding the pom pom trim you can pin between the fabric layers on the outside edge now. You an also just sew up the outside edge without.
I found a zipper foot to be helpful with sewing the poms. Sew around the outer curved edge and then up the back around the center and down the other back side. Leave a 8″ opening on one of the straight back sides to turn.
Pull skirt through the opening and press.
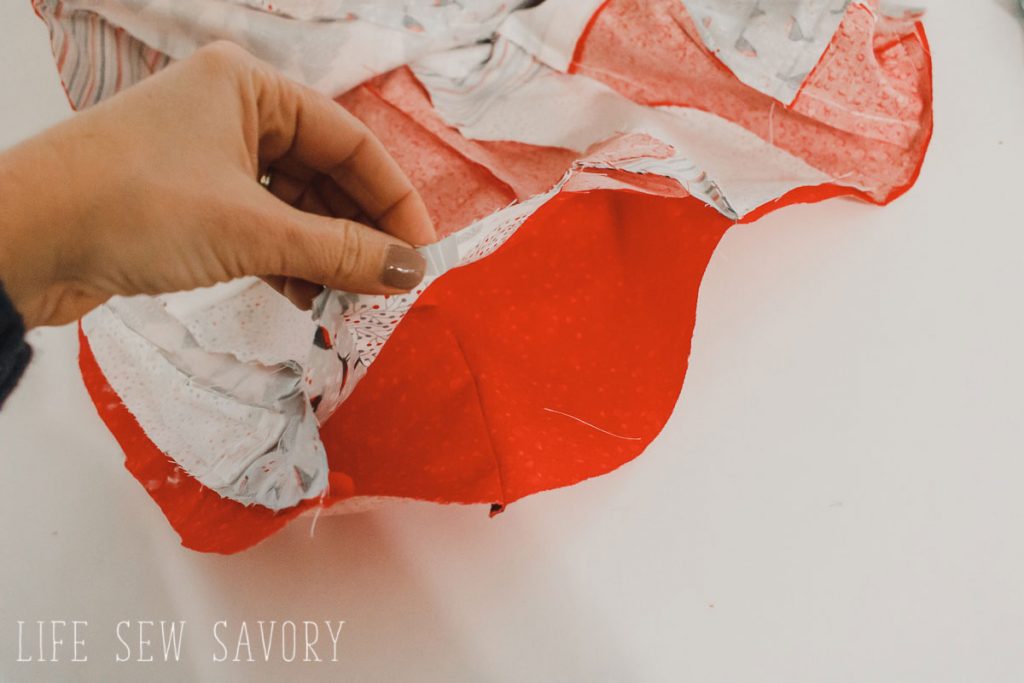
Fold seam allowance inside at the opening and then top stitch the opening closed and all round the edge of the skirt.
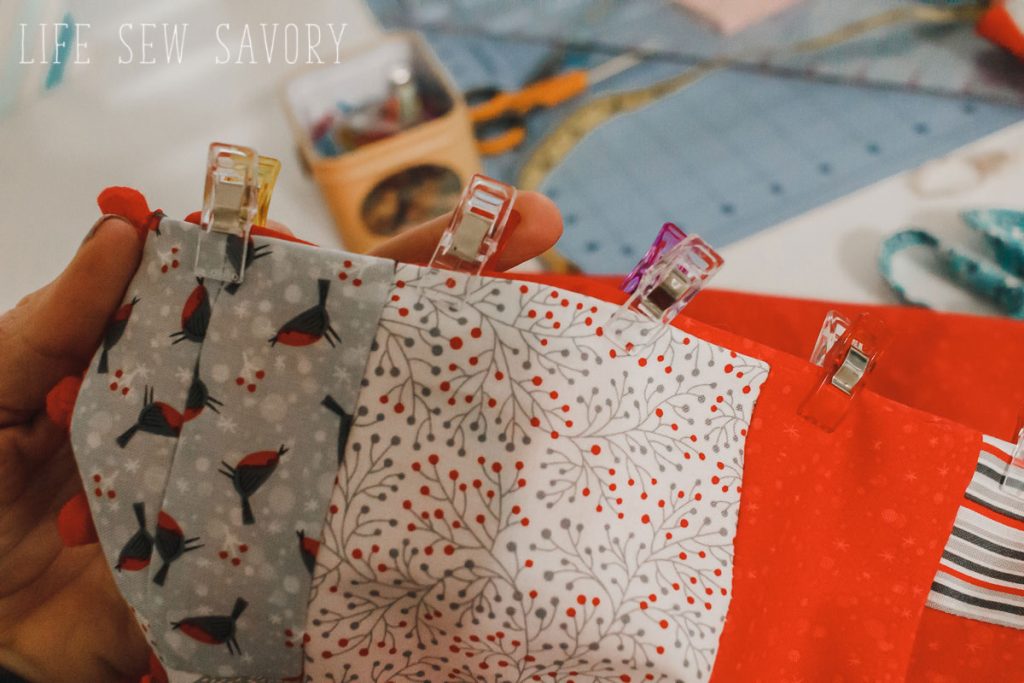
You can leave a single layer of pom poms…
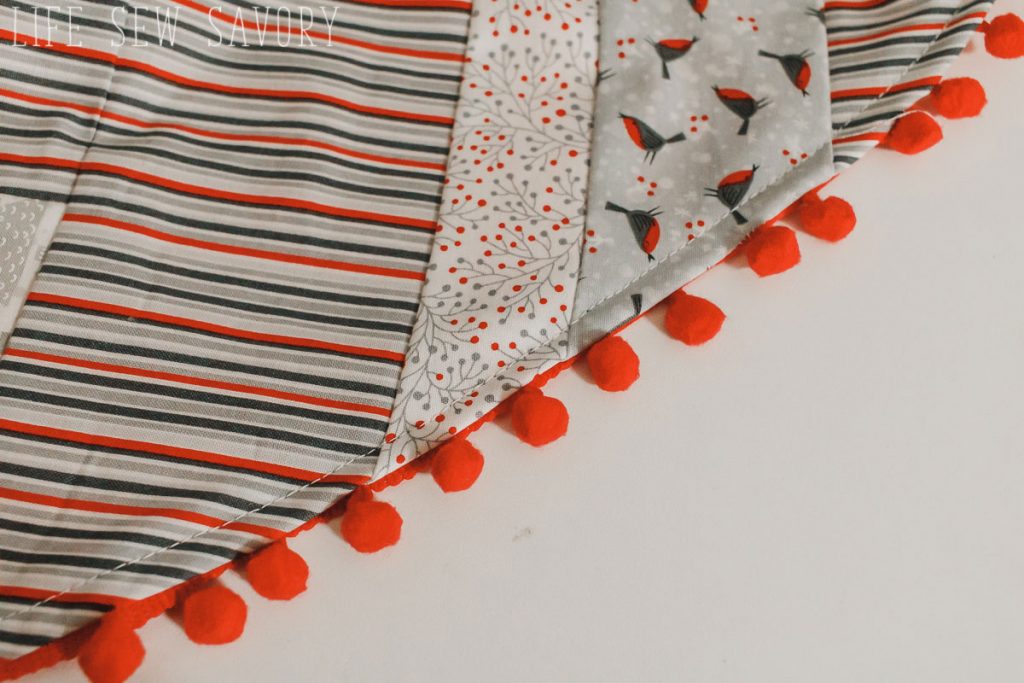
OR I top-stitched another layer of them on top with the poms alternating. I thought I might as well go big on this one {haha}
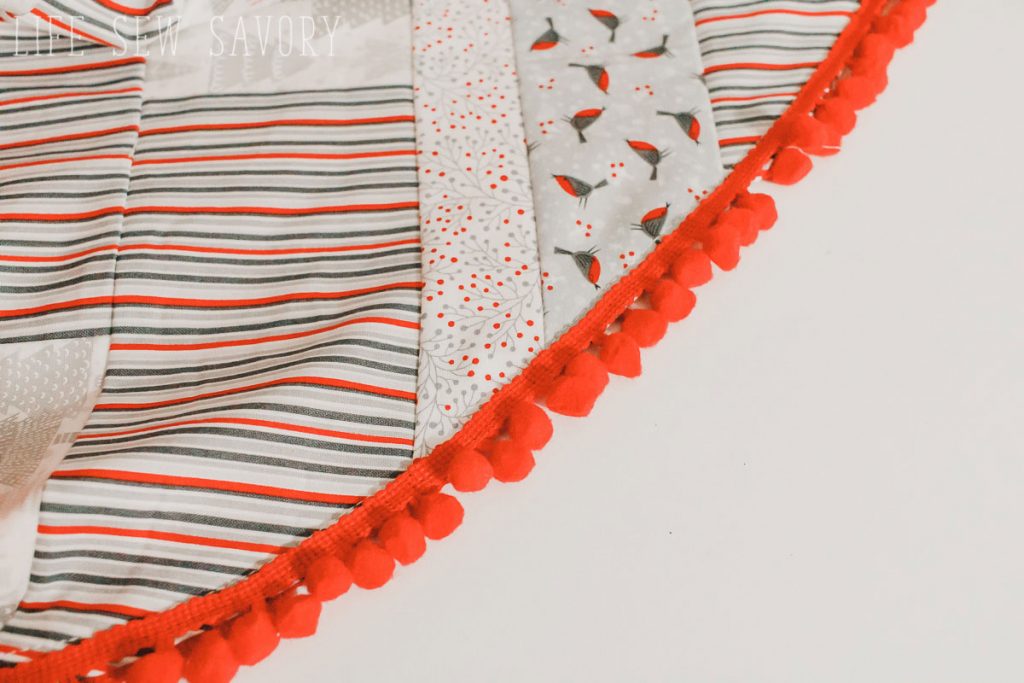
I love the result and now it matches our new STOCKINGS as well.
More fun Christmas Sewing Tutorials –




Leave a Reply