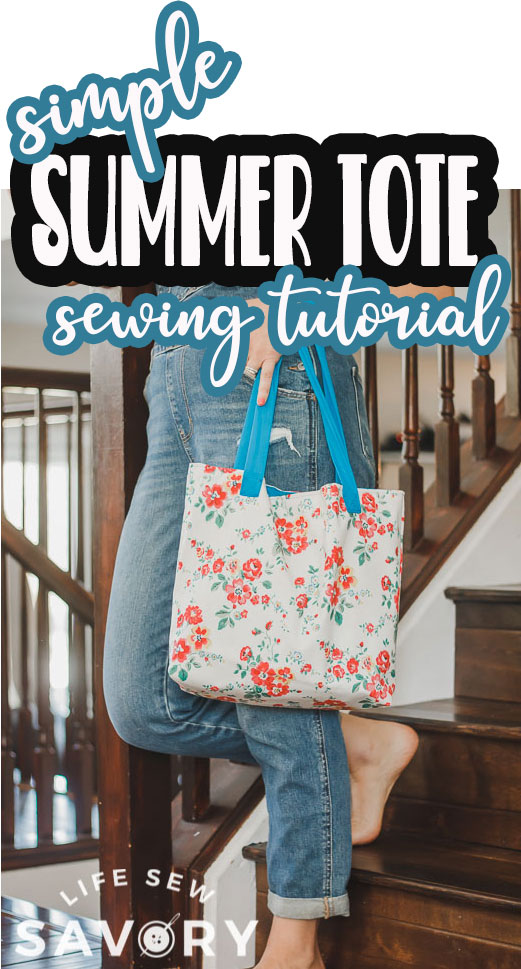
inside: A fun tutorial – how to make a tote bag – to make a gorgeous bag you can use for any occasion. Canvas, cork or vinyl makes for a lovely, structured tote bag .
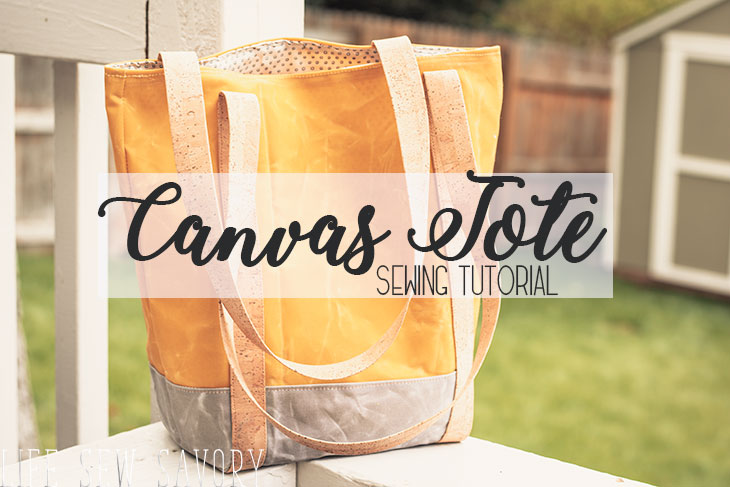
You know I love to make a new bag a couple of times a year. I love a fun bag change and I love to make new bags. This was my first experience with wax canvas fabric and I love the result. Today I’m sharing a tutorial on how to make a tote bag. I think the combination of the cork strapping and canvas fabric make a really fun tote bag. I’m going to share fun sewing tutorial to make this canvas tote bag.
DIY canvas tote bag –
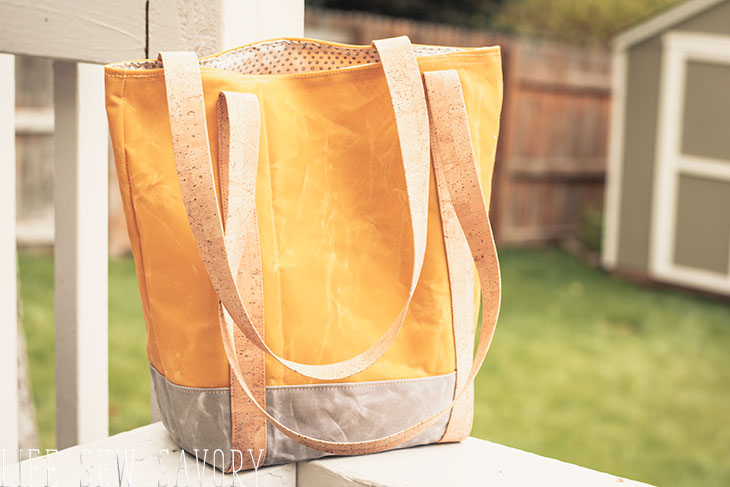
Tote bags are one of my favorite kind of bags to sew. They are pretty quick and easy and fun to use. You can easily add pockets as well, which really adds to the usability of my bags. {I’m a huge fan of pockets} I’ve sewn several totes like this before, but I’m really loving the wax canvas I used for this bag… plus I just adore the yellow.
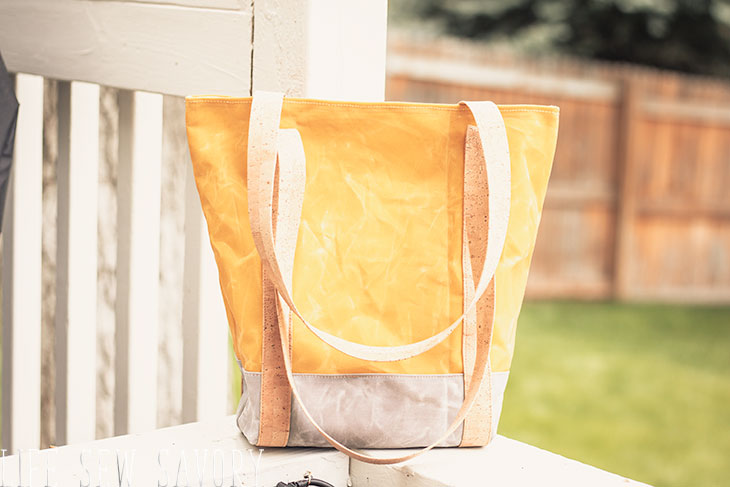
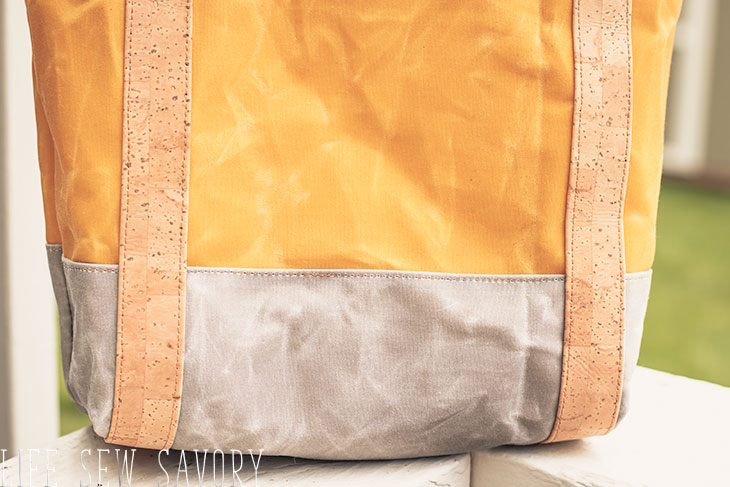
This DIY canvas tote bag not only has really cool wax canvas, but the straps are fun cork {pre-made straps!} and you can’t really see, but I used glitter thread for the top-stitching… The whole look really came together and I’ve been using it for weeks with tons of compliments.
Other tote bag patterns to sew-
- Zip Side Tote-
- Pleather tote bag tutorial – with printable pattern
- Huge list of tote patterns
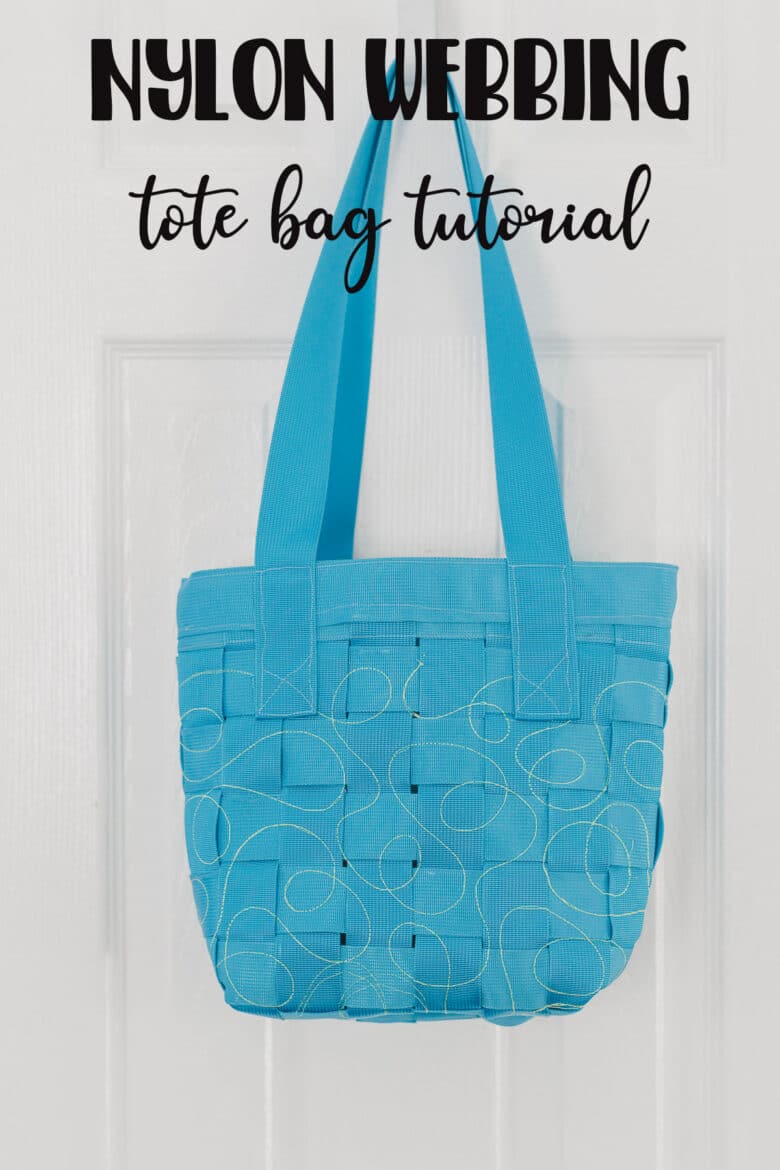
- Nylon webbing tote bag

how to make a tote bag –
Okay, lets take a look at the supplies I used to make this canvas bag project…
Supply List:
- 1/2 yard of was canvas {2 colors} I love this canvas/cork from Fabric Funhouse.
- I used wax canvas for the original project, but have had trouble find it since. This tote is a great project for any semi-structured fabric. Cork, canvas, vinyl, etc…
- 2-3 yards of cork strapping… again I have this fun pre-made straps from Etsy
- You can use any strapping, but I do love the way the cork straps look.
- Metallic thread from Coats and Clark
- Quilting cotton for lining and pocket
- 9″ zipper for pocket
DIY canvas bag
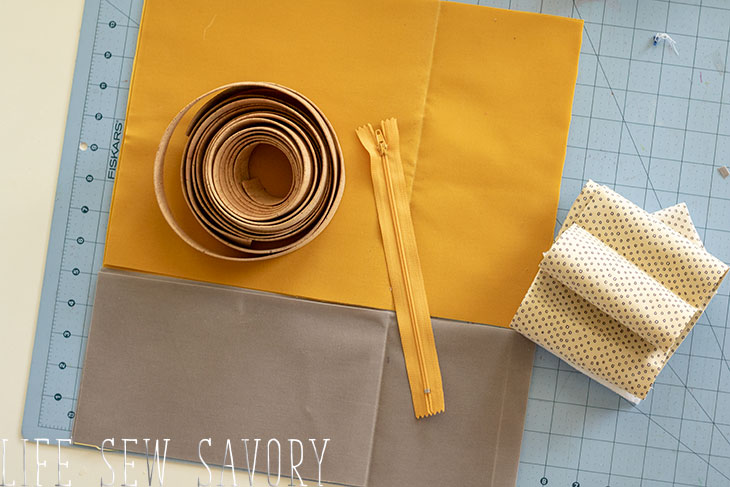
Here’s everything all laid out. My bag is about 14″ wide and 18″ tall. I divided these measurements between two colors. You can do the same or cut just from one color. The bottom grey fabric is about 5″ tall. Cut the lining fabric the same dimensions. {14 x 18″} or whatever dimensions you used.
The first step is to sew the two colors together. I stitched the yellow and grey together with a 3/8″ seam allowance and then top-stitched with the metallic thread. Top-stitch 1/8″ from the seam.
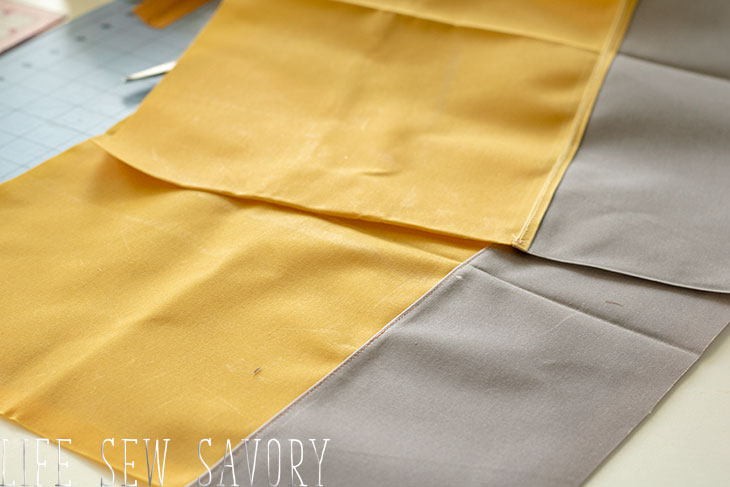
Here are my lining pieces all cut as rectangles. Before you move on add pockets to the lining if you are going to do so.
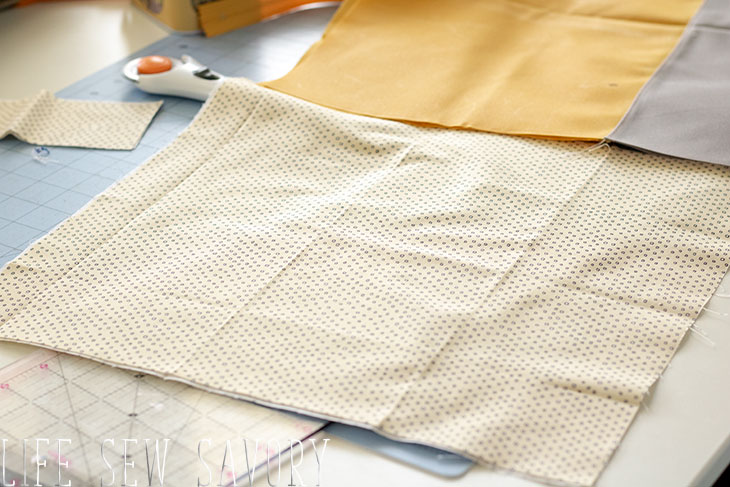
At this point… If you want to add a pocket {or two} on the inside of the tote bag pattern you can follow the full tutorial I wrote here.
I added a pocket to the inside of the bag and you can add one or two pockets to the inside of the bag or also on the outside of the bag.
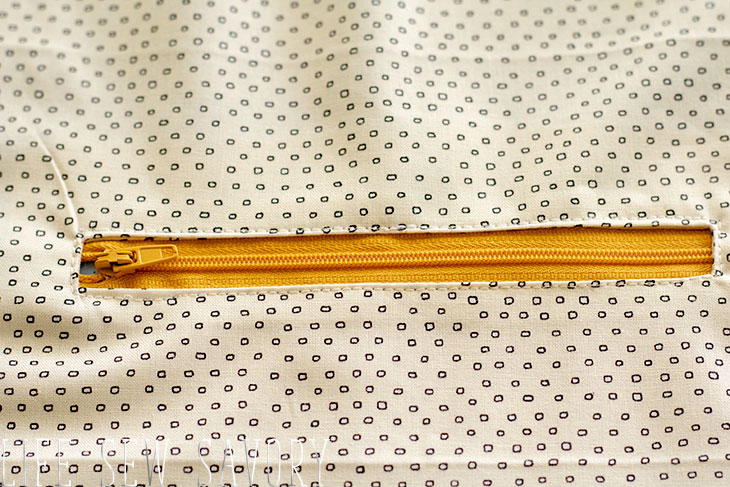
how to sew a tote bag –
Let’s jump into sewing the bag. Sew the bottom of the two outer bag pieces together as shown here.
Next, pin the cork strapping on the bag. My straps are 3″ from the side edge. I started the end on the bottom seam and then up the side. Leave a loop the length of your straps.. come down the other side all the way down. Leave a loop on the other side for another strap {the same length as the other} and then meet again at the bottom seam.
Pin it all in place as shown here.
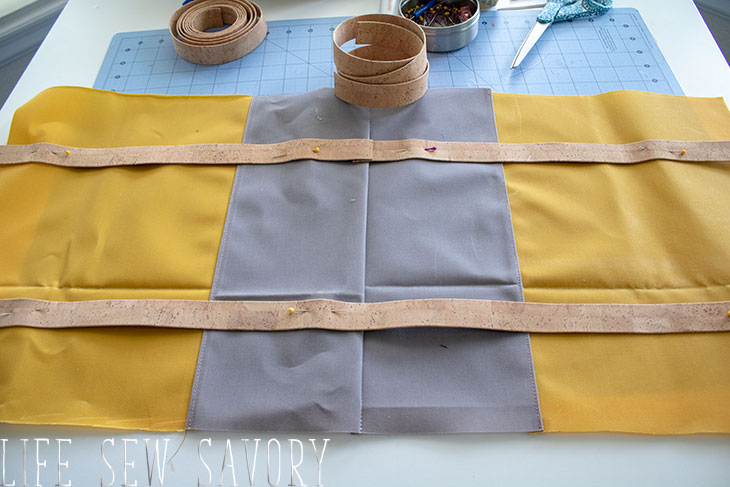
Here is my straps {the same on both sides}
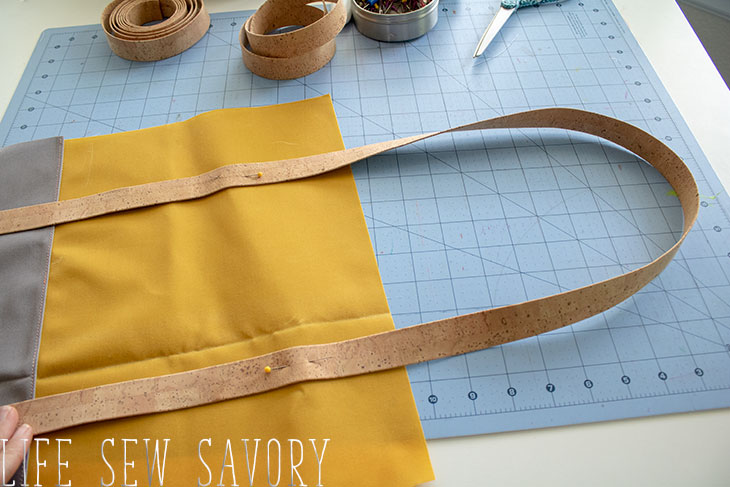
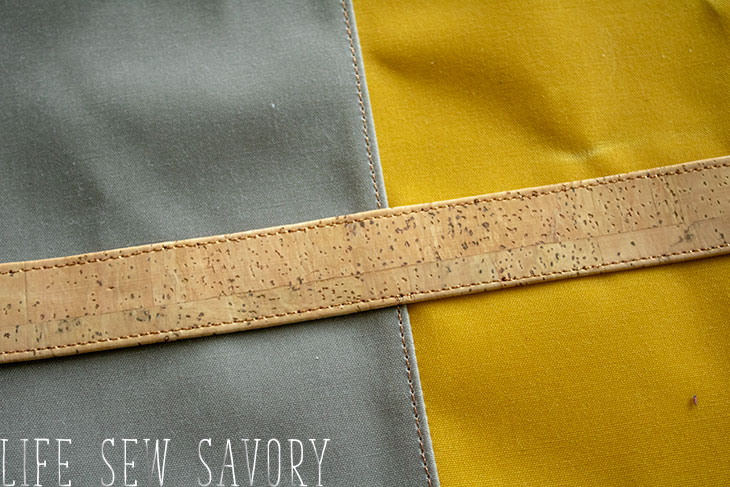
Stitch the straps to the bag closely on both sides. I stopped stitching 1″ from the top edge of the bag and went across the cork to secure.
Fold the tote together with right sides together and pin or clip. Clips are PERFECT for wax canvas because the pins leave holes…
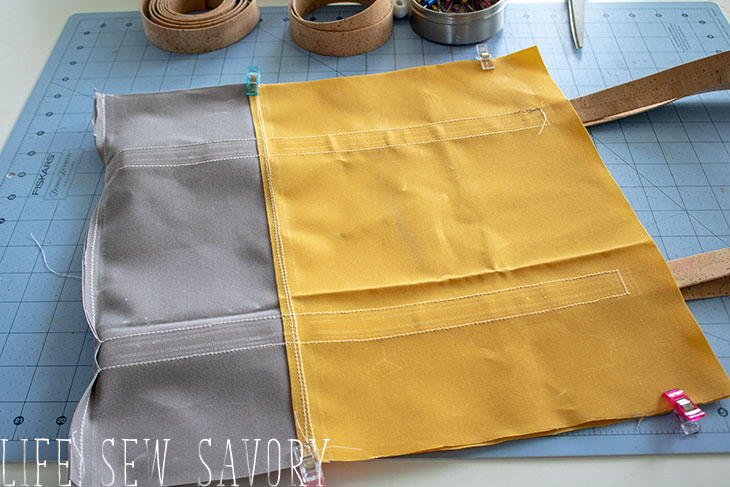
Stitch down the sides of the bag from top to bottom with desired seam allowance.
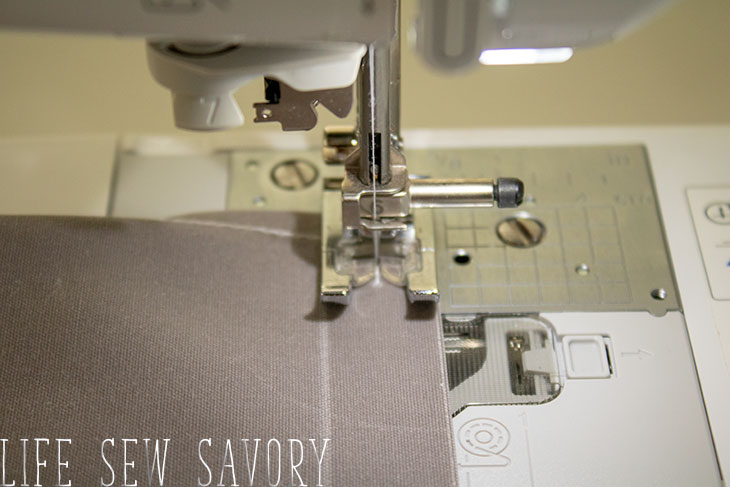
This is the only slightly tricky part and once you have done it, it becomes much easier. Place the bottom seam of the bag on the table and then fold the side seam so it is laying over the bottom seam. Sew a seam 2.5″ from the corner across as shown here.
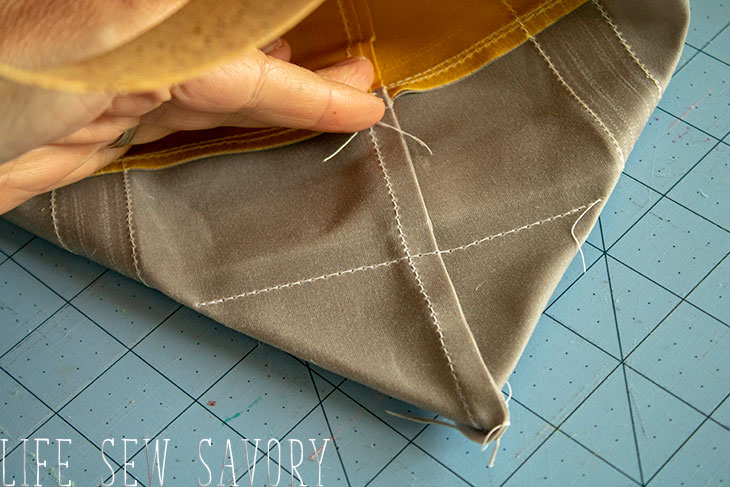
After you have sewn it, clip off the corner to remove the bulky fabric. Repeat on the other side of the tote outer fabric. You bag will now have a nice structured look as should stand { if you used a stiff canvas}
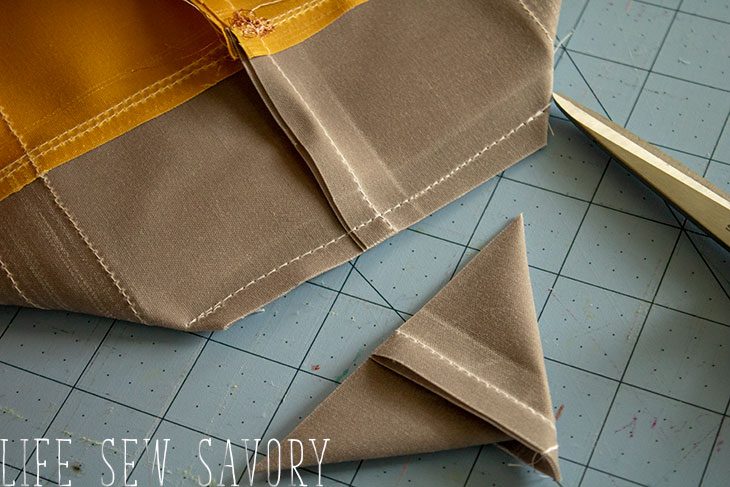
If you haven’t already, sew the lining together at sides and bottom as well. Use the corner cut from canvas to measure where to sew on the lining fabric. Stitch and trim both sides of the lining bottom.
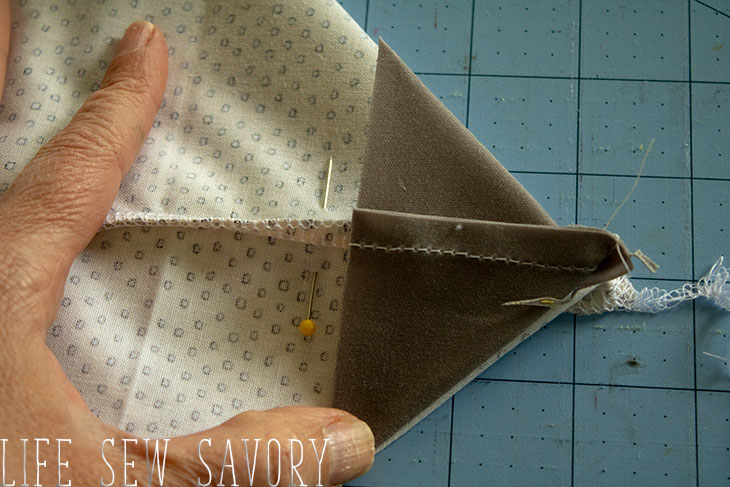
Place the lining and bag together {with right sides touching} and clip together around the top. Make sure the straps are tucked in between the outer and lining fabric.
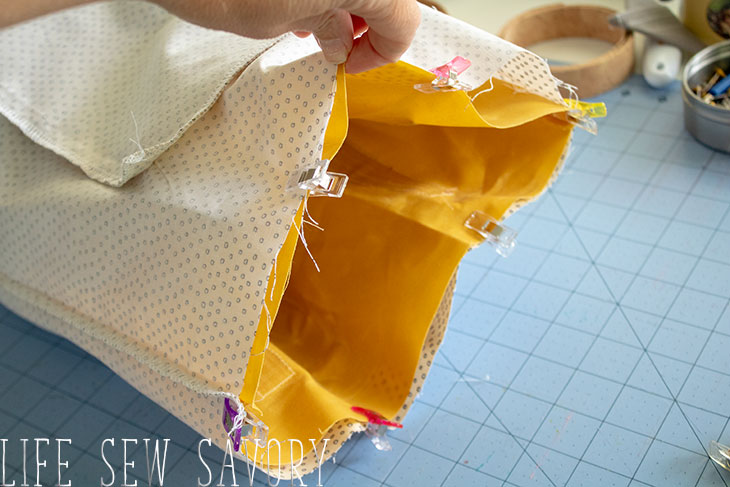
Sew around the top with a 1/2″ seam allowance and leave a 6″ opening to turn the bag right side out.
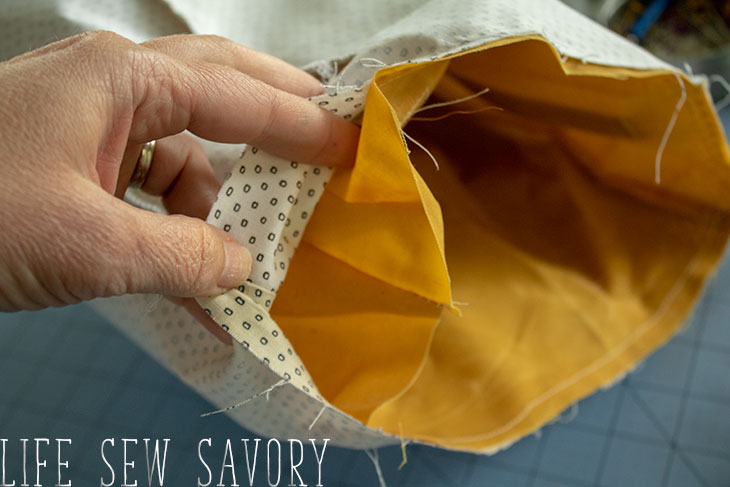
Turn the bag right side out and tuck the lining inside the bag. Fold the edges of the opening in and clip the hole closed.
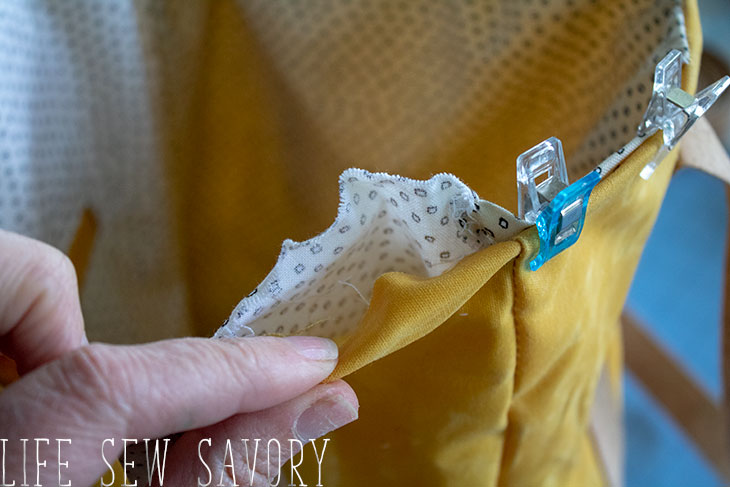
Clip around the entire top of bag to hold in place. {do not iron straight on fabric as the WAX will melt!} Top-stitch around top of bag close to edge to finish the canvas tote bag.
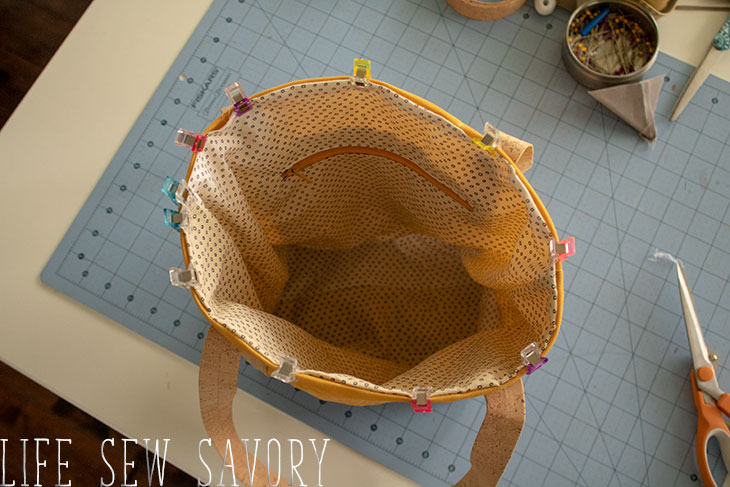
And you did it!! Cute cute cute!! I think I’m going to make another wax canvas bag soon, but a little larger. I have more fabric and can’t wait to sew another tote bag.




Melody says
This is beautiful! Perfect Christmas gift for my dtrs. in law. Can you recommend a needle type and size? Thank you!
1
Emily says
I just used a regular 12 needle…
T K says
Very pretty but also very expensive
Nancy says
How do you manage to only use 2 yds of cork strapping on a bag that is 36 inches on one side. There is not enough for handles.
Emily says
The bag is not 36 inches on one side! It’s about 14…
Kathleen says
For fabric needs – is it 1/2 yard each of two colors (total one yard) or 1/2 yard total of two colors? And is that divided by two aka 1/4 yard each of two colors? Thanks.