inside: Learn how to make a felt circle garland with your electronic cutting machine and sewing machine. Simple craft project.
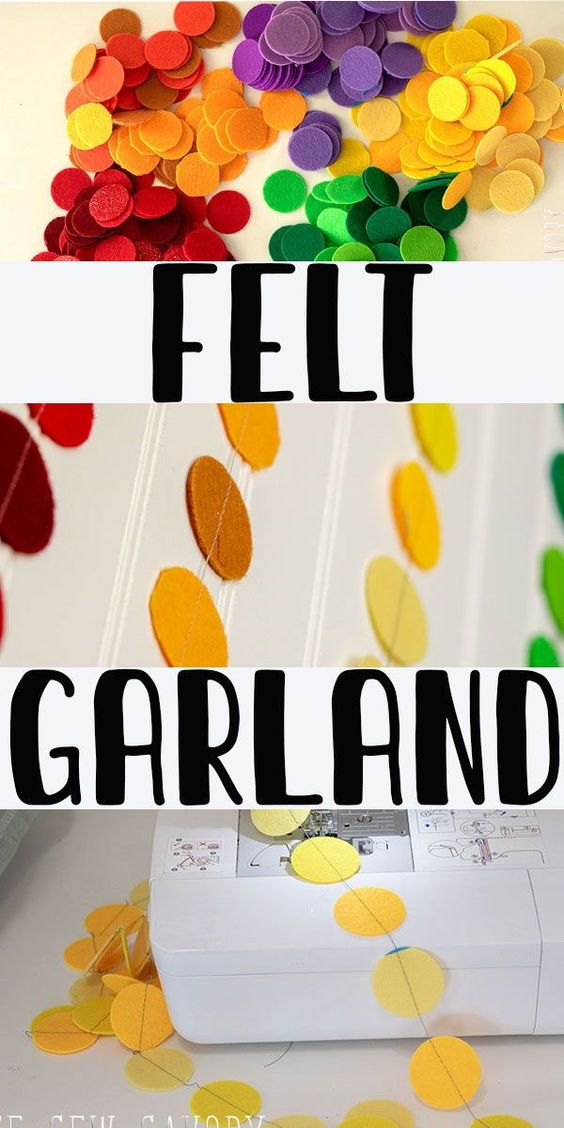
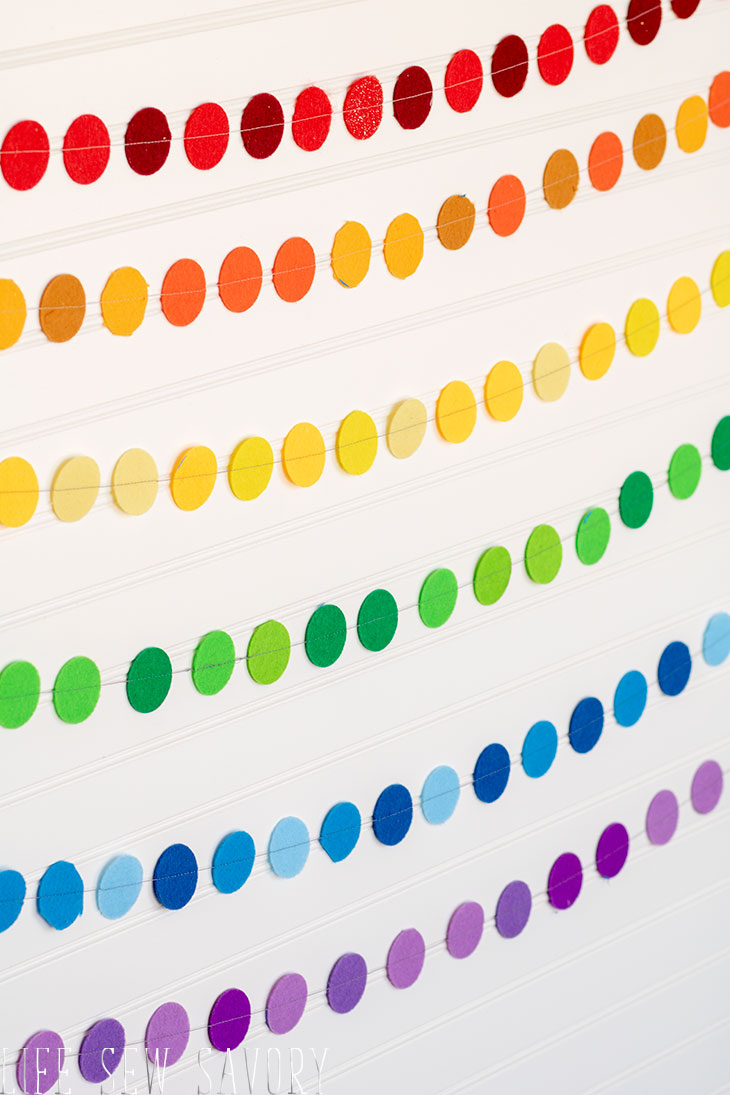
I love felt circle garlands. They look so clean, bright and pretty hanging up for so many occasions. I made a whole rainbow set this time and they look amazing hanging up together or for color options to just choose one. For a birthday or other party we can choose one or more of these pretty felt garlands to hang up, or use the whole rainbow set.
How to Make Felt Circle Garland –
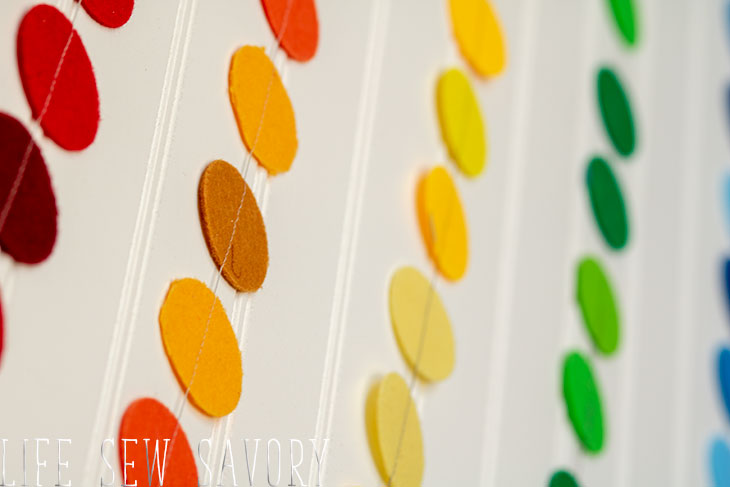
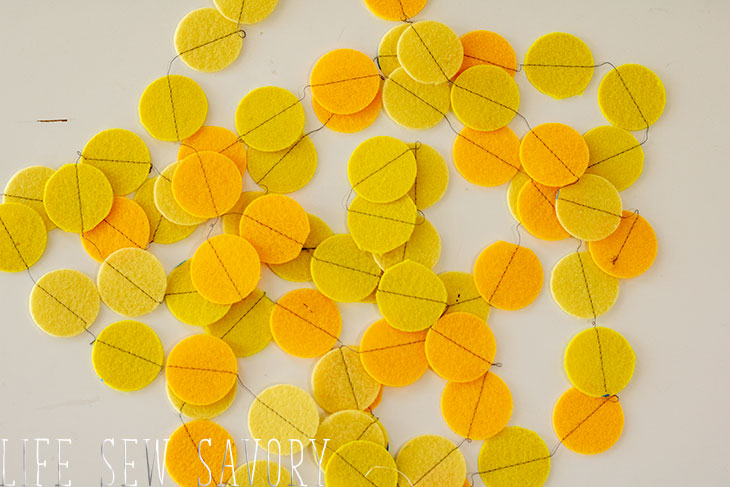
I love the circles all together! Each individual color strand is made up of three various shades of the color to form a fun color strand. I love all the shades I used except for the orange. It isn’t my favorite, but it looks really great when all put all together.
Ok! to get started gather your supplies….
Thin Stiff Felt… I bought this multi- pack and was able to cut all the strands from a single pack.
Scan N Cut DX with auto-depth blade. {or other craft cutter able to cut felt}
Sewing machine – any machine, you just need a simple straight stitch.
I used the included software to make a template for my circles. They are 1.5″ inches across. You can hand cut circles if needed, but it will go a lot faster if you use a cutting machine. My felt was only 8 x 12… so make sure you create your circle template to be the same size as the felt you are using.
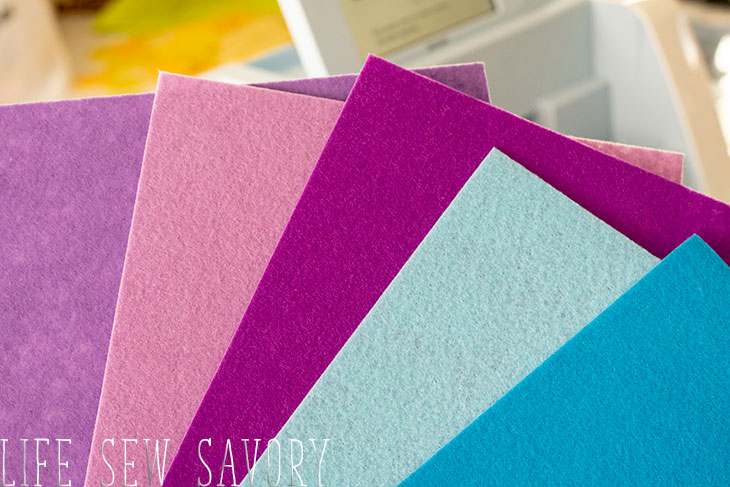
Again, I used three pieces of 8 x 12″ felt for each color. I chose three shades of each color.. like the three purples on the left above.
I did find stiff thin felt worked the best. You can see that I used some tape to make sure the felt stayed in place the whole time it was cutting. 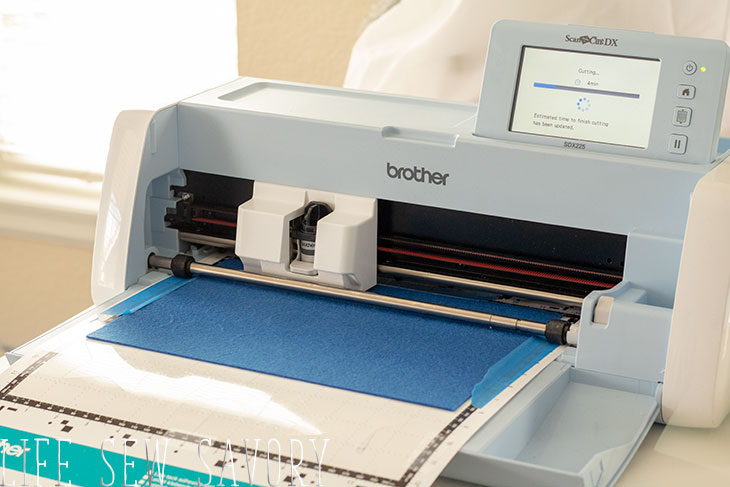
Here is my nice neat circles after removing from the Scan N Cut.
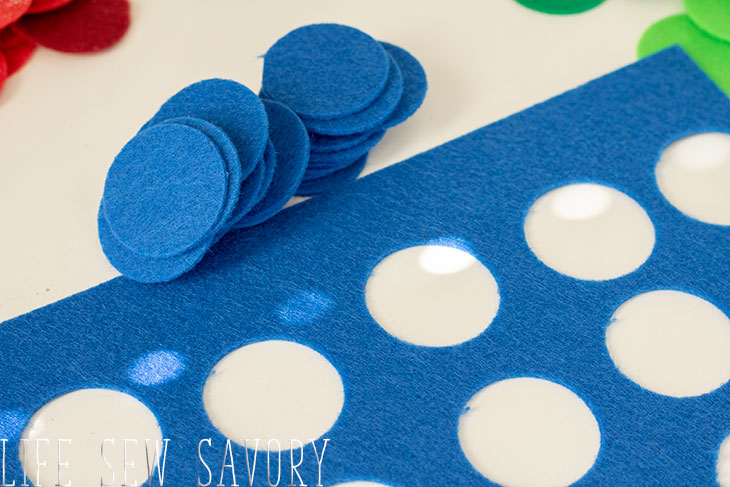
I decided to cut all my rainbow colored felt circles before starting to sew up the garlands. It was so cute like this. I wanted to throw these circles in the air and take a photo, but then I got exhausted thinking about sorting them all back out and decided the photo wasn’t worth it. {haha}

Sew a felt circle garland –
Get ready to sew by gathering all the circles for a single color in front of your sewing machine. You will also want a thread color on your sewing machine that will be seen between the circles. I used white/grey for all my garlands.
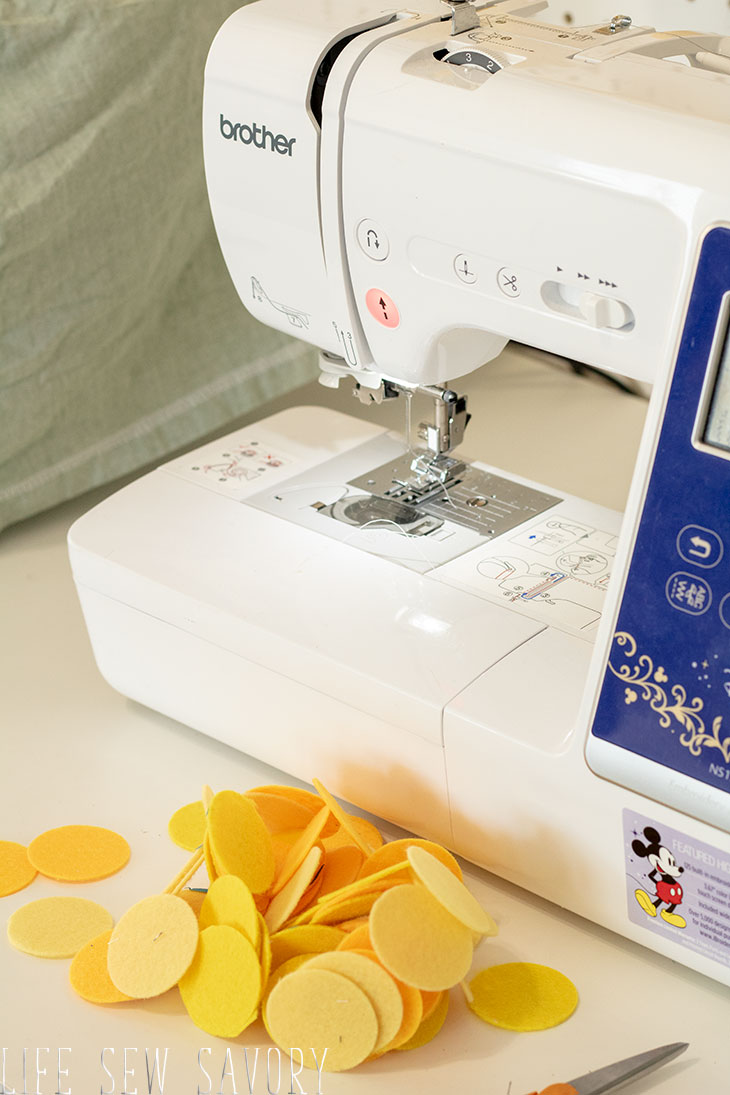
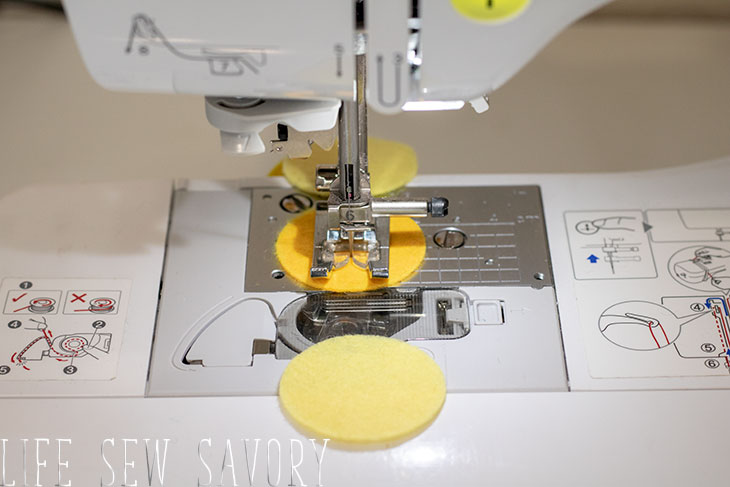
I place one circle under the pressure foot and then begin sewing. I keep my foot to the pedal and a steady pace and just keep feeding the circles through the machine. {see the video for this in action} I keep a stack in my hand and just push the edge of the circle under foot and the feed dogs will grab it. There is about 1″ inches between circles.
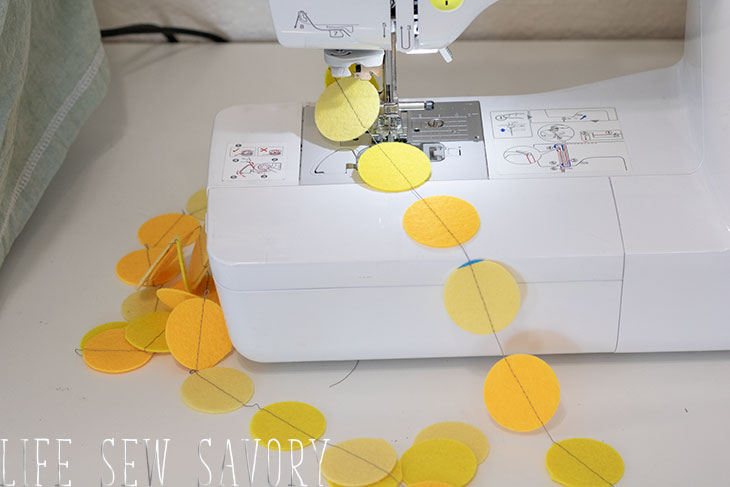
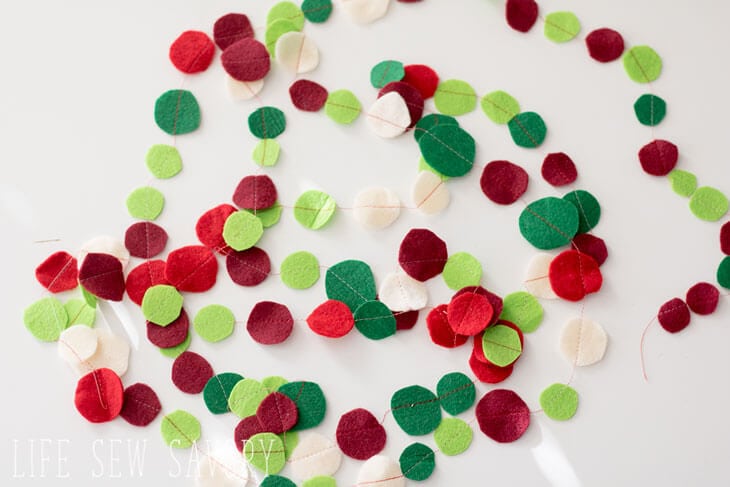
When finished with all the prepared circles your garland is finished. You can make this with many colors of felt in a single strand {see my Christmas version} or a single color theme like this felt circle garland.
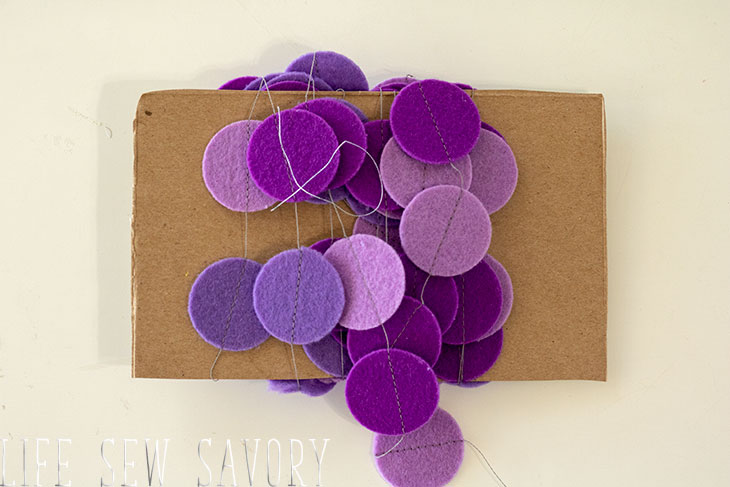
I was concerned that the thread between the circles would tangle so I used a piece of cardboard to wind around. I’m hoping this will be a good way to store the garlands and keep them ready to use and also easy to store.
I made these to decorate a sewing room I am hosting in April, but I’m planning on keeping them with our party decor so the kids can pick a color for their birthdays or other events.
Here are some other felt projects you may enjoy!
Felt Play Money








Leave a Reply