inside: learn how to easily replace stretched out or old elastic. Give new life to swimsuits, shorts or pants that need new elastic. Don’t let stretched out elastic ruin your clothes.
Have you ever had a swimsuit or shorts that are great except for the elastic? I recently found a two-pack of shorts for a steal that had weak elastic in the waist. They were perfect for my son except for the waist. Today I’m going to show you how easy it is to fix old or stretched out elastic.
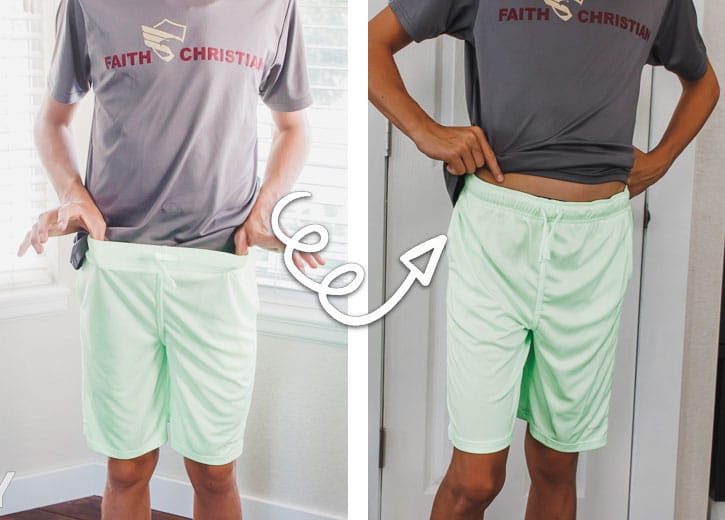
How to replace stretched out elastic
I’ve talked about before how sewing is handy when ready to wear clothes don’t fit great. This is another example of how sewing can help make clothes fit better.
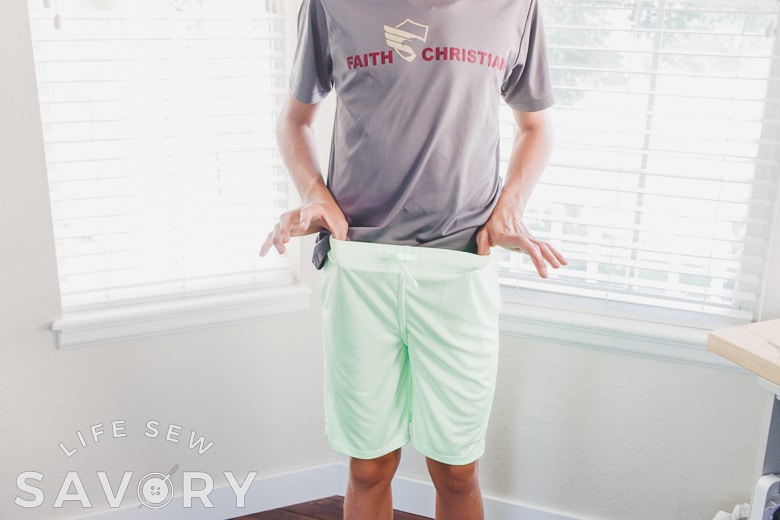
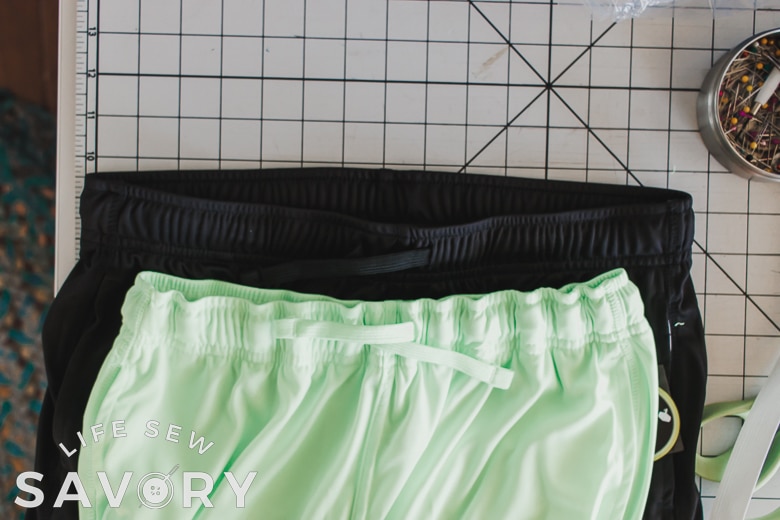
I can’t pass up a good bargain… even if I could sew it better from scratch! These shorts were a 2-pack for $1.00!! I was so excited I bought one set of size L for Max and the XL for Jack. The ones I bought for Max fit fine, the larger size however, did not have tight enough elastic.
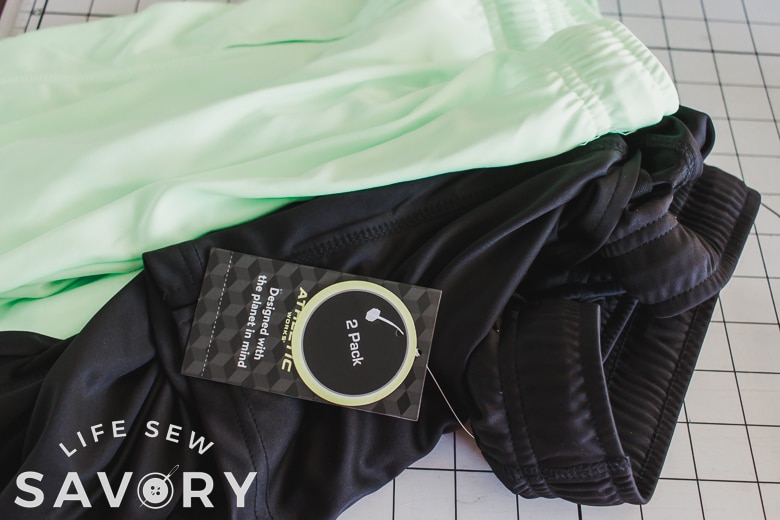
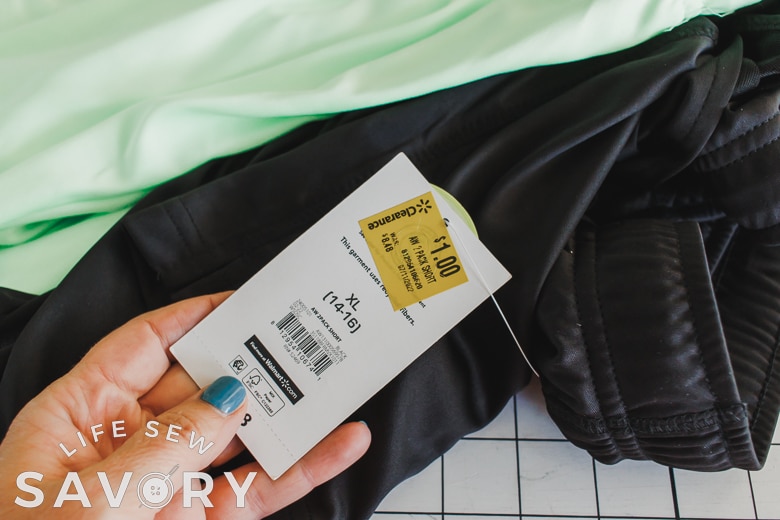
Jack said he would not wear these, and he won’t bother with using the drawstring.

After adding new elastic the shorts were fixed and so much more wearing able. They got teenager approval and now fit perfectly.

New Elastic for shorts
ok! let’s take a look at some options for replacing stretched out elastic in shorts or swimwear. You can either thread elastic through the existing casing OR sew elastic on the inside of the waistband and leave it exposed like these shorts.
supplies for replacing elastic:
Like I mentioned above, these shorts had a drawstring that was actually functional, but my son won’t bother with it. Because this was a real drawstring, this also meant that the casing of the string could be used for new elastic.
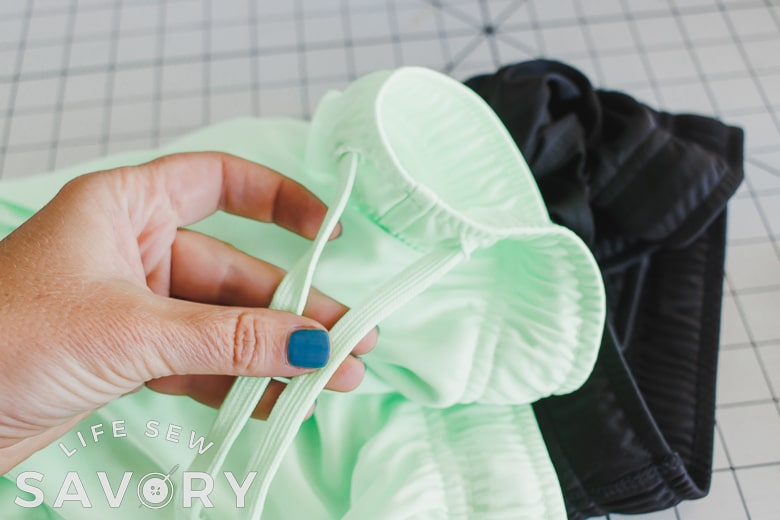
Picking out the stitching and replacing the elastic is always an option, but very tedious and time consuming. I’m not willing to do that for $.50 shorts. {haha} I measured the distance between the stitching and got some elastic that would fit between these stitches.
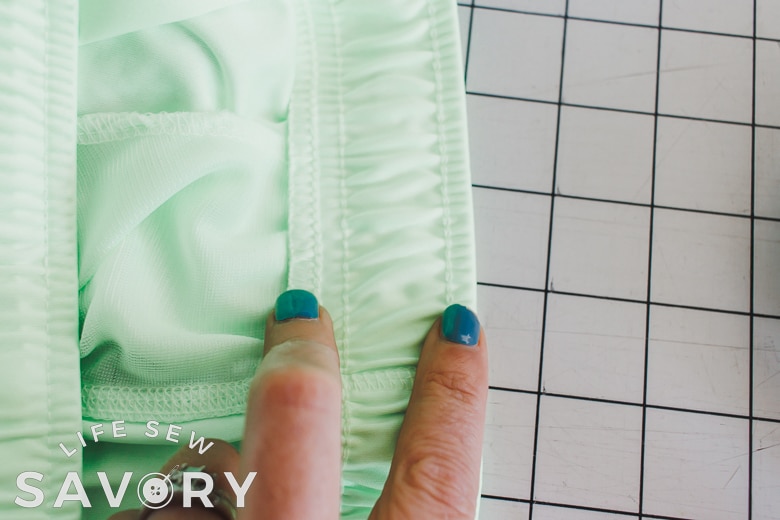
I used 3/4″ elastic for this waistband and it worked perfectly. IF there is no working casing for the elastic OR too many stitches for threading new elastic, then use exposed elastic. See these knit shorts with exposed elastic for example.
If these were handmade shorts I probably would have tacked down the elastic on the side seams. I would probably choose to un-pick these stitches so I could thread new elastic.
These shorts did have a back center seam that I didn’t want to pick out. I decided to cut an opening on either side of this back seam to thread the new elastic. Make small holes on either side of the back. Cut elastic to fit the waist of the child.
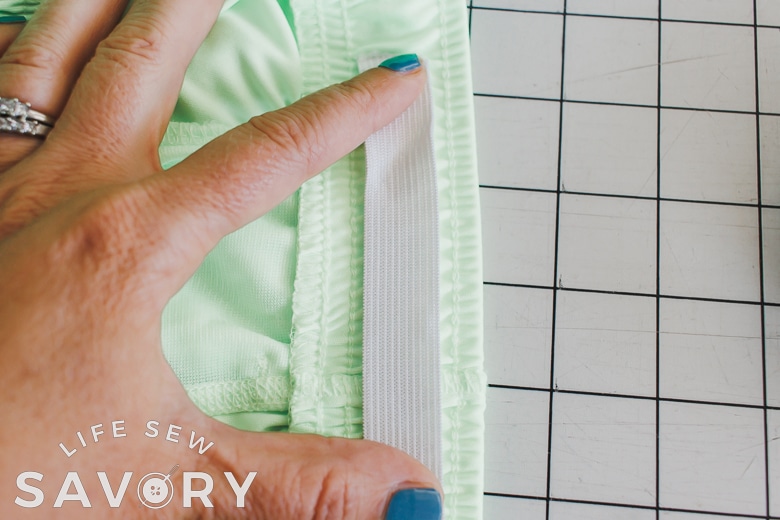
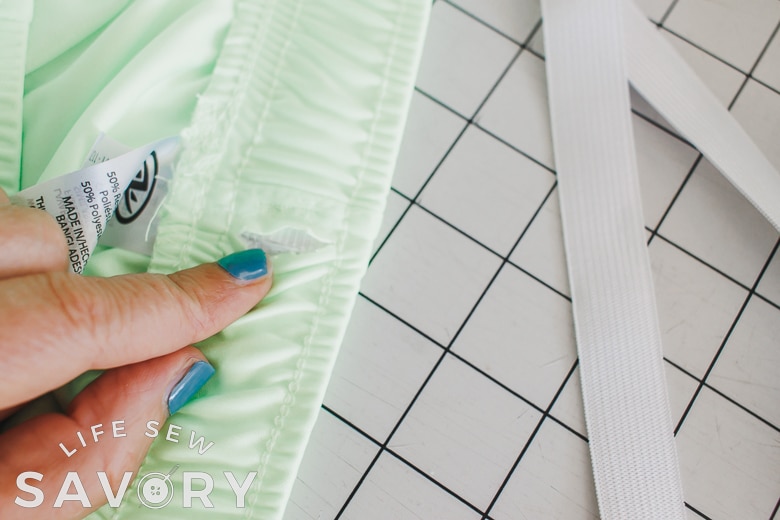
New elastic going in one side of the back seam and then coming out the other side.
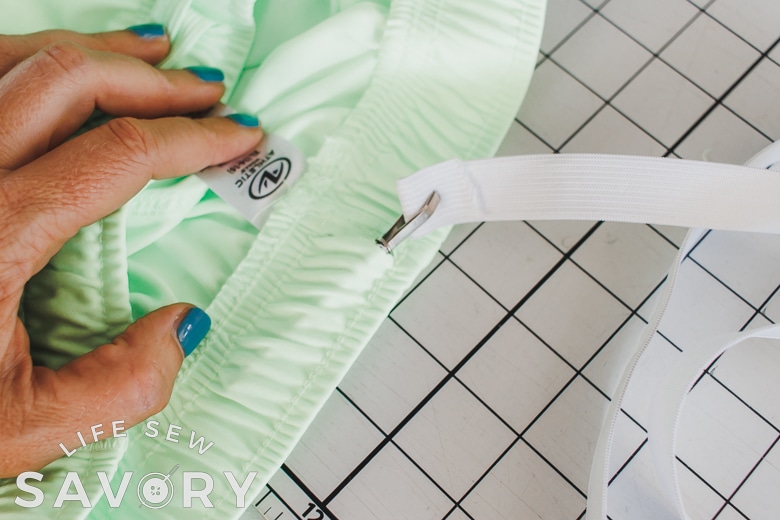
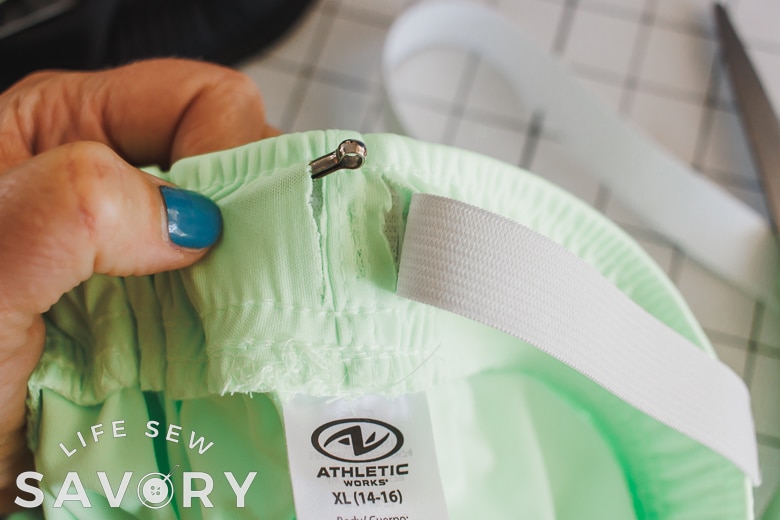
Take the two ends of the elastic and overlap 1/2″ then sew together in a circle.
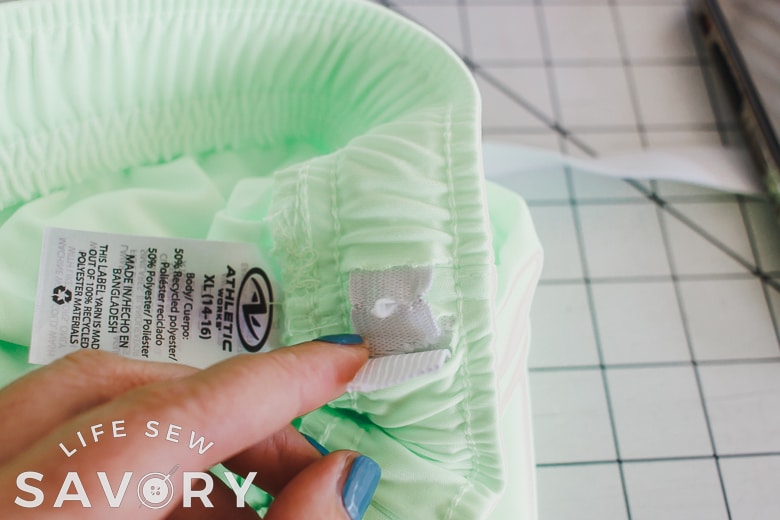

Now you have elastic in a circle with a bit of exposed elastic. You can either leave it like this or sew closed these openings with a zig-zag stitch.
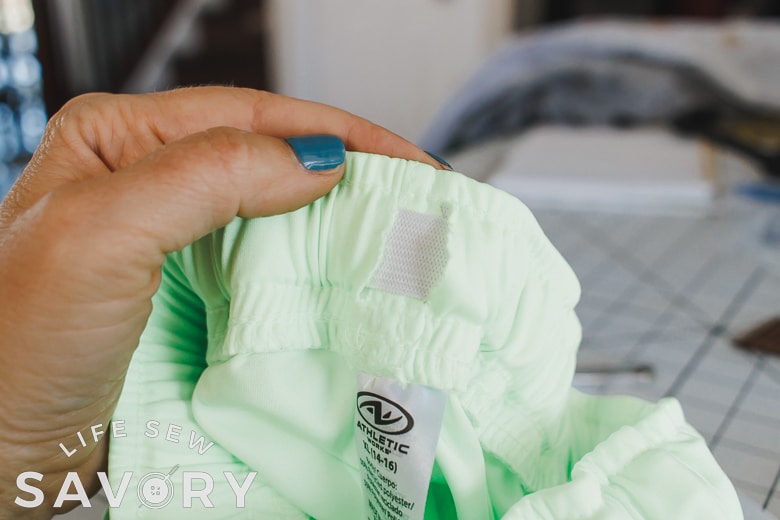
You can see here the difference in the original shorts and new size of the shorts with new elastic. I’m so glad this simple fixed worked and I hope it will inspire you to be creative with a quick fix like this of your own.


Mary says
Brilliant idea!!
Joan says
Yes, ma’am! If I calculate that I couldn’t buy the fabric at my local discount store for the cost of the ready-made item I’m looking at, it is a no-brainer!
Dee Kay says
Hi Emily,
Please can I ask, what is that tool you are using to thread the elastic into the band (I noticed you used it on the romper too)? Thank you in advance.
Dee
Emily says
hi! Its an elastic bodkin! https://amzn.to/3QcUiZB
Word Finder says
Thanks for sharing this one. I appreciate it. I have a game that I can play online alone or with friends at no cost.