


inside: a free sewing pattern for a womens romper in sizes xs-xxl. This shorts romper is adorable and perfect for comfy summer wear. Use this free sewing pattern and tutorial to create an amazing romper.
**updated 7/22**
The updated Womens Free Romper Pattern now comes in sizes XS-XXL so I hope that many of you will be able to use it! Join the Facebook Group for support on all my free and paid patterns! I added another size on the large end and it’s a loose fit so I’m hoping this pattern can work for many of you. The updated pattern has a few tweaks to the pattern pieces, but the overall fit and look of the romper is the same.
Womens free romper pattern
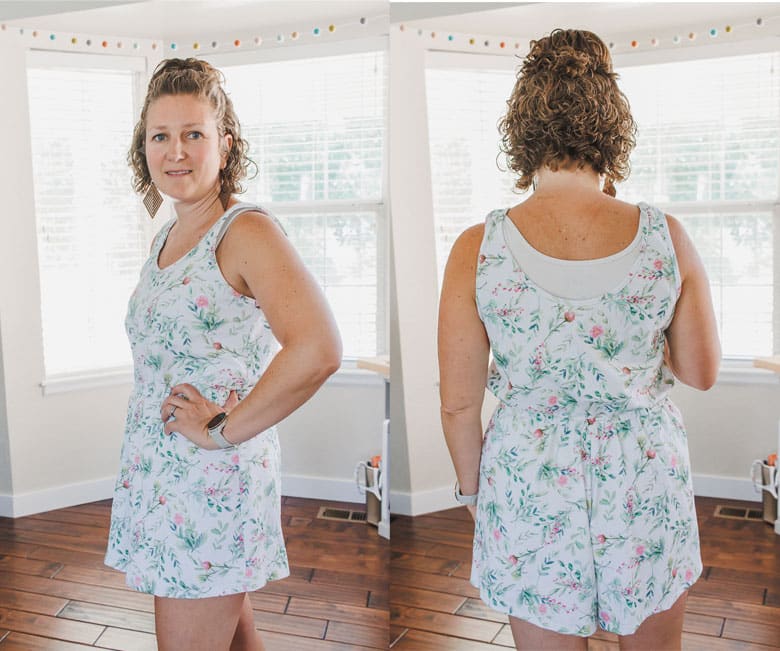
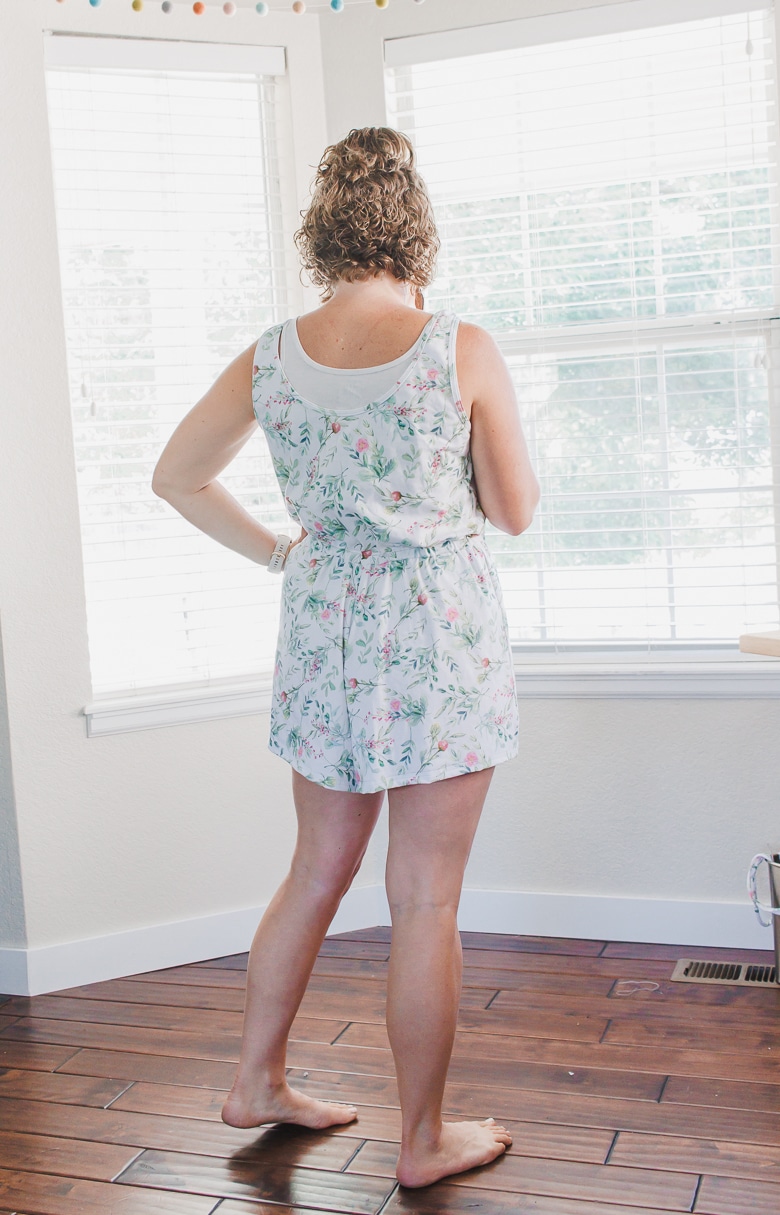
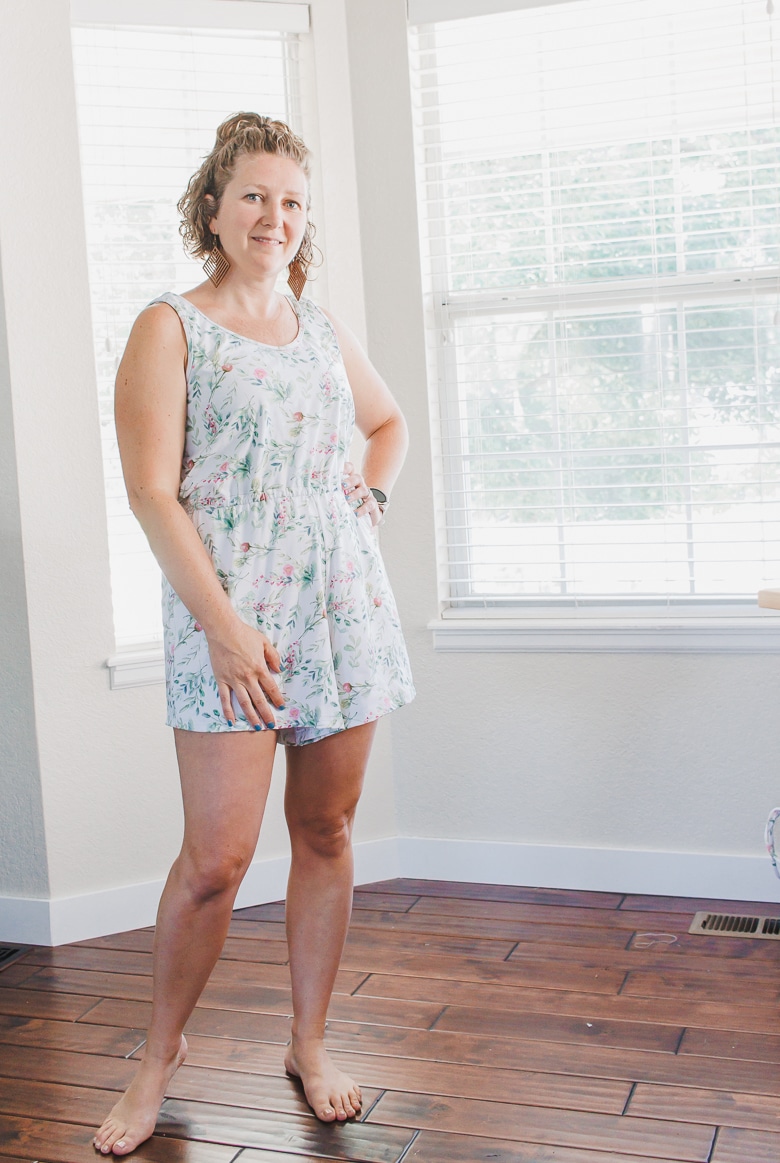
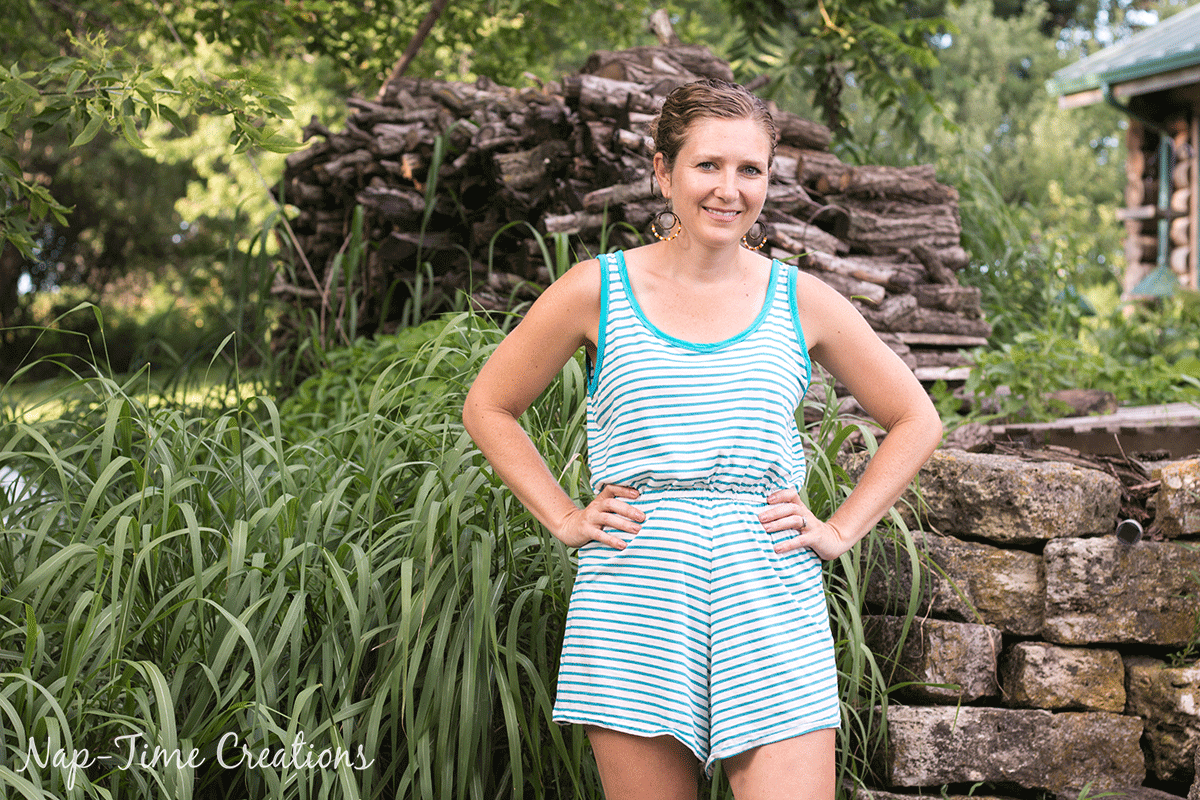
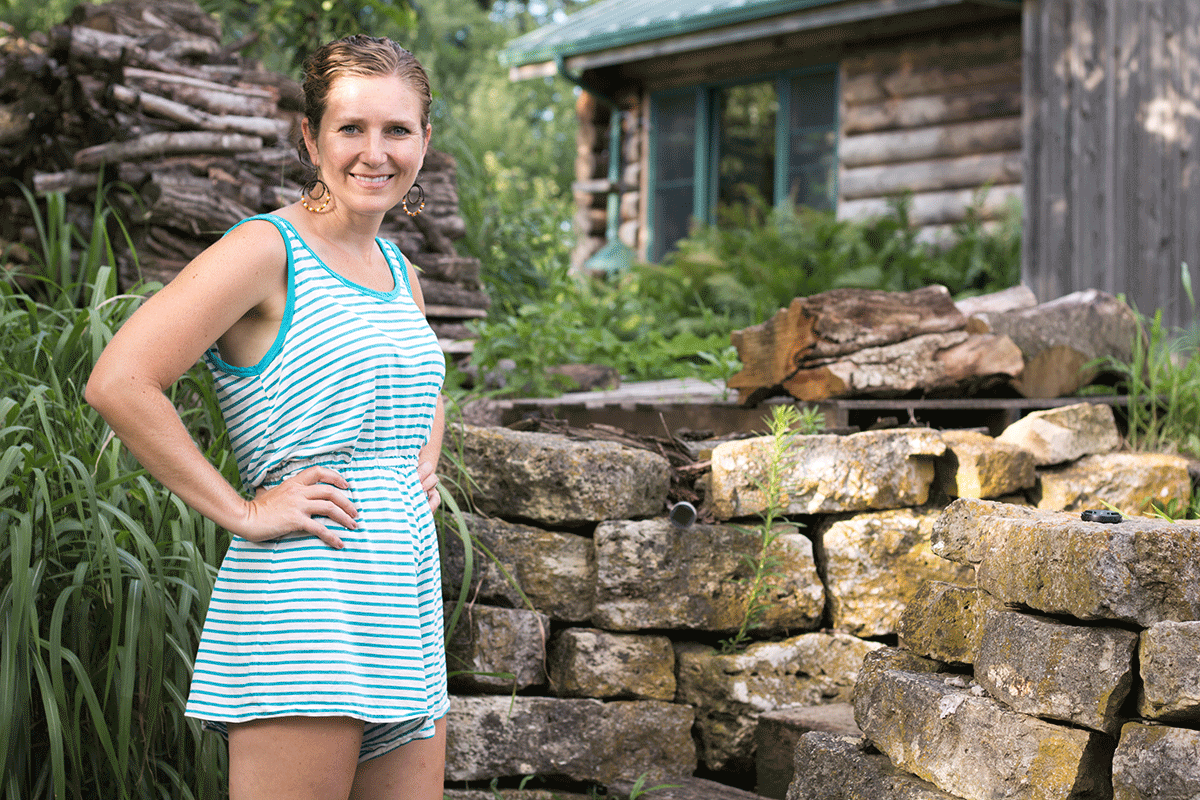
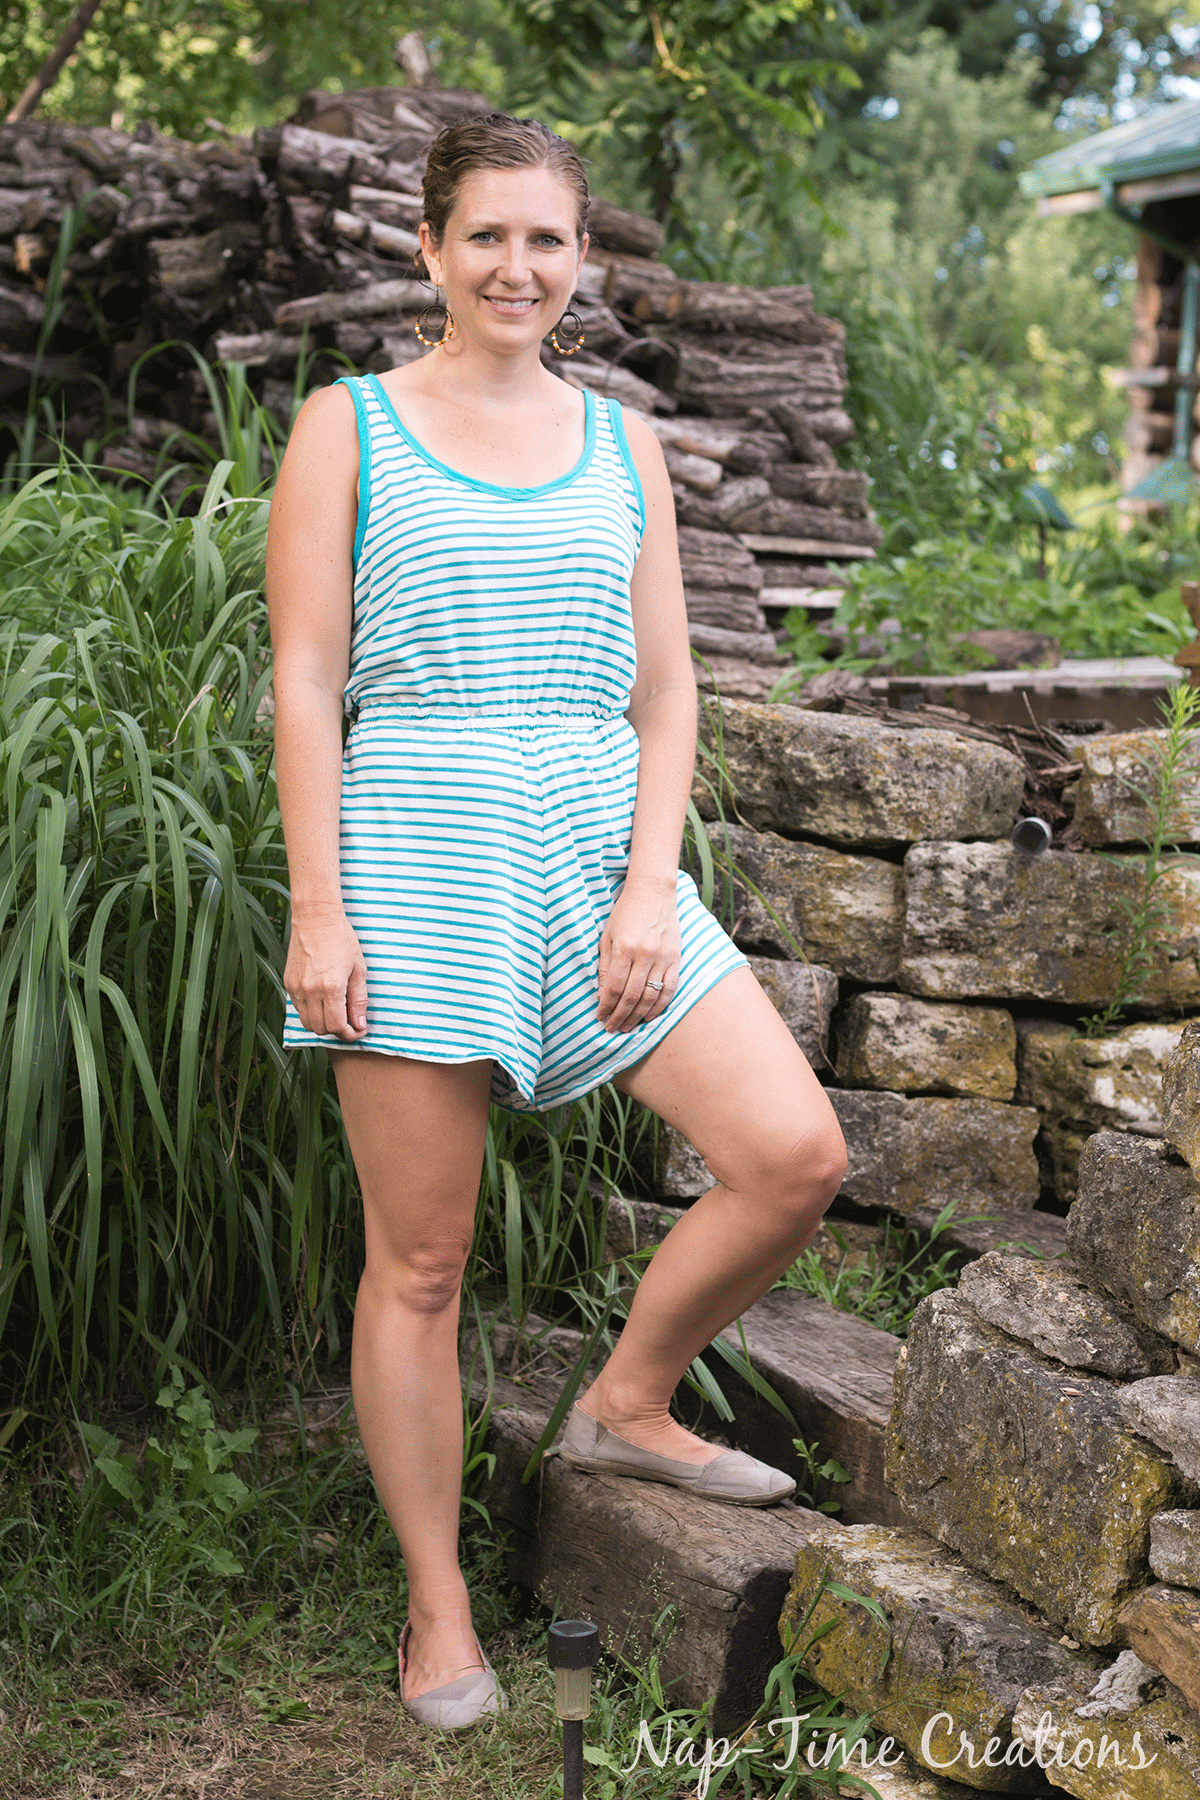
This is a loose fitting romper that’s perfect for over a swimsuit or running errands on a busy summer day! The shoulders are fitted, and with a scoop neck and drop back, this romper is comfortable for all your summer activities.
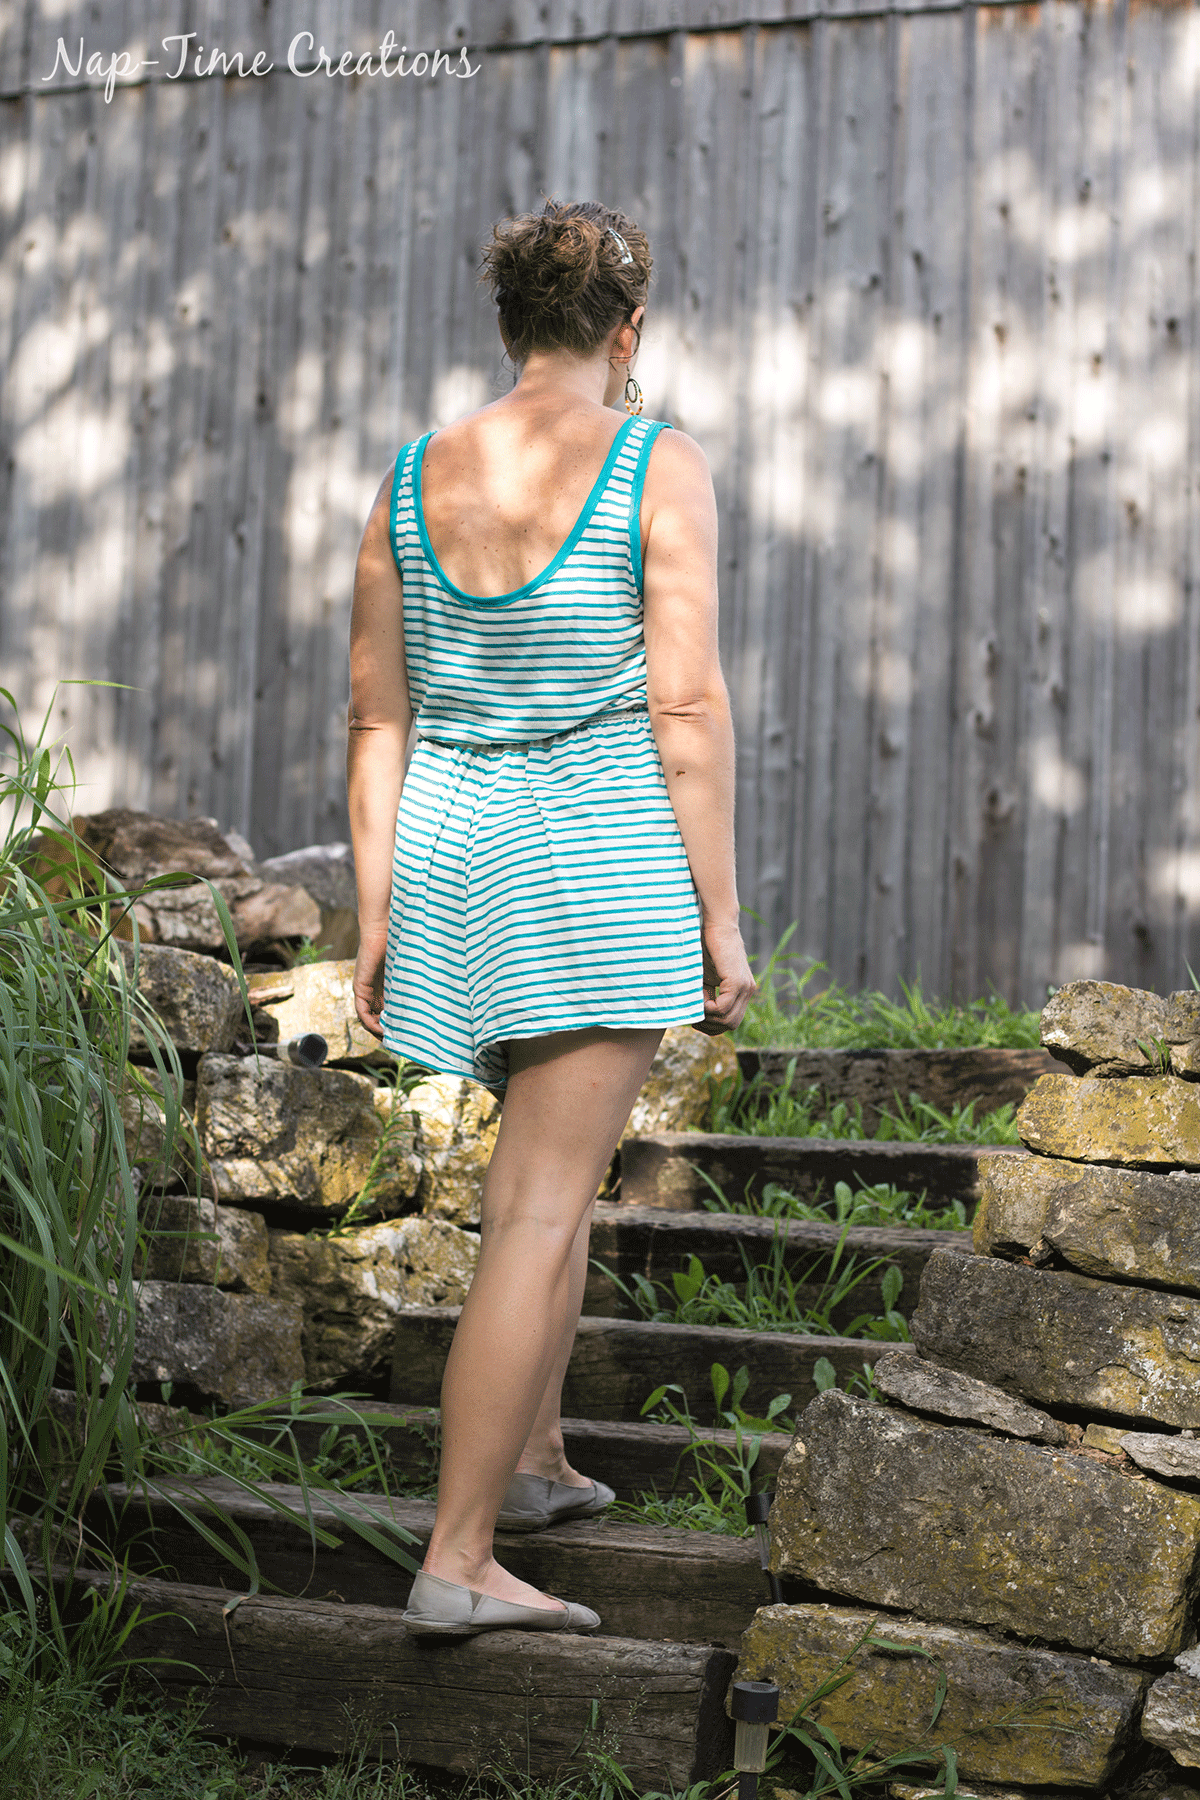
I really love the low back and loose fitting tank look. The elastic waist can be as tight or loose as you want. I made mine pretty fitted at the waist with a loose tank and bottom. I really want to add pockets to my next version, but I recently sewed up this floral version.
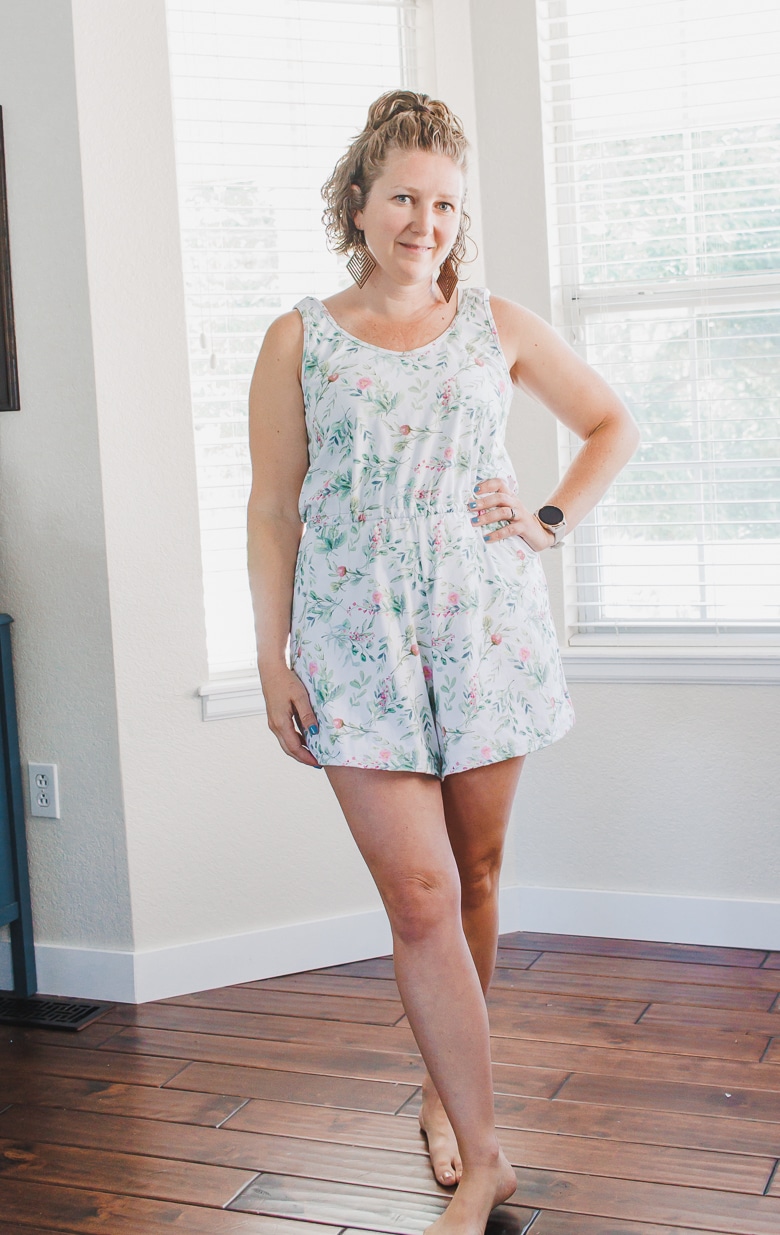
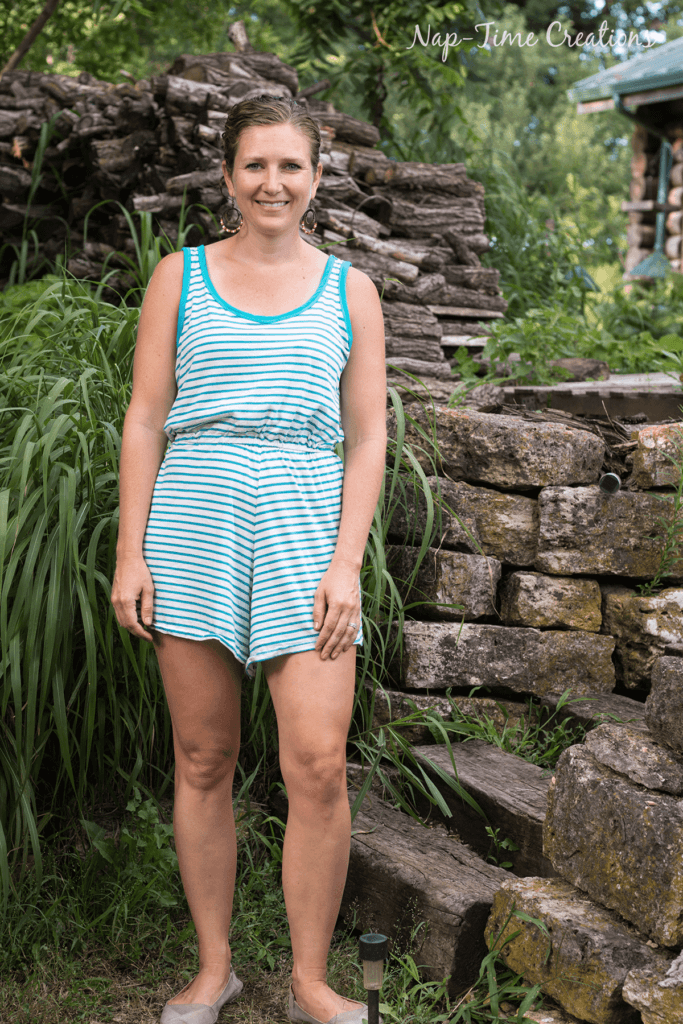
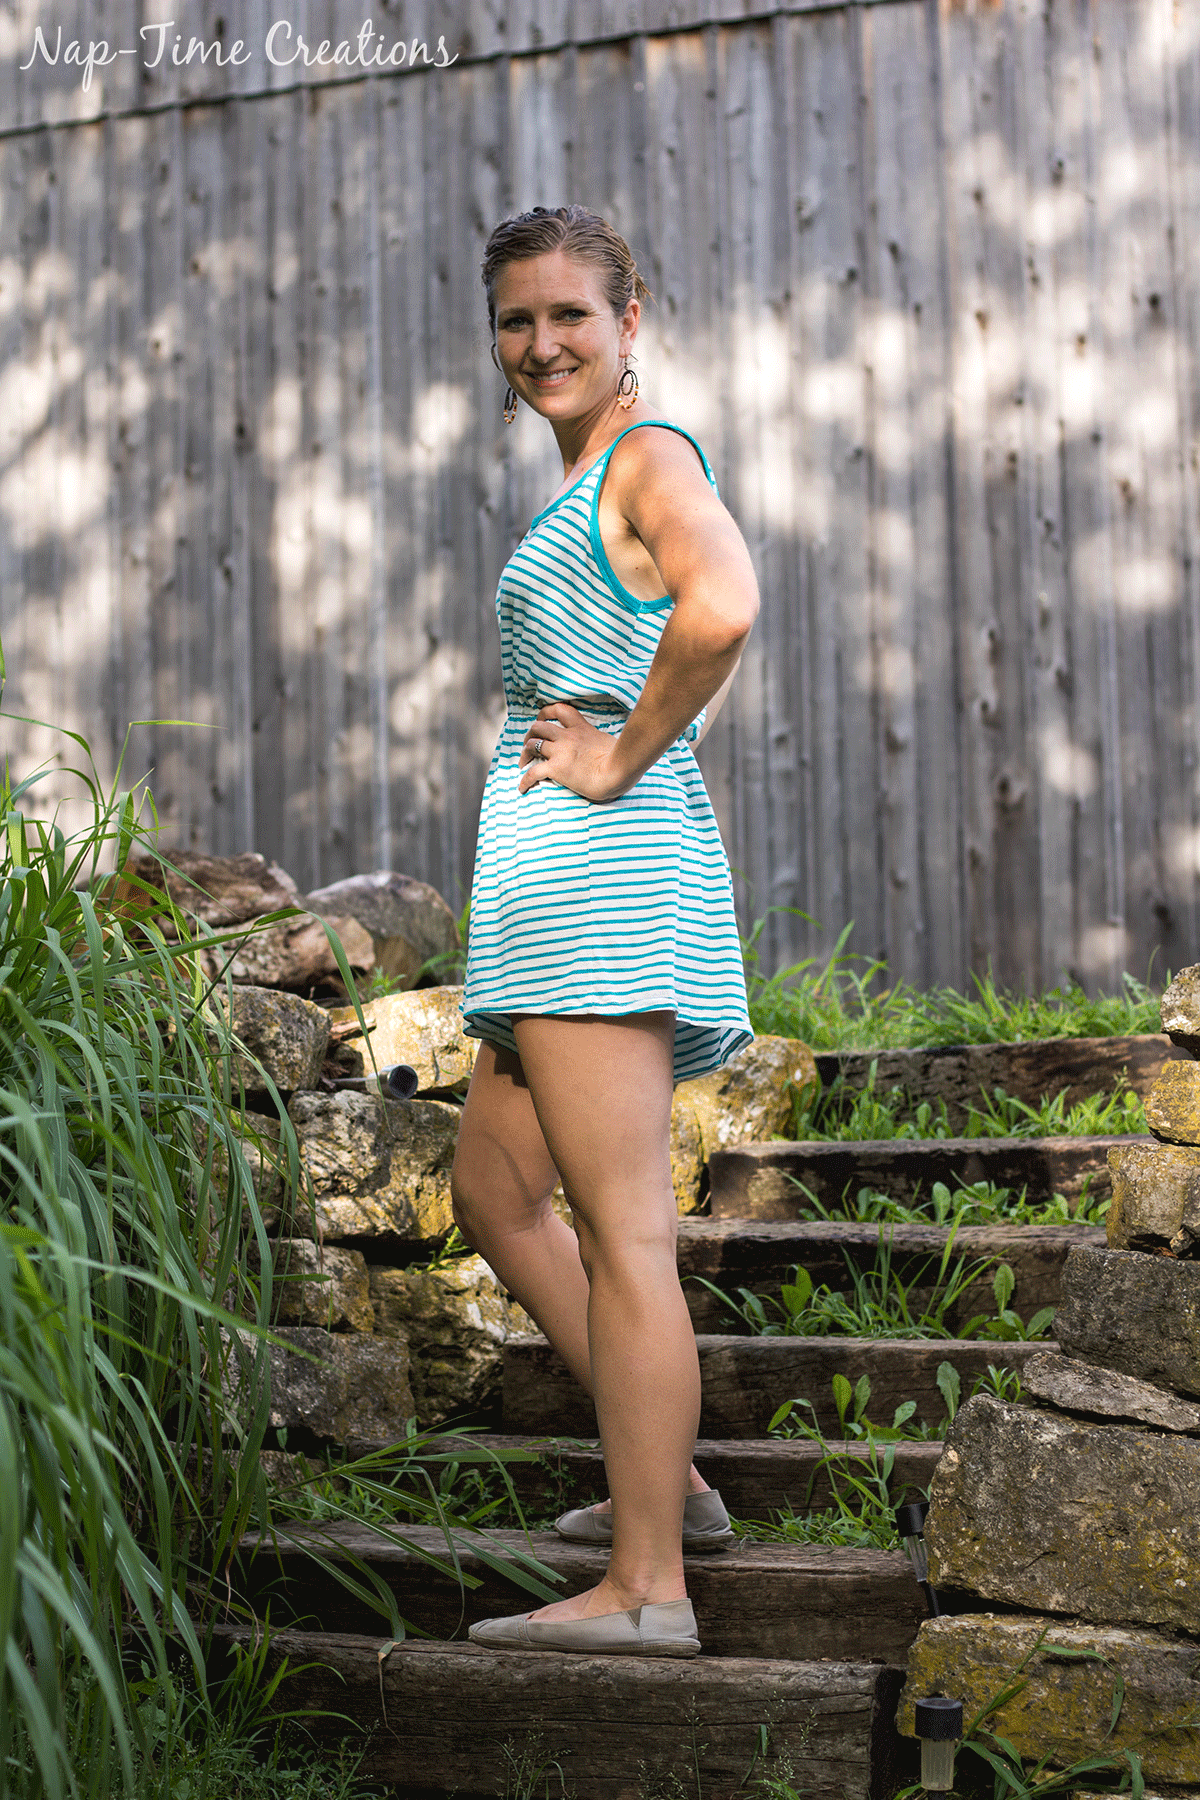
The floral version is made with a thick cotton lycra and it doesn’t have the best drape. I would for sure go for a thinner, drapier fabric next time. The striped version is made from a t-shirt tri-blend and it flows much better. I love the loose shorts, but they do work better in a thinner fabric.
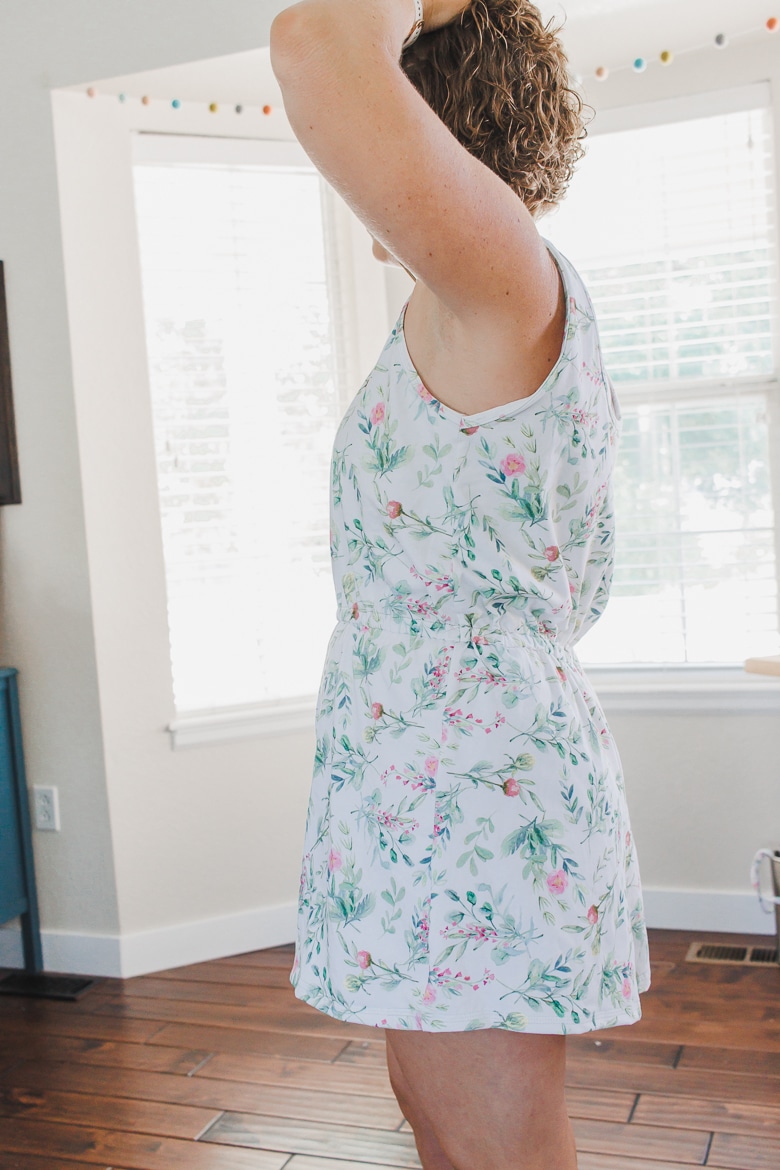
If you want a tighter fit, size down… This loose look is the intended fit, but of course you can adjust as desired for the look you prefer. It is loose fit, BUT you can see in the underarm fit that it doesn’t show too much. I did wear a tank under the floral version, but you wouldn’t need to.
How to sew a womens romper
Ok! let’s start with sizing.. Here is the size chart and it’s also on the pattern pieces.
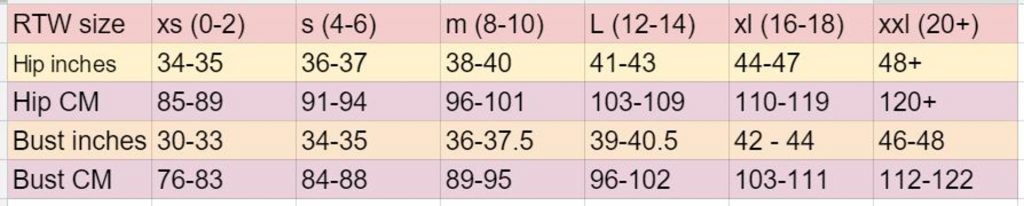
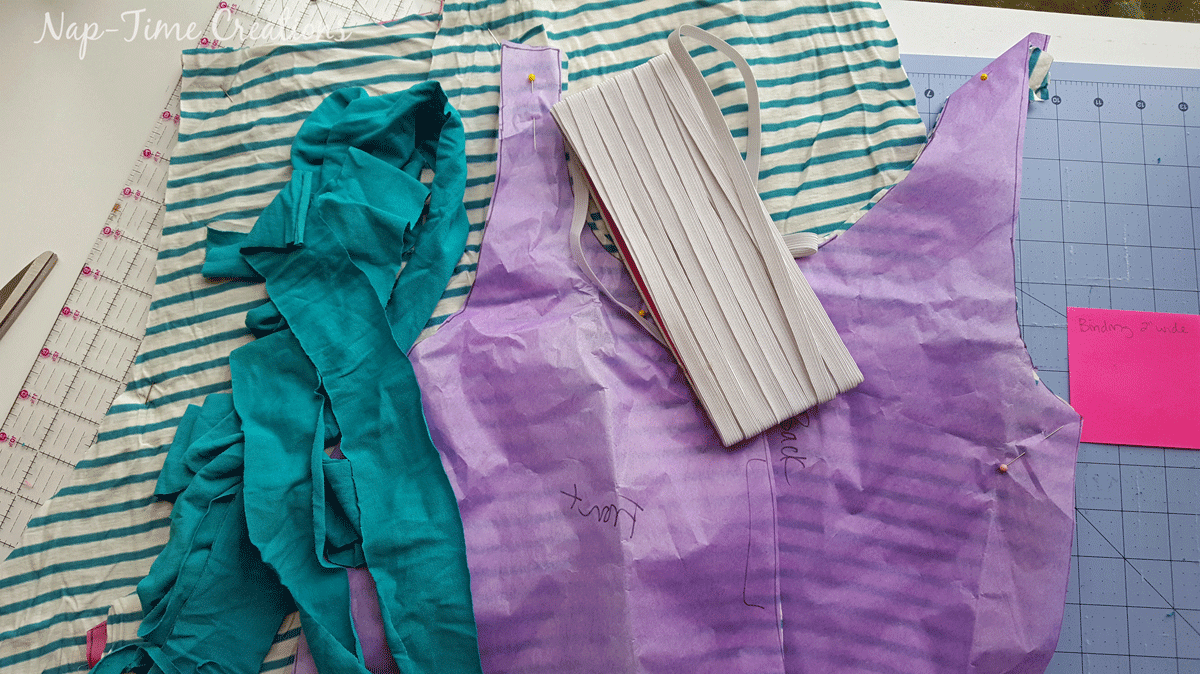
let’s get started putting it all together…Here’s the size chart and taping together layout… You can see that the fit is loose, so use the chart for sizing and adjust the elastic for your waist as needed.
The pattern pieces have been adjusted slightly to better fit together. The overall fit of the romper has not been adjusted, but a few tweaks were made to the pattern. If you reprint the pattern, this is how it will look.

Womens romper supplies:
- 1-2 yards of flowy, drapey knit fabric.
- 1/2″ elastic for waist
- Free Pattern Download HERE
Cut the neck and arm binding as directed on the pattern pieces. A 3/8 seam allowance is included on all pieces. All seams should be sewn with a serger or knit stitch to allow for stretch.
NOTE: if using a binding attachment {new option shown} cut the binding width according to your attachment.
I’ve added a few more tips/sewing options to the tutorial. You’ll see the updates in floral fabric. Let’s Sew!!
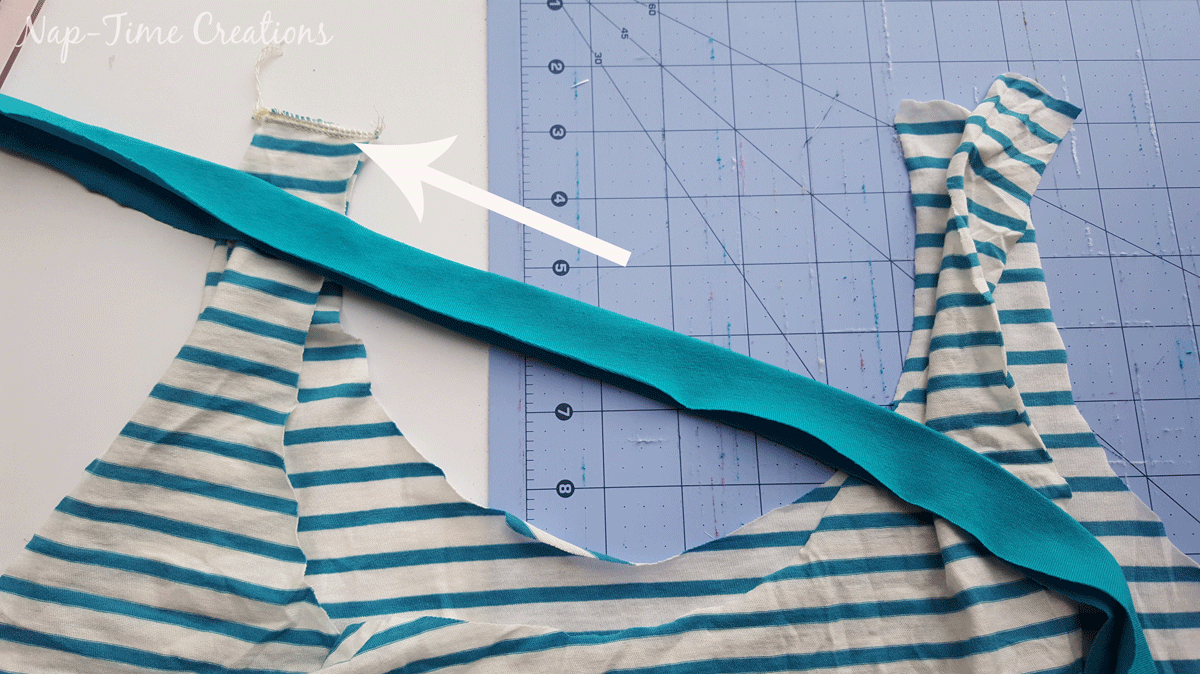
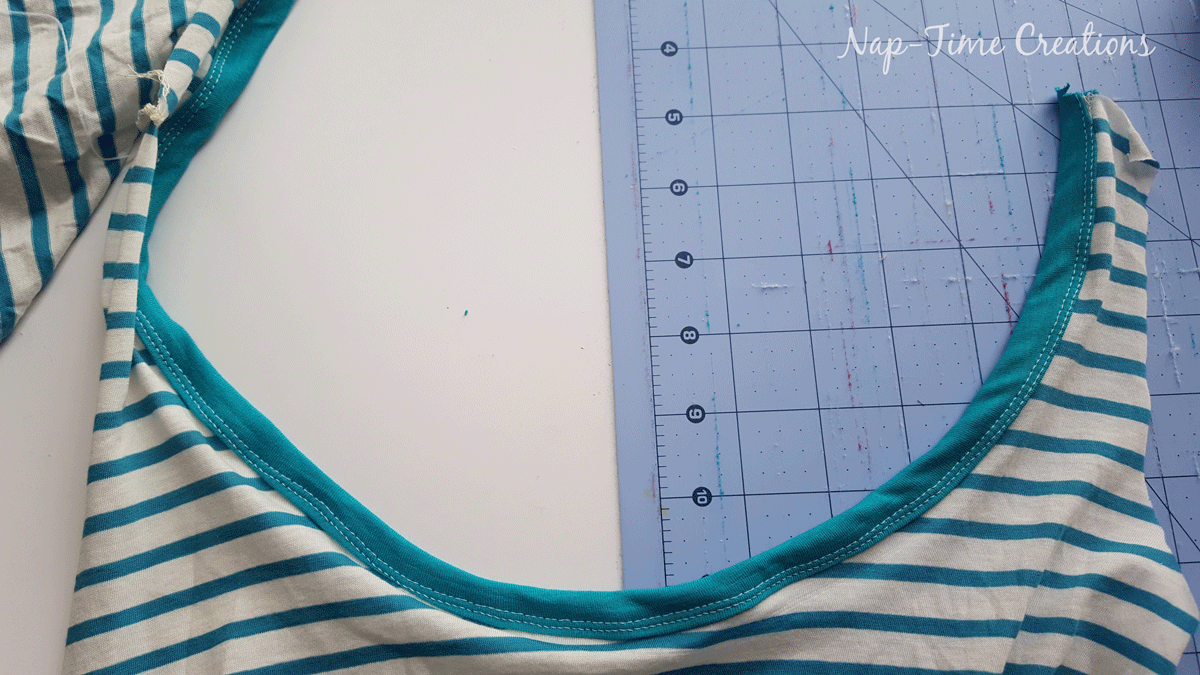
With right sides together, sew the back and front TOP together at 1 shoulder as shown here. Press/iron the neck binding in half with wrong sides together. {if using a binding attachment for sewing machine or cover-stitch scroll down}
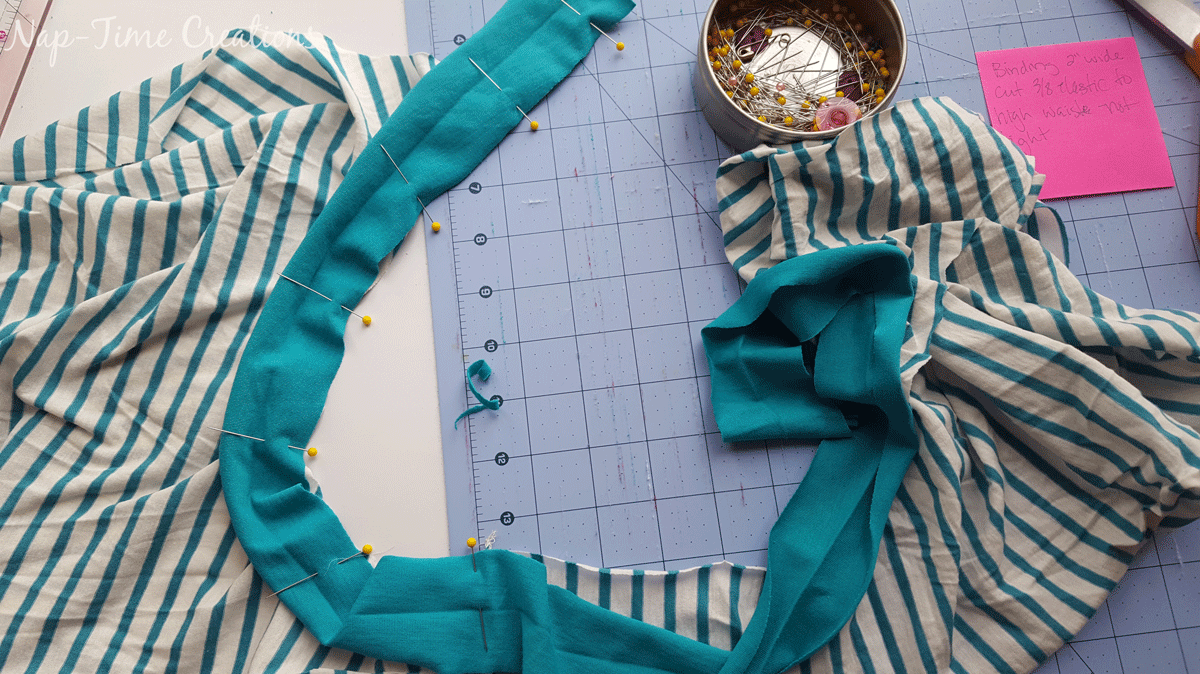
Pin the binding with the RIGHT side of the binding to the WRONG side of the romper. {turn the romper over to the back side and pin the binding with right side down} You may have to stretch the binding slightly to fit around the neck {you SHOULD stretch it!} Stitch 3/8 from the edge using a knit stretch stitch or very narrow zig zag. This seam must be stretchy…
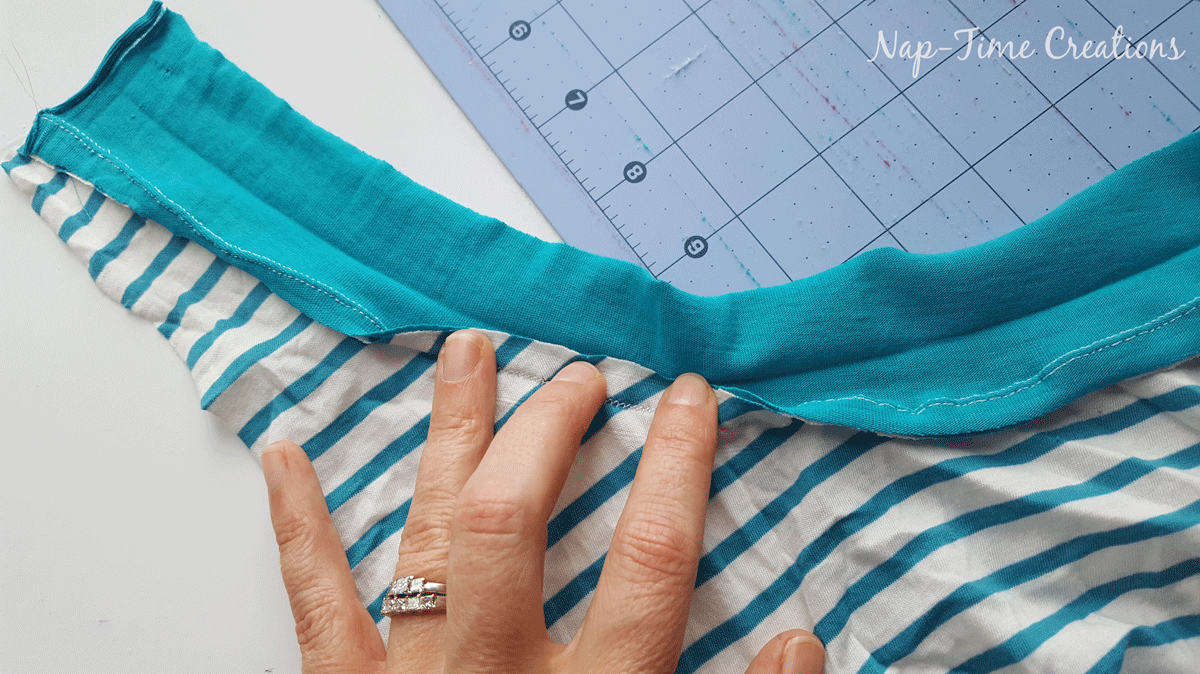
Turn the romper over to the right side, and press the seam allowance up towards the neck binding.
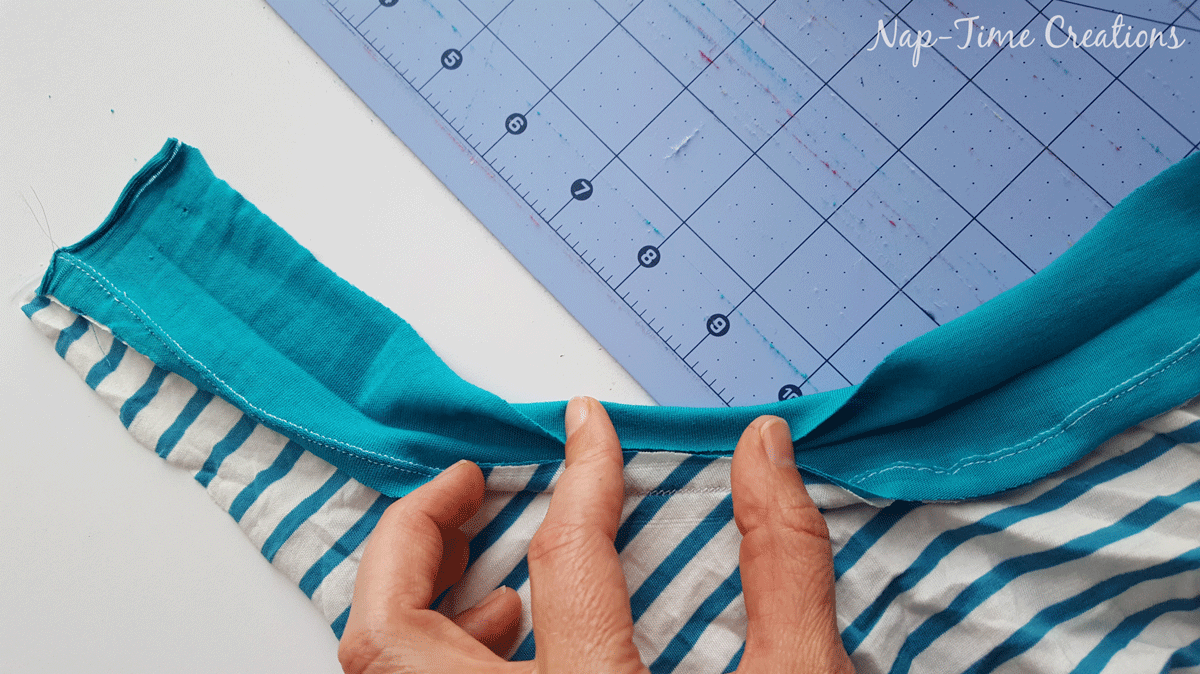
Then, fold the binding towards the seam allowance as shown.
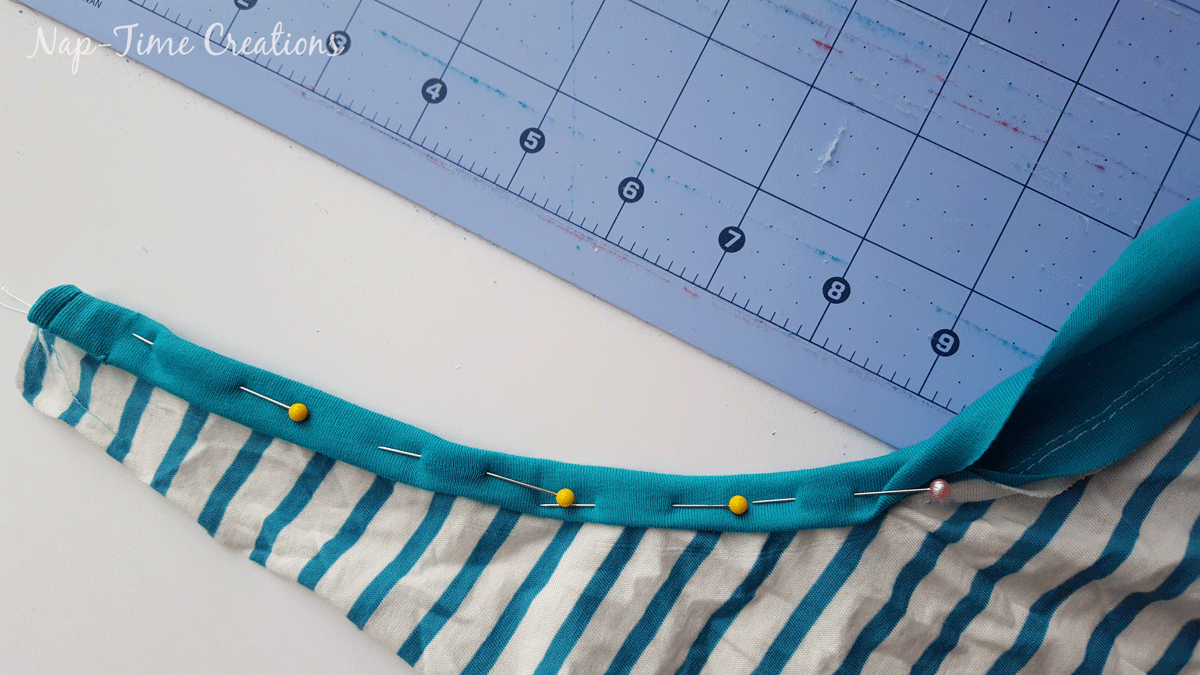
Fold the binding towards the front on the binding fold and pin the whole neck binding in this fashion.
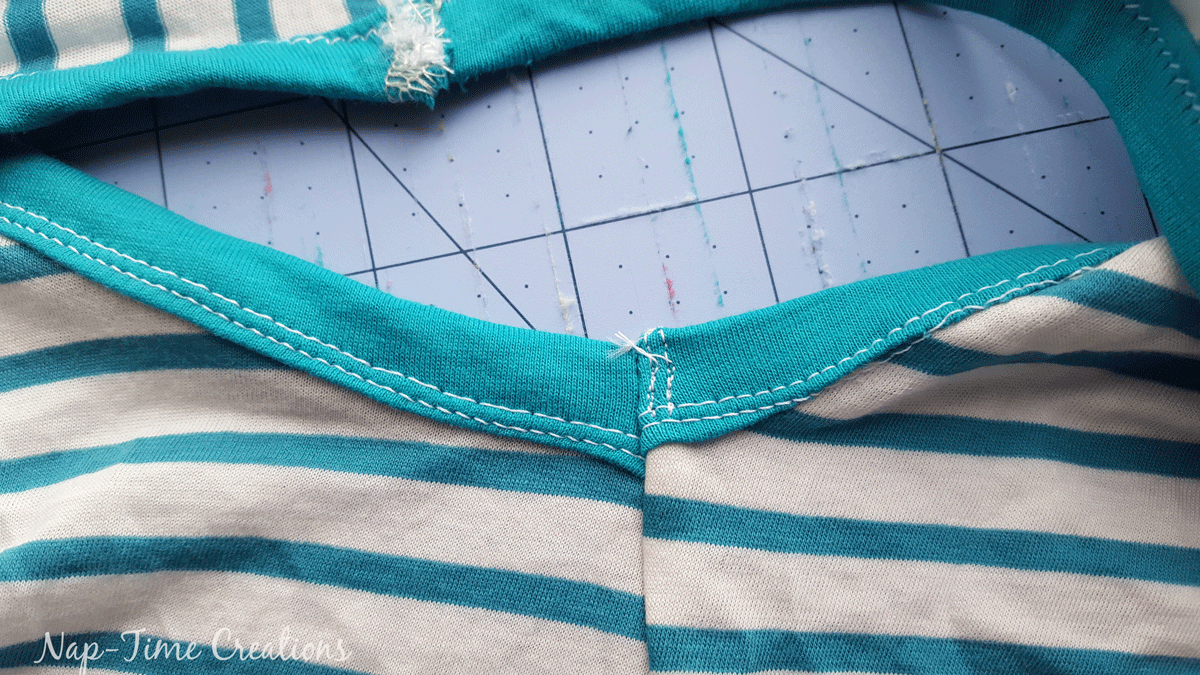
Use a knit stitch, zig zag, coverstitch machine OR my Perfect Knit Hem technique with a regular machine and double needle. See video tutorial HERE. Sew around binding very near to the inside edge.
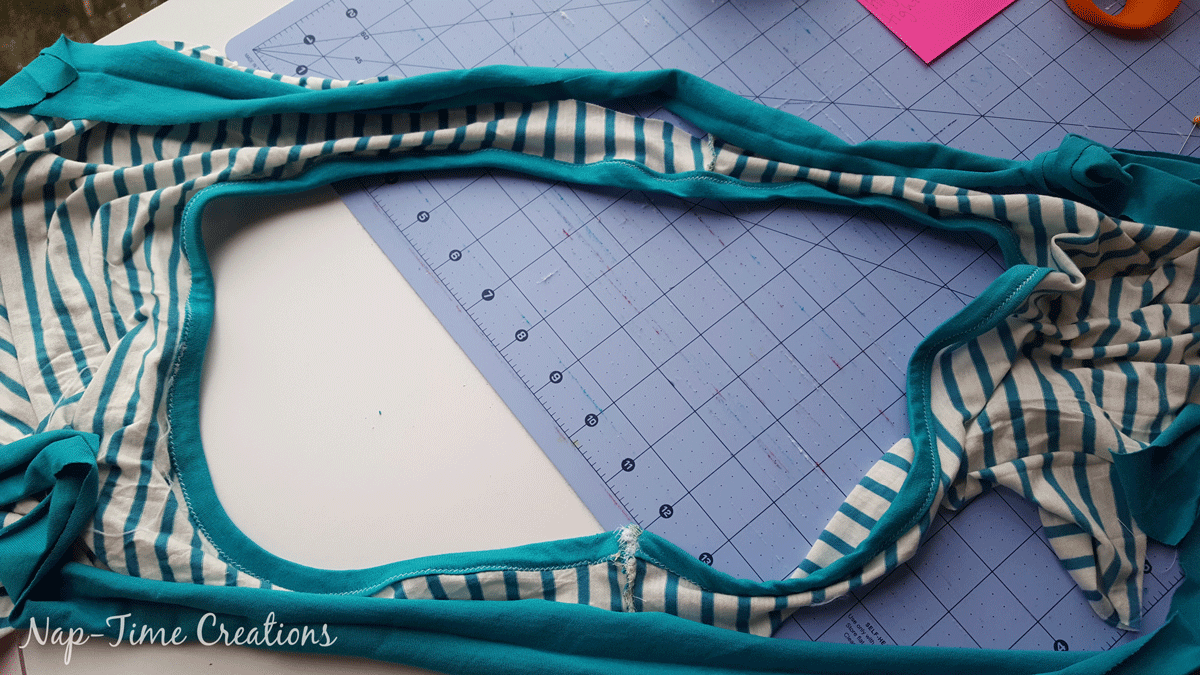
Sew the other shoulder seam together with right sides together. THEN… add the arm bindings to both open arm holes. I like to sew the binding on the arms while they are still open, and not a closed circle.
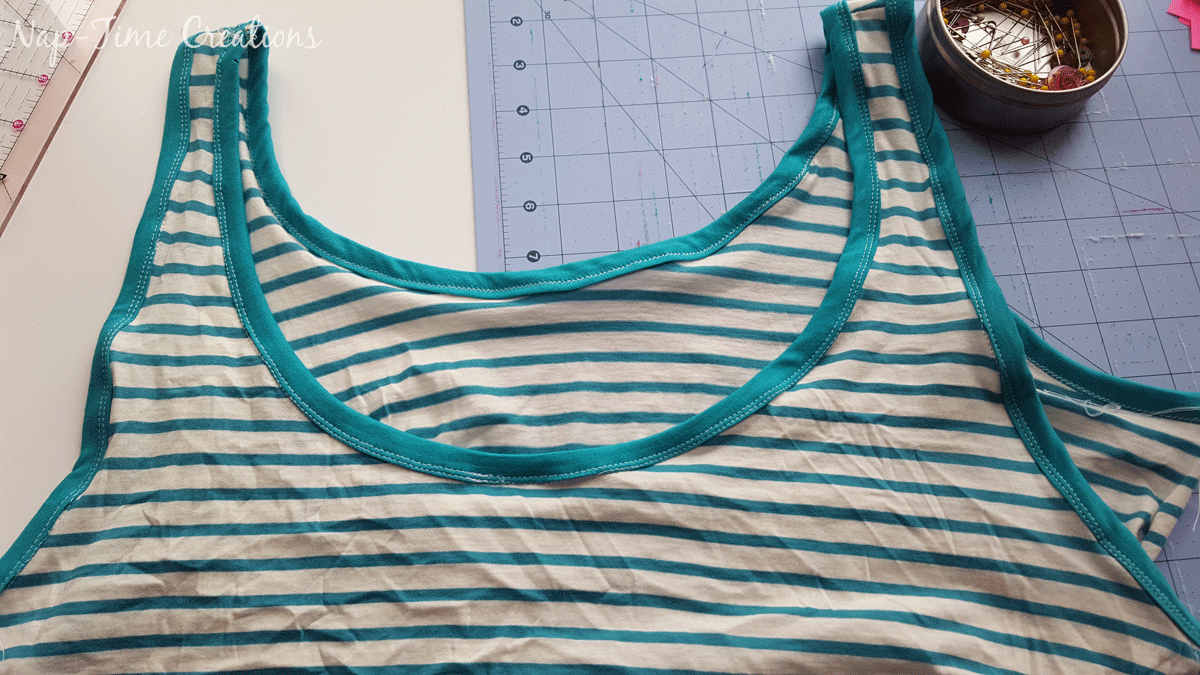
Now it should look like this…What my double needle stitching looks like: Double stitch on the front, zig-zag nylon thread on the back.
Sew the sides of the front and back together with right sides together. Fold over the seam allowance at the arm holes and stitch to the side to finish. Do for both sides.
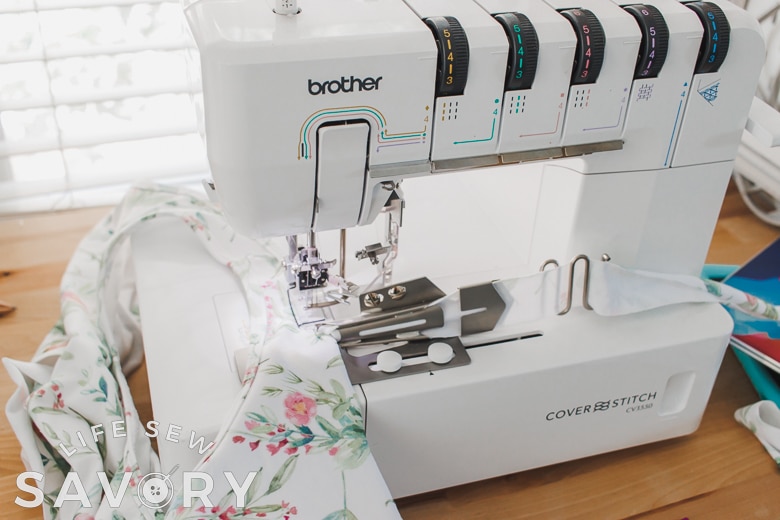
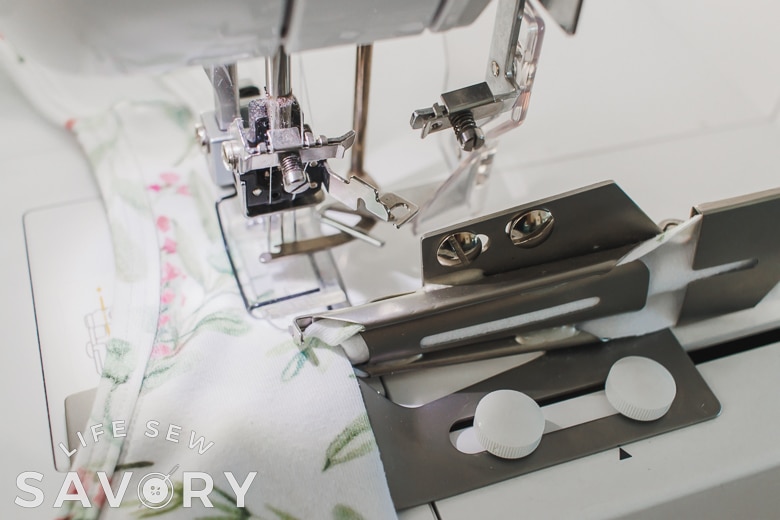
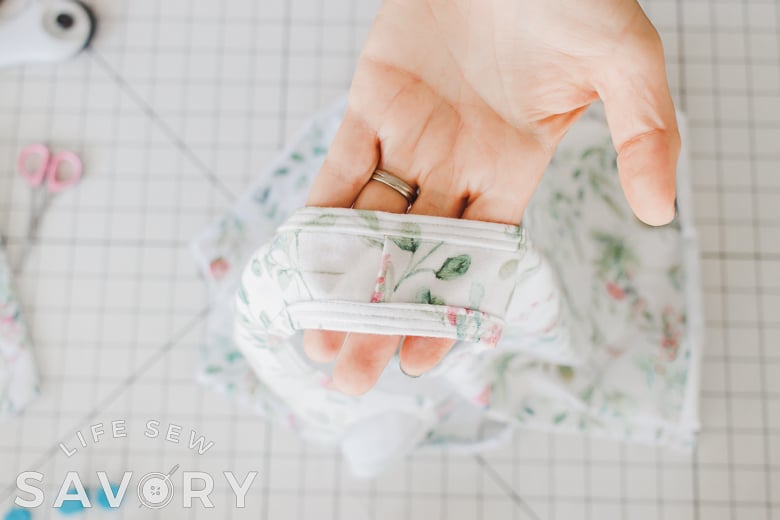
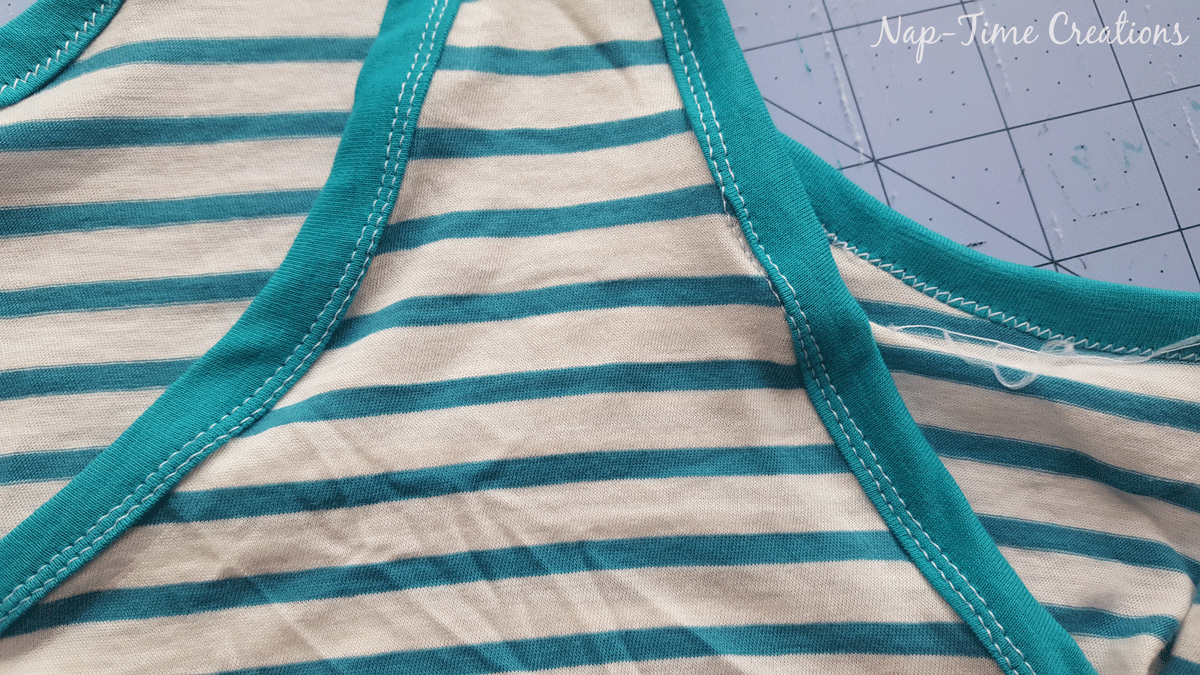
You can see here the bindings sewn using my coverstitch and the binding attachment. Cut the binding width according to the attachment sizing. I also sewed the binding on the neck and arms while they are open seams and not closed circles {same as first method}
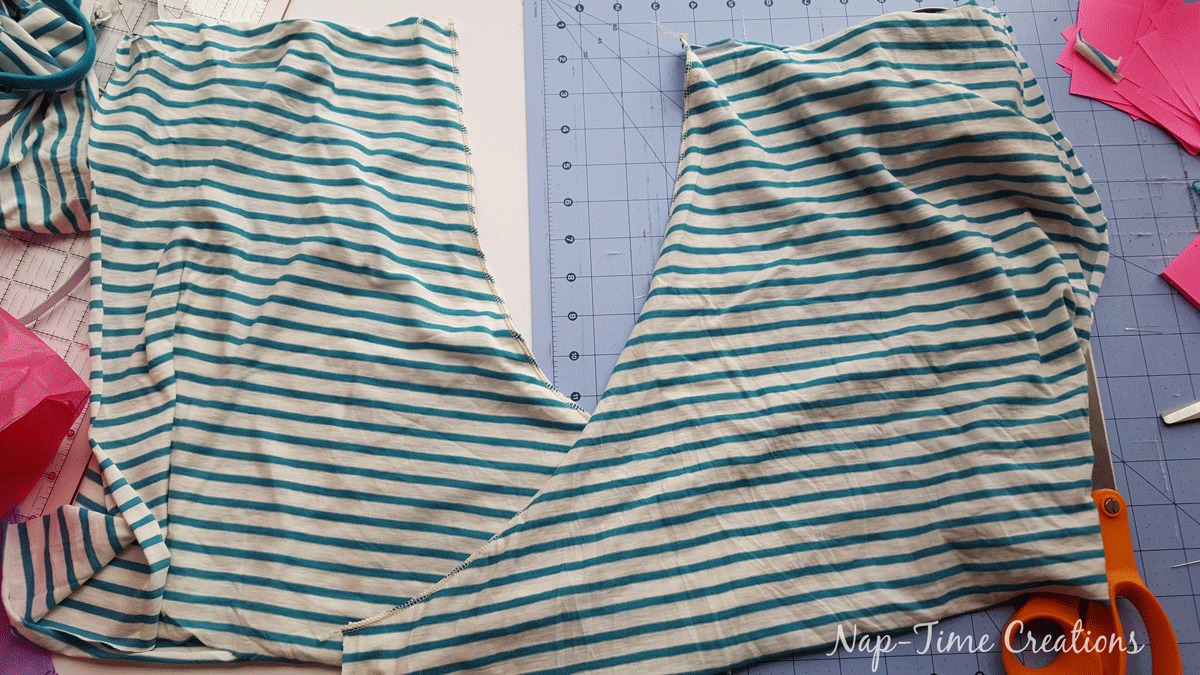
Now, onto the bottom. Sew the back to the back and the front to the front at the crotch rise curved seam.
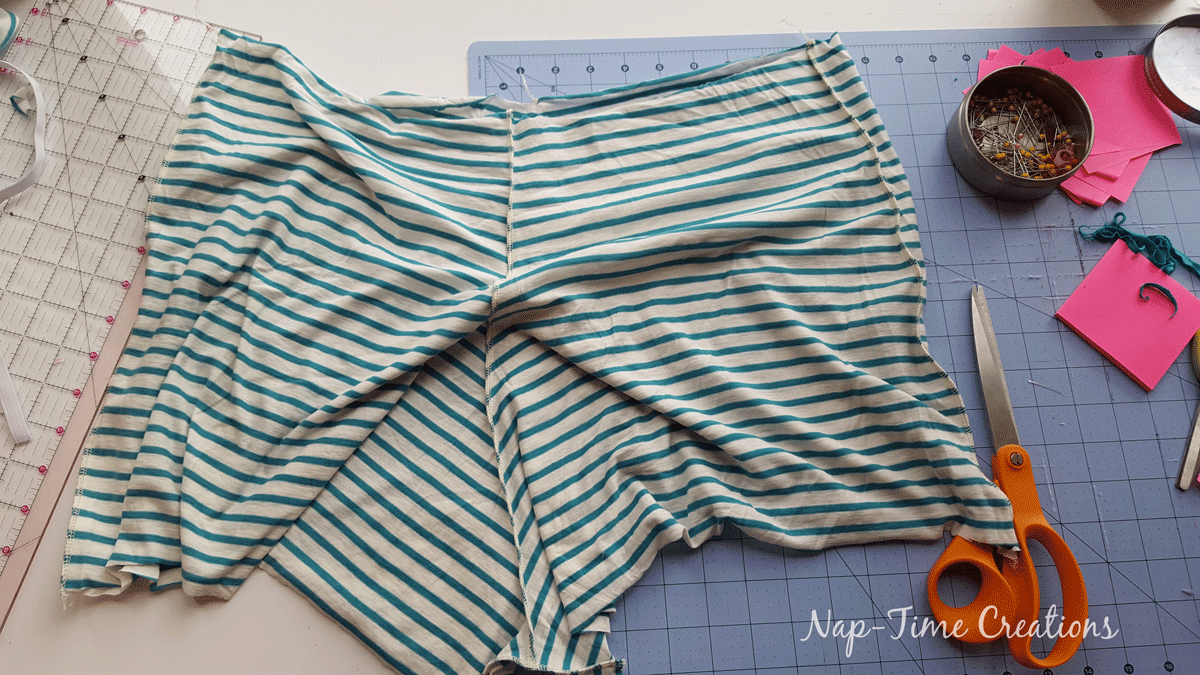
If adding side pockets, add before sewing the side seams. You could use the free pocket template from this skirt pattern. Then, place the front and back together with right sides together and sew the side seams and inseam between the leg openings.
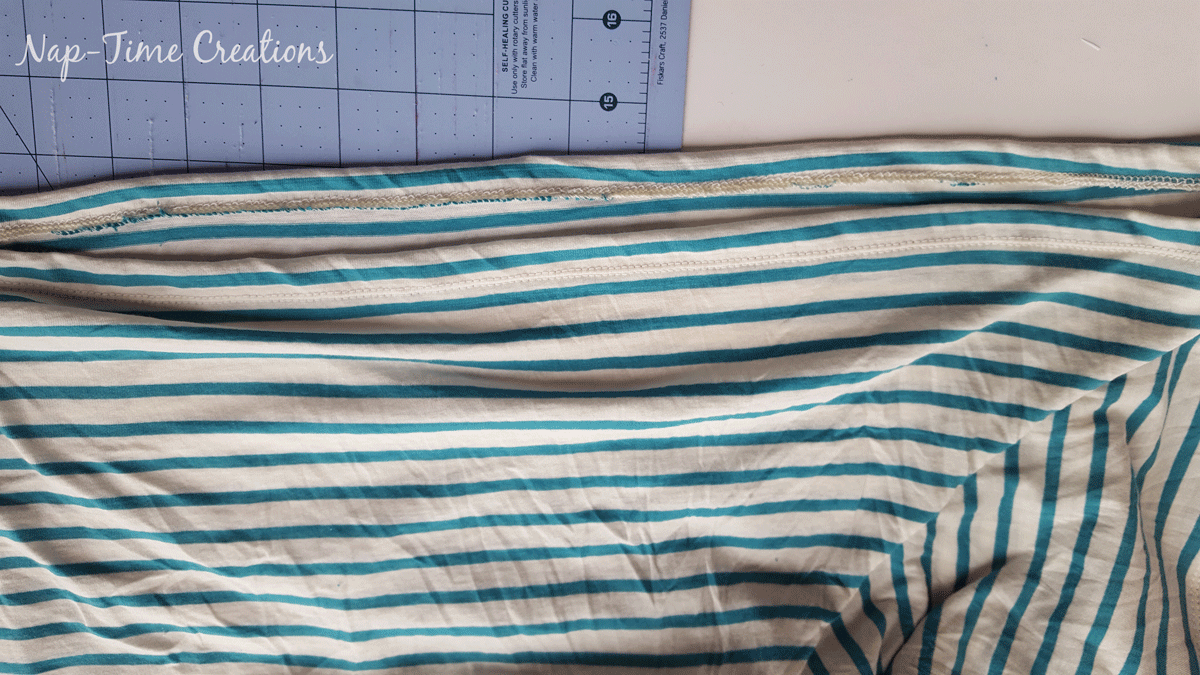


Hem the bottom of the shorts with a 3/4″ hem. You can use a stretch stitch or coverstitch for the hem.
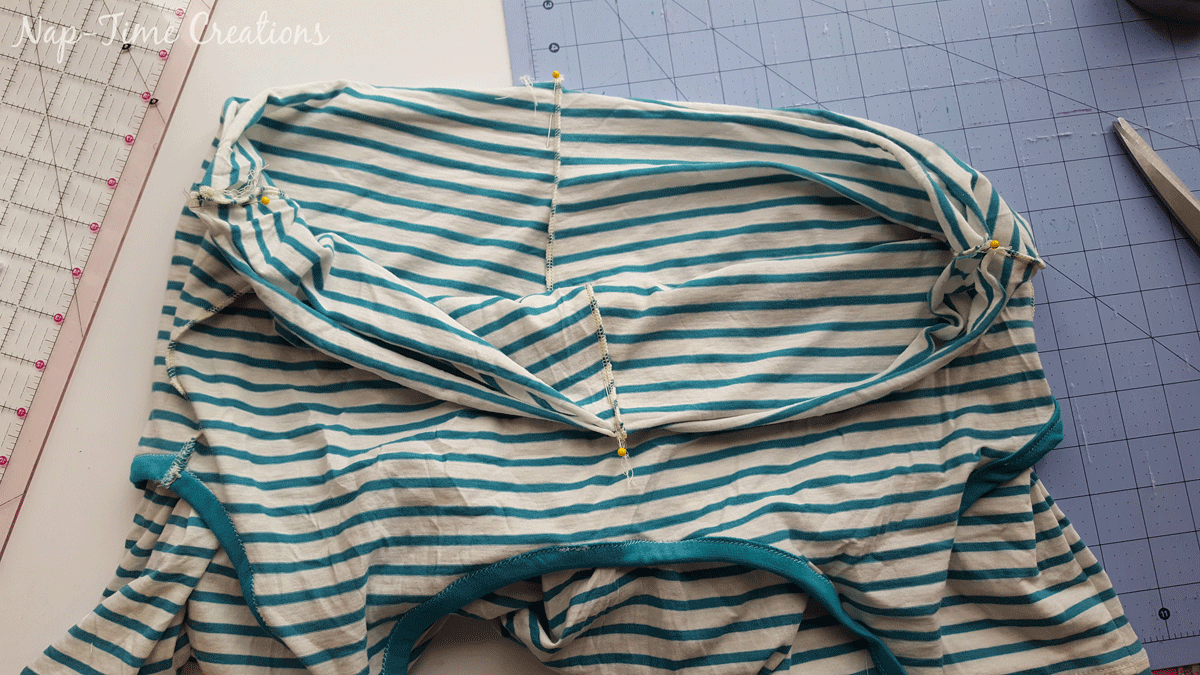
With right sides together match the bottom of the top and the top of the bottom together. Match the side seams. Sew around the edge to connect these to pieces.

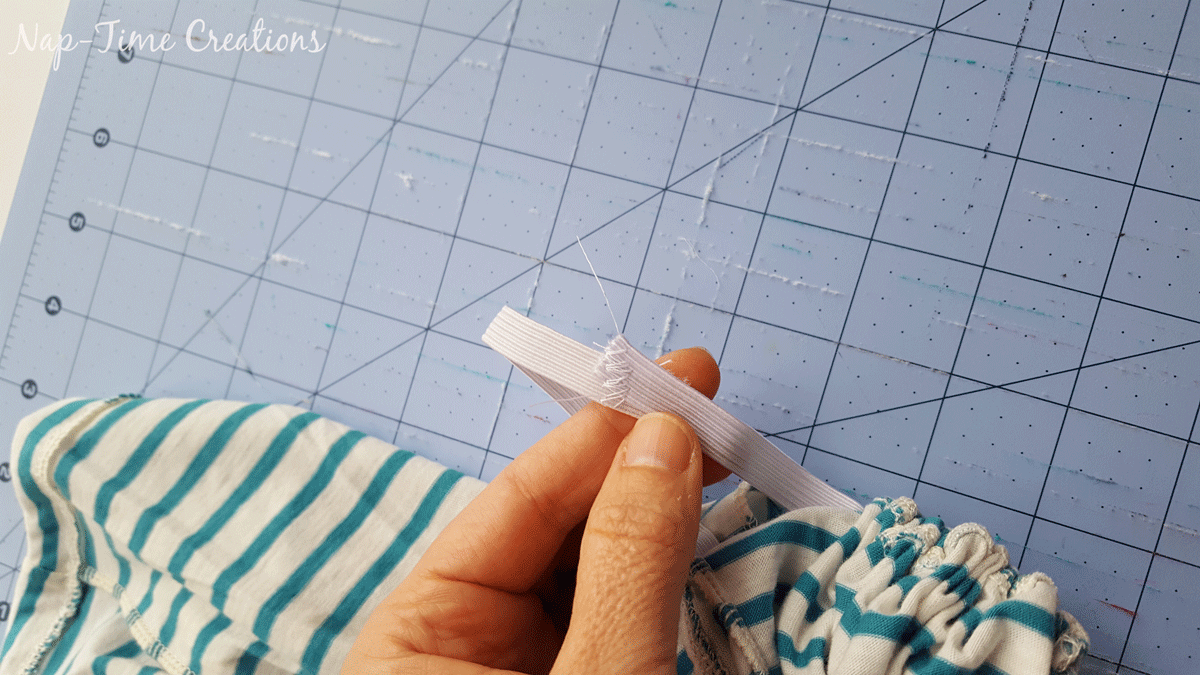
Measure around your high waist and cut the elastic to fit the desired tightness.
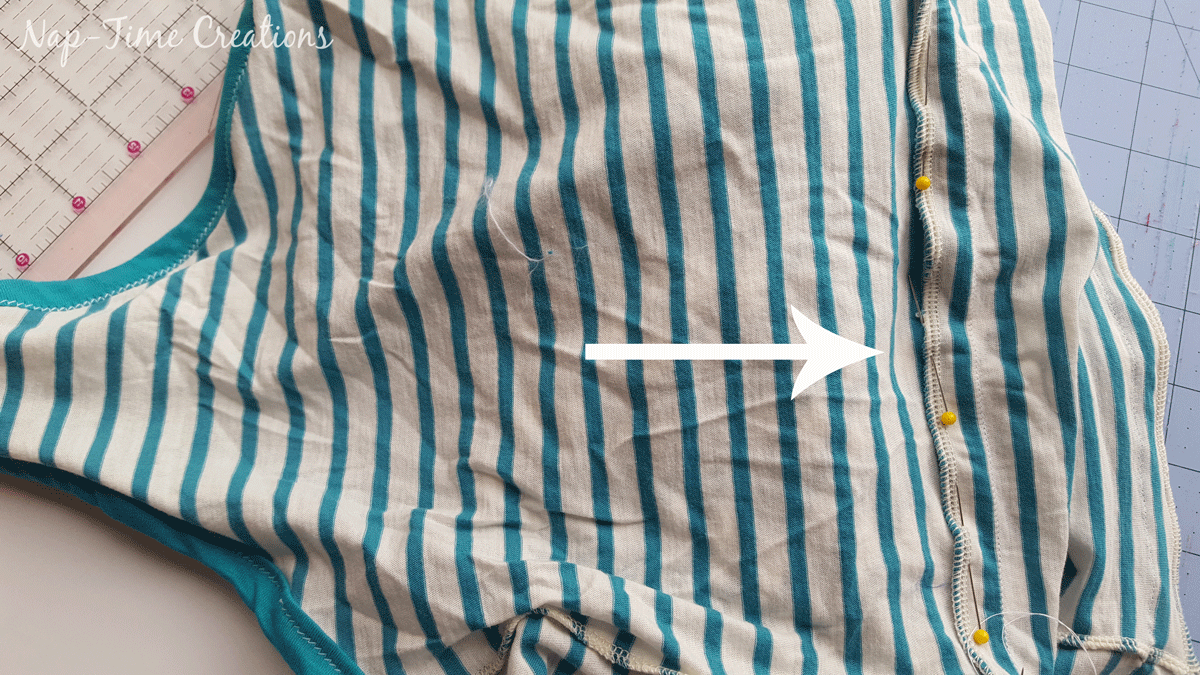
You will now create a casing for the elastic. Place the elastic along the stitch that joins the top and bottom and mark where to sew. Sew a seam at approx. the 3/4″ mark. This will create a casing wide enough for the 1/2″ elastic plus seam allowance.
With BOTH layers of the romper together, sew around the waist, in from the edge the width of the elastic.
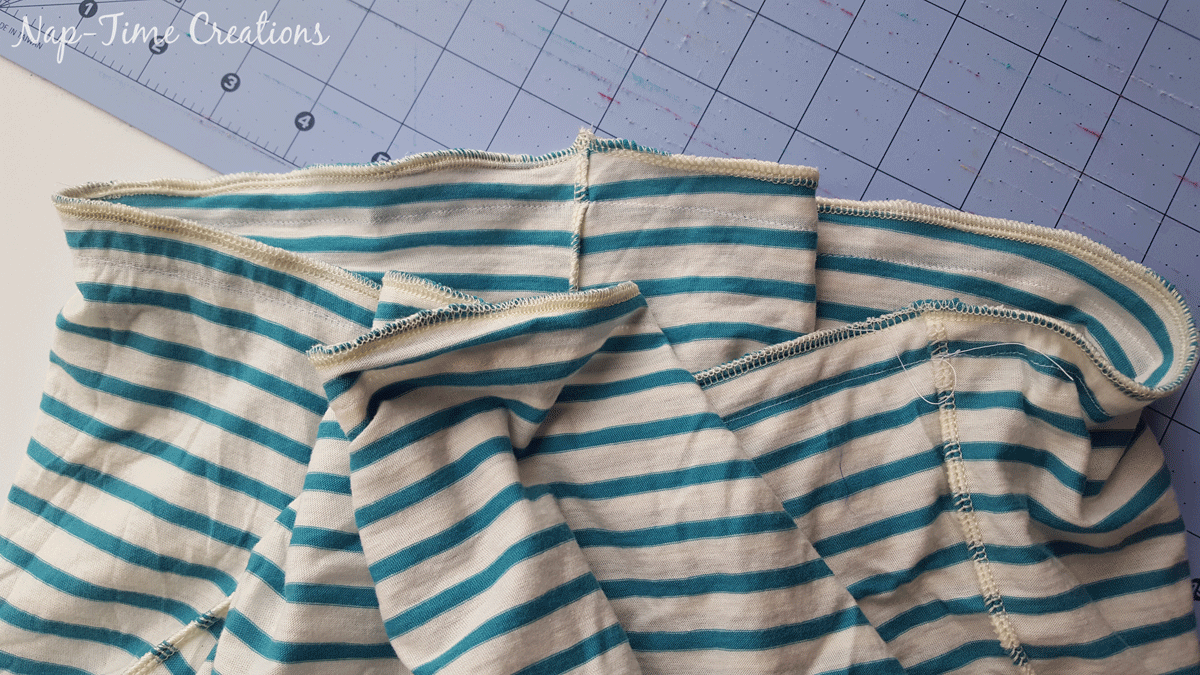
Now, pin this casing UP towards the tank and pin around.

Sew the top edge to the tank, sew all around the tank, but leave a 2″ opening to thread the elastic.
This is what it looks like from the front now.

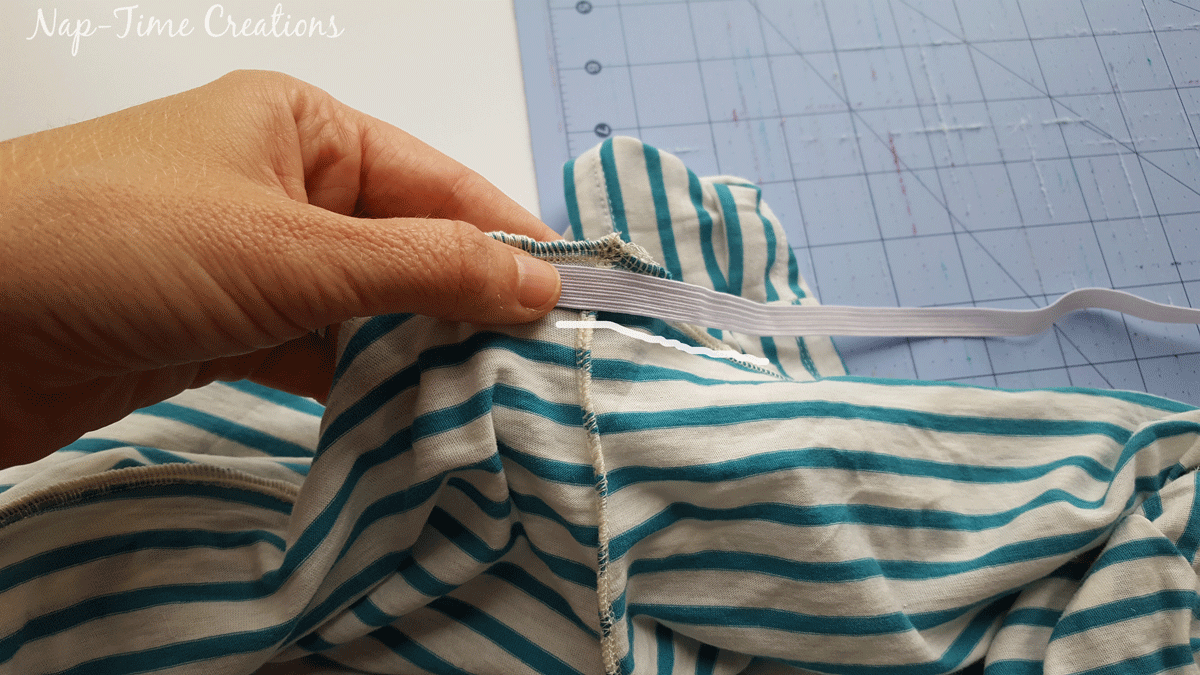
Thread the elastic through the hole that you left.
Sew the ends of the elastic together. Then close the hole in the casing.
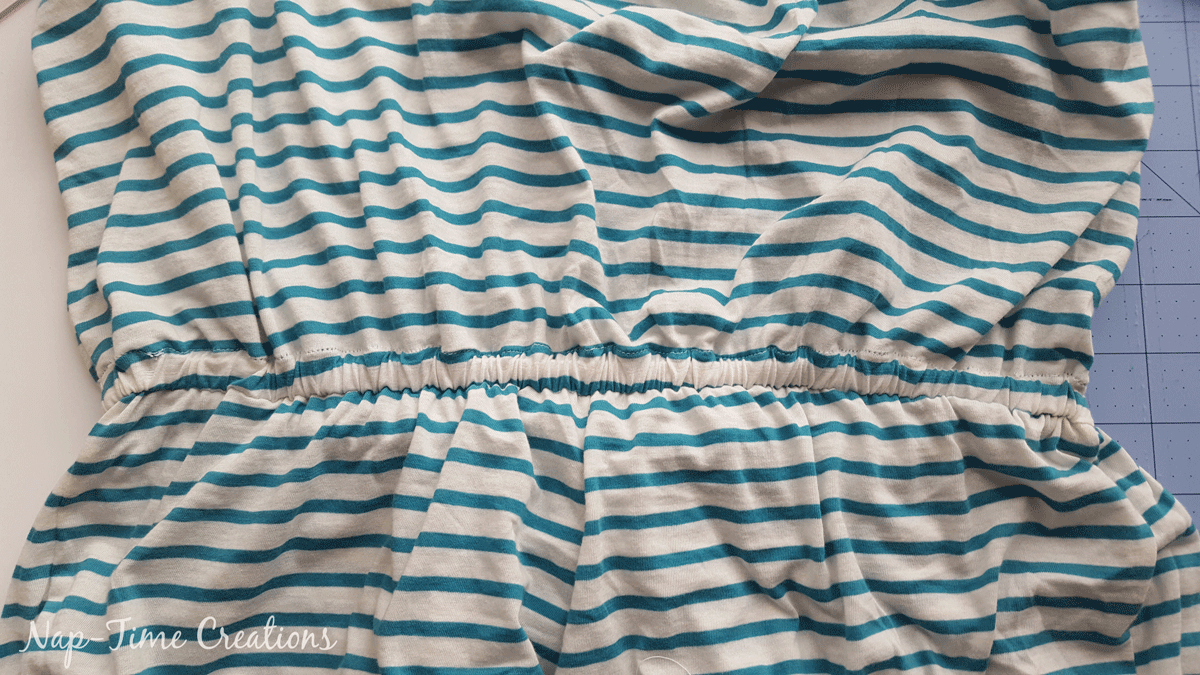
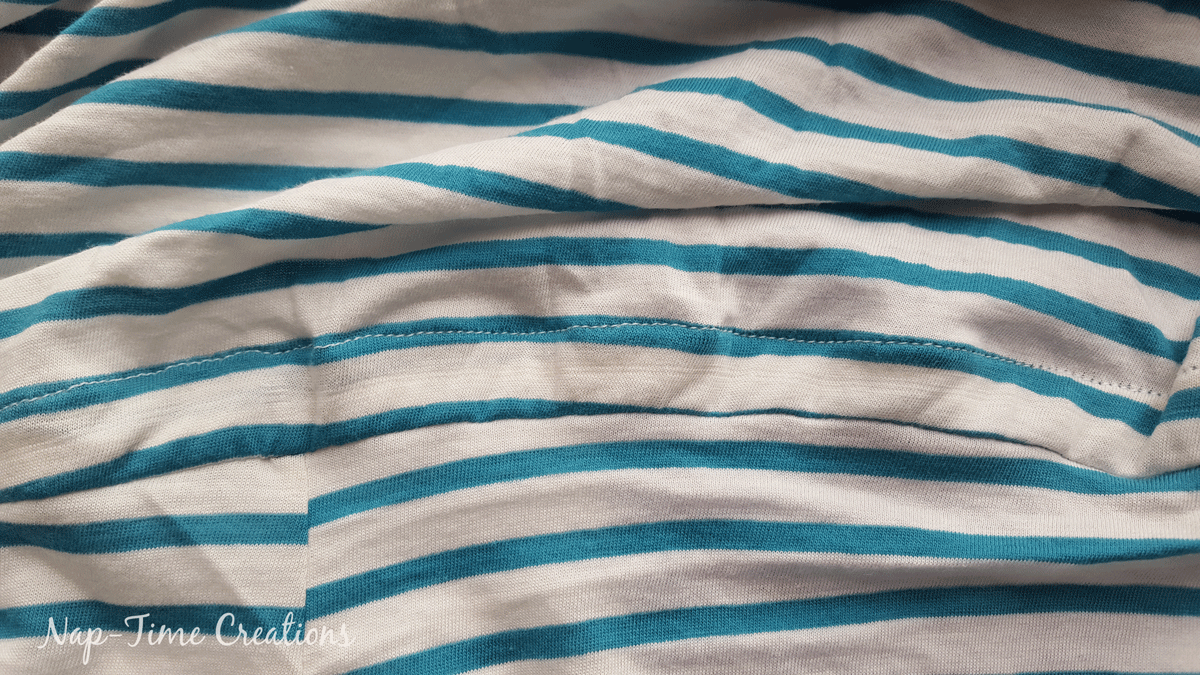
This is what the outside should look like now. Stitch the elastic at the side seams to prevent twisting.
There you go! A fun, cute romper to wear all summer! I hope this womens free romper pattern has been a fun sew for you.
Please let me know if you have any questions and join our Facebook group to show off your finished products!!
You can click below to head back to the womens free romper pattern main page. AND one last link to GO grab the free pattern FROM MY SHOP HERE.


Anne says
I love it!!! I’ve got a Craft Gossip post scheduled for this evening that features your romper pattern: http://sewing.craftgossip.com/?p=89323 –Anne
Tringa says
Finally I found a free romper pattern. Great work Emily and thank you very much for sharing your patterns for free!
Theresa says
Such a pretty romper. Thanks for sharing at the #InspirationSpotlight Pinned & sharing
Kimberlee says
Really cute Romper! Thanks for sharing the pattern.
Shelley says
What a cute pattern! And free wow thanks!
Emily Daoa says
I am having a problem here. everything is connected matching properly except the crotch part.
the romper bottom front is wider by 1 ¾.
Sarah says
I’m having the same issue
Maria Abreu says
I’m having a problem connecting all the pieces together. The crotch part doesn’t get close to match. The arm opening is way too big. I am disappointed and frustrated after all the work I am at a point that I cannot fix what I have done but cannot finish to a wearable garment.
Bia Abreu