inside: Learn how to sew a fancy party skirt with pockets. Sew a holiday party skirt in any size with this sewing tutorial and some fancy fabric.
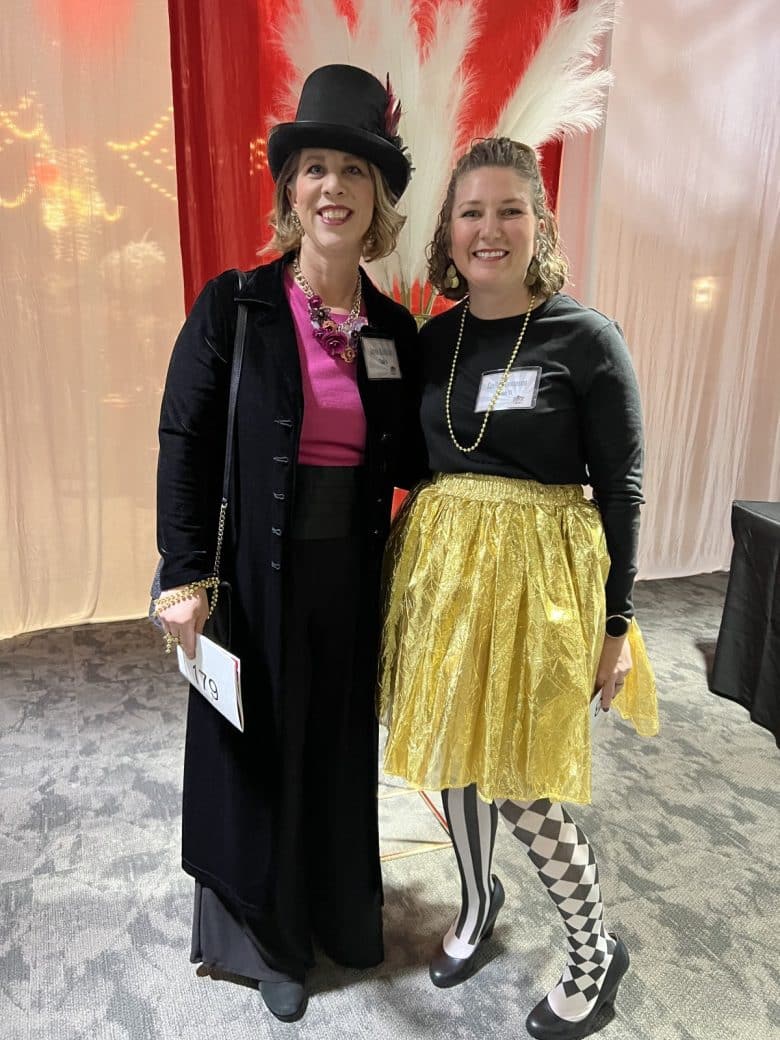
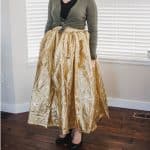
I sewed up this fancy party skirt last fall and have worn it several times in the past year. I’ve worn it long as seen here, and also shortened it to wear to another event in the spring. I’ll be wearing the short version to a gold themed Christmas party coming up in a few weeks and this skirt has really lived up to my expectations as being a fun and fancy party skirt with pockets {of course!}
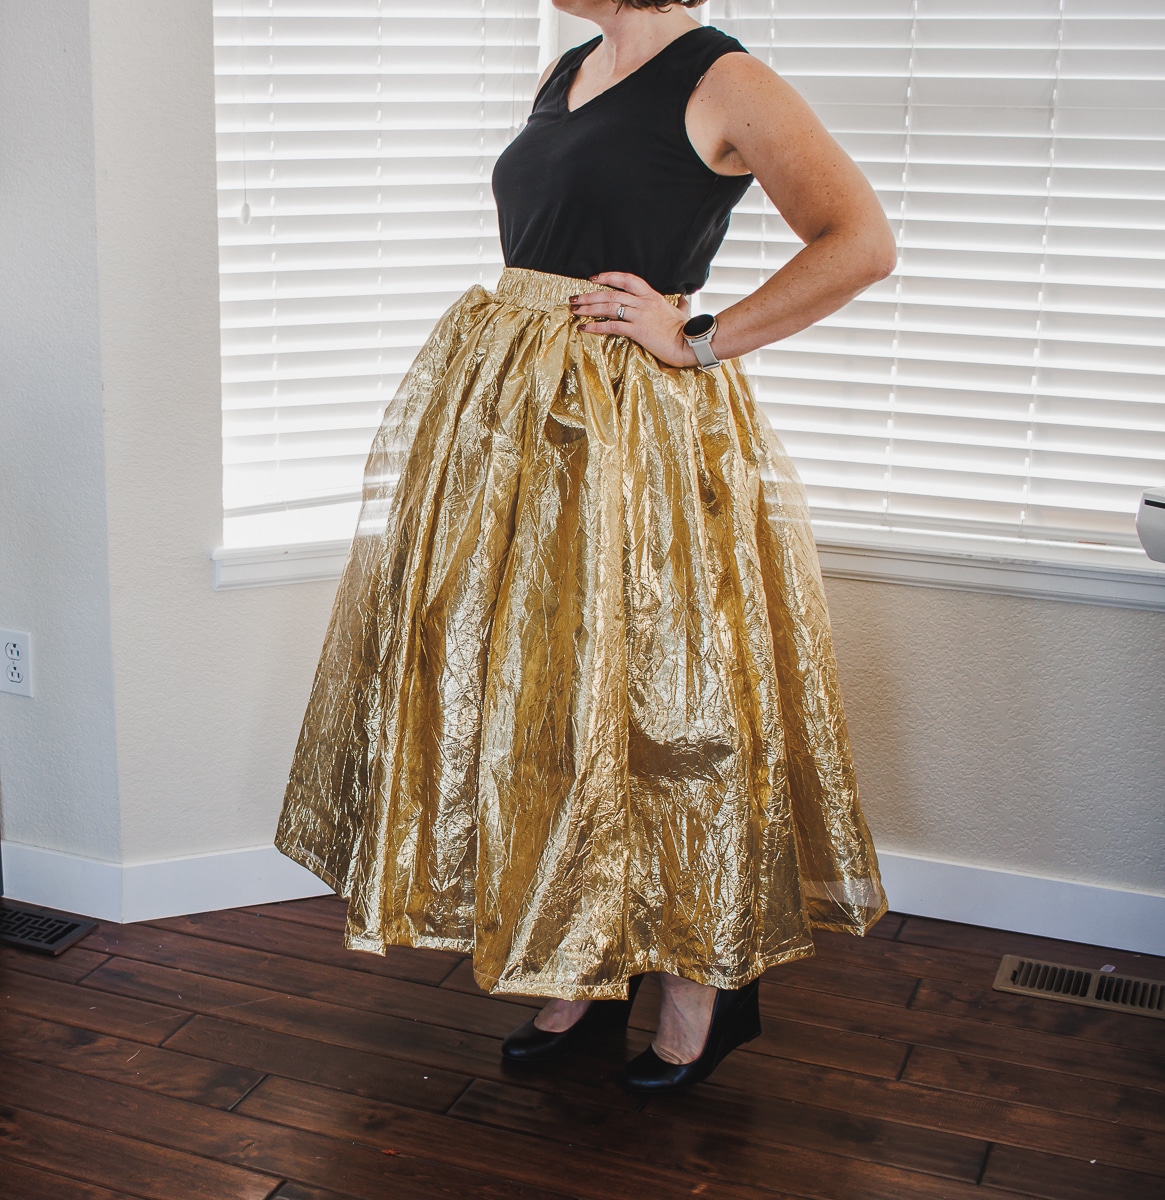
Party Skirt with Pockets
A few years ago I shared a beautiful tulle skirt that had an elastic waistband. You can find that tutorial here on the Brother Blog. This skirt is gathered the same way, but it has an elastic waistband and pockets!
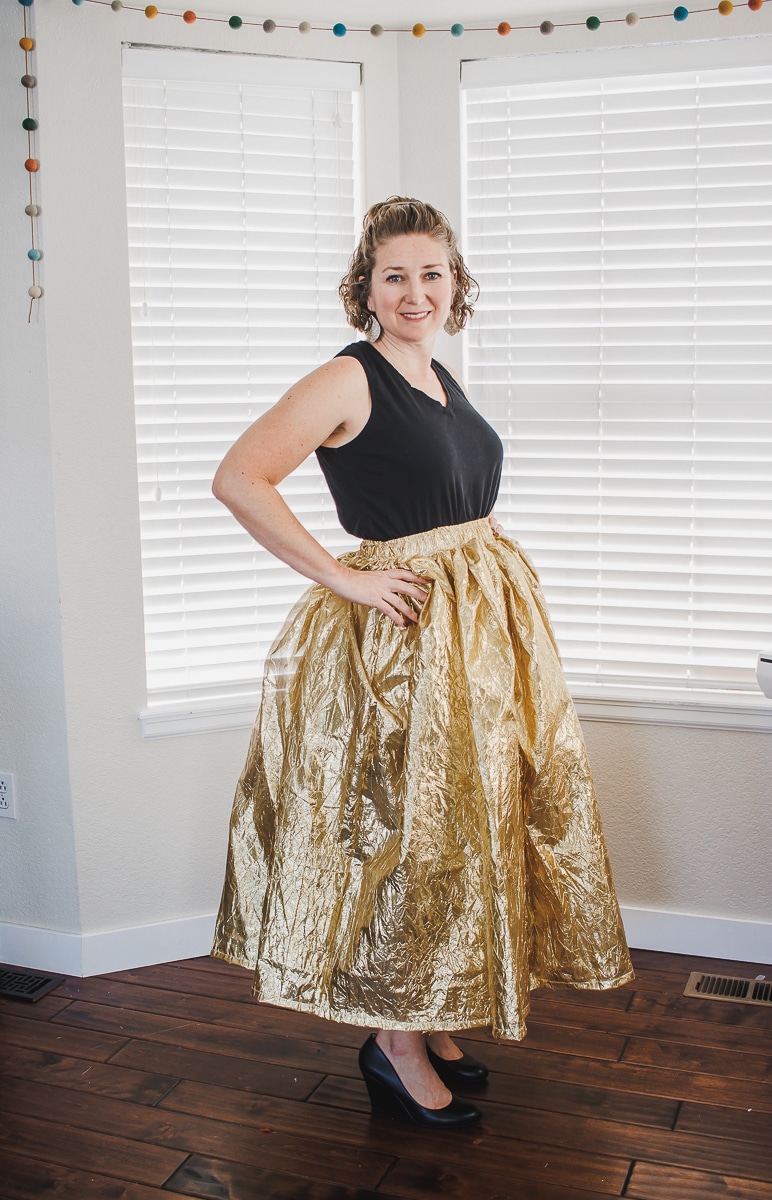
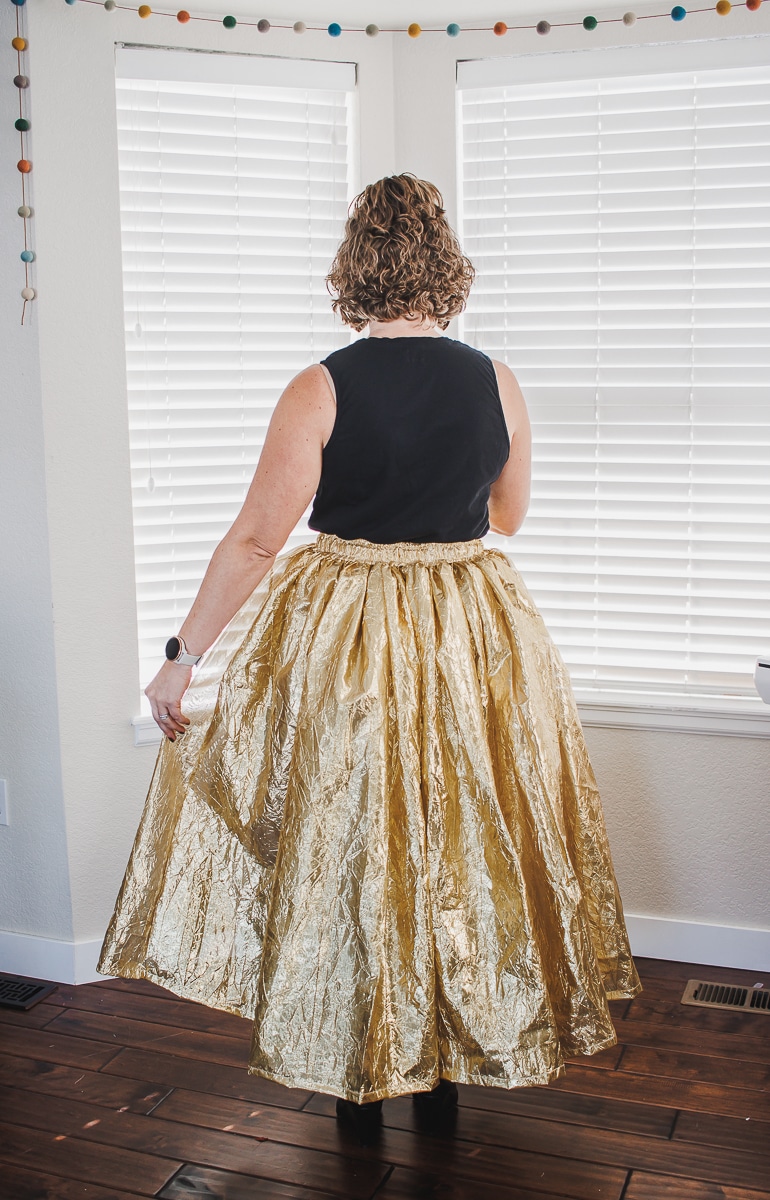
The side pockets are hidden well in all the fullness of the skirt, so you can hide lots in them and no one will notice. Pockets are my favorite anyway, but they are an added bonus to this fancy skirt. Let’s get started.
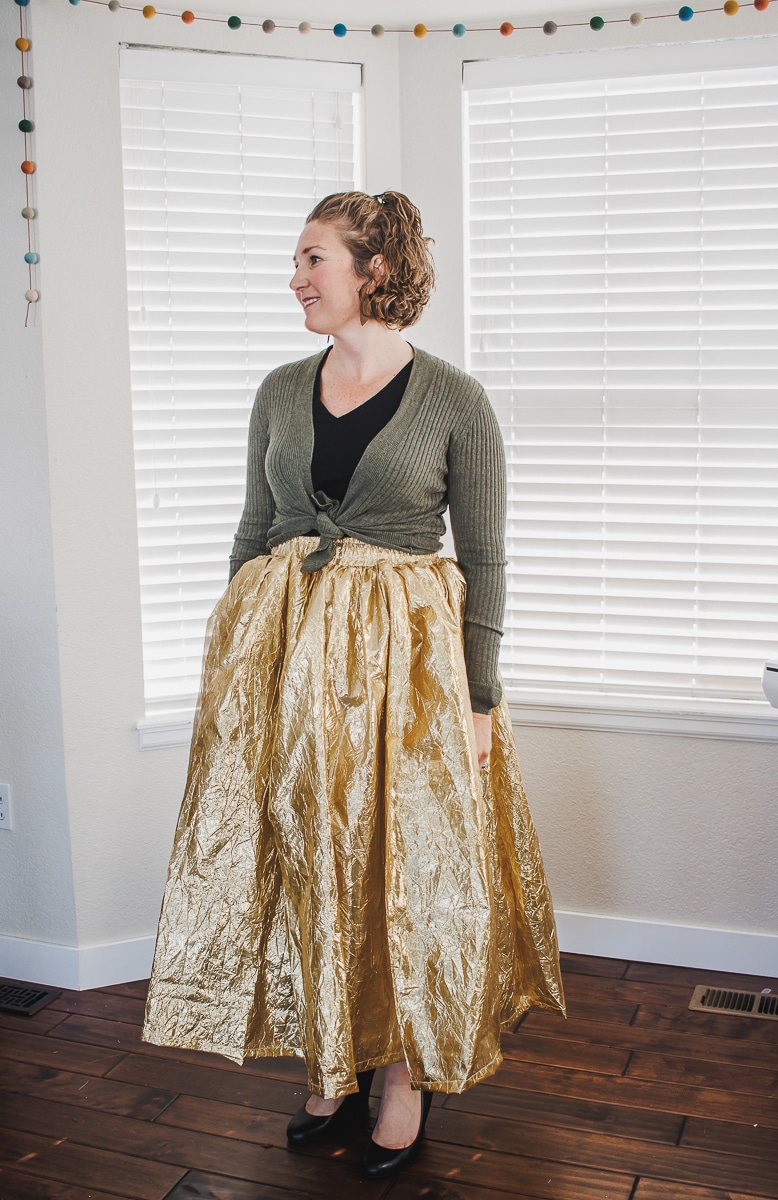
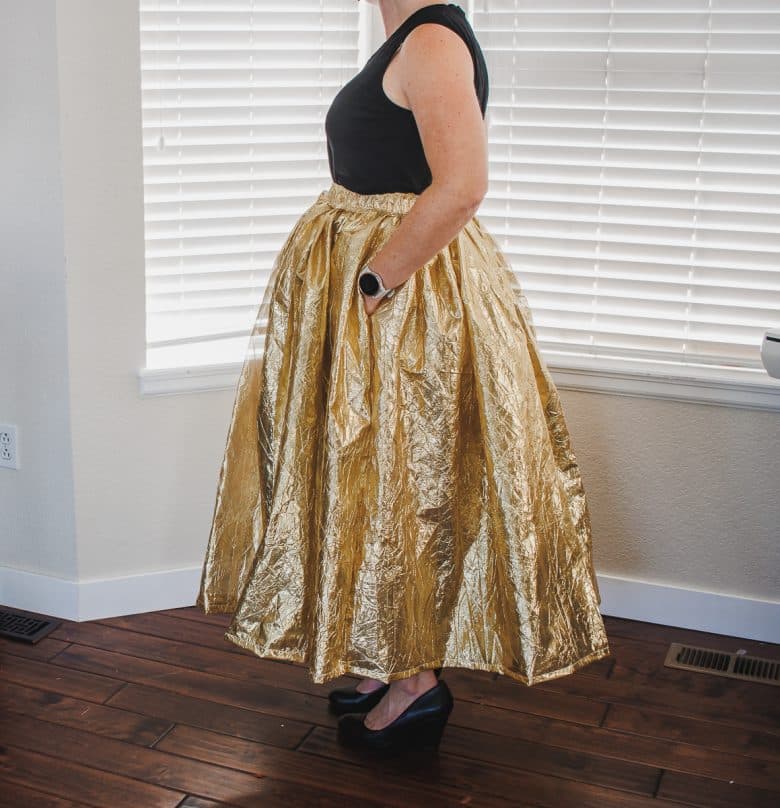
I mentioned above that I ended up shortening the skirt. It looks adorable short and long, so you can see both versions.

How to sew a fancy skirt tutorial
Supplies and Tools:
- Metallic gold Crushed Lame 4.5 yards {approx} OR any fun fancy fabric you like!
- Brother Sewing machine
- Brother Serger
- 2 yards of lining fabric
- 2 yards of netting
- 2” wide elastic {enough to go around your waist}
- Optional pocket template here
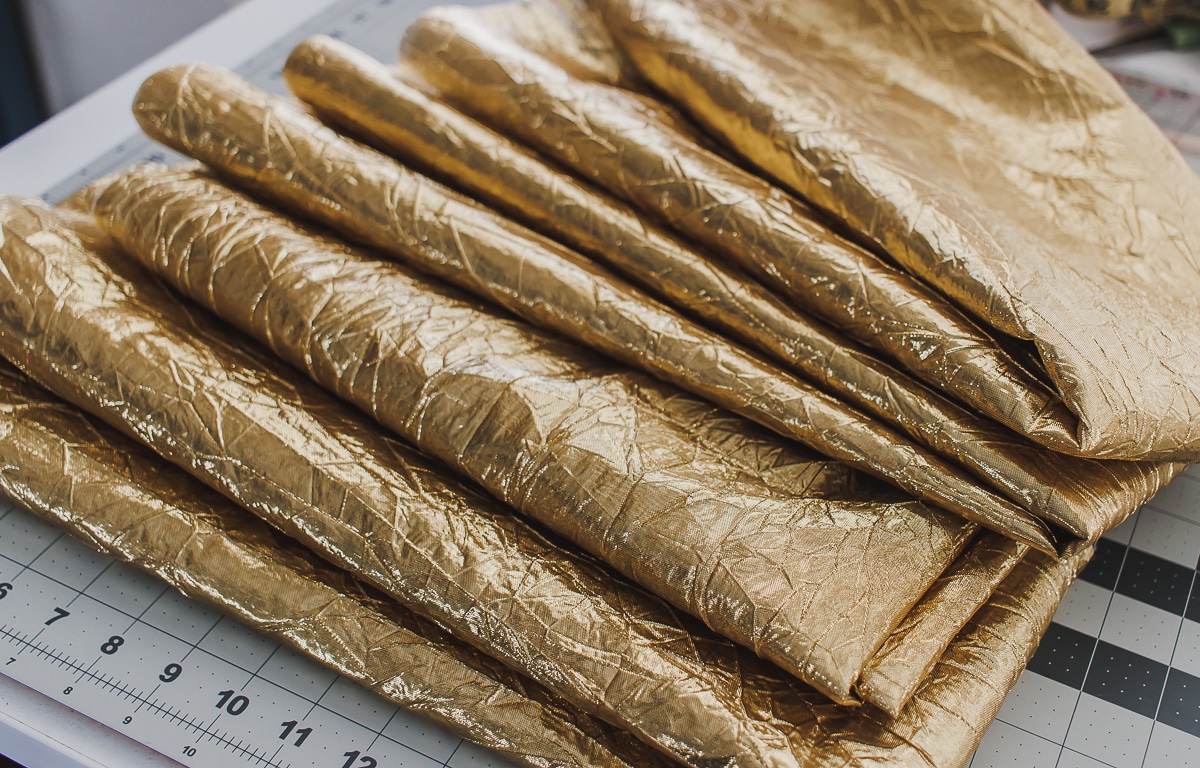
I first measured from my waist to bottom hem. This ended up to be a 36” {1 yard}. I do think an above the knee version of this would also be so so cute. Cut 4 x width of fabric, each 36” {or whatever your length} long. These four pieces are shown above. These will be gathered to create the outer skirt.
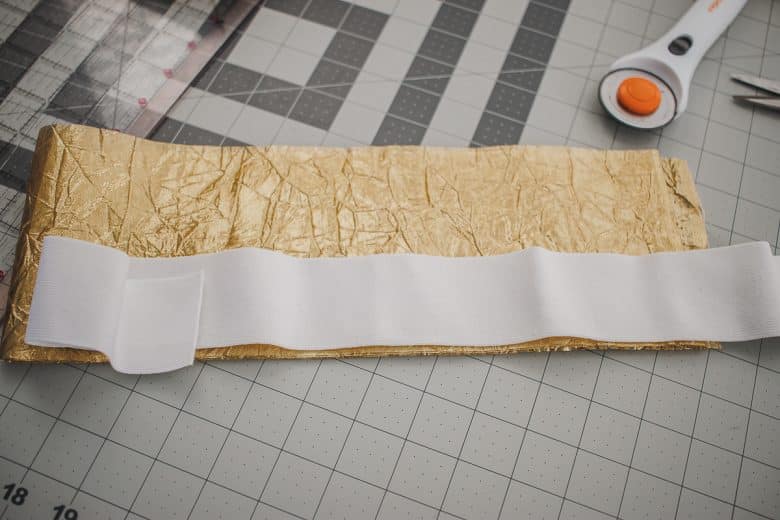
I also cut a 5” tall piece of the same fabric for the waistband. I used the width of fabric for this as well. The width of this gold fabric was 54”. My elastic was 2” so that is why my waistband it 5”. 2” + 2” + seam allowance.
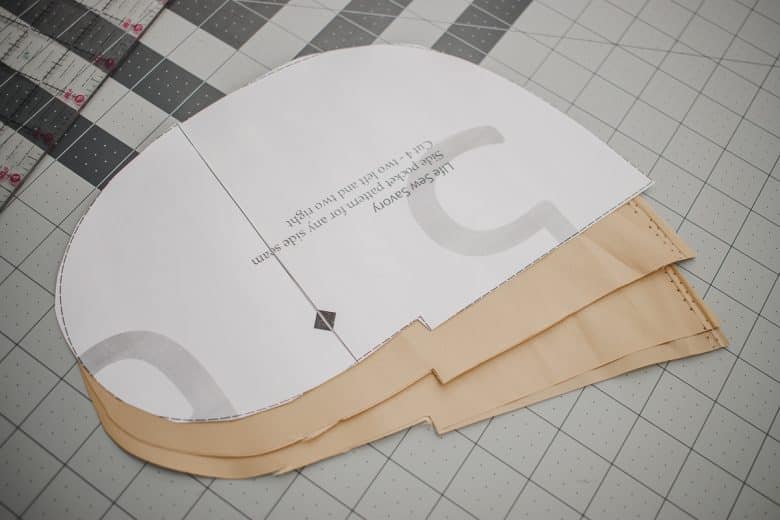
For the lining use 1.5 yards to create a skirt lining that is 2” shorter than your main skirt length. I used 1 full width of fabric, plus another half of width. The remaining fabric is used for the pocket.
If you are adding a pocket, download the free template or use a pocket pattern of your own. Cut 4 pocket pieces.
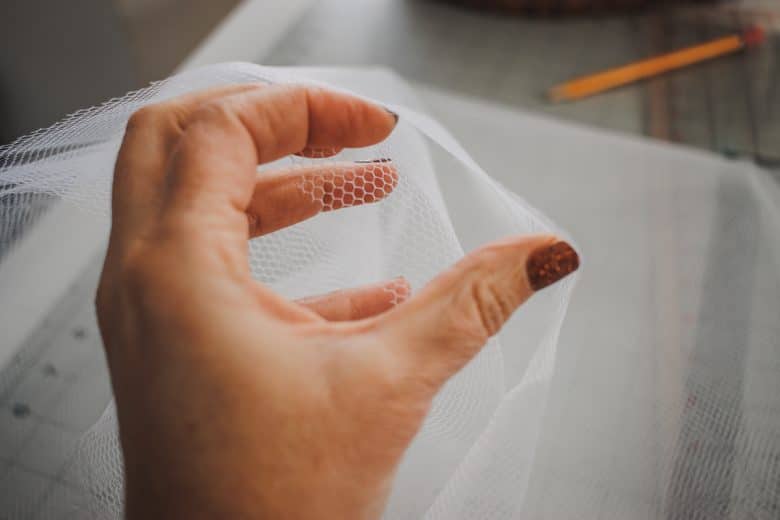
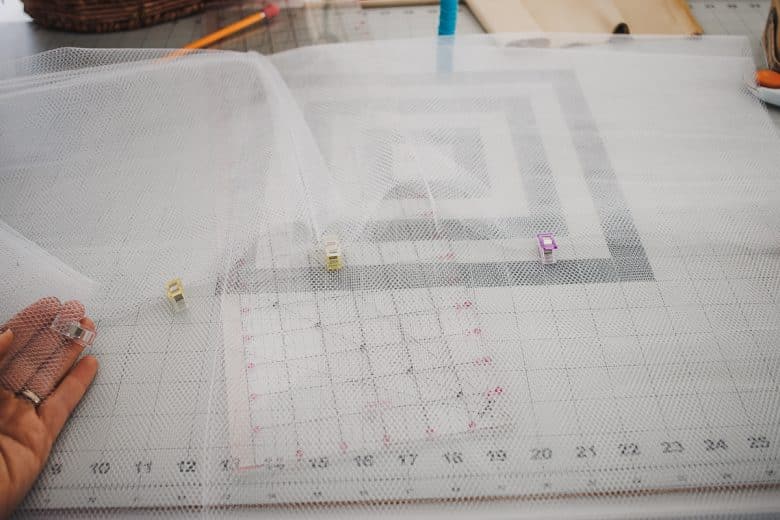
The netting I left folded in half so the long side {the 2 yards} is a fold on one side and two edges on the other.
Now it’s time to sew all these layers into circles. Piece all the edges together at the side seams {or quarter seams}.
The netting is two pieces pinned together, meaning two panels of fabric.
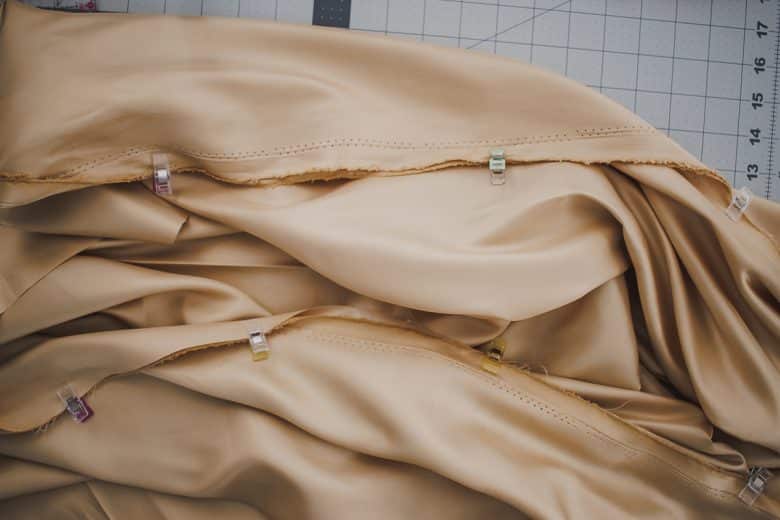
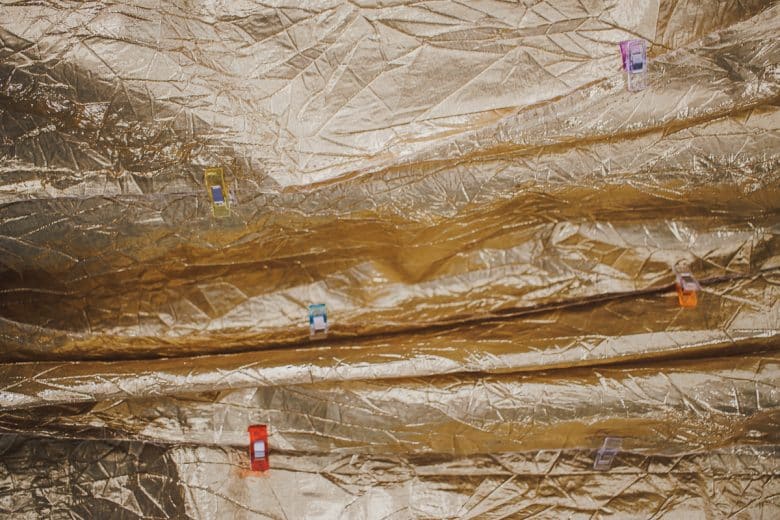
The lining is also two pieces pinned together. The main skirt fabric is four pieces pinned together.
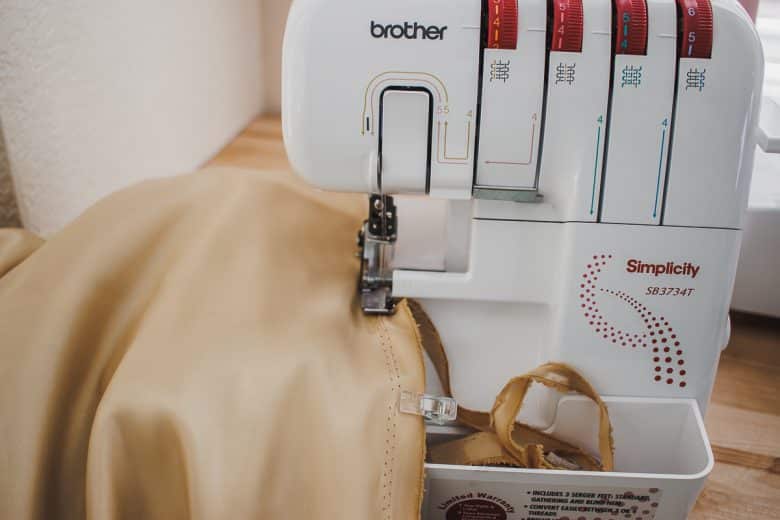
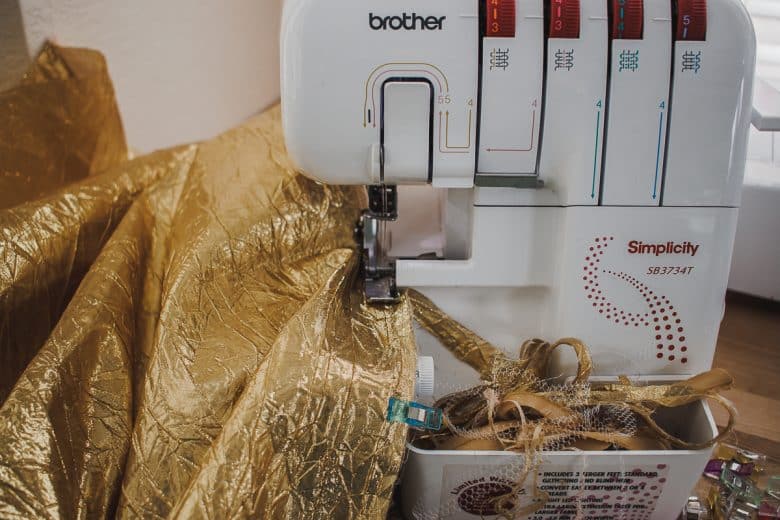
I used my serger to sew all these side seams, so the seam was sewn AND the raw edges of the fabric were finished. Both gold fabrics frey really easily, so I had to make sure the seams were secure.
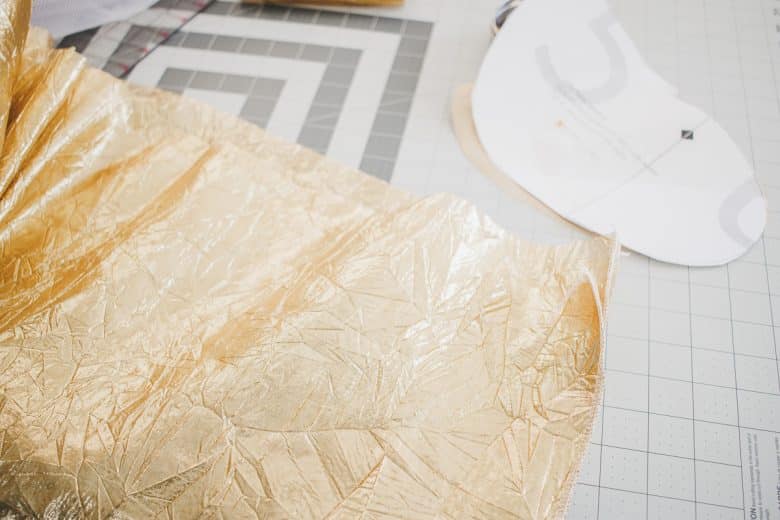
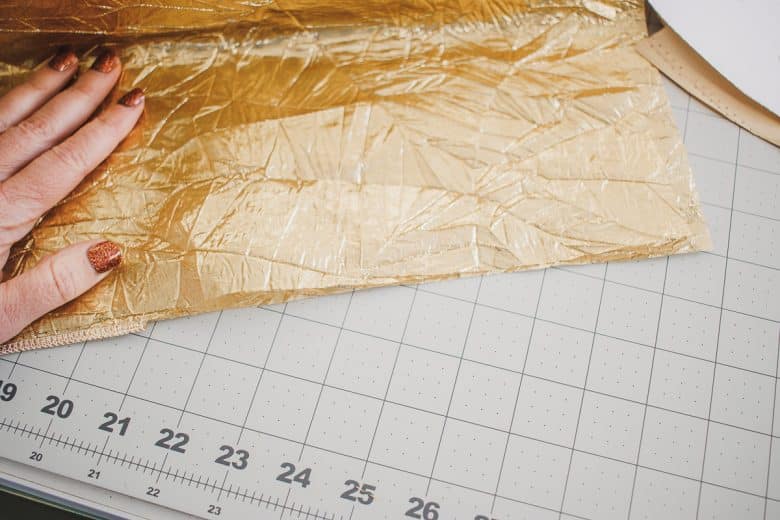
The pockets go in the side seams of the main skirt fabric, but I actually added them after the skirt pieces were all sewn together. First, I found the side seams on my skirt fabric. Remember, on this skirt there is a front and back seam too {but you can’t even see it!!}
I cut down the side of my seam about 10 inches. Enough for the pocket, plus at least 2” above the pocket.
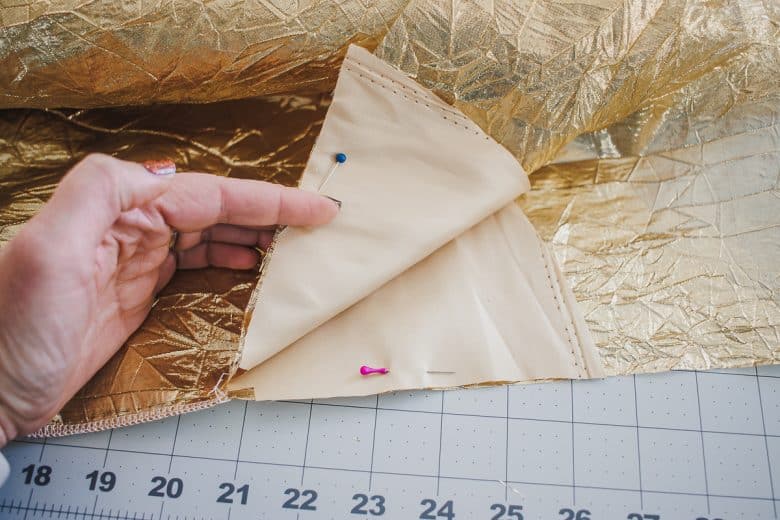
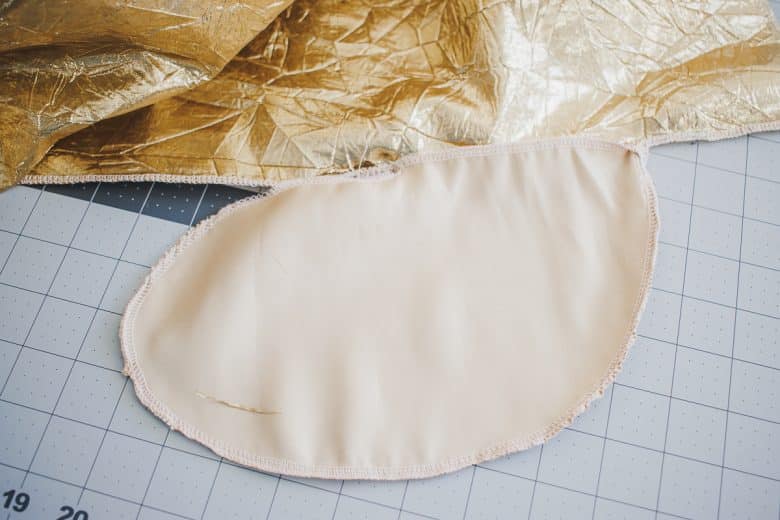
With the right side of the pockets facing the skirt fabric, pin the pocket edge to the side seams. Sew the pocket to the skirt sides. Sew each of the four pieces separately.
Pull the pockets out and then pin or clip around the curved edge. Sew down the side seam and around the pocket. I used my serger for this, but I did go back and reinforce the top and bottom sharp corners with my sewing machine.
Tuck the pockets into the skirt and watch them disappear!

Time to put it all together. With the right side of the fabric facing out, place the lining circle inside the netting circle. Mine were about the same width so this was easy to put together.
The folded netting edge should be at the top edge of the lining. Pin the netting in place 1.5” below the top of the lining.
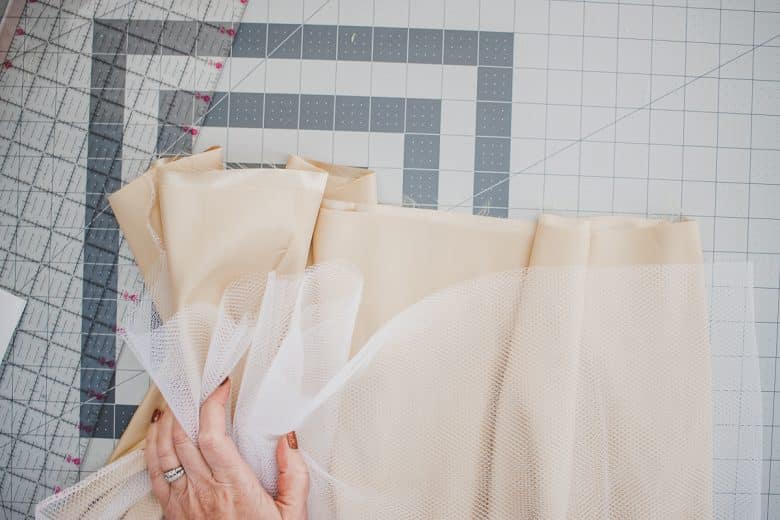
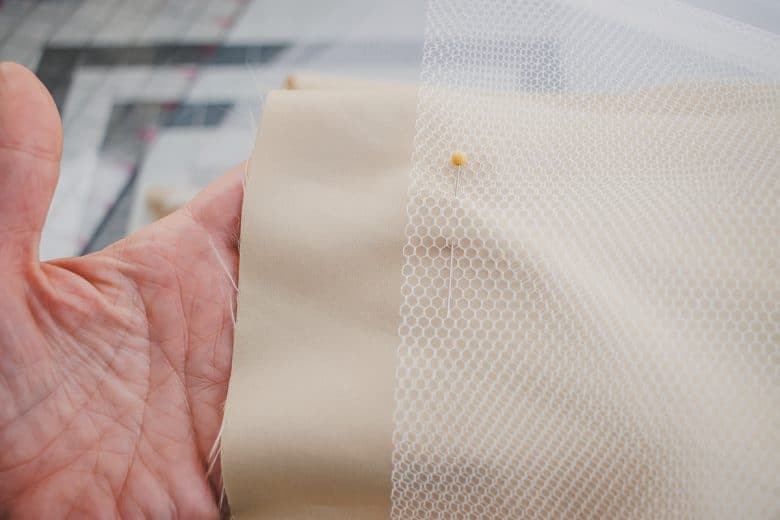
Sew the folded edge of the netting to the lining with a zig zag stitch,
I finished the bottom edge of my lining with a narrow serger stitch/rolled hem. You can fold over a hem if desired. Also, if the netting extends past the bottom edge of the lining, trim it now.
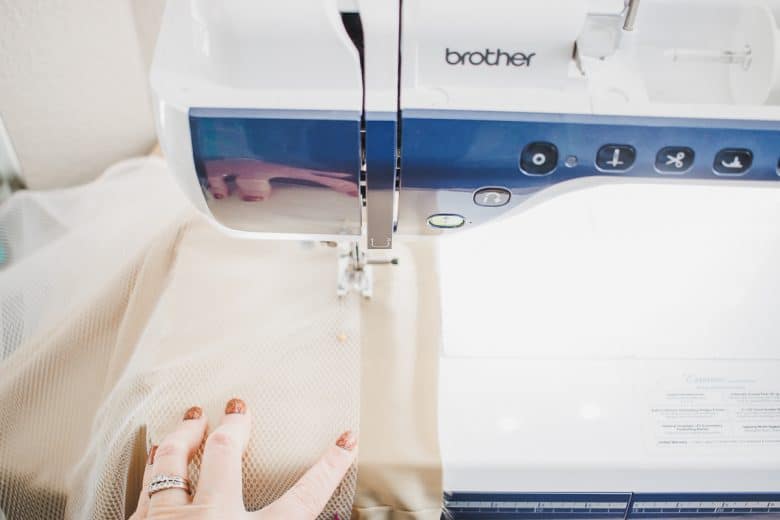
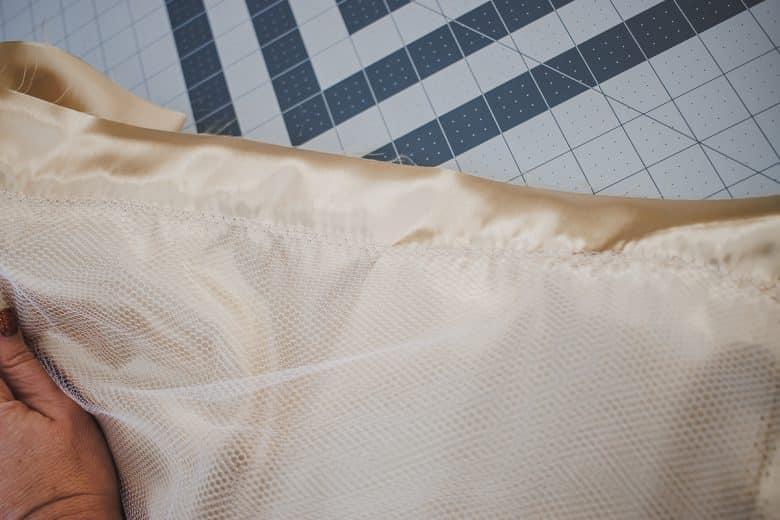
Gather the upper edge of the lining fabric AND the main fabric to match the width of the waistband.
I gathered both using my serger. Turn the differential feed and stitch length to as high as they will go and then stitch. Your fabric will gather. To get more gathers of the skirt fabric, I also tightened the thread tension of my needled to 7.
If the gathers are too loose or too tight, adjust after sewing. Check to see that the gathered skirts match the waistband size. Remember this will still be much bigger than you want your waist band, but the elastic will pull it all together and gather the skirt even more.
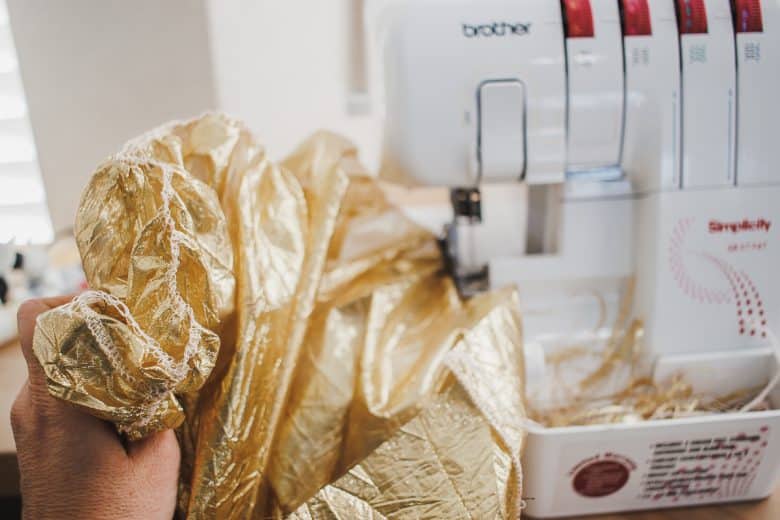
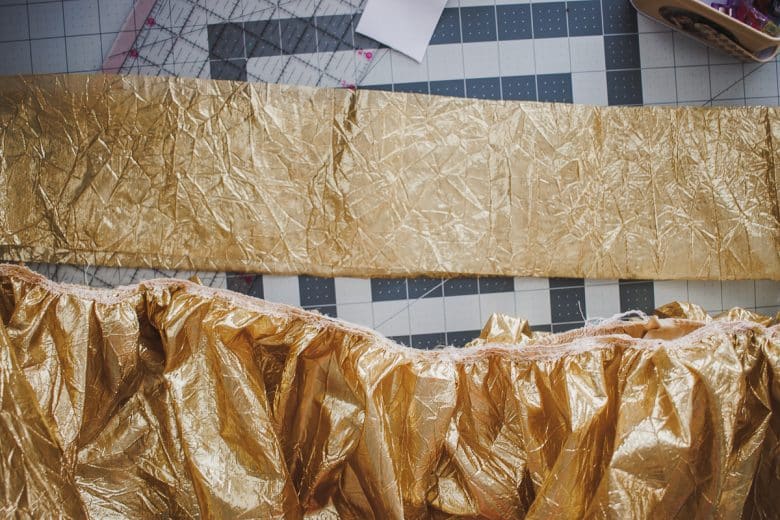
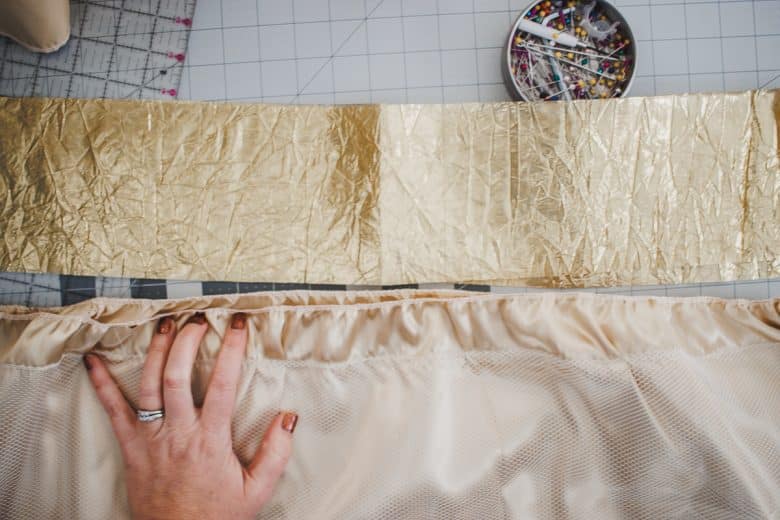
Now we will baste the two layers of the skirt together. Double check that they are gathered to the same size. Place the netting between the skirt lining and the skirt main. Both fabrics should have the right sides facing up.
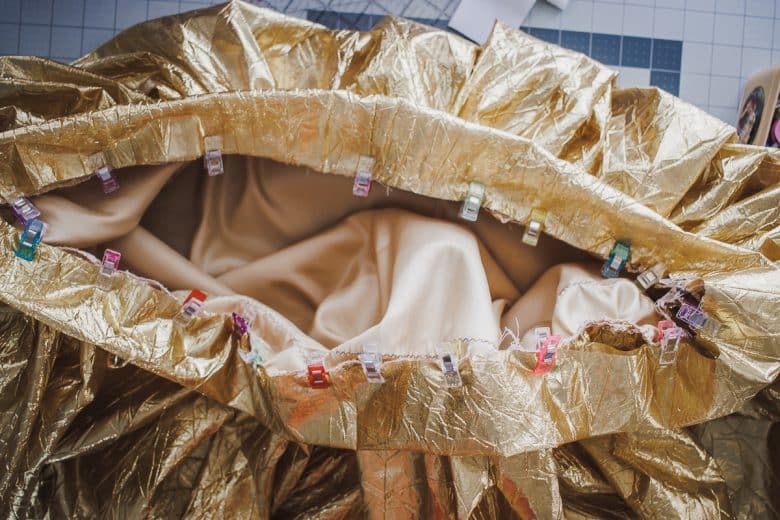
Pin or clip the two layers together.
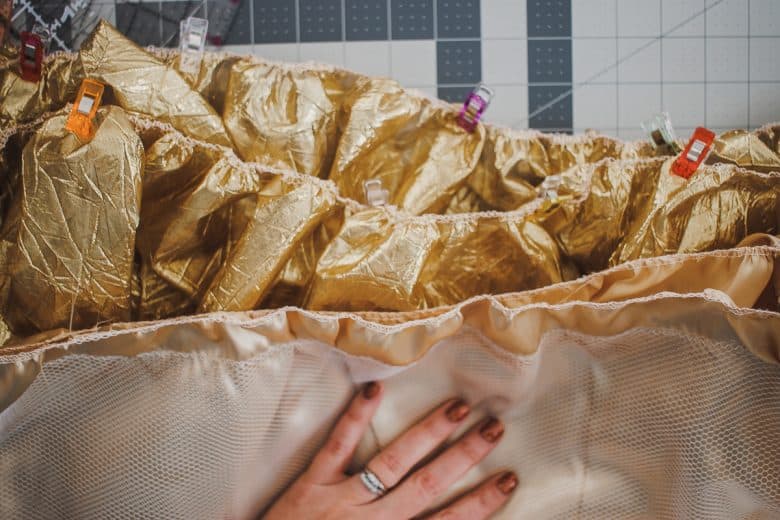
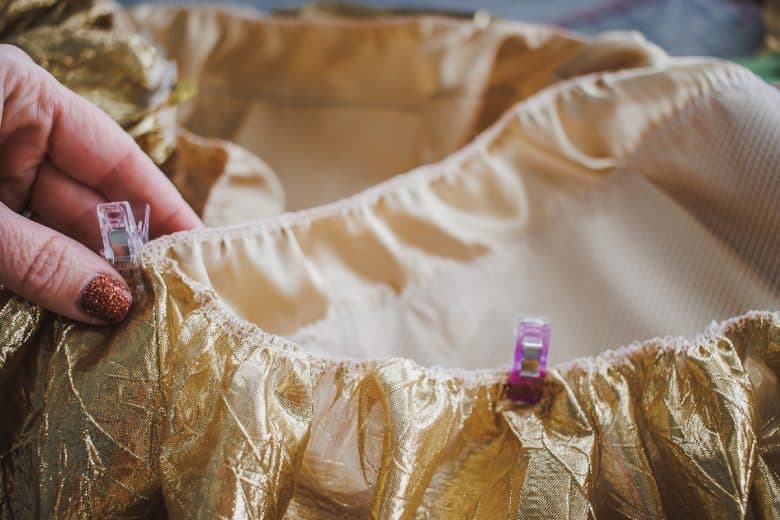
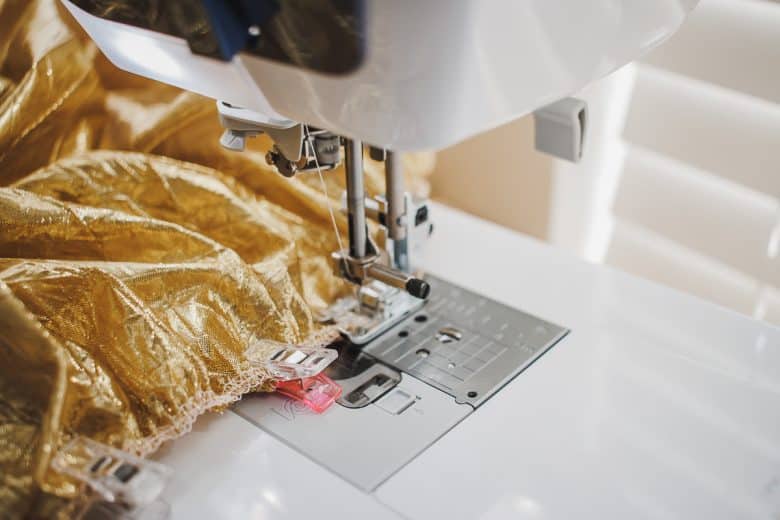
I used a zig zag on my sewing machine to baste the two layers together.
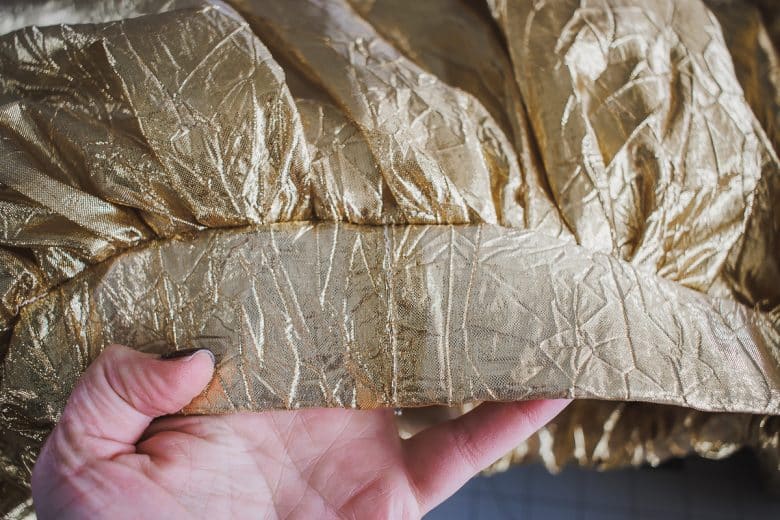
Fold the waistband together with the short ends touching and sew the short ends. Now you have a waistband circle. Fold the long edges together and pin or clip to the top of the skirt. Sew the waistband to the skirt. I used my serger so the seam would not be rough on my skin. Leave an 3” opening to thread the elastic through.
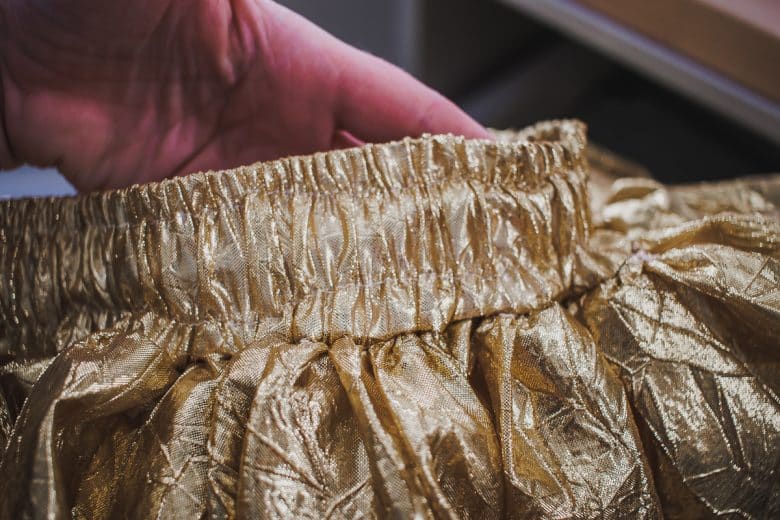
Measure your waist and cut the elastic to fit. Thread it through the casing. It should lay flat and tight as shown here.
Spread the gathers evenly around the skirt. I finished the waistband with a straight stitch in two parallel lines. Stretch as far as you can and sew the elastic. Use one hand in the back of the presser foot and one in the front to keep the fabric straight and stretched.
You did it!! Now go show it off! Tag me on social media so I can see it too! @lifesewsavory






Leave a Reply