inside: a fun sewing hack showing how to sew a V neck shirt using any t-shirt pattern. Turn a crew neckline into a V neckline with this easy sewing tutorial.
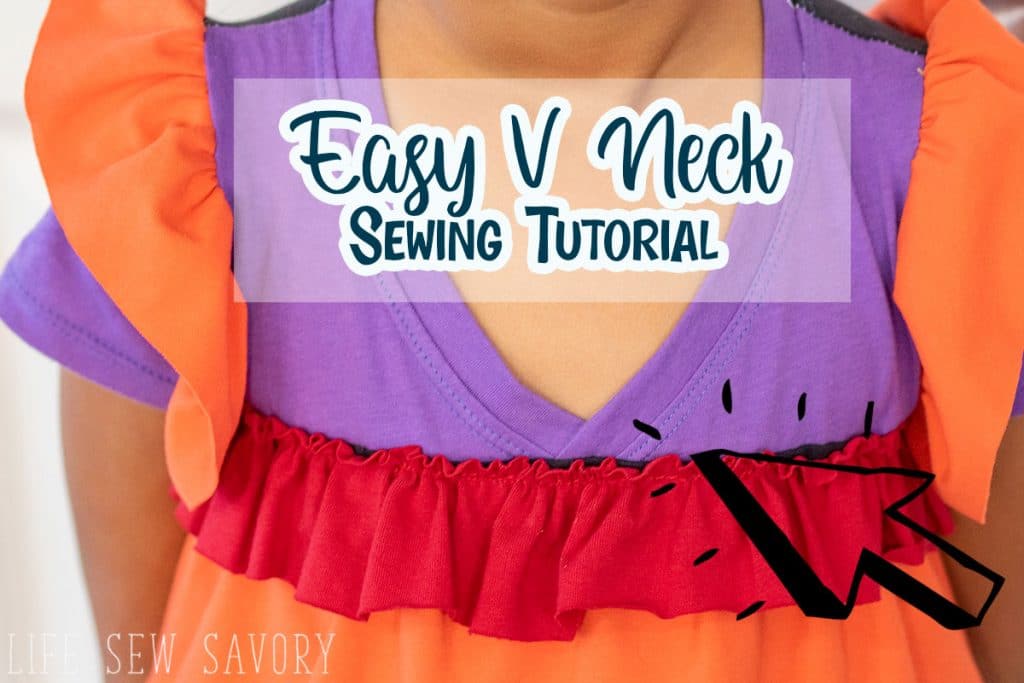
You may recognize this top I made for the first week of Project Run and Play. It was a fun tutorial to write and I LOVE the way this V neck turned out. I also love that it’s super easy, not at all like other V neckline patterns and so simple anyone can do it! Today I’m going to show you how to sew a V neck shirt with just a few simple modifications to any pattern you already have.
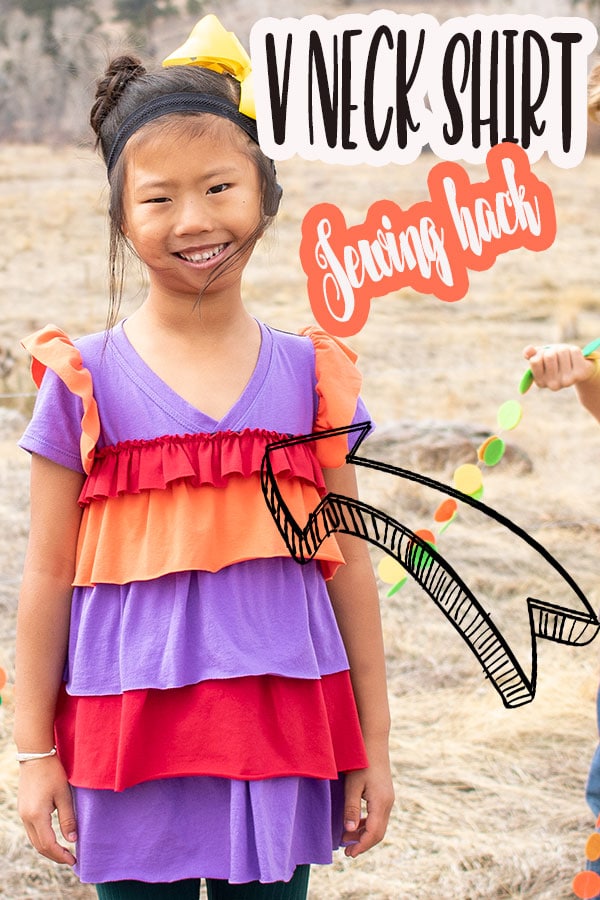
The best part of this sewing hack is that you can make a v neck shirt from any shirt pattern you already own. Don’t have one? Here are a few free shirt patterns I have you could use with this tutorial.
Free t-shirt patterns
- Girls swing tee {used here}
- Womens boyfriend tee
- women’s fitted tee
- Mens Classic tee
- Boys t-shirt pattern
Like noted in the list I used a version of the girls swing tee for this tutorial. I also used a different color for the top yoke of the V neckline and the bottom. If you don’t want it to stand out, you can use one color for the whole front of the shirt.
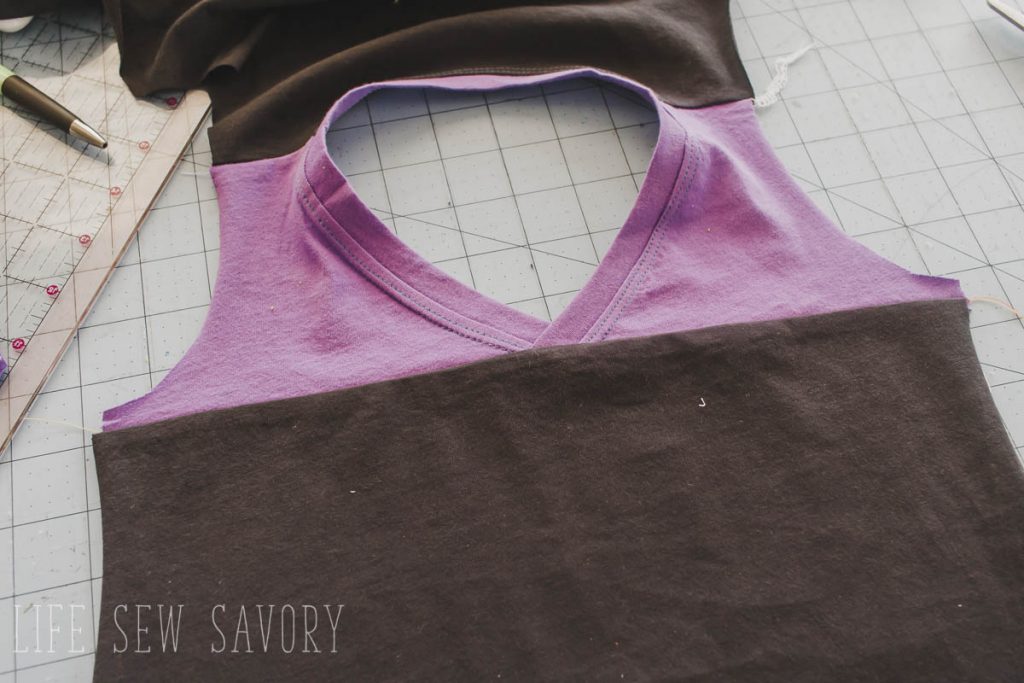
Below you will find a video tutorial walking you through the whole process as well as step by step photos, use what works best for you.

Sewing a V neck pattern hack video-
The video should auto play below or on the side of this post. If you do not see it you may be running an ad blocker which would also block the video.
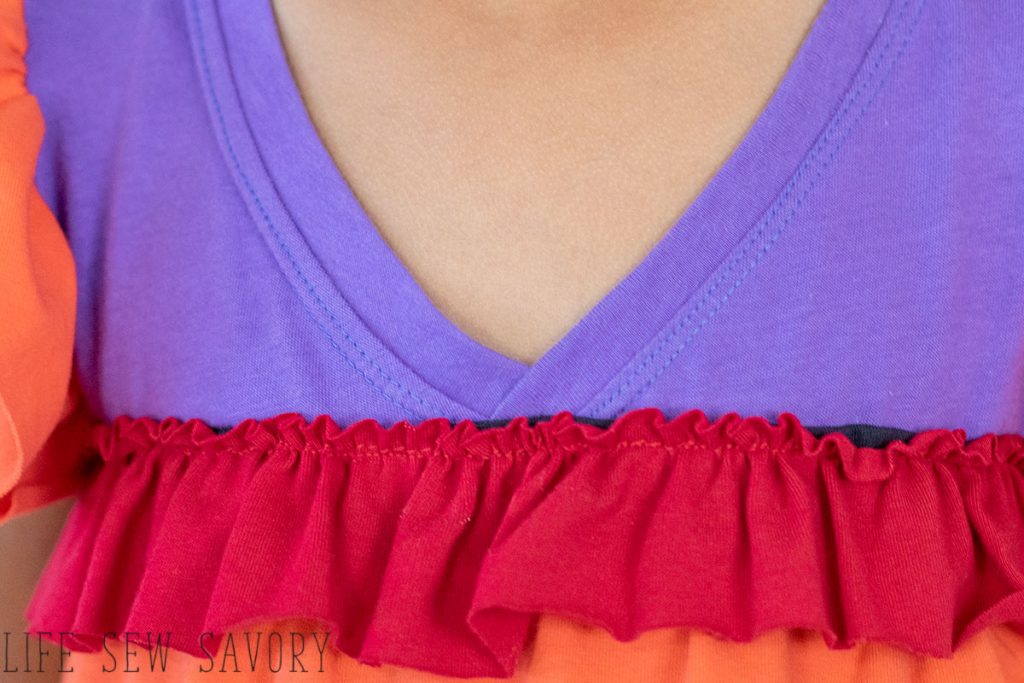
And a close up of what the finished result looks like…
Creating a V Neck from a Crew Neck
ok! Grab your favorite crew neckline sewing pattern and let’s turn it into a V neck…
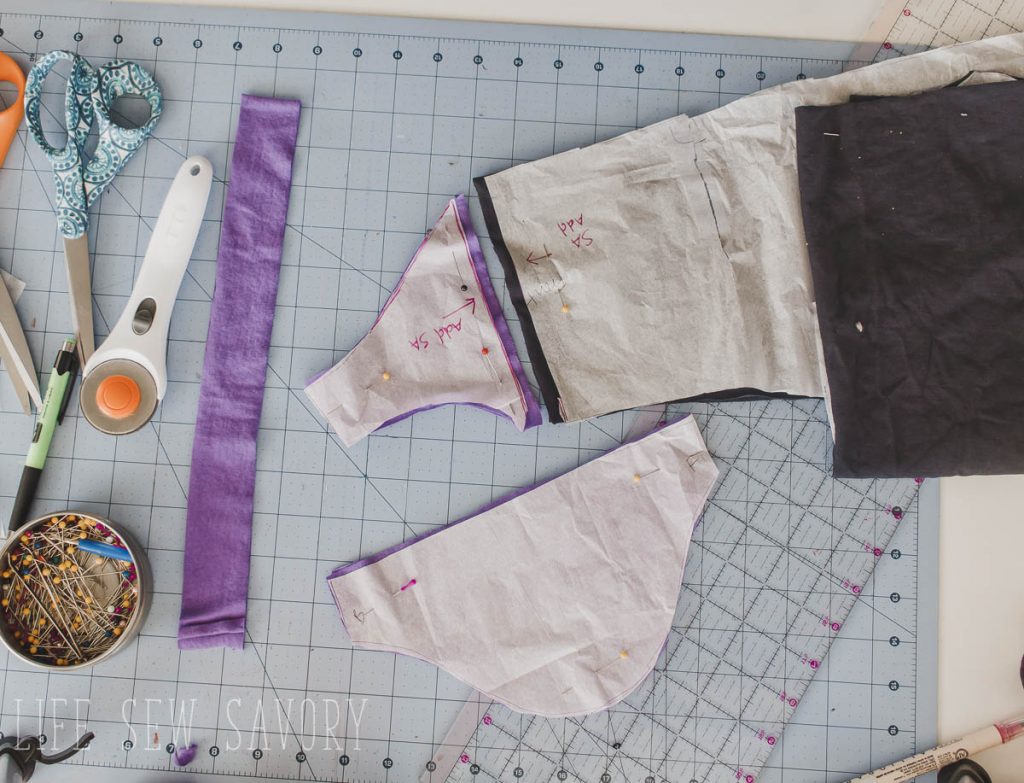
The video will show you exactly how to edit the pattern pieces, but here are the basics. On the front you will draw a line right at the under arm. Then create a V from the original neckline to where it intersects with the new underarm line.
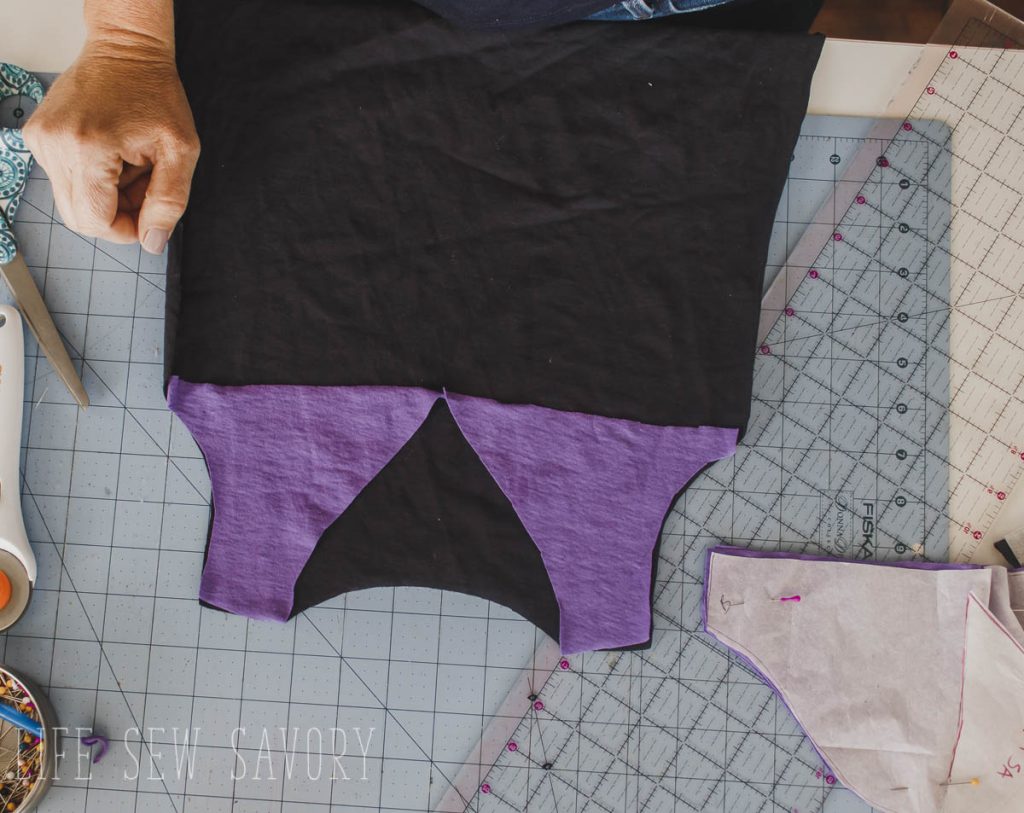
Cut the shirt apart at the underarm line. Be sure to add seam allowance to either side of the main front piece where you added the cut. You can see my added fabric below and the V neck sloping down to the cut.
Cut a neckband pieces 1.5″ wide and longer than you will need. We will trim later. Cut sleeves and a back as well.
With right sides together sew the shoulder seams. Never sewed a neckband before? Check out my post for sewing a perfect knit neckband.
Open up the neckline and measure it. Cut the neck band 100% of this measurement. Take note of what 90% of the measurement is and the extra 10% will overhang off the edge of the neckline as shown below. You NEED the extra… Keep it! Sew the neckband to the shirt and top-stitch if desired.
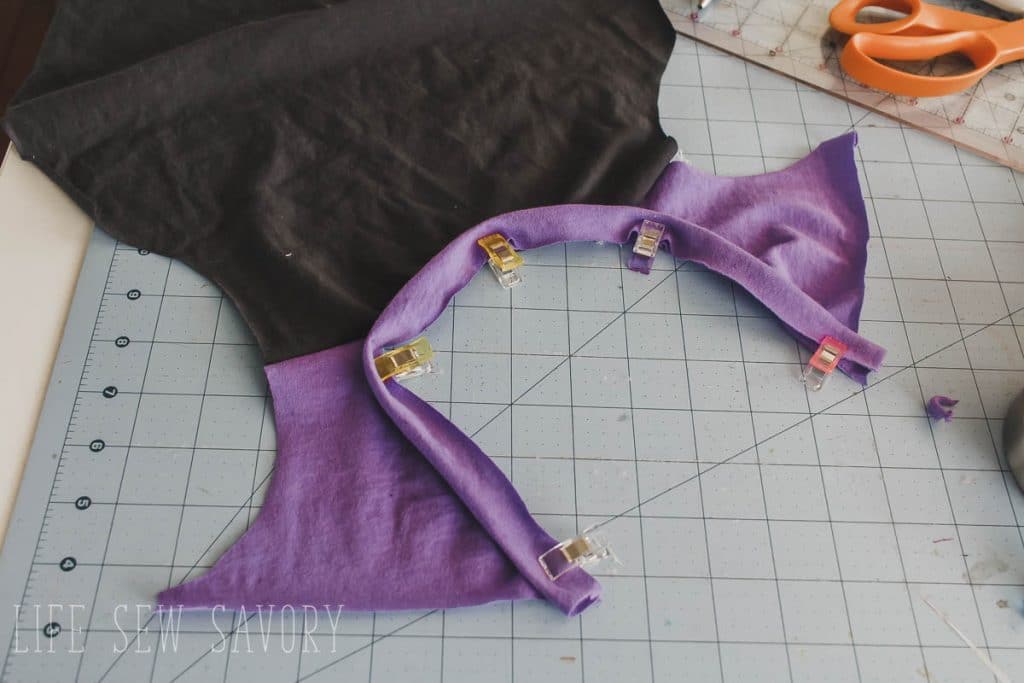
Overlap the edges, remember the neck band should extend past the shirt about 1/2″ – 1″. Pin or clip the overlap. The fabric will overlap about 1.5″.
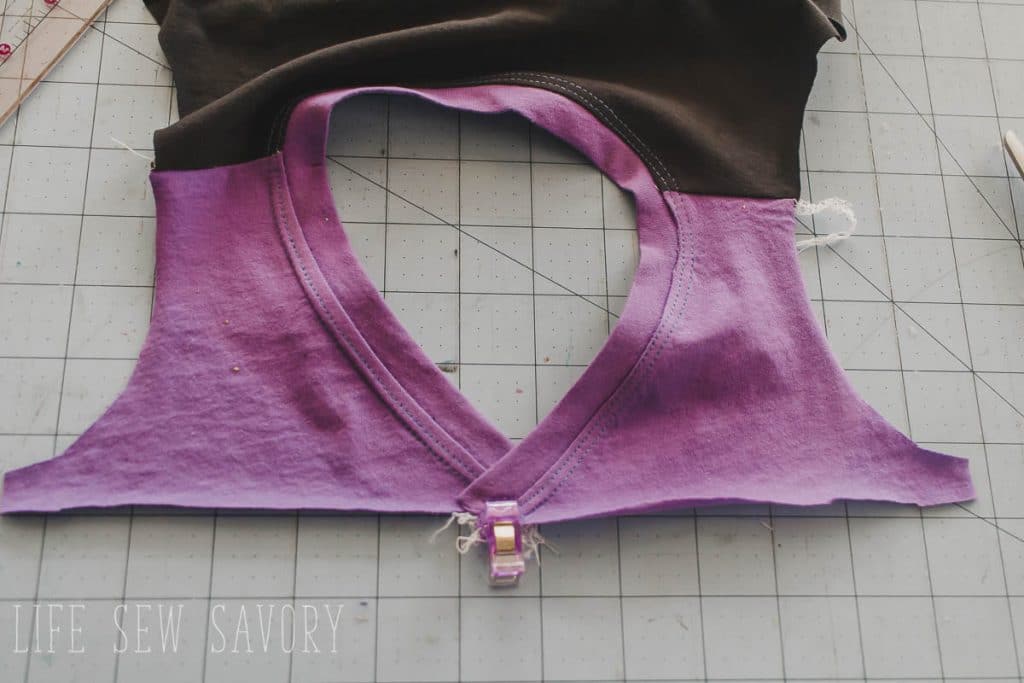
With right sides together pin/clip the bottom of the shirt to the top V yoke. Sew with a 3/8″ seam allowance catching both layers of the V neck.
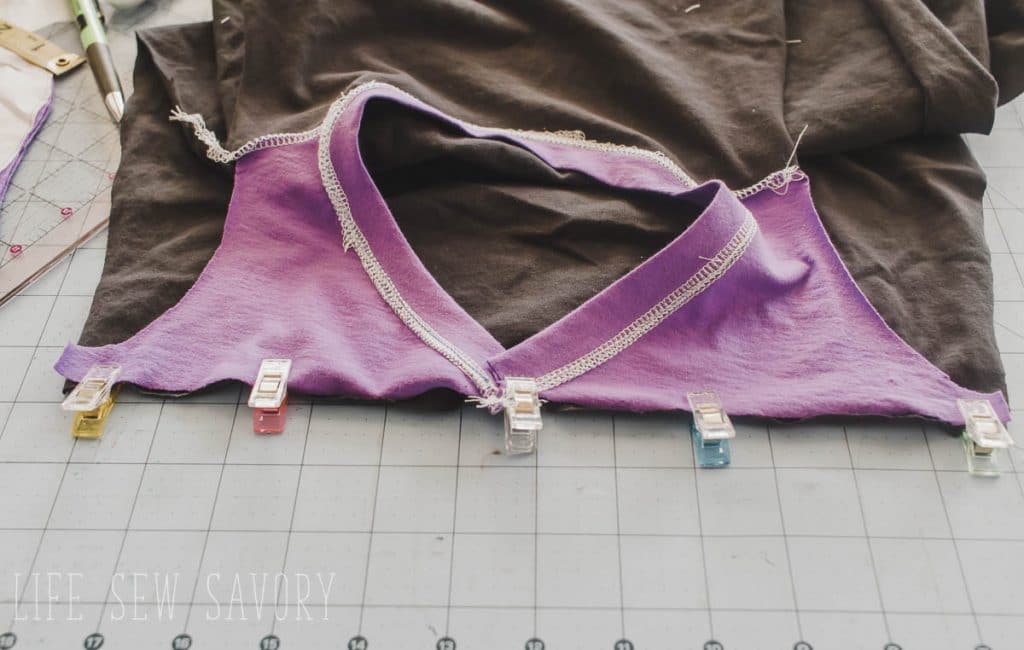
When you open and press you should have a fabulous looking V neck that was’t hard to sew. No perfect matching the binding, no sewing in a round, just simple sewing for a great looking neckline. If you use all one color it will blend in more as well.






Leave a Reply