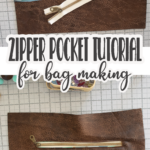
inside: Learn how to sew a zippered pocket, specifically for bag making. This easy zippered pocket is perfect for pockets on the outside or inside of your next bag project. Add a pocket to any tote or purse with this tutorial
I actually thought I had written this post years ago, but when I looked back through my posts I couldn’t find anything like it. So if you have used this tutorial before and it was written in a different post, let me know. For now I’m going to publish this how to sew a zipper pocket tutorial.
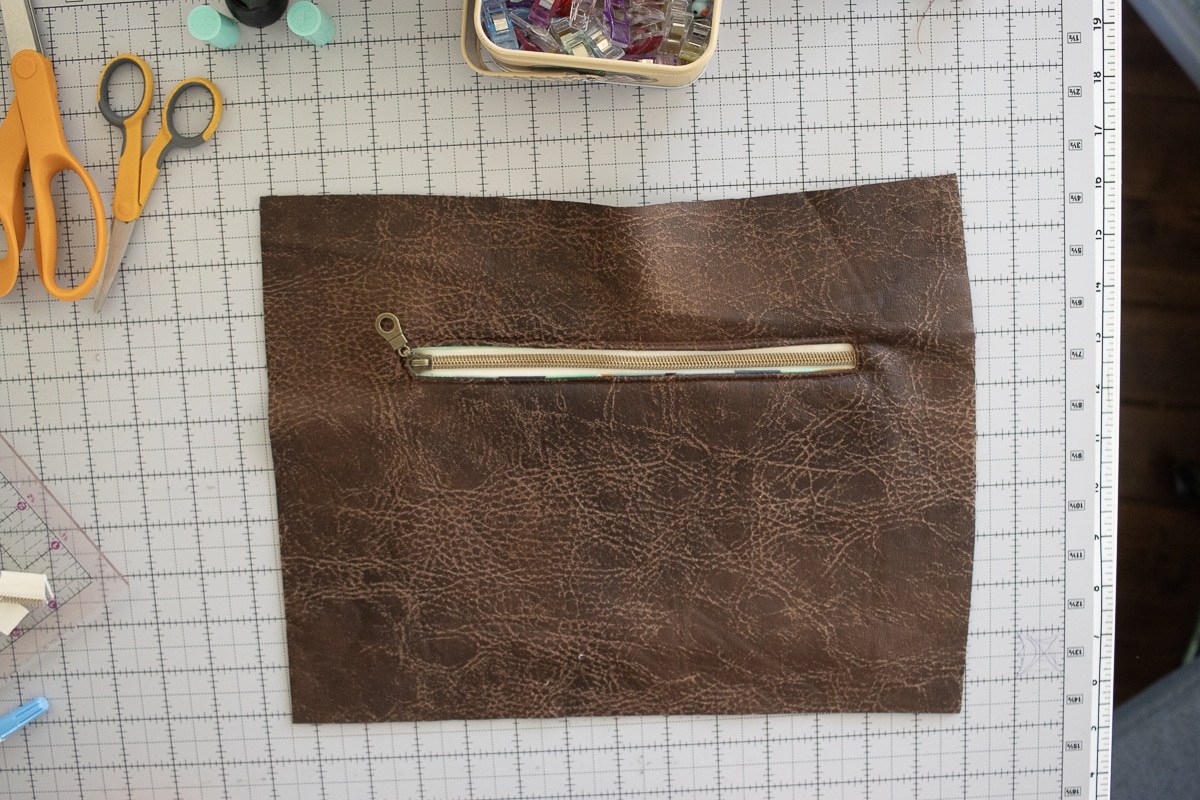
Zipper Pocket on bags
Adding a zipper pocket to the outside or inside of your next bag project is easier than you think. The backside of the pocket isn’t the most pretty, but usually this is hidden between the lining and the main side of the bag.
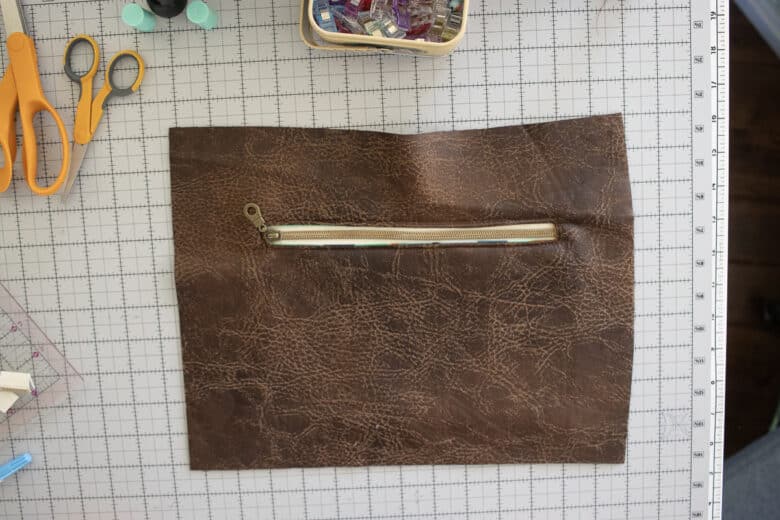
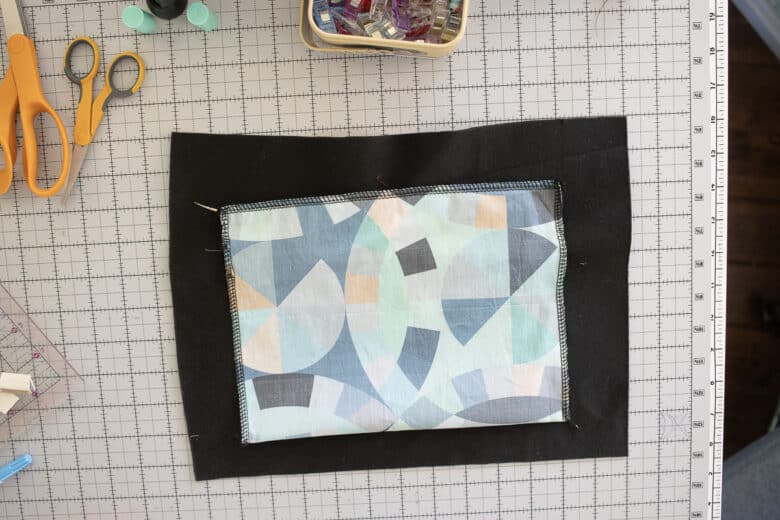
You will be sewing these pockets on the main sides or lining before you sew the bag together. Next week I’ll be sharing a new bag pattern that used this tutorial, but until then you can check out all these other bang and tote patterns that would be perfect for this zipper pocket {some already have it written into the pattern}
Bag zipper pocket tutorial video-
I’ve embedded a video in this post, but you may not see it right here below. Sometimes it floats to best placement or the sidebar. This video will show you all the steps in action to sew this pocket and is helpful if you get stuck. If you don’t see the video anywhere in the posts, make sure you aren’t using an AD blocker, you can also try a different browser as that helps sometimes.
Free bag patterns to sew a zipper on
How to sew a zipper pocket in a bag or purse
Let’s jump right into sewing. Here’s what you will need to create the pocket.
- Bag side cut out
- Pocket cut out {I cut a rectangle piece so that the bottom of the pocket is a fold
- Zipper foot
- Zipper {I like to buy it by the yard and cut to length. THIS ZIPPER is the one in this post.}
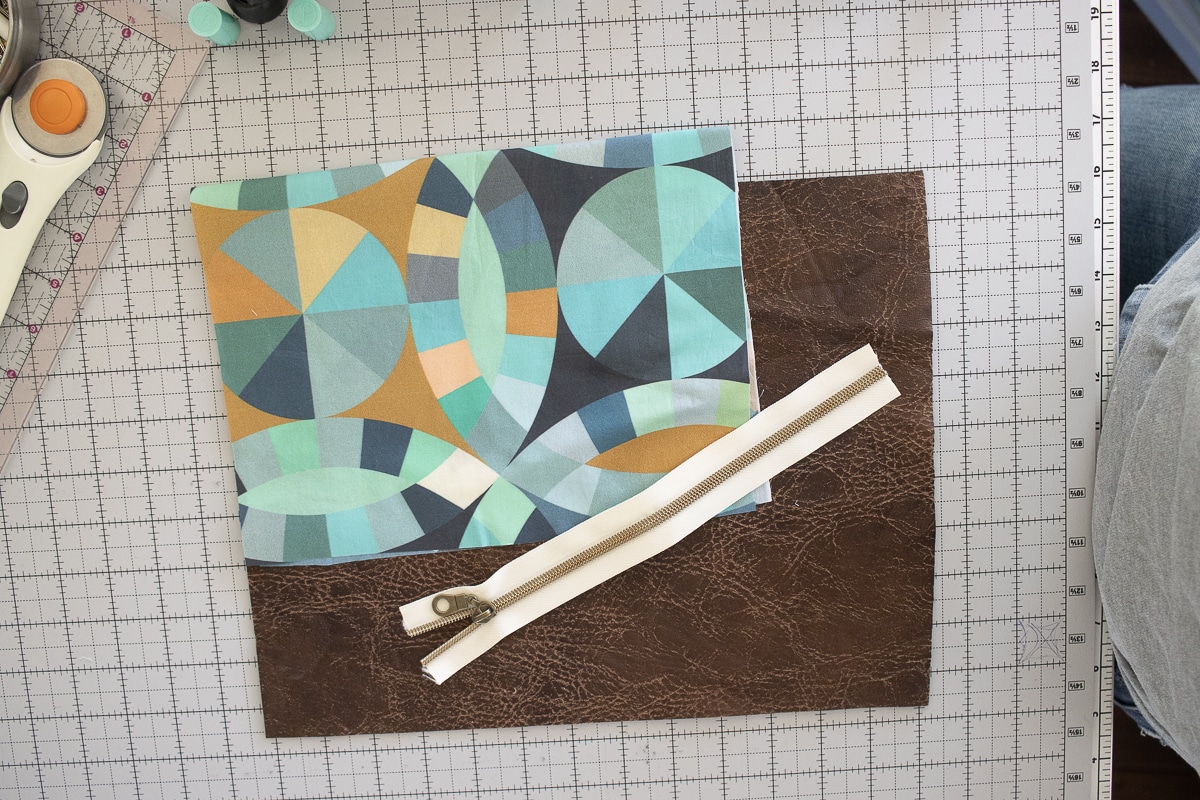
To start this zipper sewing you will want to be looking at the bag side {either lining or main} and pocket fabric both with right sides facing you. I wanted my zipper about 2/3 to the top of the bag or a bit higher so I centered my pocket on all sides. The bottom of the pocket as seen here is a fold.
Leave the right sides of the fabric together, open up the pocket so you are looking at the back of the pocket fabric. 1.5″ down from the top of the pocket fabric draw a straight line that starts 1″ from the left and stops 1″ from the right. Then .5″ below the first line draw a second. Close the ends of the rectangle. I use a ruler to draw this box as shown.
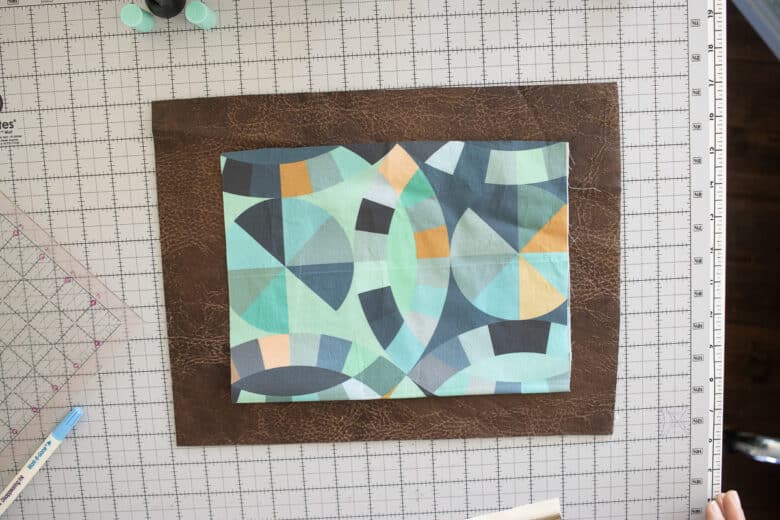
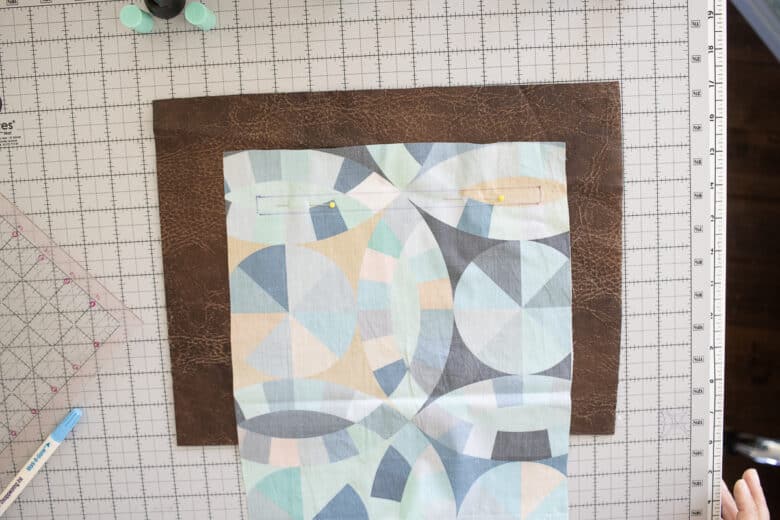
Sew these two layers together with your sewing machine and a straight stitch. Then cut down the middle of the rectangle and make a Y cut on both ends to clip as close as you can into the corners.
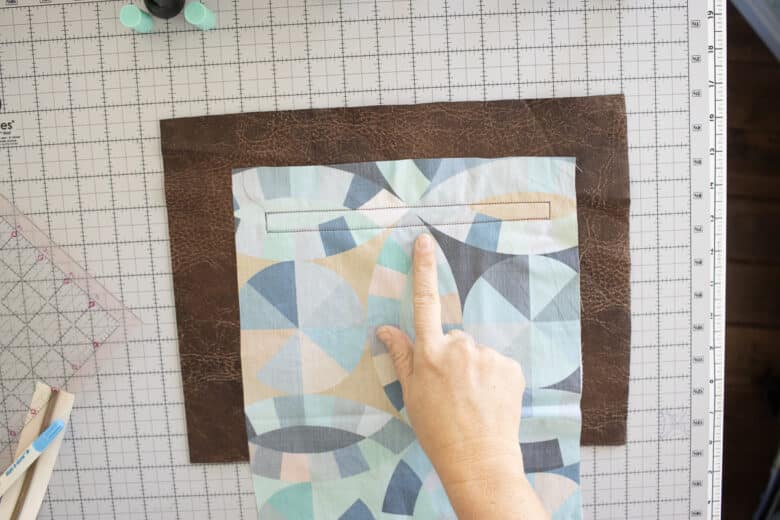
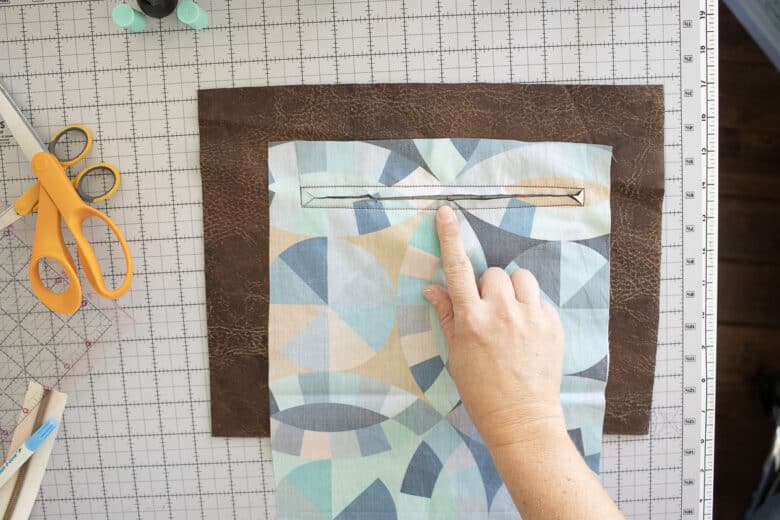
Push the pocket fabric through the hole to the back side of the side fabric. You can use an iron to press the opening flat. I did not as I was worried about my faux leather melting. Use pins or clips to secure the folded fabric edge.
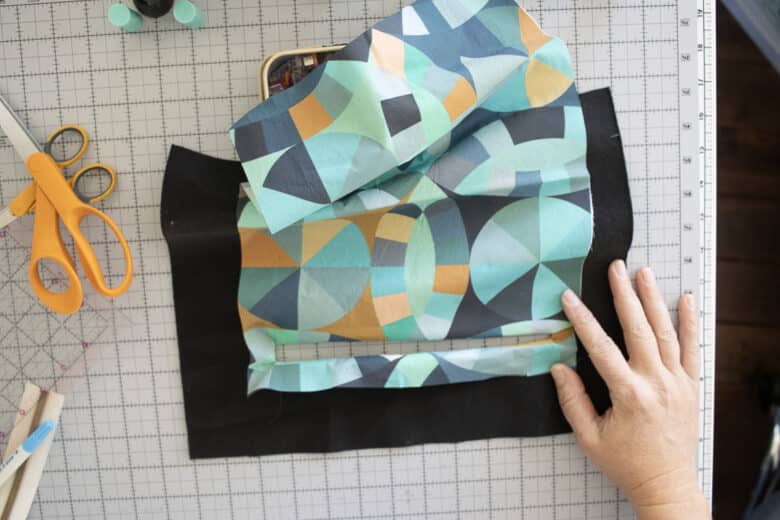
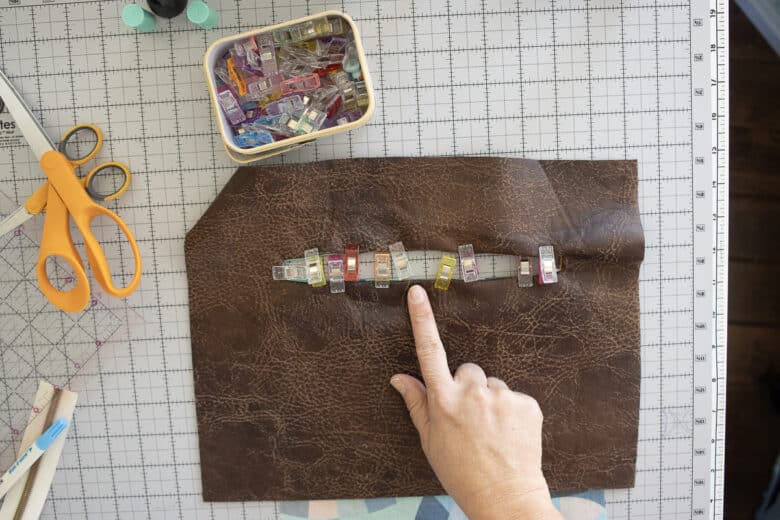
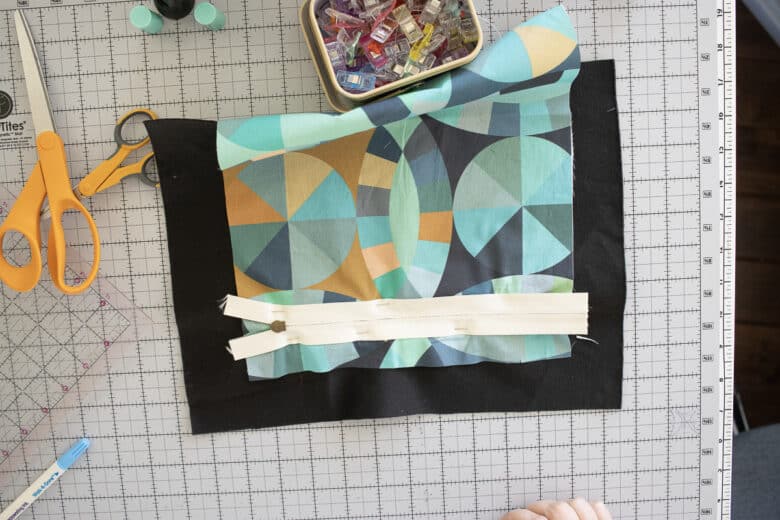
Baste around this to keep the opening laying just how you want it. You should not be able to see the lining fabric from the right side. Lay the zipper right side up on the table and place the pocket opening over it. Line up the top and bottom and sides of the zipper so it’s place right in the opening. Pin around the zipper to hold in place while you sew around it.
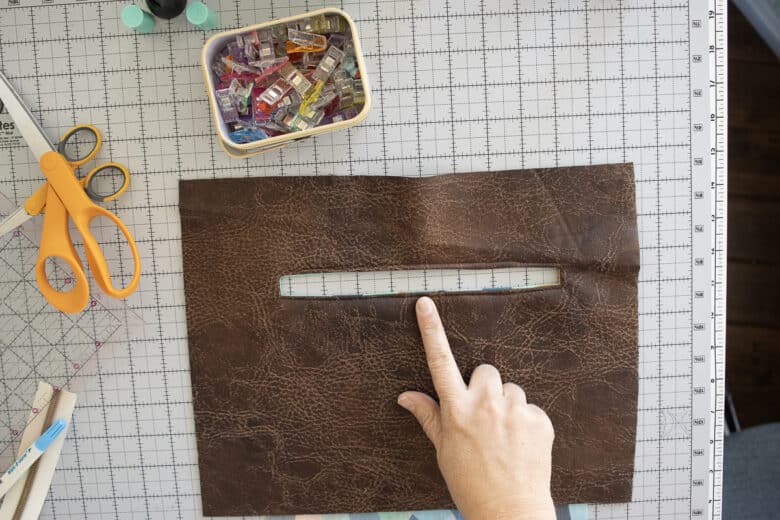
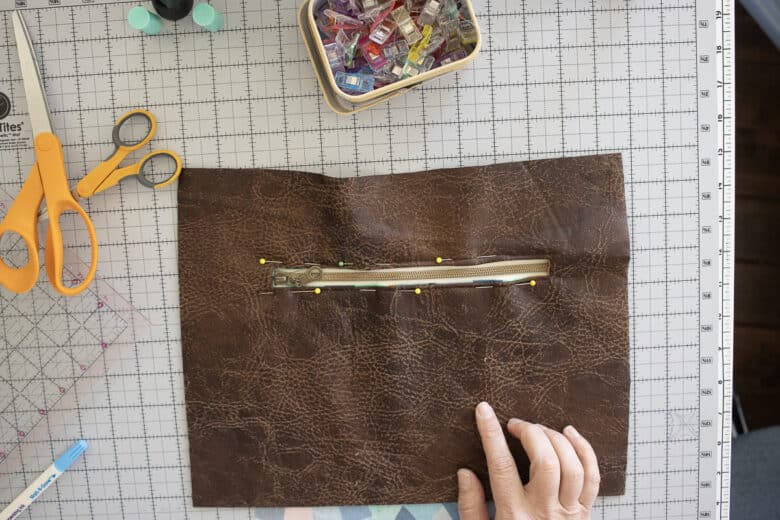
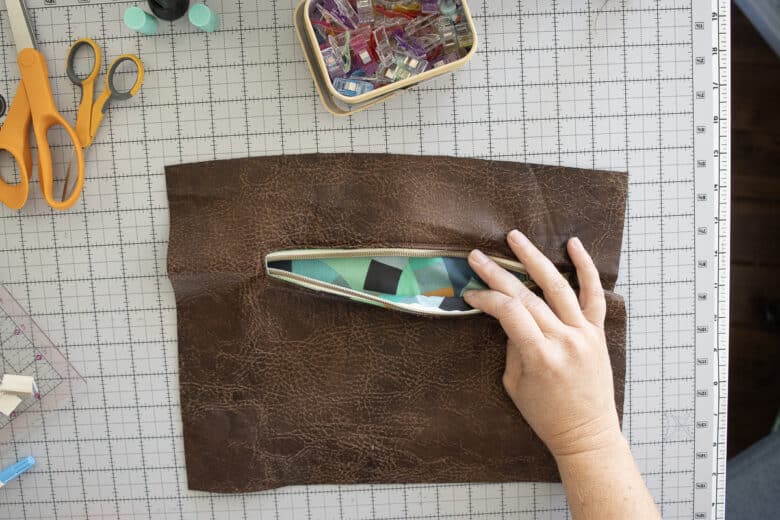
This is what it looks like from the back all pinned in. It’s only through one layer of the pocket and the bottom fold is open. Use a zipper foot to stitch around on top of your basting stitches. After you sew you should have a zipper in place that looks like this from the right side.
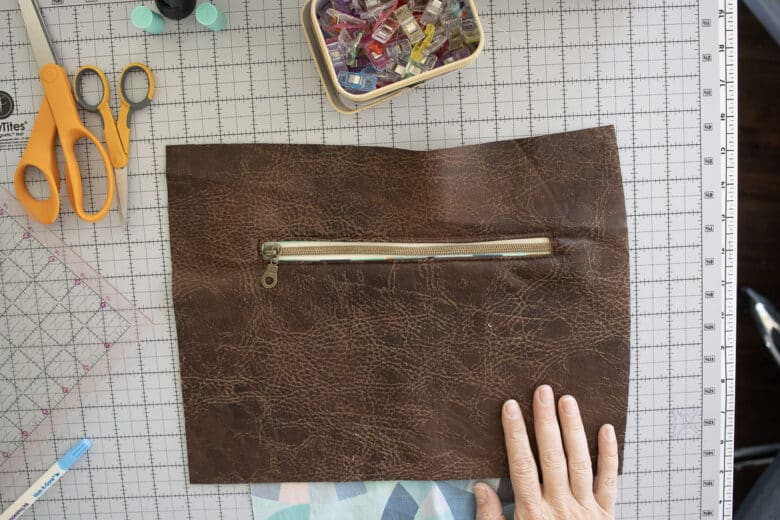
At this point before finishing the pocket, you can cover the exposed zipper tape with bias tape or ribbon if you don’t want to see it when you unzip the pocket. It doesn’t bother me, so I left the zipper as is.
Trim the edges of the zipper closer to the stitching to make finishing the pocket easier.
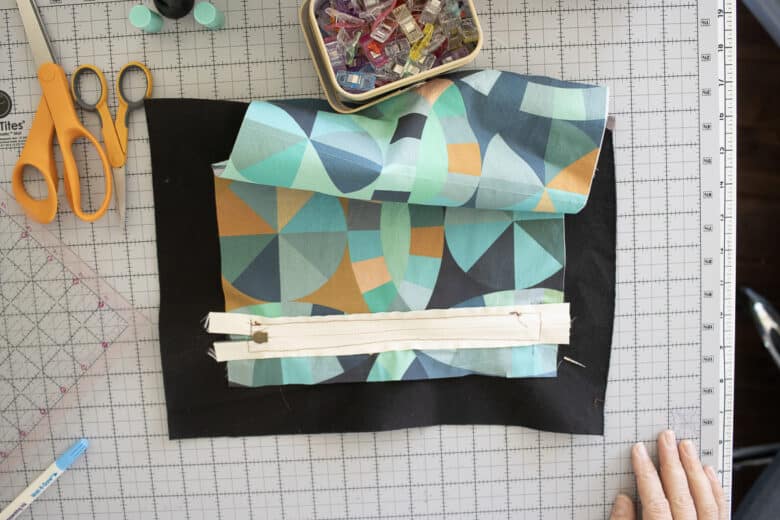
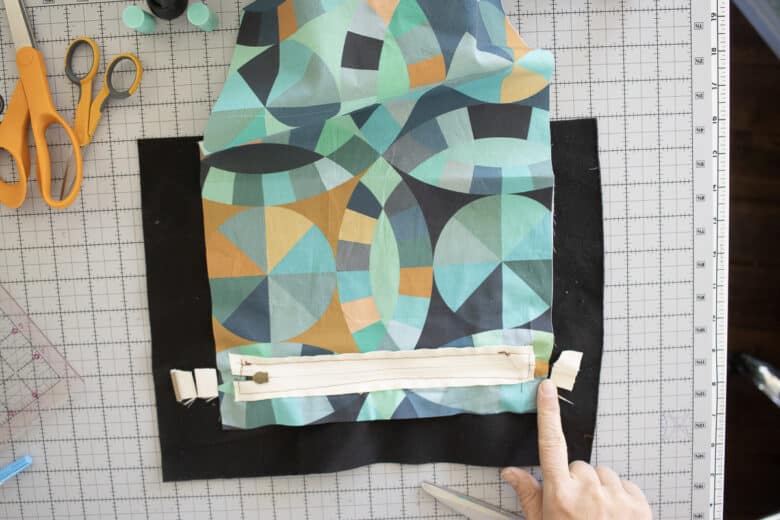
Fold the bottom of the pocket up to meet the top edge with right sides together. Pin or clip around the outside and sew the three open sides of the pocket. If you use a sewing machine, make sure to finish the raw edges with a zig zag. You can also use a serger to sew and finish.
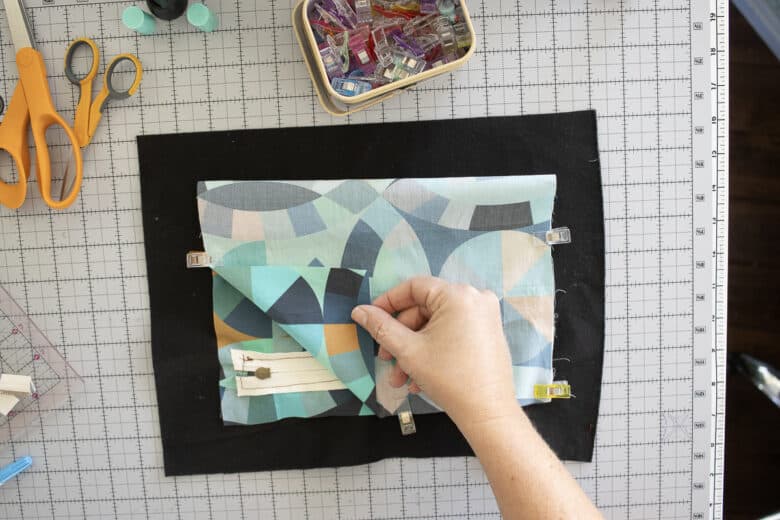
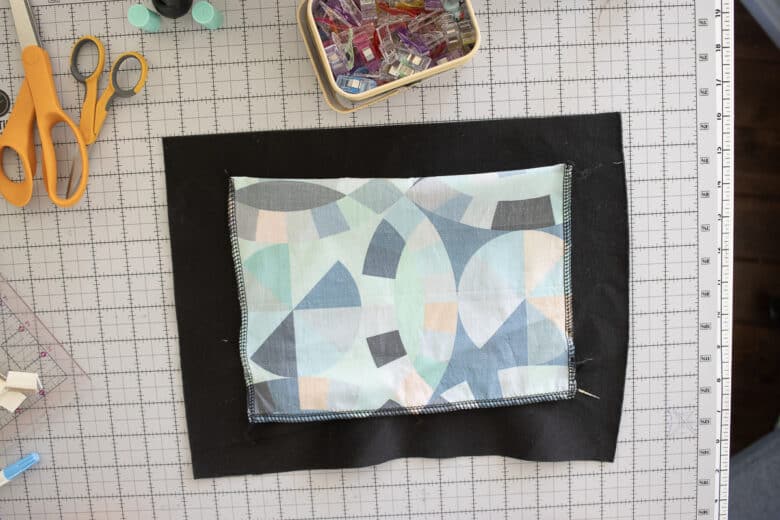
Now you have a finished zipper pocket! I love using colorful fabric for the pocket so it peaks out when you unzip the pocket. From there you can repeat on the other side of the back, add a pocket to the lining or continue sewing up the bag as directed.







Leave a Reply