inside: learn how to sew reusable shopping bags with this sewing tutorial. This sewing project is simple to make and so useful to have on hand. Sewing DIY grocery bags is a useful project for many uses.
A few weeks ago I wrote a round up post giving you lots of sewing tutorials for sewing your own grocery bags. There was tons of inspiration for you wanted to make your own shopping bags. Today I’m adding my own tutorial to the mix as another option for you.
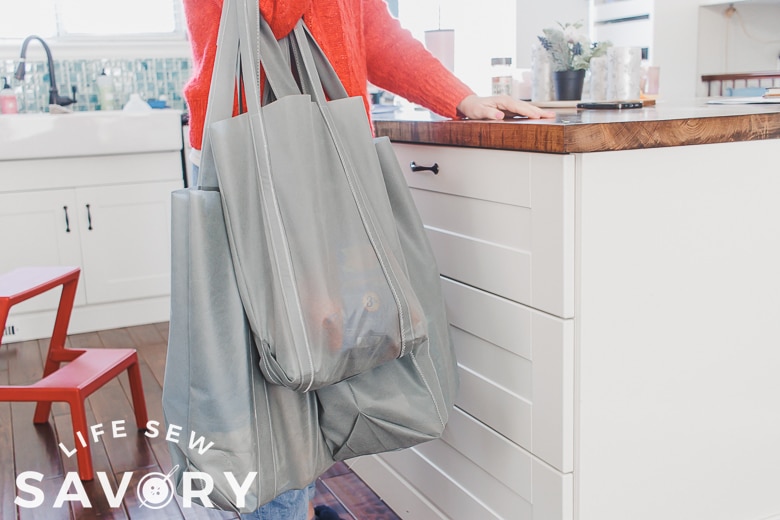
How to sew reusable shopping bags
Like I mentioned in the other post Colorado recently added a bag fee to stores so we now pay for all our plastic bags. It’s been on my list to sew some reusable ones so I can keep these on hand and not have to pay for bags at every store… or try to carry it all in my hands {which I’ve done!} haha.
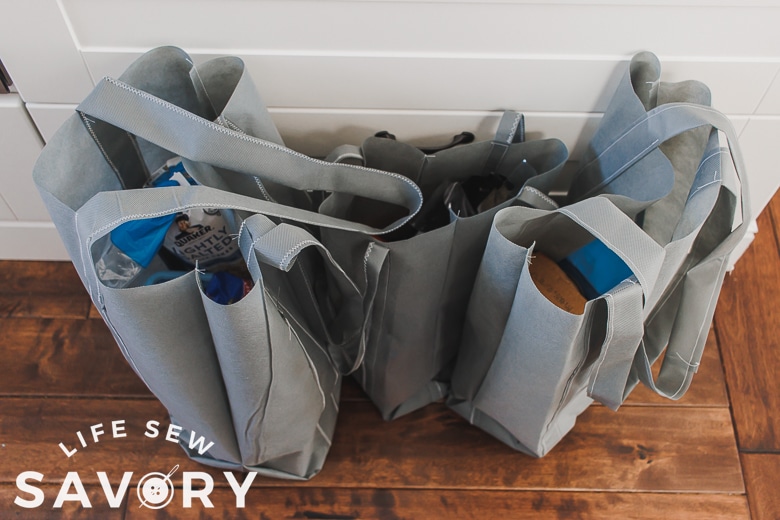
Each of the bags I sewed is slightly different in size, but they are all really great and super sturdy. This was my first time sewing with this Polypropolyene fabric and it was really fun to work with and easy to sew.
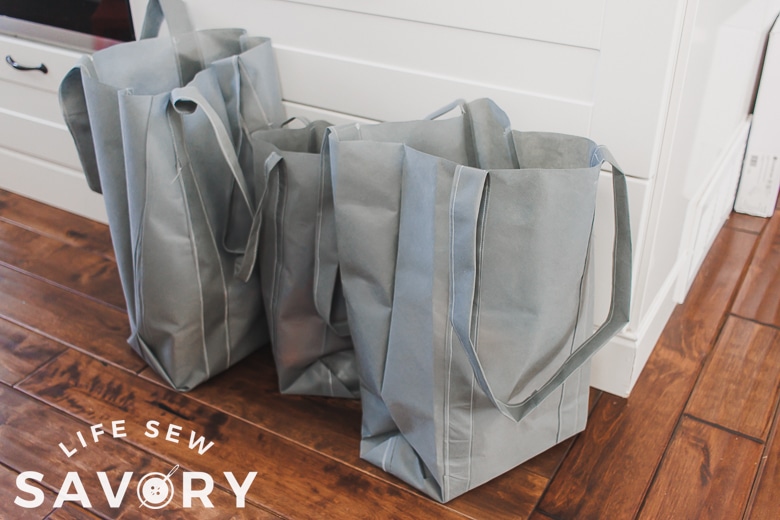
I’m very pleased at how these reusable grocery bags turned out and I’ll show you how easy they are to sew.
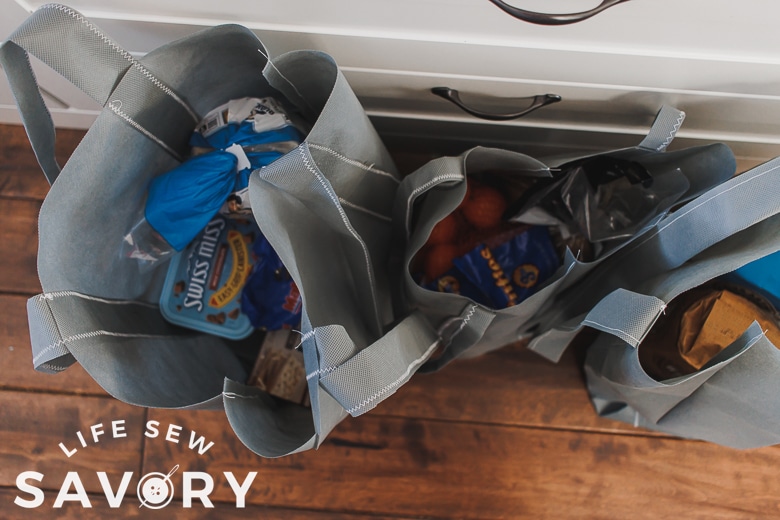
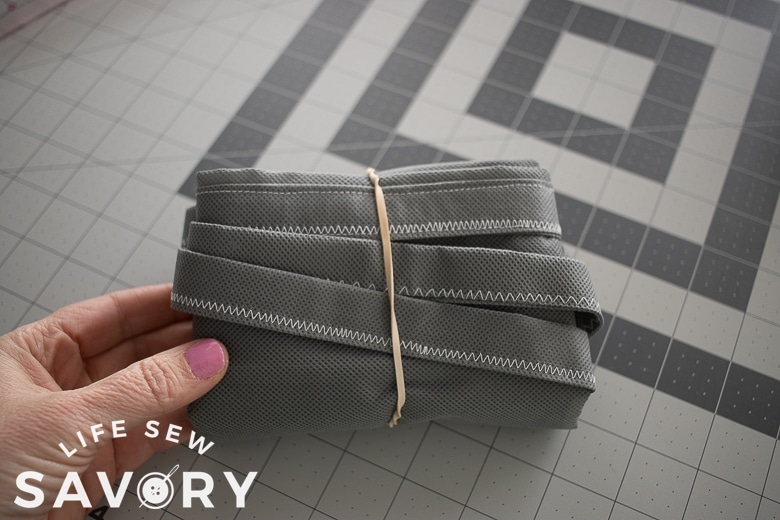
Look how small these bags fold up? I ended up just using a rubber band to hold the bags. You could probably sew some ties on the bags, but I was really just trying to keep it simple.
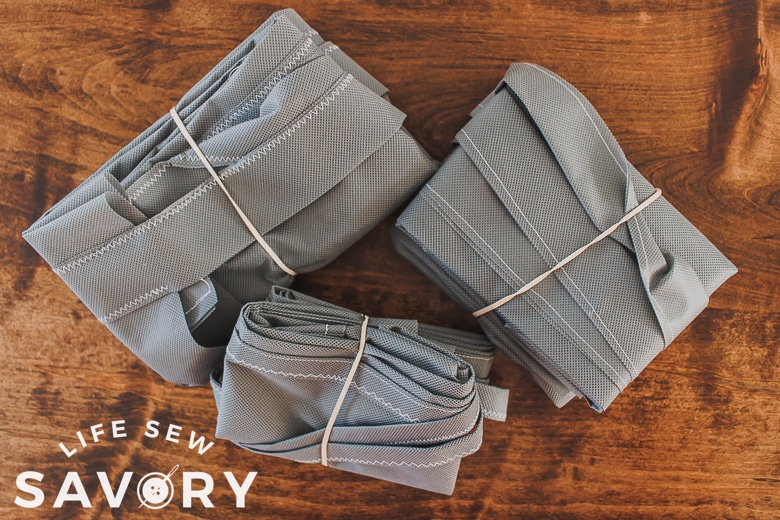
Sewing tutorial: reusable grocery bags:
Supplies needed:
- tutorial to make bags… this one here or check out this post on diy shopping bags.
- Fabric: I’m using Polypropolyene as seen here in this tutorial
- want other fabric options? See my round up post where I detail lots of fabrics to make bags with.
The Polypropolyene Non-Woven Fabric came on a 10 yard bolt, and as I’m writing this it can be purchased on amazon for $17. I sewed three bags so far and didn’t even make a dent in the bolt, so I would say that they are very affordable to make if you can find a use for the whole bolt.
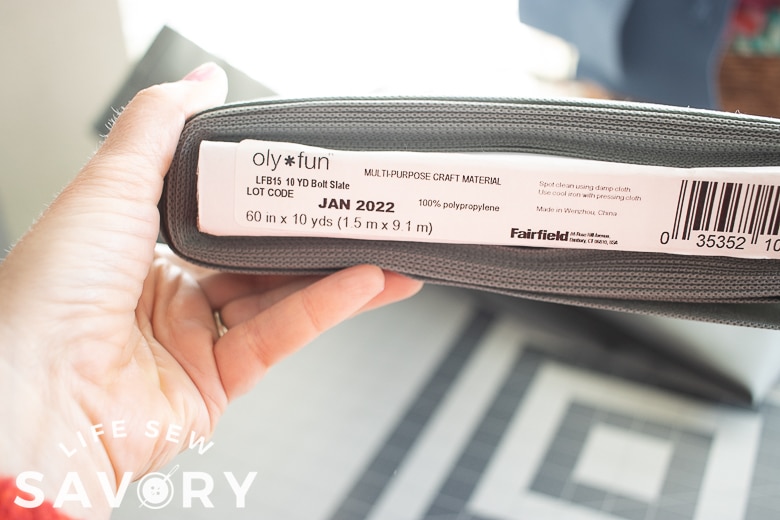
You may be able to find this fabric in smaller amounts, but I haven’t researched that. I did find that it sewed up super easy and is so light and durable.
ok! Let’s get sewing… you will need to cut two sides for each bag as well as two straps. For my first bag, the smallest I cut two straps width of fabric 60″ x 3″ and the bag sides at 16″ x 19″. The other bags were all cut larger than this. Closer to 20″ x 25 or so… play around with size and see what works for you. You can also cut a square for a bag that is not as tall. YOu may have to piece strap strips of fabric together to make them long enough for the larger bags.
Each strap should be double the bag height, plus enough for a handle. You will see what I mean below.
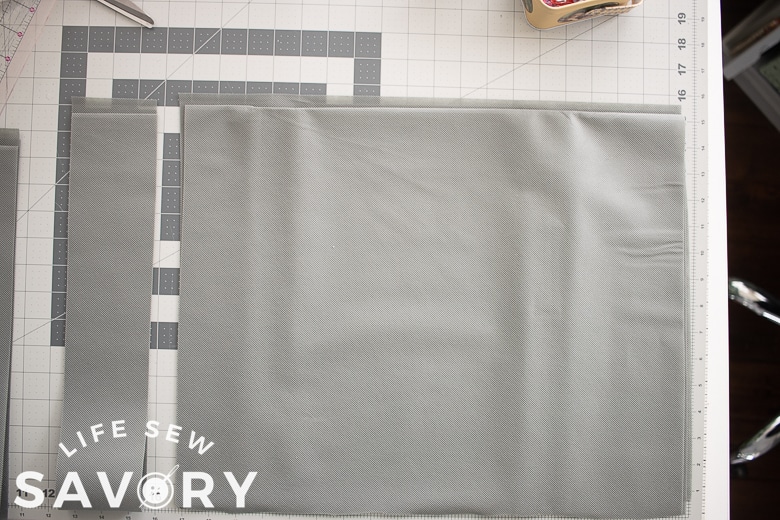
My first bag I sewed the strap before attaching to the bag. I took the 3″ wide strap and folded in to the middle, then folded again to finish. Then I sewed the open side.
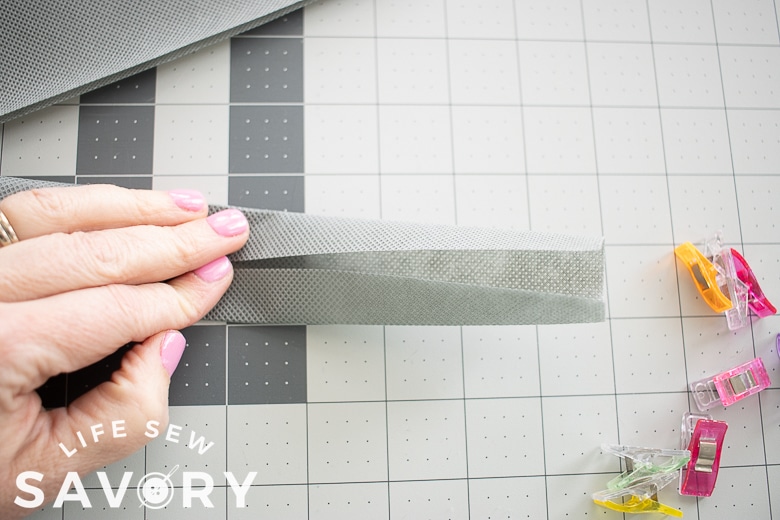
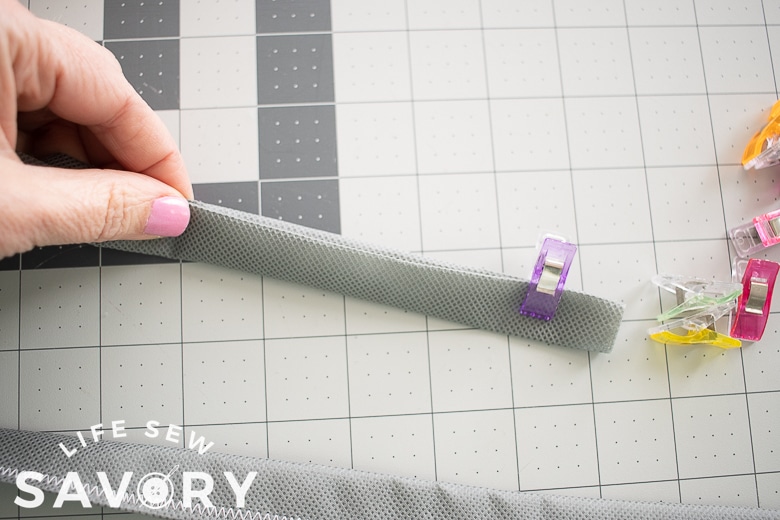
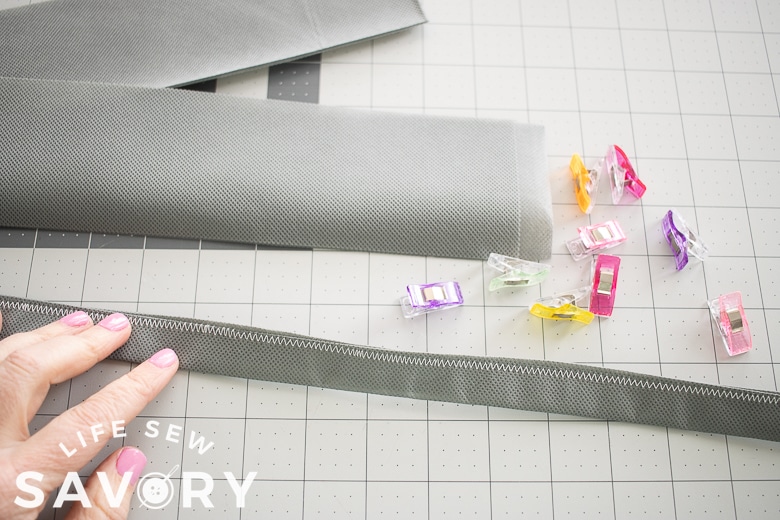
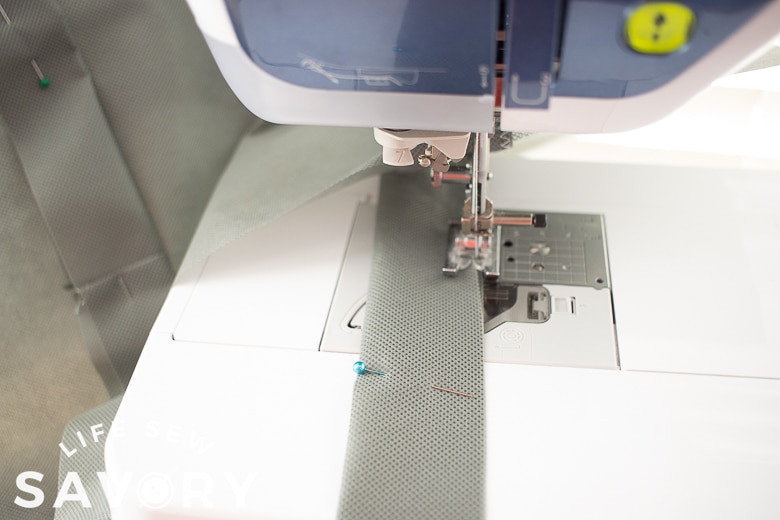
My second and third bag I just folded the strap and pinned right to the bag. I’ll show you both options here.
option 1: pre-prepared strap as above. Line up the straps with the bottom of the bag and pin up {about 5″ from the sides”. The handle should loop around and then go down the other side of the bag. Be careful not to twist the strap. Pin the same on both sides of the bag.
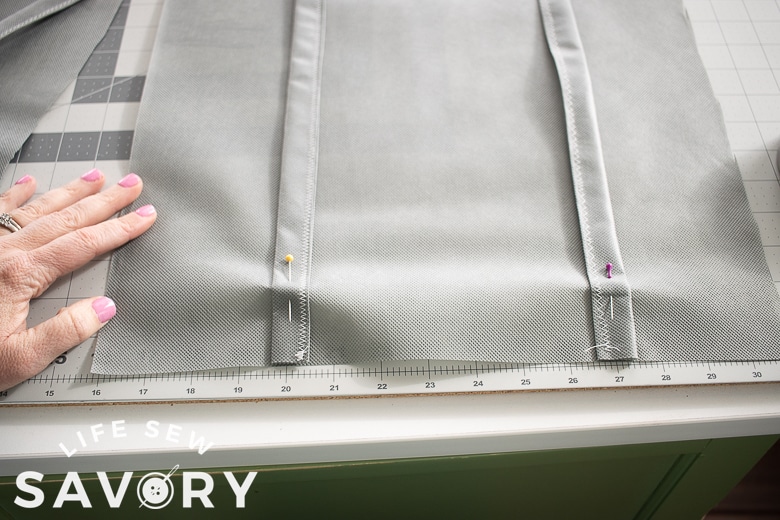
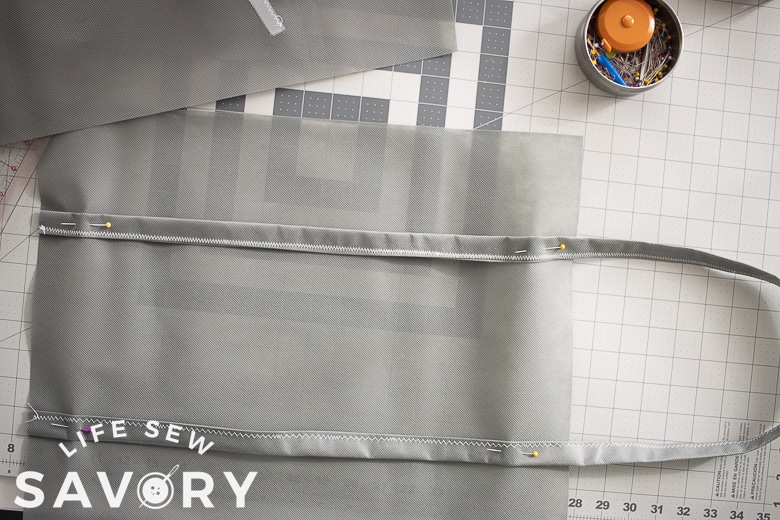
OR…option 2:
Just fold and pin the strap right to the bag. This makes a wider strap, but saves a few steps. {it doesn’t look quite as nice, but these are just for me to use}
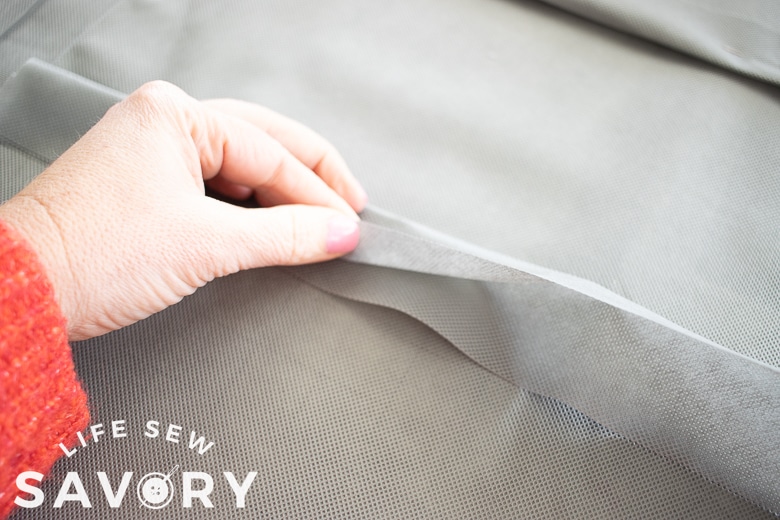
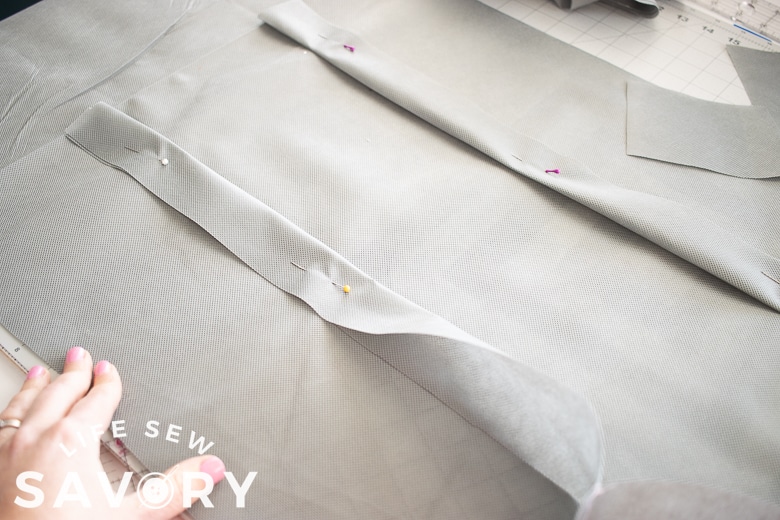
Pin up and around and back down just like the other strap option.
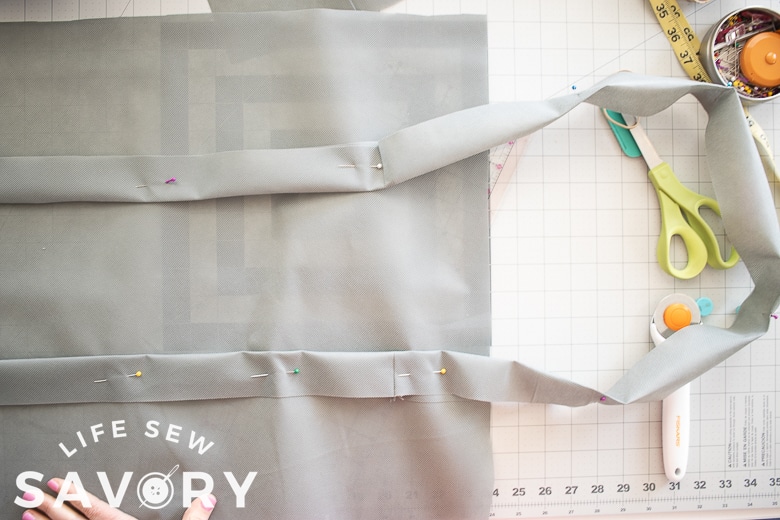
For both options I sewed on BOTH sides of the strap to attach to the bag. If you haven’t pre-sewn the handle you will also have to stitch around that {option 2}
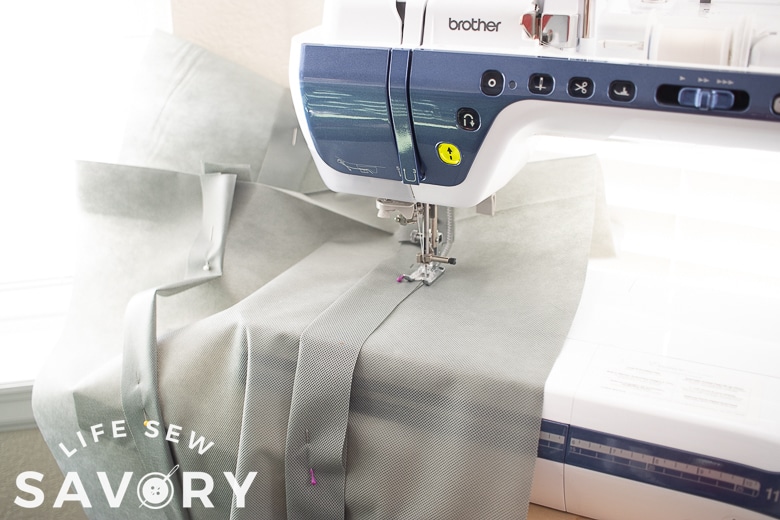
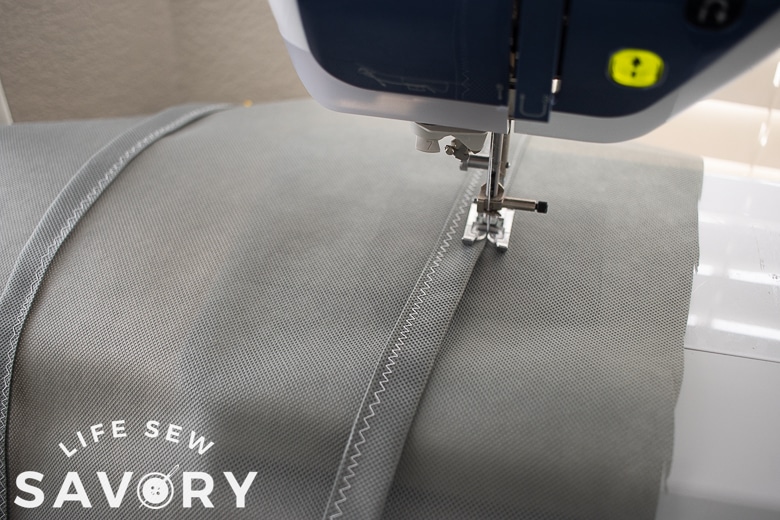
Now you have two sides with straps sewn in place. With right sides together line up the bag bottoms and sew with a 1/2″ seam allowance.
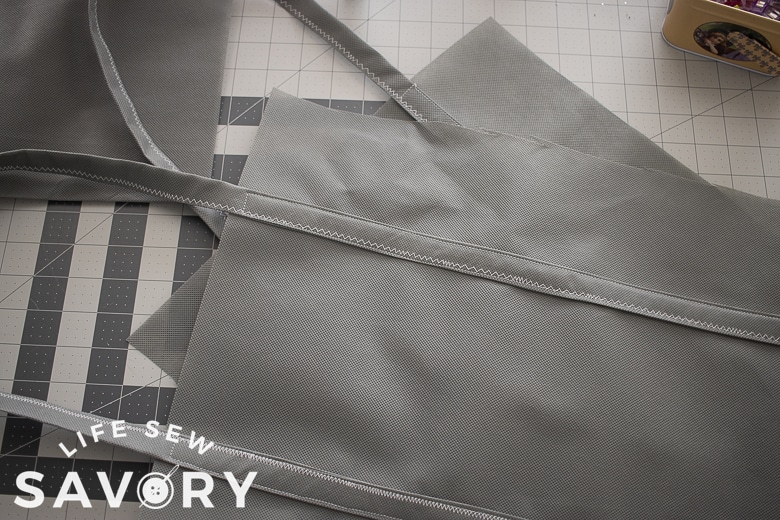
I sewed with the triple stitch and then also folded over the seam allowance and sewed that down. This gives a double re-enforced bottom seam.
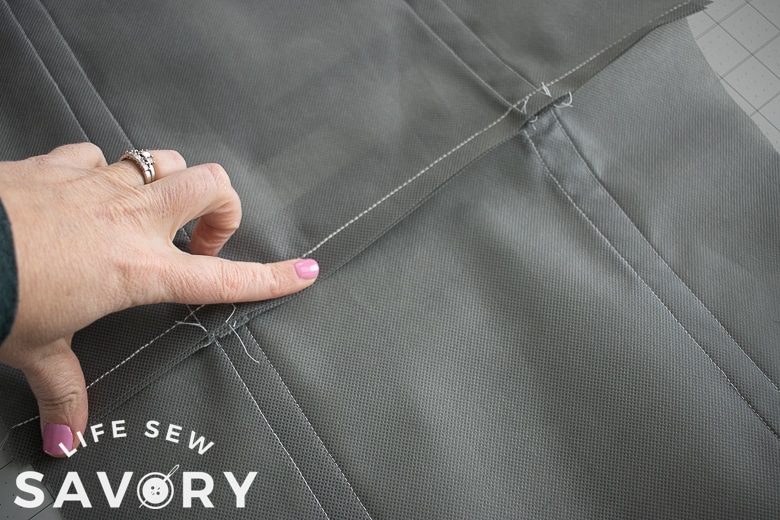
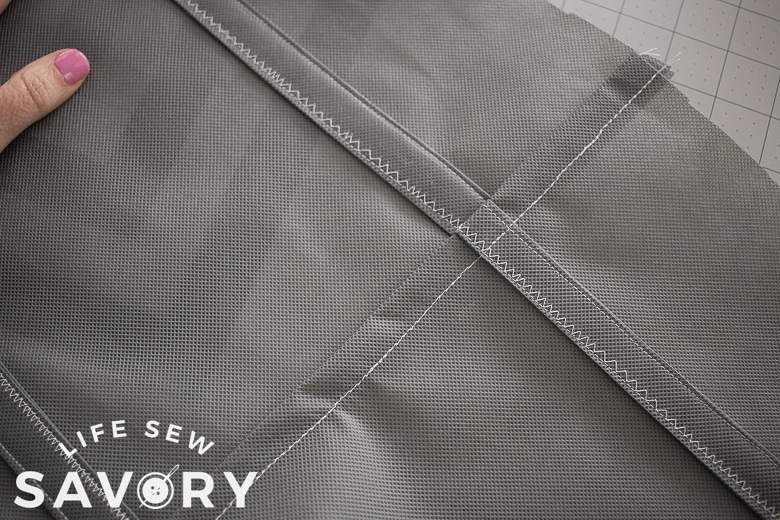
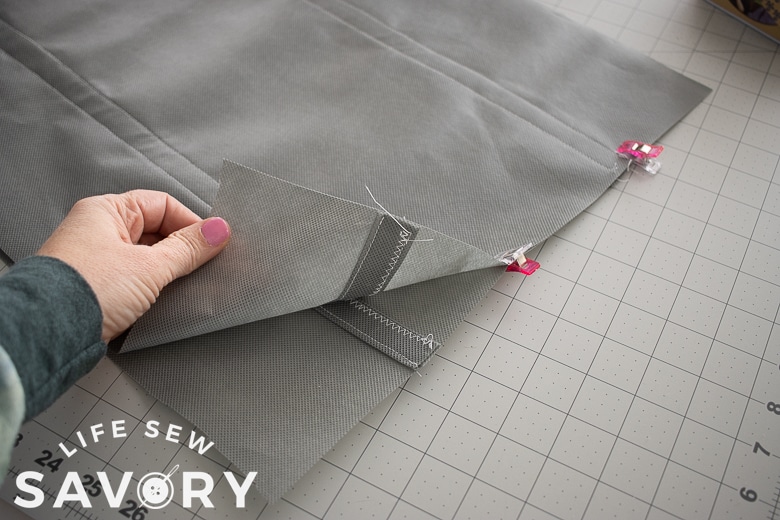
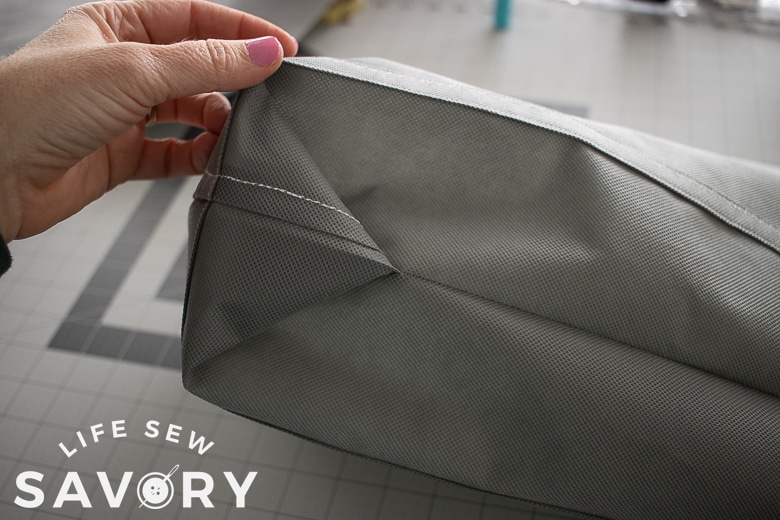
Now it’s time to create the box bottom. This method is super simple and fast. Fold the bag in half with the right side facing out. Fold back the top side, leaving about 2.5-3.5 inches doubled over. {see photo} The bigger the bag, the more you leave double folded.
Clip the double fold in place. Then turn the whole bag over and repeat with the other side. Now the wrong sides of the bag should be out.
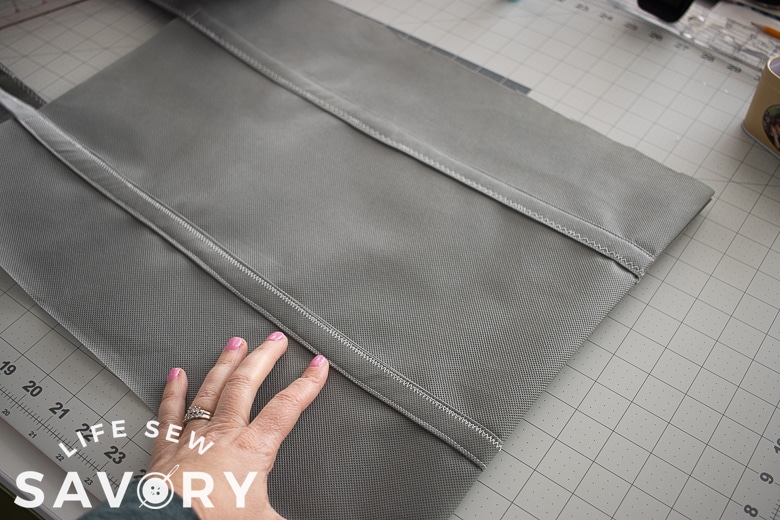
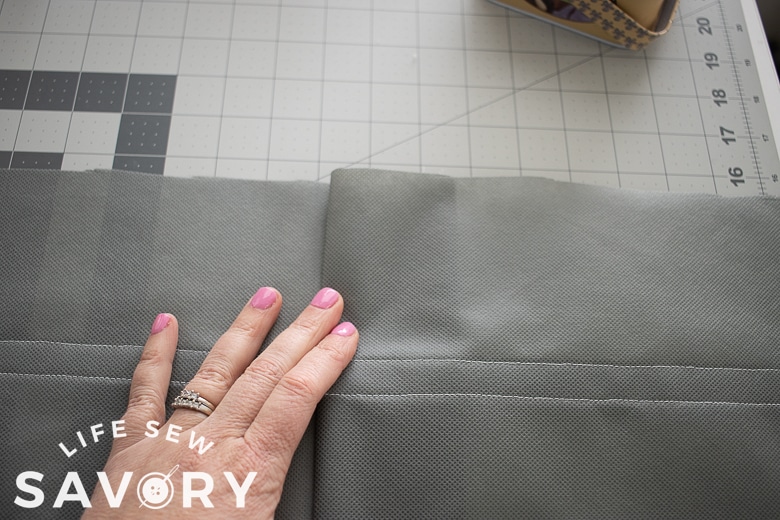
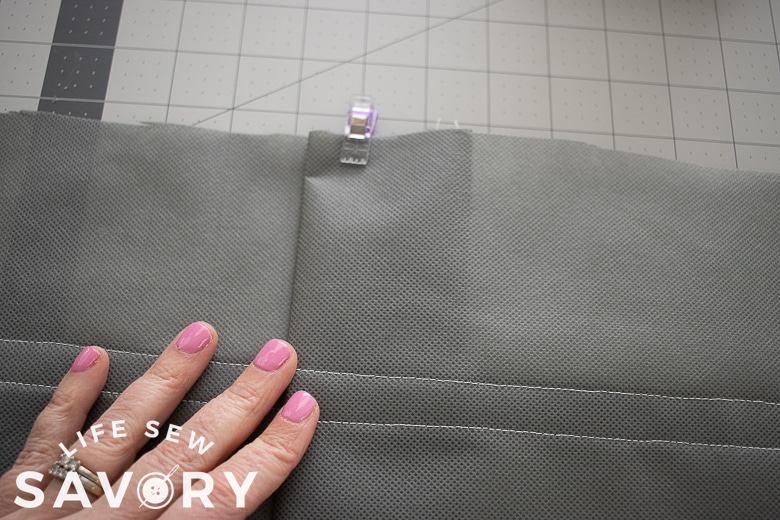
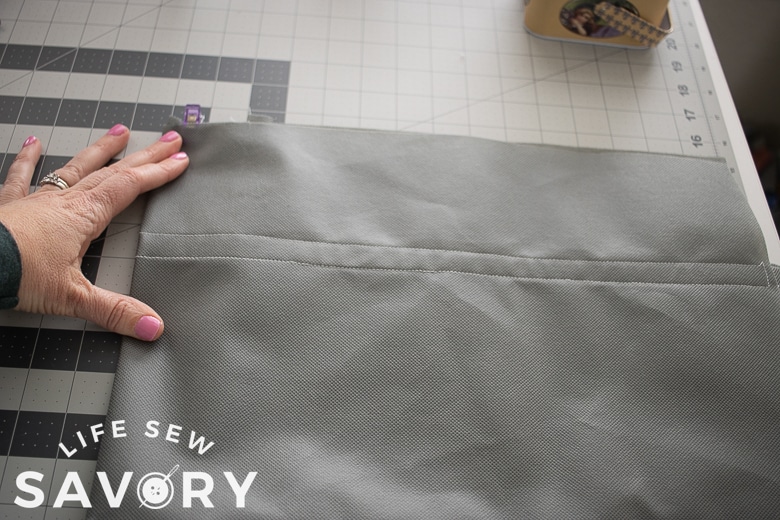
You should also have this pocket on the bottom of the bag where it’s double folded. Sew the side seams with a trip stitch and 3/8″ seam allowance. Make sure to catch ALL the layers of the folded bottom.
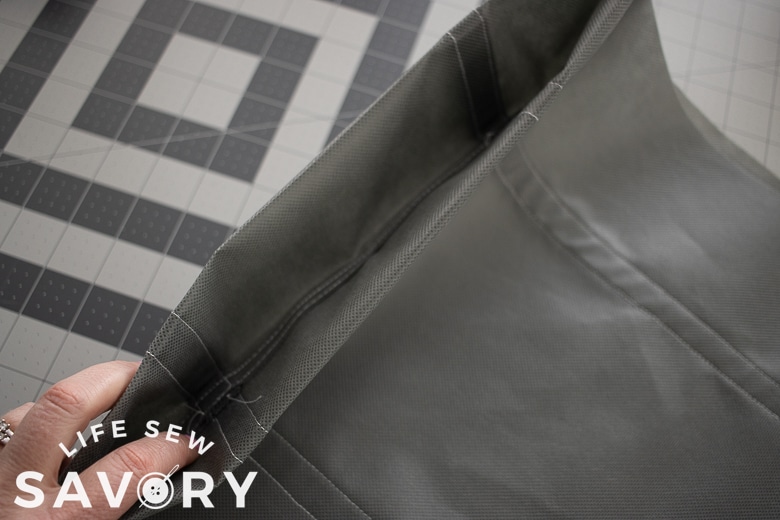
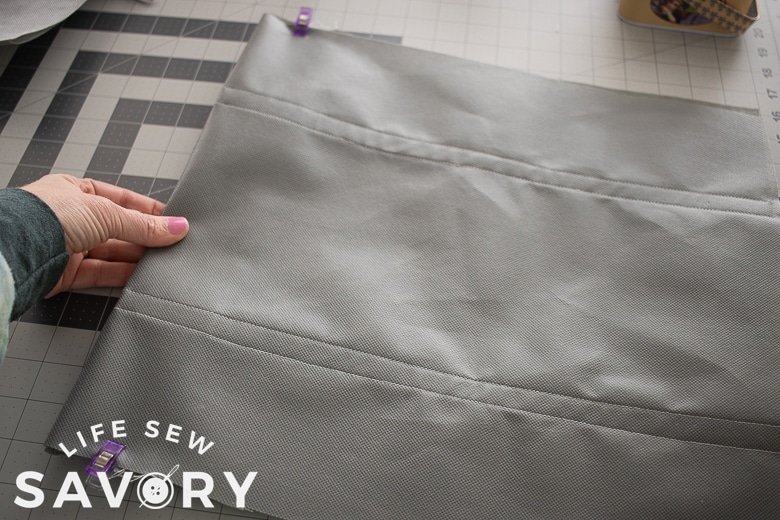
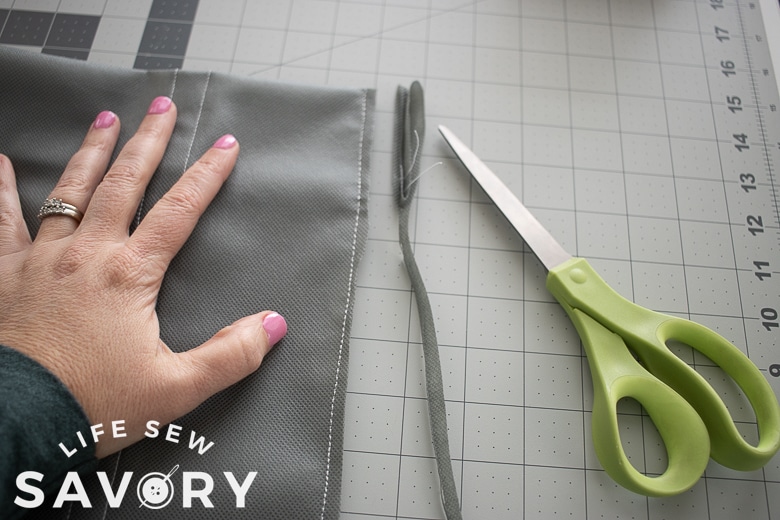
I had to take a bit of a bigger seam allowance to catch all my layers, so I trimmed some of it after sewing. Turn the bag right side out and admire your neat box corners. Its a great way to easily create a boxy tote or bag.
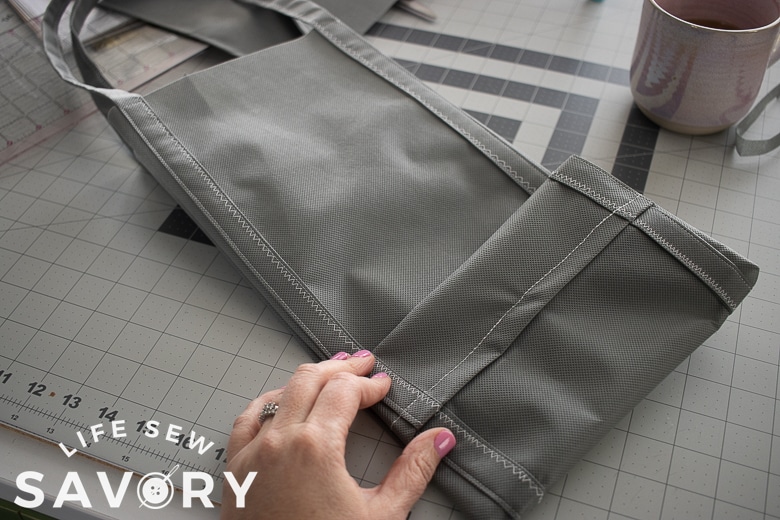
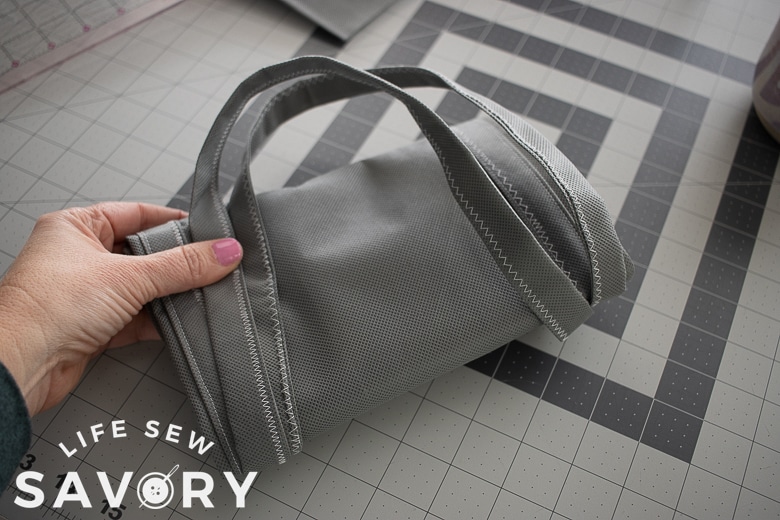
Your bag is pretty much finished, but then I folded in the sides, folded the bottom up and kept folding to the top. Fold in the handles. fold from side to side and secure with a band or tie. Now you can thrown this bag in your purse or car and it’s ready to get when you need it. You should probably also sew up a few more so everyone has reusable shopping bags when they need one. Enjoy!







Allaina says
Could you please make a video for the bags?
I am a beginner at sewing but I would love to make these.
Linda says
Are these washable? This is a good idea. I have a storage bag with the plastic bags, but once it’s full, I wind up tossing the overflow.
Shirley Nehring says
I finally got around to making one of these bags. I will make a pink and a purple one for my 2 daughters. Of course, I had to embroider sunflowers on the front.
Shirley Nehring says
Sorry, I forgot to tell you thank you!