inside: Details on how to sew vintage sheet pjs with free sewing patterns. Use two free sewing patterns to create this adorable vintage sheet pj set. Full sewing tutorial to create beautiful pajamas.
I’ve sewn myself amazingly soft and comfy pjs from vintage sheets before and now it’s my daughters turn. I sewed Rose this beautiful vintage sheet pj set just in time for summer. I used part of this same sheet for short last year, but there was plenty for this set and some left over.
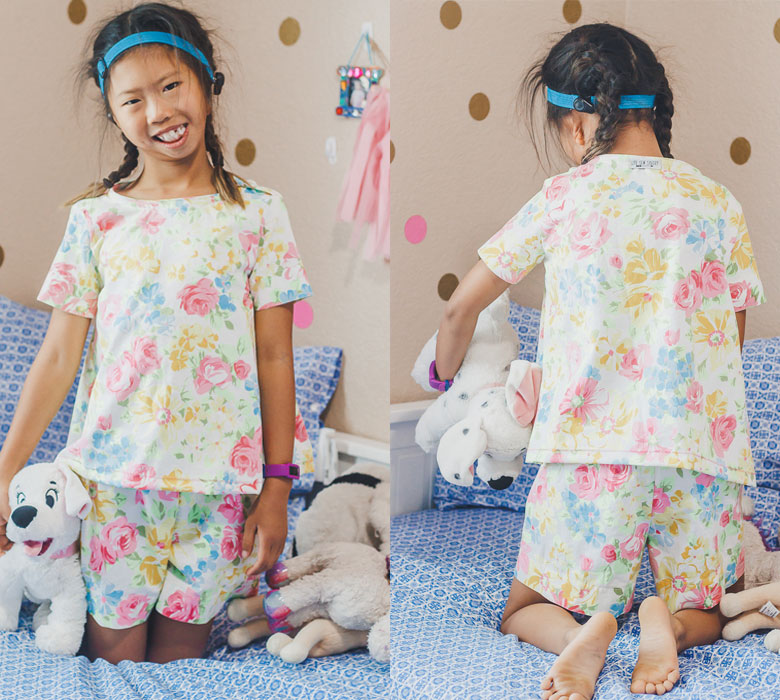
Vintage sheet pj set
These turned out so cute! AND… I used two free patterns to create this pj set so YOU can sew it too!! I got this vintage sheet from Etsy There are lots of choices and it may seem expensive, but a sheet set has a lot of fabric!
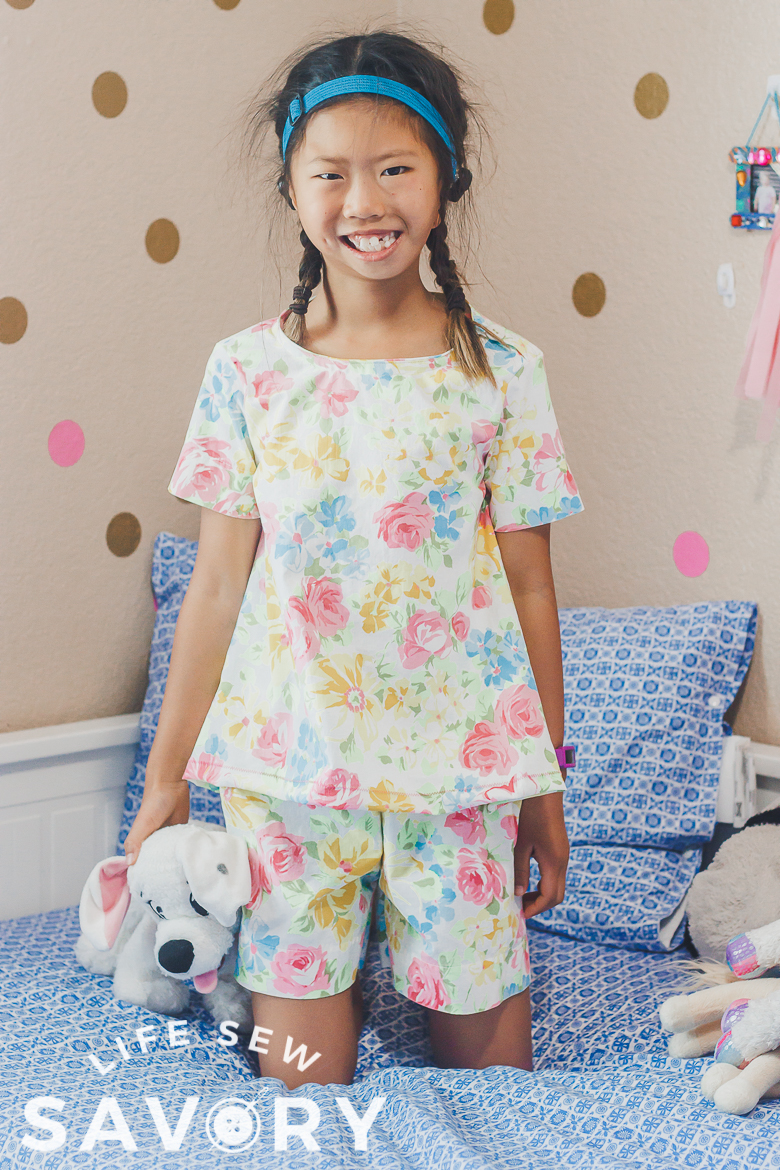
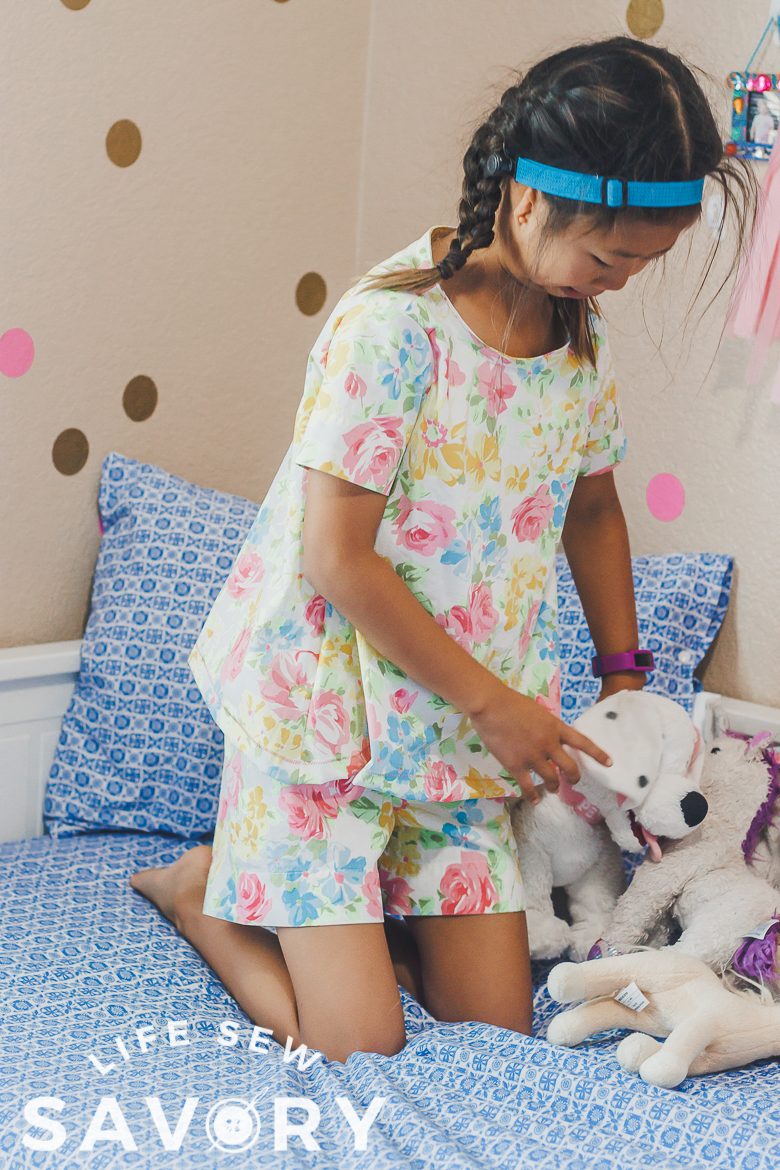
Isn’t this pj set adorable? Rose is very happy and vintage sheets are super soft fabric to use for pajamas. Rose has been wear this four piece pj set since I made it… I think it’s been two years? maybe longer… it was well past time to make her new pjs.
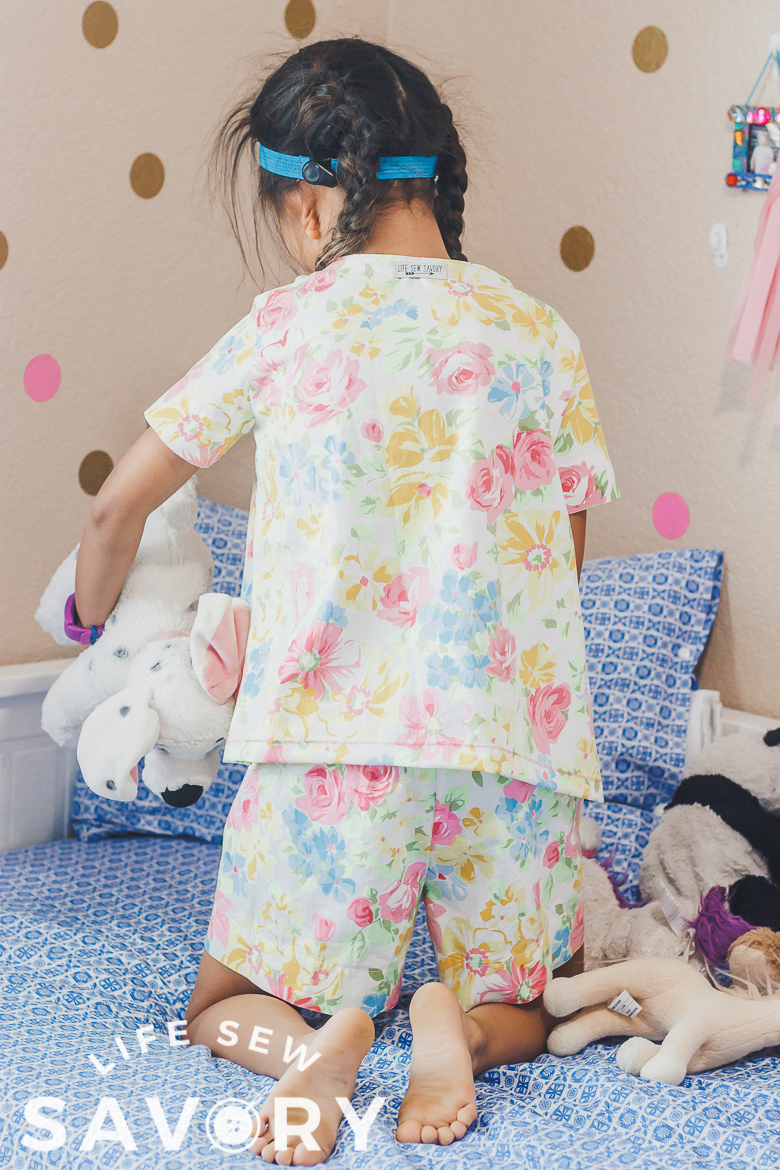
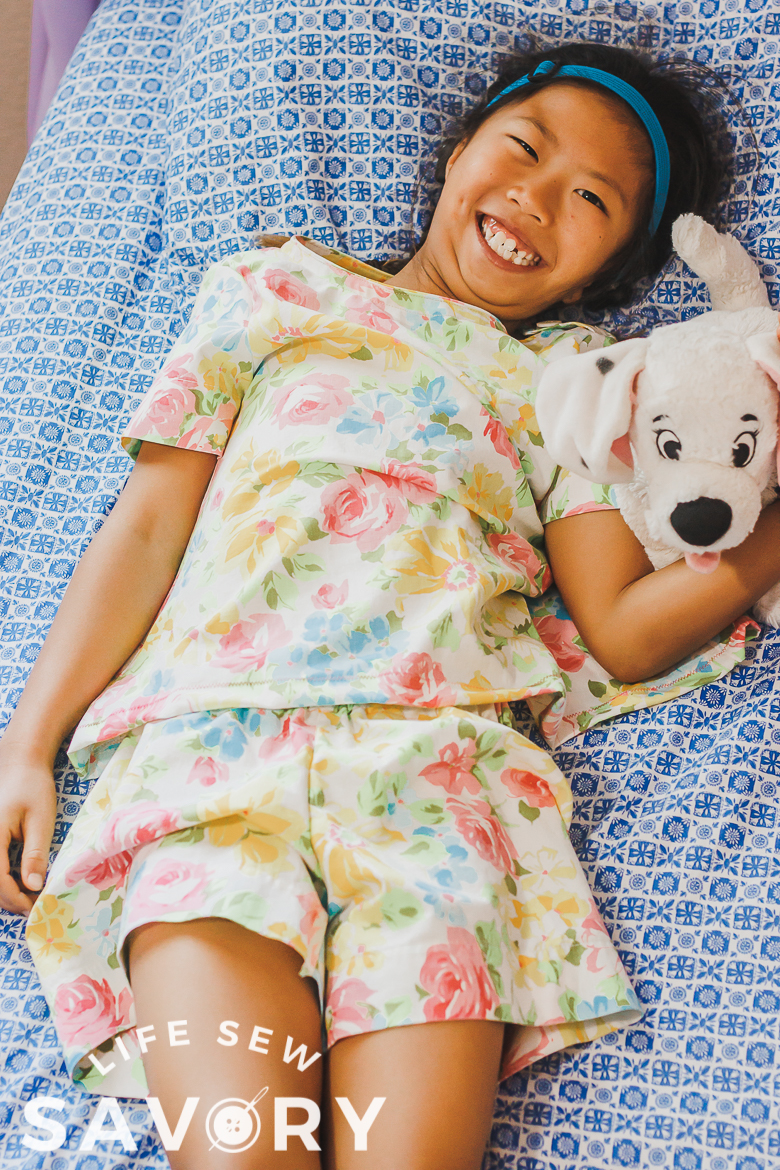
You can find vintage sheets on etsy, ebay, yard sales or or thrift stores. Start looking to grab some for when you are ready to sew. All the free pattern information is listed below with the pj instructions.
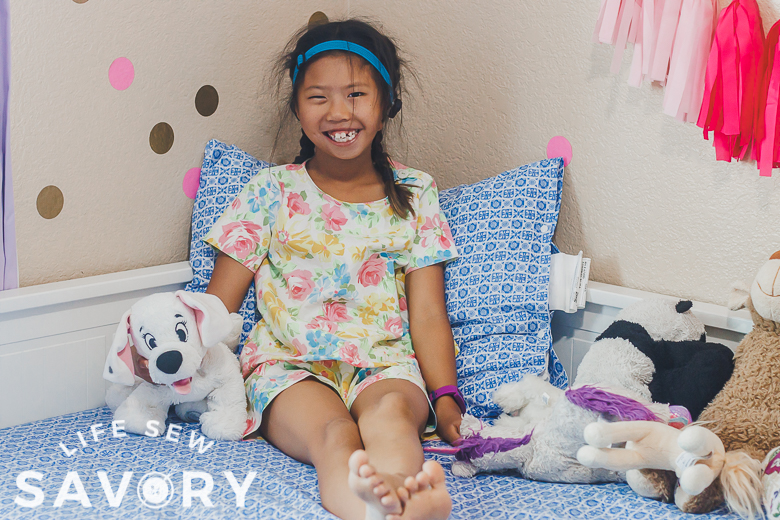
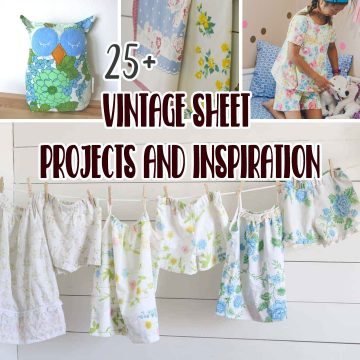
You can make just shorts or pants like I have in the past or this whole adorable set from this amazing fabric. Here are some other vintage sheet projects to check out.
I currently still have both these pj bottoms in my drawer and wear them all the time.
How to sew vintage sheet pjs
ok! let’s talk about the free sewing patterns I used to sew this pj set.
- top – schools out dress {cut to a shirt length}
- bottom – family pj pants {cut to shorts}
I’ll walk you through these pattern changes, but if you want to re-create this set, head over and download those two patterns to get started. The layout guide for each of those is in the linked posts. Print and assemble the patterns as directed in those posts, then come back here for the pj instructions.

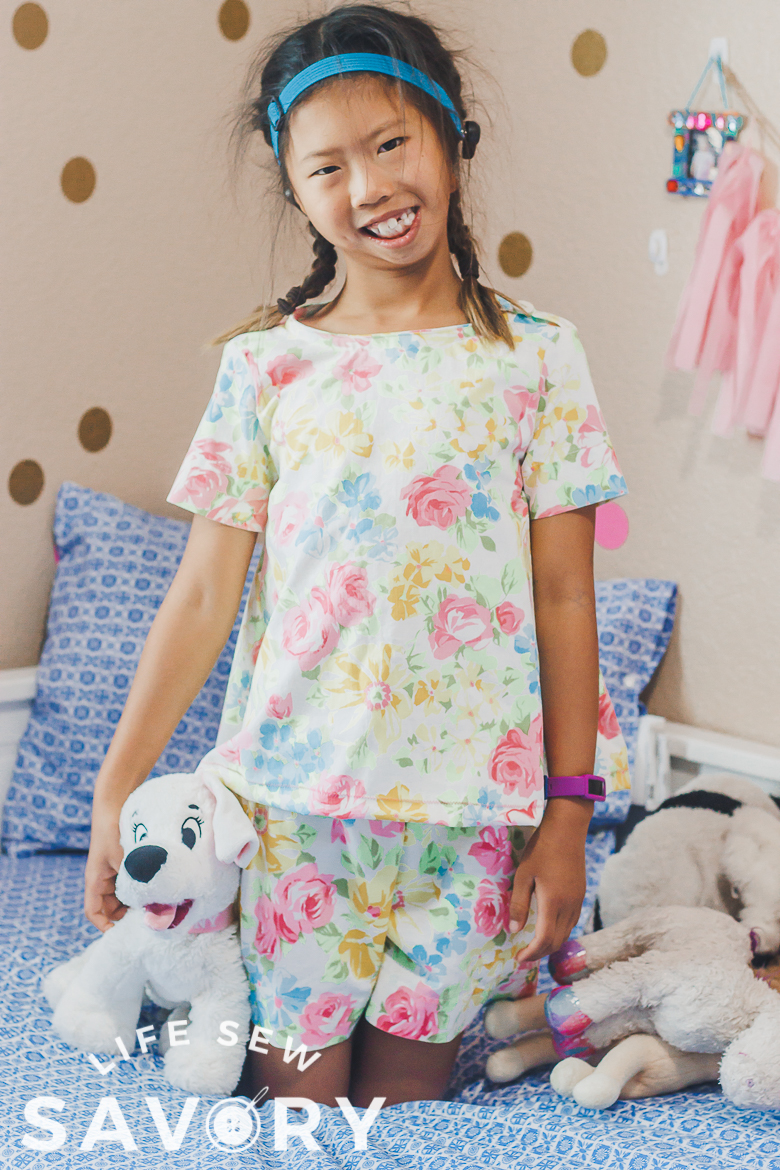
These next several photos will walk you through some set up to this project, so I would recommend reading through the whole tutorial before beginning.
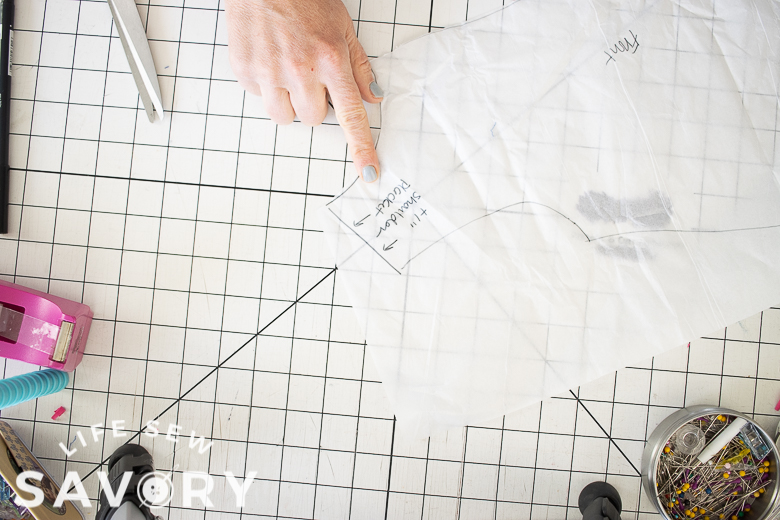
Because we are making this top from woven fabric you need to have a way to get the neck over your childs head. The original dress pattern had a back keyhole, I didn’t know if this would be comfortable for sleeping, so I added a shoulder placket to this pjs set. To create the shoulder placket add 1″ to the top of the shoulders when you cut the front and back of the dress pattern.
Use a shirt pattern you like for length and cut the dress down to a top length.
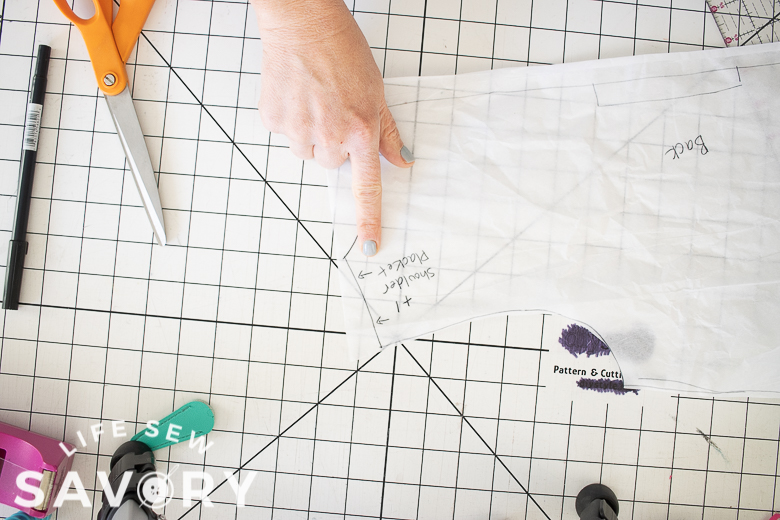
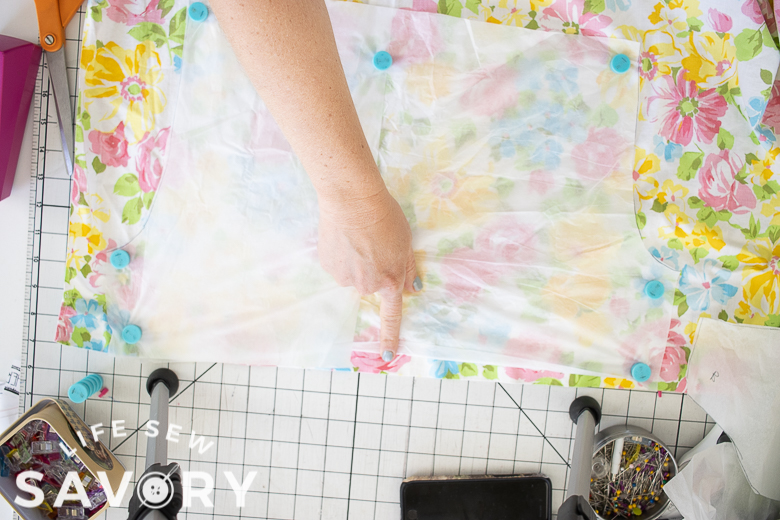
Another note: I like to use the sheet edge for the pj hems whenever possible. here I lined it up for the bottom of the shorts. For these shorts I used a 4″ inseam. You can make longer shorts if desired.
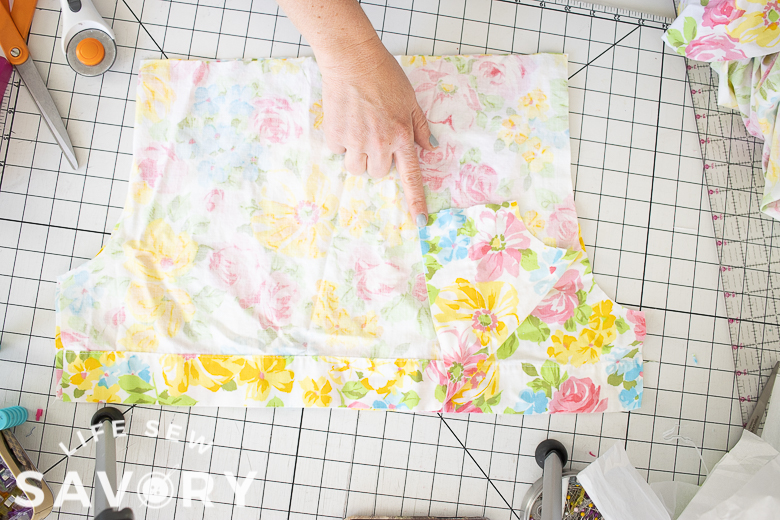
I also had enough edge of the sheet to use the edge for the sleeve hem too. The other photo here shows the extra inch of fabric on the shoulders. Cut a strip of binding 1.25″ wide and the length of your neckline long.
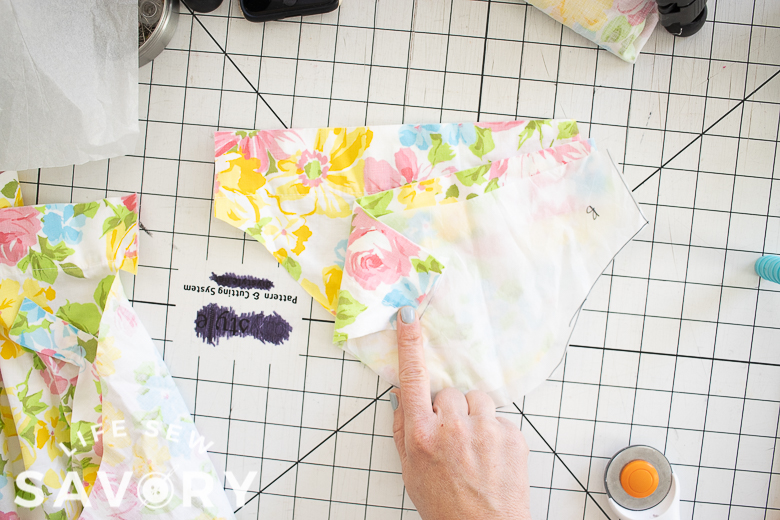
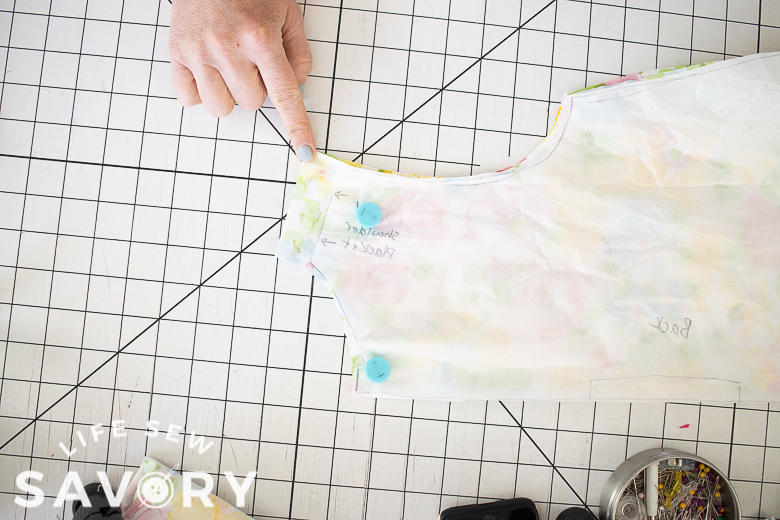
I cut the dress to top length and then decided to trim off a bit of the flare. It seemed to short and too wide. You can see I too a straight edge and trimmed a bit of the width. You also don’t need a shoulder placket on BOTH sides, so you can trim that extra inch off ON shoulder. Lay front and back together with right sides, then trim 1″ off ONE shoulder.
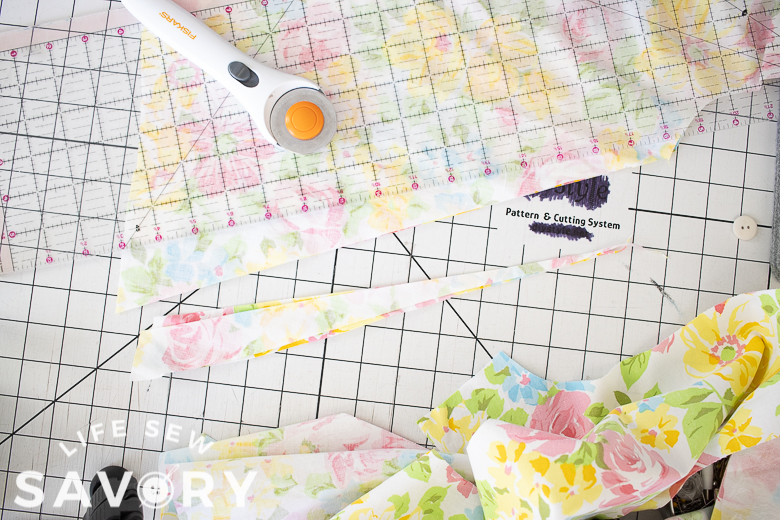
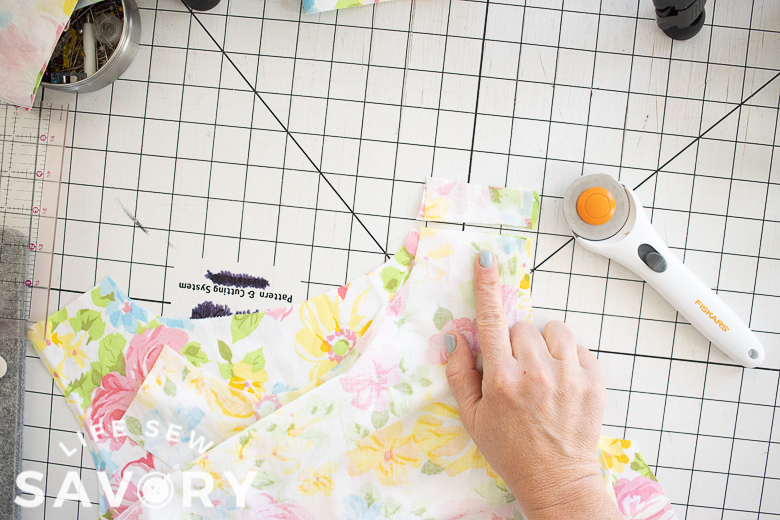
Ok! Now that you have made these pattern changes and hacks we are ready to sew. We will start with the top.
ALL SEAMS SEWN WITH 3/8″ seam allowance.
Finish the top raw edges of the long shoulder side. Finish with a zig-zag or serger. Then fold back the 1″ of extra length. Sew this over with a straight stitch. This two sides will form the placket. Sew the OTHER SHOULDER together with right sides together. The placket side is left open.
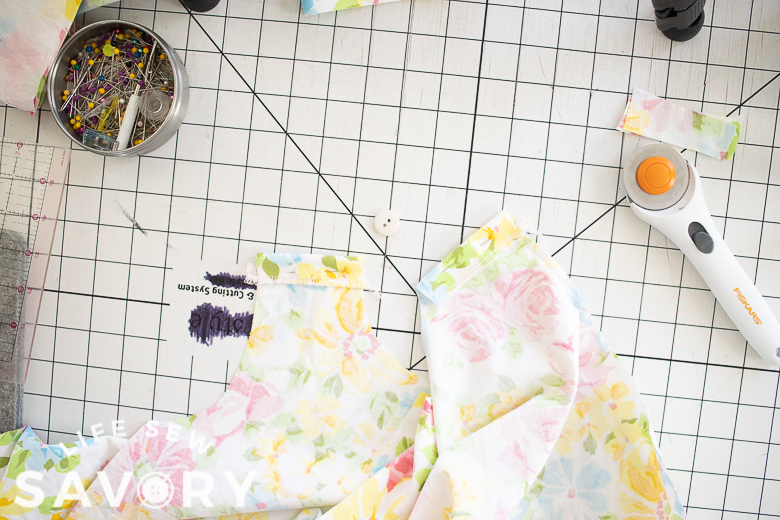
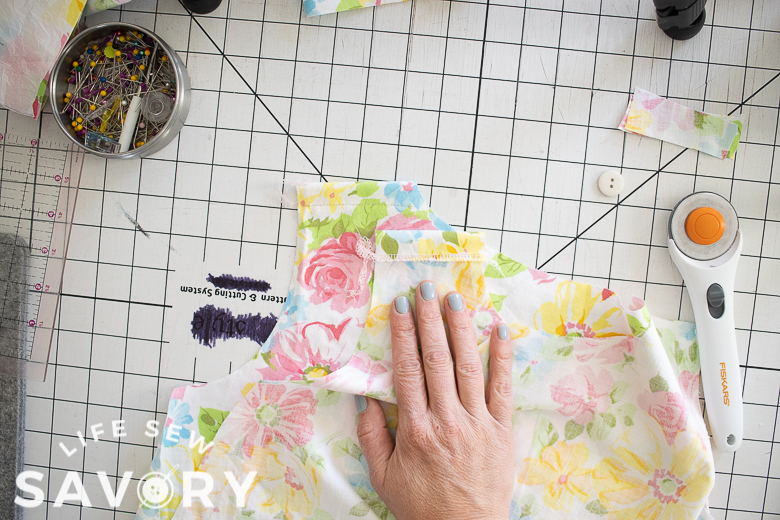
Fold over a 3/8″ allowance then pin and sew the binding to the neckline edge. There should be the fold over on both sides. I used my sewing machine and not my serger for this so I could clip the seam.
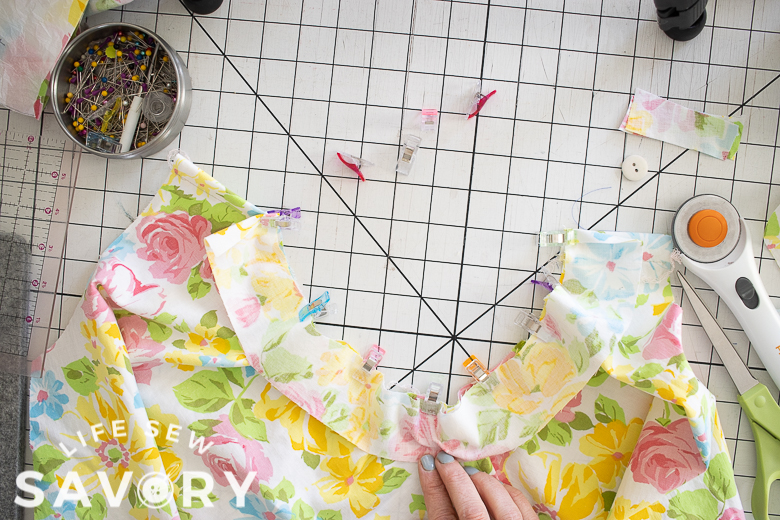
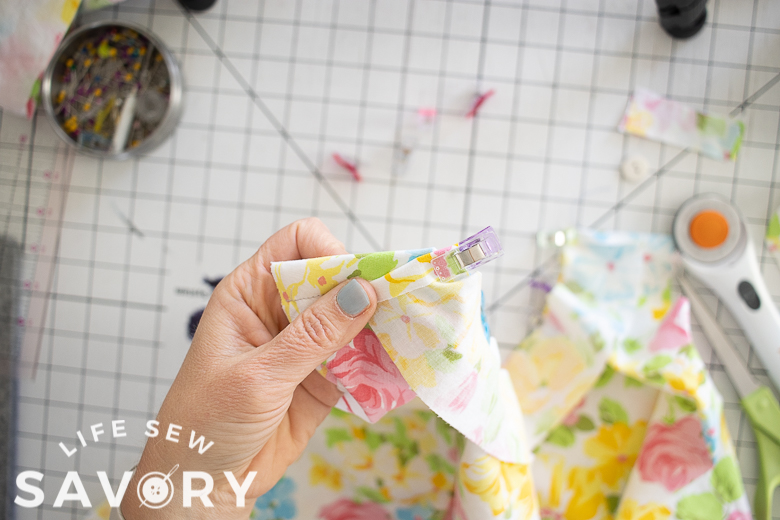
Clip the seam allowance so that the neckline curves.
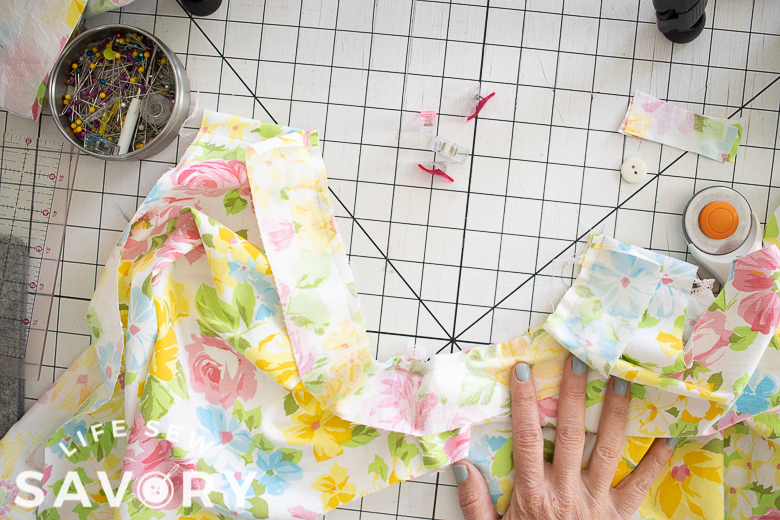
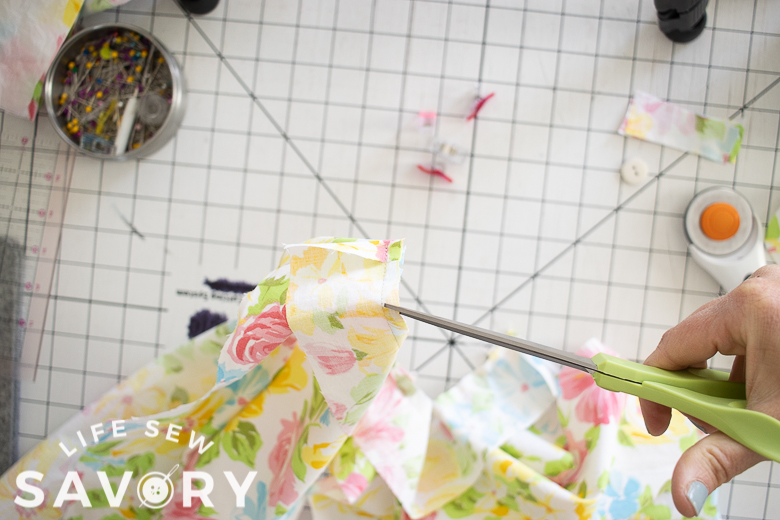
Now we will fold over and create the binding. Start on one side and push the seam allowance up towards the binding, then fold the binding once towards the seam. You will then fold one more time to form the binding. Double fold then clip or pin all the way around the neckline.
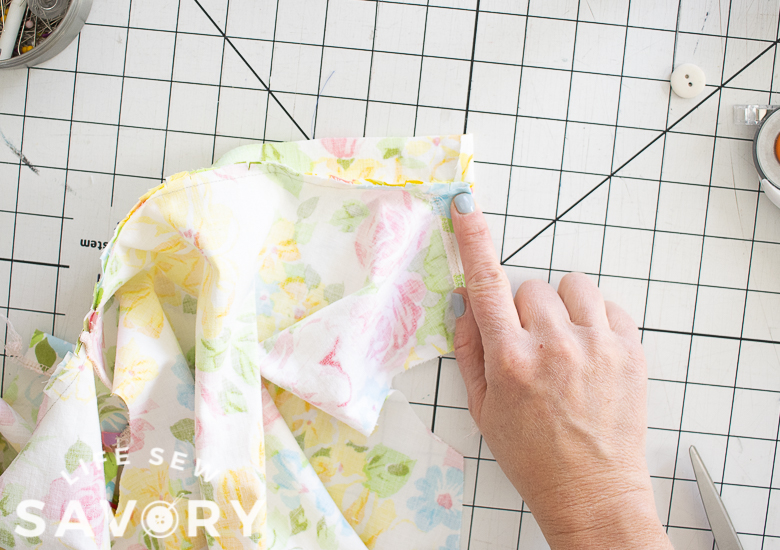
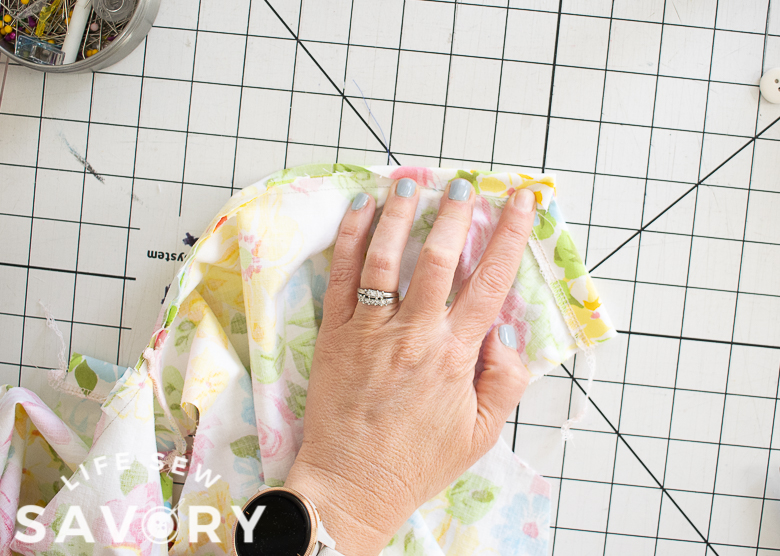
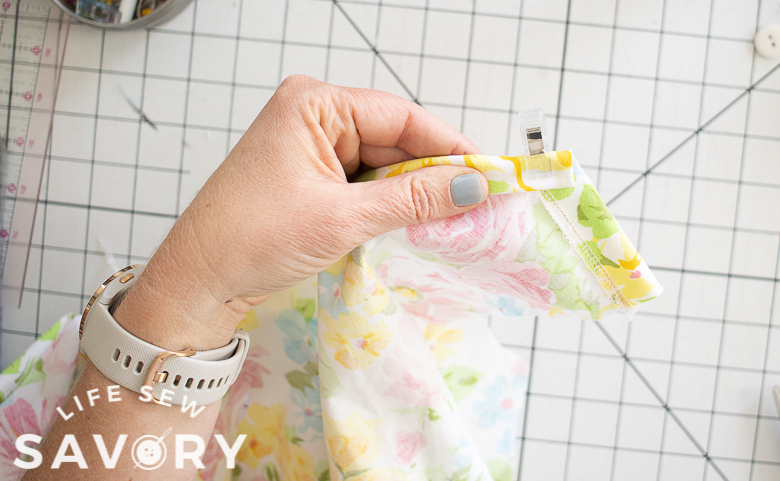
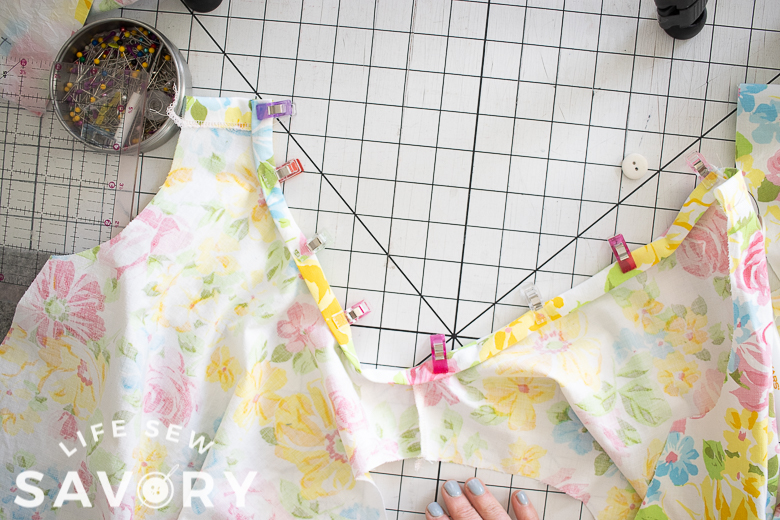
Sew around the neck to secure the binding. Then, overlap the 1″ on the shoulder placket side, pin or clip to hold in place.
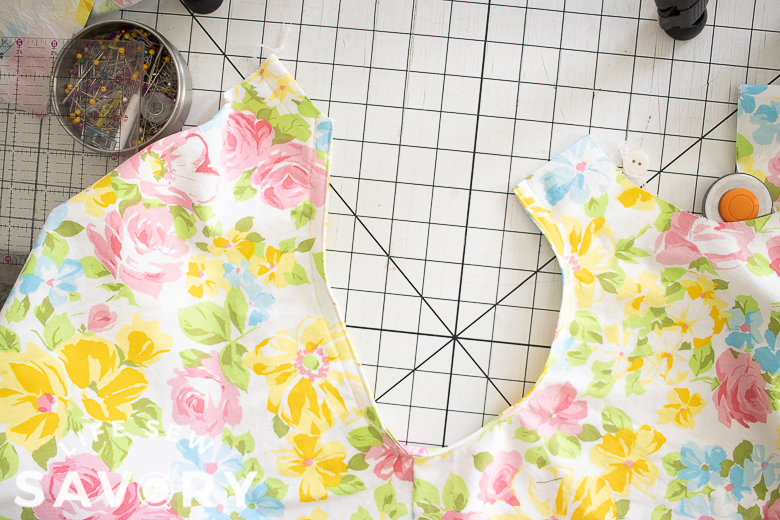
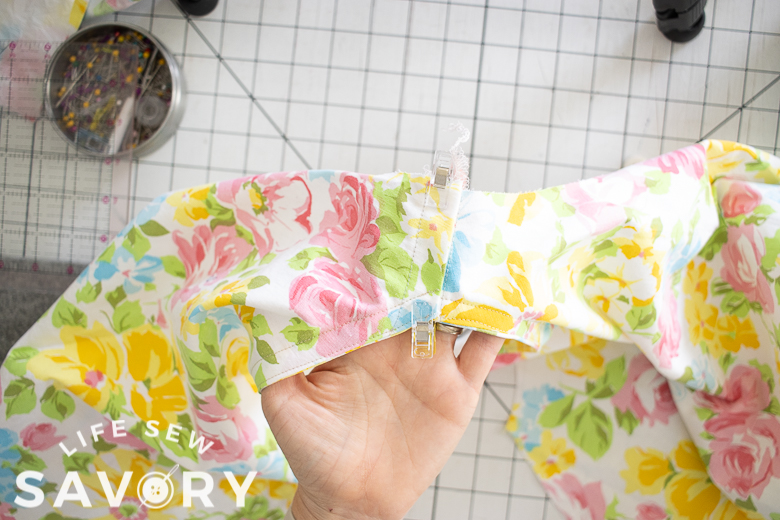
Matching the front and back of the sleeve and pin it in place, then sew. Repeat with the other sleeve.
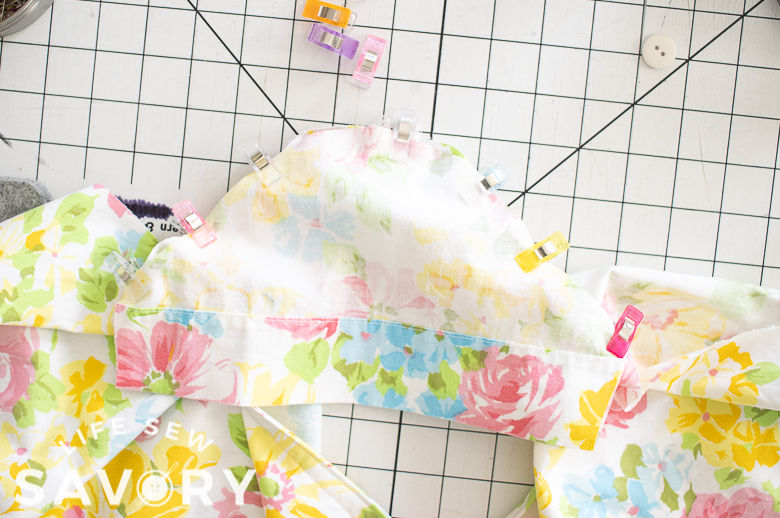
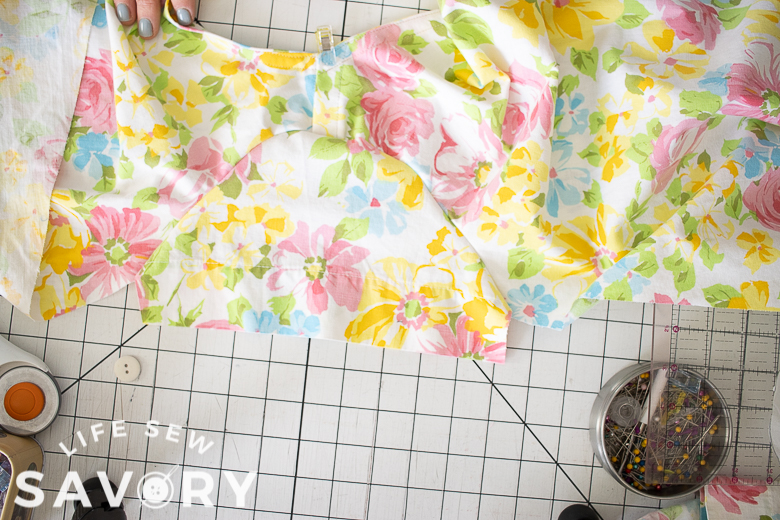
Add a button hole to the top of the shoulder placket, then mark through the hole and sew the button in place.
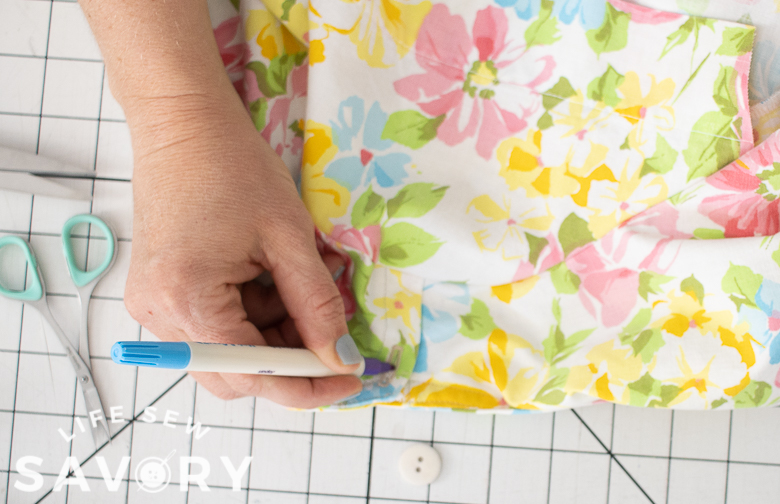
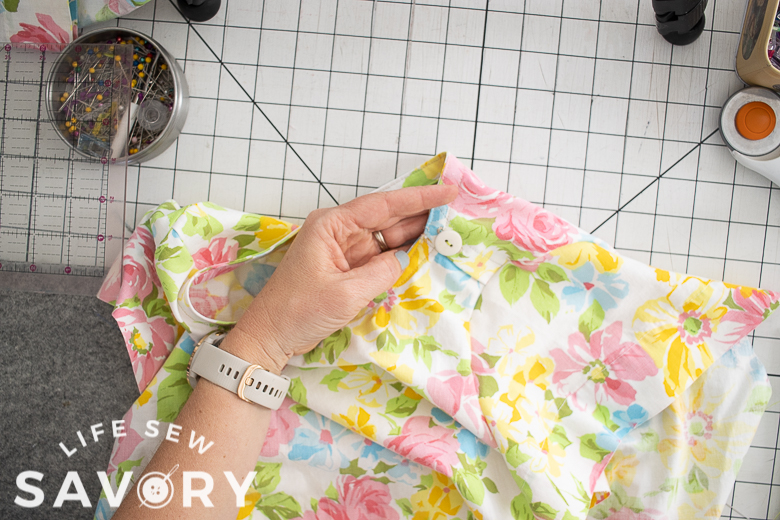
To finish the top sew the side seams from the edge of the sleeve to the bottom. Then fold over a 3/4″ hem and sew. You should also finish the raw bottom edge of the shirt before hemming.
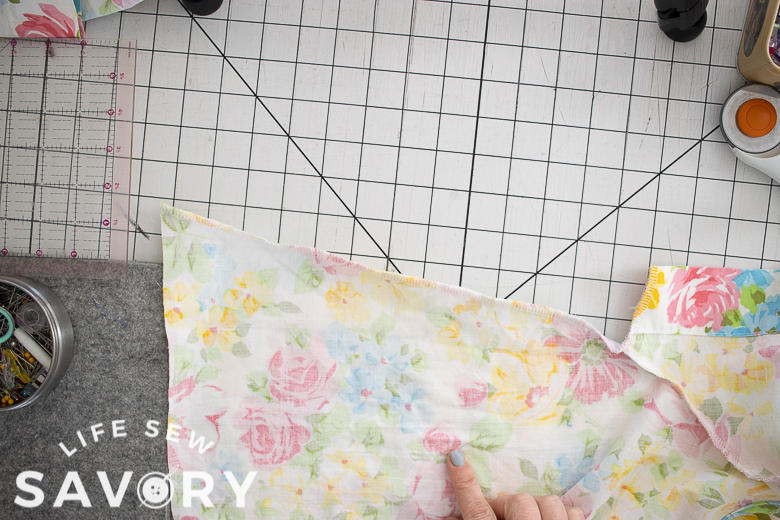
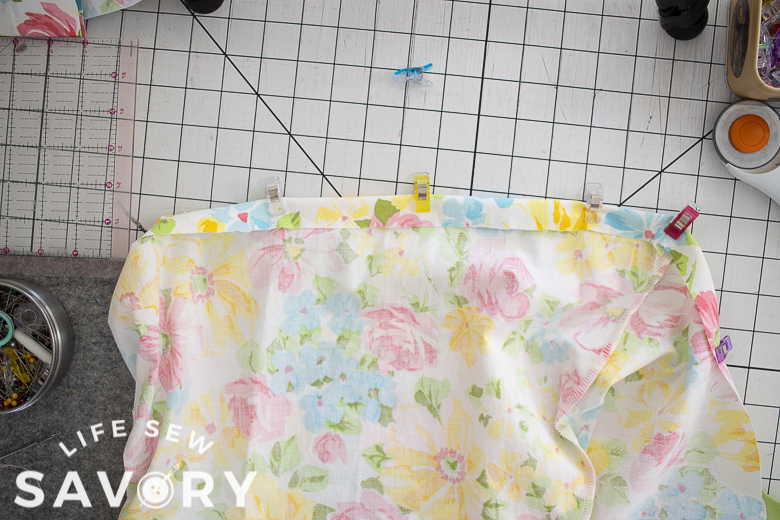
The shorts are next and SOOO simple to sew. Match the two pieces of the shorts that you cut and sew the curved crotch seam on both the front and back.
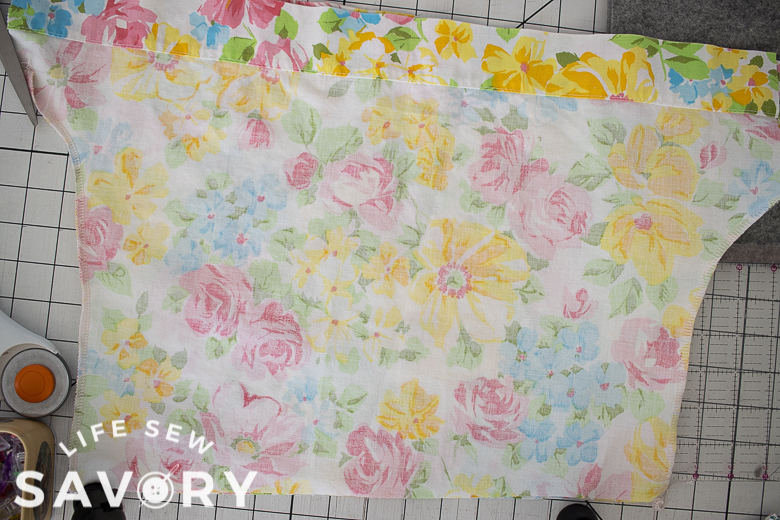
Fold in half the other way and sew up the inseam. Also, no hemming is the best!!
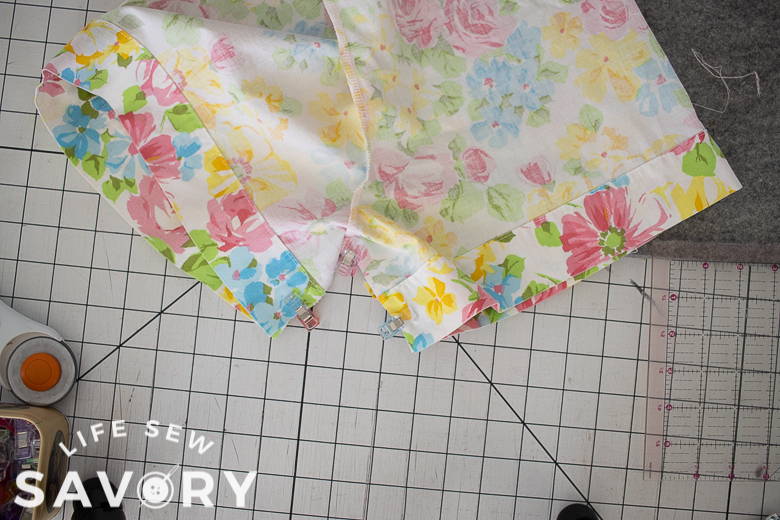
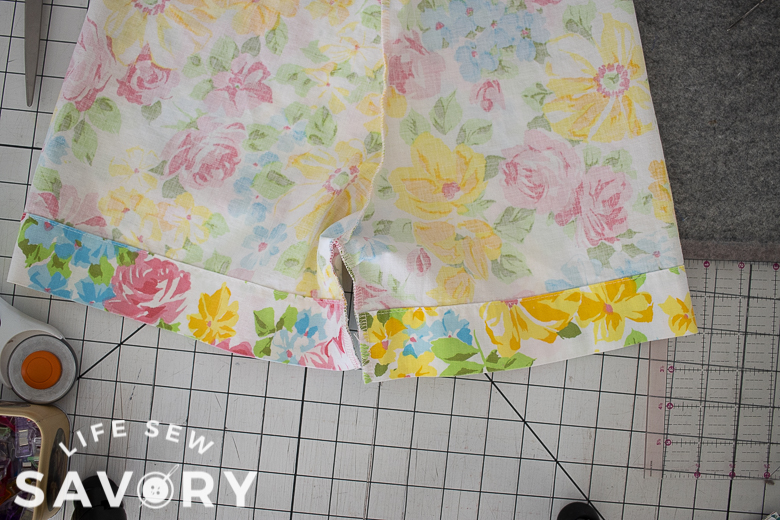
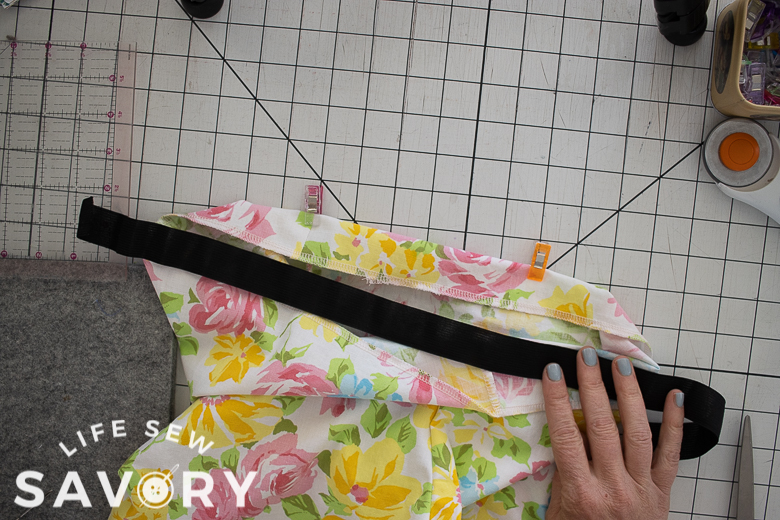
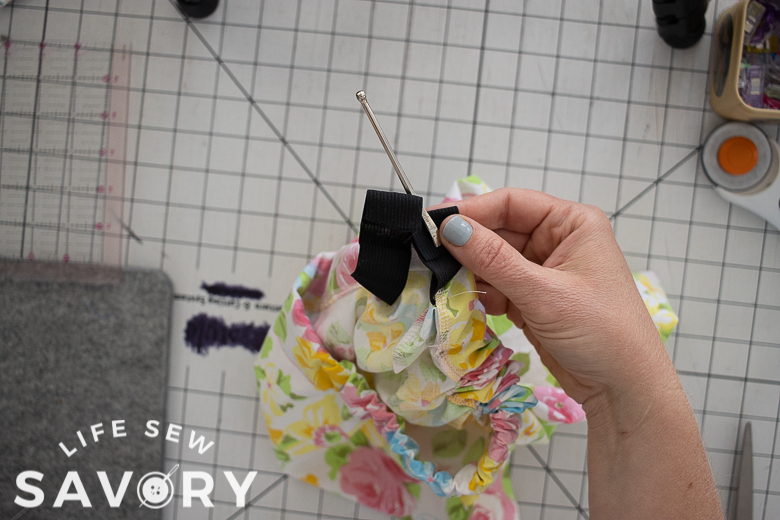
Finish the top raw edge of the fabric, then fold over a casing for the elastic. I used 1″ elastic so my fold is about 1.3″. I like to use the elastic for a guide as I fold it over. Sew casing and leave a 2″ opening to thread the elastic. Thread it through, then sew the ends together.
That’s it! now your super awesome pjs are finished. Looking to sew more pajamas? here are so many more pj tutorials I’ve shared over the years. Find them HERE.






Leave a Reply