

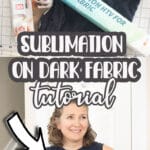
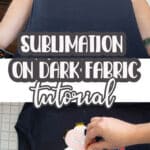
inside: Learn how to create sublimation on dark fabric. Usually sublimation only works on light color fabric, but with this method you can use sublimation prints on dark fabric as well. Video and photo tutorial.
This is a crafting method that I have been wanting to try for awhile. I love sublimation prints and the fun fabric projects I have been able to with my Brother Sublimation printer. The downside is that you cannot use this method on dark color fabric. It takes a couple more steps, but using sublimation with dark fabric is possible. Check out my video and photo tutorial below.


Sublimation on dark fabric
I’ve loved all the sublimation projects I have created with my sublimation printer, but it has two major limitations. You can’t sublimate on dark fabric or cotton fabric. The method I am going to show you today solves both of those issues.


Now you can create bold, bright prints on any color fabric and any blend of material. This does add one more step, so I wouldn’t use this method it traditional sublimation would work. But if you need an alternate method to get great results, this one is a winner!


Other fun sublimation projects
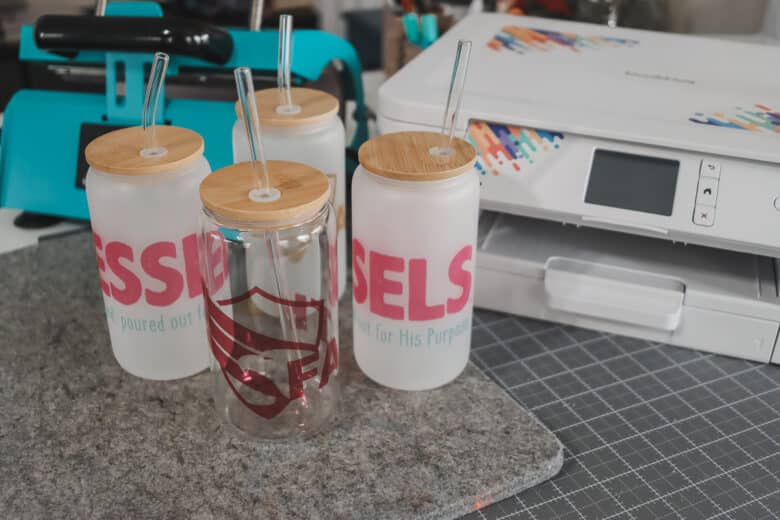
- Sublimation on glass
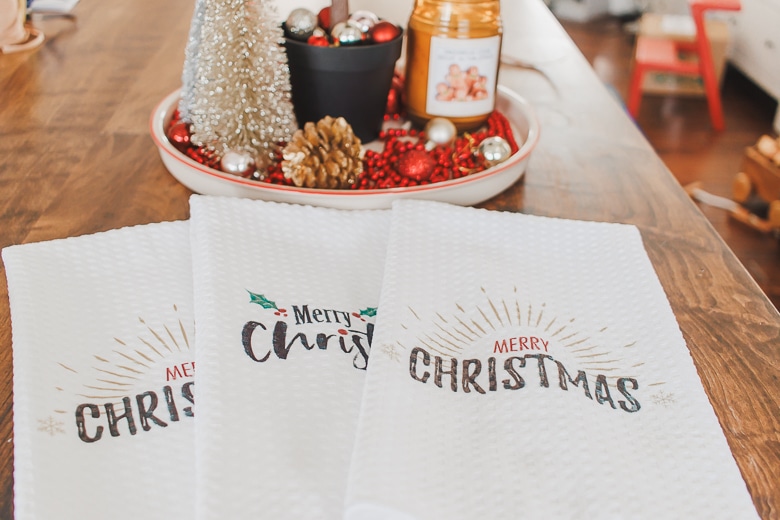
- Sublimation tea towels
- Sublimation custom ornaments
- Sublimation on fabric basics
- YouTube tutorial all about the Brother SP-1 sublimation printer
HOW TO: Sublimation on dark fabric video tutorial
Below you will find the full length video tutorial. This will help you to see the process, as well as the photo tutorial below. If you don’t see the video here, you may want to check if you are running an Ad Blocker and/or you ca try a different web browser as well.
Step by step tutorial to sublimation on dark fabric
First up, lets take a look at the supplies:
- Sublimation Printer – I used the Brother SP-1
- Cutting machine – I used the Brother ScanNCut {You can also cut by hand depending on how complicated your design is}
- Sublimation Vinyl – You can buy in WHITE or CLEAR
- Heat Press or hot iron.
I have linking the exact sublimation vinyl that I am using above. The shirt is a tank I sewed from an upcycle of my husbands shirt using the boxy tank free sewing pattern. Perfect for an athletic tank top!

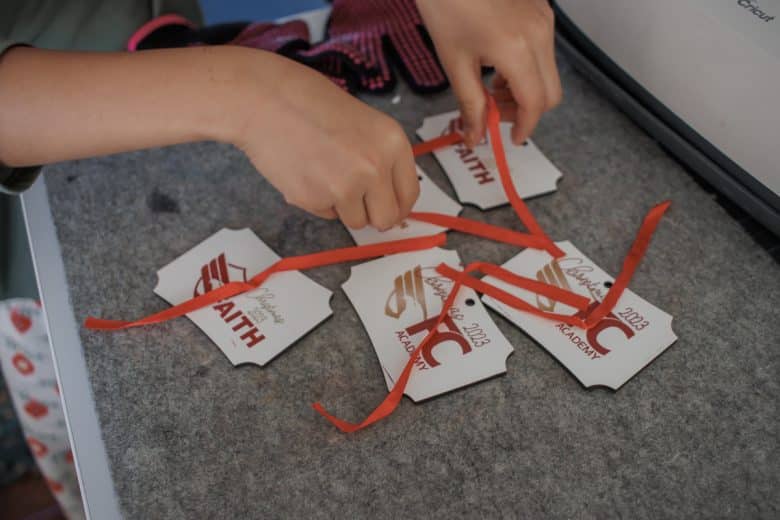
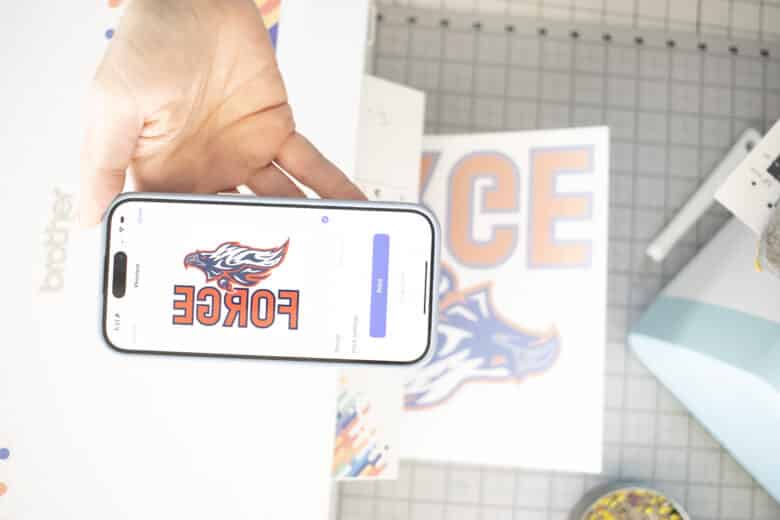
Print your design using your sublimation printer. I used the Artspira App and the Brother SP-1 printer. This design is one I created on my computer and transferred to the app for printing. I’m making a shirt for my sons High School so I can wear to sporting events.

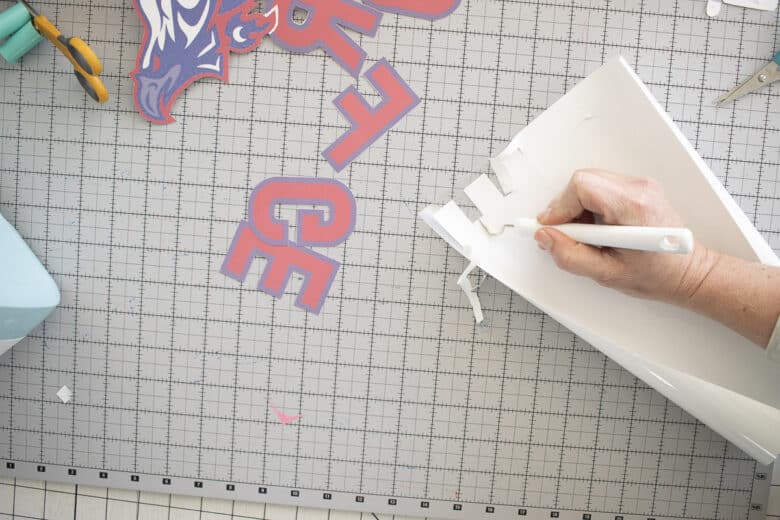
The next step is to cut out the design. You can use scissors for a simple design, and cutting machines for more complicated ones. I used my ScanNCut to scan in the design, then cut out. Make sure to use a paper mat for your machine.
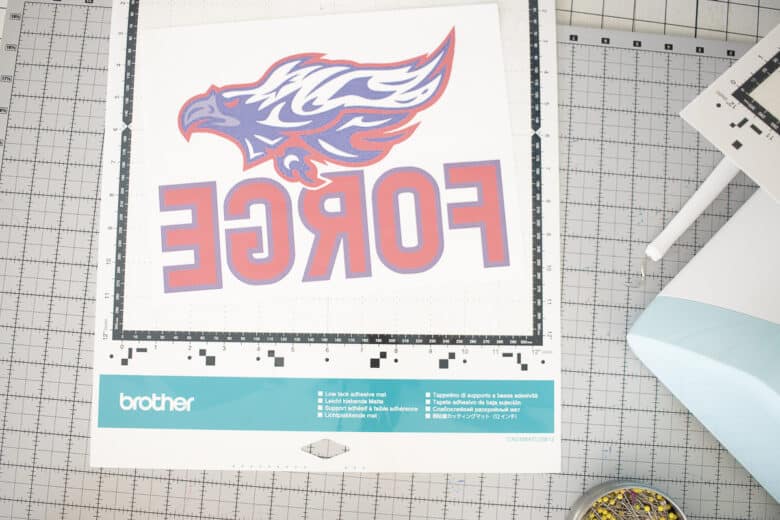
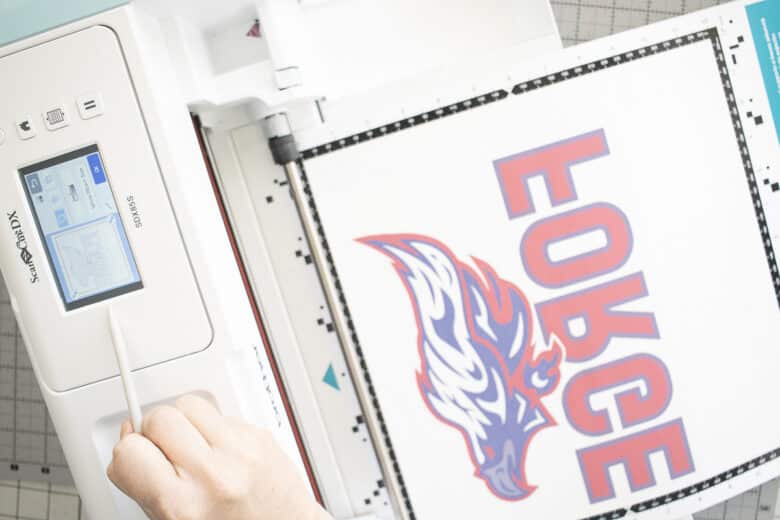
The ScanNCut you can scan what is on the mat, then save it to your machine. I scanned the design, and then saved it. I opened the saved file to cut out the paper around the design.

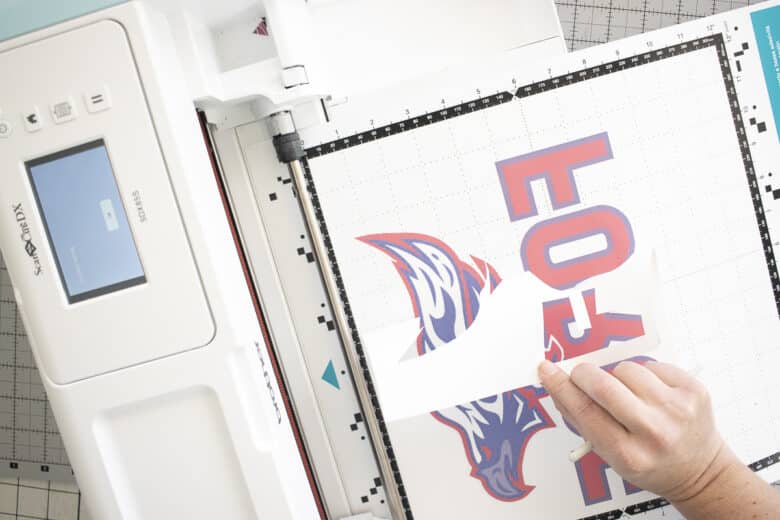
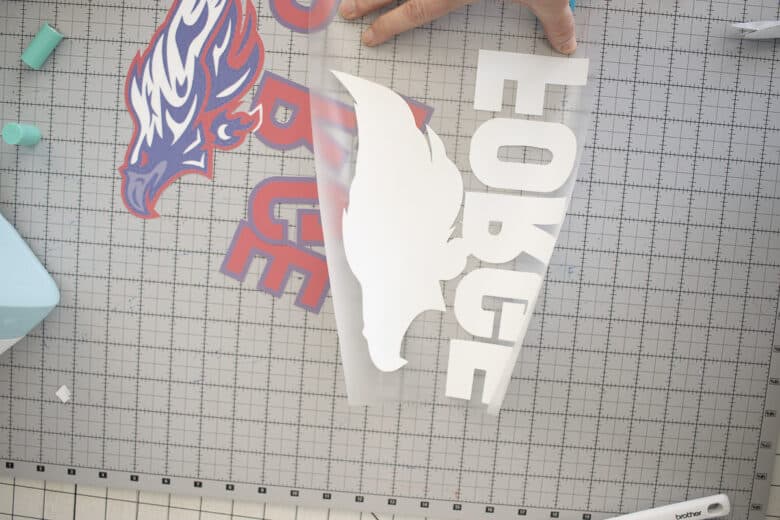
Remove all the parts of the design from the mat. Now it’s time to cut the sublimation vinyl, this is where you will actually be printing the design. Place the glossy side of the vinyl down on a vinyl mat. Open the design again on your machine and cut the same design from the vinyl. Make sure to use the half-cut, so you only cut through the vinyl and not the clear layer.
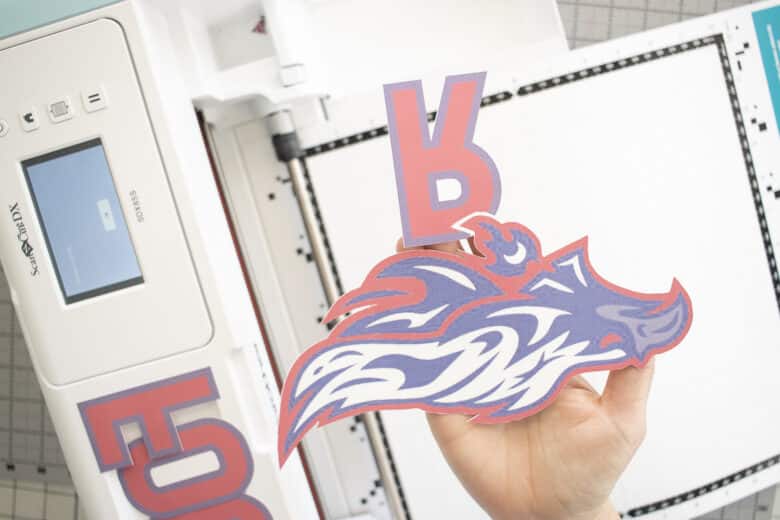
Weed out the vinyl design. Now you have the cut paper design {May be in many pieces} and the vinyl, which is still all together on the clear transfer sheet.
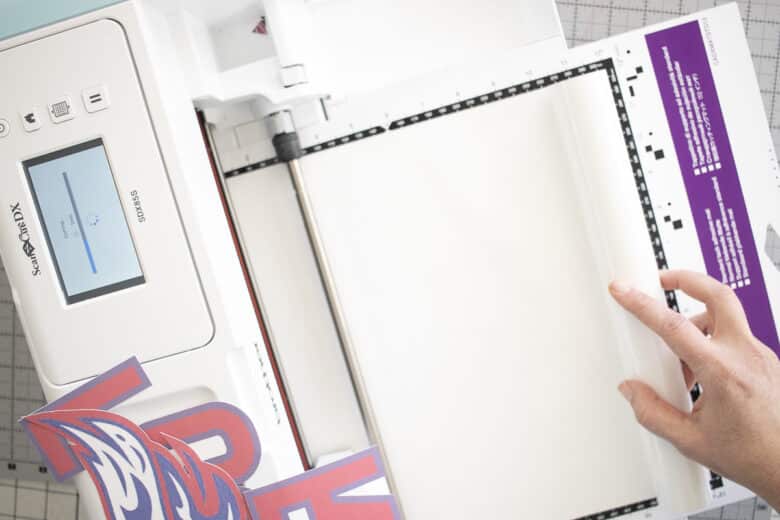
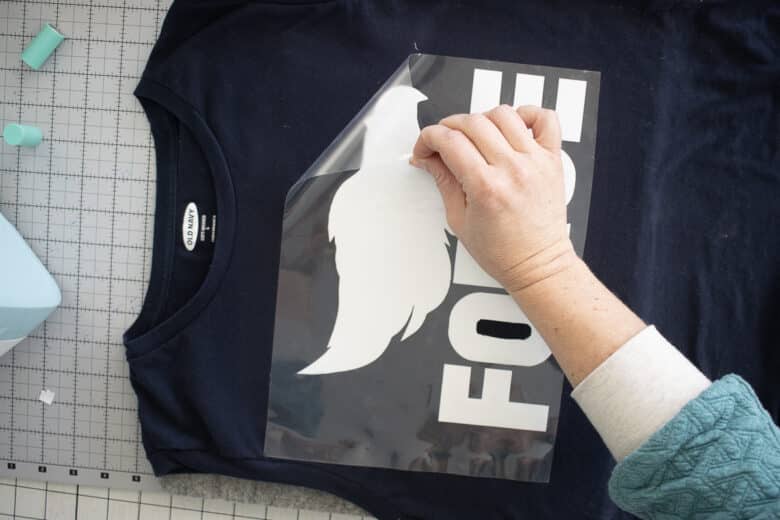
Turn the vinyl over so the clear side is up and press to your shirt. Use a heat press or hot iron. Cold peel the covering off the vinyl.

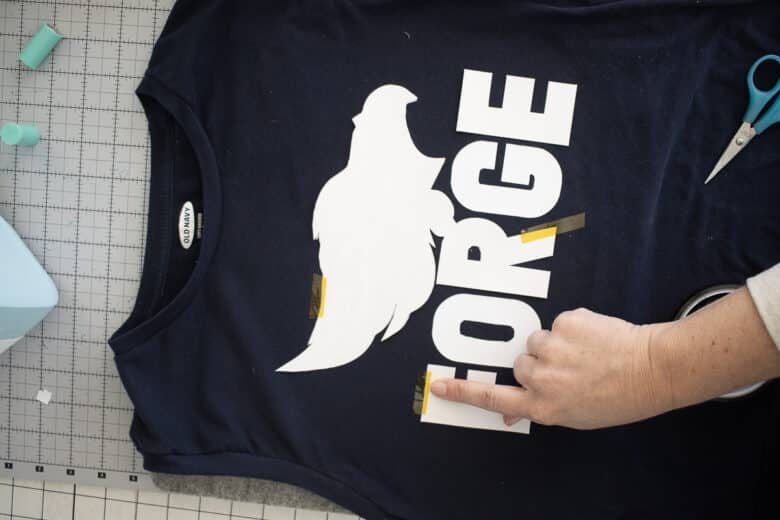
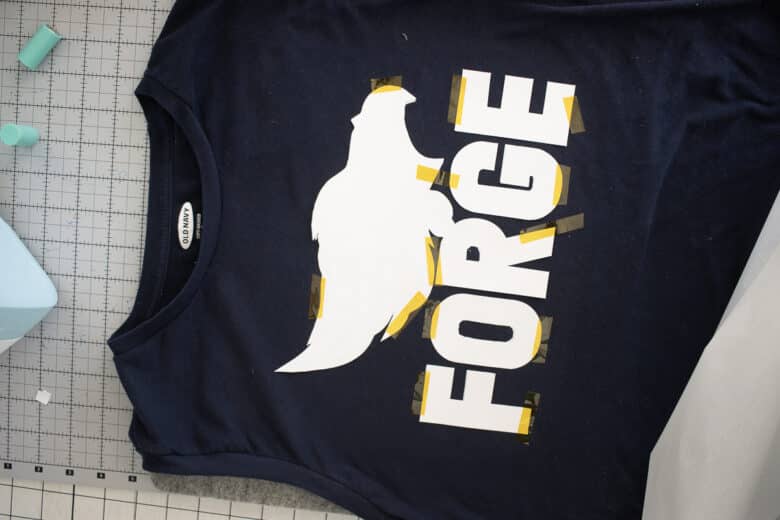
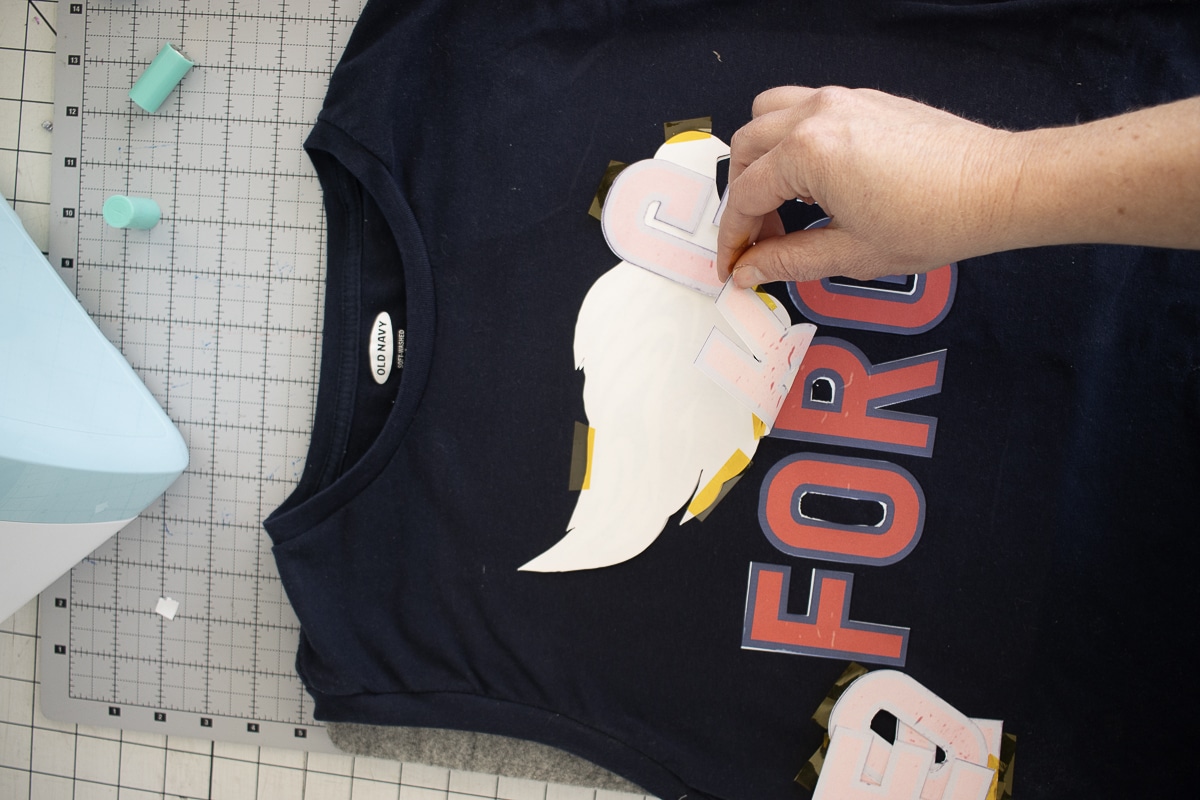
Carefully place each part of the design face down on the vinyl and secure with heat tape.
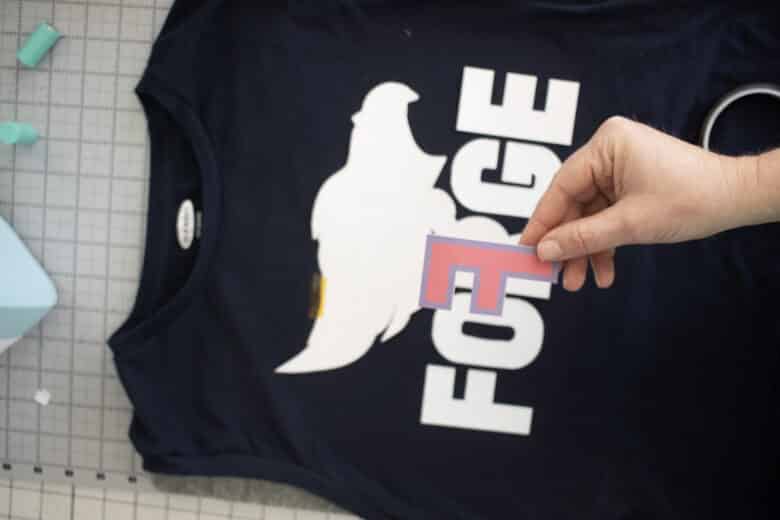
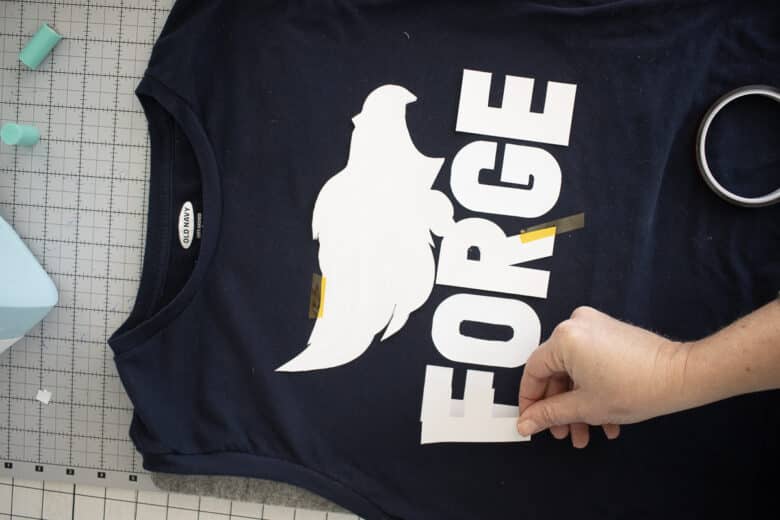
Try to line up the design on the vinyl perfectly for best printing results.
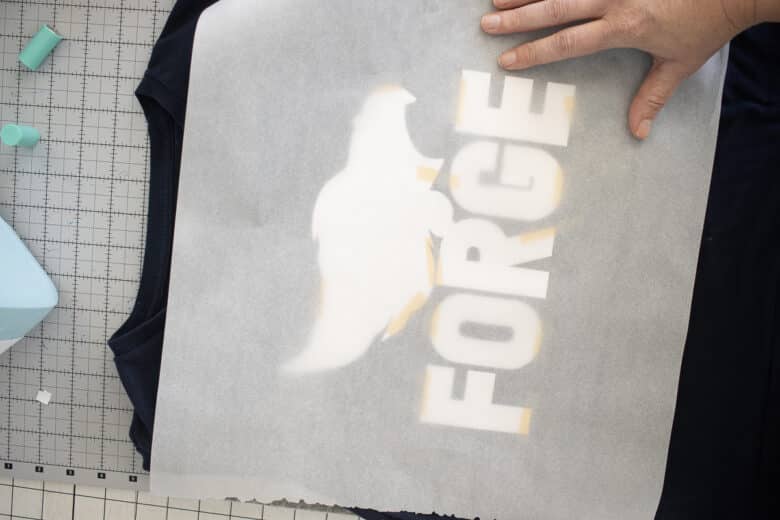
Place parchment over the design and then press with the heat press again. Use the settings according to your sublimation printer/paper.

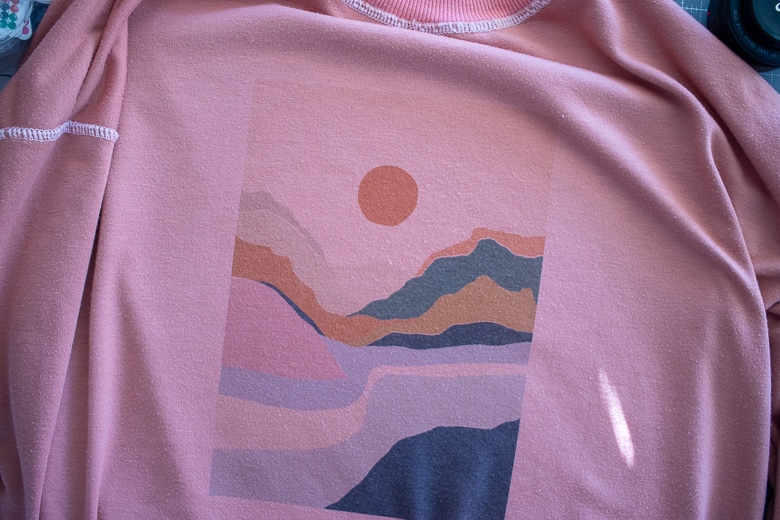
Peel back just a small corner to check on the design, before removing all the paper. You can always put the heat press back on if the color has not fully transferred. The colors are so bright and bold since it’s printed on white vinyl and I love the results!!


Leave a Reply