**Post sponsored by Brother , but all ideas and opinions are my own**
Inside: learn how to use the Brother Sublimation printer – for fabric to make all your sublimation ideas come to life. This sublimation printer is super easy to use and will get you printing your projects in no time.
I’ve been wanting to try the process of sublimation for a long time and when Brother came out with a Sublimation Printer, I knew my time had come. One of the amazing benefits of being a Brother Ambassador is getting to try some of the new machines when they come out. I’m always so impressed at how quick I can go from box to project with Brother products, they are so user friendly. Today we are going from box to making in just minutes and I’m going to show you how!
Unboxing the Sublimation printer
Alright! I’m going to walk you through the process of using this printer; from taking it out of the
box to getting started right away. I found the whole process really easy and I got the printer up
and going in about 30 minutes.
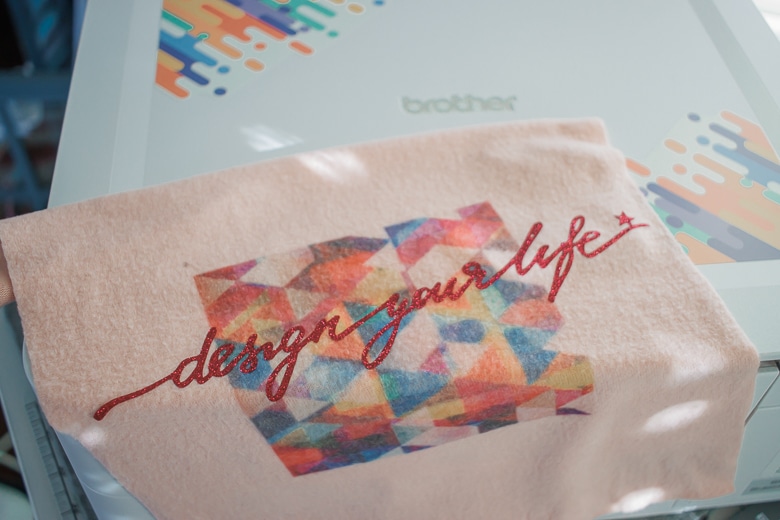
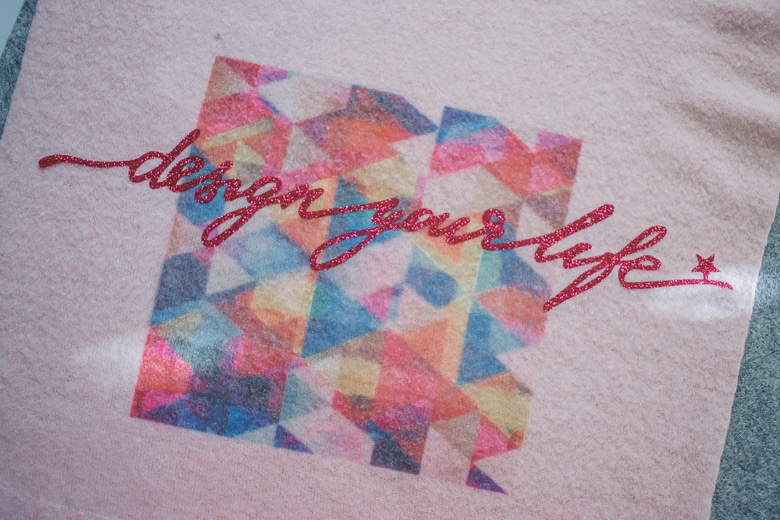
This project above is the very first thing I made. It’s a design from the free Artspira mobile app
{details below} I loved the combination of sublimation and vinyl. There are so many amazing
free print designs in the app right now, I can’t wait to try them. Some of the designs are
combination crafts. Like sublimation and vinyl or sublimation and embroidery. It’s all set up
super easy in Artspira and you can see more of this in my tutorial below.
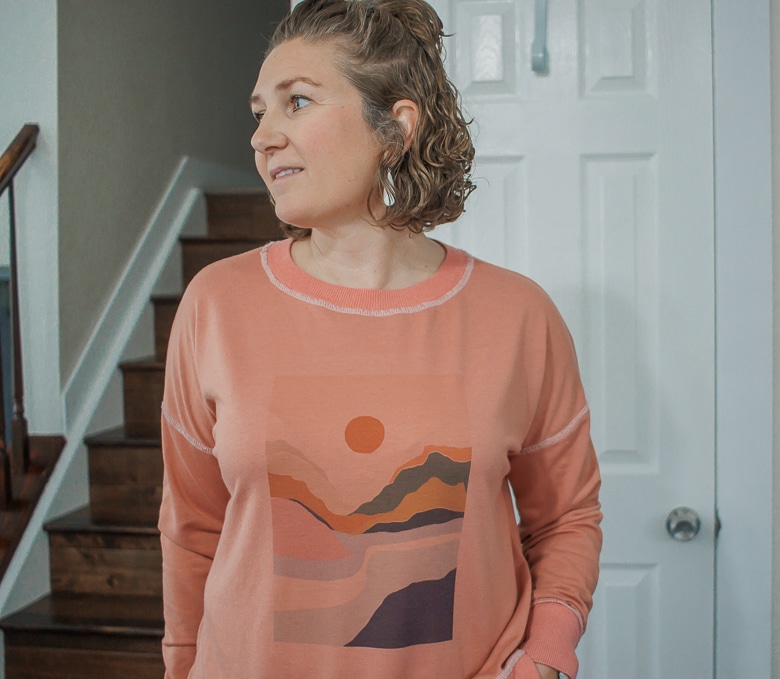
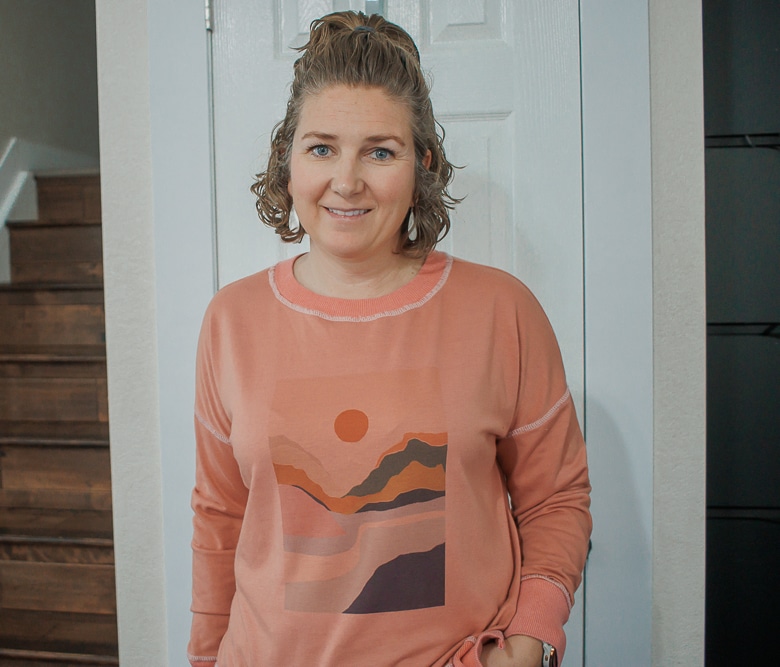
After I created the little sample, I made this sweatshirt on a live show last week and I’m totally in
love. Several weeks ago I sewed this sweatshirt and wrote about it here in my how to copy your
clothes post. After I made this sweatshirt I did a wash test to make sure the ink would stay. You
can find out my results at the end of this post.
Video Unboxing and Tutorial-
I’ve included a fun unboxing and project walk through video in this post. Check out the video below to see how the process went for me.
More amazing shirt projects to make-
- How to make shirts with heat transfer vinyl
- Reverse tie-dye shirts
- Freezer paper stencil shirts
- DIY Birthday boy/girl shirts- with free cut file
How to use the Brother Sublimation printer
Ready to see how easy this printer is to use? Let me show you how it went for me.
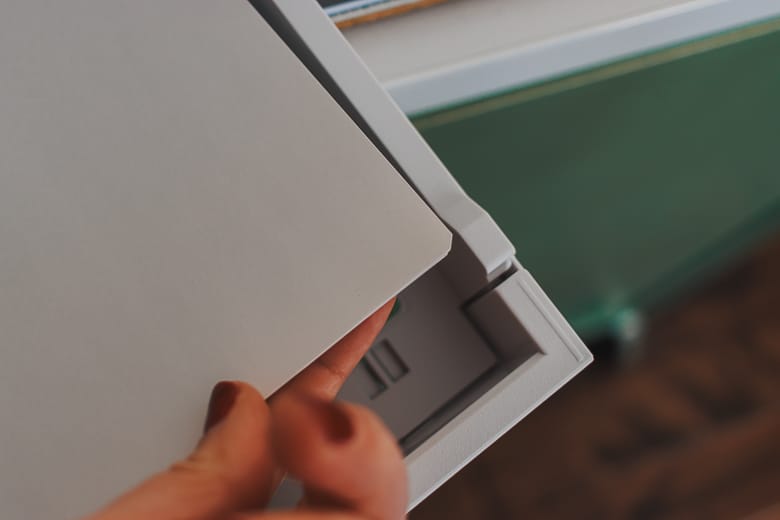
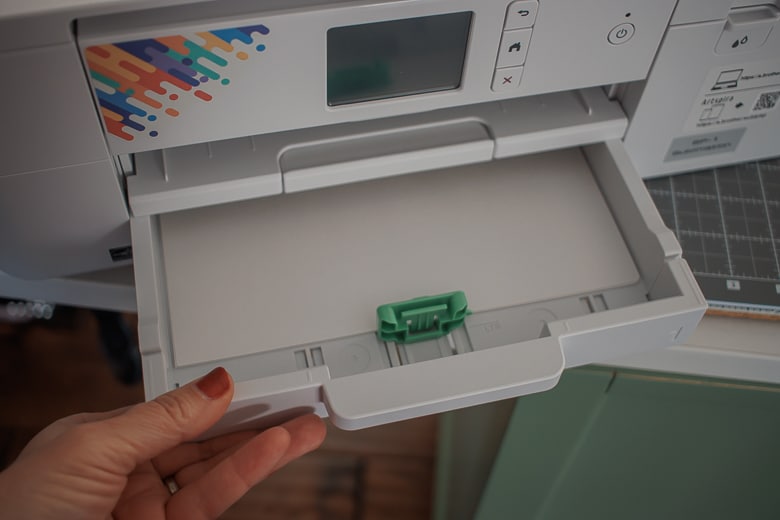
After taking everything out of the box I referred to the quick start guide
and it said to start by loading the paper. There is a notch on one corner that shows you exactly
which way the paper should be loaded in the tray.
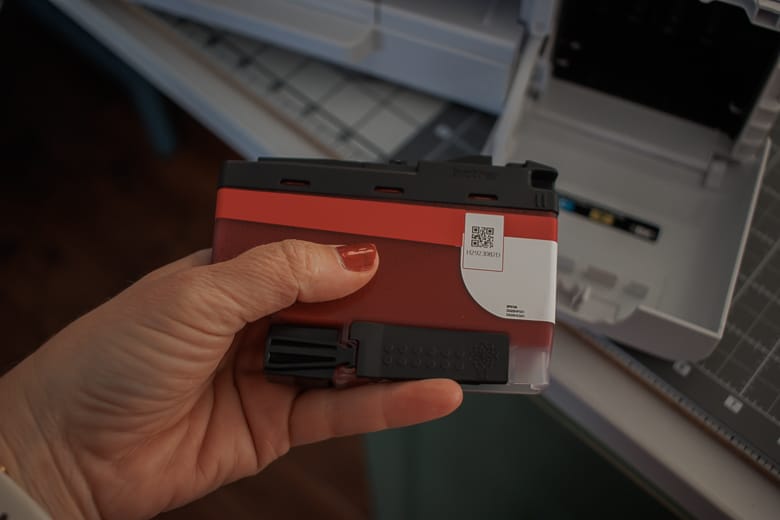
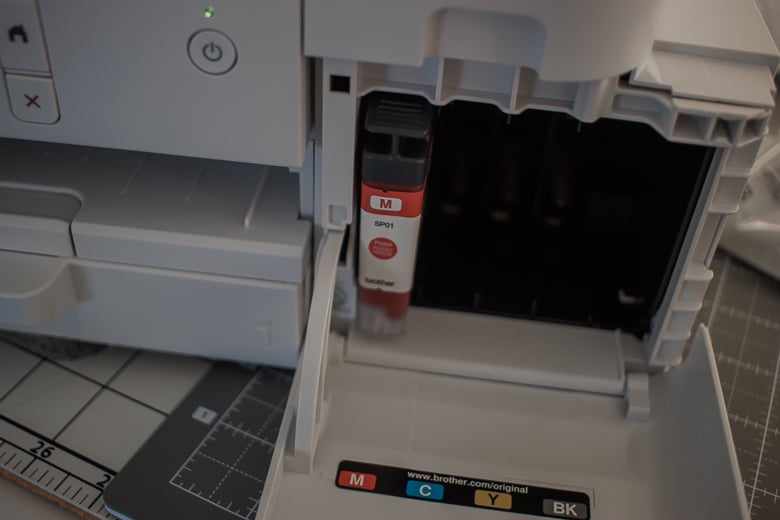
This next step is to open the package of each ink color, shake it for 15 seconds and then insert
it into the printer. It will take several moments for the printer to load the ink {this is a one-time initialization process.}
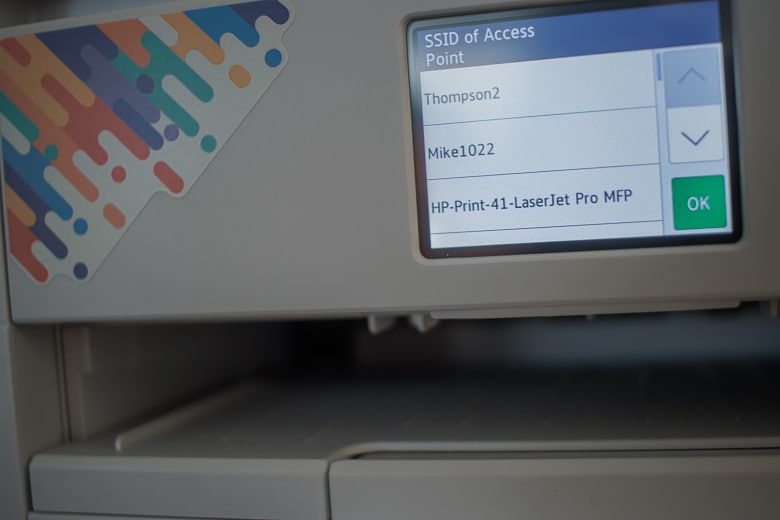
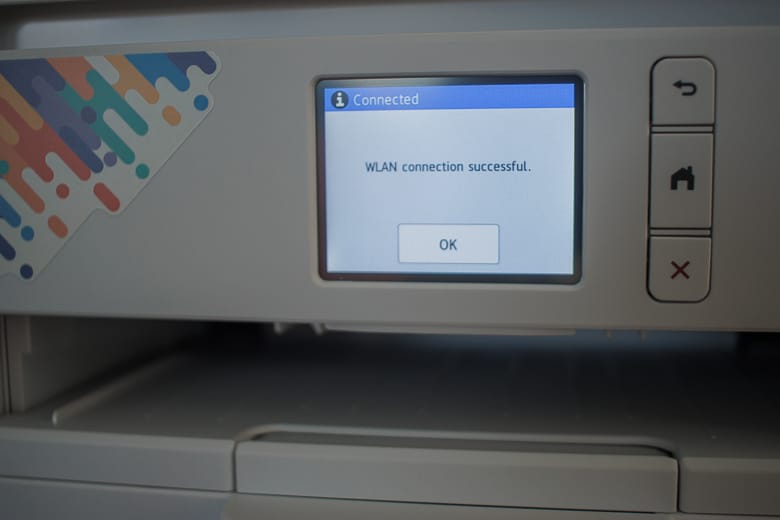
Then I followed the directions on the printer screen to connect the printer to my wifi. Make sure
your phone/tablet is also on the same wifi so you can use Artspira for your first project. {this
printer can also connect to your computer via cord}
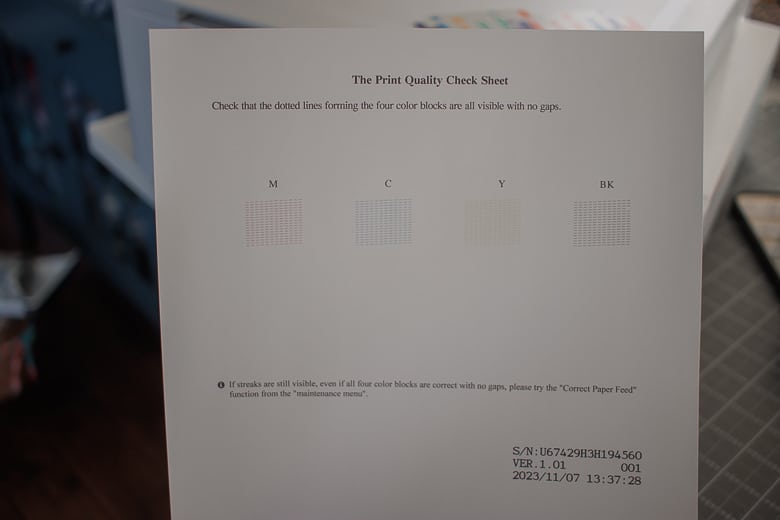
After connection the printer will print a test page. Make sure that it all prints out exactly like the
picture so you are ready to go.
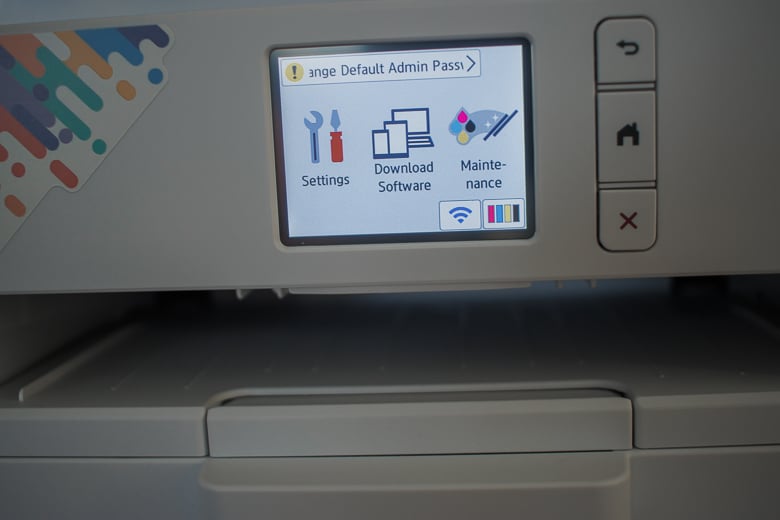
Now it’s time to open up your Artspira app and connect to the printer. Click the button that says
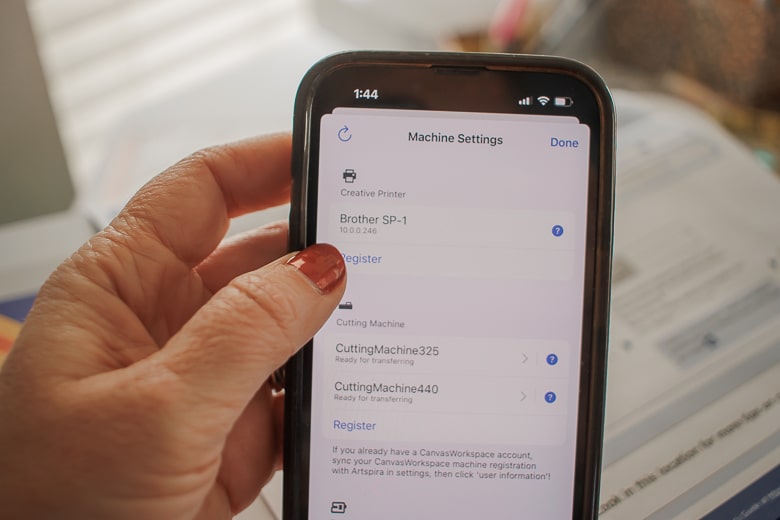
register under creative printers and if you are on the same WIFI as the printer it will pop up.
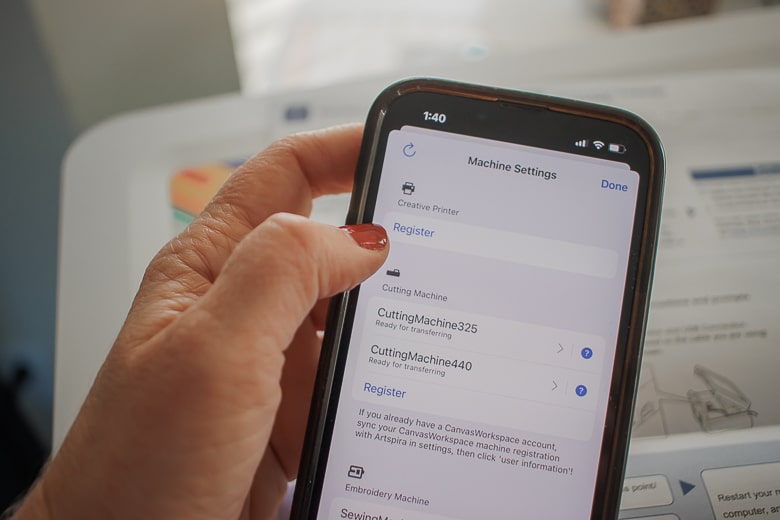
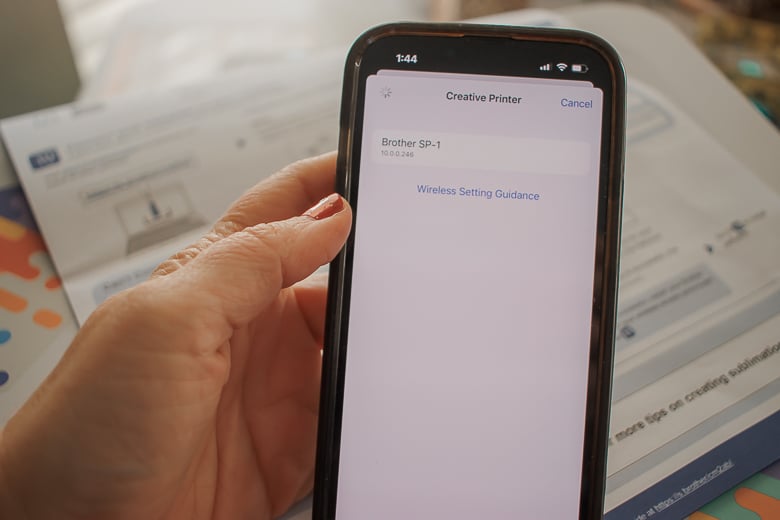
Hit the name of the printer and it will connect to the app. You can use any of the sublimation OR
printing files for this printer. There are SO many free options and also lots of cool ones in
Artspira+ (which is the paid version).
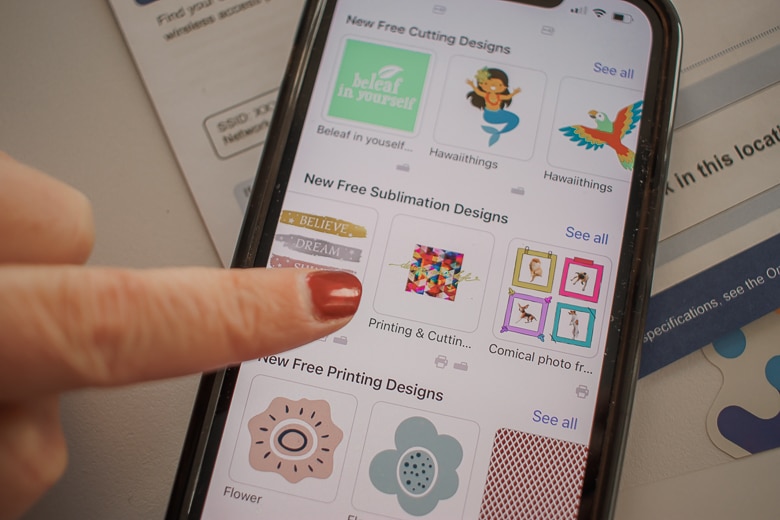
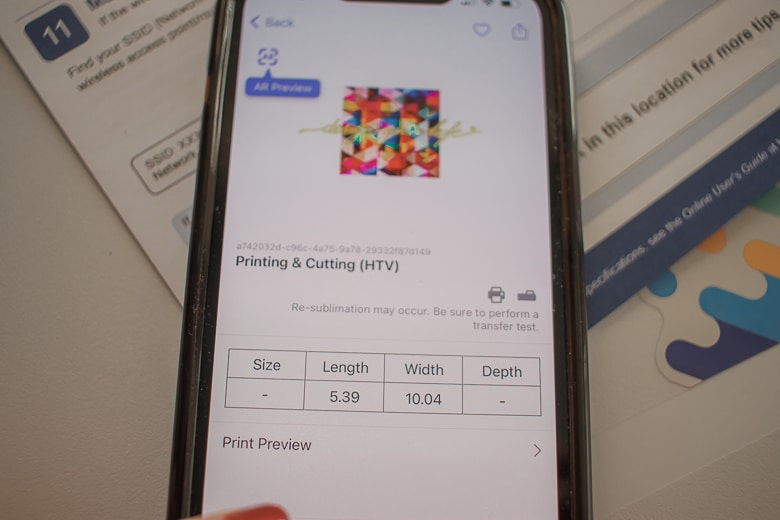
For my first project I clicked on this fun printing & cutting design. The printing designs can be
resized, but I did find that this combo project could not be resized. You can see the dimensions
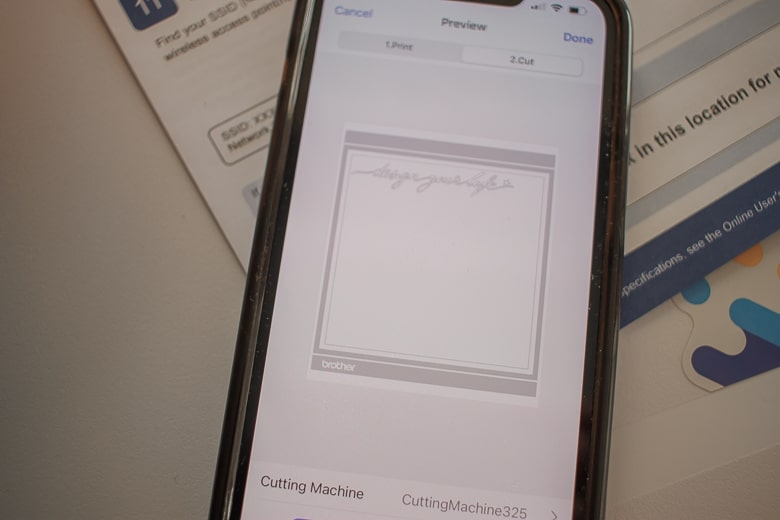
before you make it though. At the top of the window there are two tabs. 1. Print 2. Cut.
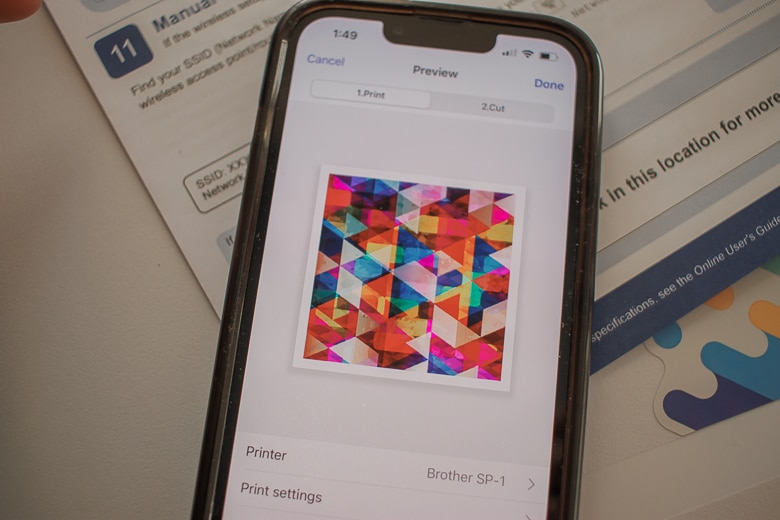
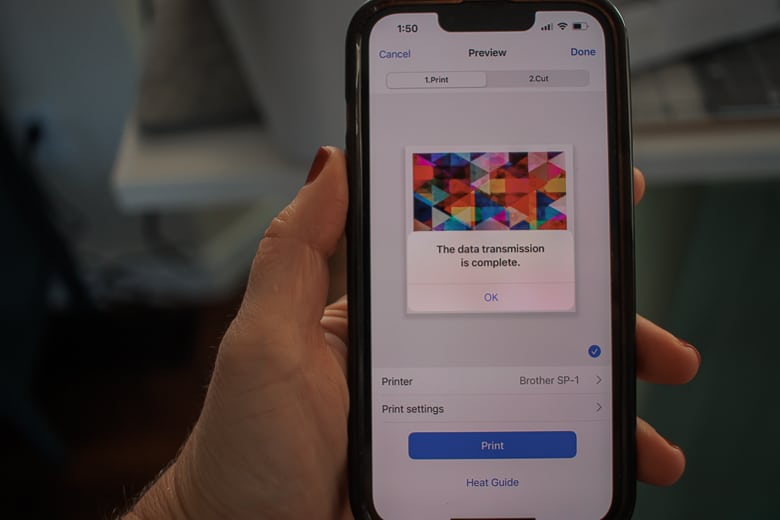
After reviewing the two windows I went back to the print screen. From there I checked my
printer and print settings before hitting the print button.
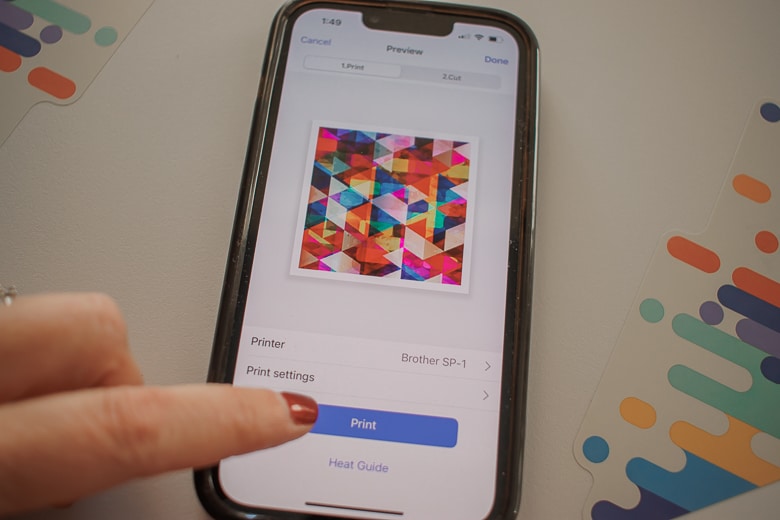
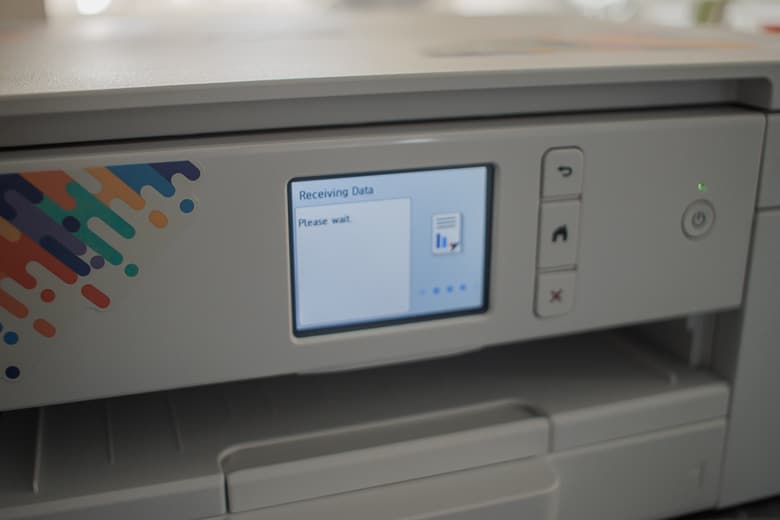
The screen will tell you when the transfer is complete and the printer screen should also reflect
the transfer is happening.
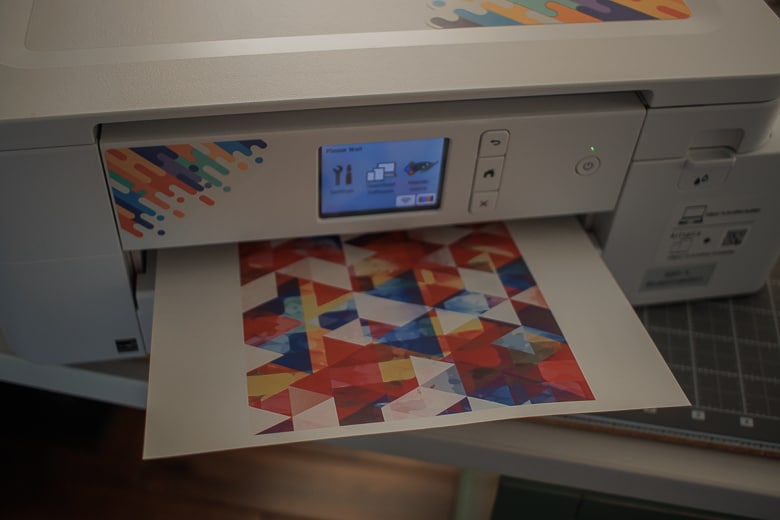
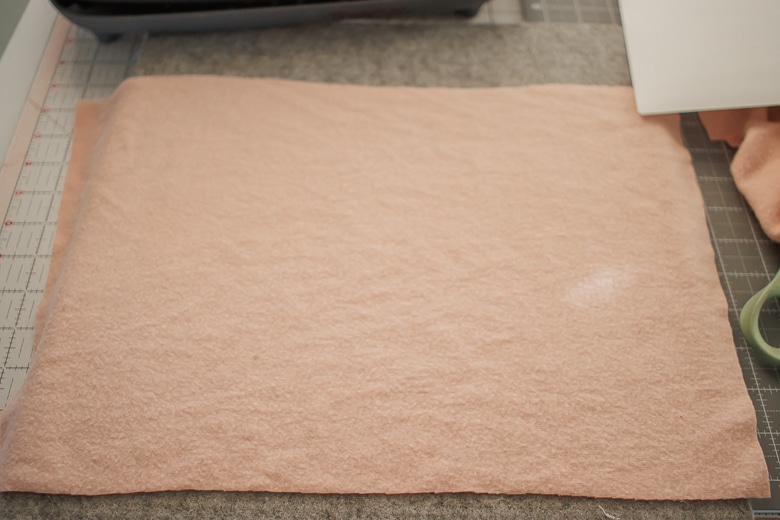
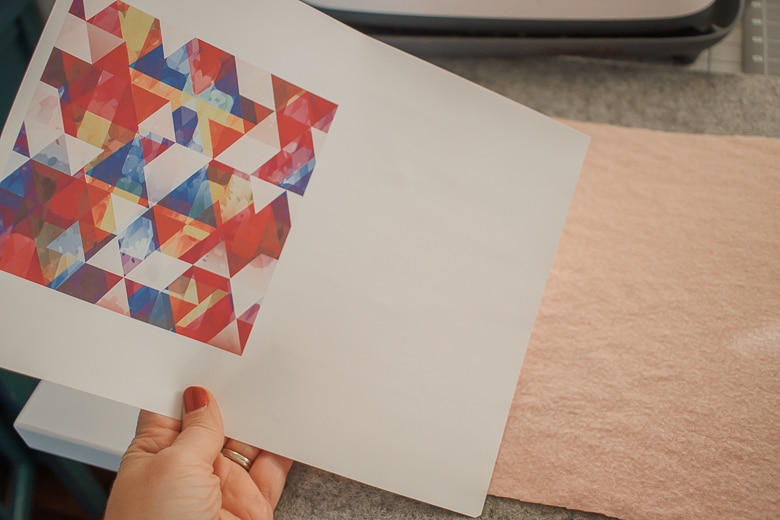
After a couple of minutes, the paper popped out of the printer. I prepared my fabric by removing
any wrinkles and getting it set up on a pressing pad.
When you touch the paper to remove it from the printer, make sure to keep your fingers off any
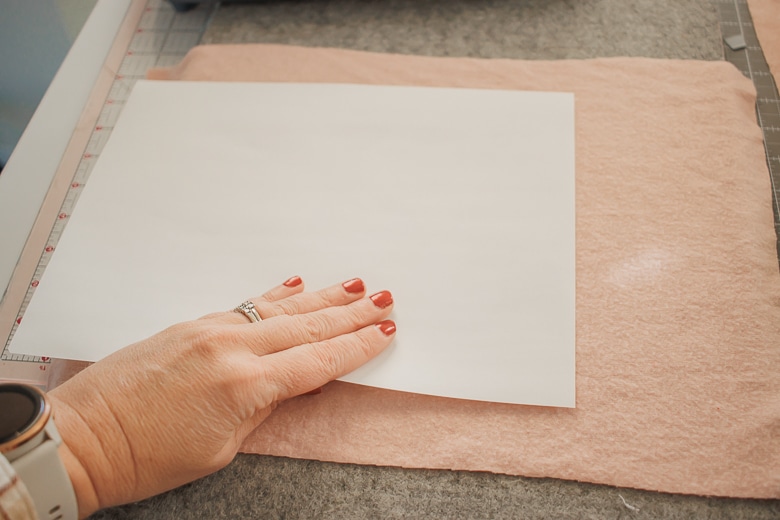
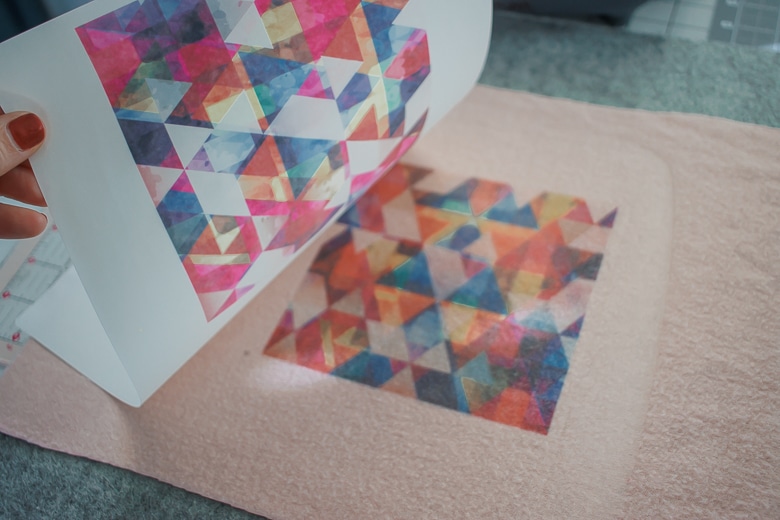
of the printed ink to prevent smudging and transfer to your hands. Place the print down on the
paper, right where you want it to be printed. Do not rub or slide the paper, just flip straight over.
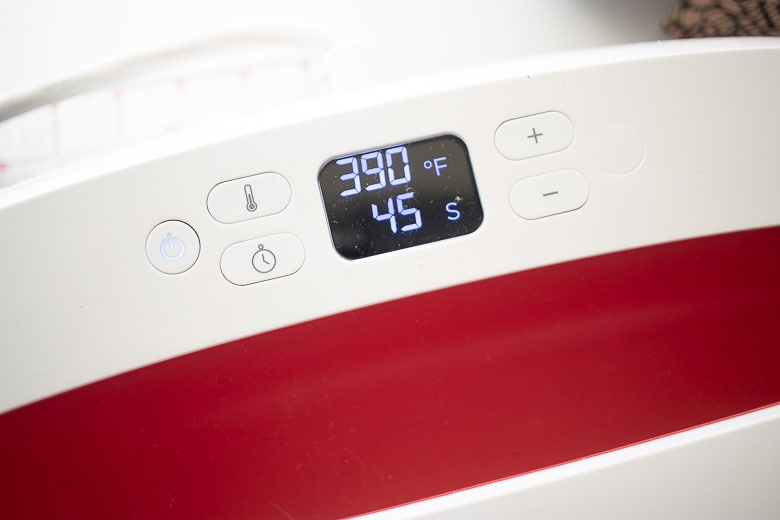
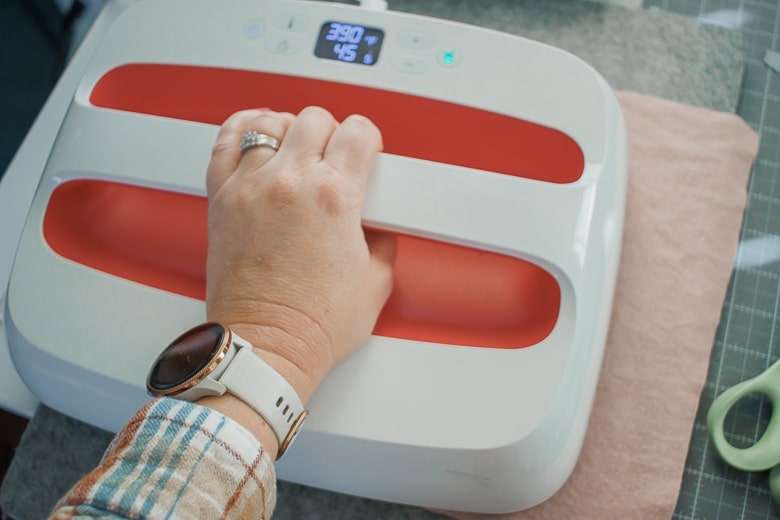
Use the Artspira app to determine the heat settings. Here is what was recommended for this
project. {390 degrees for 45 seconds} Do not slide the press/iron on the paper. Straight up and
down movements only. This will prevent any smudging of the image.
Looking how pretty it is when you lift the paper. The endless possibilities and I have about a
million ideas to use this printer for. I already made my daughter a shirt for a theme day at
school, and it was SO easy. I can’t wait to try sublimation on mugs and tumblers too.
Can you wash fabric with sublimation?
Of course I had to test the washability of my sublimation shirt before posting this. I’ve said
before that clothing items that need special care don’t make it in our home. We do all our
laundry on the weekend and it’s a big project with the five of us. I don’t have time to give special
attention to one or two items, so I needed to make sure that before I sublimate everything we
can wash it.
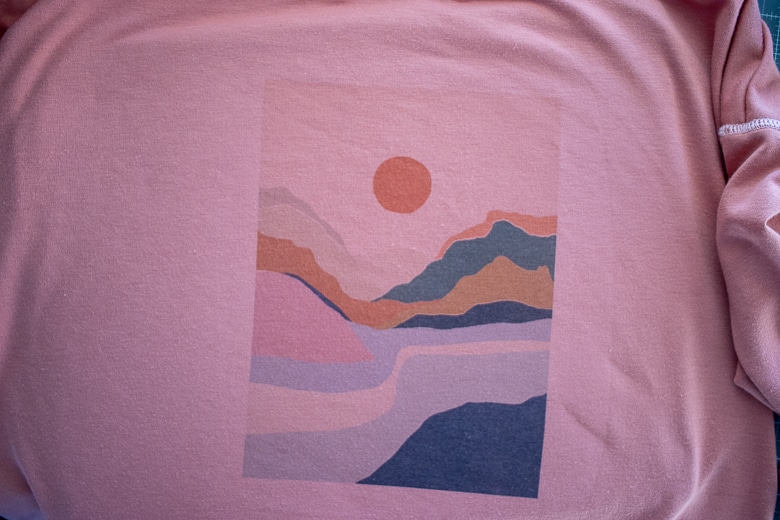
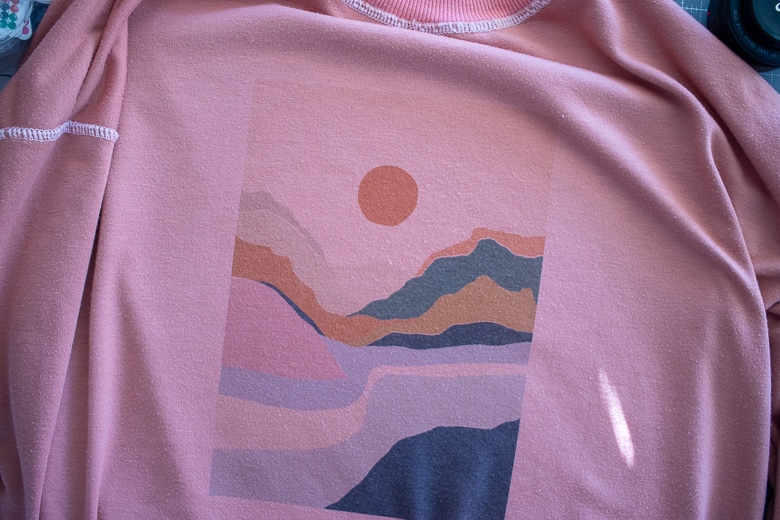
Below you can see another sublimated sweatshirt before and after, and I was so pleased to
see there was NO DIFFERENCE! I wouldn’t be able to tell if I didn’t know that spec of light was
on the afternoon photo which I took AFTER washing.
So while I had success washing and drying my sweatshirt, here are a few tips for washing
sublimation items you may want to follow for best results.
● Use fabric that is not 100% cotton
○ My sweatshirt is french terry and a poly cotton blend
● Wash the item inside out {I did this!}
● Wash with a gentle detergent, no bleach {I did this!}
● Do not use fabric softeners or dry clean {this is easy for me, I never do these, haha}
I’ll keep you posted as my sublimation journey continues and I learn/experience more.






Leave a Reply