I’m so excited about the new Scan N Cut Roll Feeder option! To be able to cut vinyl up to six feet long is a dream. When I did the vinyl in Rose’s room I totally pieced it all together…
How great would it have been to be able to cut the whole word in one piece. Even on these wood art pieces.. I was cutting and piecing the fabric together… so today I’m sharing all the details on how to use the Scan N Cut Roll Feeder that you can purchase to go with the new Scan n Cut DX.
My tutorial video should auto play in the sidebar as you scroll through this post.. Click it to get sound {I do actually talk in this video} If you don’t see a video, disable any ad blockers you are running or try a different browser. As always, let me know in my FB group if you have any questions!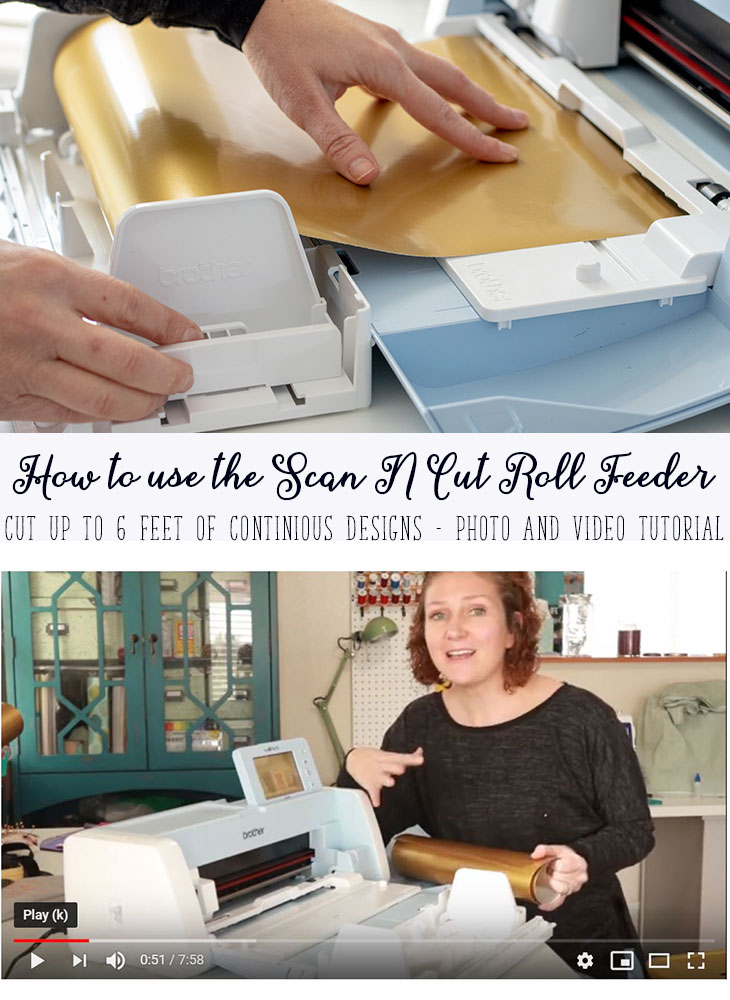
How to use the Scan N Cut roll feeder –
I love my Scan N Cut DX, I loved the previous model too, but there are a few great features of this new one I feel that I need to share with you. First, roll feeder option.. you can cut up to six feet of vinyl… more on that below..
Second, AUTO SENSOR blade… yep, no more setting any blade depth or pressure… it’s all automatic now and the auto blade can cut {pretty much any} material up to 3 mm thick.. that’s actually really thick!
Before we jump into all the details I do want to remind you that this roll feeder function is only available on the newest Scan N Cut models… the DX line.. So if you have a new Scan N Cut, you just need to grab the roll feeder to get started. You will also need vinyl by the roll. You can buy the Brother craft vinyl here… more on vinyl option below as well.
Let’s get started!
Scan N Cut Roll Feeder Set Up –
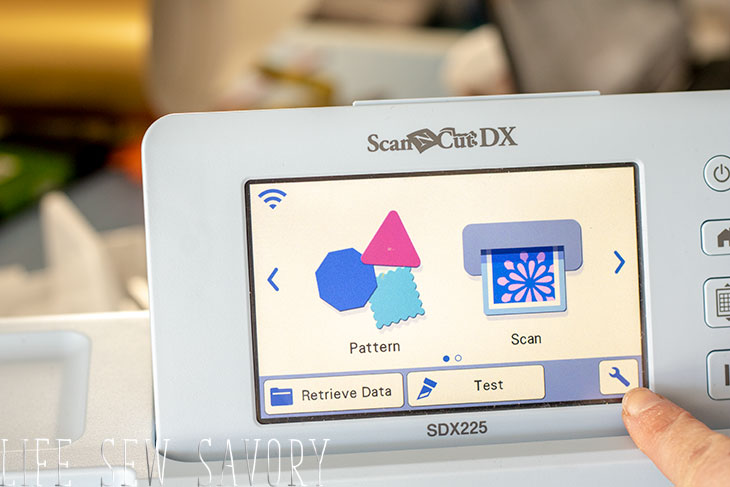
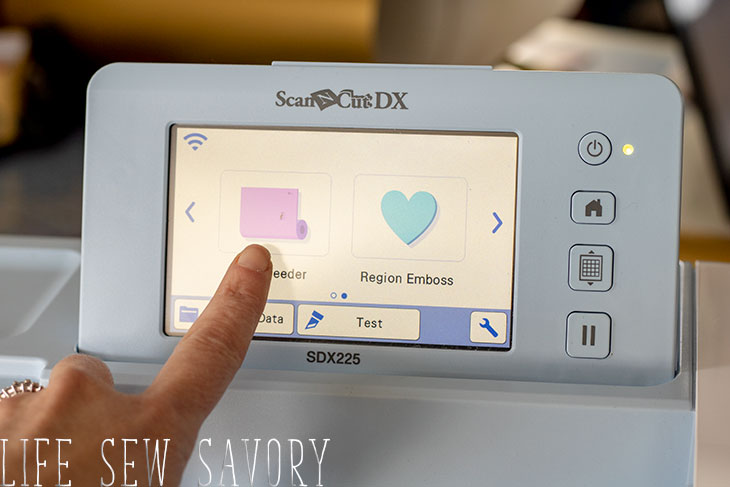
Once you have the equipment that you need you will need to activate you machine for the roll feeder function. Your roll feeder comes with a card for activation. From the home screen on your cutter, press the wrench button to begin the activation process.
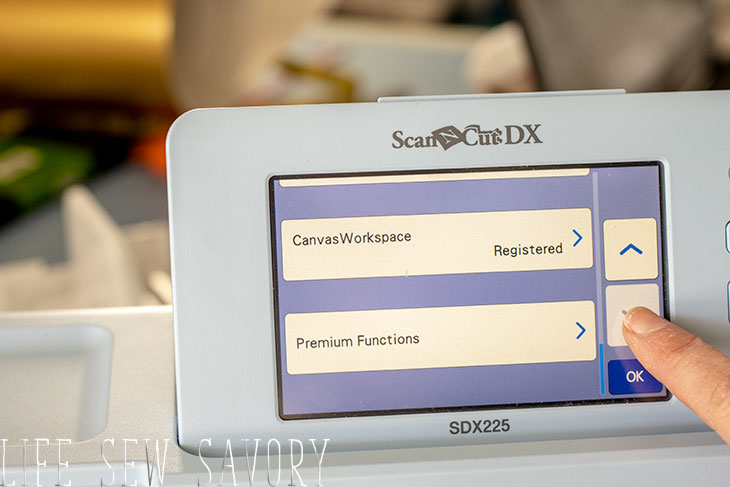
Then scroll down to where you see the premium functions button. Roll feeder is one of the options under this tab and you will be able to enter your activation number here on the screen. When you have entered the number head back to the home screen.
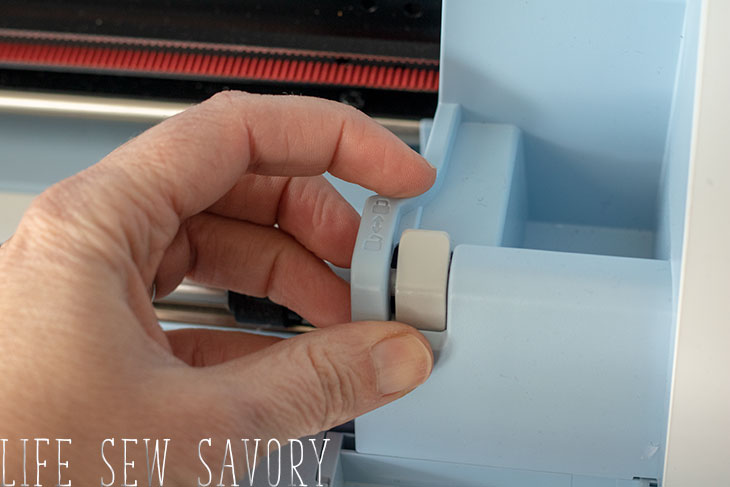
Next step is to change the feed rollers to be able to take the vinyl without a mat. You will need to switch these rollers back and forth every time you use the roll feeder and then change back to mat cutting. Unlock the tab to the right of your mat area.
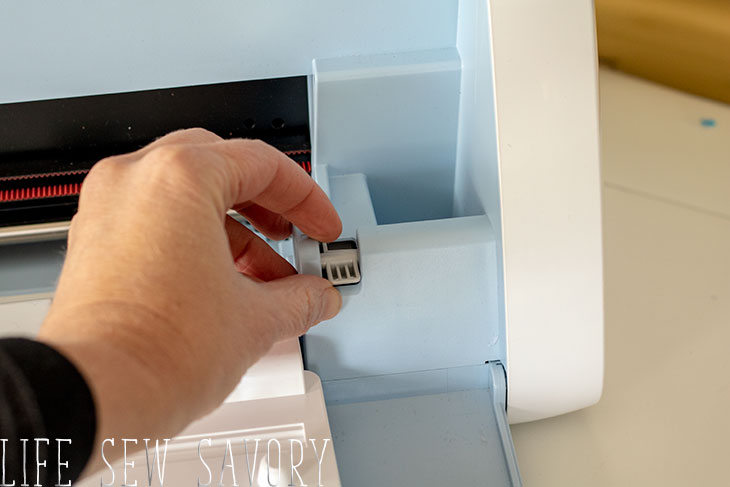 Then turn the actual roller to unlock. You will need two hands for this, otherwise it just spins. hold the black roller still in one hand and use the other to unlock the roller.
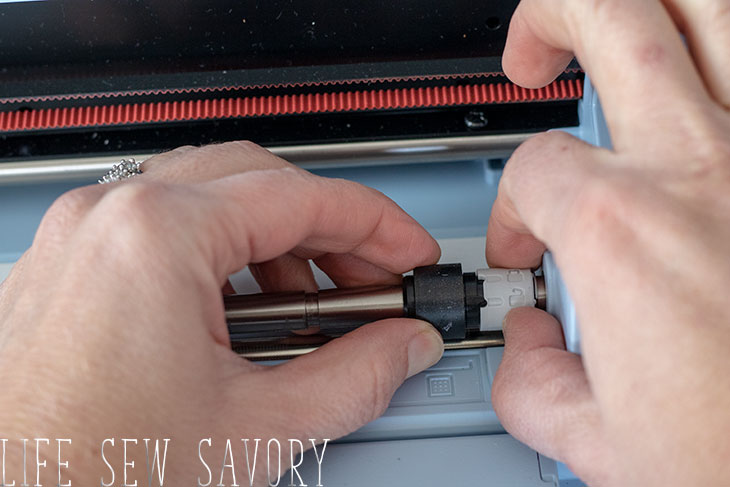
Slide the black piece to the left as far as it will go, then lock the roller into place.
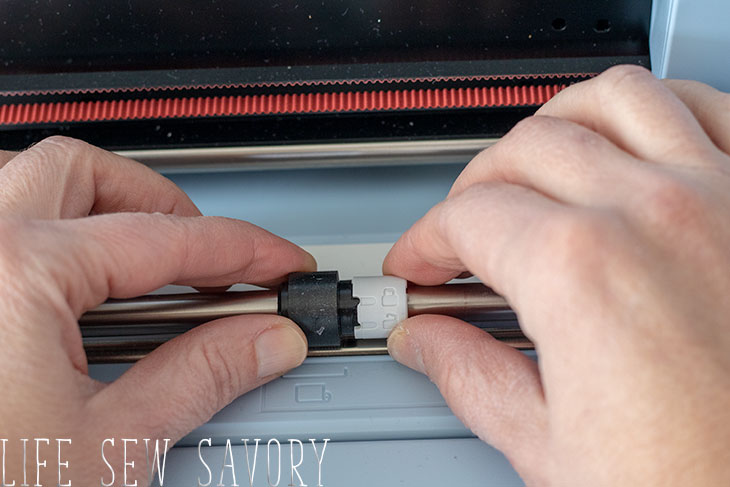
Then flip the main lock back up into place. Now you are ready to complete the installation of the roller attachment.
After you have put in your installation code you will not see roll feeder as an option when you scroll over on the right side of the home screen.
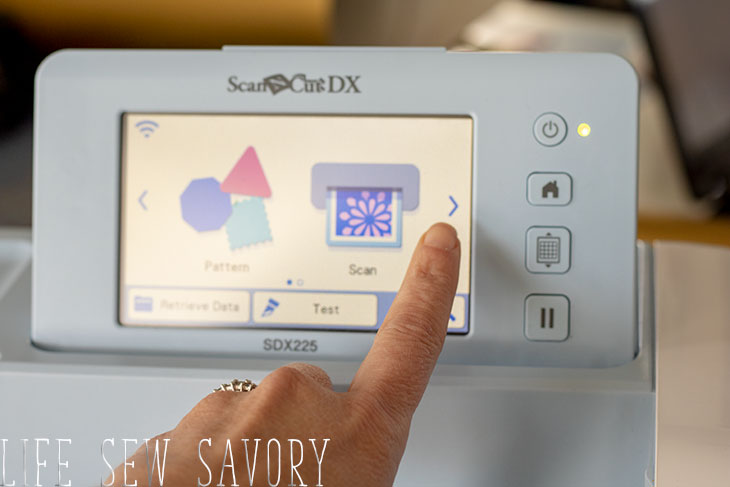
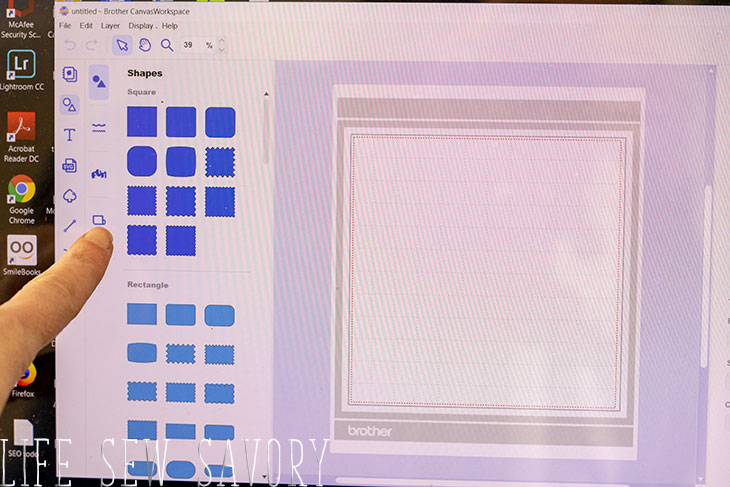
You will need to access your designs and begin your project through this button on the home screen. There is one scroll pattern built in that you can cut using the machine alone. If you want to use other designs, or one you have made you will need to use the Brother Canvas Workspace as shown below.
In Canvas Workspace push the little roller button as shown below.
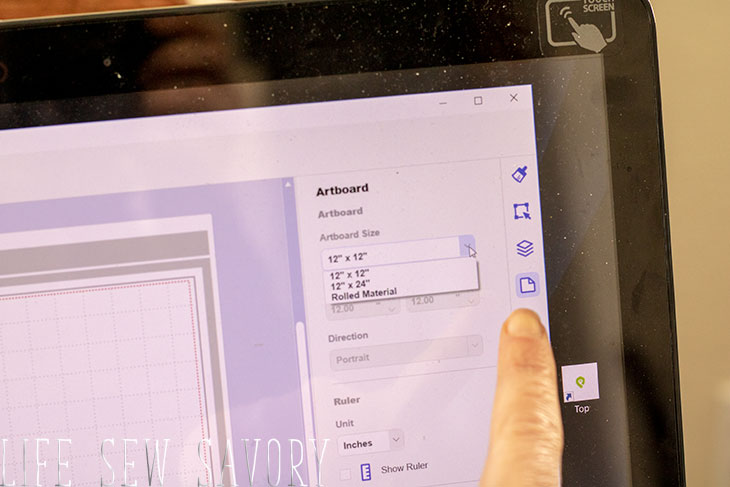
Also over on the artboard menu, change the size of you mat to rolled material AND change it to the length of your roll. It can be any length up to six feet. Mine was 4 feet, or 48″ so I set this length before importing the SVG file I had designed for my project.
Finish setting up the machine by clicking the two pieces into place. The top piece goes over the rollers.
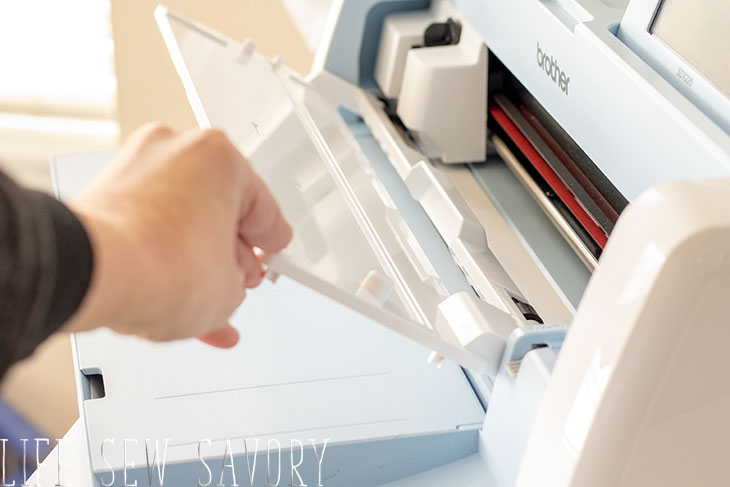
And the bottom roller goes into the two holes on the door of the Scan N Cut.
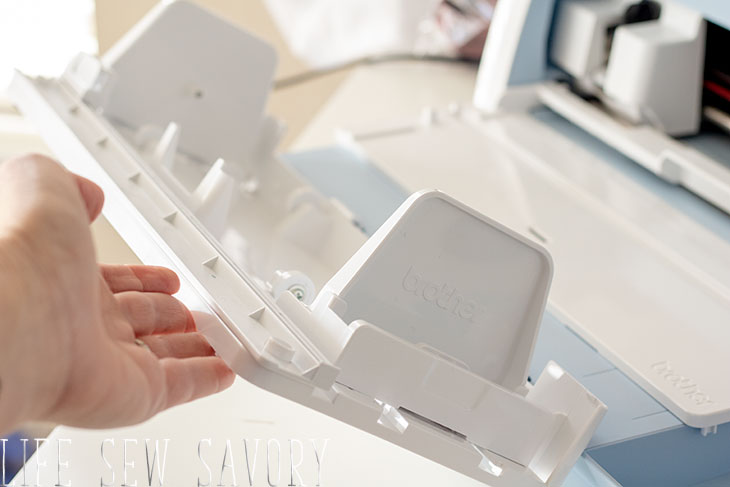
Now you are set up like this and all ready to go. Navigate to the roll feeder button on the home screen and once there you can import the files that you have sent over from Canvas Workspace.
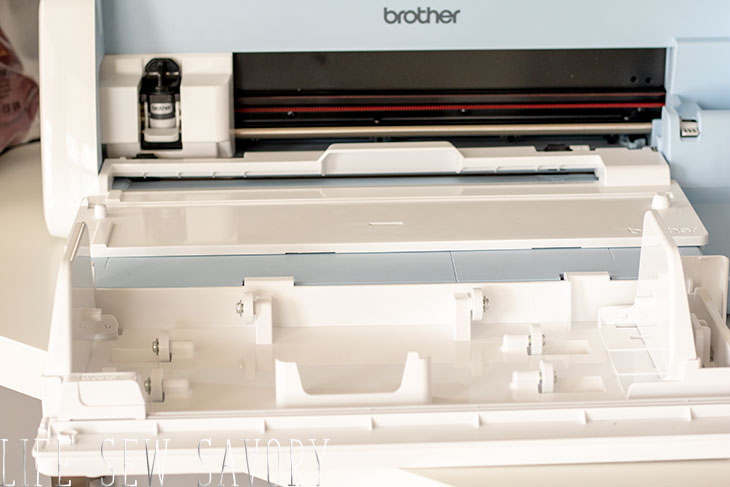
Place you rolled vinyl into the roller holder and adjust the width to hole the vinyl securely. You roll of vinyl can be longer than your project and should be at least 6″ longer than you need.
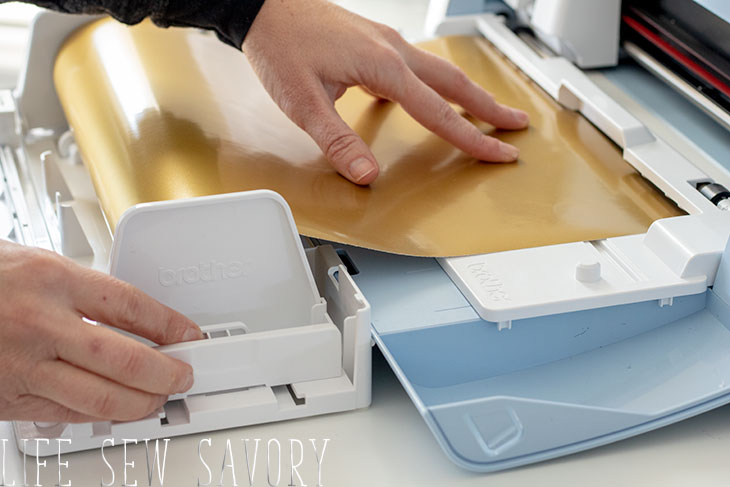
You will need to have room on both sides of the scan n cut as the vinyl goes back and forth through the blade.
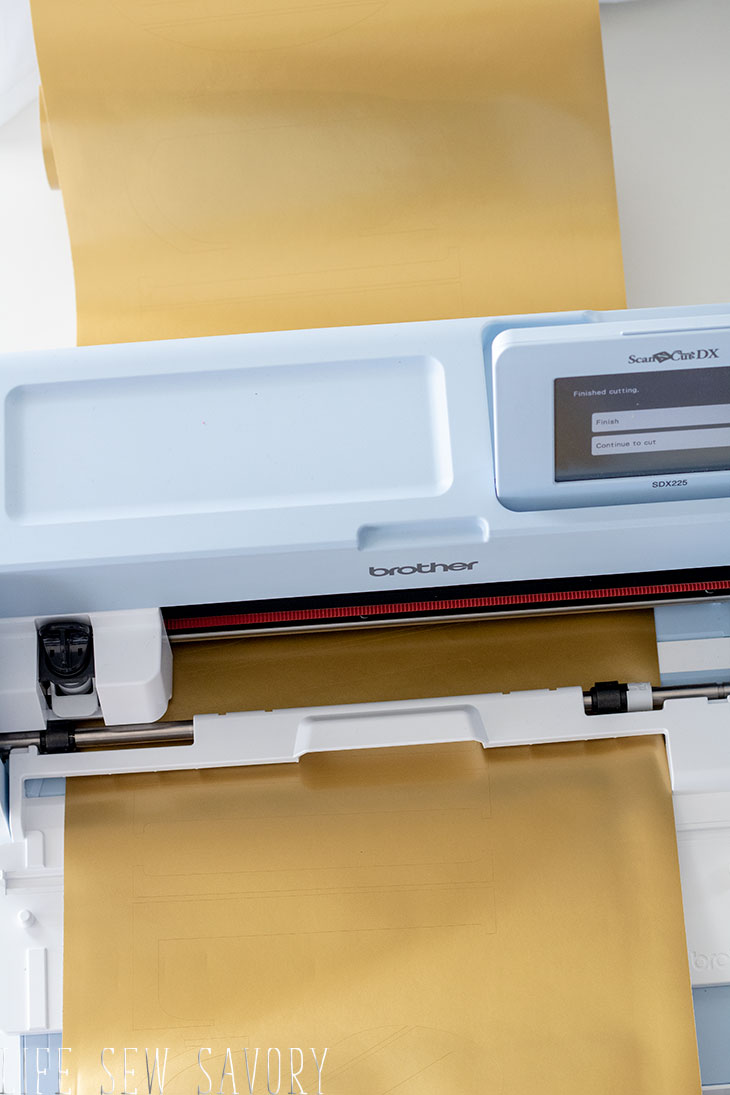
Here are my four feet long cuts after I have weeded the design. SO fun to be able to cut this big. Use transfer tape to apply your cut vinyl to the final display area. I was making a big sign for our school gala. 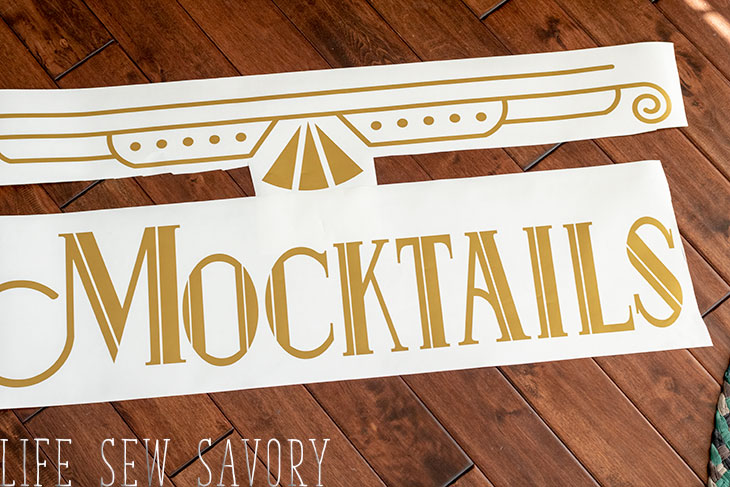
Here’s my final sign! It turned out so cute and I can’t wait to see it in action this weekend at the Gala. A friend and I are doing the decorations so I will have other photos to share when we finish everything.

Other Scan N Cut projects you may enjoy:
Using the offset features for layered text



Leave a Reply