
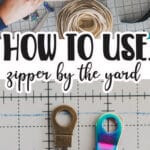
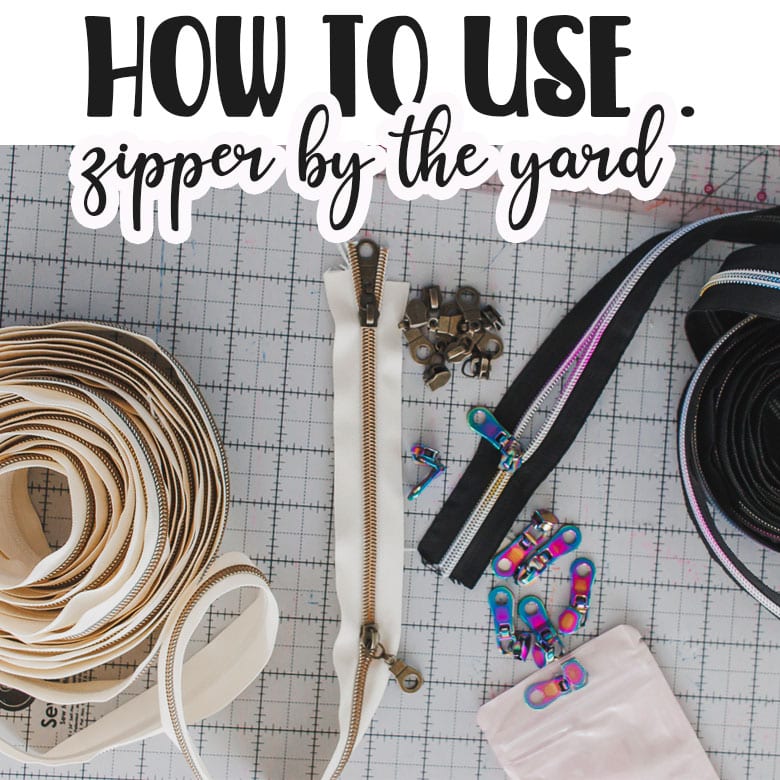
inside: learn tips and tricks for using zipper tape by the yard. Not sure how to use zipper by the yard? All the details here! Save money by purchasing zipper by the yard and learn how to use it here.
When you use zippers often, you know the price can add up. Not only that, but I’m always needed different lengths, so buying a large pack of one size isn’t always efficient either. A few years ago I started buying zipper by the yard and now its {almost} all I use for bag making and other zipper projects. Today I’m going to give you some tips for using these kind of zippers.
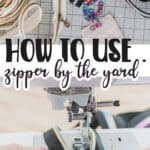
Zipper tab video quick look
Here is a quick video tutorial of what is in the photos below. I will saw it was very hard to video the machine method, so the photos are better to look at for that. Between the photos and video you should be able to see both methods well. If you can’t see the video check your ad blocker or switch browsers.
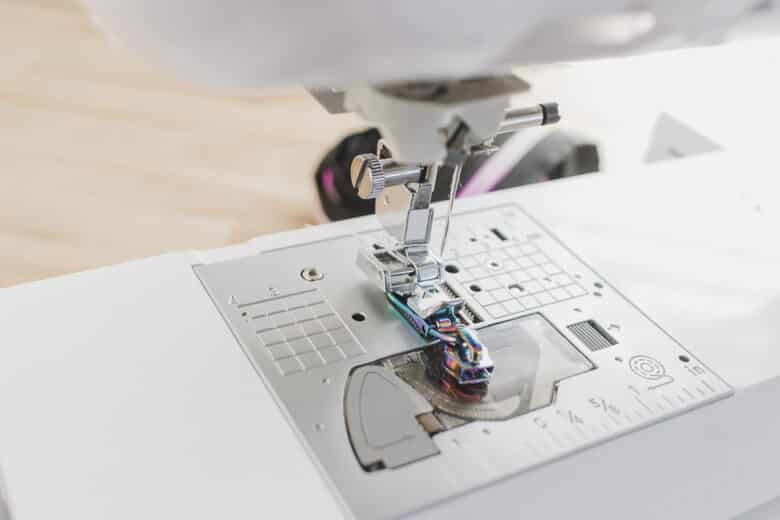
How to use Zipper by the yard
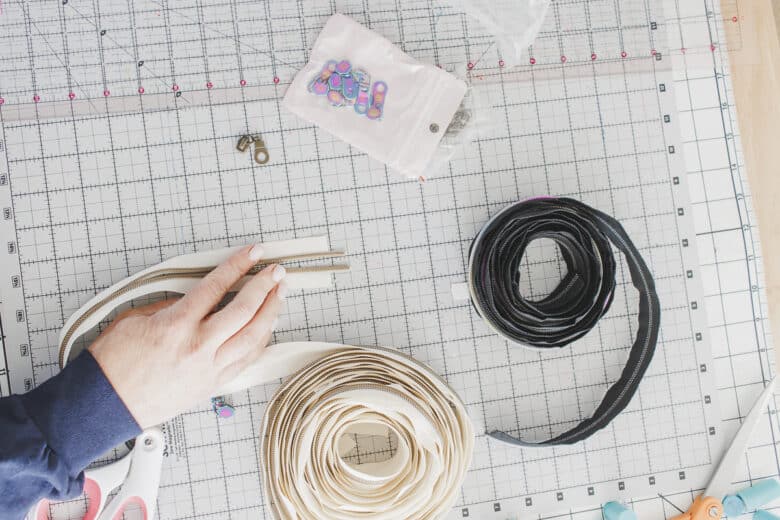
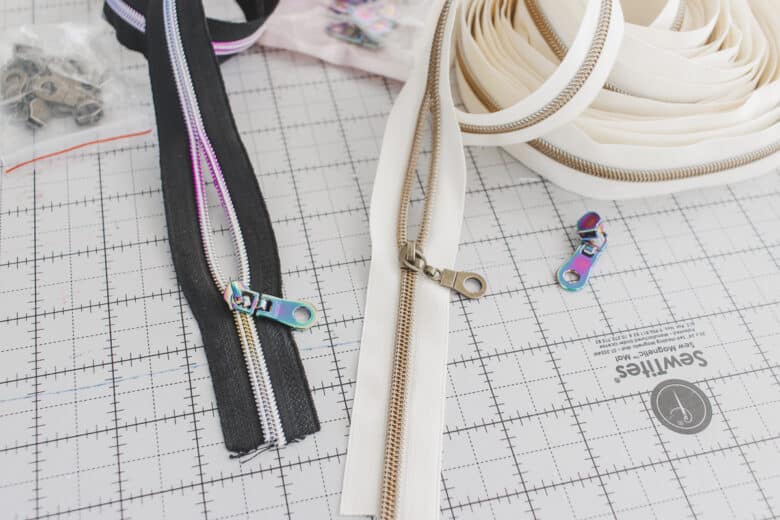
I love the cost factor and the flexibility of zipper by the yard. In the photo below you can see I’ve created a single normal zipper and a double zipper {great for bags and sweatshirts} I’ll show you how to use the zipper tabs to create each kind of zipper, plus how to add the tabs to the tape.
Where to buy Zippers and Tabs
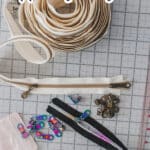
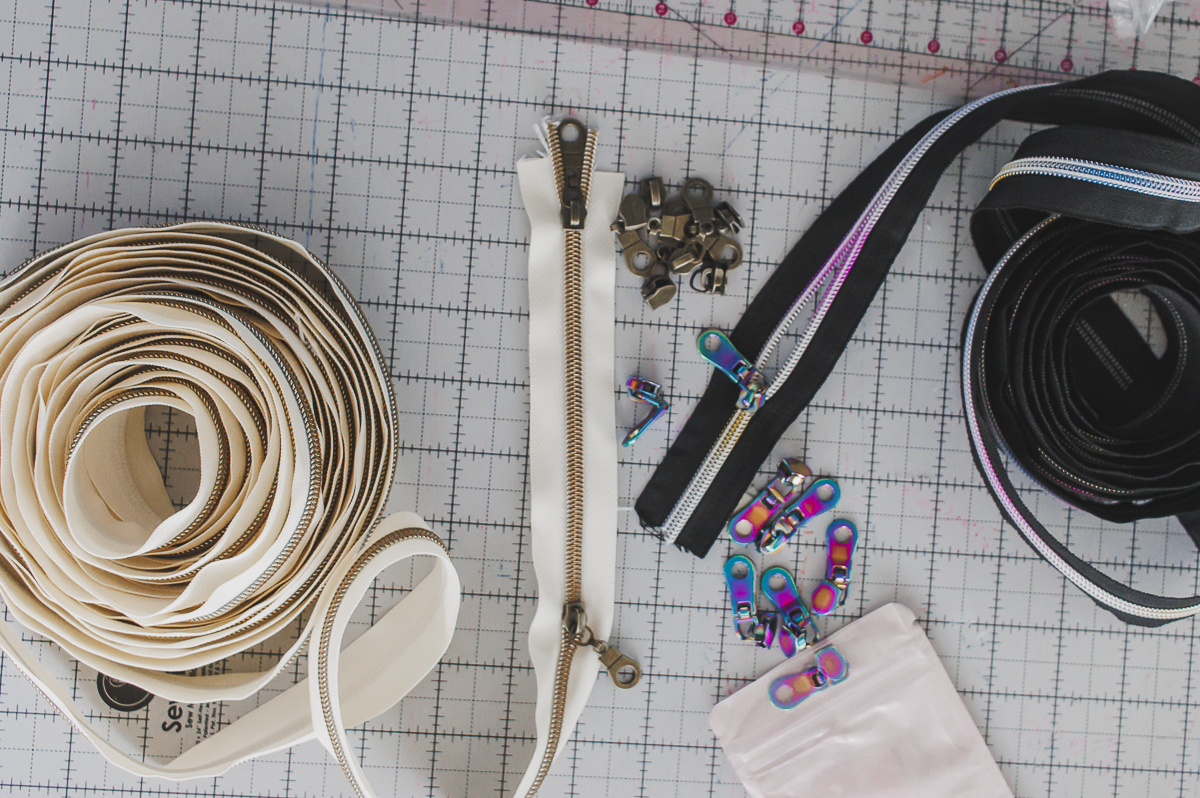
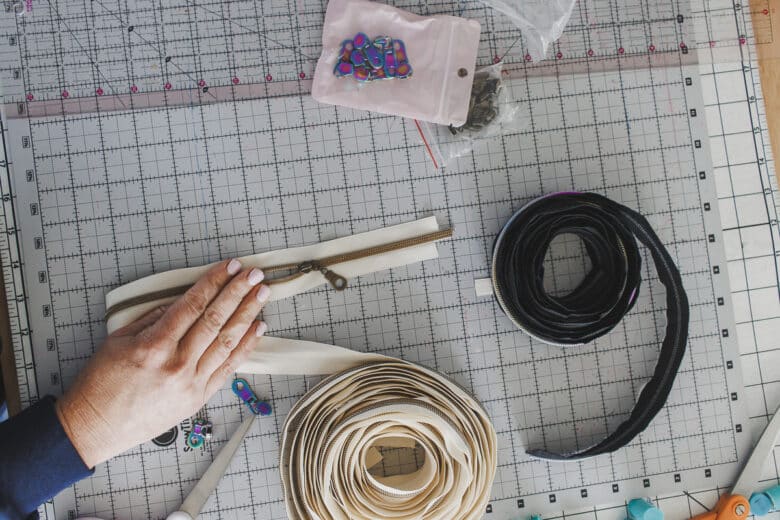
These are the zippers and tabs seen here in this post. I buy them from Amazon. There are so many colors and options, here are just two basic colors that I have bought.
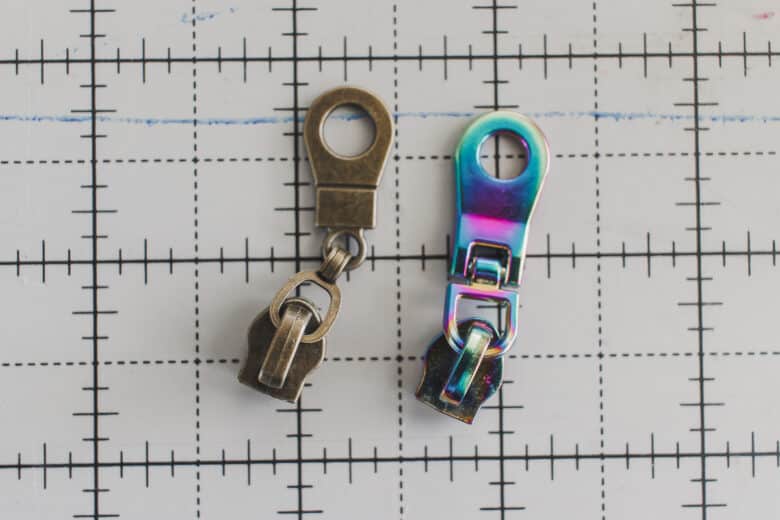
Let’s first look at the tabs and tape and talk about what they look like.
Zipper tape: has a right side and a wrong side. The right side has the teeth showing. The wrong side will have no teeth or just barely showing teeth.
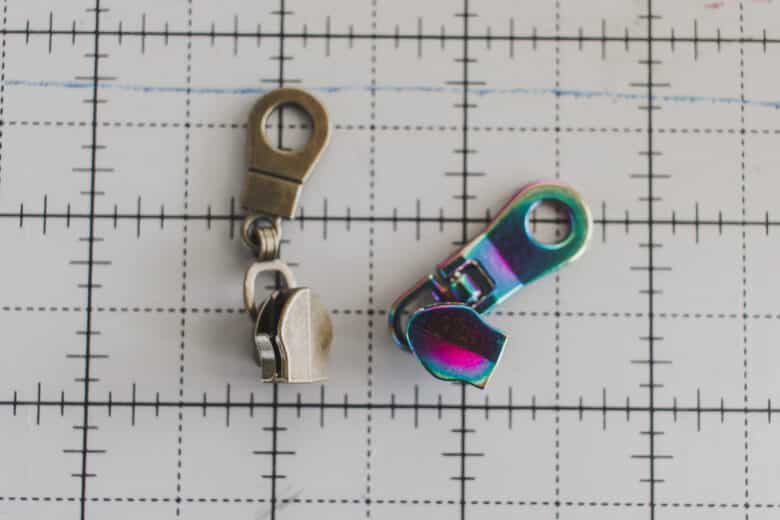
Zipper tabs: the wrong side is flat and the right side has the bump attached to the pull.
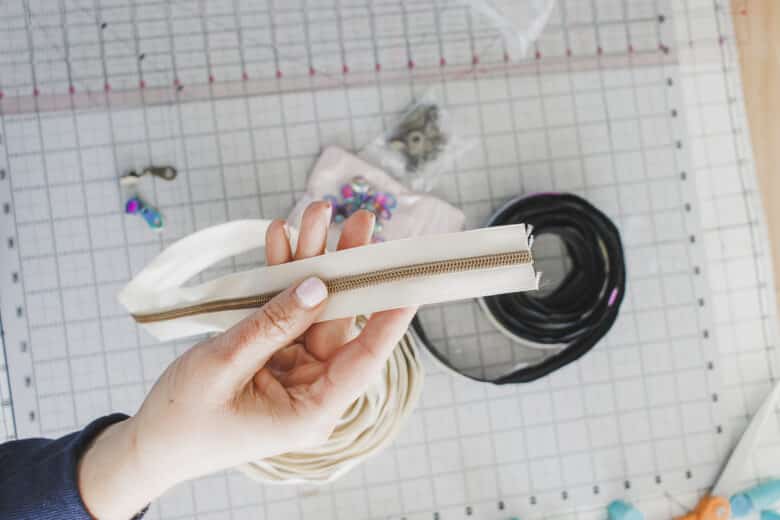
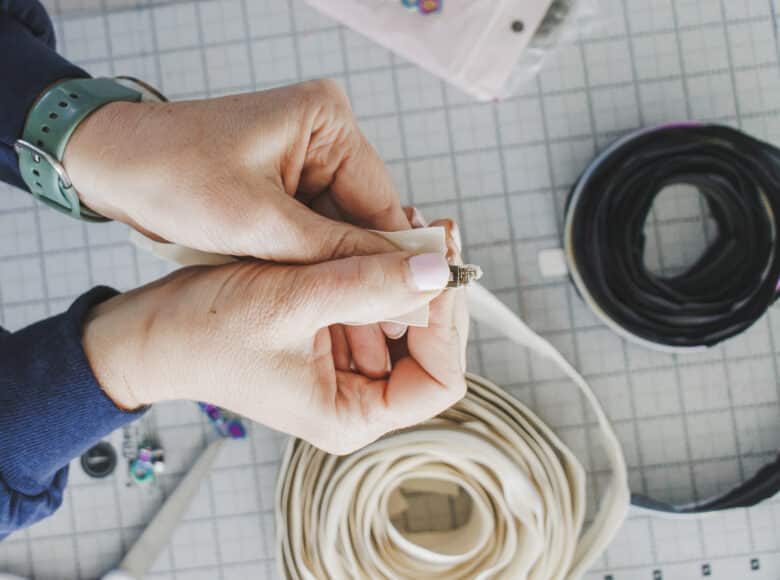
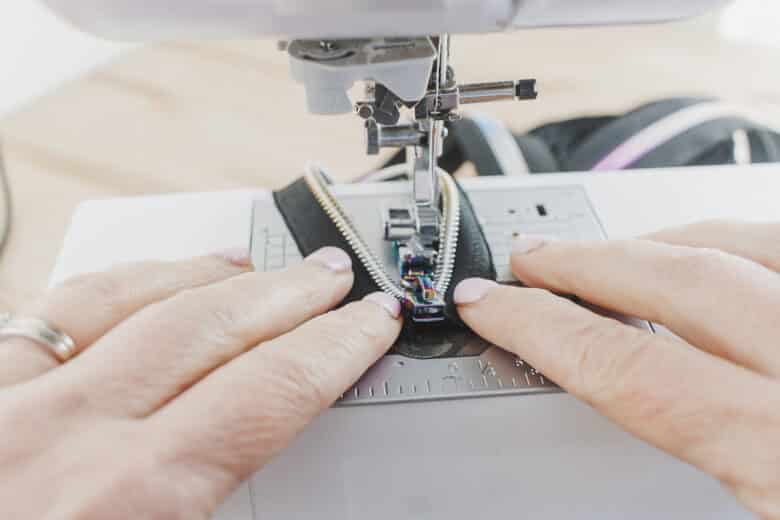
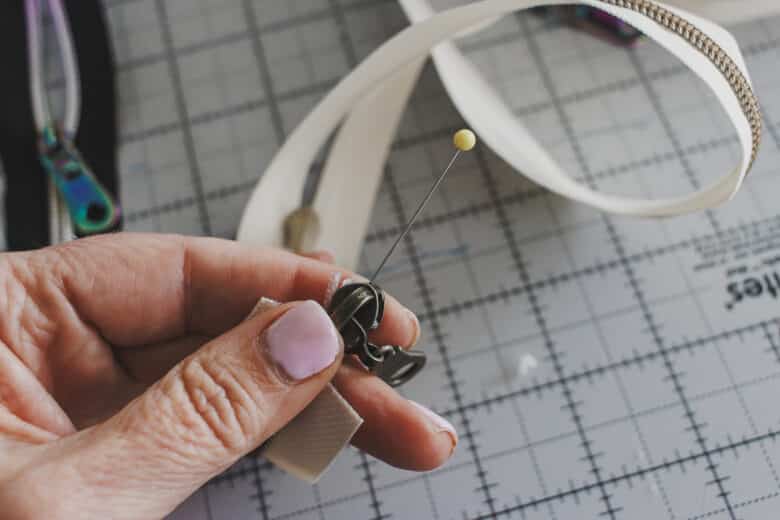
When putting the zipper tabs on the zipper tape I always work with the teeth AND the tape right side up towards me. Let’s talk about thread the tabs onto the zipper tape. NOTE: There is actually a tool that can help with this, but I just have found other methods.
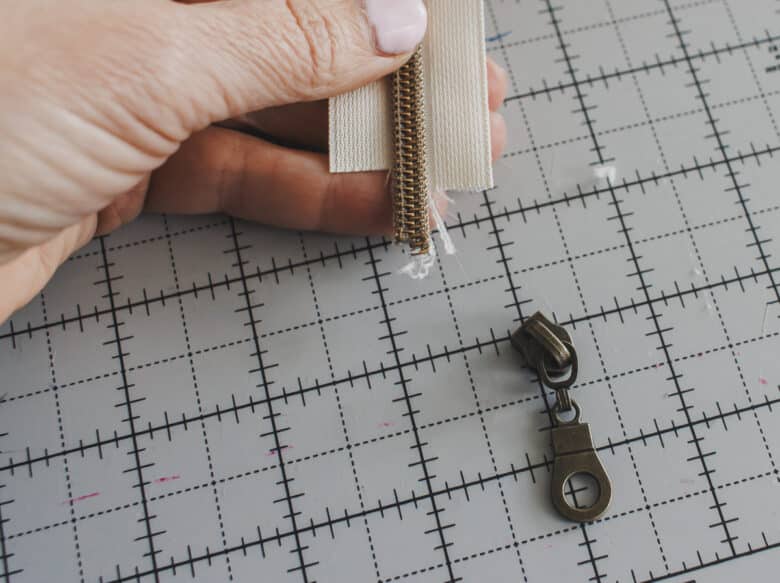
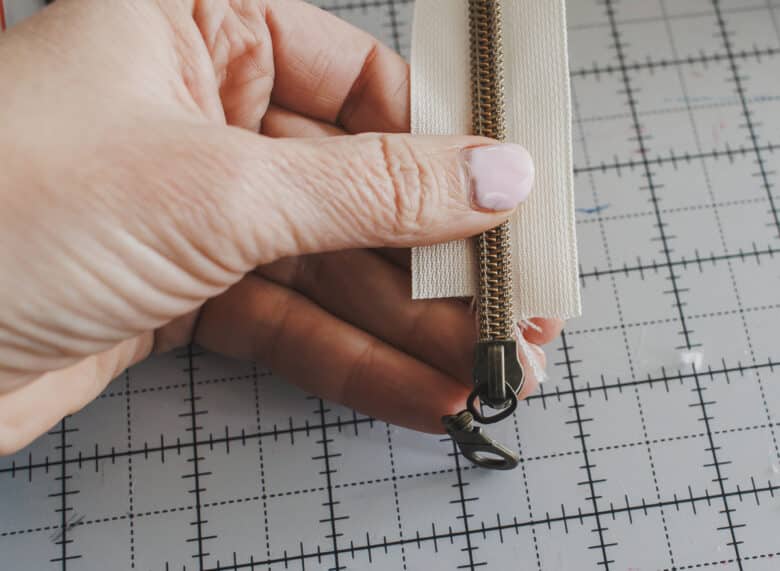
Method 1: This is the one I primarily use and it works for me. I cut about 1/2 inch of the fabric off either side of the zipper teeth. Then, with the curved side of the zipper facing the tape, insert on side just a tiny bit in the tab.
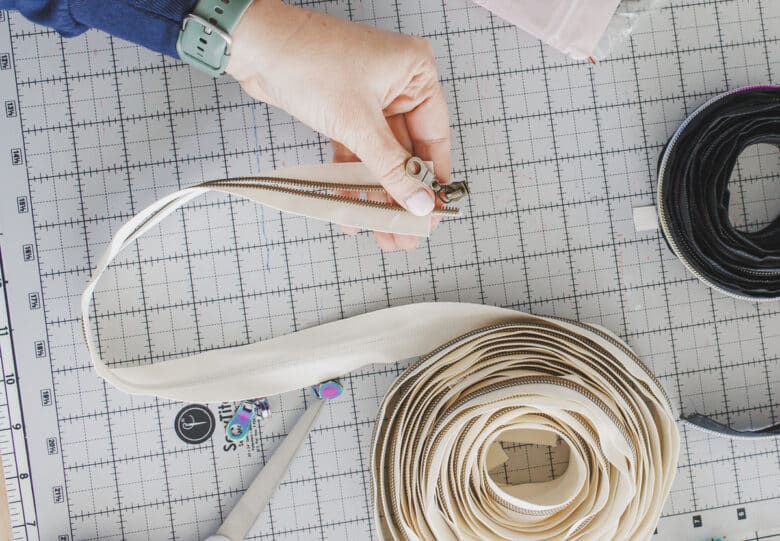
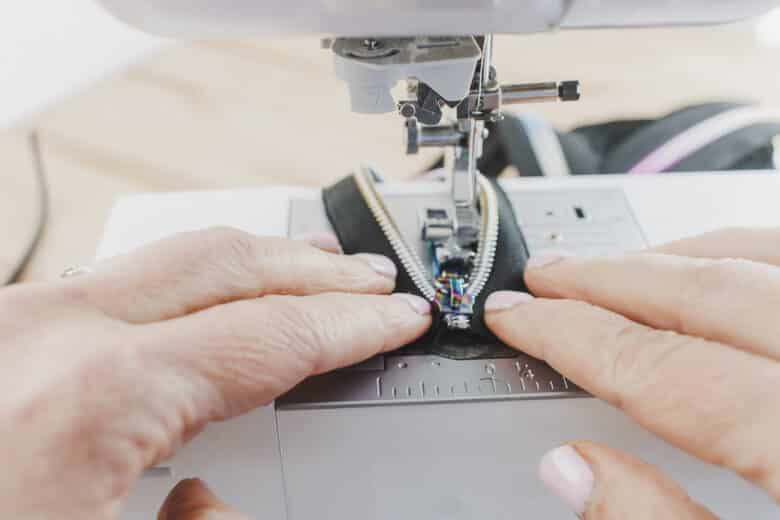
Then stick just a little bit of the other side of the teeth into the tab, try to have the same amount on each side. From there I grab the zipper tape with my left hand, just below the tab and hold firmly, with the other hand pull the tab down over the teeth. It should resist just a bit, then slide down.
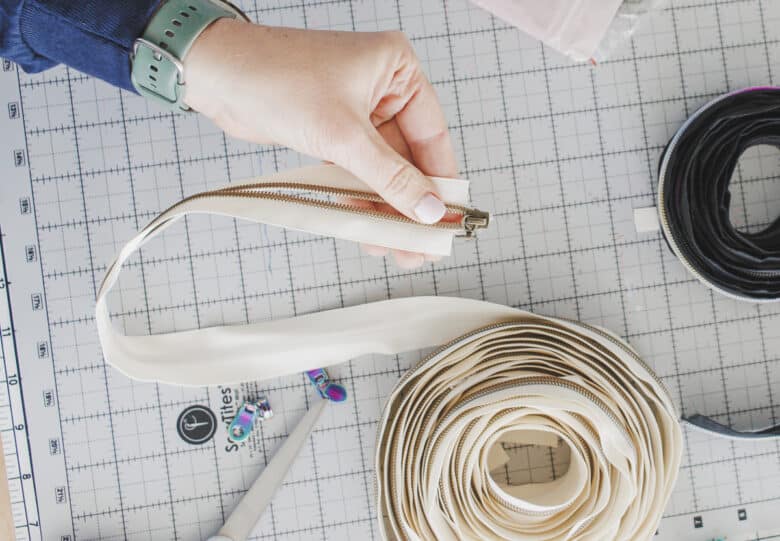
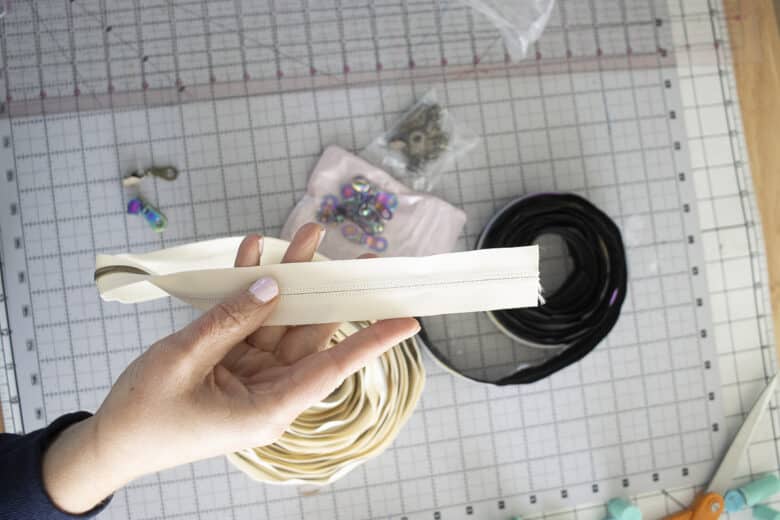
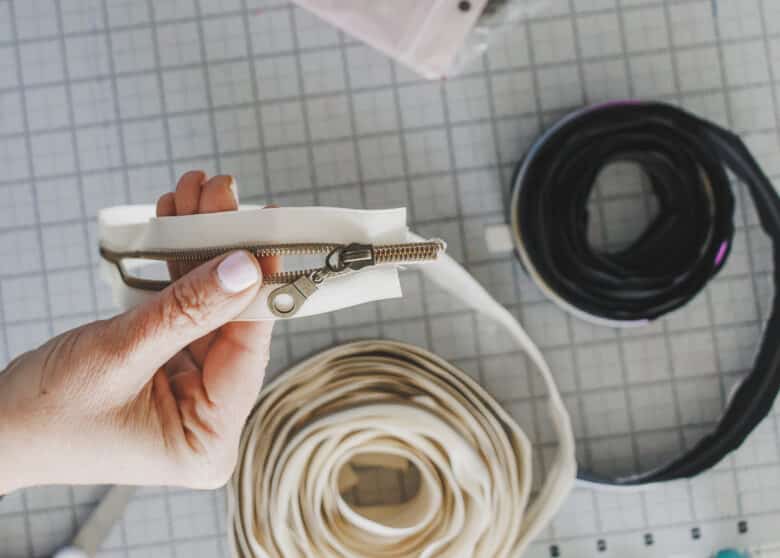
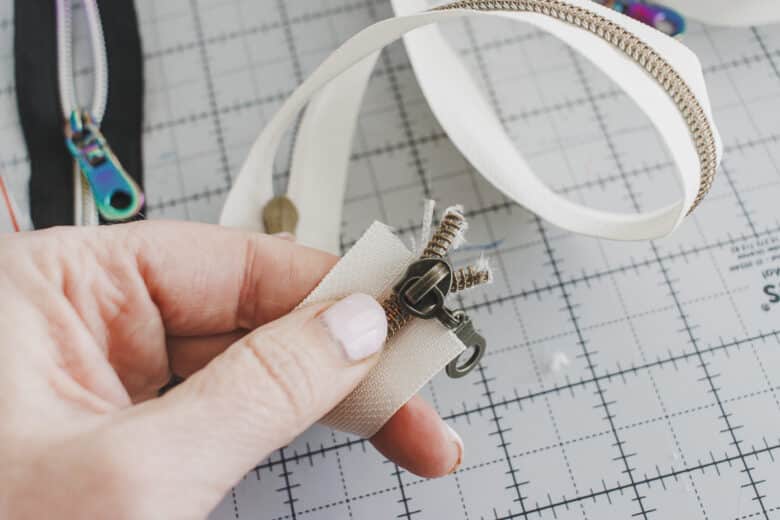
Once you have the tab in place you can add more tabs if you need more zippers or just cut the length you need. If you want to make a double zipper, those instructions are below. You can see my zipper tape ended up just a bit uneven, I just cut to even up when using.
Method 2:
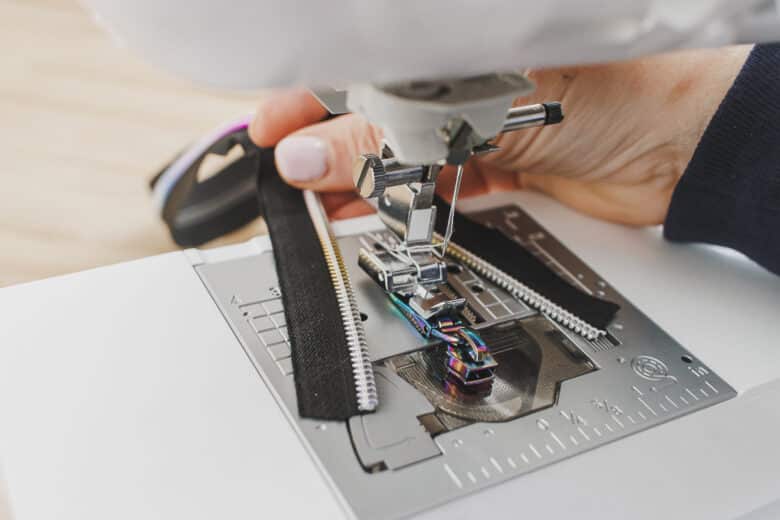
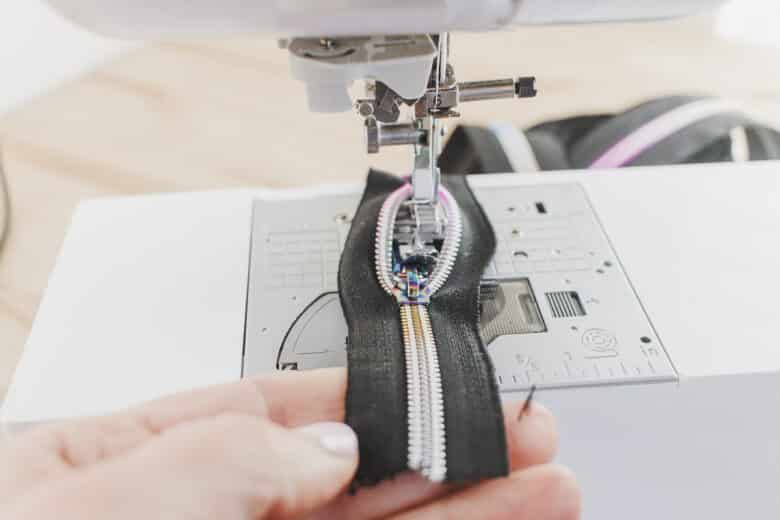
Here is another way to thread the zipper tab onto the tape. This method you do not cut the sides of the tape. Install your zipper foot onto your sewing machine. We will be using it as a clamp to hold the tab. With the right side of the zipper tab up, place it under the raised foot, then lower to hold it in place.
From the back side of the foot, separate the zipper a few inches. Thread just a bit of the teeth into one side of the tab.
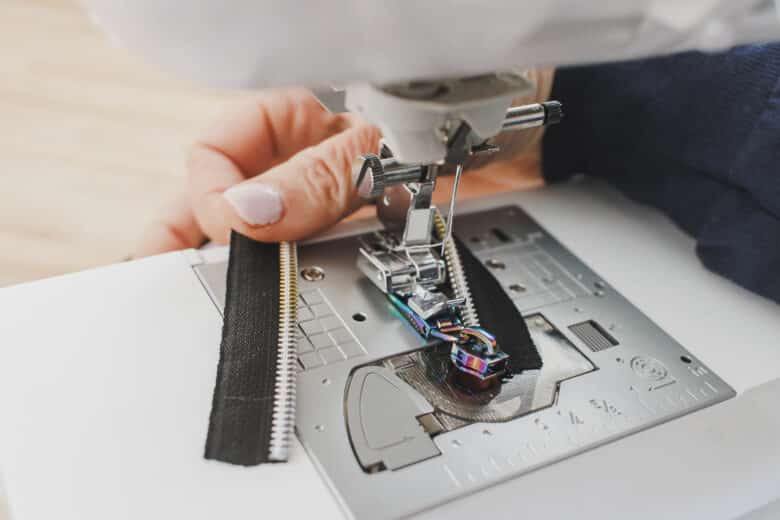
Add the other side of the teeth into second side of the tab. Grab both sides of the zipper tape.
Gently pull until you see the tape come out the bottom of the zipper tab. You may need to place one hand on the tab and one hand pull.

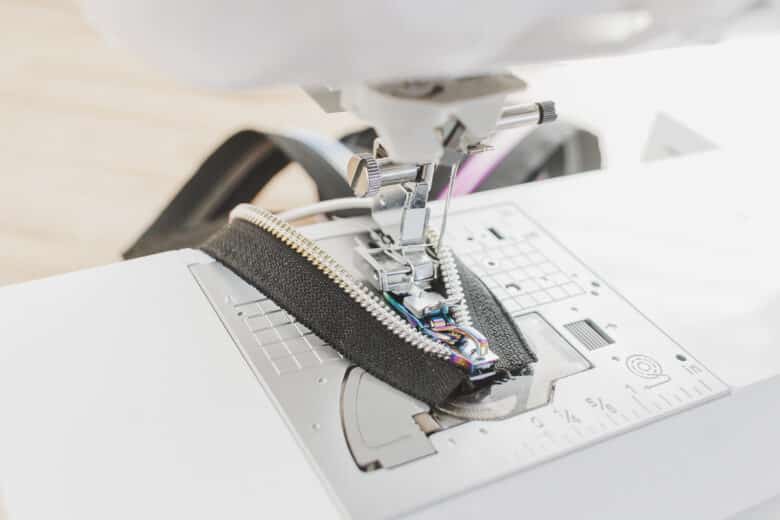
After the tab is securely on you can lift the pressure foot and remove the zipper.
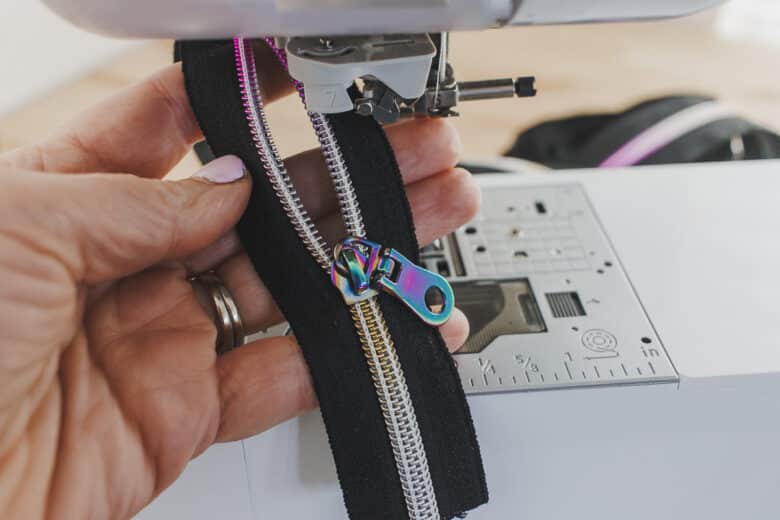
Those are two ways you can thread tabs onto zipper tape. On last thing to mention is how to add a second tab to a single zipper. In this case you want the flat ends of the tabs to be together. So the first tab you thread as above.
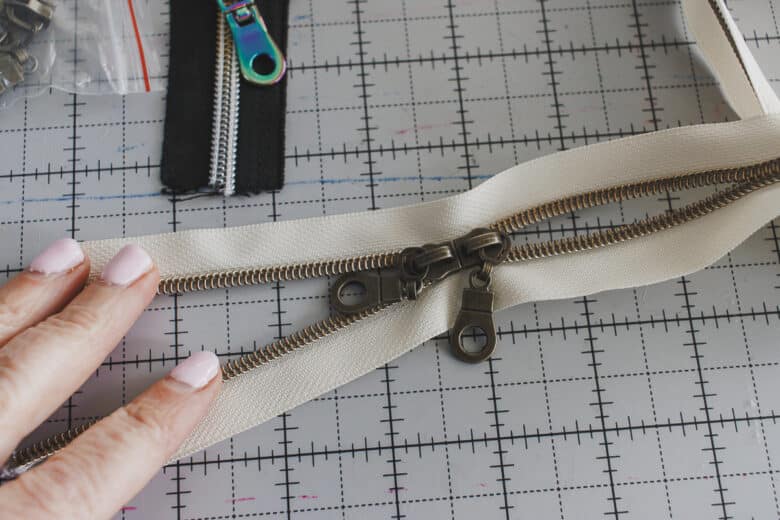
For the second tab you will completely close the zipper teeth. Use the tab already on the tape to help close the teeth if needed. With the flat edge of the tab towards the teeth, press the tab onto the closed teeth.
It will go in a bit, then stop. Use a pin or something else small to place inside the top of the tab and pry the teeth apart. Once you get it started the tab should slide onto the teeth.

Now you have a zipper that slides both ways and it perfect for bag making and/or sweatshirts.
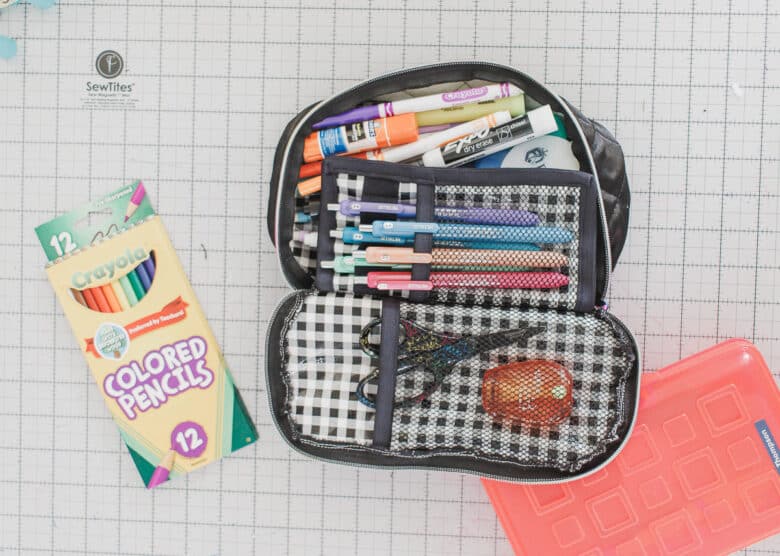
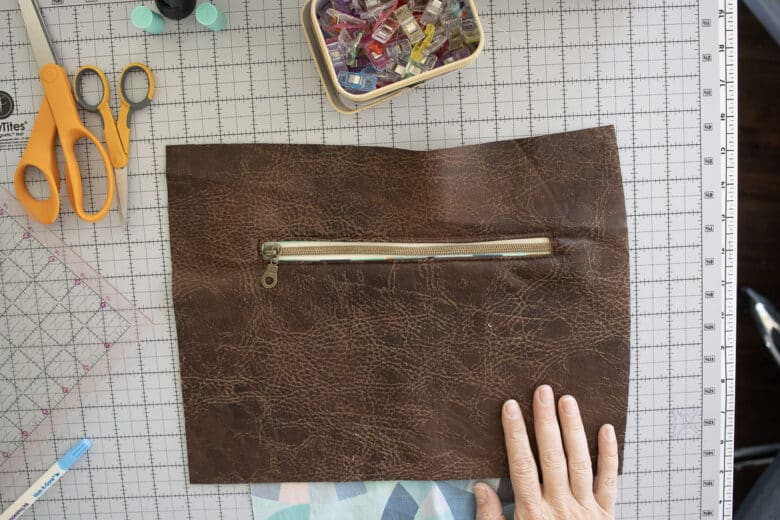
Projects to make with zippers
All of these projects below use zipper by the yard that I purchased and used just like described in the tutorial.
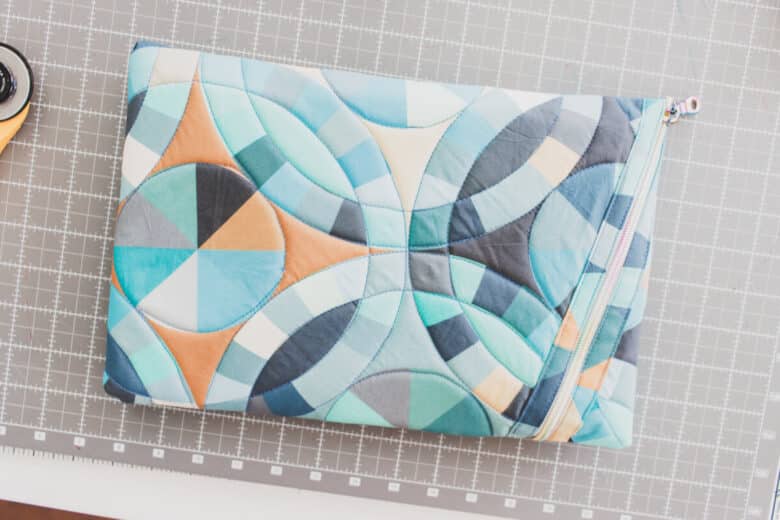
- School Pencil case with zipper
- Zipper pocket for bag making
- Diagonal Zipper case
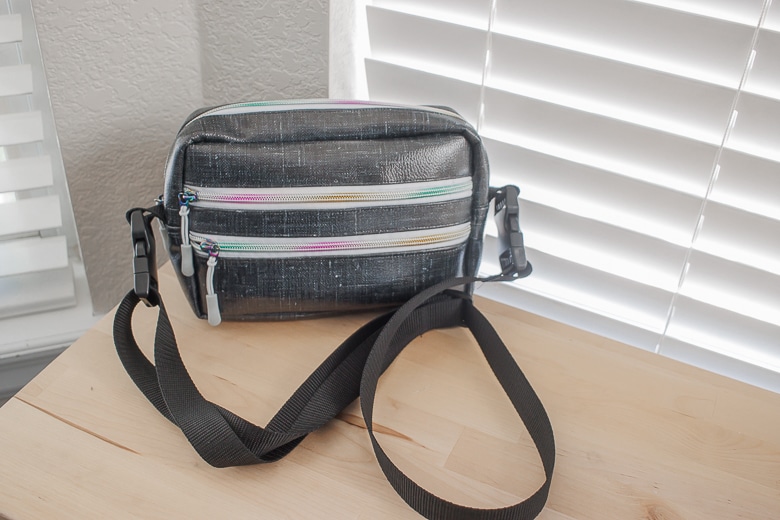
- Zipper cross body bag free pattern


Leave a Reply