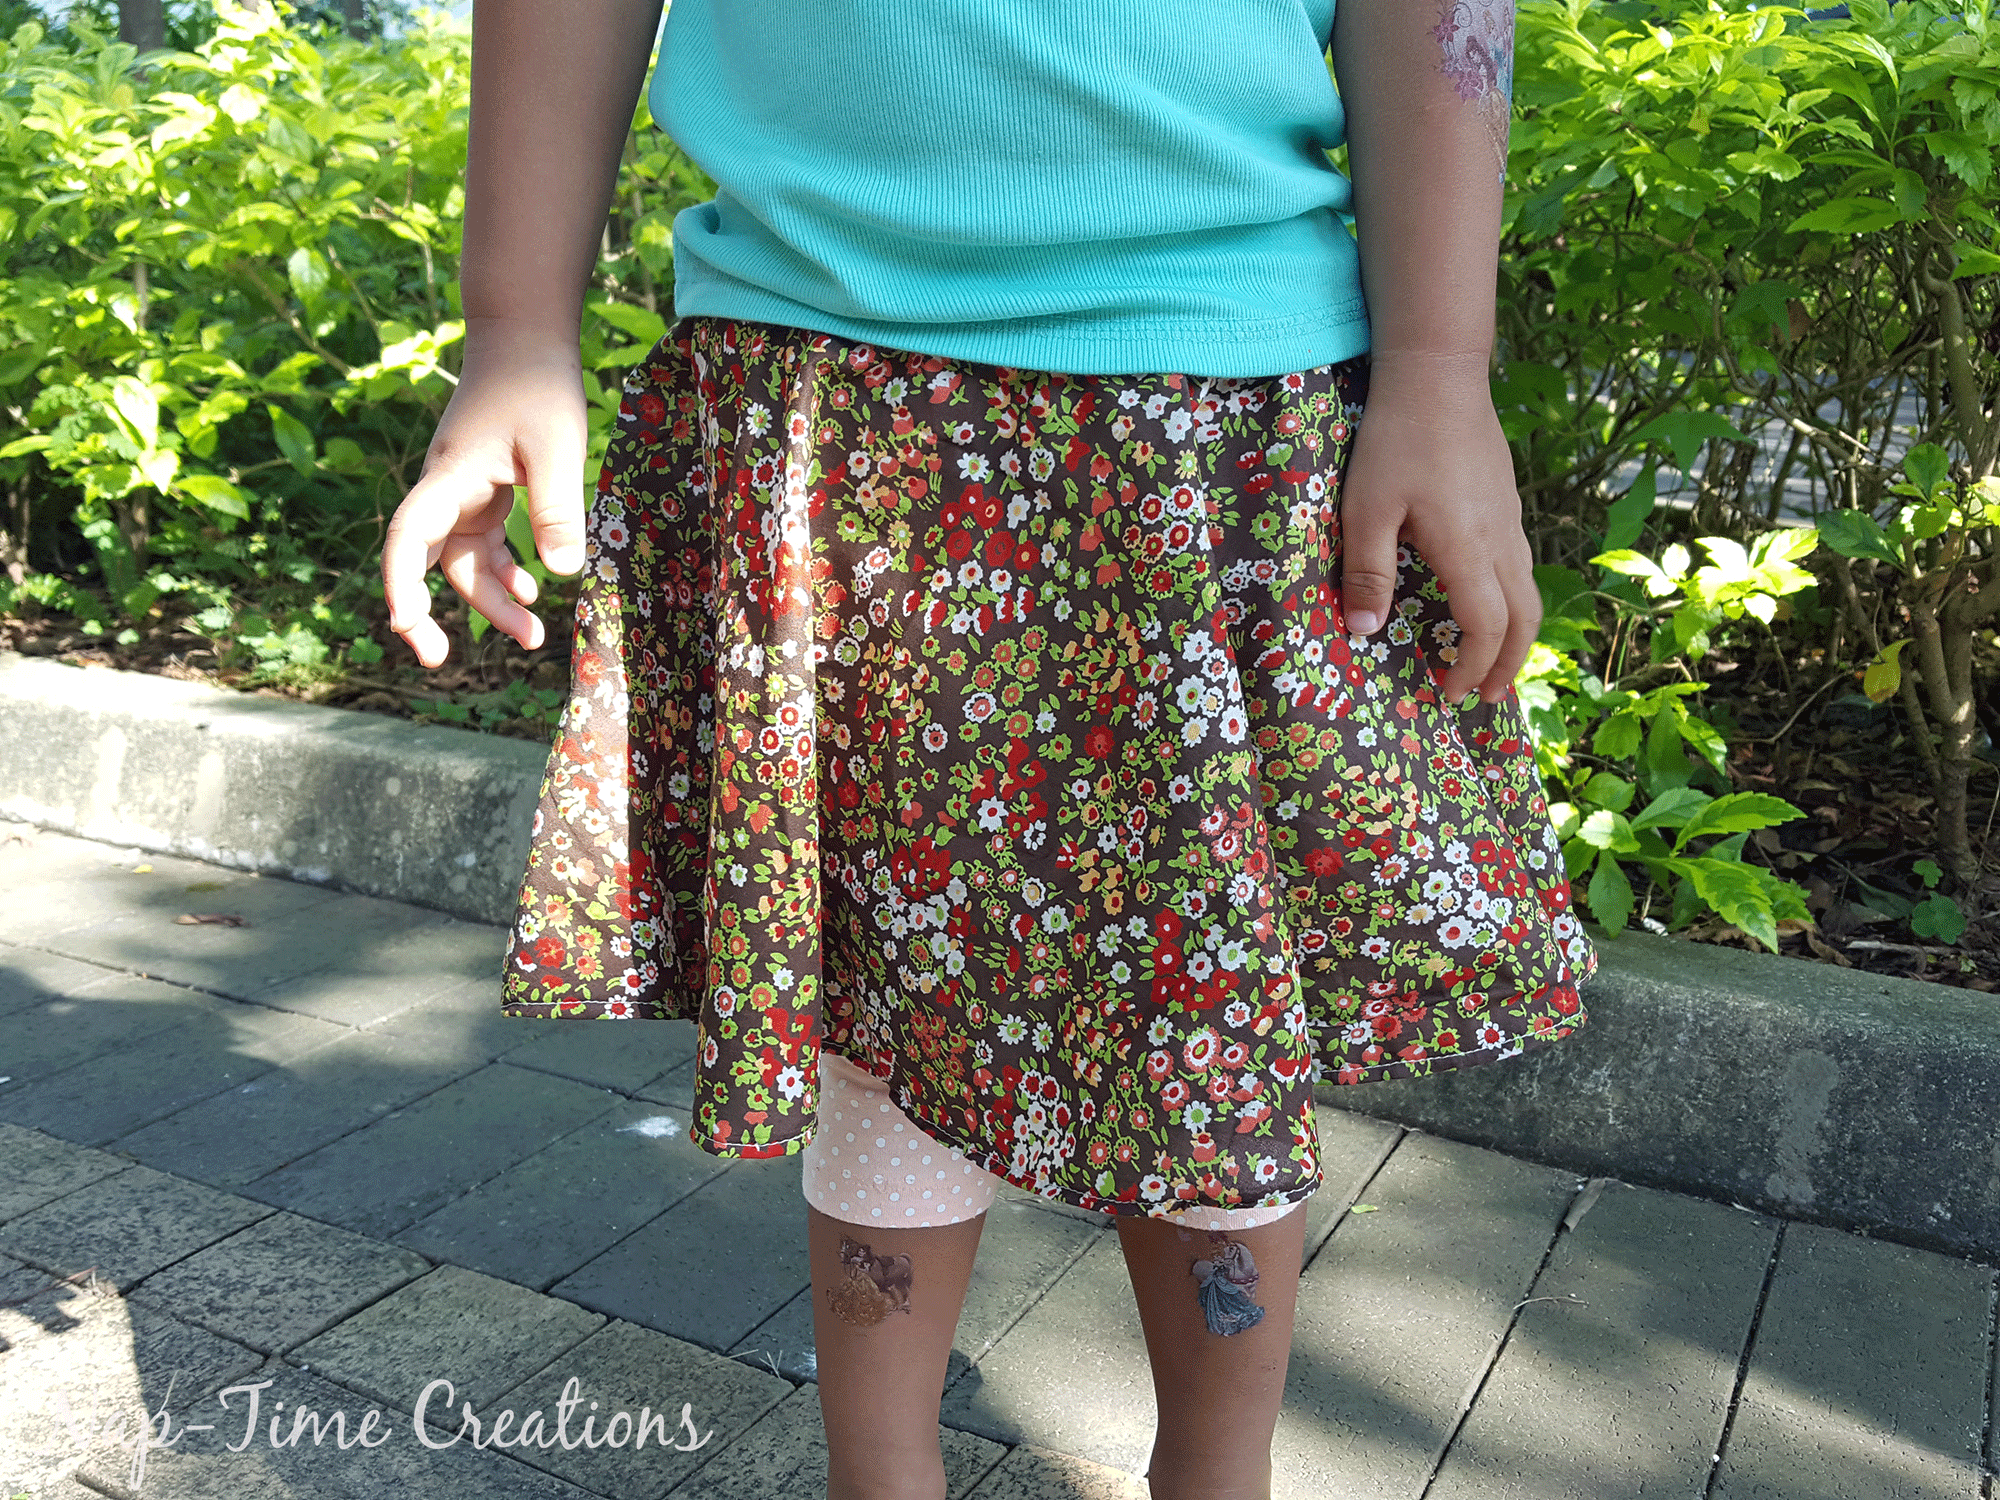
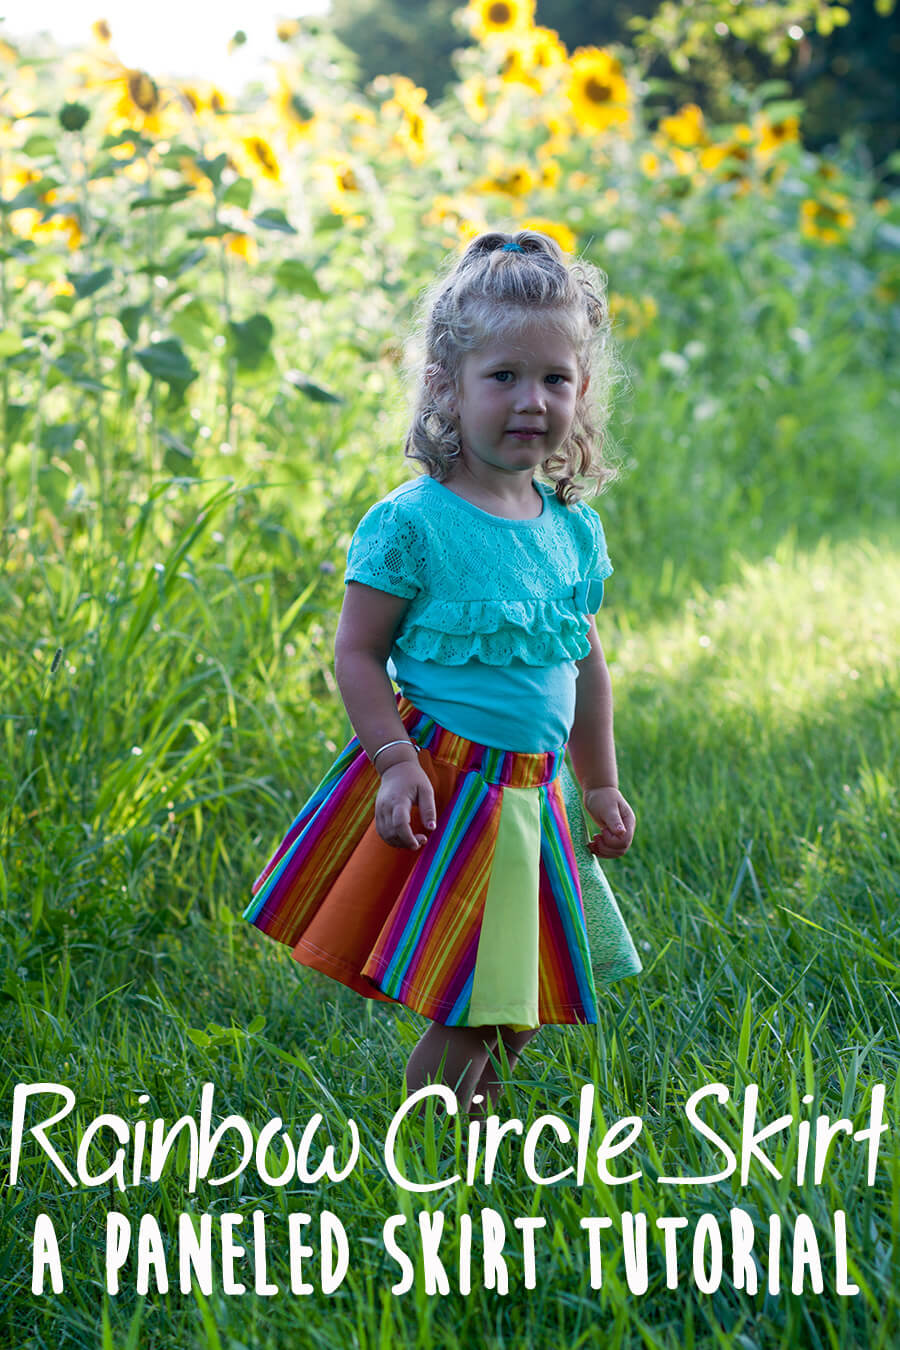
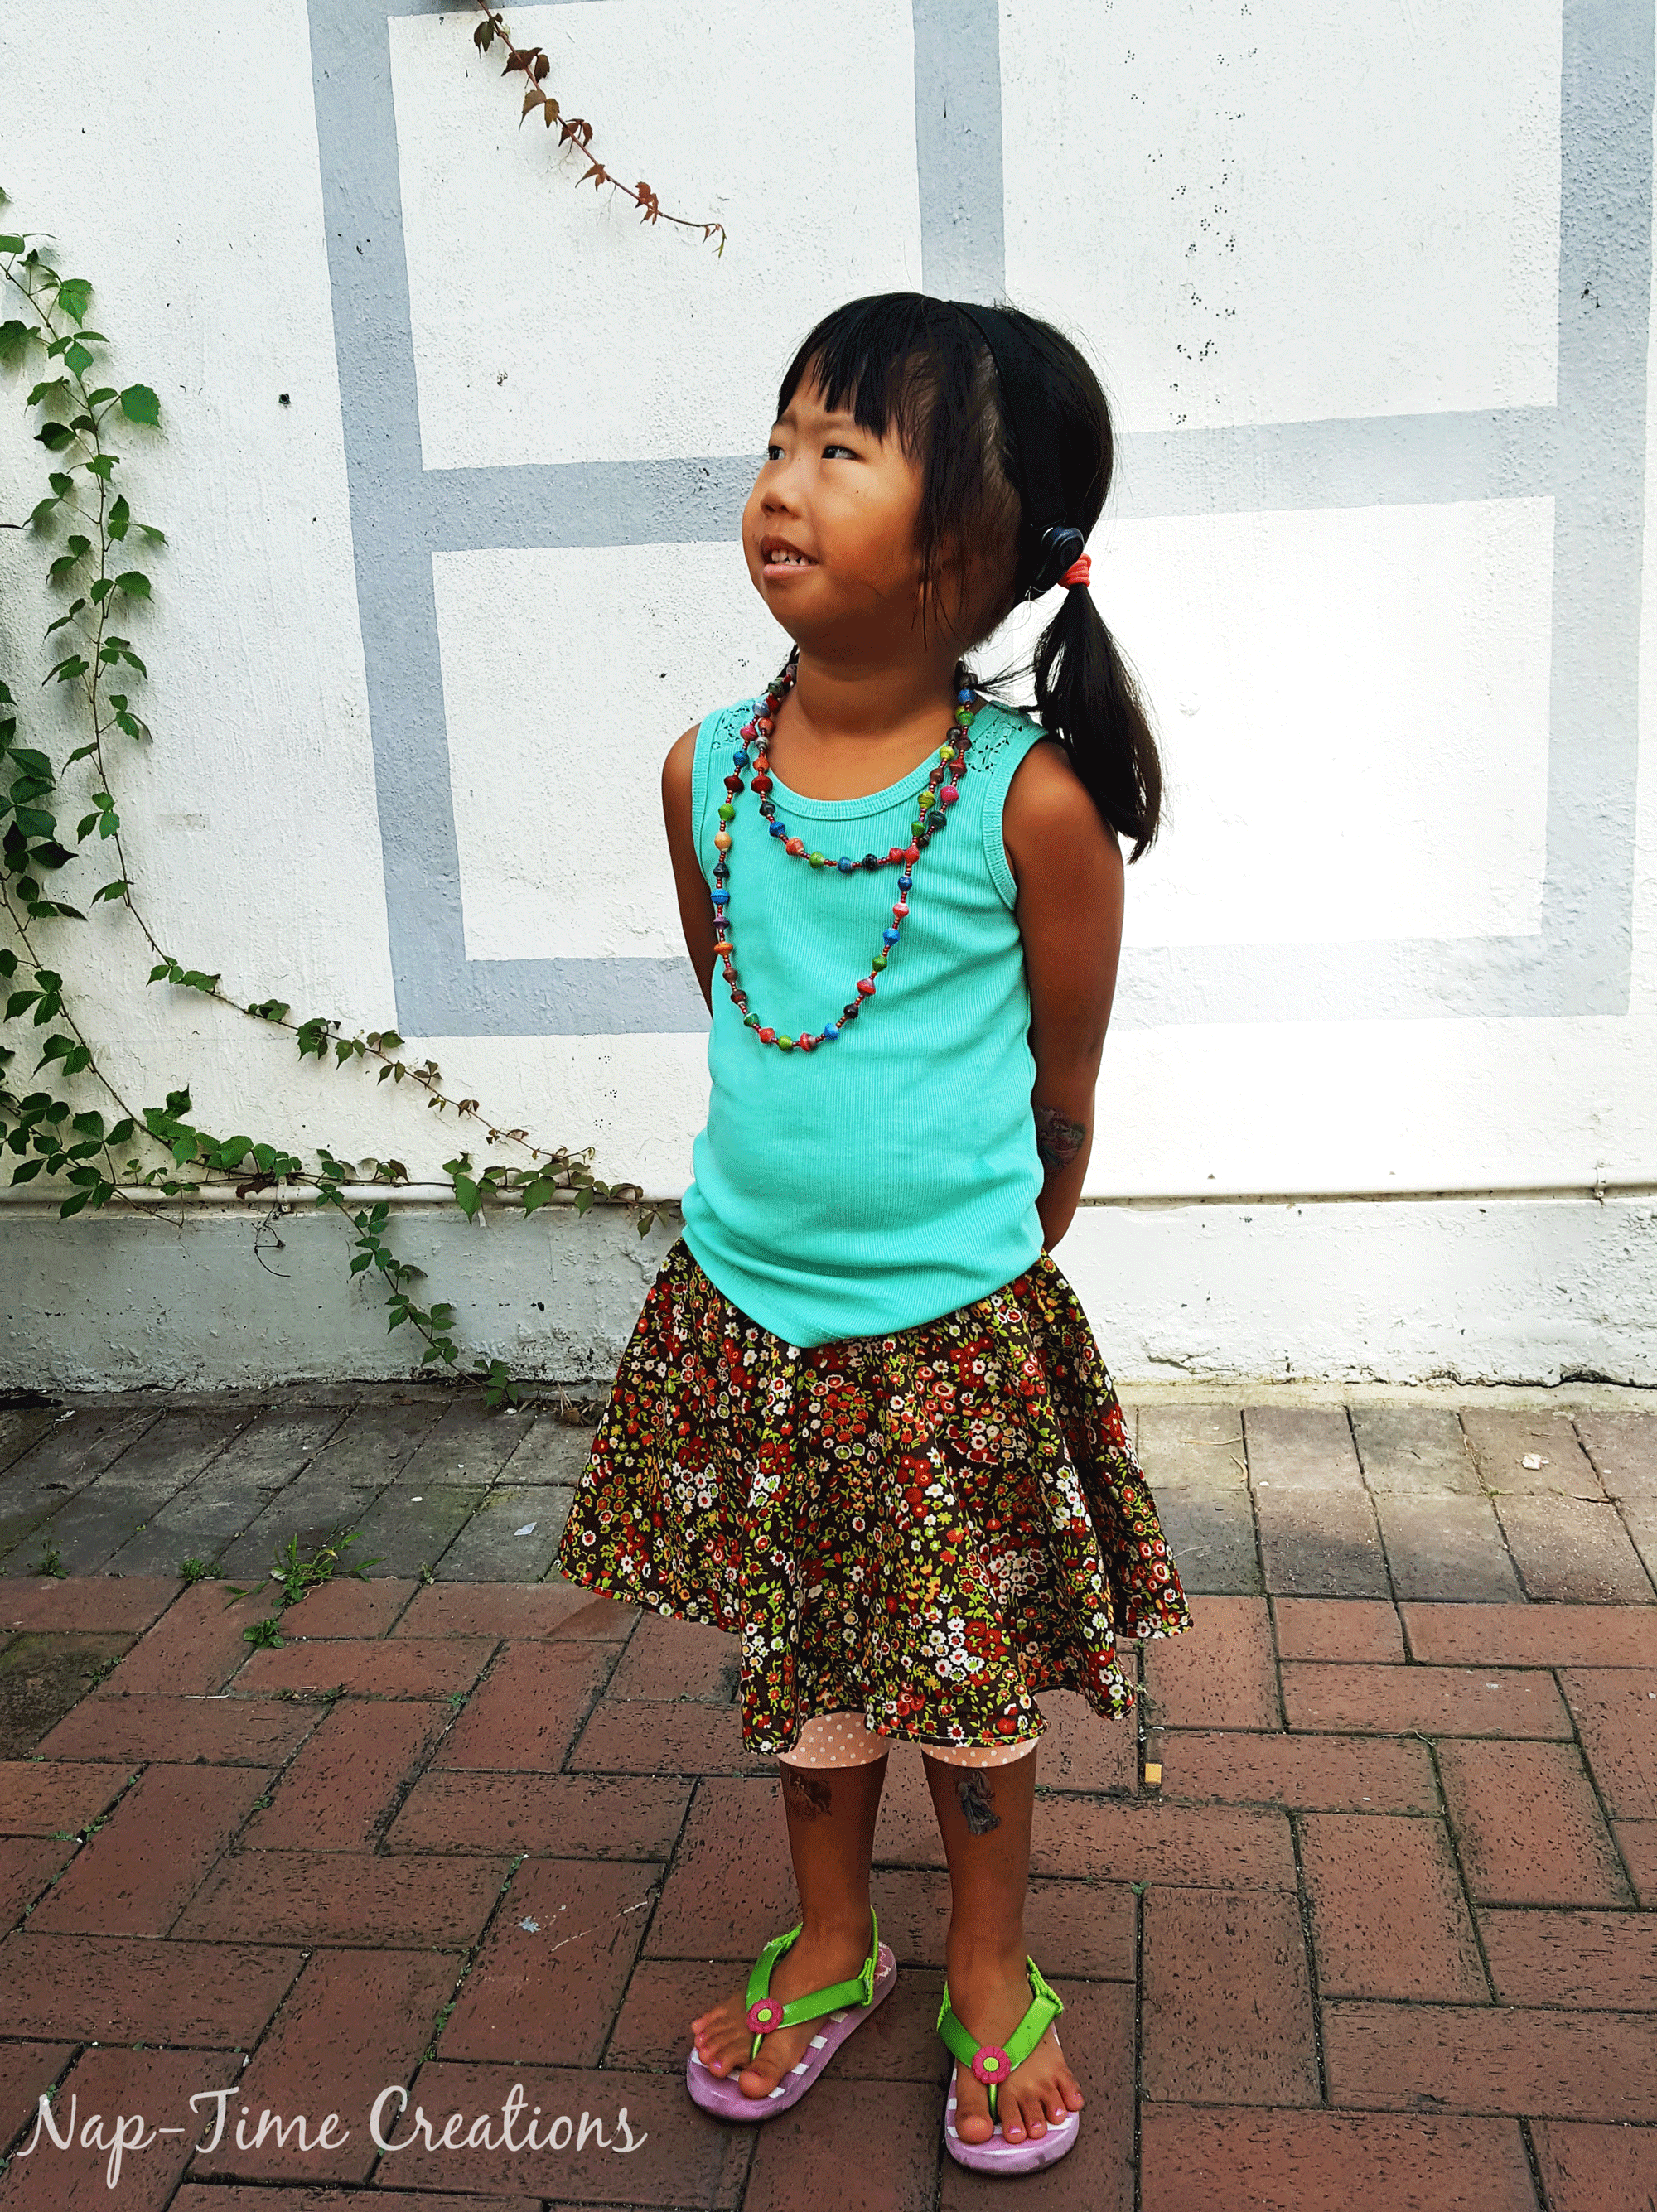
Today I’m sharing with you how to make circle skirts 3 ways! Knit 1/2 Skirt, a Full woven skirt with exposed waistband and a rainbow circle skirt… SO FUN! Without further ado, here is my rainbow skirt tutorial.

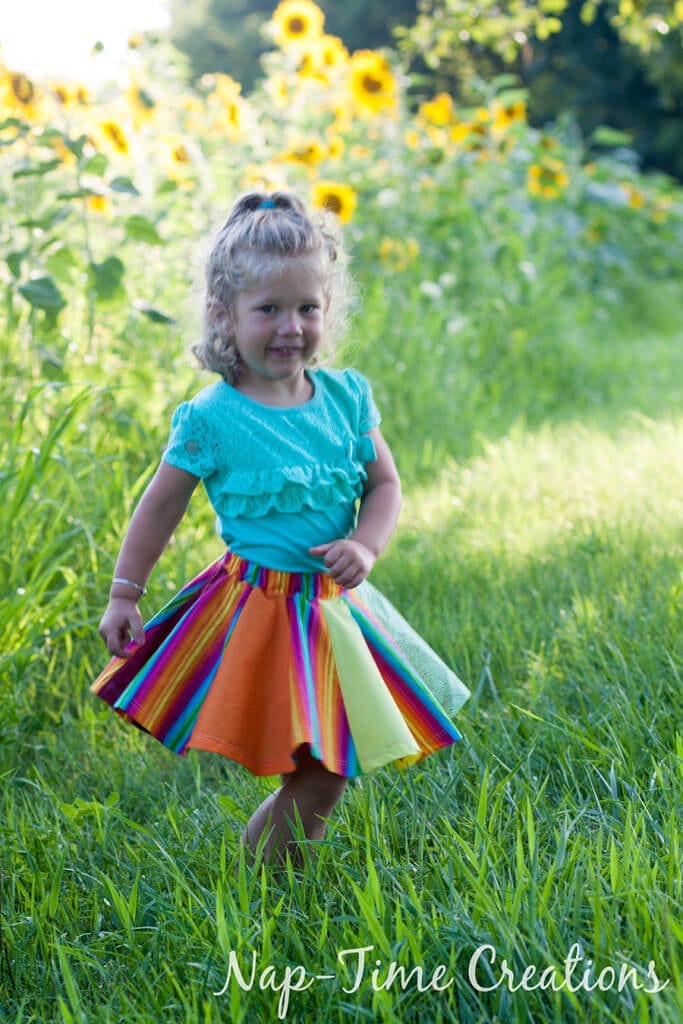
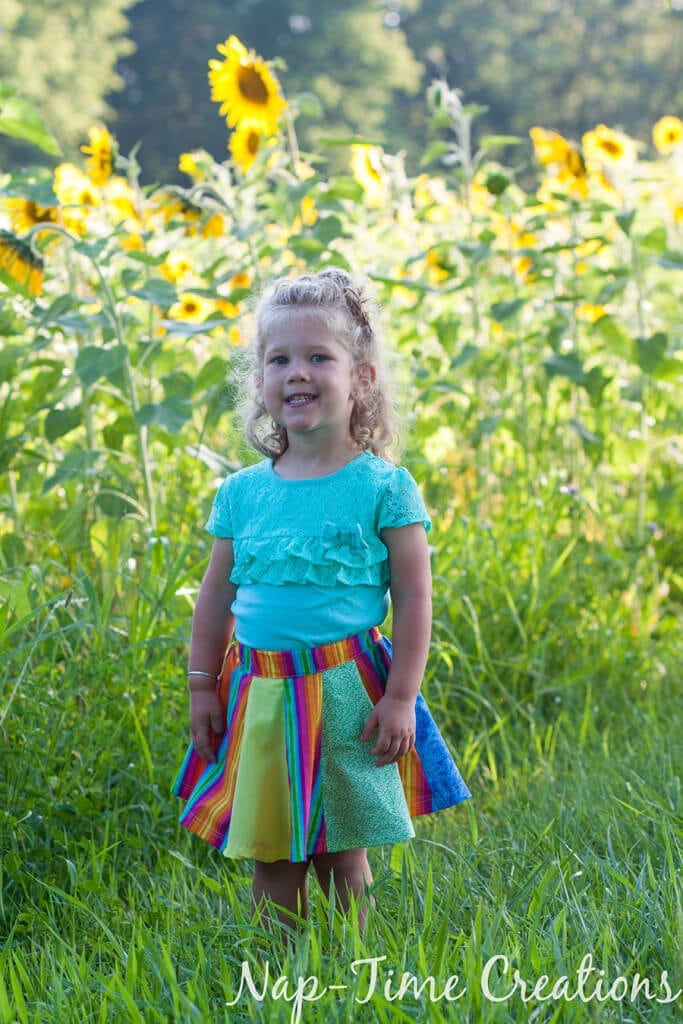
I spent last week with my gorgeous niece and decided she needed a fun and twirly circle skirt that was rainbowtized. I love how her toddler belly makes the front of the skirt lower than the back… so cute. This is a perfect dancing skirt though.
Ahhh that smile! This skirt is great for using up scraps. Depending on your size you will need different amounts of fabric AND 1″ elastic the length of your waist.
Alright, let’s walk through how I modified a normal circle skirt to create this paneled version.
 Full circle skirt directions:
- Measure around waist.. my example will be 19″. Add 1″ seam allowance, so now we have 20″ {this is the waistband or elastic length to cut.
- Take original waist {19} and add 2″ to allow skirt to pull over bum/hips and for a slight gather. Now our number is 21″
- Take the 21″ and divide by 6.28 {just trust me on this number [ha!]} I now have 3.3″. This will now be your waist radius and I’ll show you how to use it in a minute.
- Decide on your skirt length and add 1″ seam allowance and narrow hem. my example will be 14″ length.
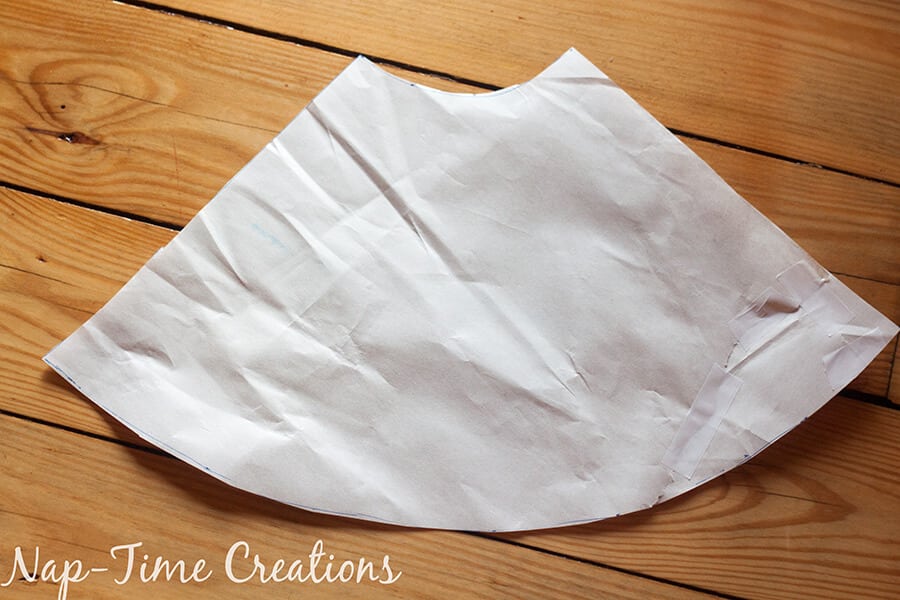
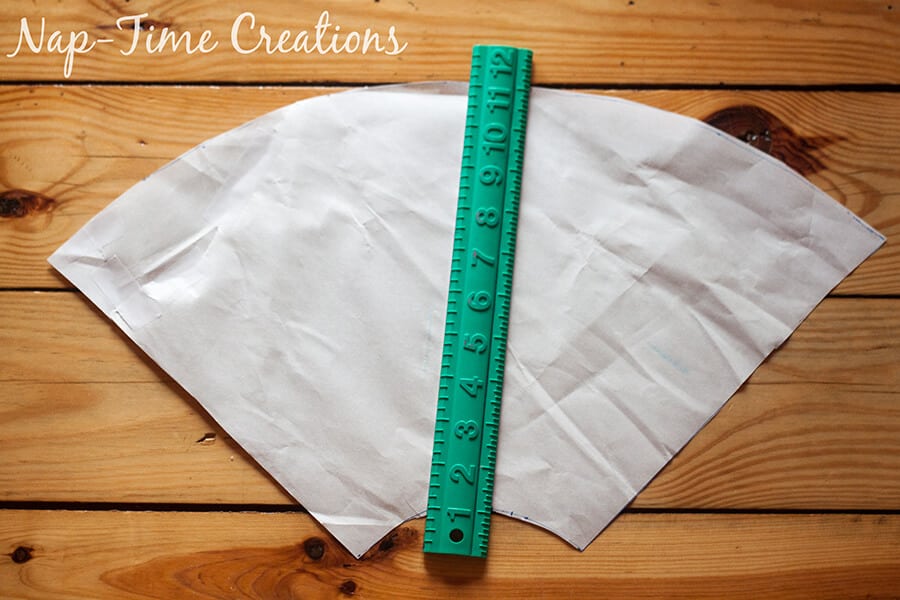
- Tape 4 pieces of normal typing paper together OR get from a large roll. {the longer your skirt the more paper you will need} From one corner mark with a dot your waist radius from corner along side of paper. Continue at a curve until you reach the other side of the paper. Connect your dots to make a curved line. From this line measure down the additional length measurement {my example is 14″} and mark several times. Connect the dots to form a curved line.

- Cut the two curved lines. You now have a piece that looks like this:
To make a skirt from this, fold your fabric, then fold again. place the waist curve in the corner of the fabric, matching the edges with edges of fabric. Cut both curves edges… you will then have a circle.
To make a 1/2 circle skirt you take your waist + 2″ measurement and divide by 3.14, then….just fold the fabric ONCE and then match this pattern to the corner and cut. You will have only 1 fold and have to sew up the back. This skirt is a bit less full, but just as fun! Check out all the details on the video at the end of this post..
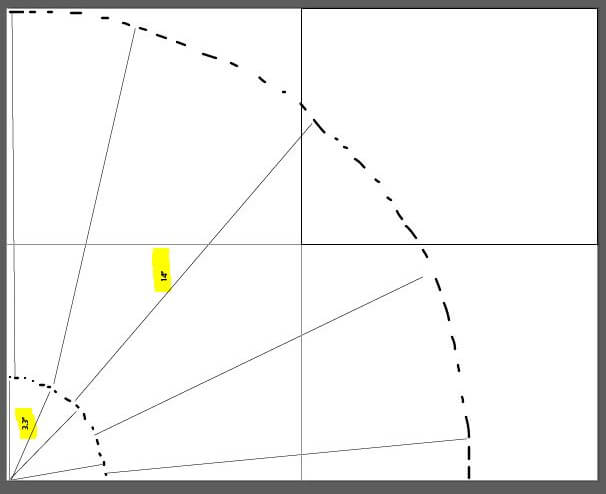
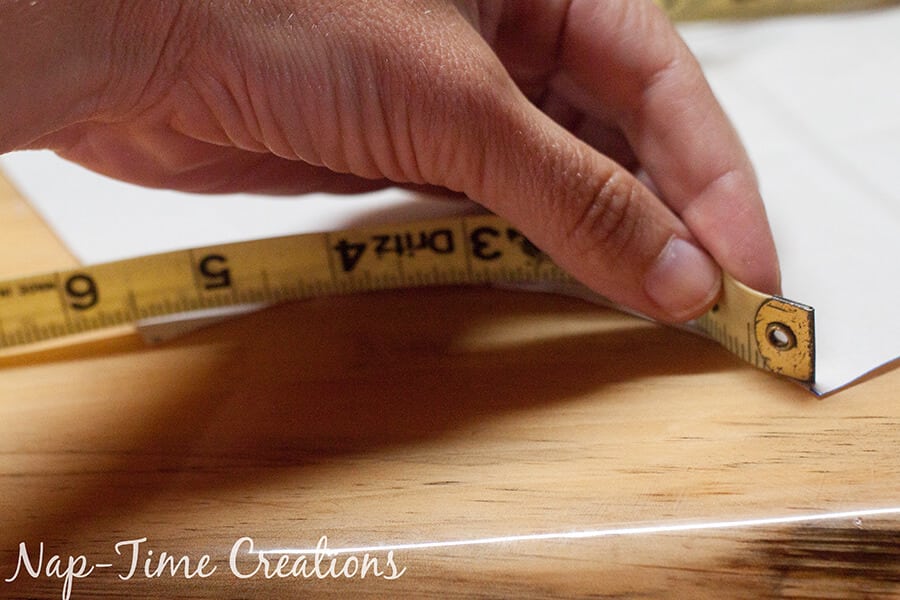
To modify with panels -My skirt has 12 panels so I want to cut this 1/4 pattern down into three pieces, then I can cut 12 of those. First, measure the top curved edge of your pattern piece with a tape measure. Mine was 5.5″.
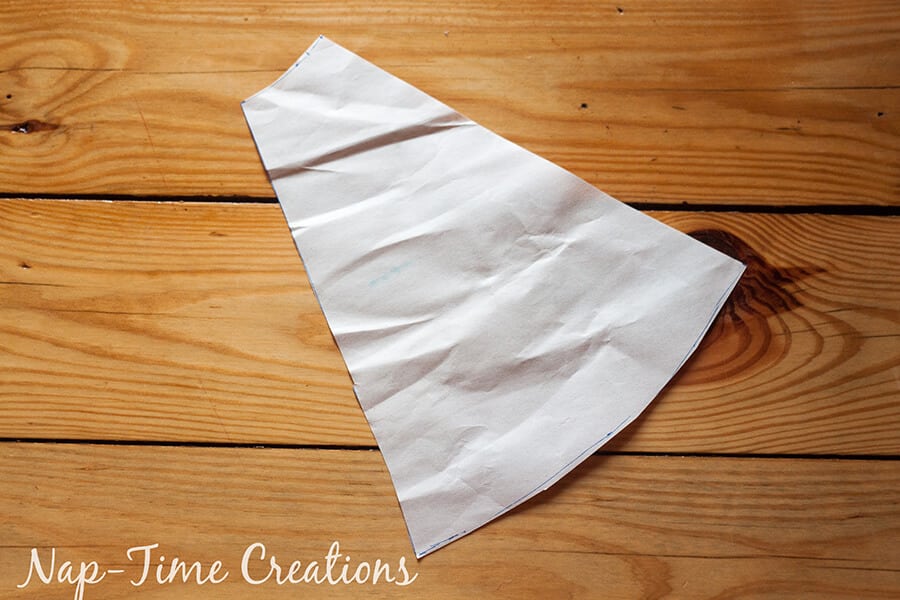
Take that curved measurement and divide by 3. {mine was 1.8″}. You need to add a seam allowance, so whatever your 1/3 was, add .5″ {two side seam allowance}. SO I needed to cut 2.25″ of the curved top edge. Mark that. Then place a straight ruler from that mark straight down to the bottom.
Here is my pattern piece. I need to cut 12 panels.
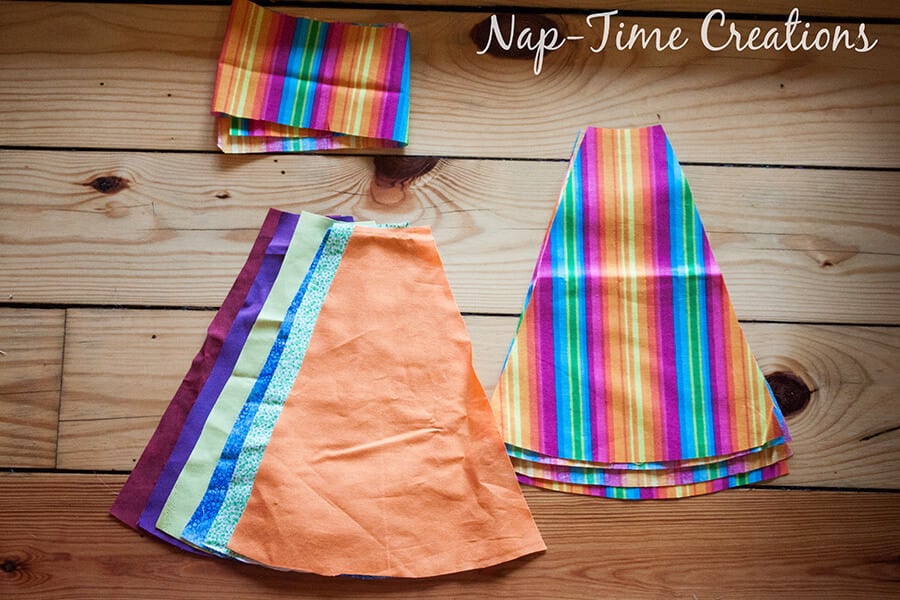
I cut 6 different colors, plus 6 of the rainbow fabric. You will also need a waist band. You should cut a piece 2.5″ x waist + 5″… so if you waist was 20″ you would cut a piece 25 x 2.5!
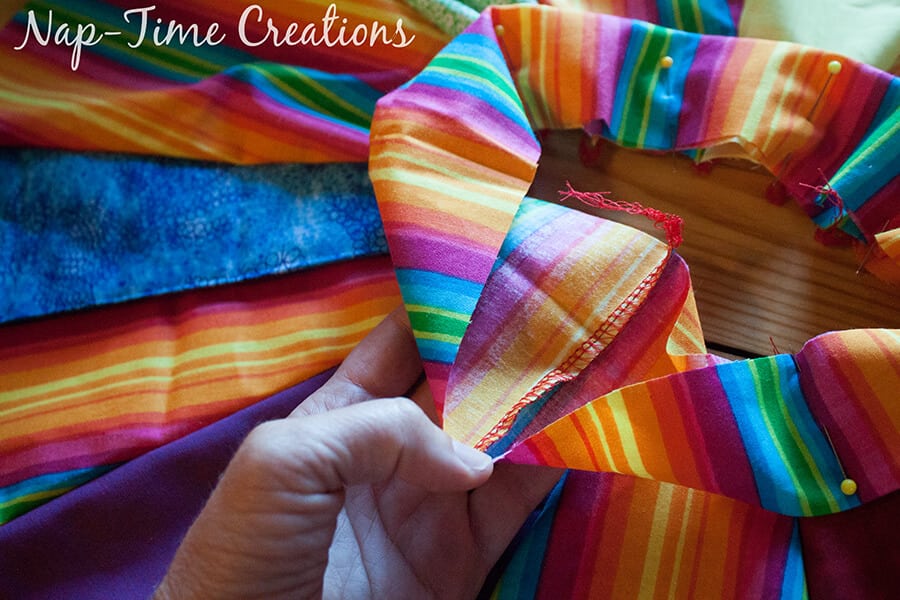
Lay the panels around in a circle to create your desired pattern. Then start at any point and sew two pieces together along the long edge. Continue until you have a complete circle.
You should have something that resembles a Christmas tree skirt… ha!
Hem the bottom edge. I ironed up a .5″… due to the curve you may have tucks on the underside to get it to lay flat on top. Stitch around the bottom twice to secure.
Measure around the waist of the skirt and cut your waistband piece to the same size. Sew the short ends together.
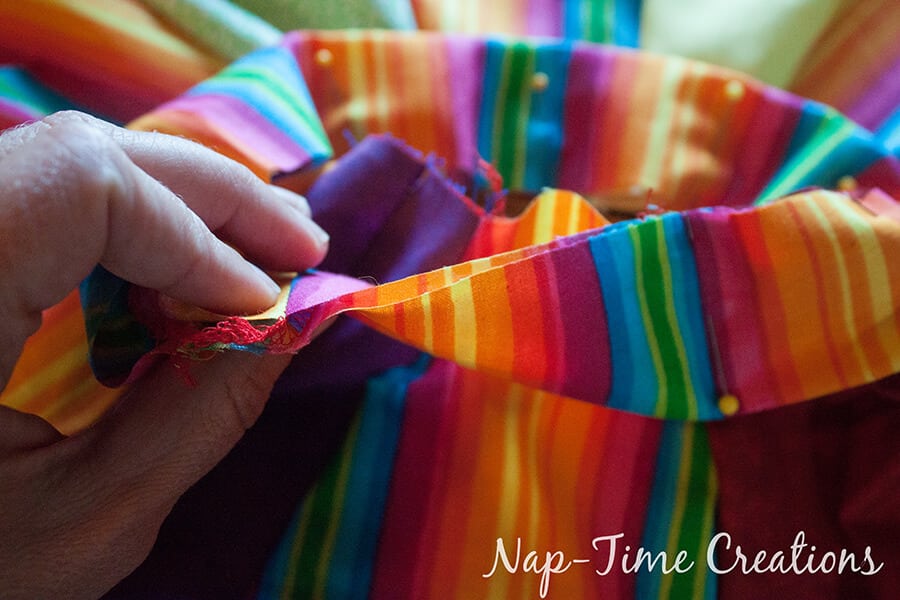
Fold in half the long way and pin to the right side of the skirt waist.
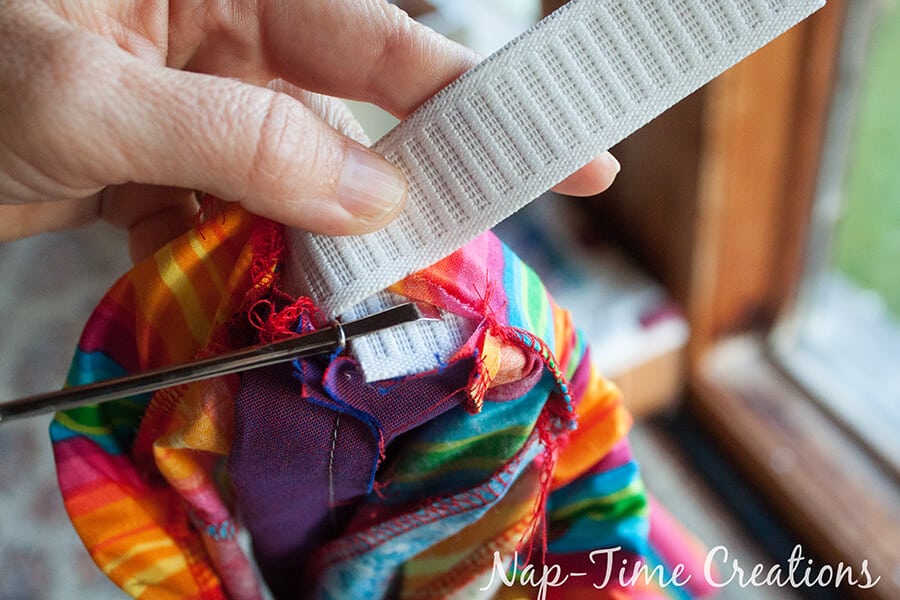
Sew to the skirt and leave an opening to thread the elastic through.
Measure your waist and cut elastic to that size + .5″ for seam allowance. Thread the elastic… and sew the ends together. Close up the hole and you are finished!
Get ready to twirl!!
And here’s the fill video version if you need help putting it all together!







Katy says
THANK YOU SO MUCH FOR THE BIRTHDAY WISHES! I FELT LIKE A QUEEN ON SUNDAY. XOXO KATY
Julie says
Noooooo! Don’t make more in less crazy colours – I LOVE these crazy colours. This is just so lovely and swirly I bet she just loves wearing it. I want to make one for me!
Kristina & Millie says
so cute and so adorable! and the skirt is fantastic!! I so want one (skirt) for myself and can get a good idea from your diy how to do it. Thanks for sharing the inspiration and the pattern with us at Snickerdoodle!
Kimberly says
Super cute! This looks so amazing. Pinned and tweeted. Thank you for bringing such amazing creations to our party. We hope to see you tonight at 7 pm because we LOVE to party with you! Lou Lou Girls
Vickie @Vickie's Kitchen and Garden says
So cute! I love your tutorial. She looks as though she loves her skirt so much! Thanks for sharing at the #HomeMattersParty
Cathy says
What a little cutie and the skirt is adorable. Love all the colors and I bet she loves it too. Thank you for sharing at Share It One More Time. Cathy
Georgia says
I want so badly to make this really cute rainbow skirt for my granddaughter but I can’t seem to figure out how to print it off. Can somebody please help me?
Donna says
Adorable! Thanks for the tutorial–will be making these for my granddaughters (I am a very young grandma lol).
Marsha says
Would this skirt pattern work with polar fleece fabric? Would you change any of the steps for that kind of material? Is there a better pattern or style that you would recommend for fleece? Thank you so much!
creativejewishmom/sara says
Great tutorial, thanks for sharing on craft schooling Sunday!
Lori says
So cute and easy!
Would you share this at our Dishing It & Digging It link party? We are live now and every Sunday at 4pm!
Dee Kay says
HI Emily,
Will your way of measuring the waist and doing the calculations (+ inches, then dividing by 6.28) and obviously increasing the length, is this way of making a circle skirt expandable to larger sizes, like for an adult? Obviously I would need more paper and more fabric, but do the calculations scale up even and accurately to any size? If so, I am starting this next week!!
Thanks!