inside: Use this ironing pad for table top tutorial to make your own portable table top ironing pad for easy and convenient use.
If you follow me you know that I’m not big on ironing… I really only iron when I have to… But I’m trying to be better.. I created this ironing pad for table top tutorial because I was trying to make it more convenient for me to iron. Before this portable ironing pad our iron and full size board was upstairs in our bedroom and I either had to take my project up to iron or drag the board down…
this did not inspire the iron-disliking part of me to want to iron. {haha!} Now that I can just unroll this ironing pad I’m *hoping* that I will be better… not sure yet.. BUT, if you are also looking to make a portable ironing pad this is the tutorial for you. PLUS you can make it with cute fabric!!
Ironing Pad for Table Top Tutorial –
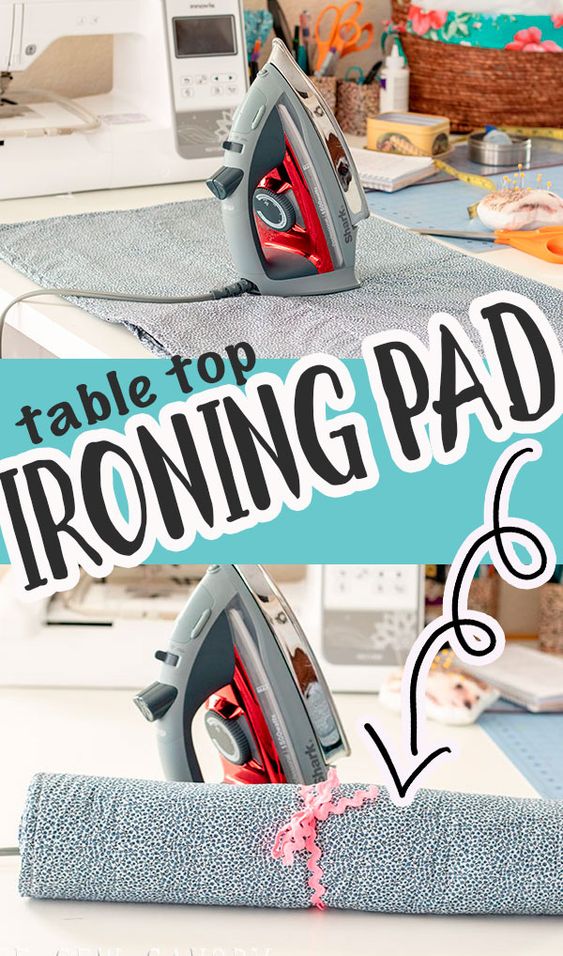
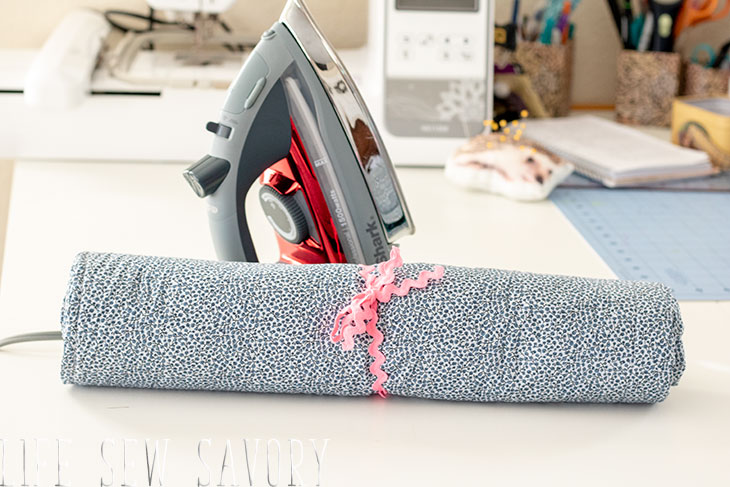
As you can see in the first photo, my ironing pad is stored by rolling up and spreads out nice and big on my work table so I can iron all the things right where I am sewing. I think ironing pads for table tops like this are perfect for when you have a shared sewing space and can’t leave an ironing board up all the time. My sewing room is our front room, so I try to keep it pretty tidy as it’s the first thing you see when you walk in the house.
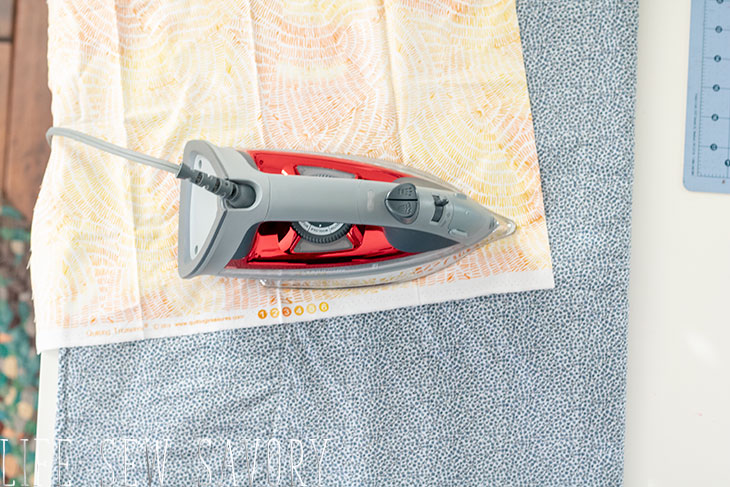
I’ve also used this portable ironing pad folded in half for a smaller ironing space. This gives me more room on my work table and I can go back and forth between working/sewing and ironing.
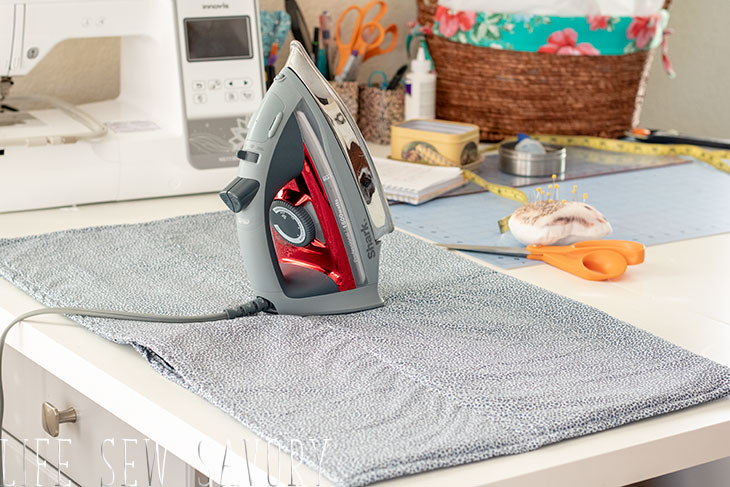
I really notice when I get ready to take photos of fabric if its really wrinkled, so I love that now I can just pull out my ironing pad and quickly press my fabric. Hopefully you will notice less wrinkly fabric in my photos {hopefully!!}
ok! Now onto the tutorial –
How to making an ironing pad
Here is what you will need for your ironing pad diy…
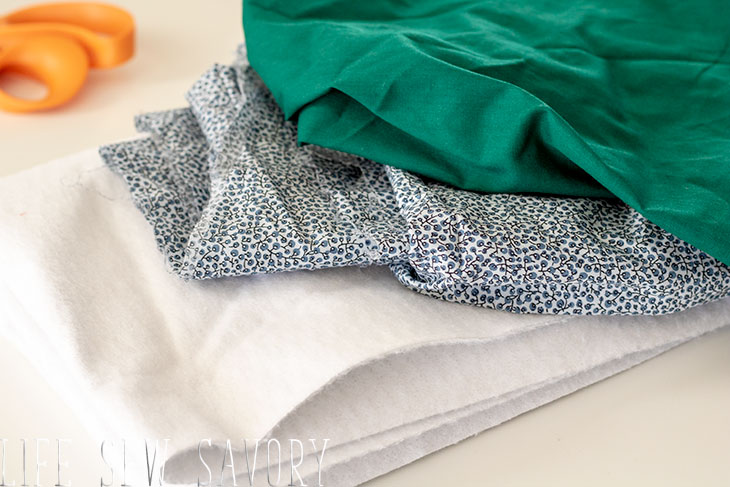
Fabric of your choice – 2 yards.. can be 1 yard of 2 fabrics or 2 of the same.
Insul-Bright batting {THIS is the yard I purchased}
SEE!! Totally wrinkled fabric in this photo… NO place to iron it yet {ha!}
If you want to see me making this in action – check out the video in this post… if you are using an ad blocker you will need to disable it in order to see the video.
You can make you DIY ironing pad any size you want, mine is about 35″ square… You will want to layer your insul-bright between two layers of fabric. The top fabric should be the same size as the batting and the bottom fabric should extend AT LEAST 1.5″ out from the batting. It can be more than that, but it needs to be at least that minimum.
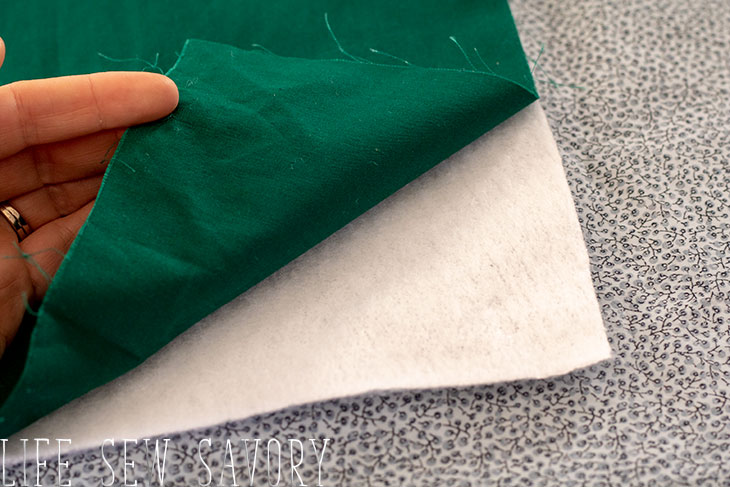
Pin the three layers together. I used quite a few pins to hold everything in place. Sew a hash pattern on the pad to hold the layers in place. Of course you could get fancy and sew any pattern you want, but some simple lines will do.
I would suggest sewing down the middle both horizontal and vertical and then one more line on each side of these… you would have nine lines… I like to break it up like this as it makes it easier to fold as well.
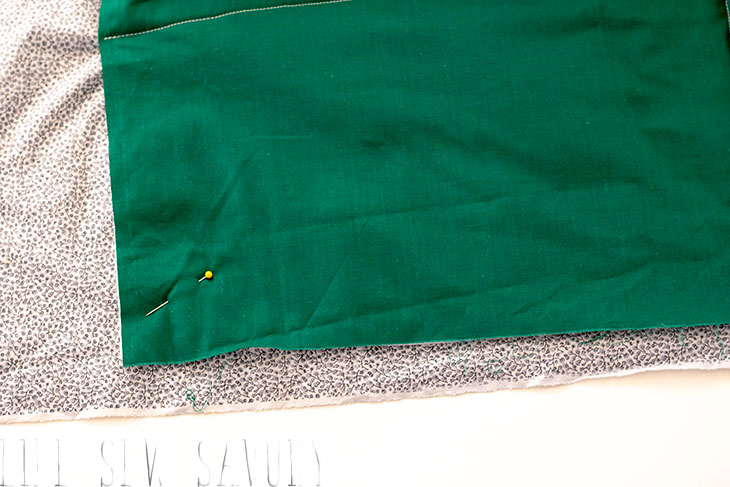
After you have quilted the layers, you will want to trim the bottom fabric. This is where I mentioned above to have the bottom extend at least 1.5″. Now you will trim it on all four sides to that size. We will be using this fabric for the binding of the ironing pad. 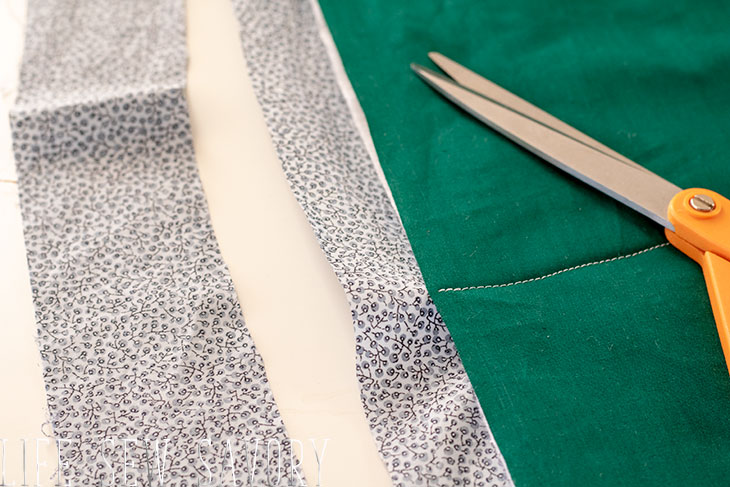
Fold the raw edge of the back fabric in until it touches the batting.
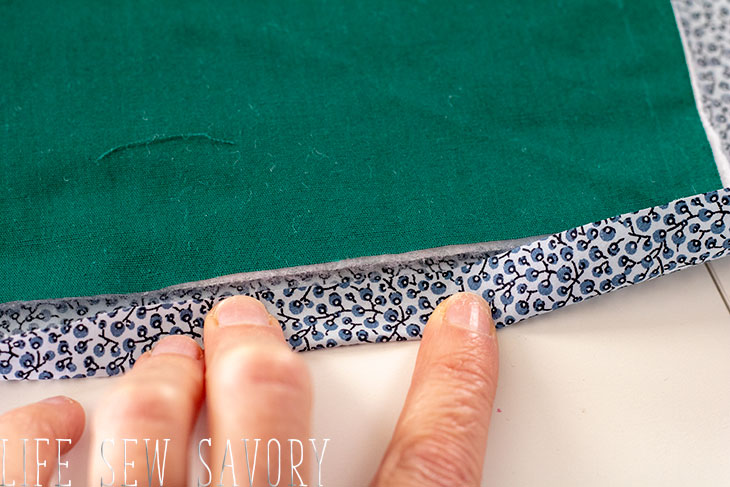
Then fold the fabric over one more time. The edge of the fabric is now covered and bound with the back fabric. You will have a folded edge over the edge of the top fabric {the green in the photo}. Repeat this double fold all the way around the square. 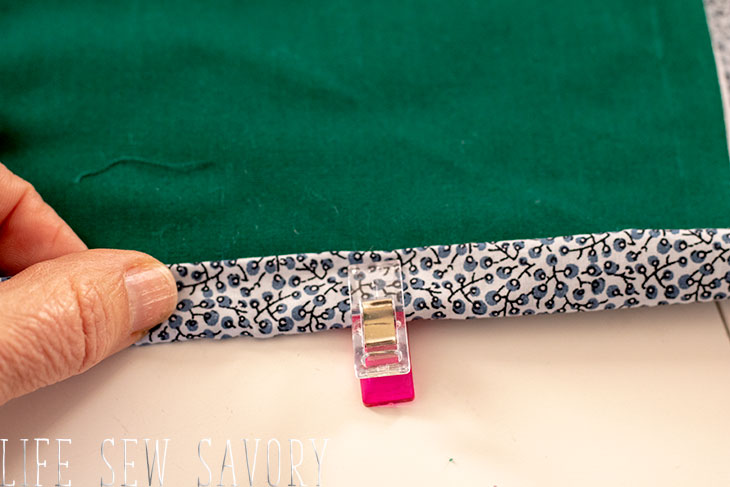
I love using these clips for this sort of sewing. They are easy to place and remove when sewing around the binding. 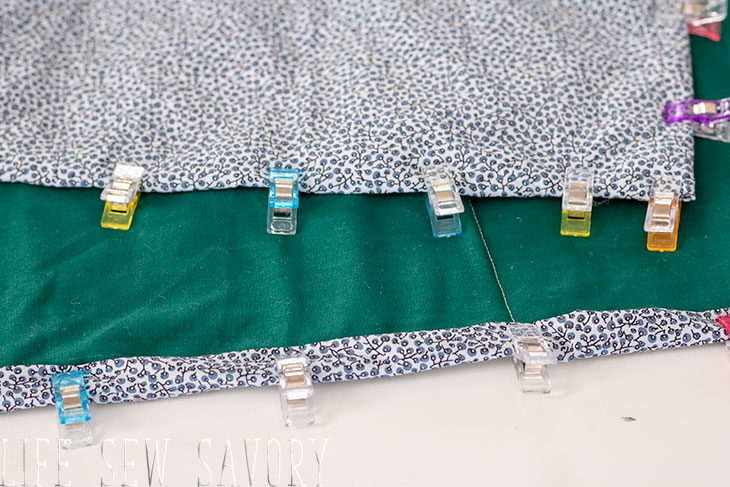
Stitch all the way around the ironing pad for table top close to the inner edge of the binding. This will secure the binding to the front of the pad and give it a nice finished look. 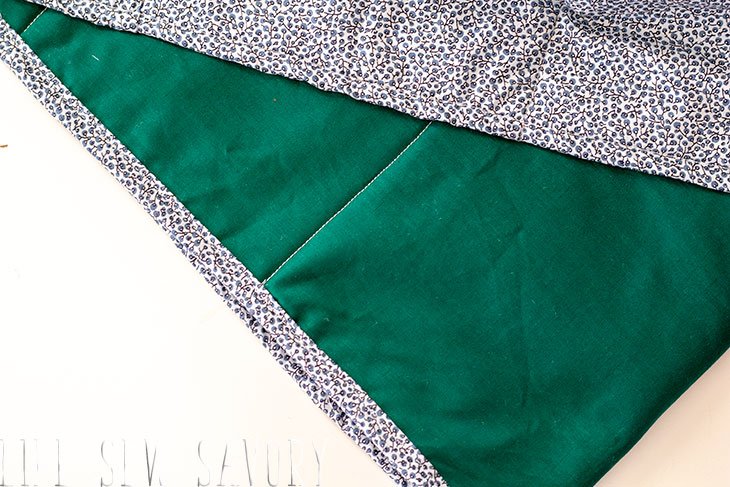
Now you have a finished portable ironing pad! Use a ribbon or other tie to secure the roll for storage and then it’s easy enough to unroll and use when needed. So excited about this easy and useful sewing tutorial!! This one was created out of personal necessity, but I hope you will find it useful as well.
Some other sewing room projects you make enjoy
rash Bag D





Sandra says
Love this idea .is this batting like heat resistant so it won’t hurt any surfaces? Also where do you get those clips ? Thank You !!!!
Emily says
All the details are in the post for the clips and yes the batting keeps the heat from damaging the surface below!
Jennifer Findsen says
I don’t understand the high speed of this tutorial . This tutorial is of no use to someone is just beginning. Why not slow down the speed and actually speak to the audiance
Katie R says
Love the idea of making a mini ironing pad. I have some leftover insulbright from making potholders that I can use. Good instructions and easy to follow. Thank you for my Saturday project. ?
Emily says
that’s why I show the steps in the photos as well!! The video is just an overview, but the photos and words give you all the details!
Maryrita Tilley says
if you have speed control on your YouTube / or whatever you use to watch the Videos, you can slow down the speed…
Shez Call says
Just the job, thanks. I’ve been meaning to make one for my worktop. Where’s the video please?.
Shez Call says
Just the job, thanks. I’ve been meaning to make one for my worktop. Where’s the video please? I have turned off ad blocker and still can’t find the video.