inside: Sew an adorable kids jumpsuit from this free sewing pattern. This romper is loose fit, perfect for play and comfortable for kids. The three pockets hold all the things kids need to carry. Download and sew this free pdf pattern today.
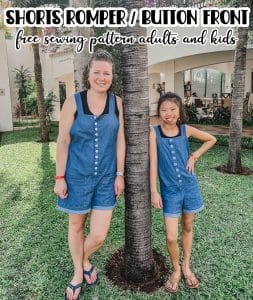
Remember a few weeks ago when I shared a womens version of a comfy jumpsuit? I’ve been wearing mine all the time and decided Rose needed one too! I’m super excited about this kids version of the jumpsuit free sewing pattern. It also has another option for the strap attachments that can work on the womens version too.
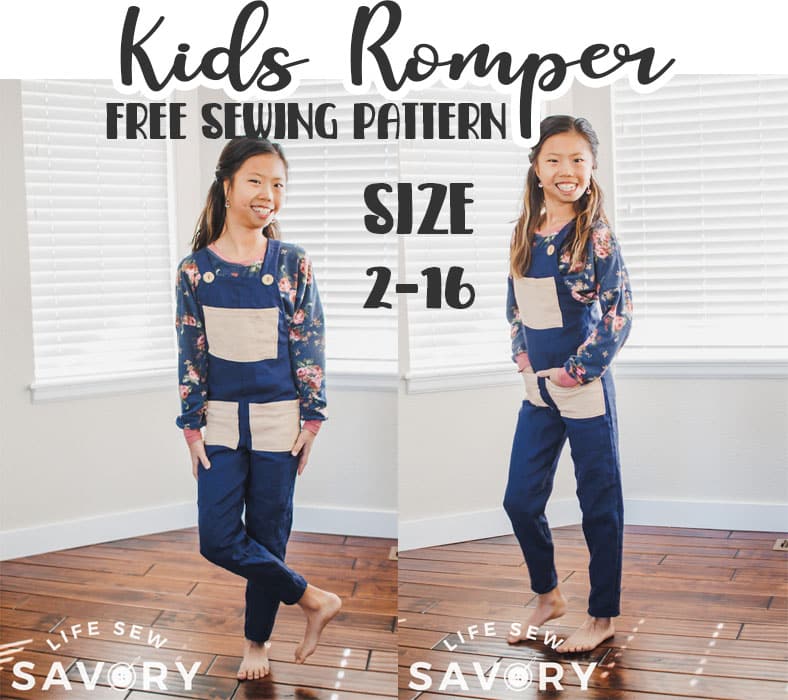
Kids jumpsuit free sewing pattern –
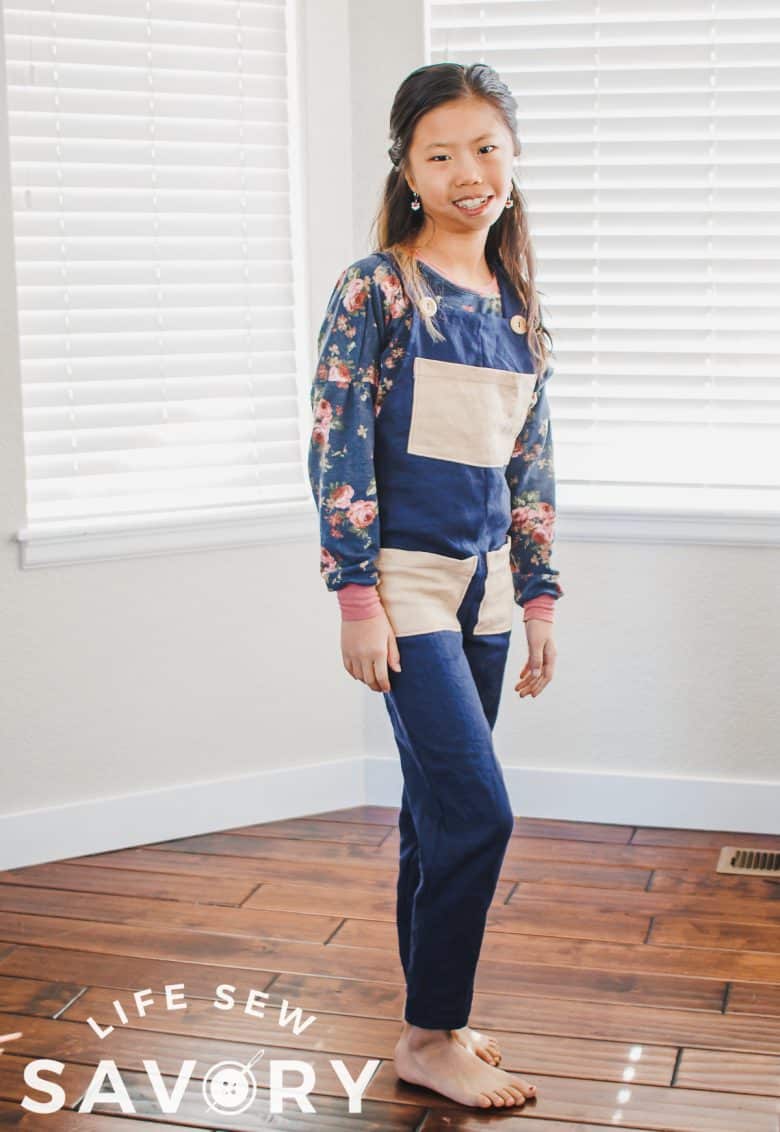
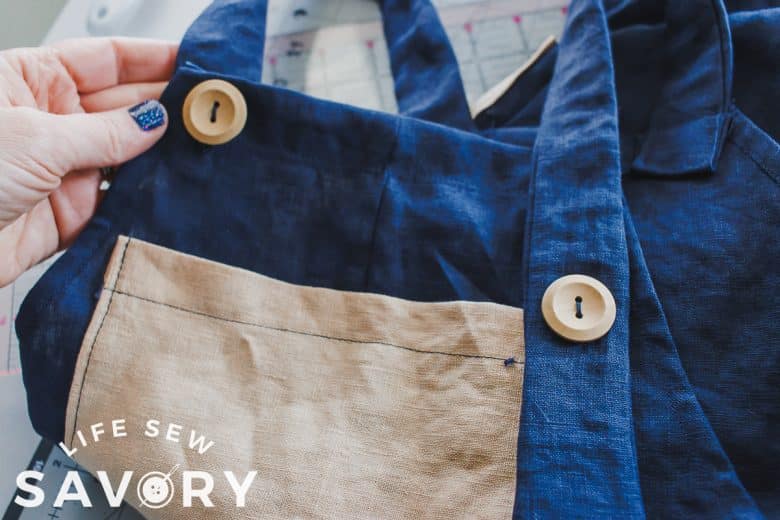
Did you see the fun button straps? I’ve been wearing my tie strap version a lot since I made mine, but I don’t think this is a great option for kids. It takes a while to tie/untie and it’s also more difficult to get the straps even. These button closures were my solution for this kids jumpsuit free sewing pattern.
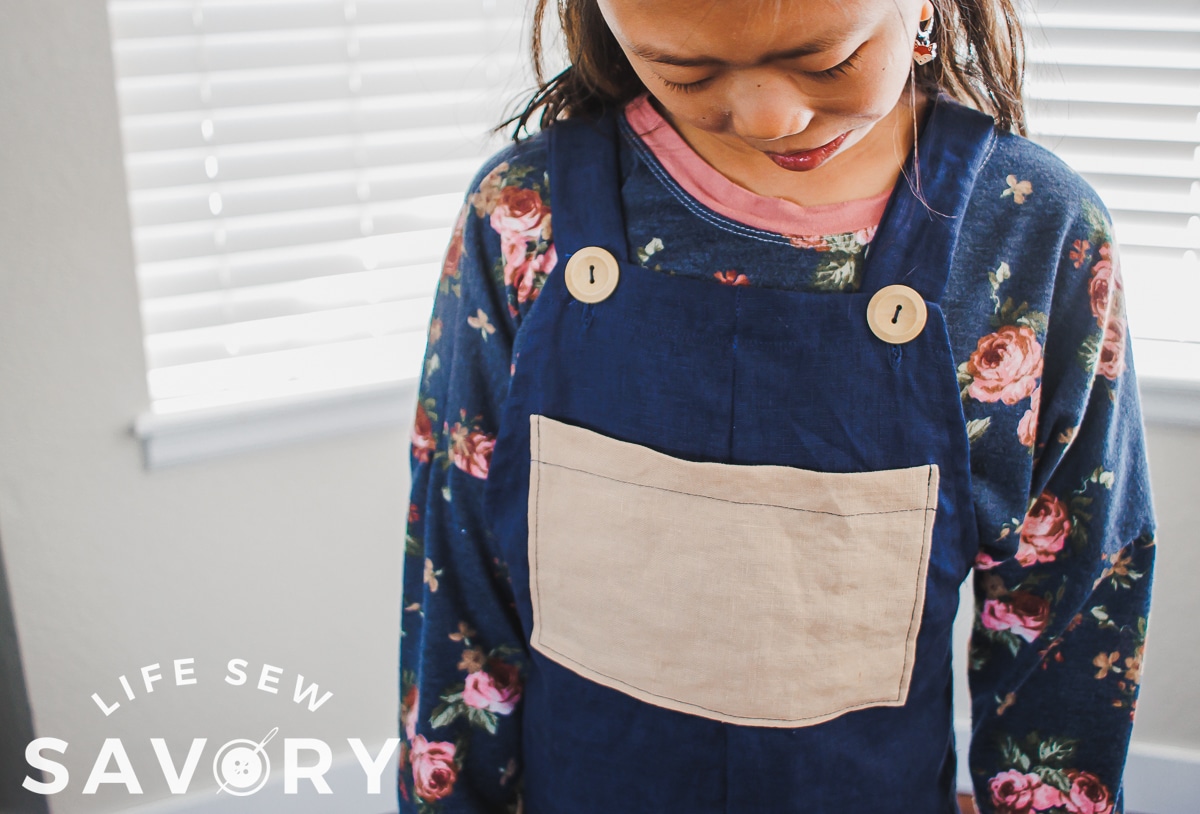
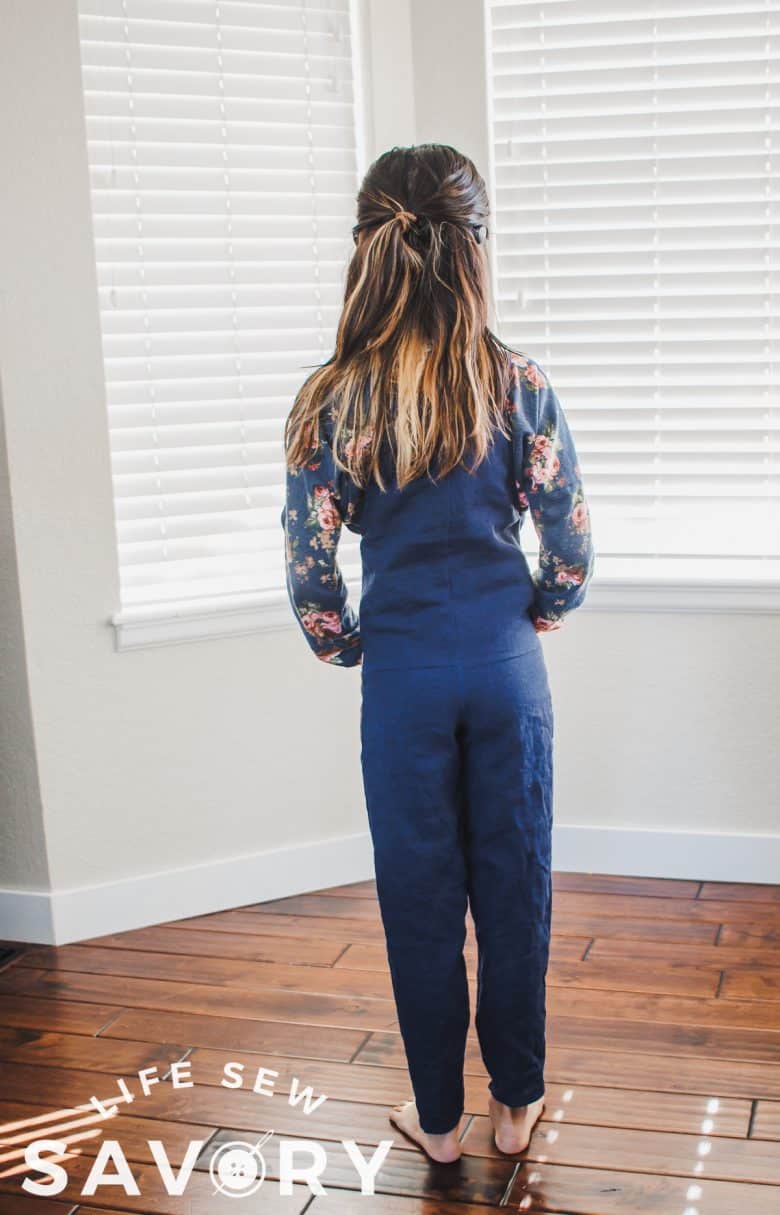
I want to note right off the bat that we wish these were just a bit looser. Of course I used up all my blue linen scraps, so I couldn’t remake them. The problem is not with the pattern, its that I didn’t measure Rose! She was at school and I was in a hurry to sew and didn’t measure her hips! This pattern needs to be based off hip measurements and I didn’t get it right. One size up would have been perfect. See my pattern notes below about sizing and falling between sizes.
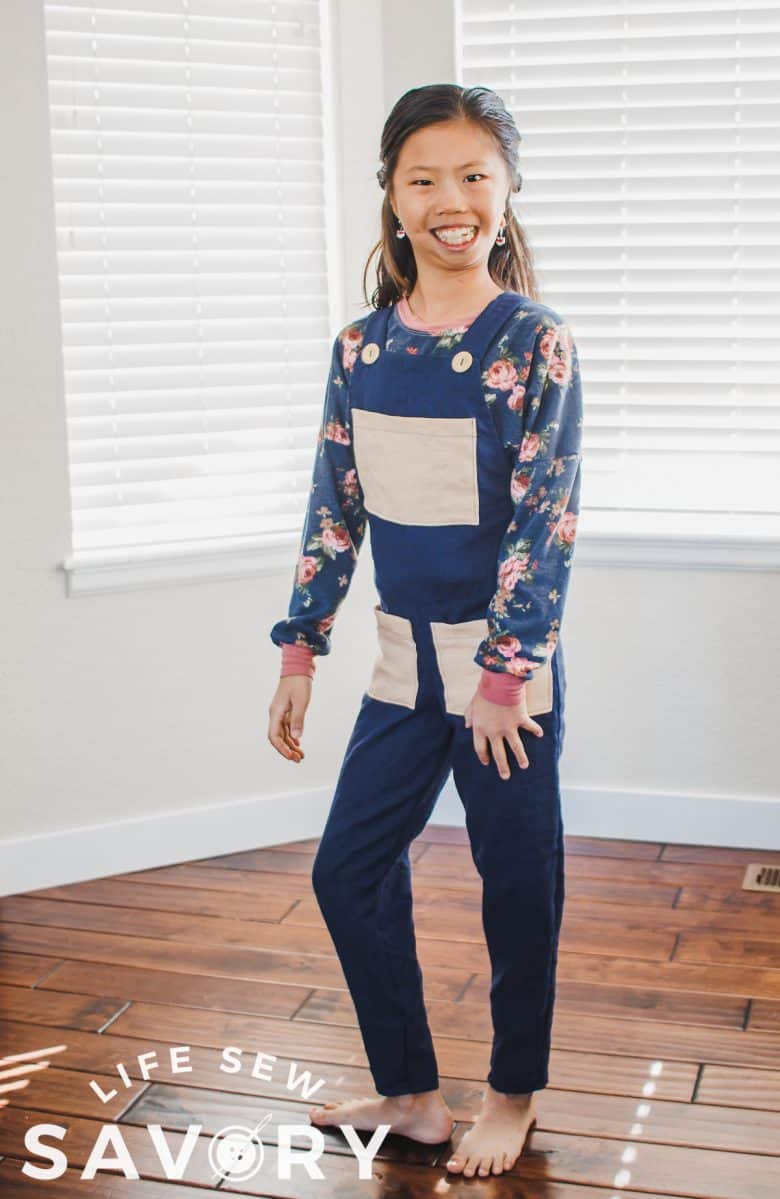
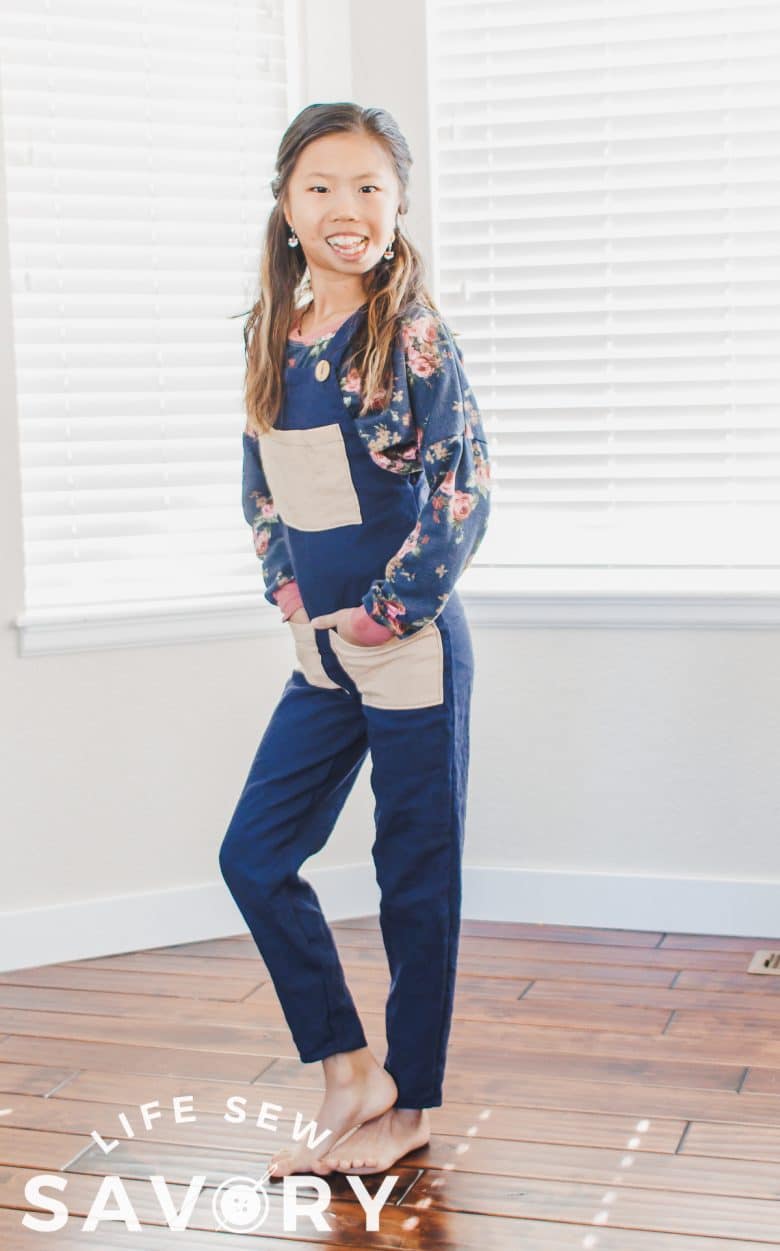
Overall, this linen jumpsuit is still super comfy, even if it’s a bit more fitted. Of course I already have fabric for another one and can’t wait to share that variation with you. It’s going to be perfect for summer. Rose is pairing this jumpsuit with my simple sweatshirt free pattern found here.
Other adorable things to sew for kids-
Supplies needed for sewing a jumpsuit:
- Fabric: Linen or light denim
- size 2-8 need 1.5 yards
- 10/12 – 14/16 need 2.5 yards
- Sewing machine
- Matching thread
- Free sewing pattern Download by clicking this text or the button below
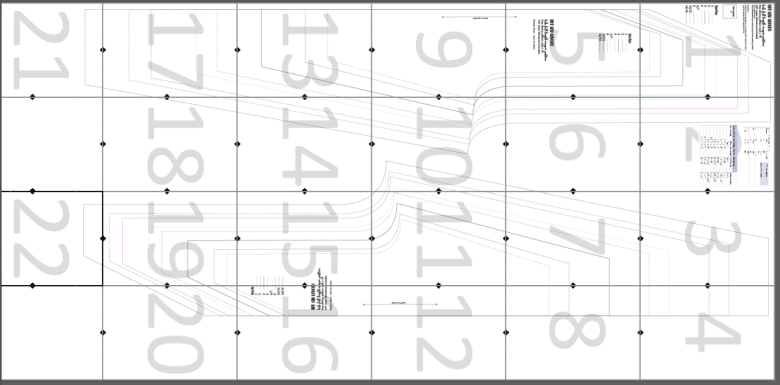
Download, print and assemble the free sewing pattern. Need help with this step? Here is my tutorial for help with PDF patterns. Use the diagram here to assemble the pattern pieces.
How to fit the free pattern download-
Here is the size chart for the jumpsuit pattern. I know it says girls, but really this pattern can be for boys and girls. I’m not sure my pre-teen boys would wear this, but I can totally see toddlers and young kids both girls and boys wearing this. It is a straight cut, so there is no fitting that makes it more for one gender.
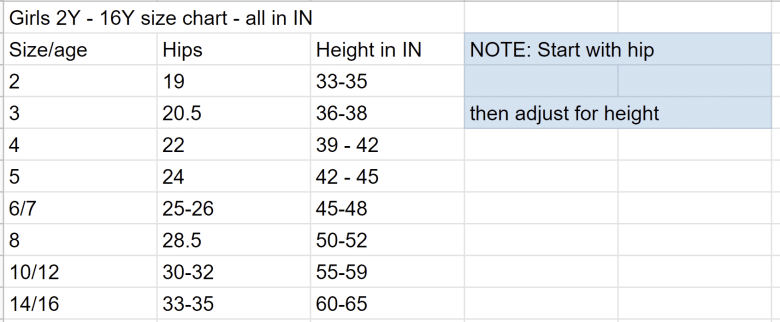
If your child falls between sizes {and most will} Size down for a fitted bottom and size up for a looser fit. Rose was close to the size 6/7 hip so I actually went with that, but I wish I would have gone up instead. I have plans for a short version of this, so will size up next time for sure.
How to sew a kids jumpsuit from a free pattern –
Note: This tutorial is almost identical to the adult version of the jumpsuit. Many of the photos and instructions are the same. Just a few changes have been made… see below for details.
note: all raw edges will need to be finished with a serger or zig-zag stitch.
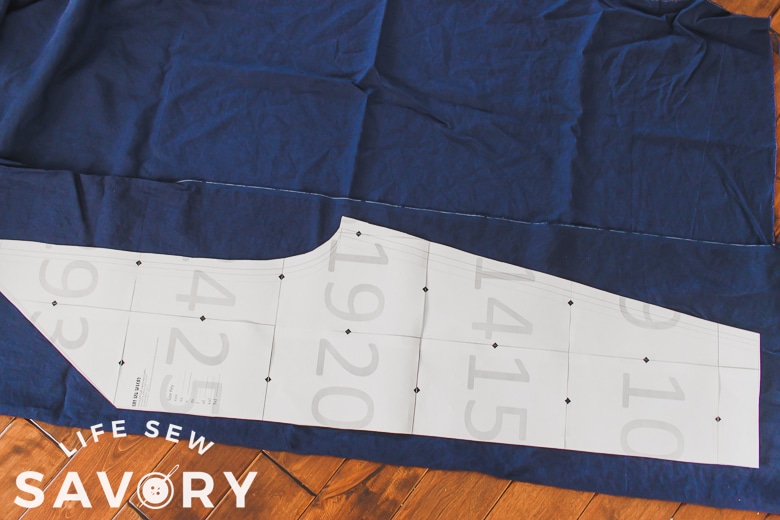
Sew the two front pieces together with right sides together along the front center seam. Do the same with the back center seam.
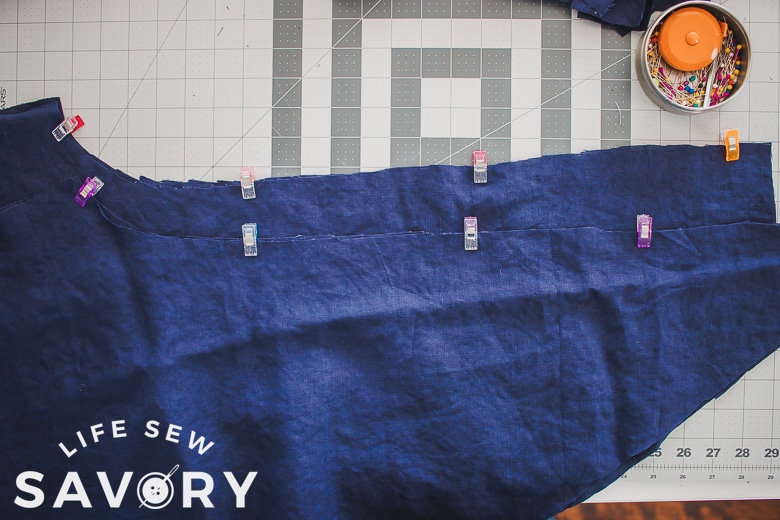
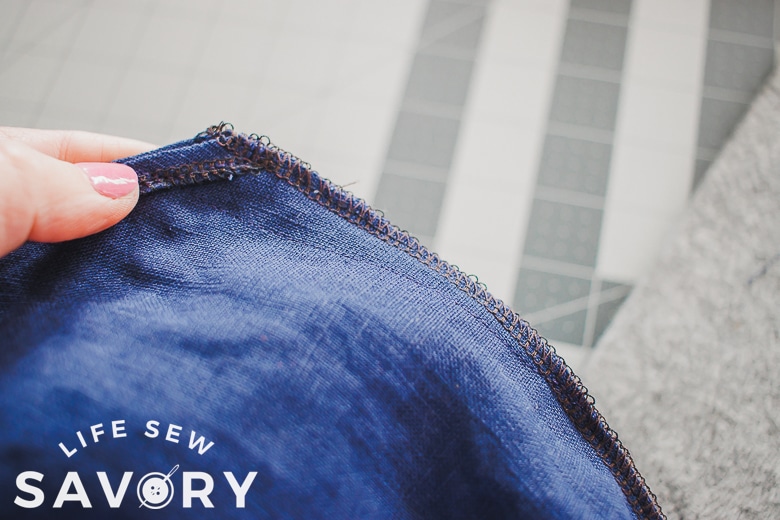
Finish the triangle shaped tops of the front and back. If you have a serger you will serge the edges, then press back 1/4″ along the sides, repeat so the edge is fully enclosed. Then fold the top flat edge down 1″ and press. If you don’t have a serger, use a zig-zag stitch to finish all the edges.
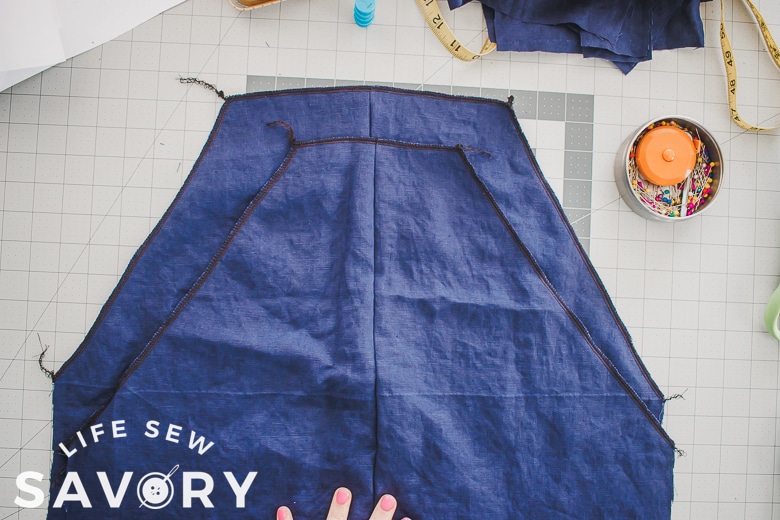
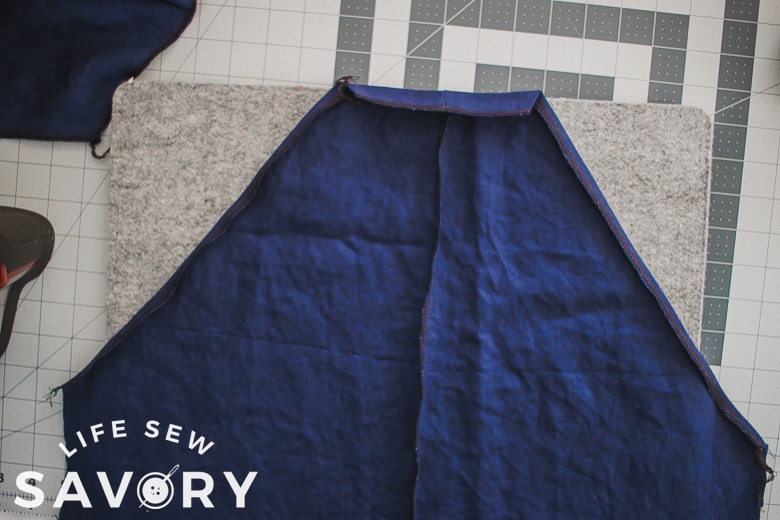
Sew the sides with a straight stitch and also sew the top hem as well.
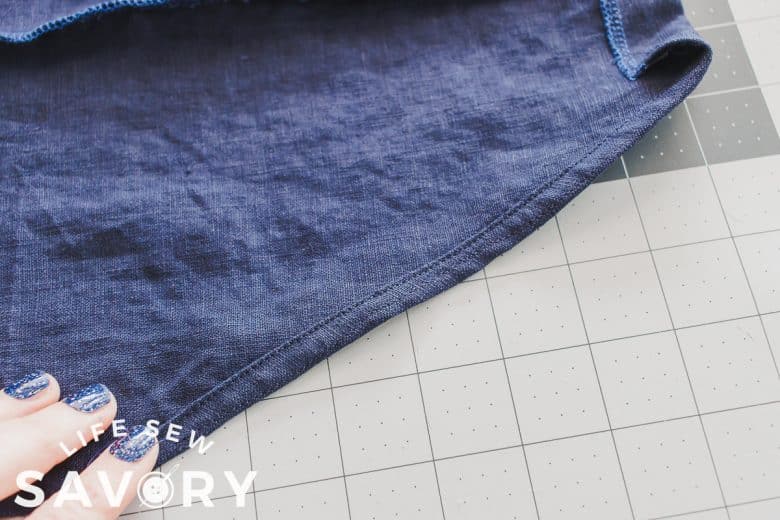
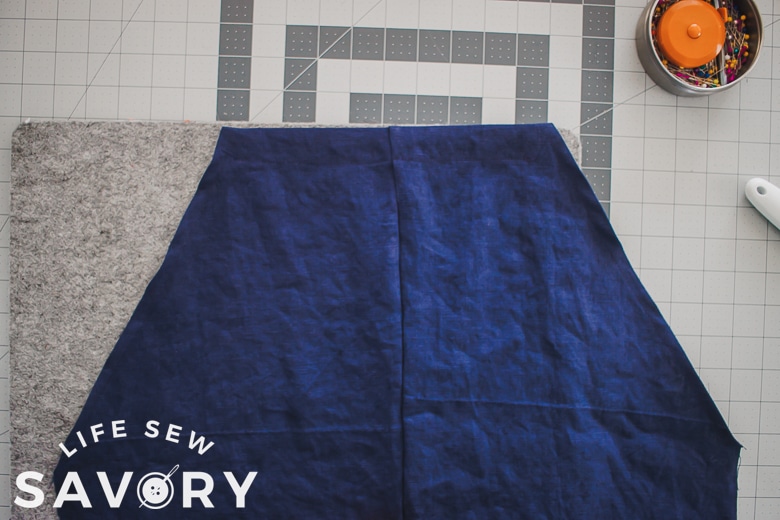
Finish all three pocket edges with a serger or zig-zag, then fold and press the sides back 1/4″ and the top down 1″.
Sew the top edge down to finish the top edge. Leave all the other edges just pressed back.
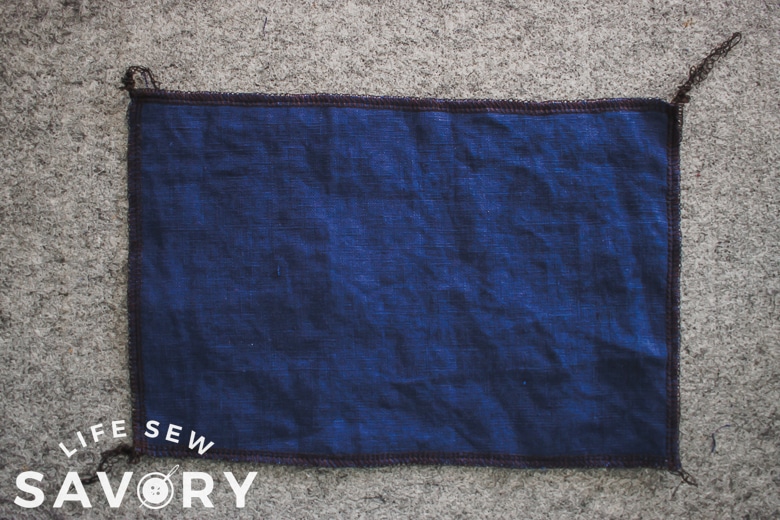
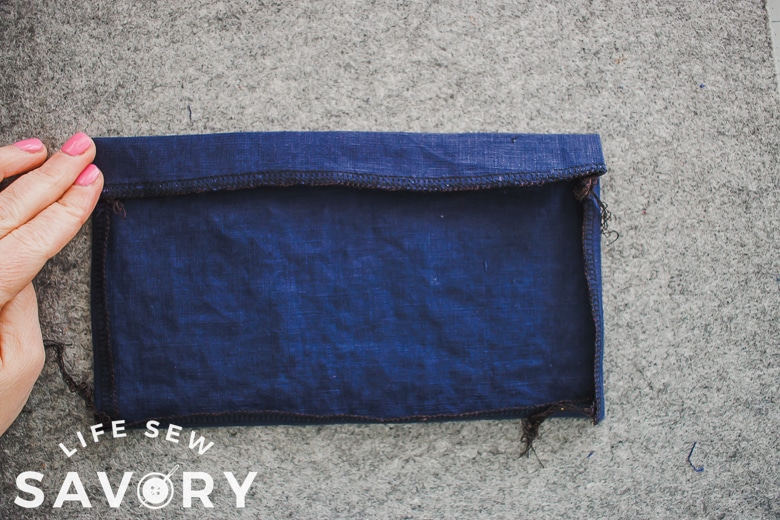
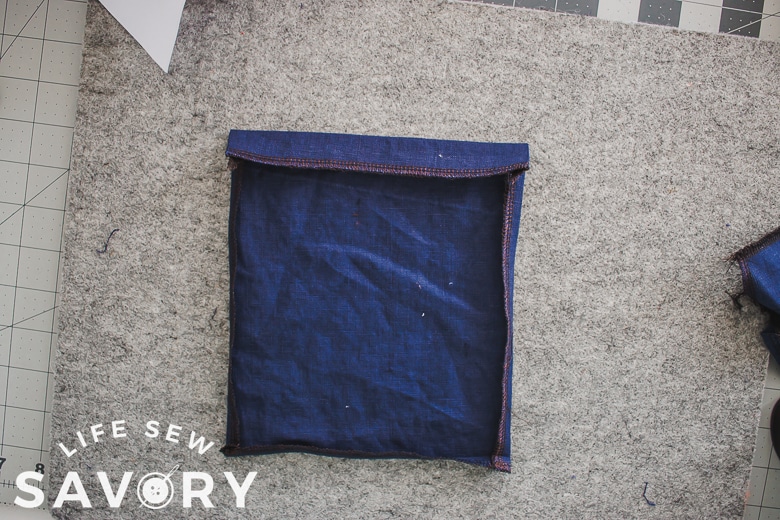
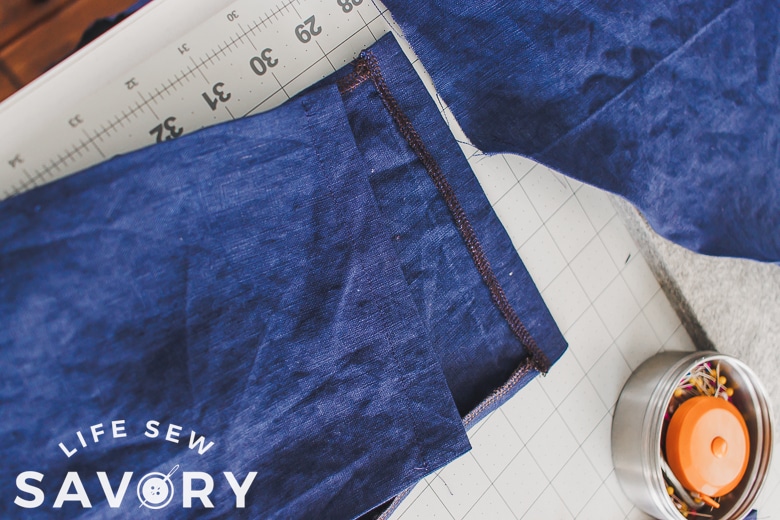
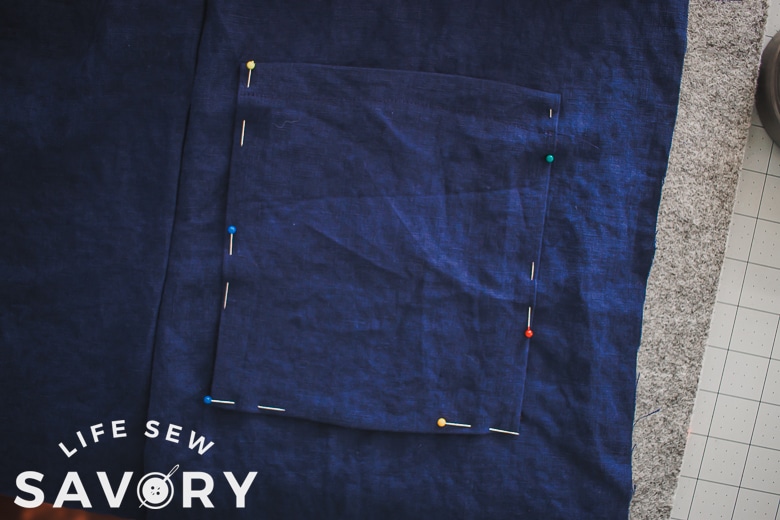
Fold the top pocket in half and place it on the center front seam. Measure 3″ down from the top and the pin the three sides of the pocket in place. For the smallest sizes you may want to move this pocket up slightly. Make sure to keep the seam allowance folded back.
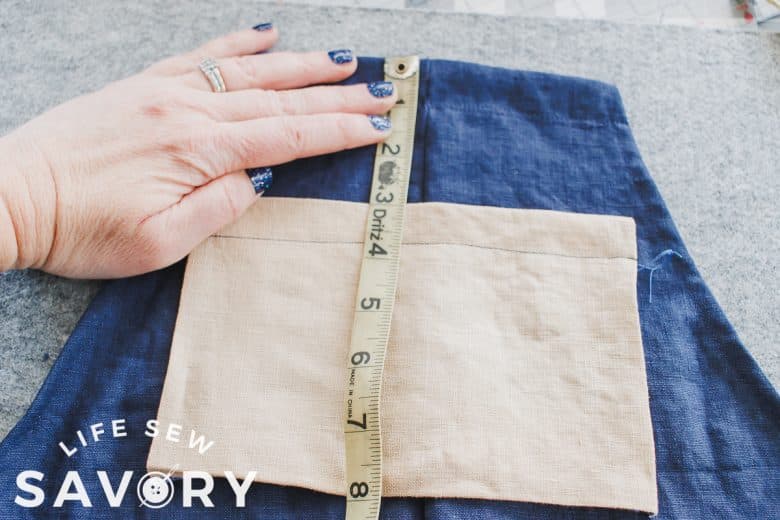
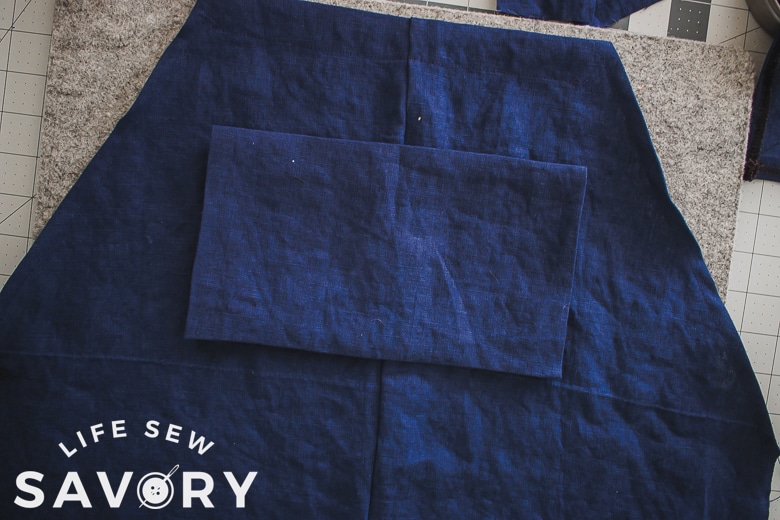
Sew the three sides in place to secure the pocket.
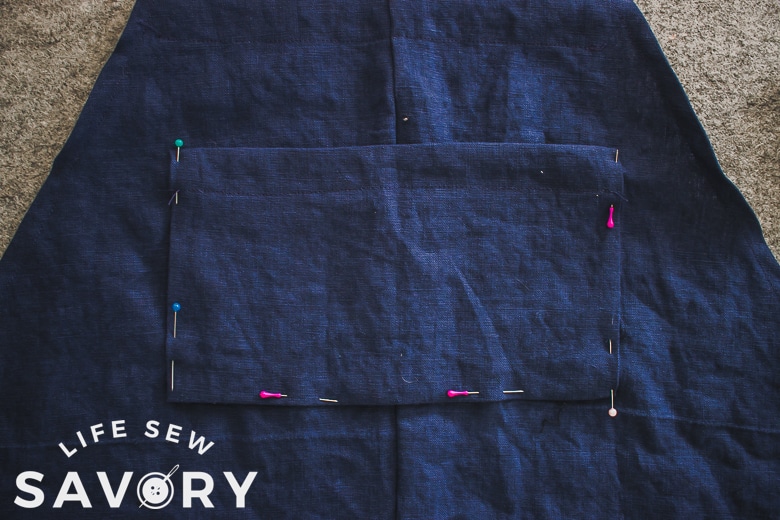
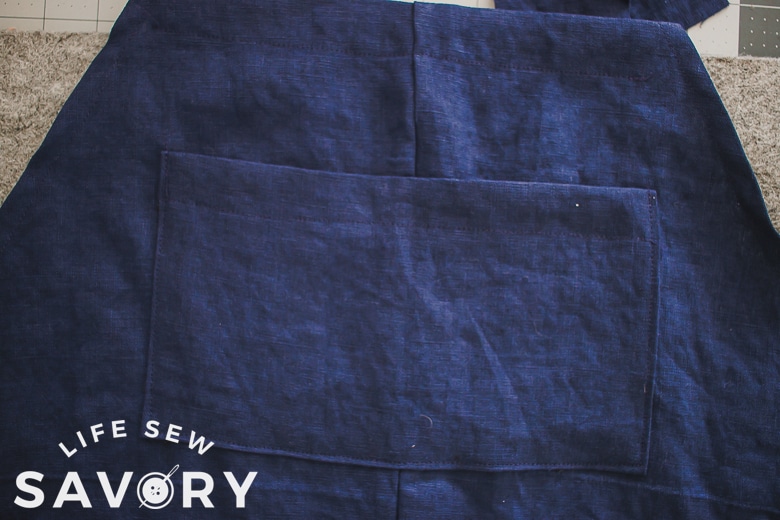
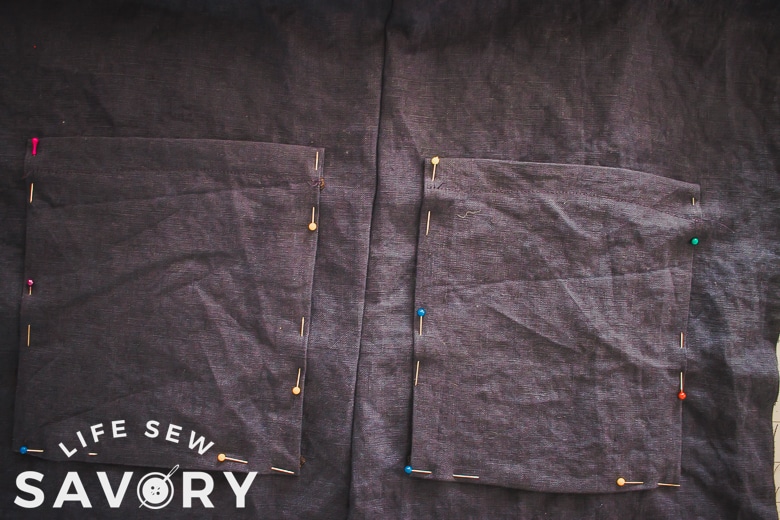
Now for the two bottom pockets. Measure 5″ down from the top pocket and center the pocket in the middle of the front panel. Again, for the smaller sizes you may want to place the pockets 3-5″ down from the top. Adjust as needed for t
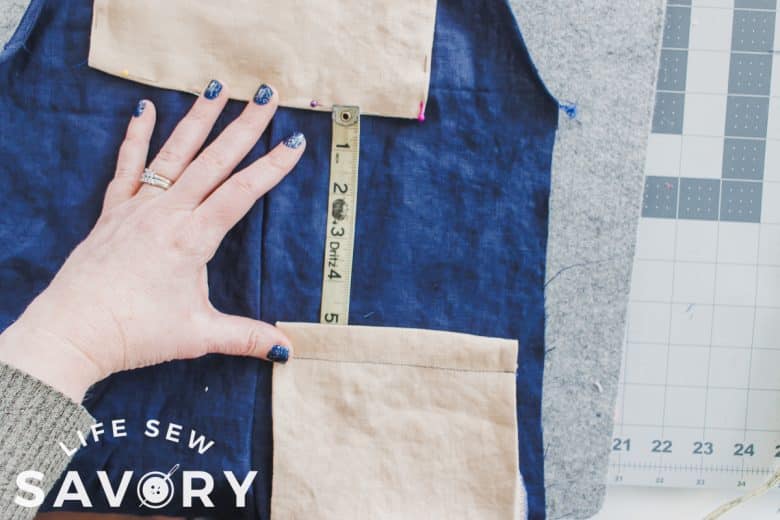
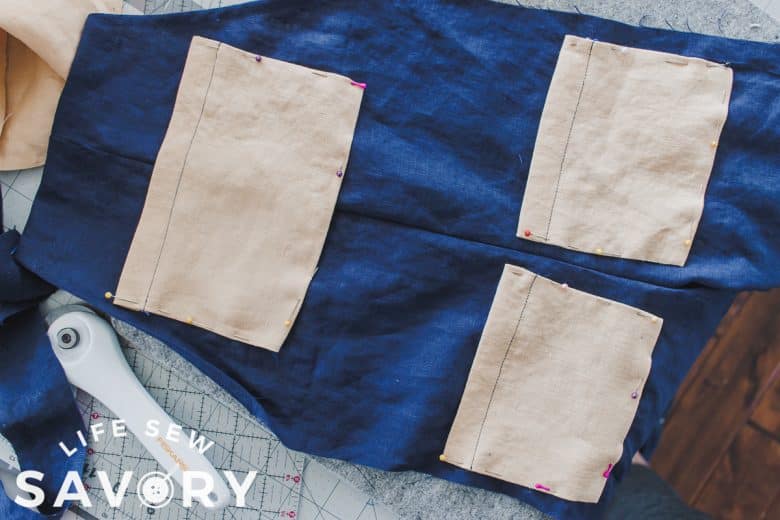
Pin them on the three sides, again keeping the seam allowance folded back. Sew the pockets in place.
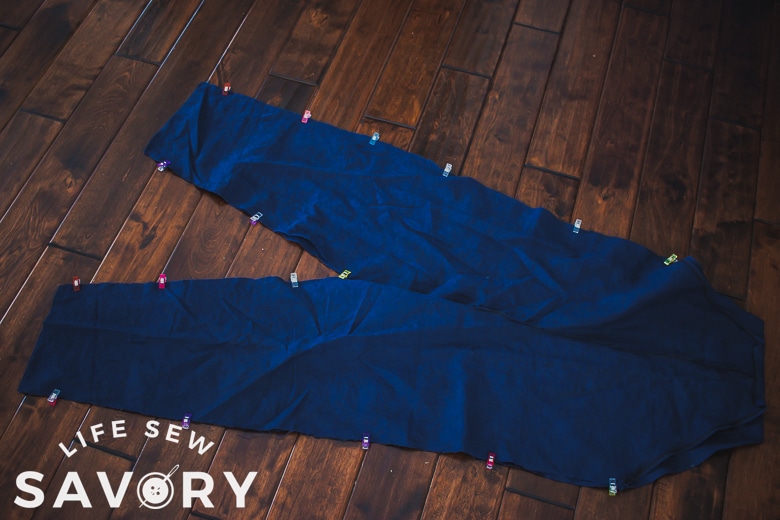
Pin/clip and then sew the side seams and inseam of the jumpsuit.
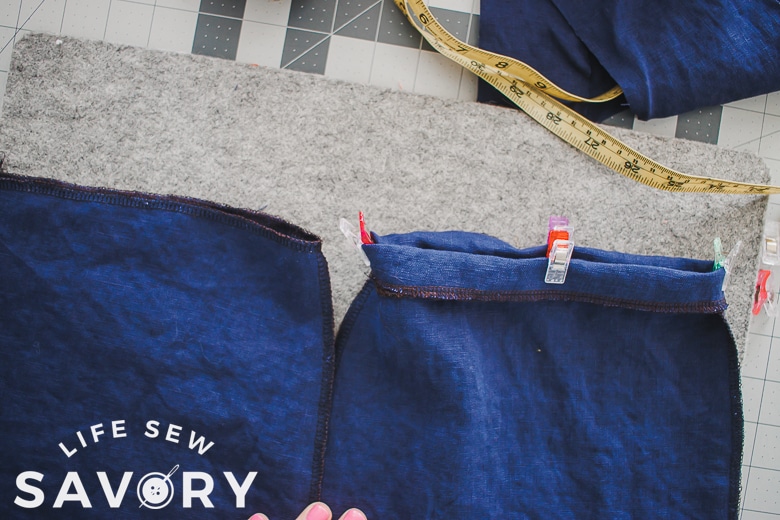
Finish the bottom edge of the legs and then fold back a 3/4″ hem and sew.
Sew the straps together on the long sides and one short end, then turn the straps back to the right side through the open end. Need help turning tubes of fabric? Try this tutorial.
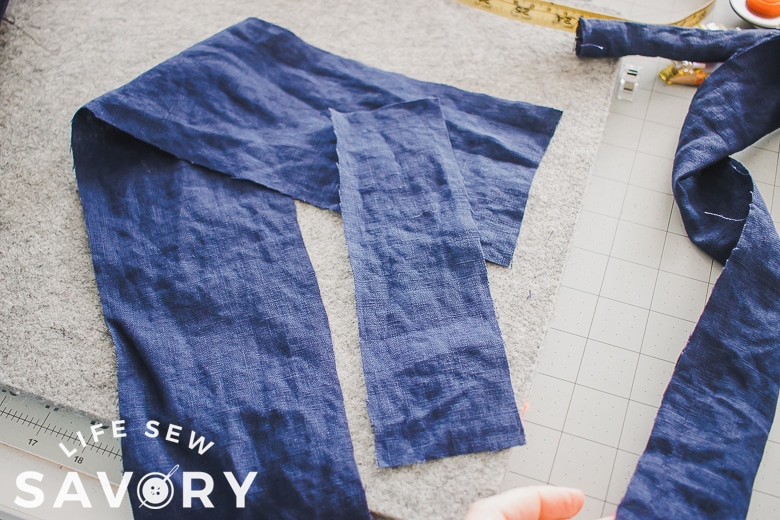
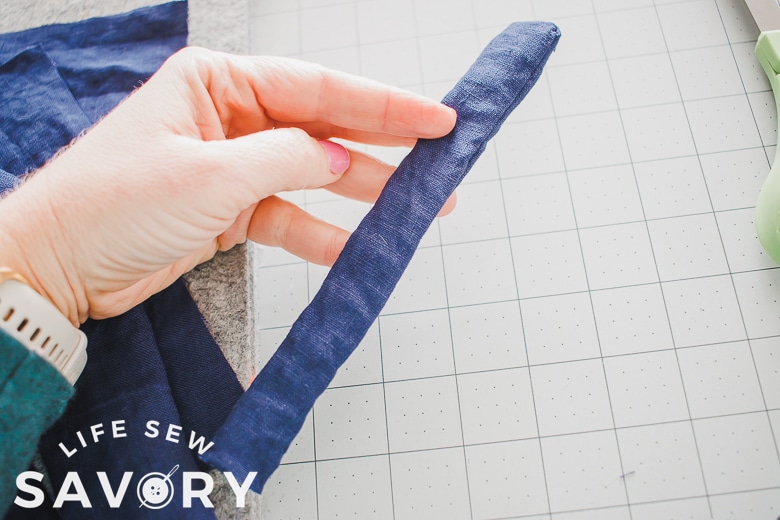
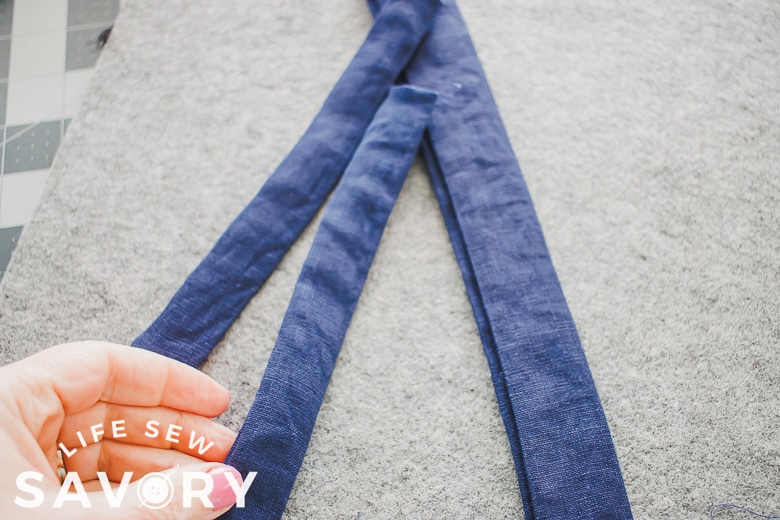
For the back fold under the raw end of the long strap, then pin the straps on the edge of the back. NOTE: I would angle these out slightly for a a better fit. These are more angled than I did with the adult version.
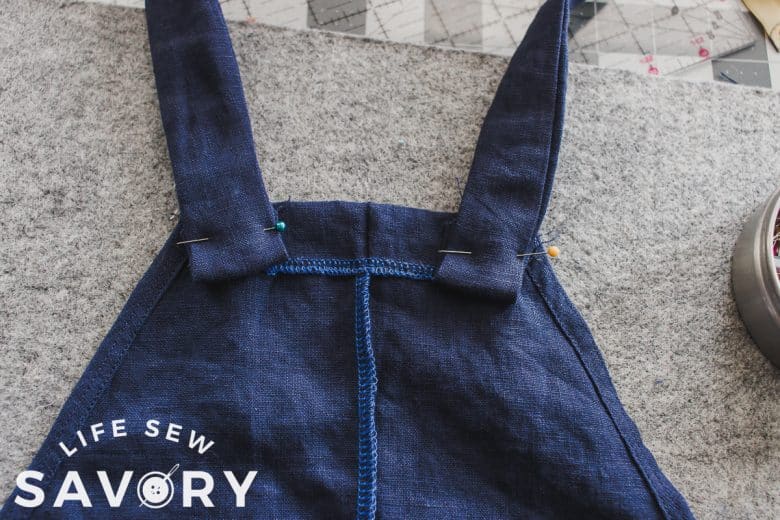
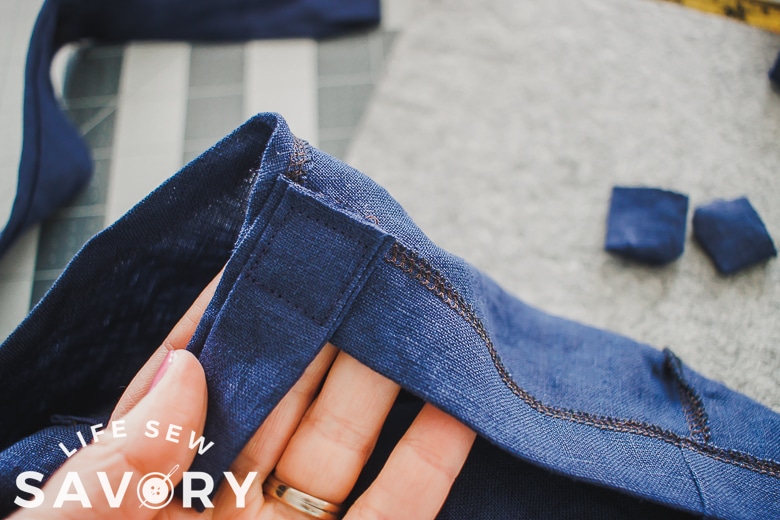
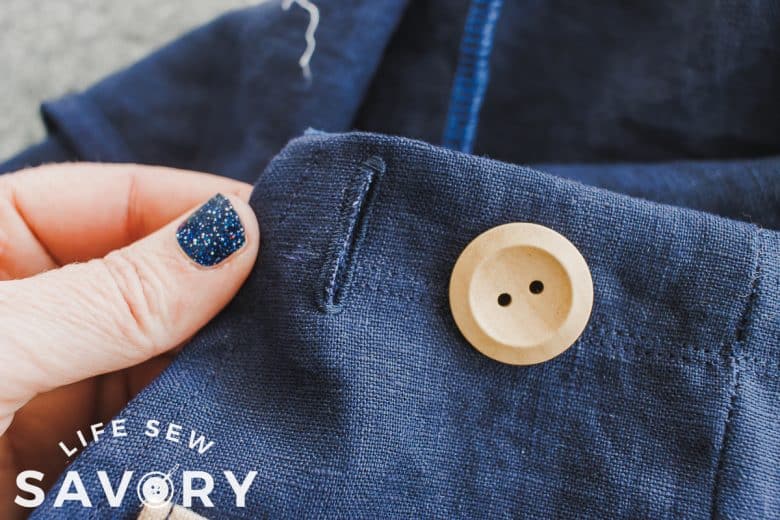
Have your child put the jumper on and then measure the strap length. Add a buttonhole on each side of the top corners. Sew the buttons on the strap where needed to fit correctly. If you want a more adjustable version you can put buttons on the corners of the top front, and then put several buttonholes on the strap so you can add length as needed.
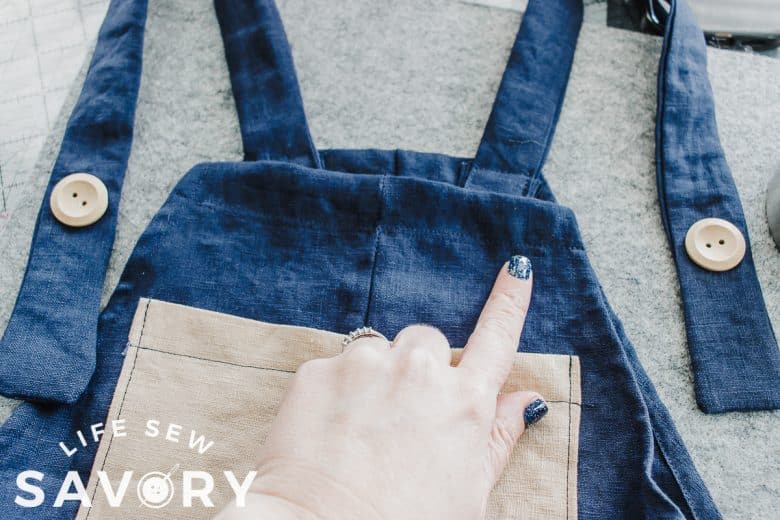
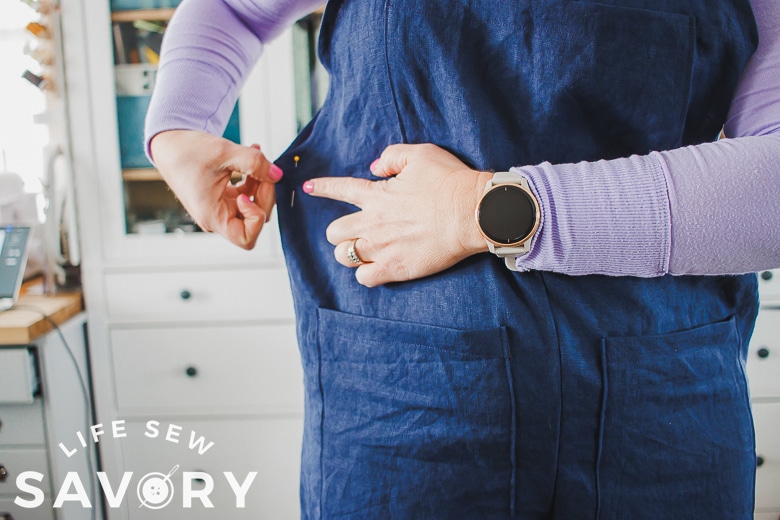
The final step is to take in the waist just slightly to keep it from being to boxy. If it fits well with out this step then skip. Try on the jumpsuit and tie the top straps in a comfortable place. Then pinch the sides by your waist and see if taking in an inch or so would help the shape. I took an inch from both sides, then angled the stitch back to the side seam. It’s hard to see in the photo but my thumb is pointing to where I started the stitches, then I eased back to the side seam about 5″ down. Make sure you can still pull the jumper down over the hips.







Trina Grier says
Thanks for this pattern! It’s my granddaughter’s favorite style, and she’s outgrown the baby pattern I had. One other idea for the straps, especially for the little ones, is to make them elastic. I’ve just made a tube, and then put the elastic inside. Make the tube long enough so it ruffles up some, like a headband or a scrunchie. The straps stay up nicely, and it’s easy for her to get off her shoulders to go potty!
dino game says
my daughter loves this style. I am waiting for more from you.