Inside: Learn how to create easy knee patches for leggings with multi-directional sewing on your Brother Sewing Machine. Sew knee patches on leggings to extend the life of kids leggings.
Its the time of year when my daughter starts wearing through the knees of her leggings. We still have several months left to go with legging weather so I had to figure out a way to make leggings last longer. Today I’m going to show you how to sew knee patches for leggings AND add cuffs if they are too short.
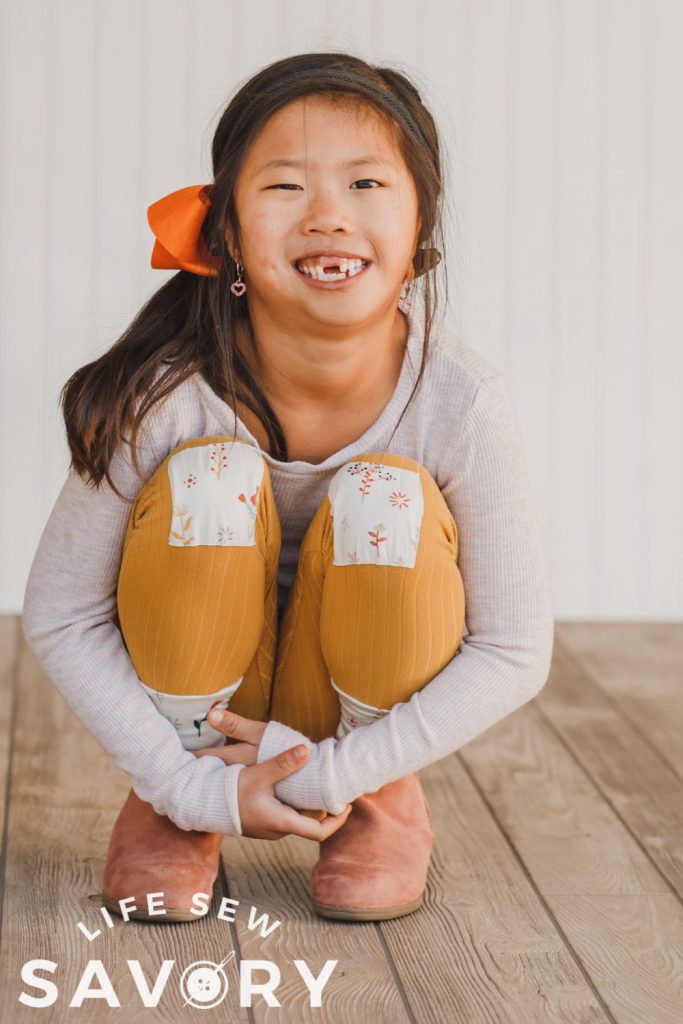
Knee Patches for Leggings
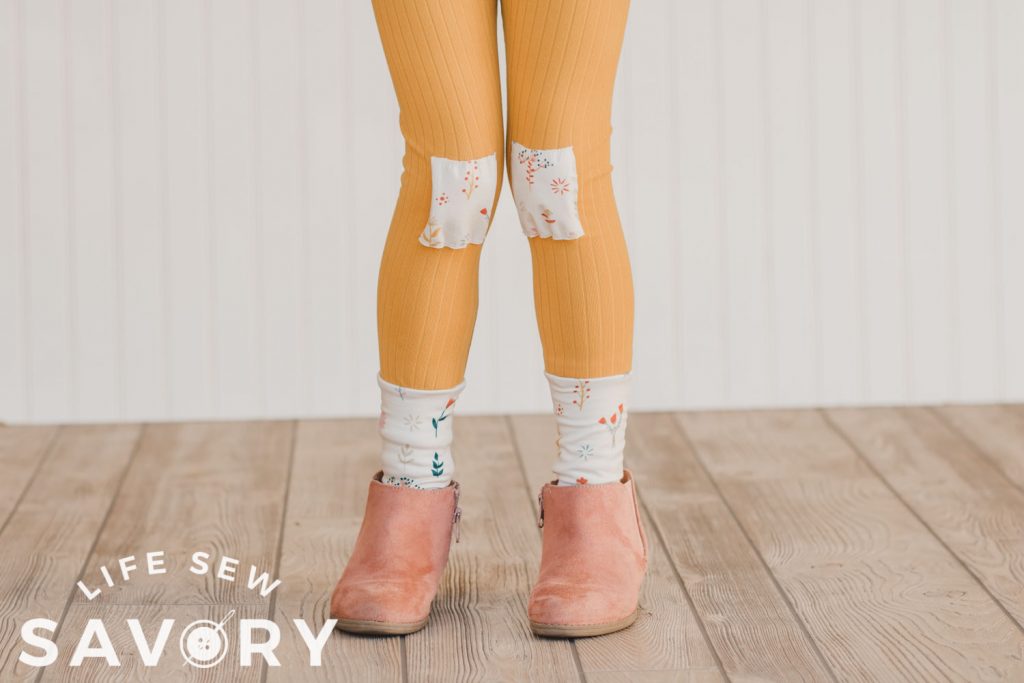
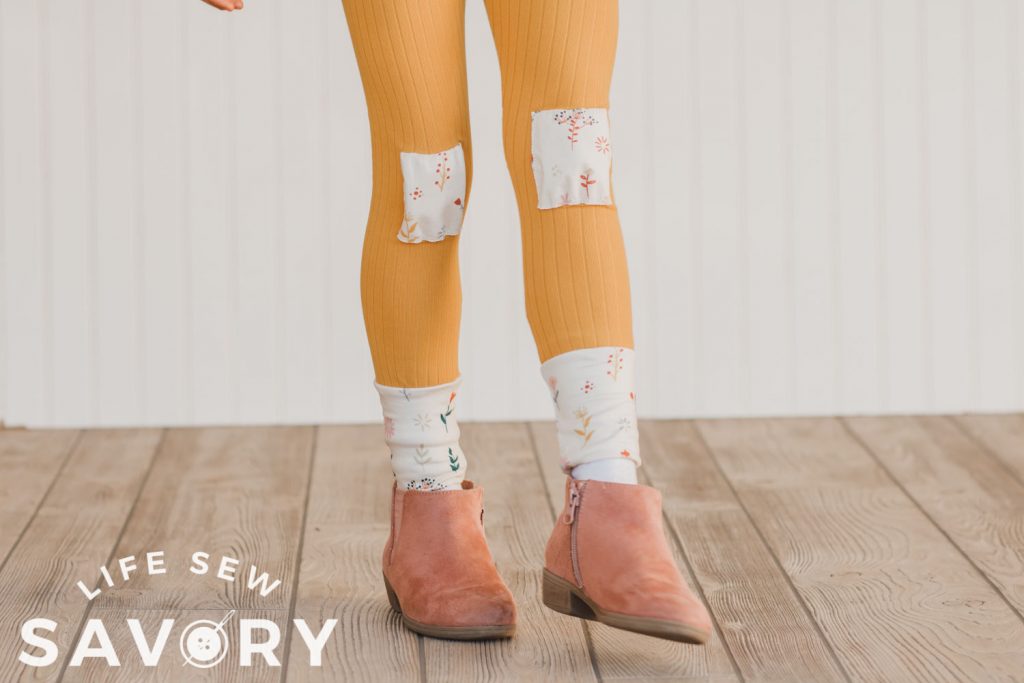
These leggings not only had a hole in the knee, but also were getting too short! Yikes… it’s only January, we need these leggings {and the several other pairs like it} to last a few more months. I’m thrilled with the new knee patches and the cuffs I added too.
These leggings were sewn with my Kids Free Legging Pattern.
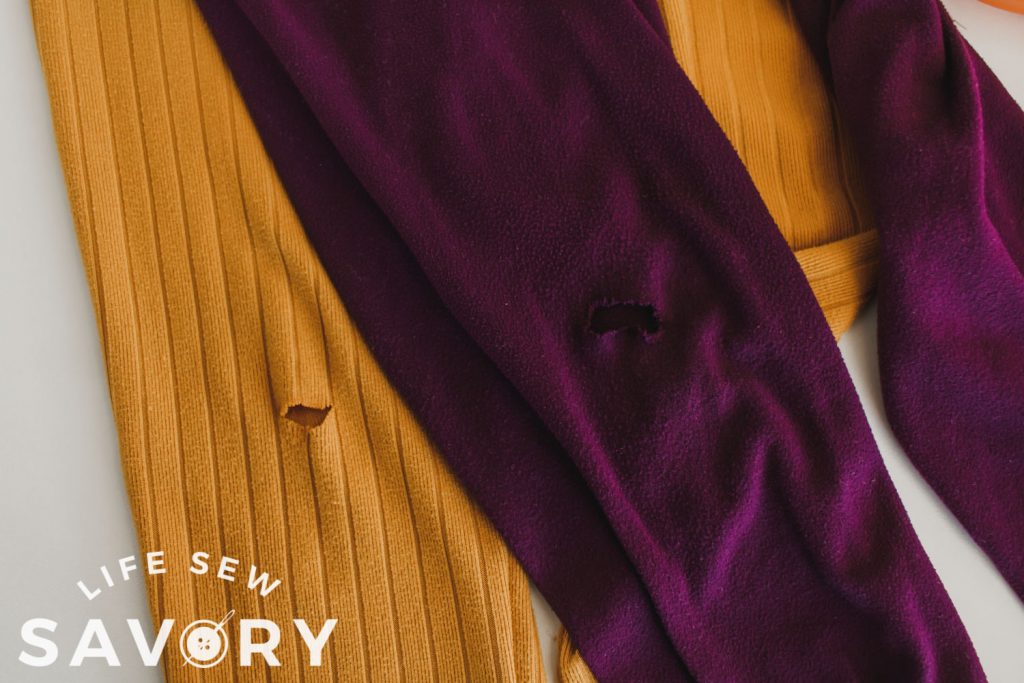
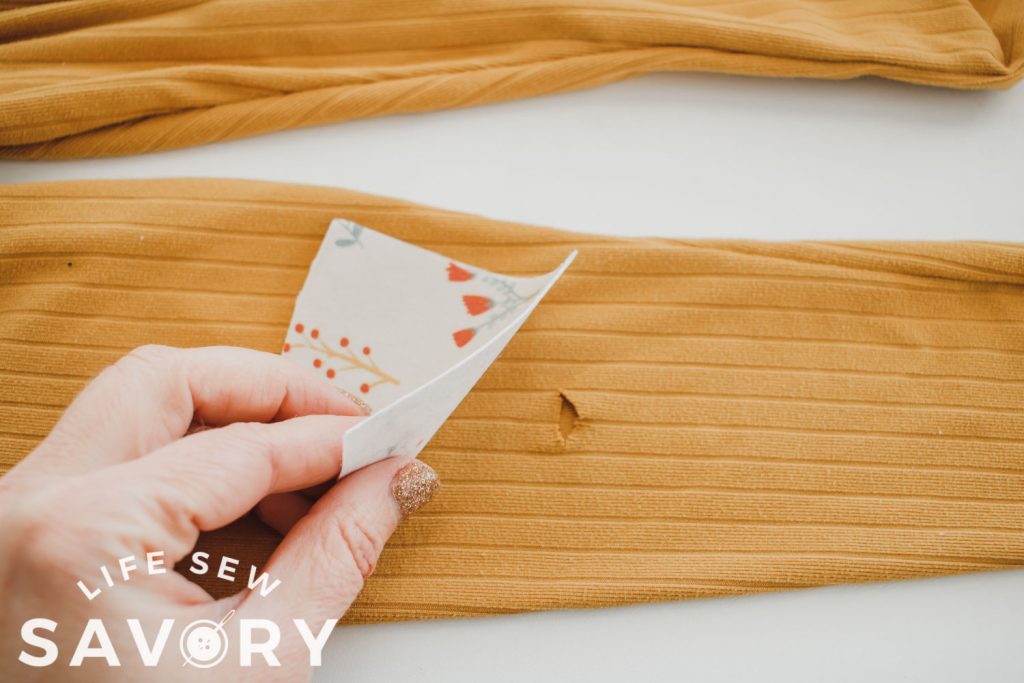
Let’s take a look at what I started with to get this adorable result. Holes… {I have a few pairs to patch!}
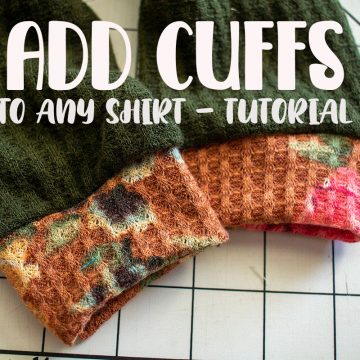
Here’s a shot of how short these leggings were.. I added the patches then realized I needed another hack too! I used my cuff tutorial {method 2} to add long cuffs to the bottom. I just cut off the hem, and then added the cuff.
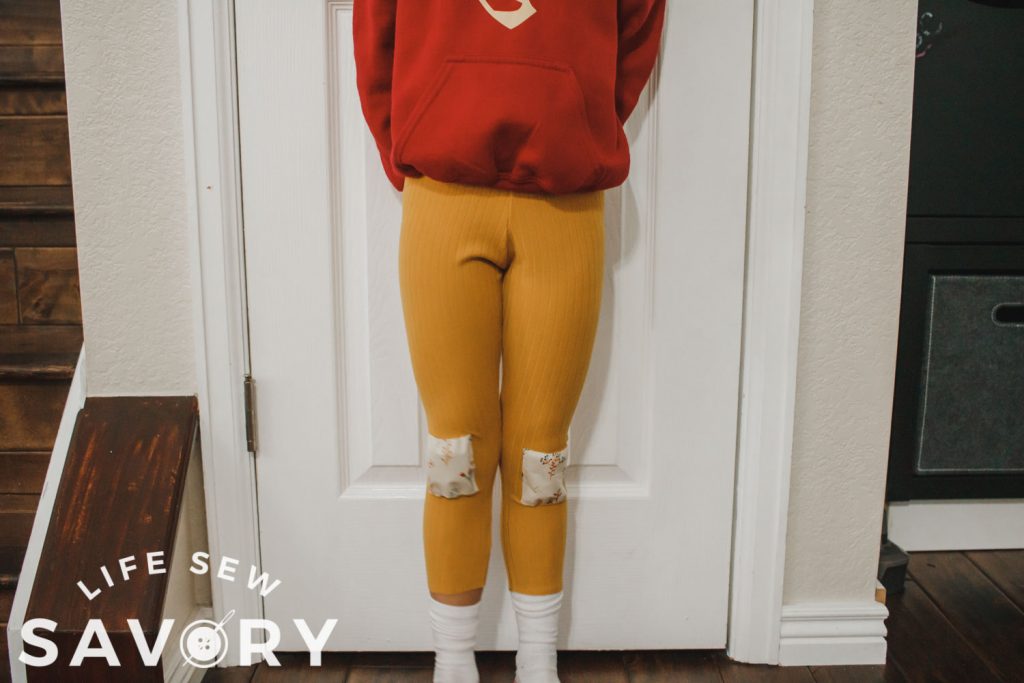
You are going to love the new life your leggings will have once you patch the knees and add cute cuffs.
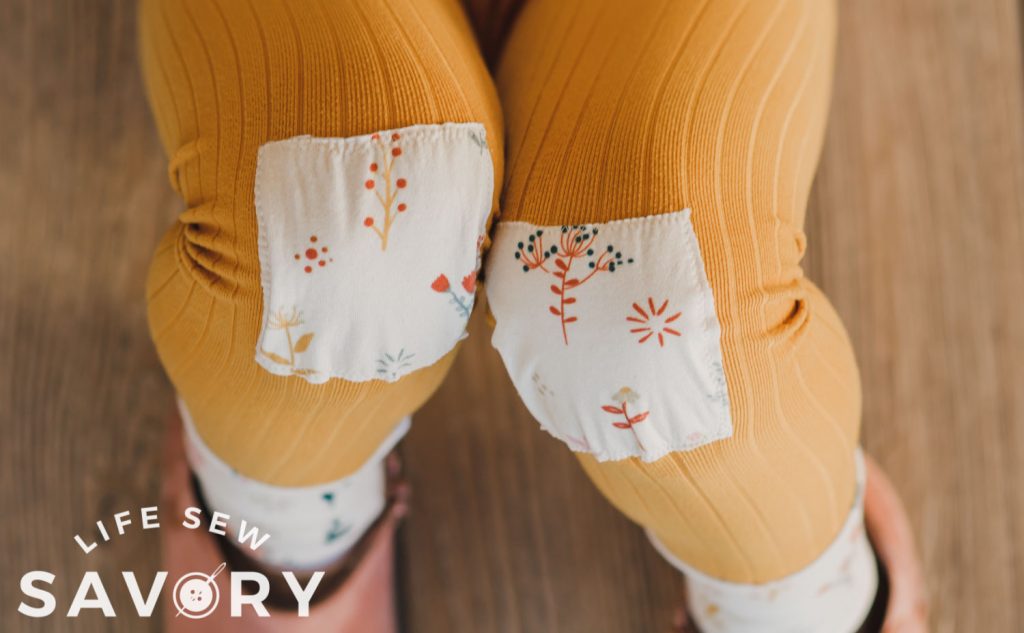
How to Patch Legging Knees
There are lots of ways to patch knees. In fact, I wrote a post years ago with several cute ways to patch pants…
The easiest patch I’ve ever made was to just apply HTV {heat transfer vinyl} over a hole. You can cut them in cute shapes and call it good!
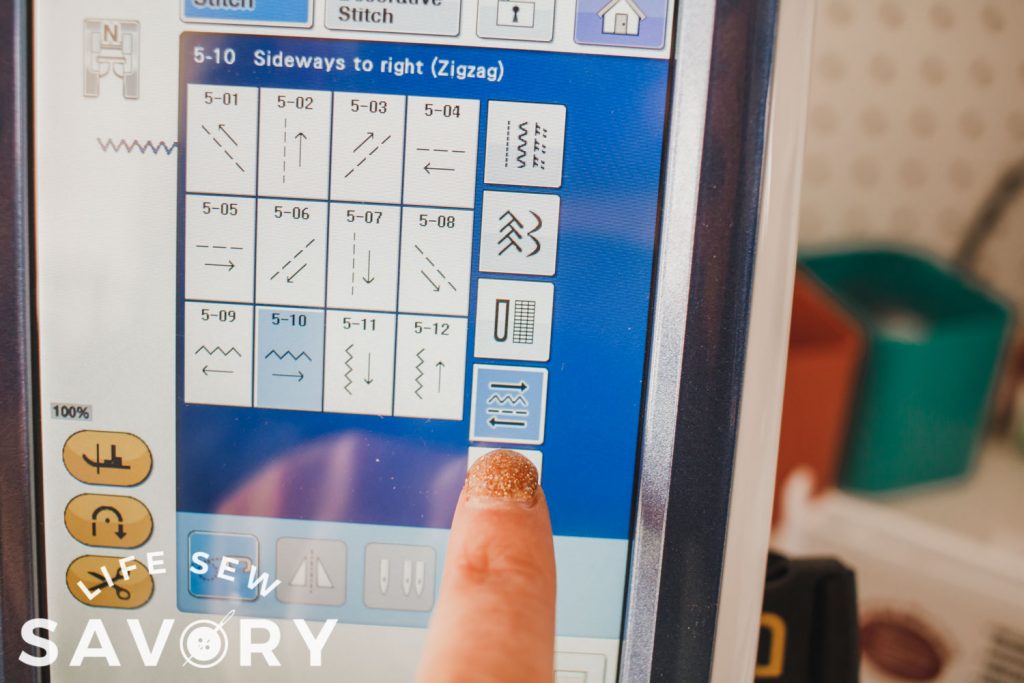
I recently discovered another amazing way to add patches and using multi-directional sewing has changed my patching life! I’m going to show you how to use sideways sewing on my Brother Sewing Machine to add and easy knee patch! You will have to check if your machine has this great directional sewing feature.
You can check for this multi-directional sewing symbol on your machine to see if you can use this method.
How to sew knee patches on leggings
Ok! Let’s jump into this sewing tutorial! Grab your holey leggings and some fabric for patching. You will also need some fusible interfacing to reinforce the patch. I used knit fabric for my patch.
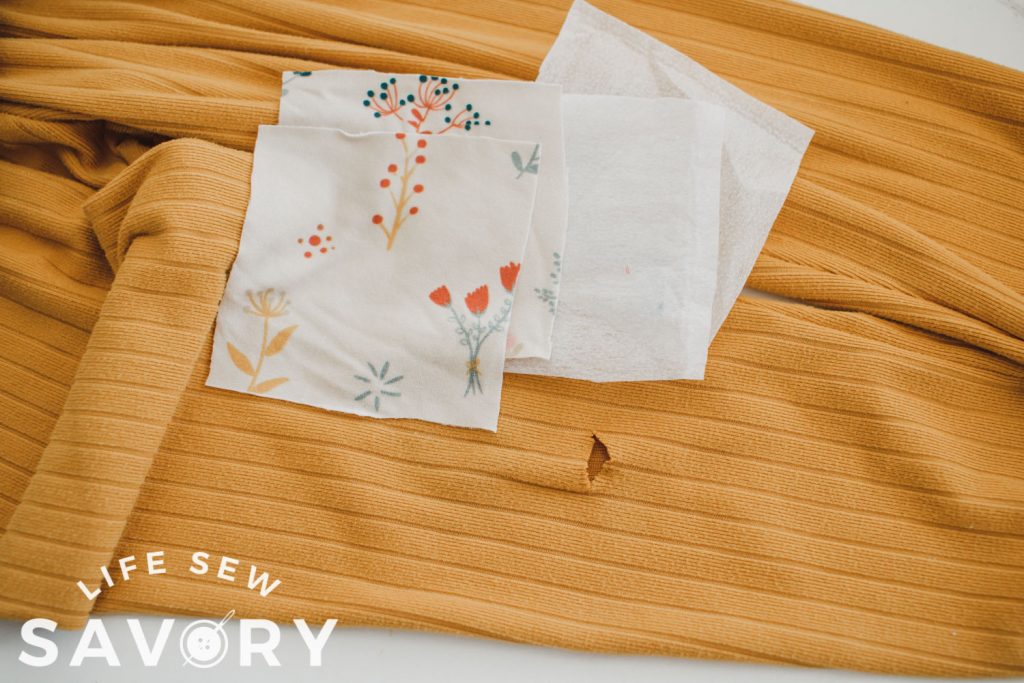
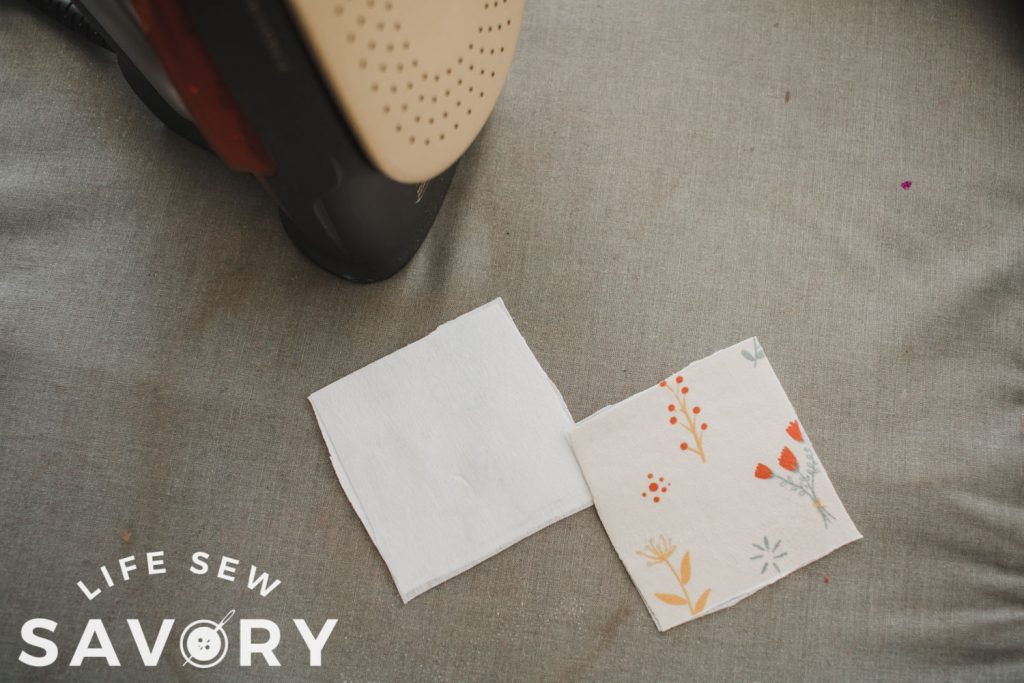
Fuse the interfacing to the back of the patch square. You can make your patches square or oval, but square/rectangle is easiest to sew. Especially if you are doing the sideways sewing method.
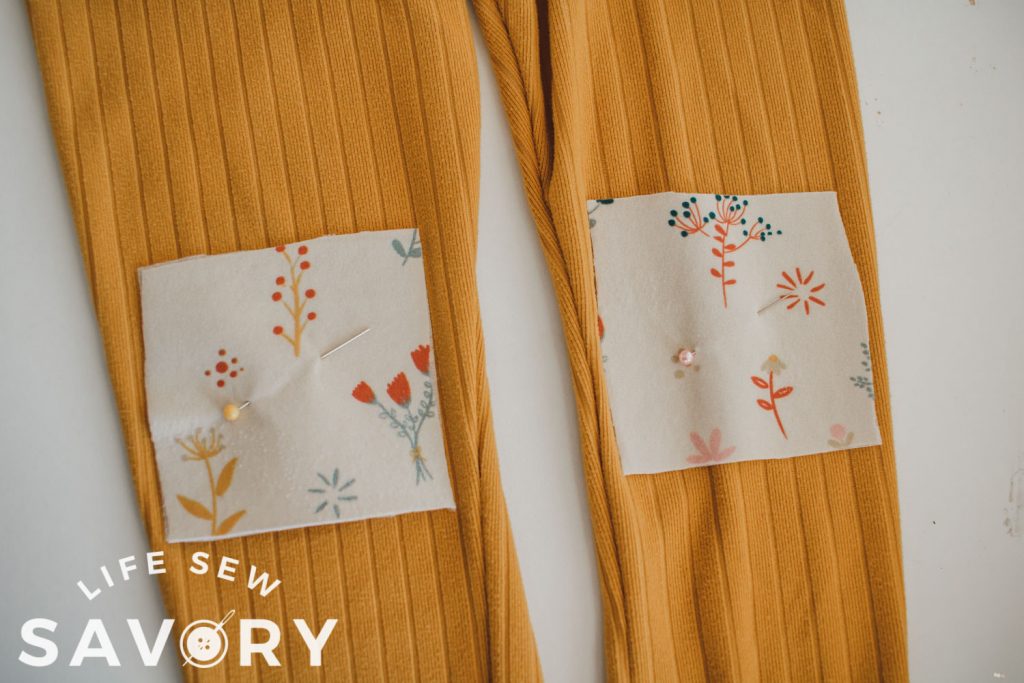
Place the patch over the hole and pin in place. Make sure to only catch one layer of the leg with the pin so you don’t pin the leg shut.
Sewing with multi-directional stitches
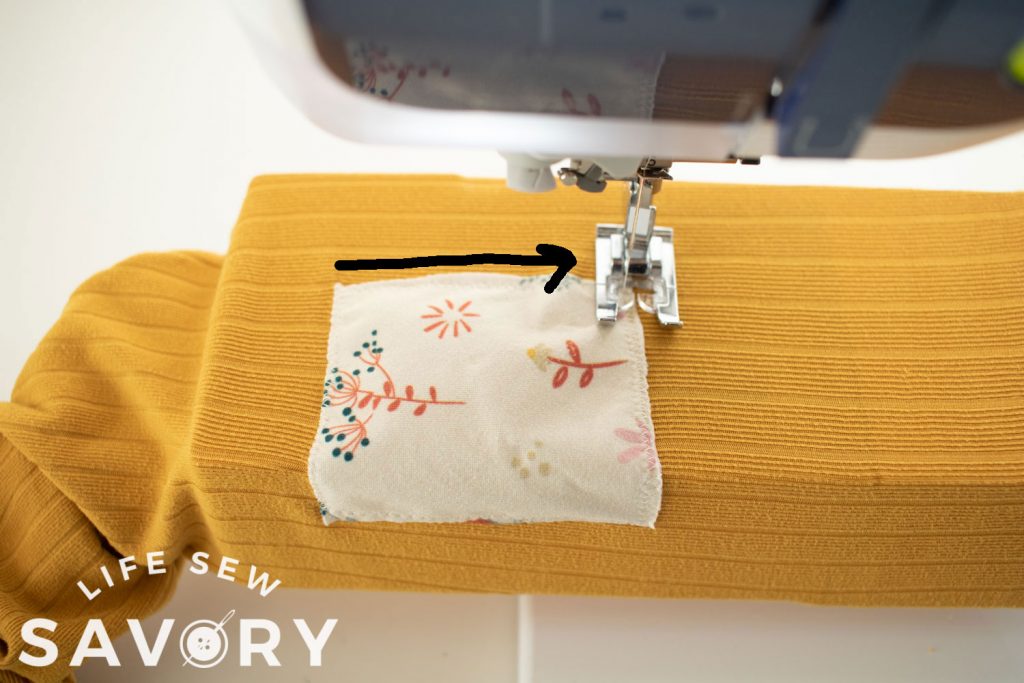
Now comes the fun part! Remove any sewing beds, plates, etc so you are left with just a narrow bed under the needle. You can slide your legging leg right over this.
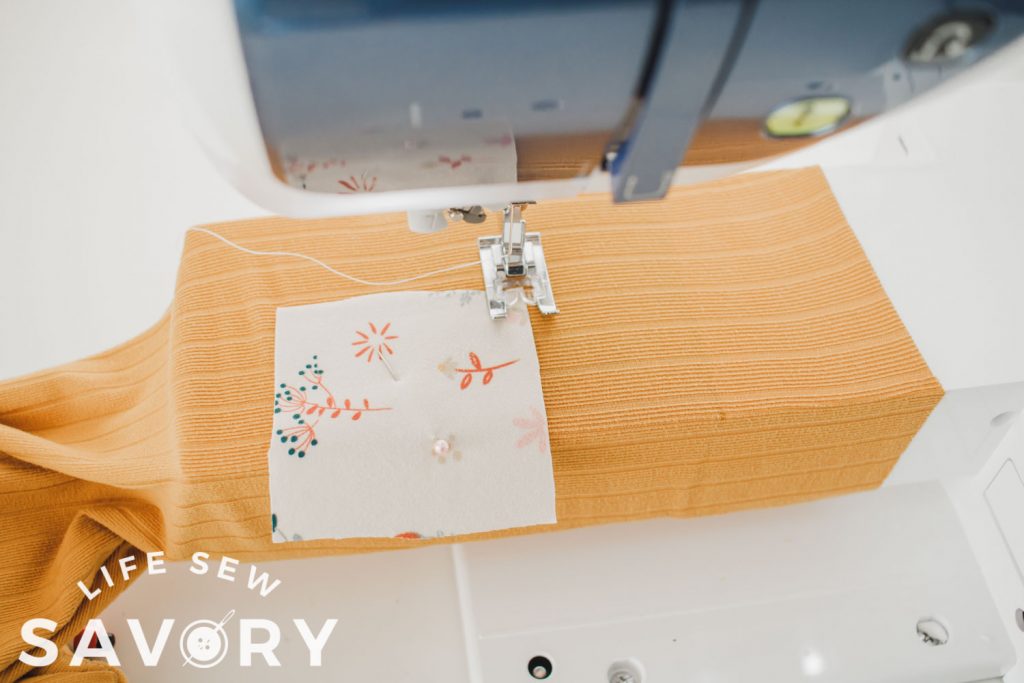
As mentioned above choose the directional sewing button on your machine. I chose a zig-zag stitch. The sideways sewing feature will do zig zag and straight stitching.
I sewed straight down the bottom of the patch, then switched to side sewing to move up one side.
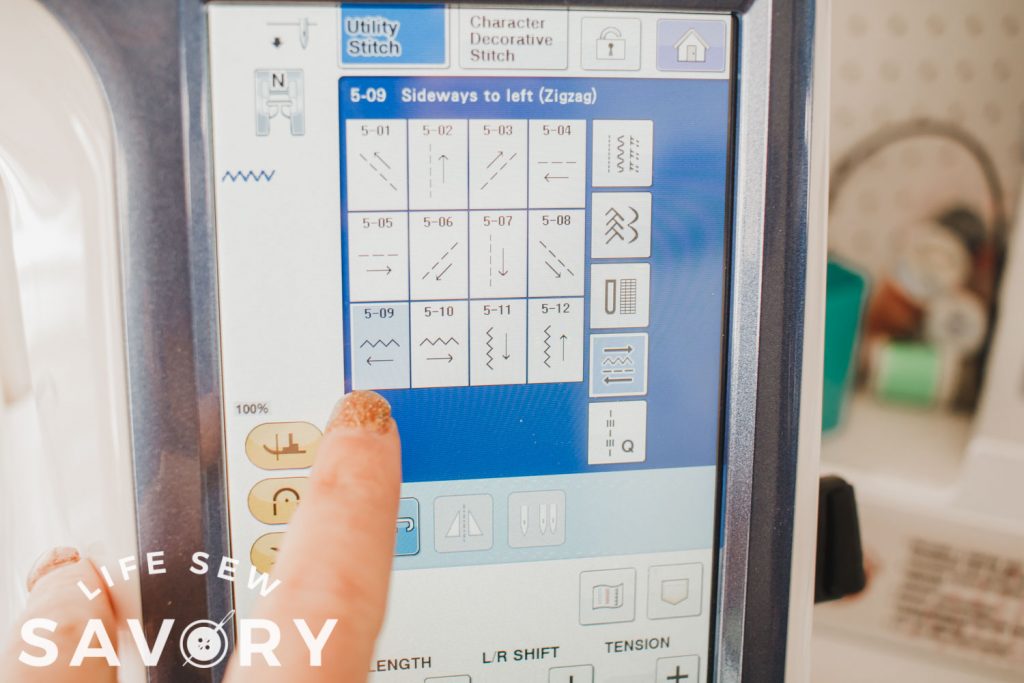
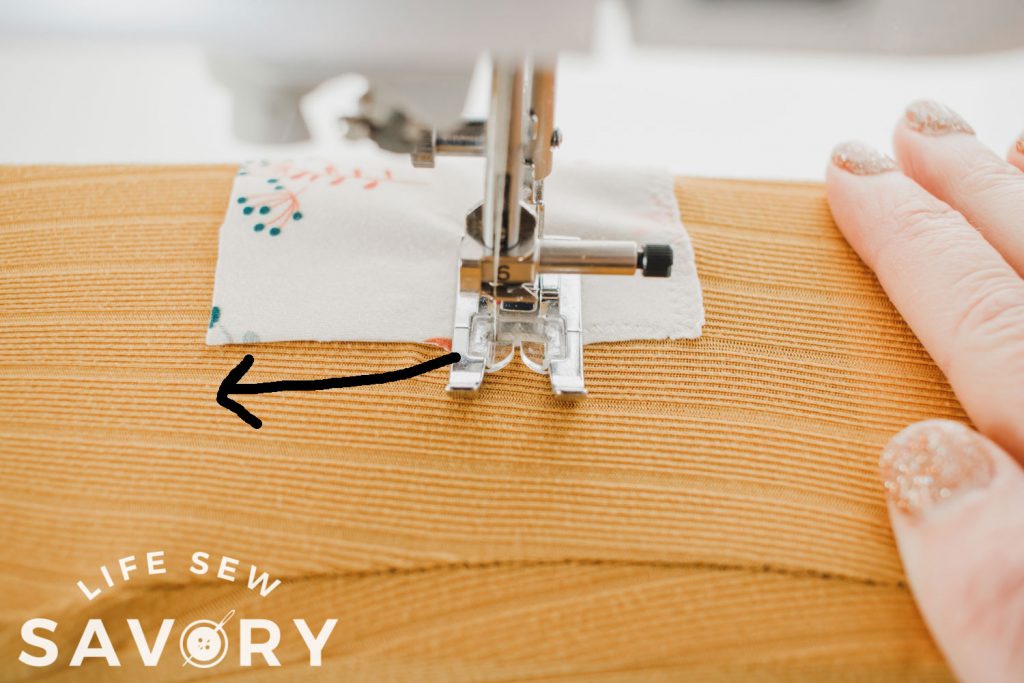
Switch to backwards, then sew the top of the patch. Switch the stitches again to go back sideways the other way. This should complete your square. Fun right?
I’m thrilled with both the patches and the cuffs on these leggings and hope we can get a few more months out of them… Check back next week and I’ll show you another fun legging hack to add a skirt to leggings that are already sewn {or ones you bought}.









Leave a Reply