inside: sew machine embroidered buntings two different ways with this tutorial. Create beautiful season buntings with your embroidery machine. Sew buntings with embroidery with two different methods.
Do you decorate for the seasons in your home? I love creating seasonal decor and hanging it in our home. I created these two buntings last winter using two different methods of machine embroidery and I adore them both. I’m so excited to use them again this season.
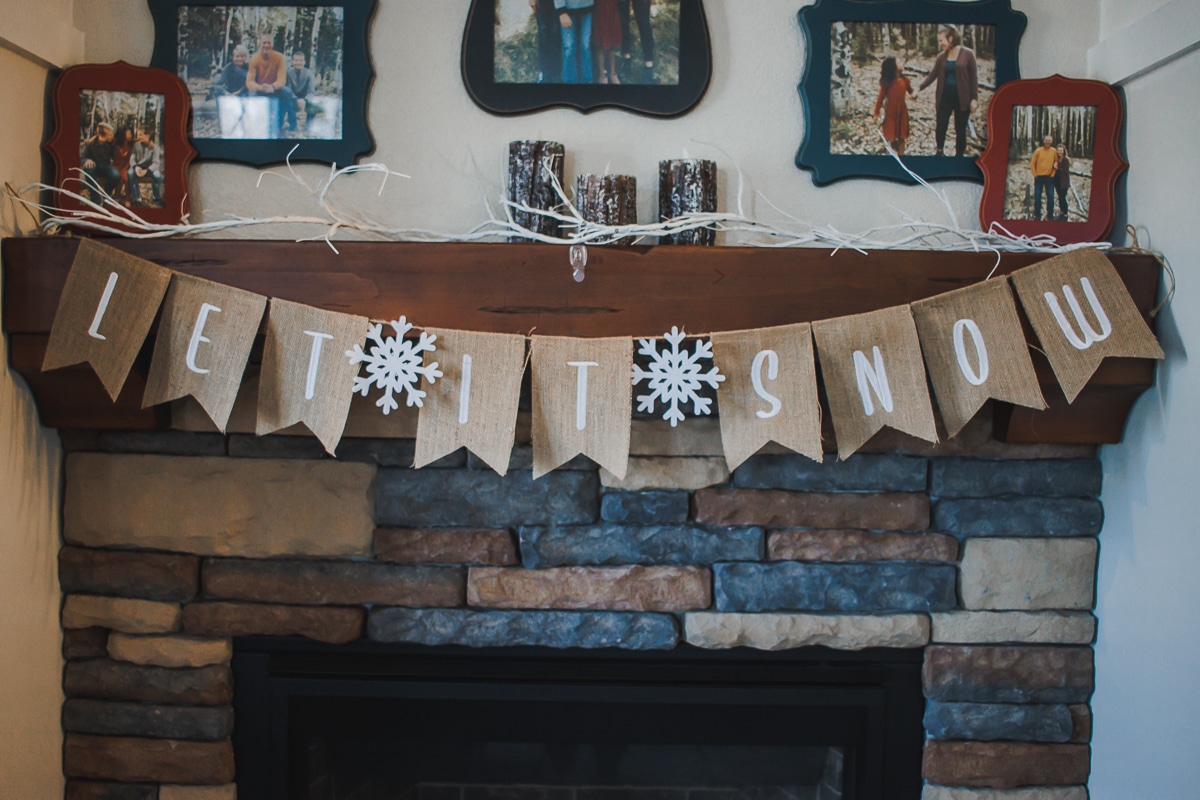
Embroidered buntings two ways
I had such a blast creating these embroidered buntings, but we enjoyed seeing them hang in our home even more. There is a winter themed bunting and then a Love/Valentines bunting for February.
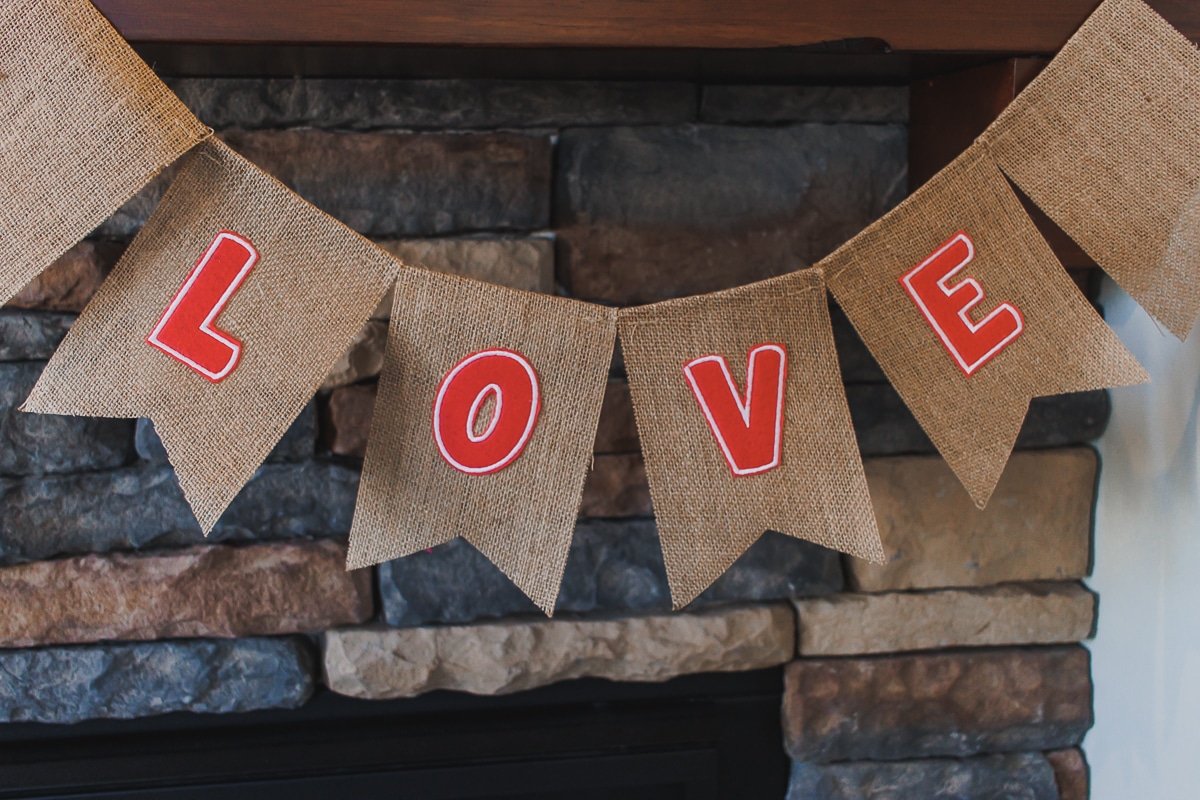
The love bunting has felt in the letters and you can use any color felt you want for the bunting you are creating.
The snow bunting it created just using embroidery thread on burlap bunting. I created both of these using the same bunting set I purchased, but you could also make your own bunting flags.

Beautiful buntings to hang in your home.
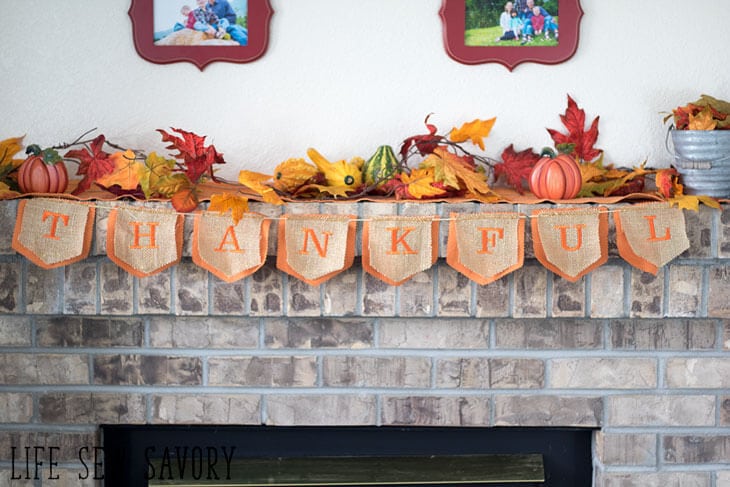
Machine embroidered bunting tutorial
You don’t need too many supplies for this project. Each style of bunting needs a couple different supplies, so make sure you get the supplies for the style of bunting you want to make.
- Burlap bunting flags {both options} I used one order for both of these buntings
- Medium weight tear-away stabilizer {both options}
- Embroidery thread {I used white for both}
- Wash away top stabilizer {embroidered letter version}
- Felt {for felt letter version}
- Embroidery fonts I bought from Etsy here
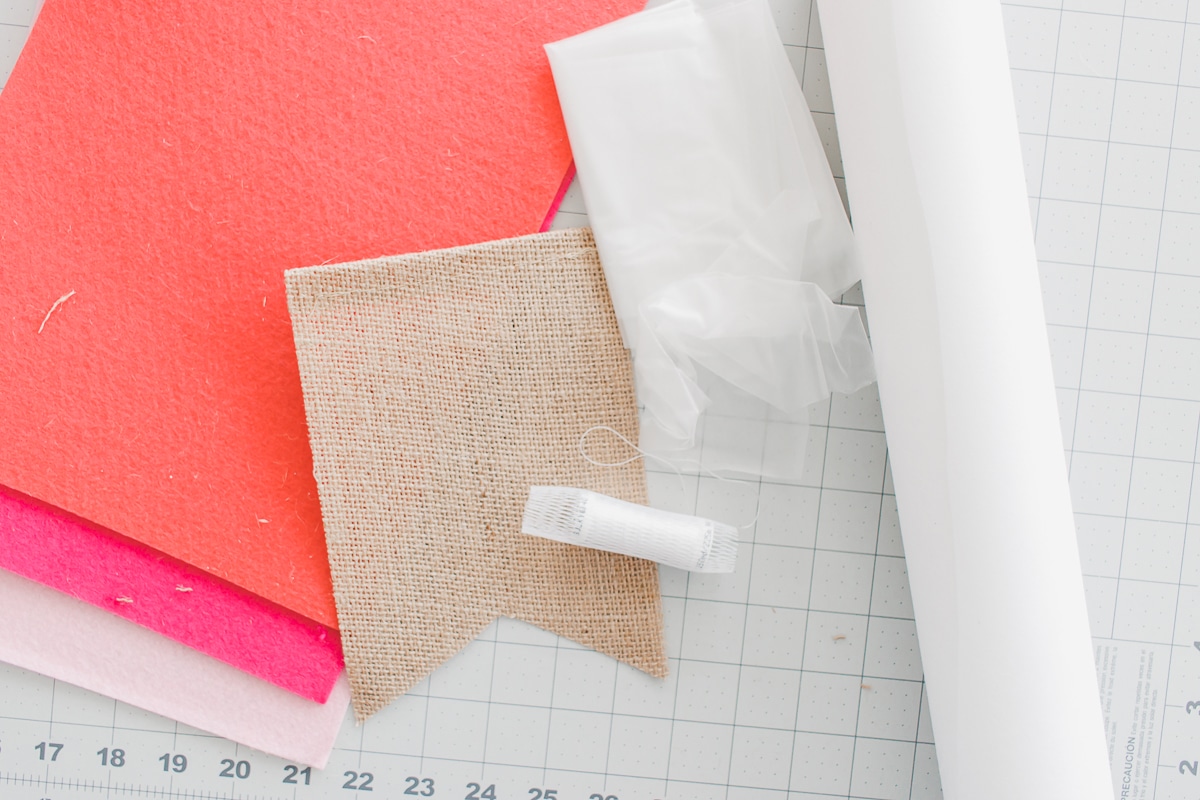
The good news about this bunting it can be made on a smaller hoop size. I used a 5 x 7″ hoop for my bunting, but you can use a 4 x 4″ as well. I also made this last year before I had a machine that connected to Artspira. This project would be very simple using the Artspira App as well.
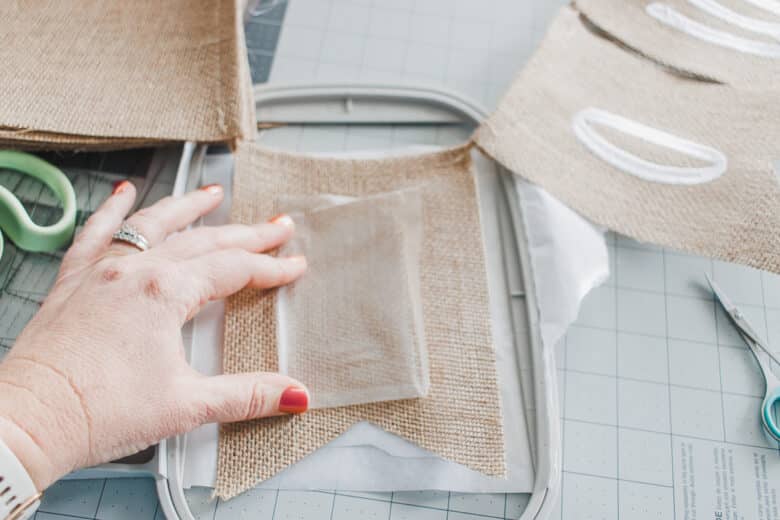
Hoop the sticky stabilizer and then stick a bunting flag on the top. You can do it in the middle of the hoop or sideways {I was able to do two flags sideways and use less stabilizer.} I also cut the bunting to be the correct numbers of flags before starting. It comes in a very long piece.
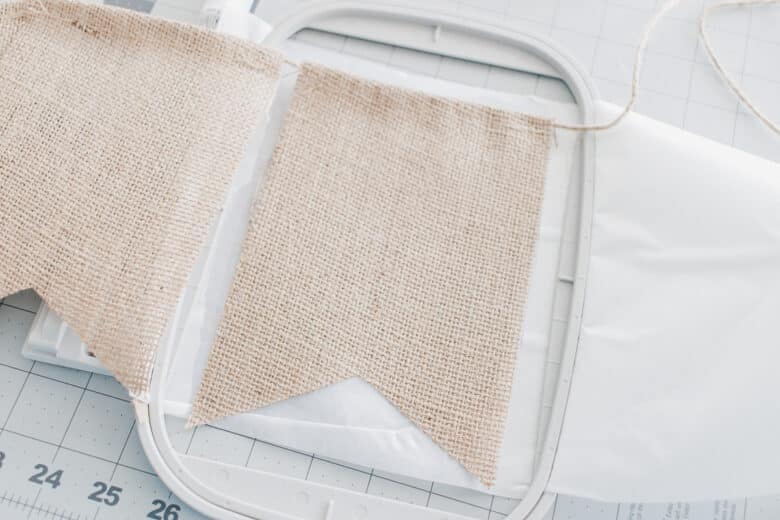
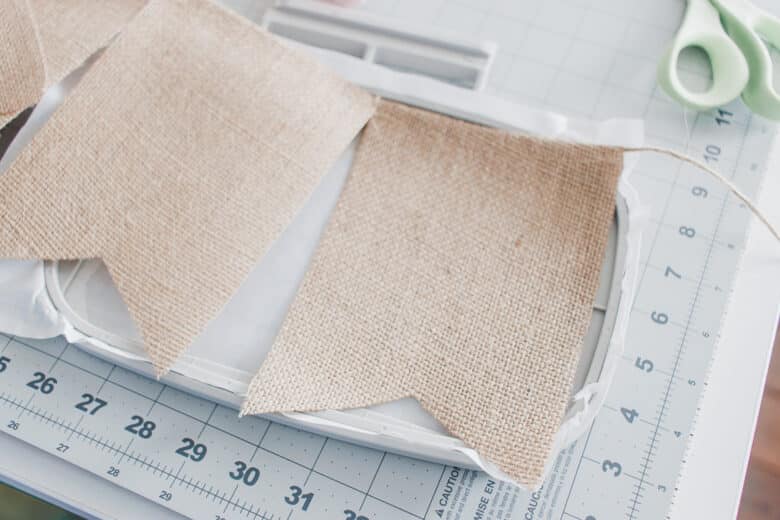
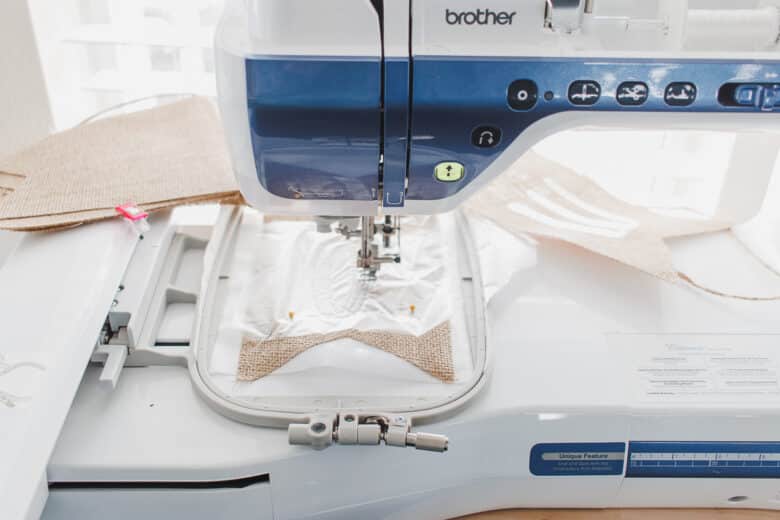
I’m going to walk through the embroidery straight on the flag first, then will show the felt letters below. I used a USB stick to import the letters from my computer. I like to just add the letters I need to the stick and not the whole alphabet. Again, this would be super simple with Artpsira now.
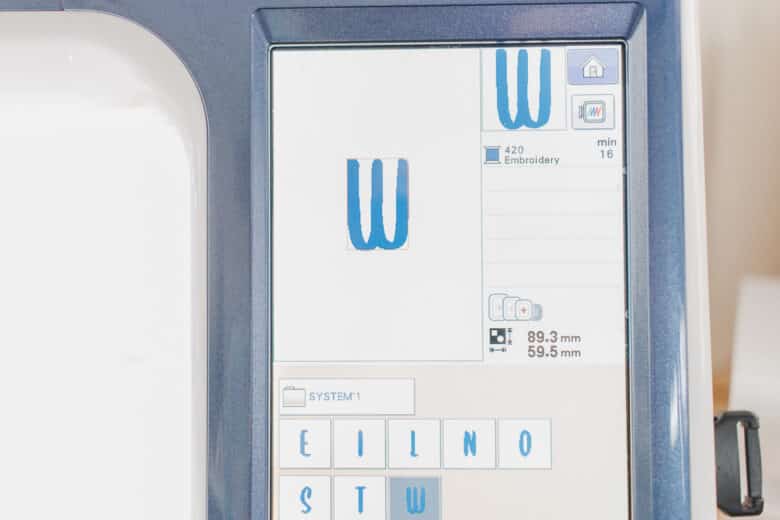
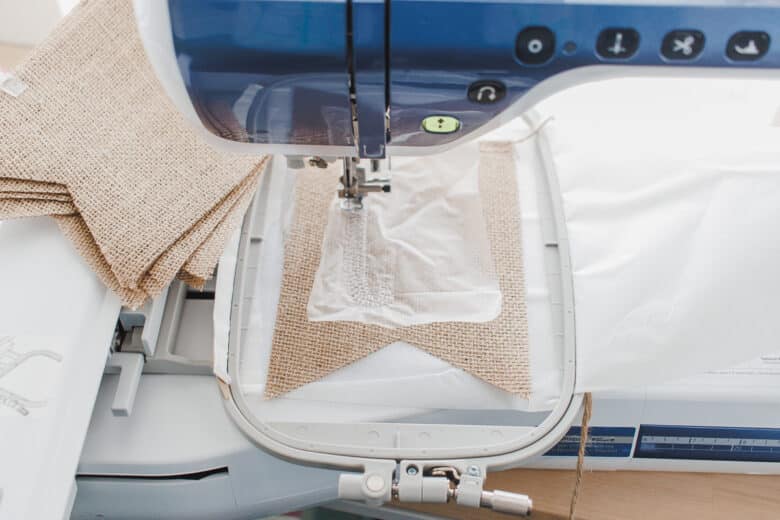
Place a piece of the topper stabilizer on top of the flag. this will keep the letters nice and full and not allow the threads to sink into the flag. This kind of top stabilizer is very helpful with loose weave fabrics like this burlap.
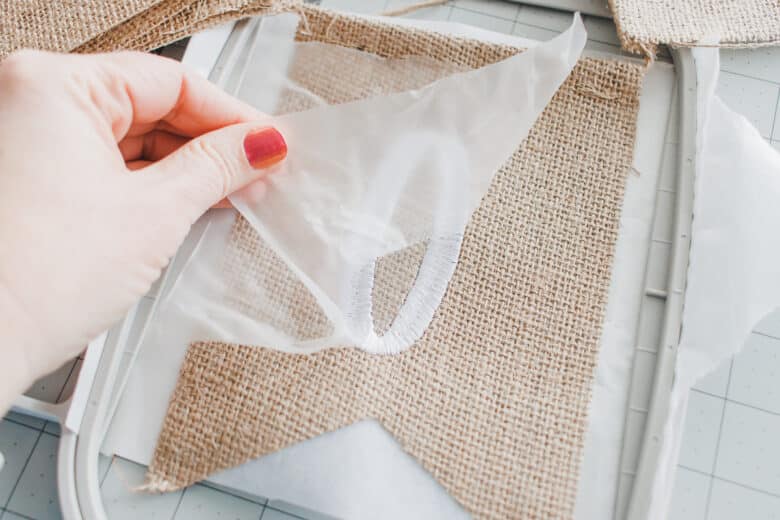
When the letter has finished embroidering, carefully remove it from the backing. Depending on how much rips out, you may be able to use the piece of stabilizer again. Add another flag and repeat the process.
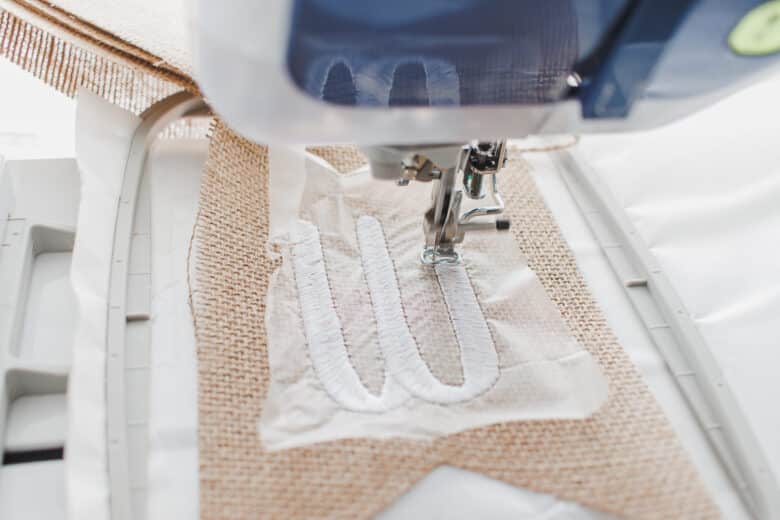
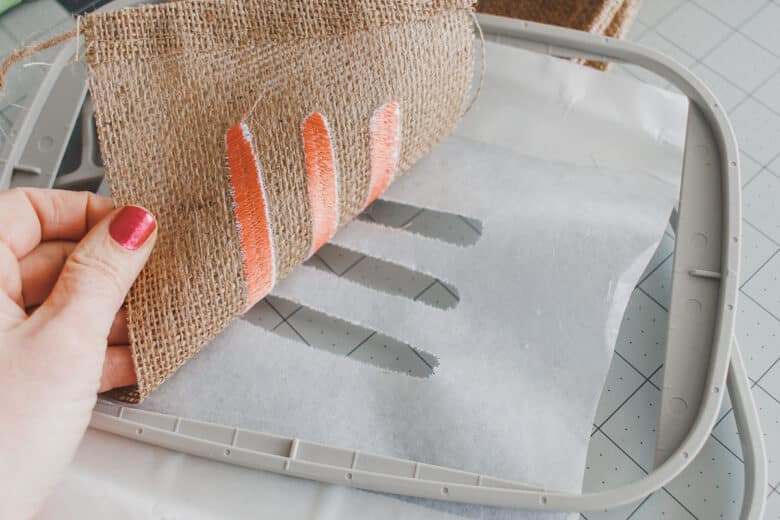
The top stabilizer is water soluble, but since I didn’t plan on washing my bunting I was able to tear it off. You can always dab a wet washcloth on small stubborn pieces to dissolve.
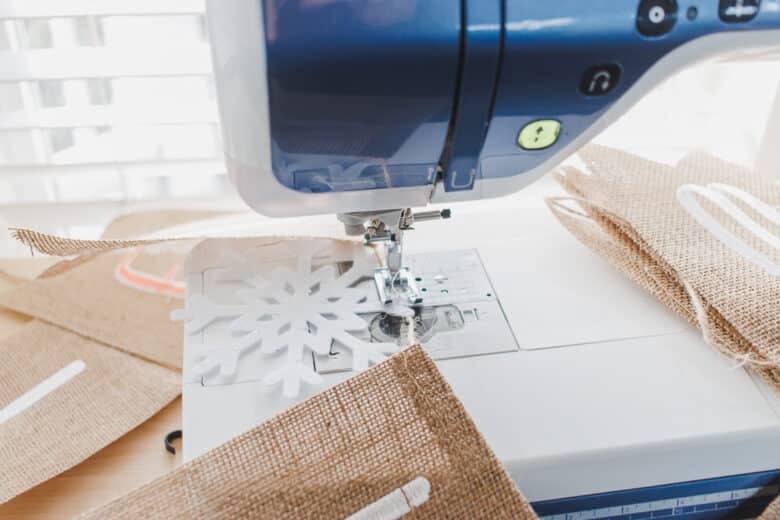
Is your bunting more than one word? Add something cute between the words. I used this snowflake which is a free download here. I cut the felt flake on my ScanNCut and then stitched it between the words.
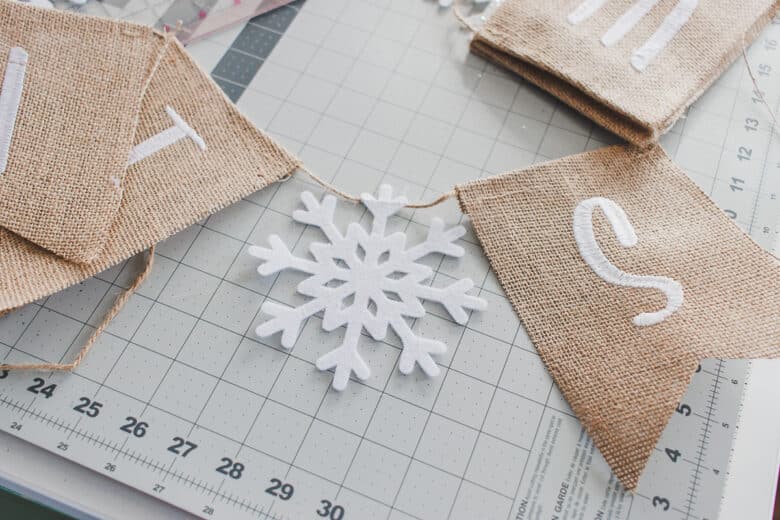
How to make an embroidered bunting
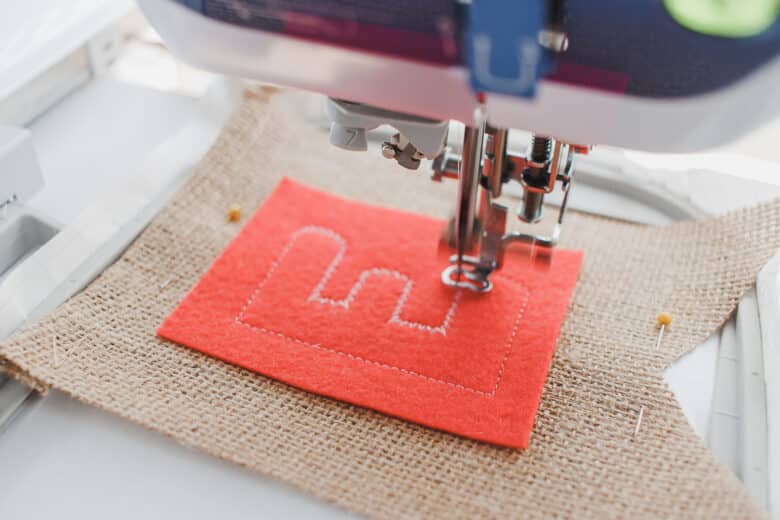
Ready to create the second kind of bunting? Grab some felt and let’s get started. Trim rectangles of felt just a bit bigger then your font. Use a font made for applique or one that will leave the middle open. Stitch out the line placement of the font design. If you look close in the photo here you can see the E outline.
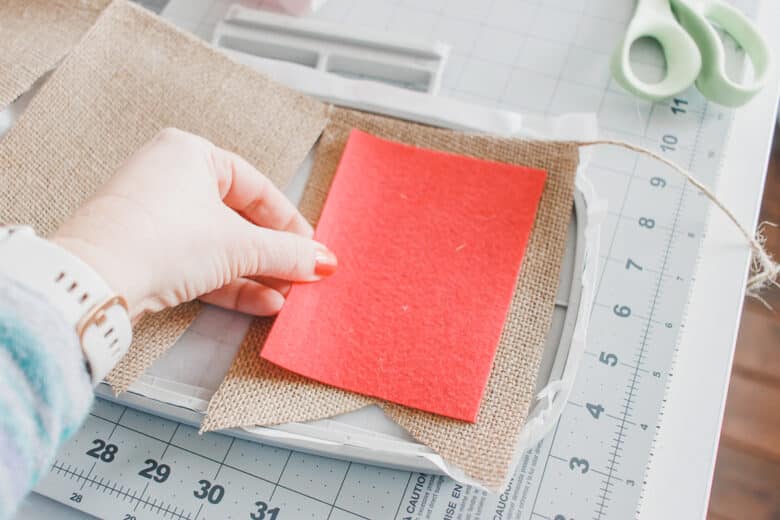
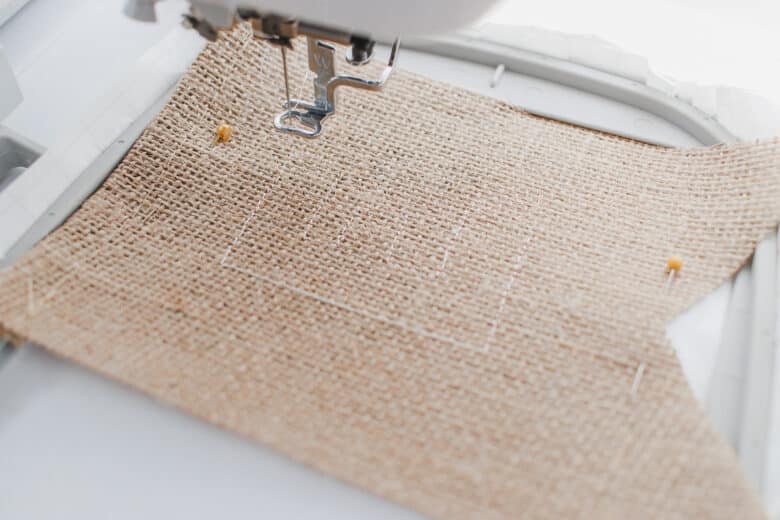
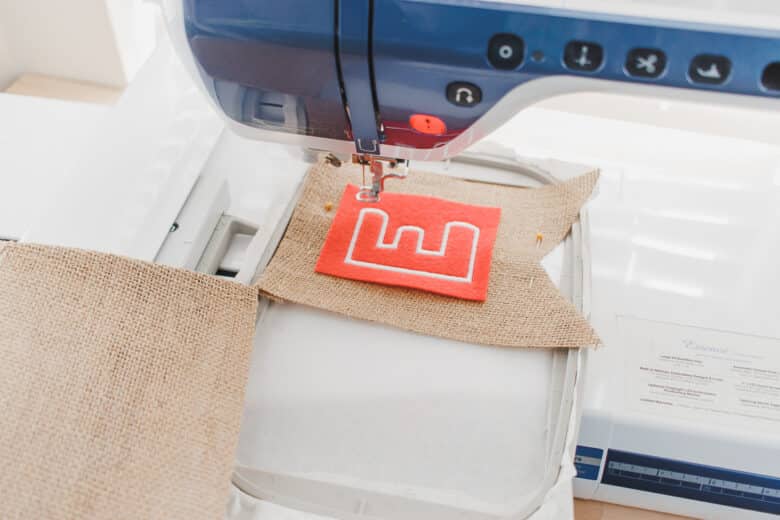
When you can see the placement, hold the felt over and let it stitch in place. If it doesn’t have a placement outline, place the felt before sewing, then hold it in place until enough stitches are in place.
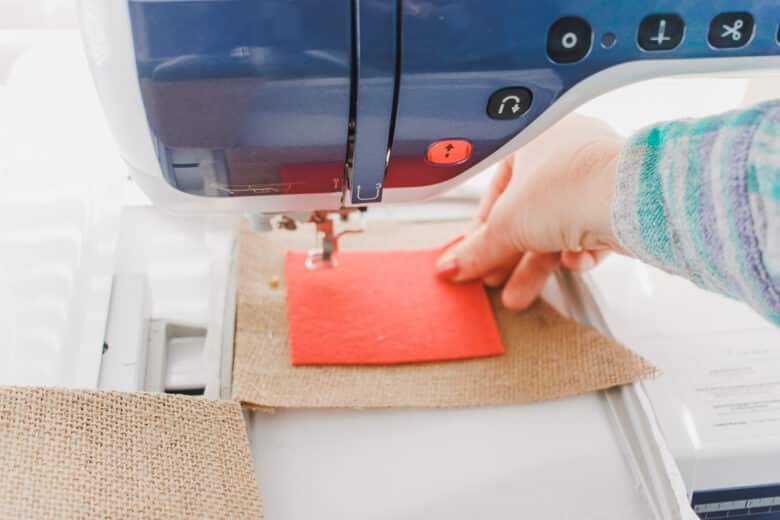
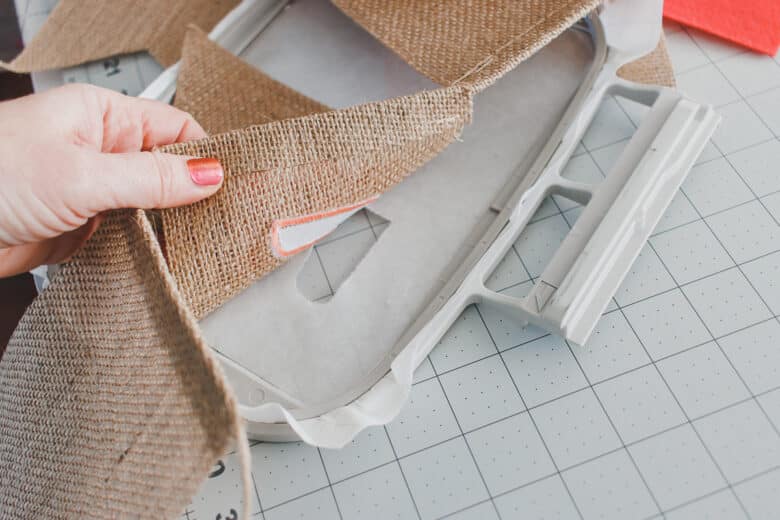
When it has finished, carefully remove from the backing and place the next flag and continue. I was able to do 2 flags per stabilizer hooping with the flags sideways.
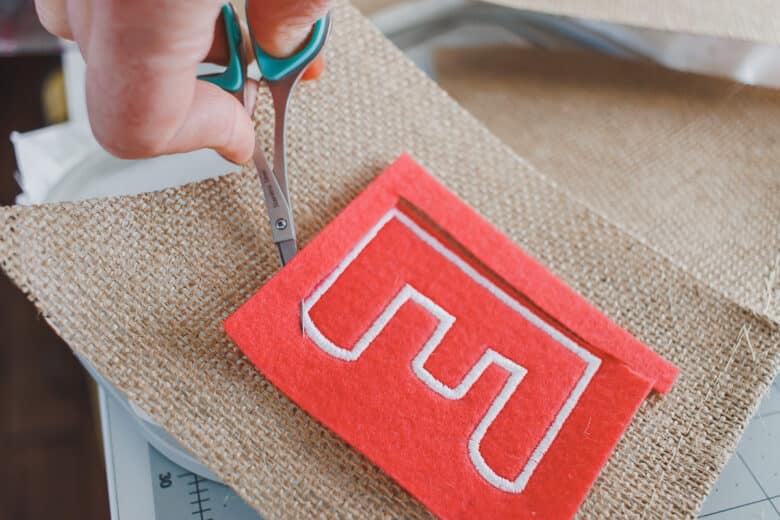
Use small trimming scissors to trim the felt close to the stitches. I just love this look and think it’s so so cute.
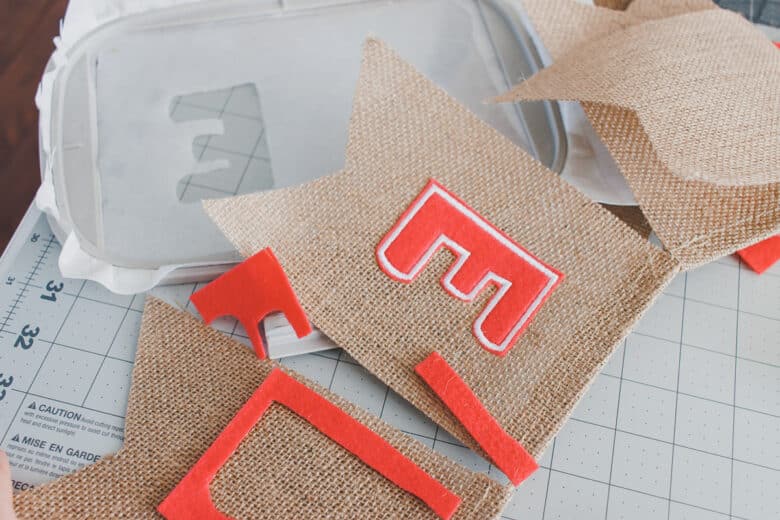
Continue with each of your letters until the bunting says want you want it to. This love bunting has been hanging in my daughters room since last winter, she loves it!




Leave a Reply