
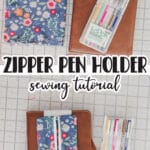

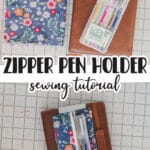
inside: learn how to sew a notebook pen holder with a zipper in this fun and easy sewing tutorial. Create the perfect zippered pen holder that works with nearly any hard cover journal.
I asked my kids for new {fun} pens for Christmas, and they got me a set. When I went to put them in my notebook pen holder, they were a different size than my previous pens. I use this notebook for taking notes at church each week, so I want the pens to be secure as I take it there and back. I decided to leave the pens in their plastic holder, but make a zipper case that could hold them. Here’s a tutorial to create a zipper pen holder for any hard-cover notebook/journal.
Zippered Pen holder for Journal
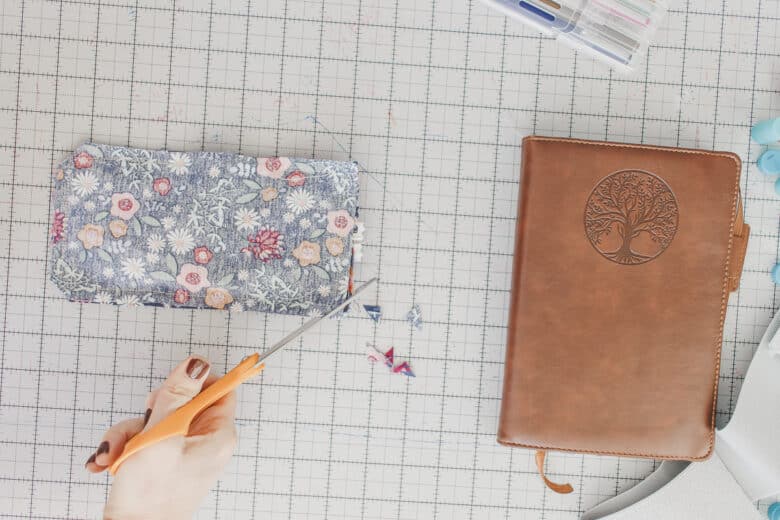
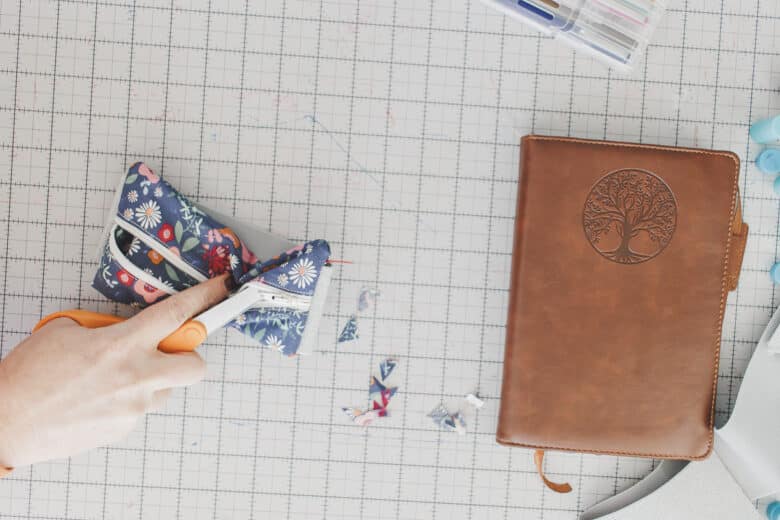
Here’s a little peak at my previous pen holder. It went on the notebook in the same way, but had individual slots for the pens. My new pens were smaller, so that didn’t work. I used a seam ripper to take out the pen lines and make a large opening, btu that didn’t work either. I could have just sewn new {smaller} slots for the pens, but I decided to make myself a new fun holder. You can find the tutorial for the previous notebook pen holder HERE.
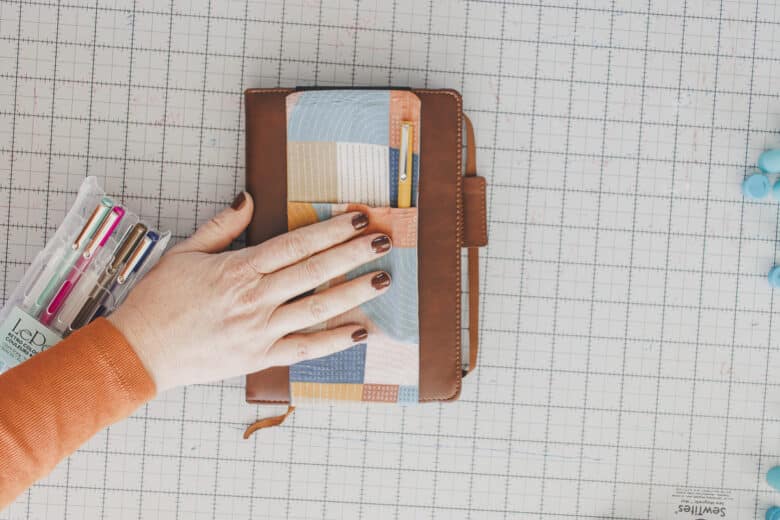
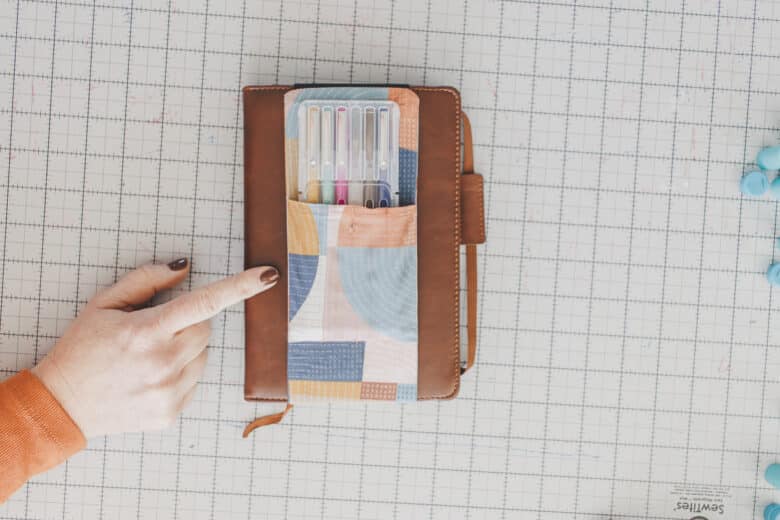
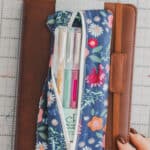
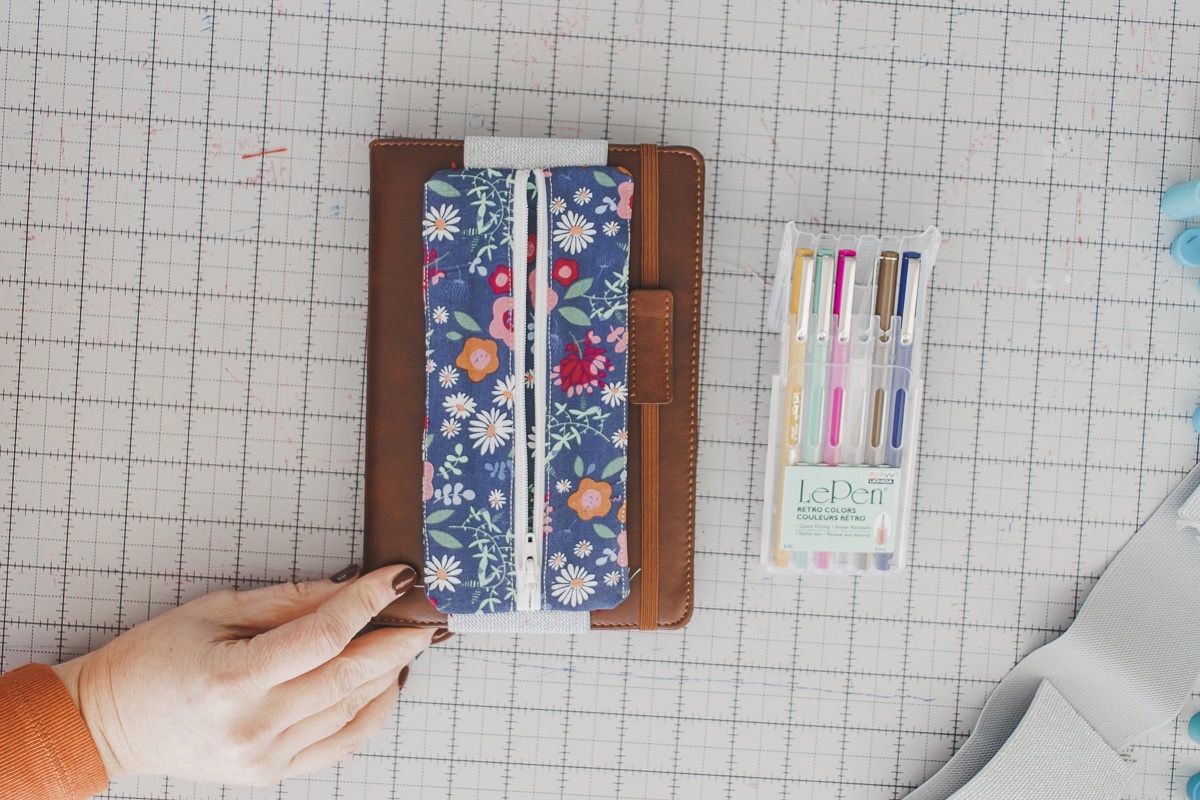
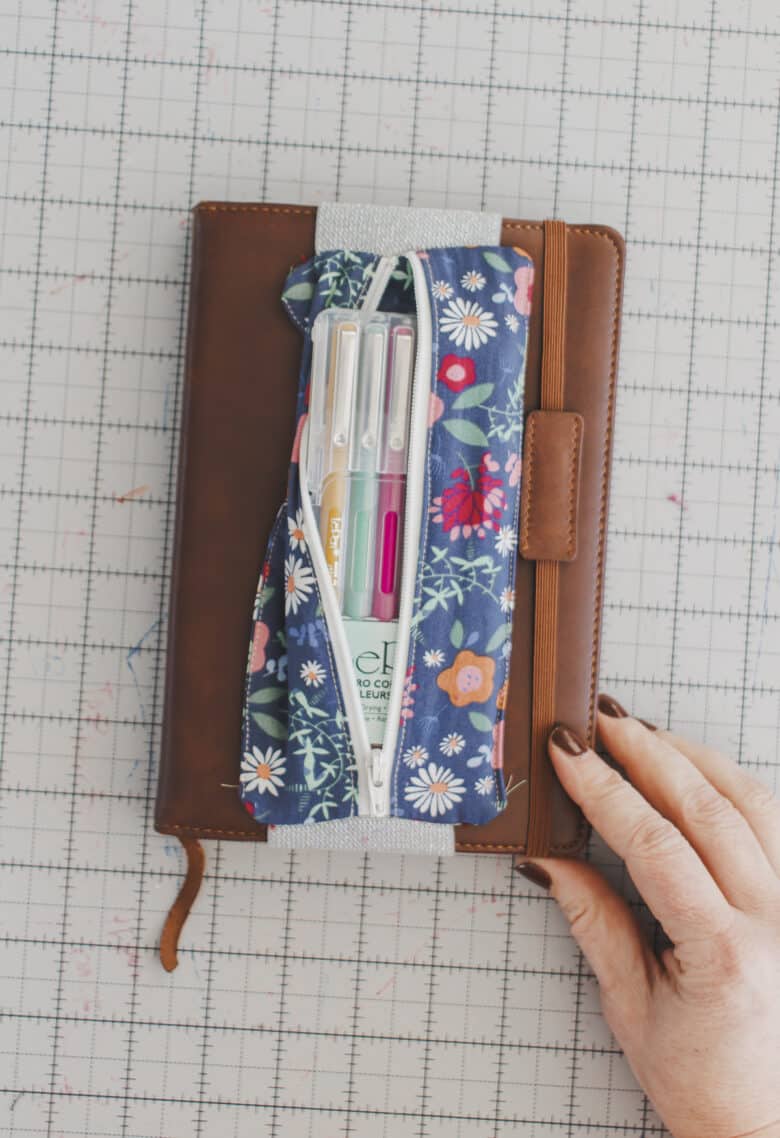
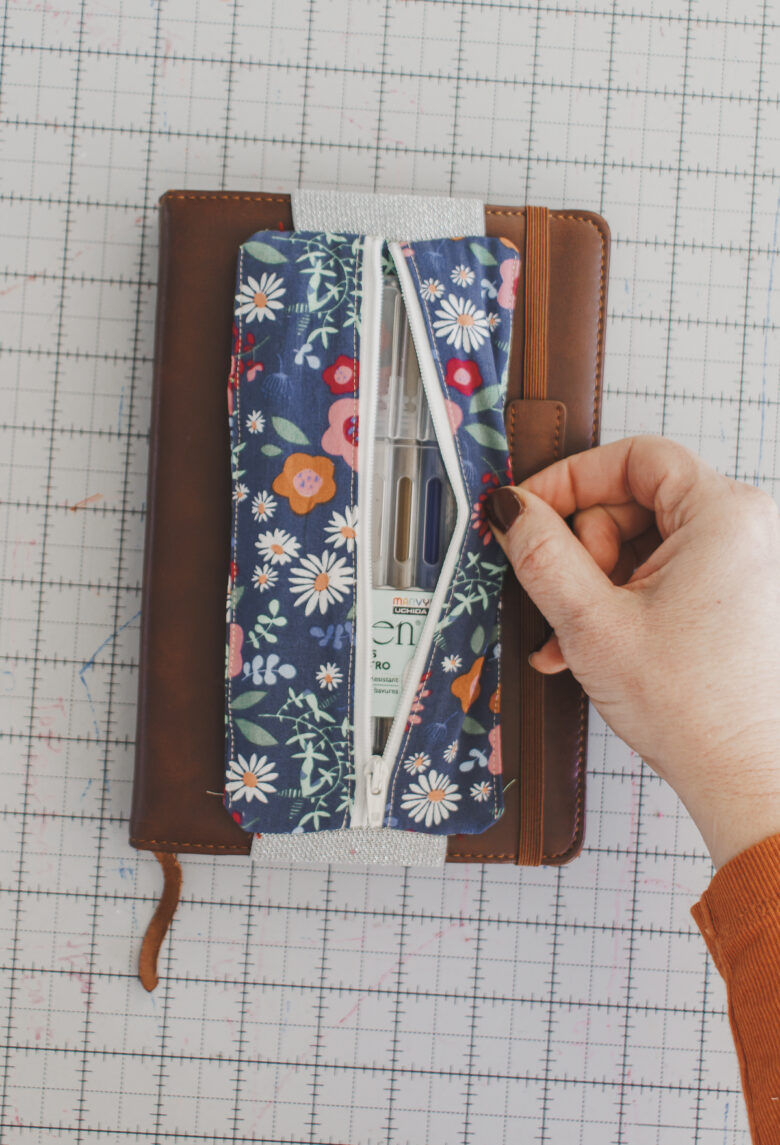
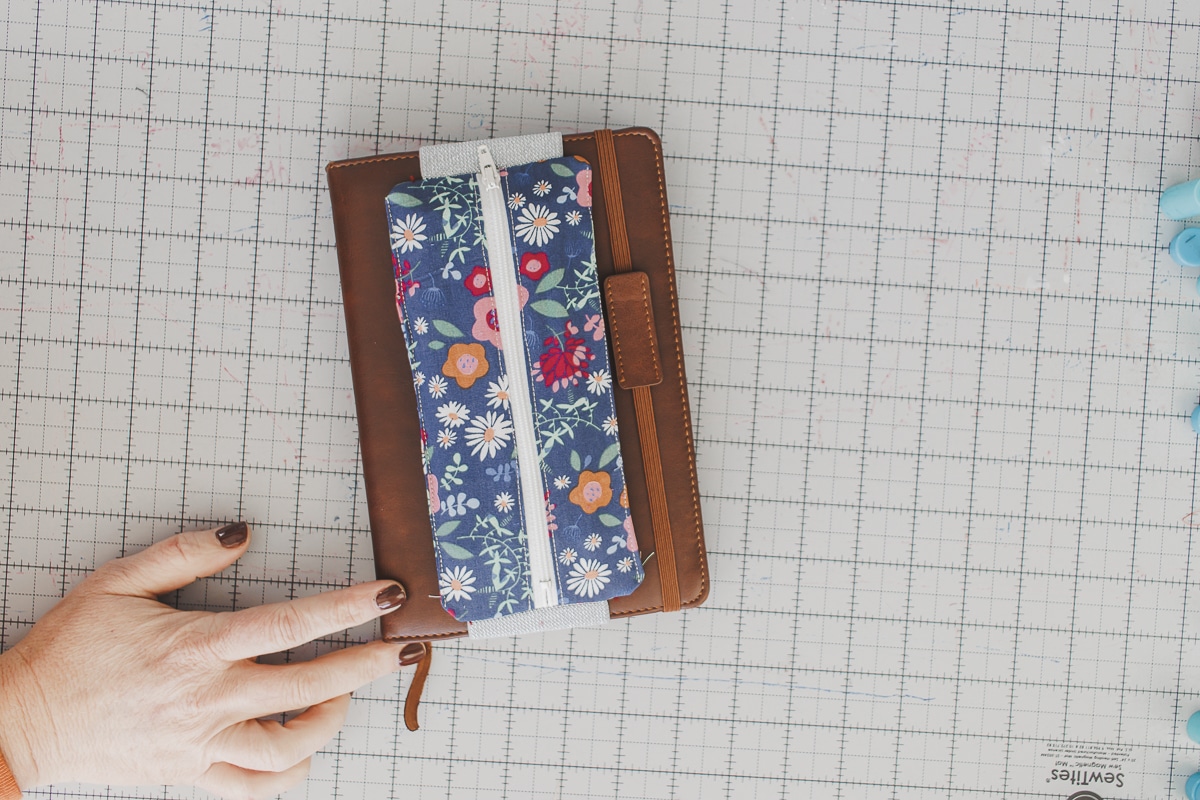
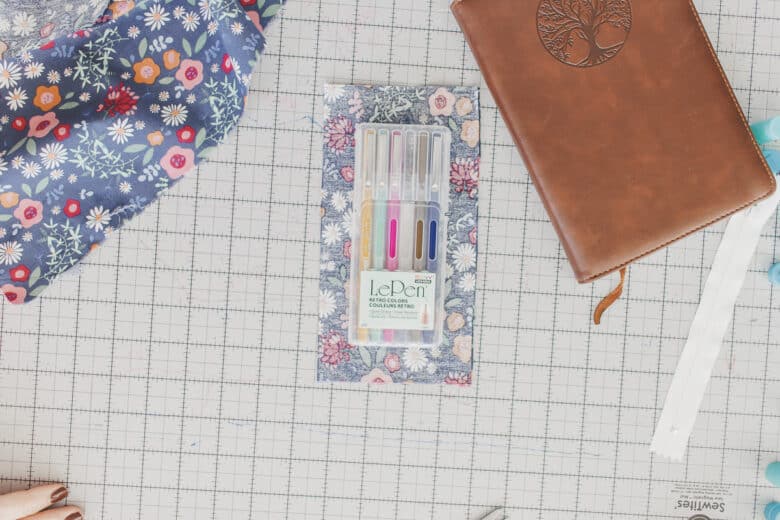
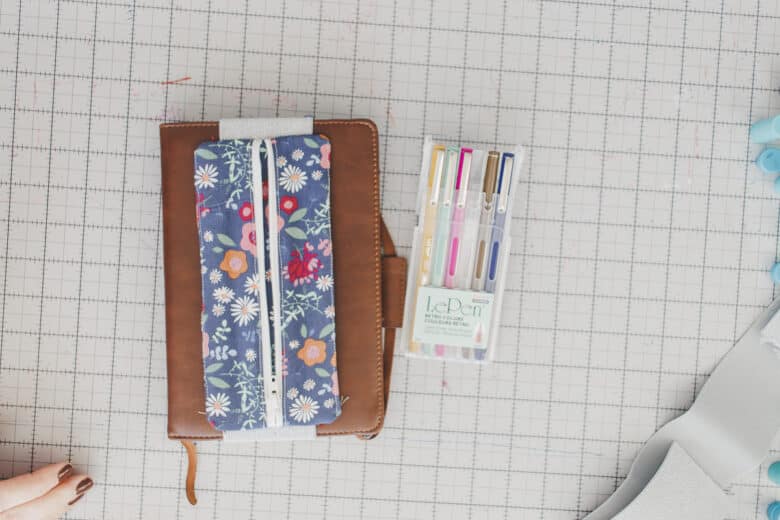
With this new zippered pen holder, you can slide in the whole plastic sleeve of pens, or I could just add individual pens as well. The thick elastic keeps it securely in place. You can adjust the snugness, but adjust the length of the elastic. You do not have to adjust the pen holder, unless your pens don’t fit in this size.
I just used fabric, elastic and a zipper that I had on hand, but all the supplies are linked below as well.
Supplies to make a pen holder with zipper
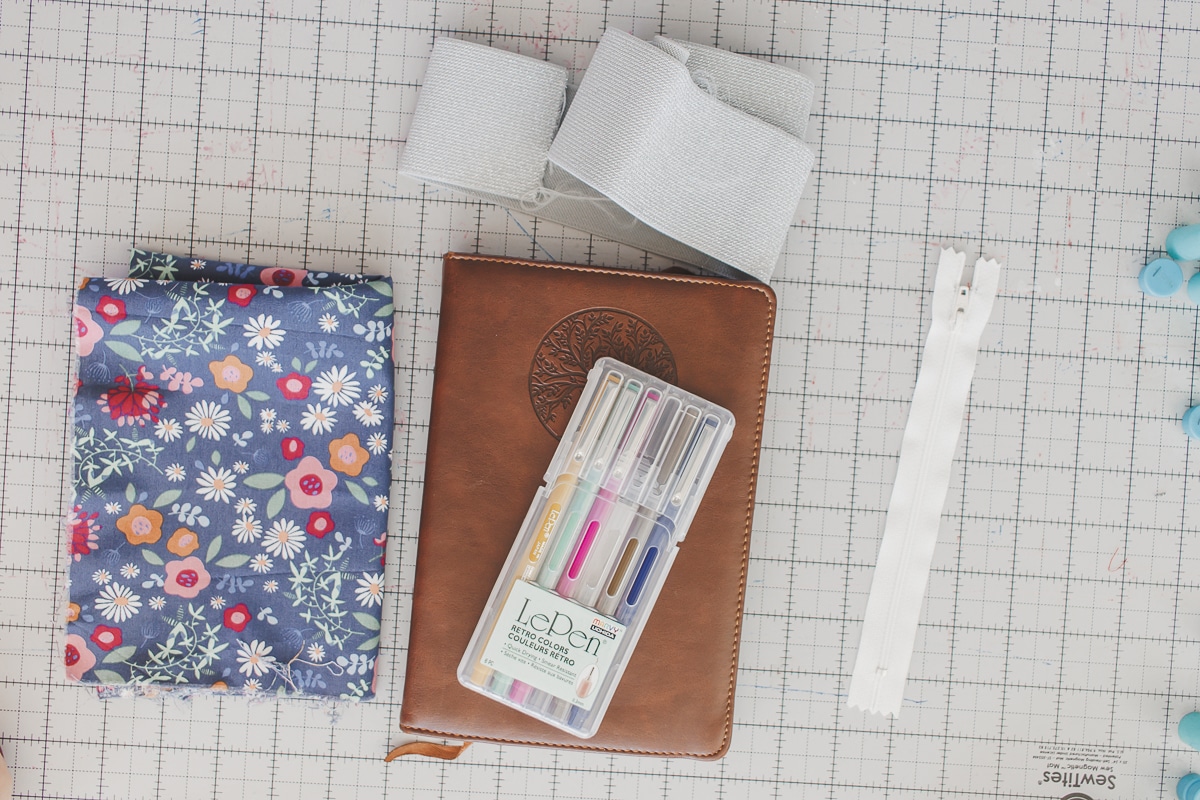
Here’s what you will need to create this fun and easy project.
- Fabric scraps
- 3″ elastic
- 7″ zipper
- Fun pens
- Hard cover notebook
How to make notebook pen holder with a zipper
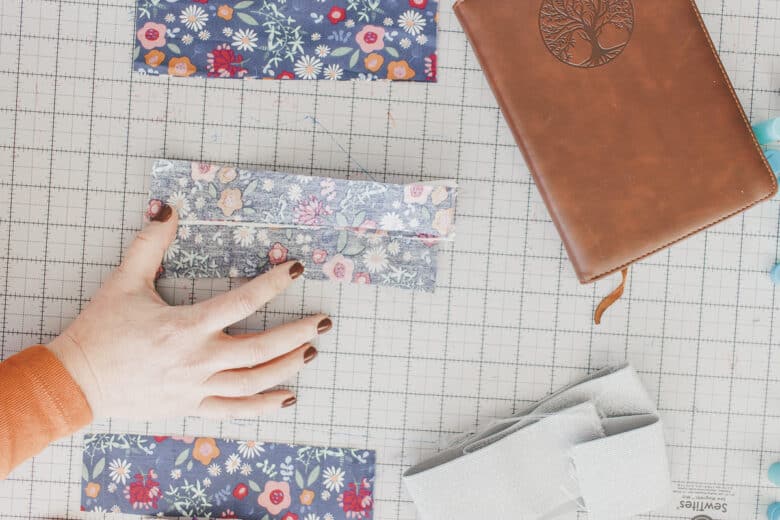
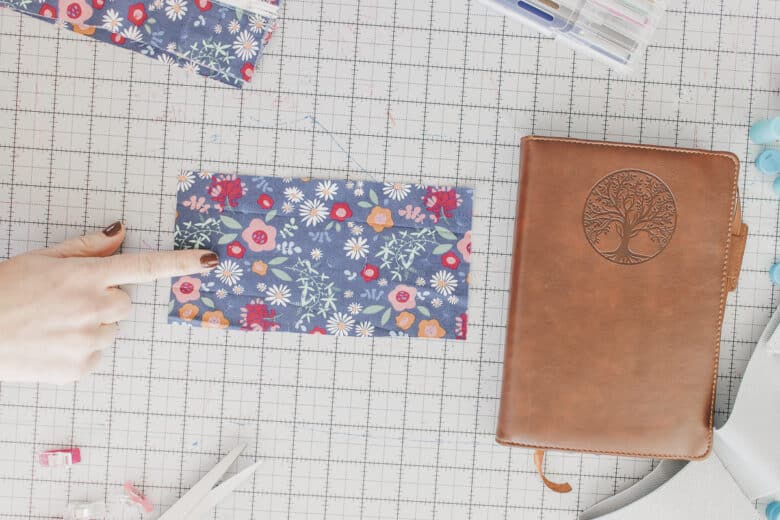
Cut fabric the following size {2 backs – 4″ x 8″} and {4 fronts – 2.2″ x 8″} It should look like the pieces here in the photos. NOTE: The fabric must not be bigger than the front cover of your notebook. Adjust as needed.
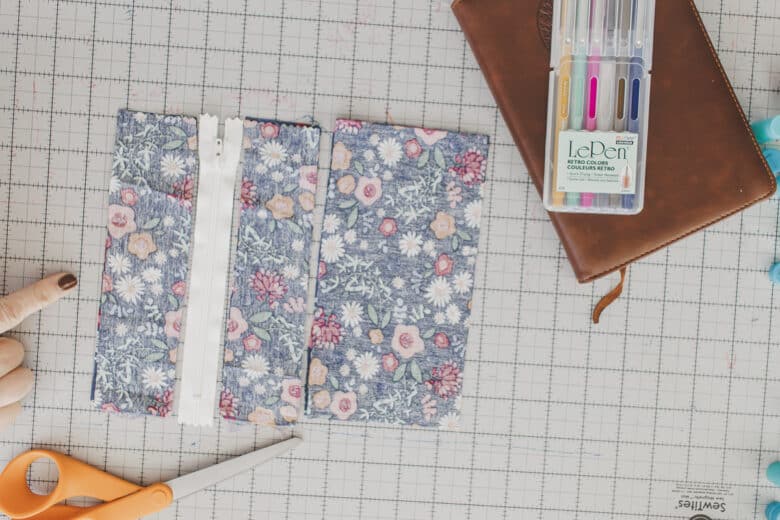
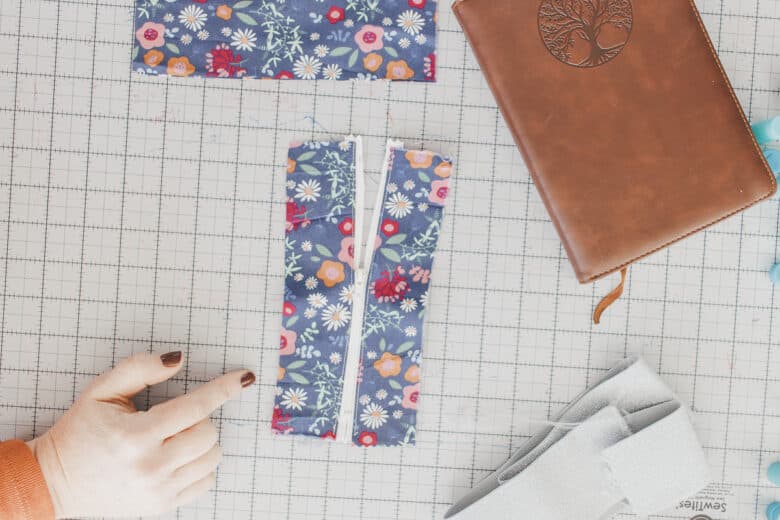
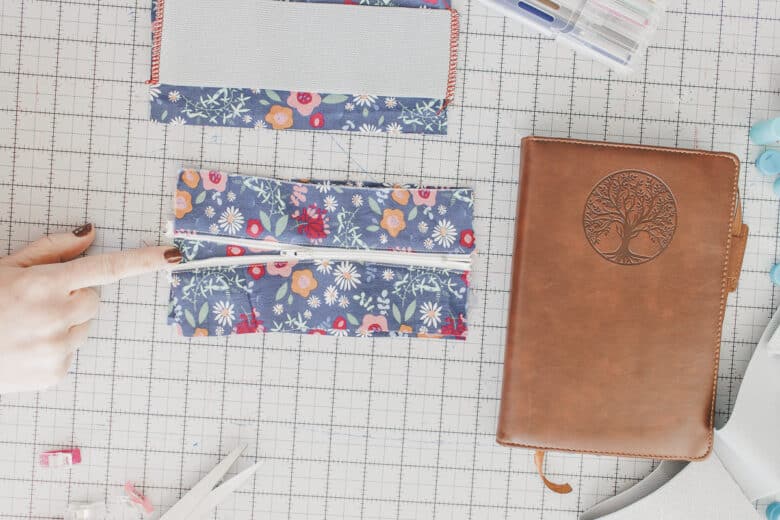
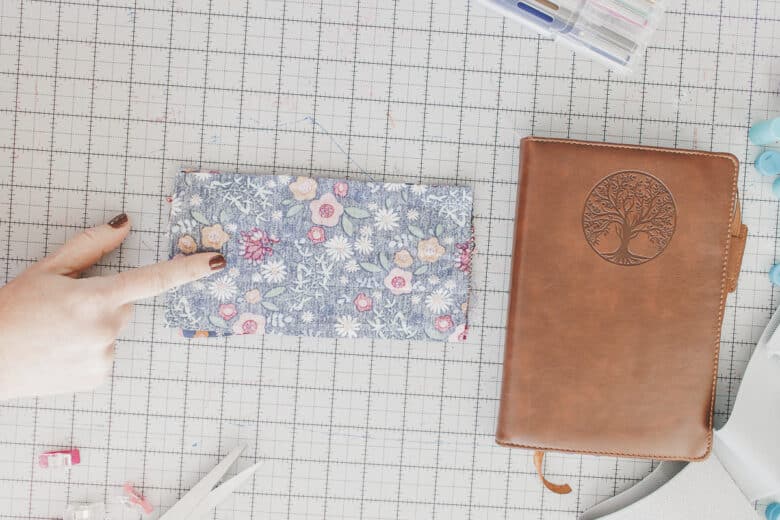
Take two of the smaller front piece and with right sides together, place one side of the zipper between the pieces. Align the long edge of the zipper with the long sides of the fabric. Sew with a zipper foot to attach the zipper. Open up the fabric to reveal the zipper and the right sides of the fabric, then top-stitch close to the folded fabric edge.
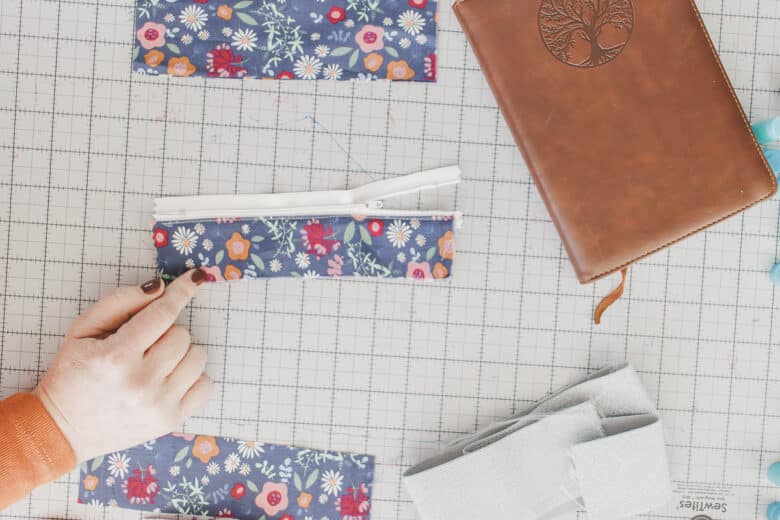
Repeat with the other two pieces of fabric and the other edge of the zipper. You know have a completed front piece.
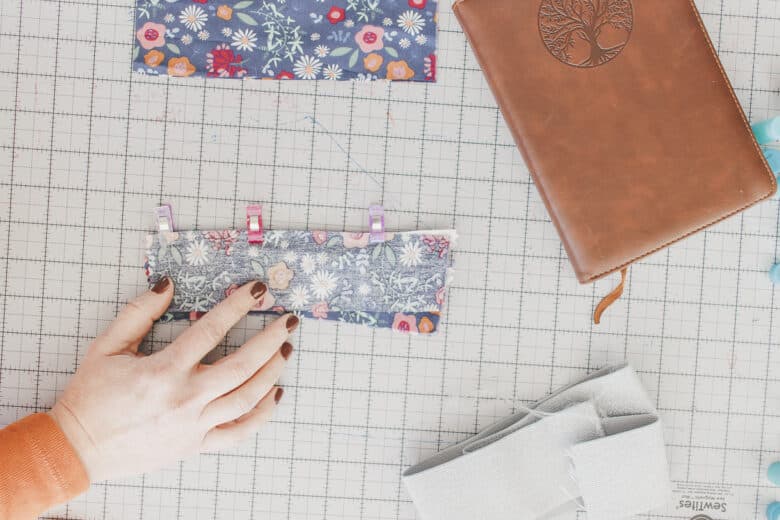
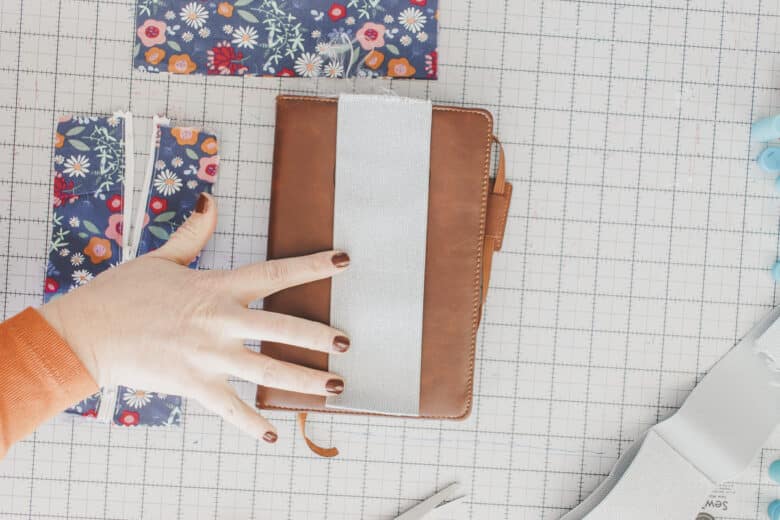
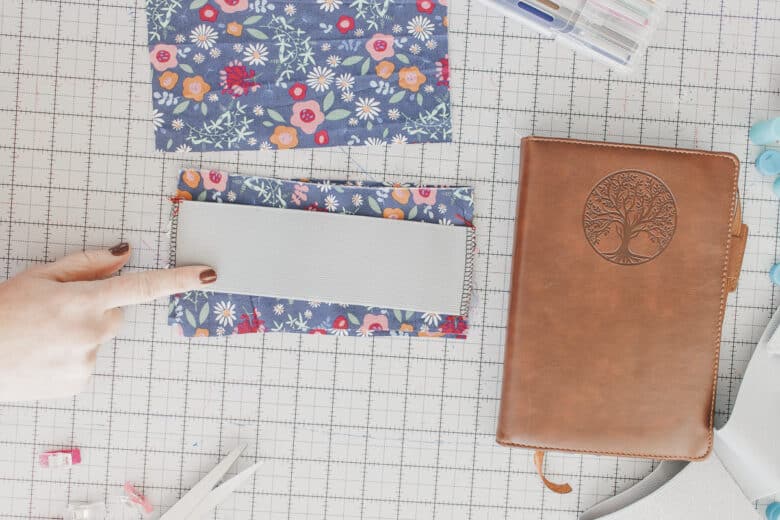
You want to make sure that your fabric is not bigger than the front of your notebook. If the fabric doesn’t go top-bottom of the notebook, you will need to cut your elastic longer to wrap around. My elastic is just slightly longer than the front cover, and my fabric is about the same size. Finish the raw ends of the elastic with a serger or zig-zag stitch.
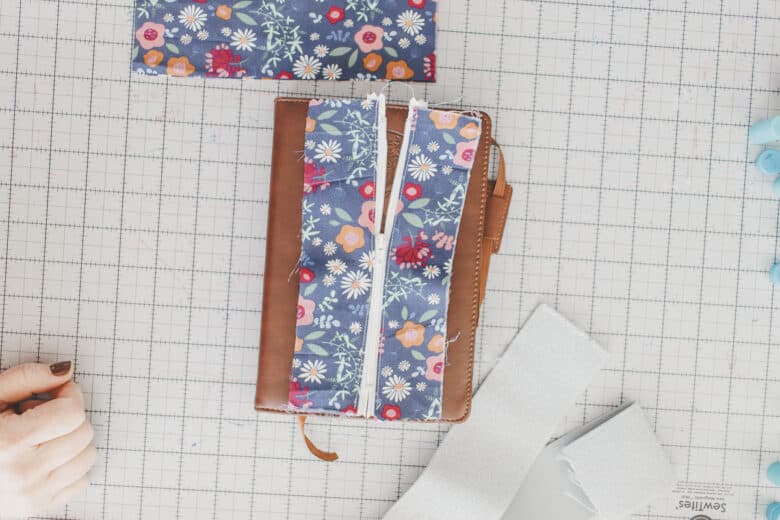
Now its time to put it all together. Here is the order you will place all the layers.
- Full back – right side up.
- Front with zipper – right side up
- Elastic – right side down {if your elastic has sides}
- Center elastic over zipper
- Full back – right side down.
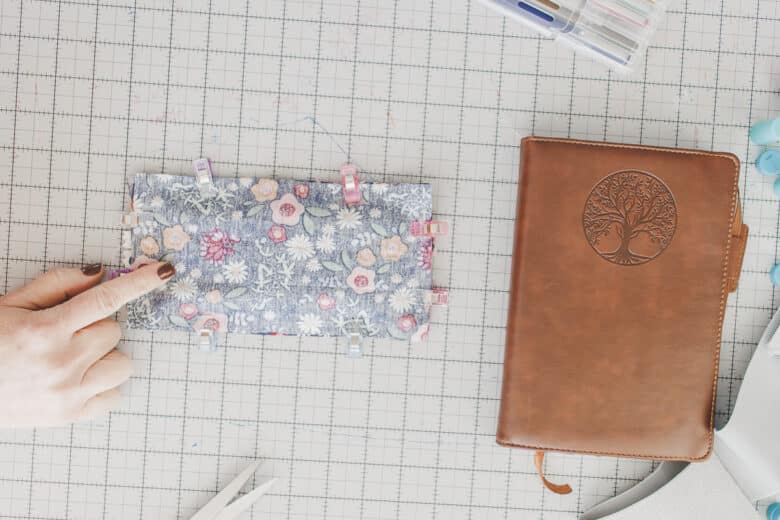
Pin or clip around all these layers. You will sew all the way around, but leave an opening to turn on one long side. After sewing, clip the corners, then turn right side out.
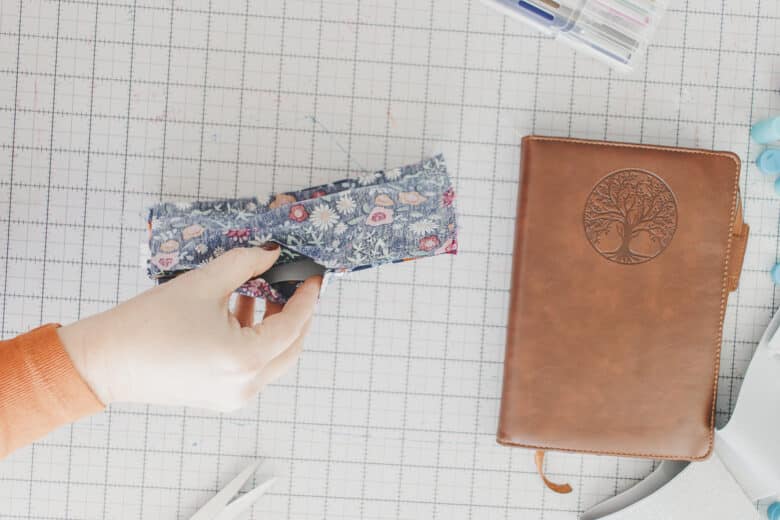
Poke out the corners after turning. I forget to take a photo, but you will also press in the seam allowance of the turning hole and then top-stitch it closed. I ended up sewing along both long sides so the top-stitching matched.
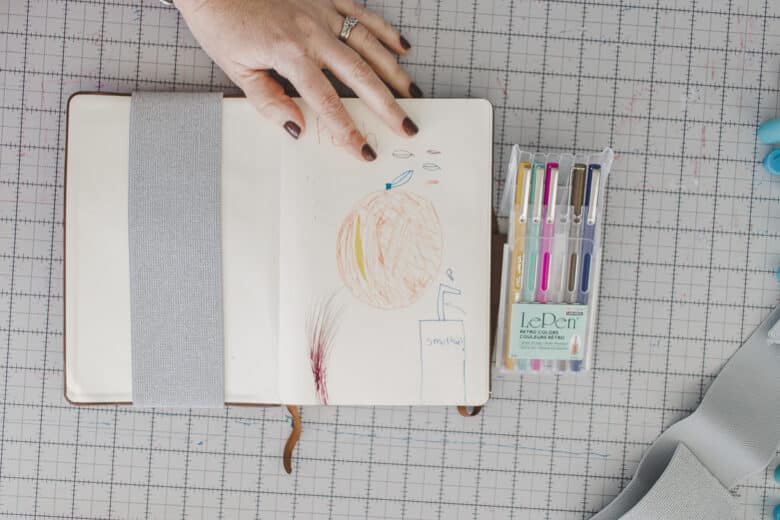
Now you are ready to slide it onto your notebook front cover and enjoy! {notice the beautiful decoration Rose added to my front inside cover {haha}


Leave a Reply