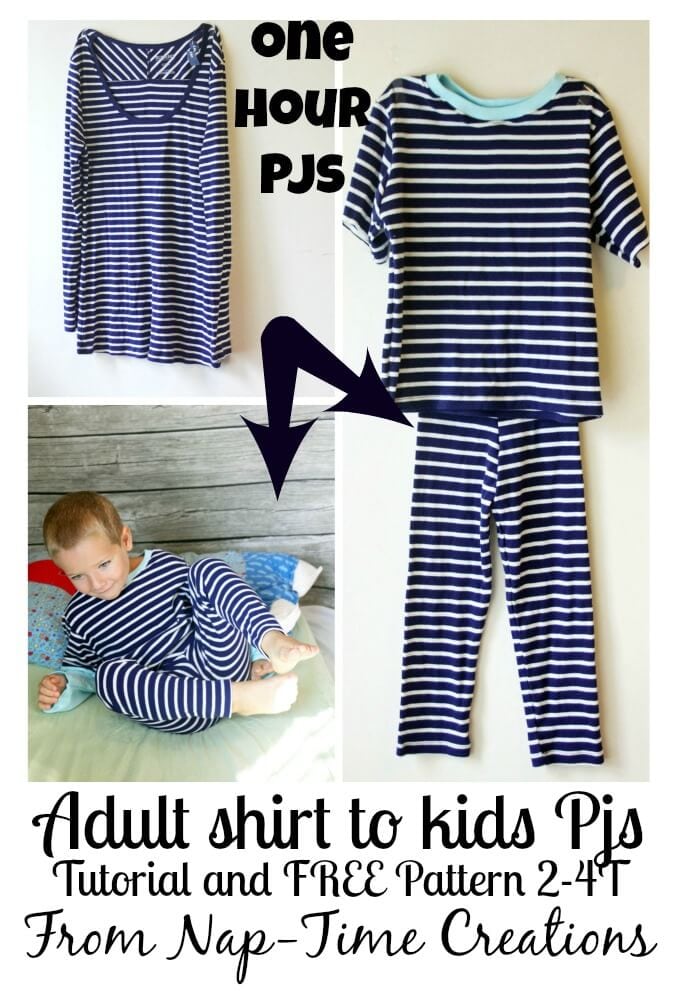
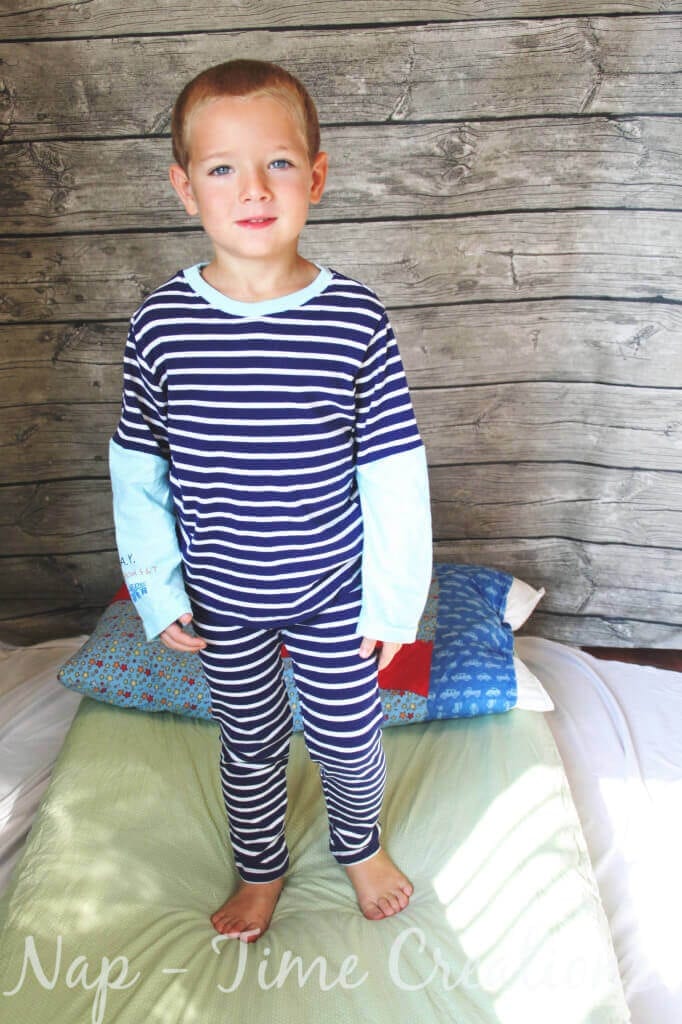
Today I’m re-posting this one hour pjs tutorial from three years ago… I’ve made more of these in those three years and another pair just last weekend. I’m updated the photos and adding a few additional tips to this one hour pjs tutorial.
Join the Life Sew Savory Pattern Group for support on this pattern!
One hour Pjs Tutorial and pattern-
I originally had bought a Men’s XXL thermal shirt. I had the idea to make the easiest pjs ever. And when it worked, and I was SO excited… They are SO quick and easy and I think you can use this method up until a 4T, larger if you had a XXL shirt. These aren’t going to win any style awards, but who cares, they are just to sleep in… here we go!
I’m linking this up to Project Run and Play’s up-cycled theme week…
Notes:
1. The blue Pjs are made from a women’s XXL from old Navy… this works but the men’s had more fabric too work with. I was only able to make short sleeves.
3. print the pattern at %100/full size a 3/8 seam allowance in included.
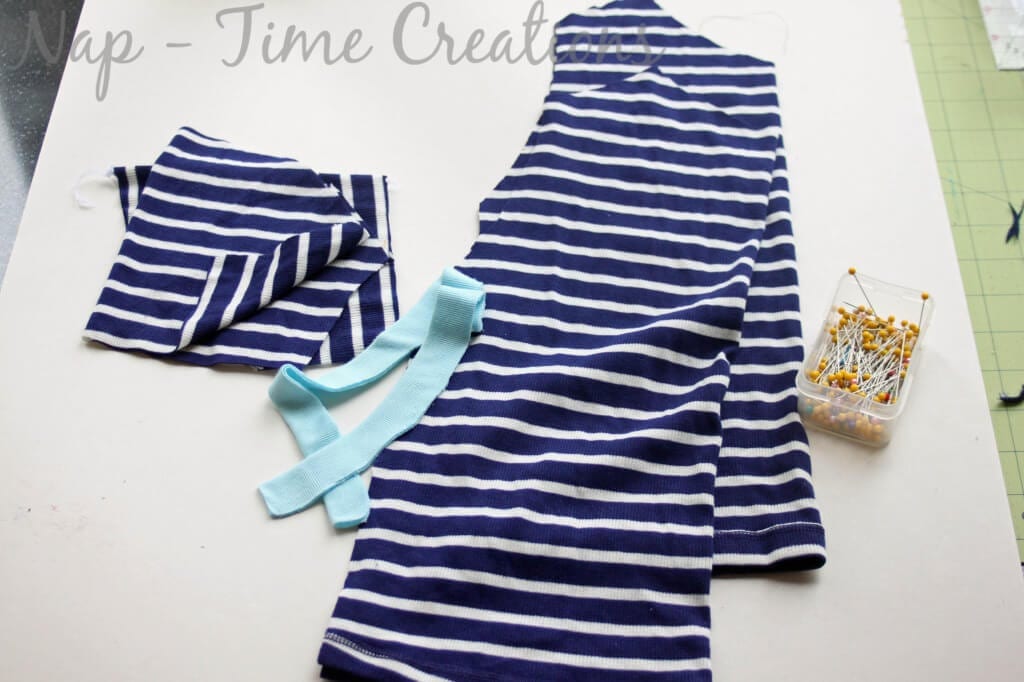
First I cut off the sleeves. (I started with a size large long sleeve shirt made from long underwear material…is there another name for that stuff?)
Measure the inseam of your child. Start from the sleeve hem {you want to keep the hem} and measure up the sleeve. Where you want the crotch seam to start, cut a little notch on the seam side of the sleeve. You can also use another pair of pants to measure how long this should be.
Use any pant pattern you have to get a good center line. You can also use a pair of pants or shorts that currently fit well. Leave some extra on the top for the elastic casing.
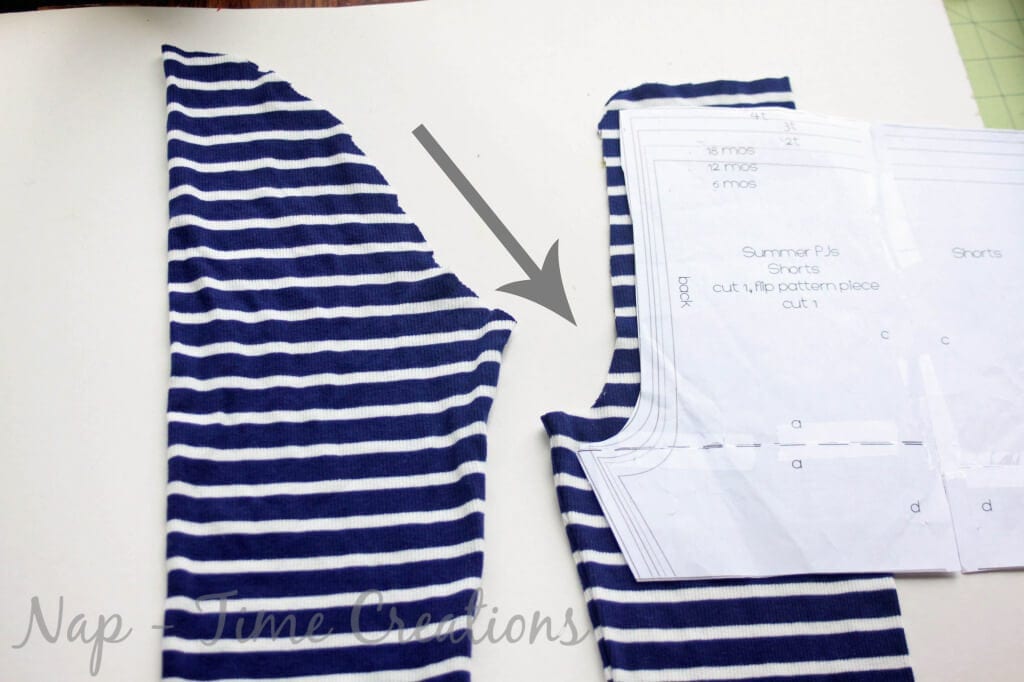 If your fit is very tight like this example you won’t even need elastic. Just fold over 1″ and sew. This will hold up like tights. It fits my four year old son fine. If its too loose, thread elastic into the 1″ casing. The smaller the PJ size the more likely you will need elastic. If you are trying squeeze out a 4t like mine you won’t need it!
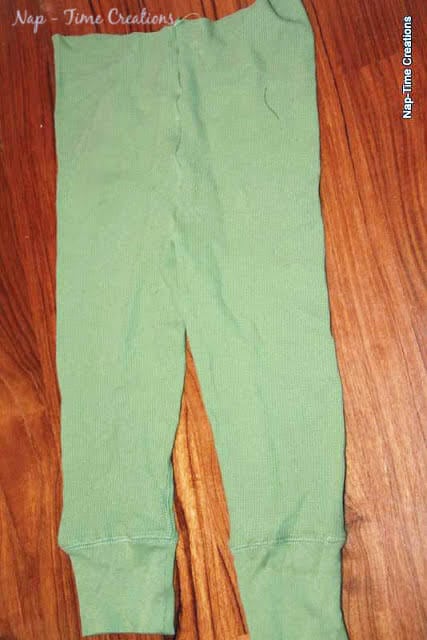
Here is the photo from my previous posting.. you can see how top is wider.
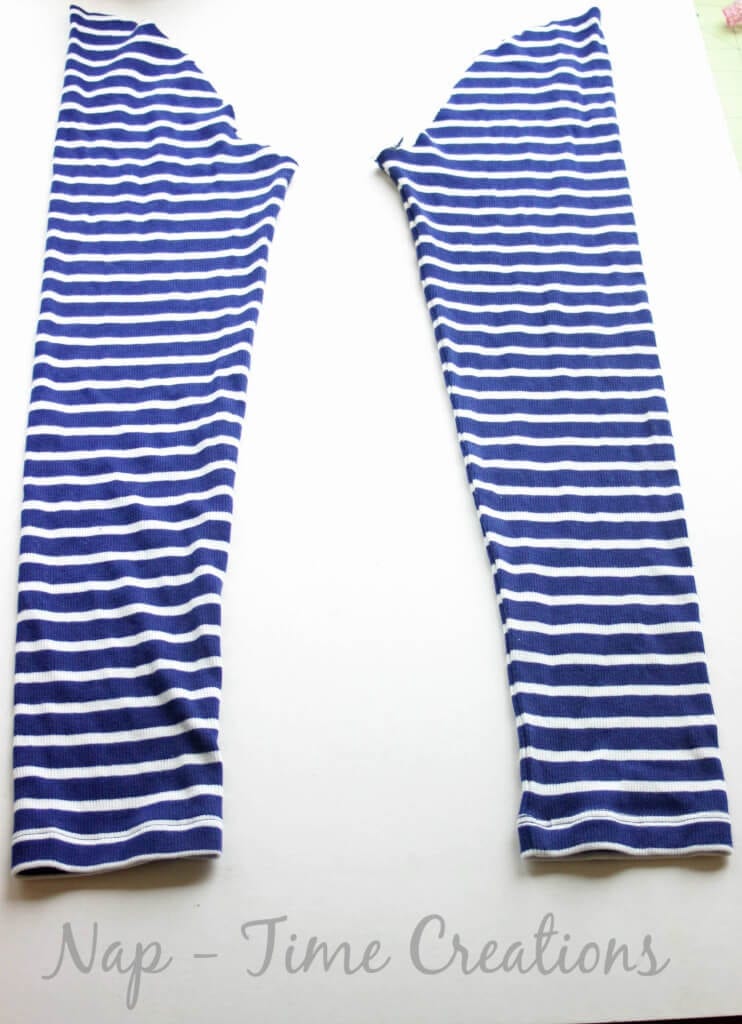
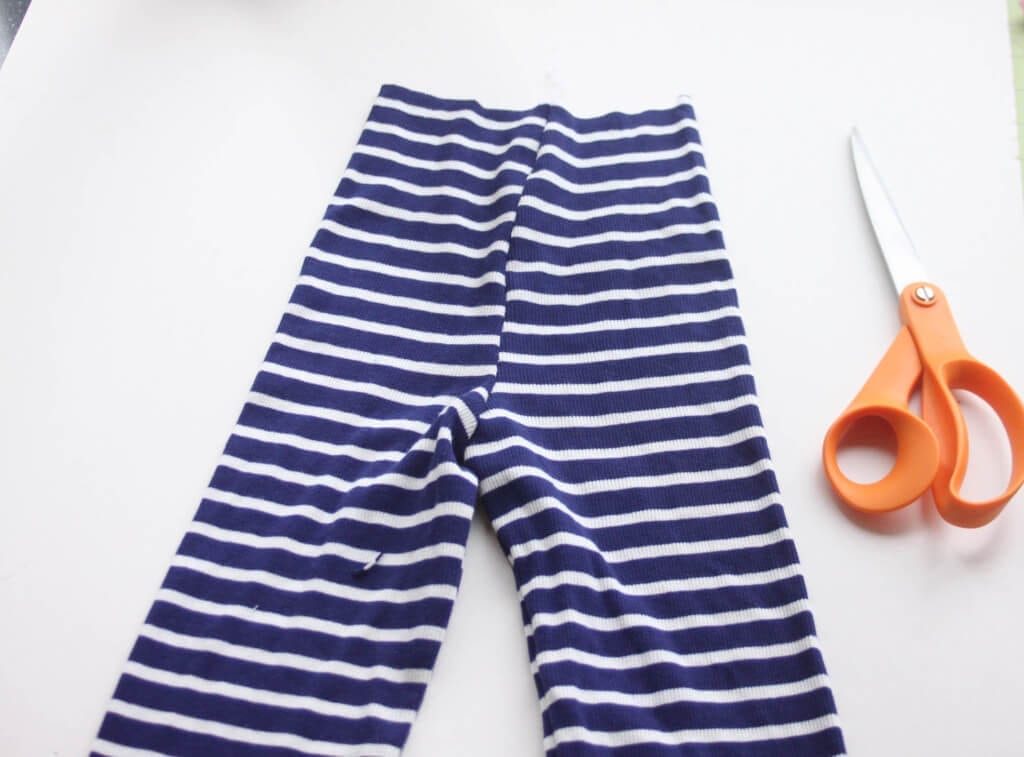
You will end up with two like this; notice I am retaining the sleeve cuff or hem, which is going to become my pant cuff/hem.
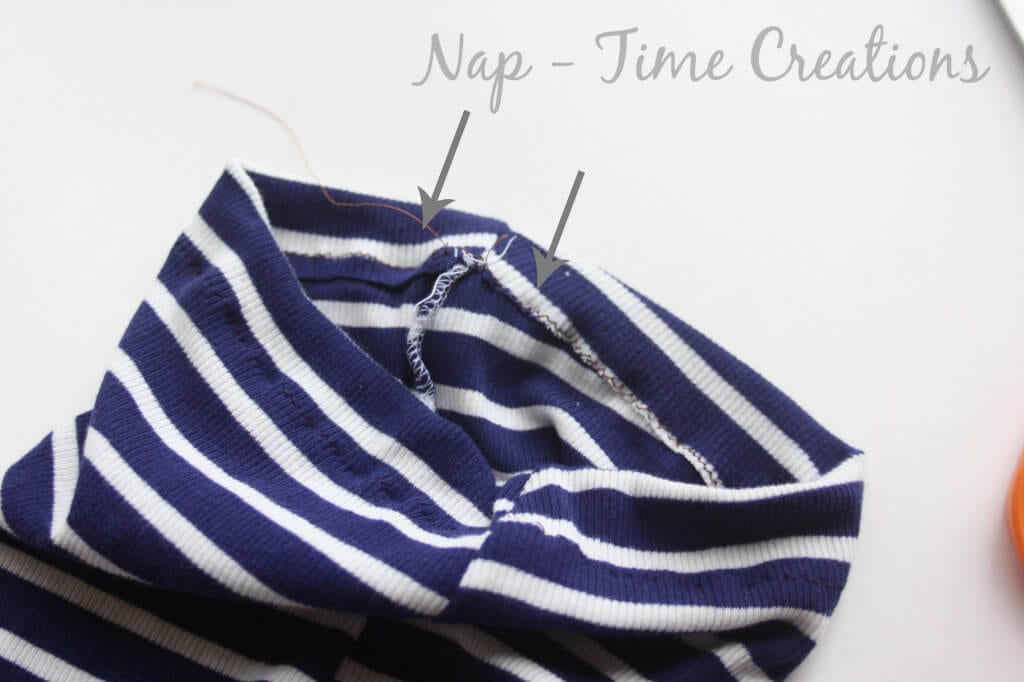
Open up and sew center pant seam with right sides together.
TaDa!!! One seam and we already have this!
Create your elastic casing or the non-elastic waist by folding over 1 inch.
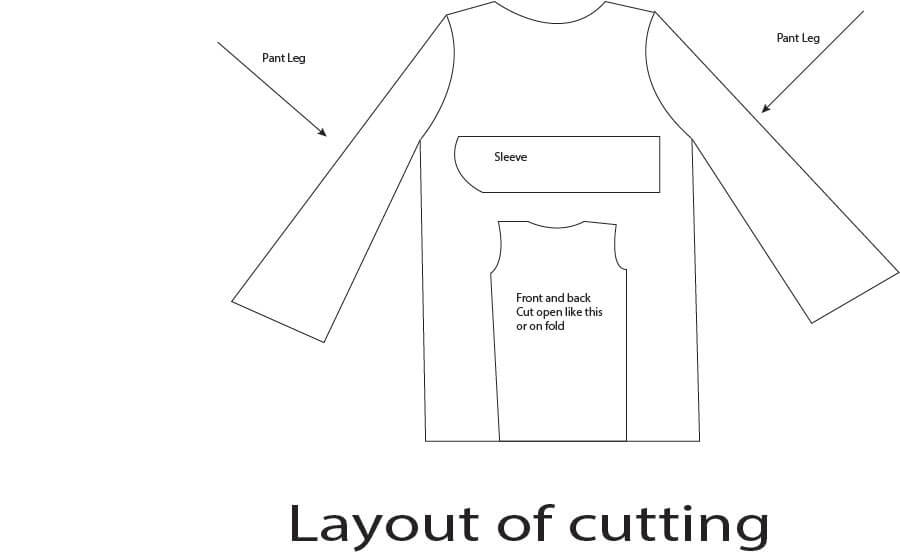
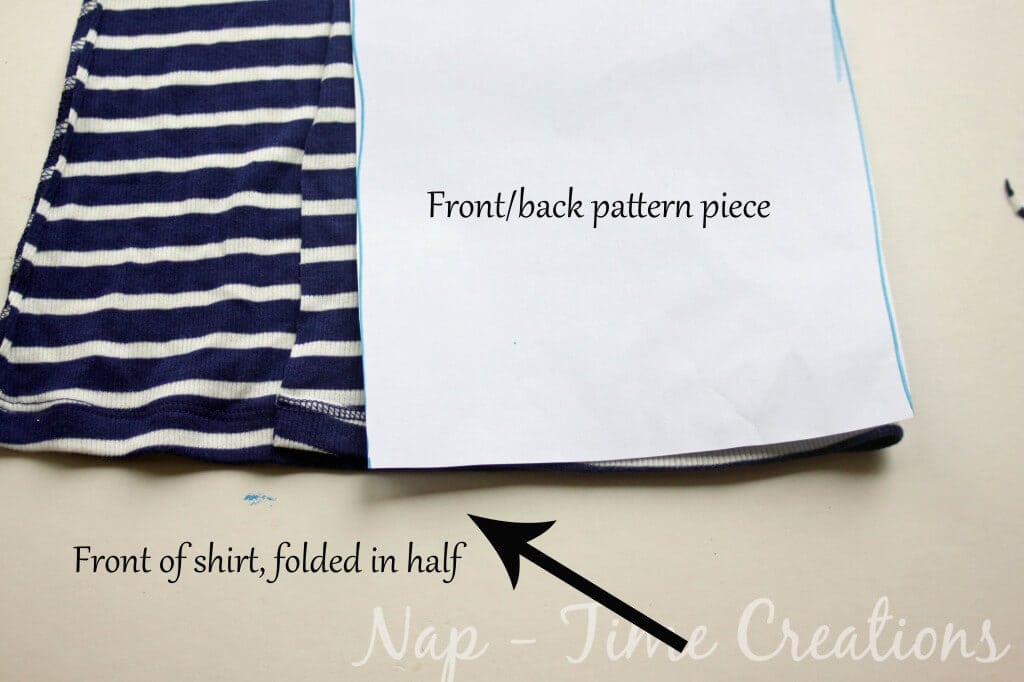
Onto the shirt. For this I used the same shirt, just the middle part. I used the hem of the shirt for my hem, and lined up my pattern accordingly. If you double the pattern you can cut the front and back as shown in the first diagram. you can also cut the side seams of the BIG shirt and fold over to use the free pattern.
I was able to cut my sleeves from the top part. See layout above.. The stretch seemed the same going both directions for me, but check this as it will vary from material to material. With this women’s short I was only able to get short sleeves. With a men’s XXL shirt I was able to get long sleeves. The size of your child and the size of your starting shirt will determine sleeve length. I usually use the neck ribbing from the BIG shirt, but this only didn’t have a ribbing neck. I cut a ribbing off another t-shirt. You can also cut fabric 2″x neck length for the ribbing.
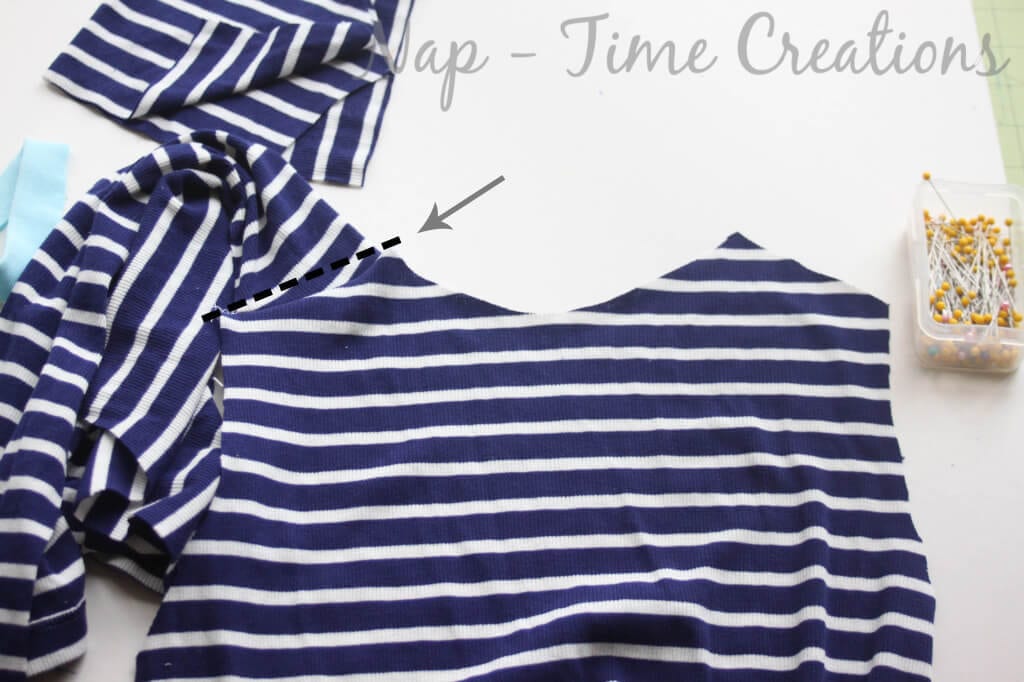
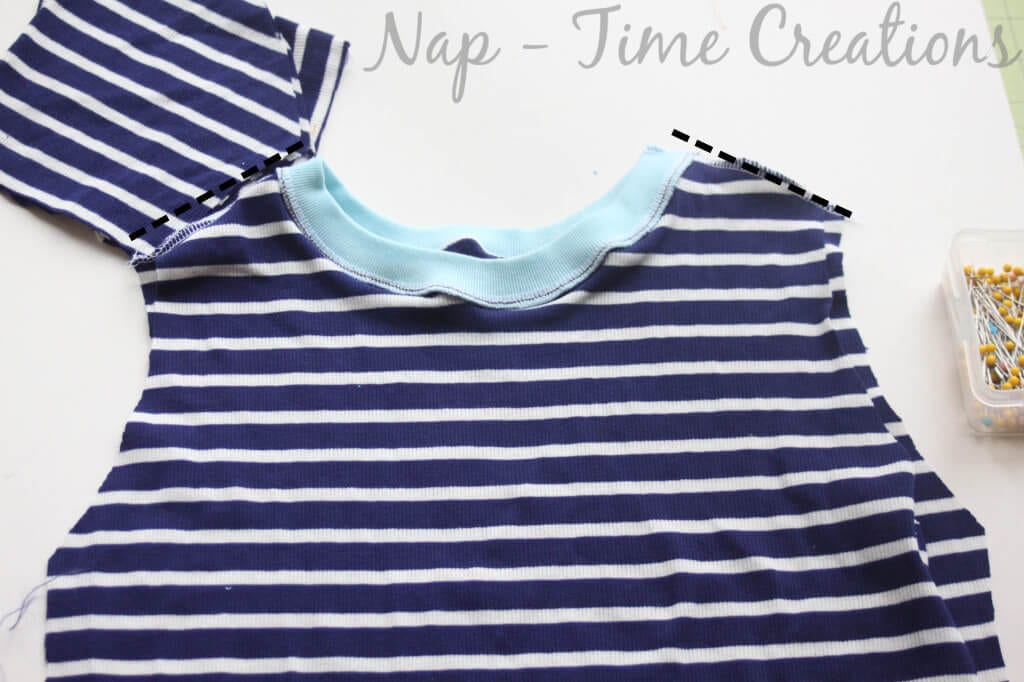
sew one of the shoulder seams right sides together.
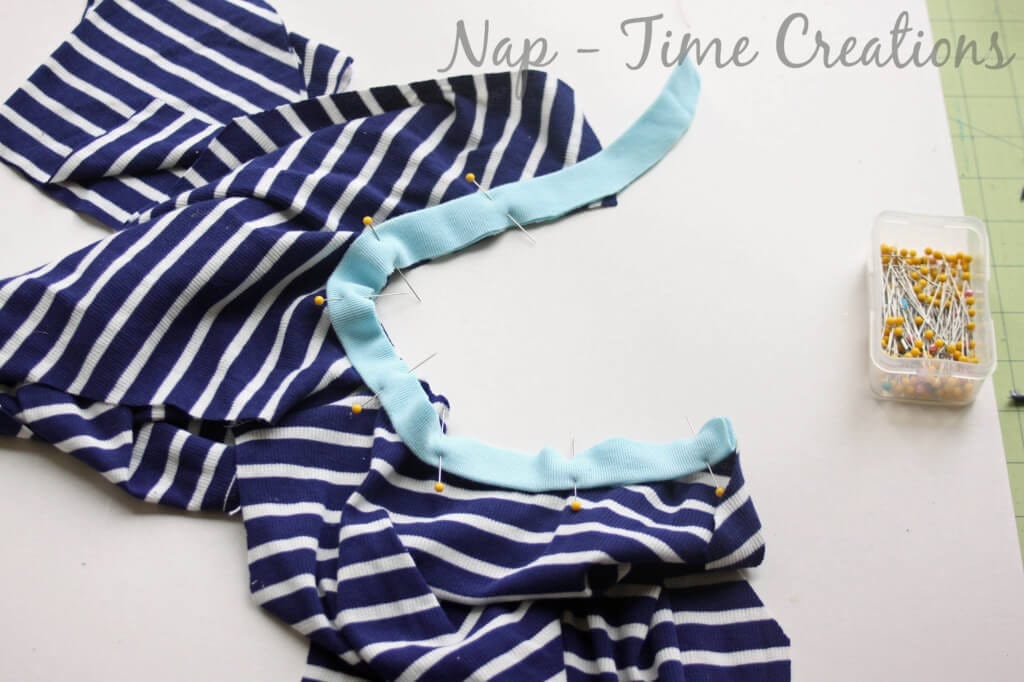
Pin and sew on the neck ribbing.
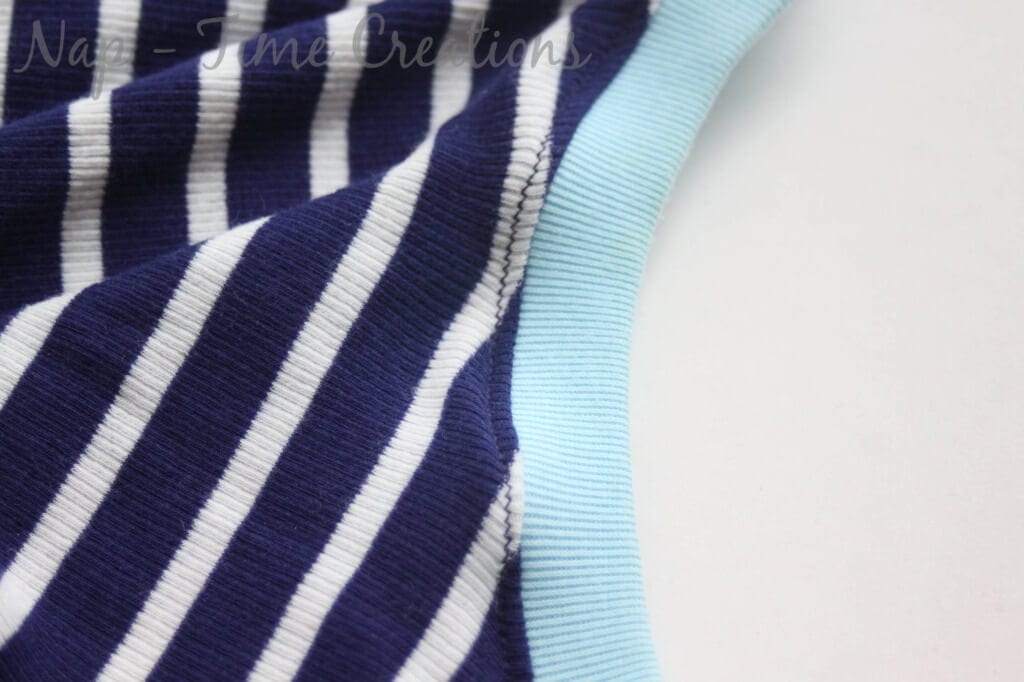
Topstitch neckline with a double needle, zig-zag or knit stitch.
Sew up the other shoulder seam.
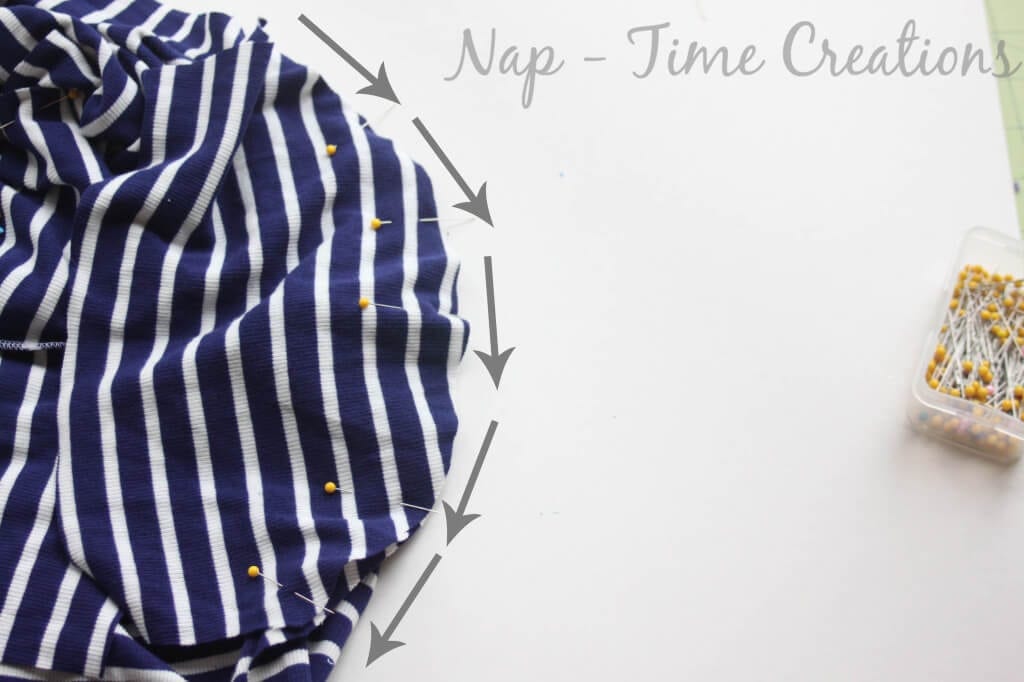
Pin and sew sleeves..
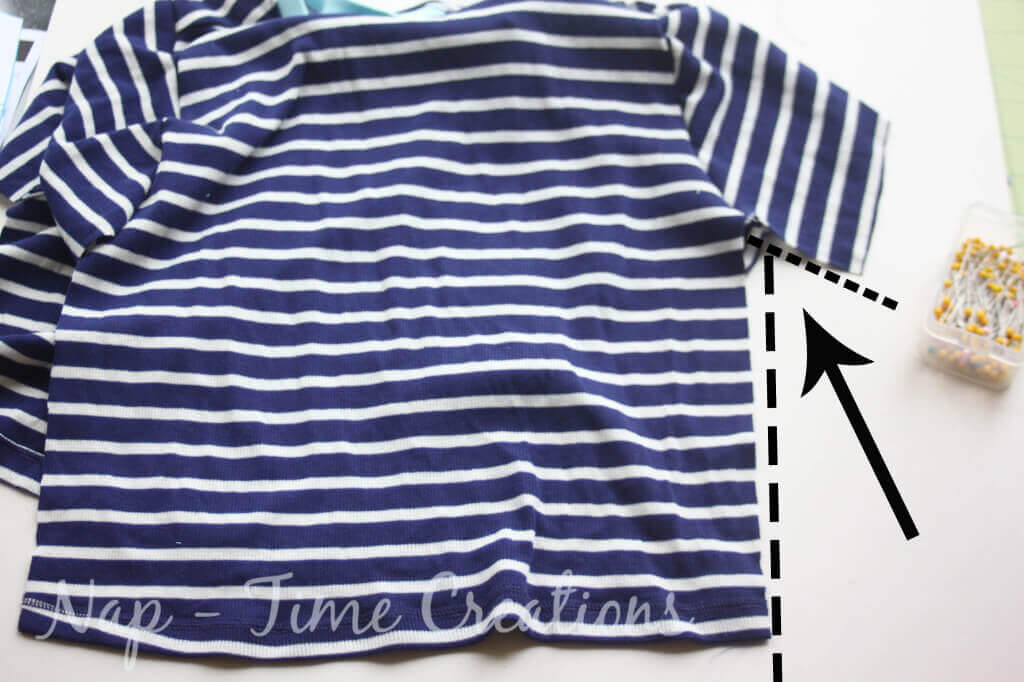
Turn ride sides together and sew side seams. You don’t have to hem because you used the original shirt hem!
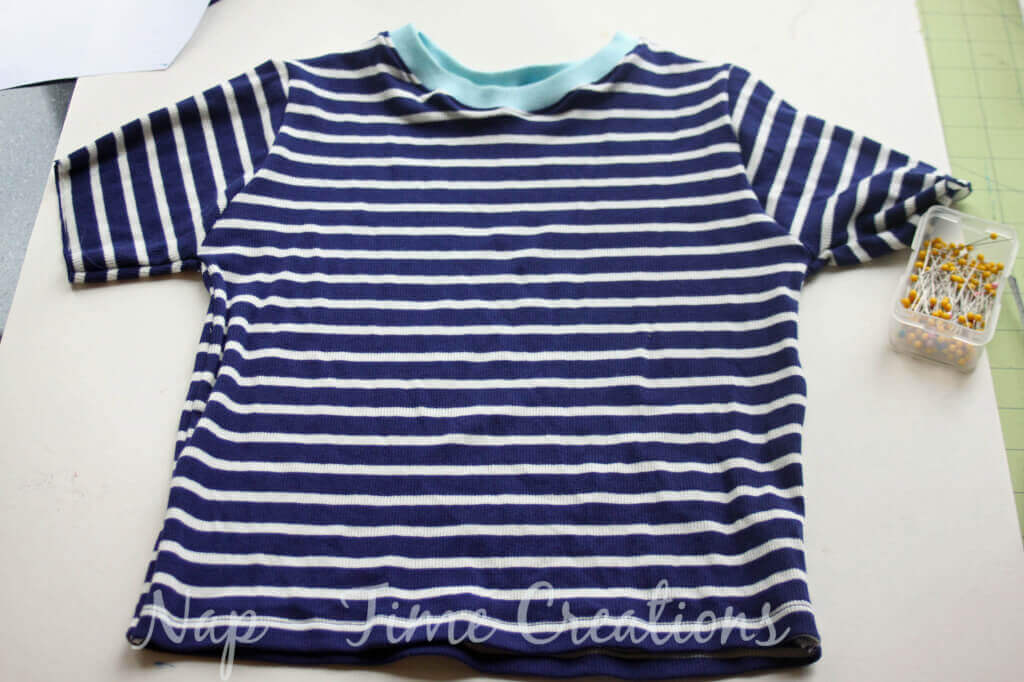
And there you go!! Easy One Hour Pjs!!! Even with photo taking I can make this in about 30 min now…. Because I wanted these to be for winter I did add longer sleeves using the same old t-shirt I cut the neck from. I’m always asking my husband to donate t-shirts to my sewing projects… {ha!} Good thing her works at a school and gets a bunch of free ones from events!
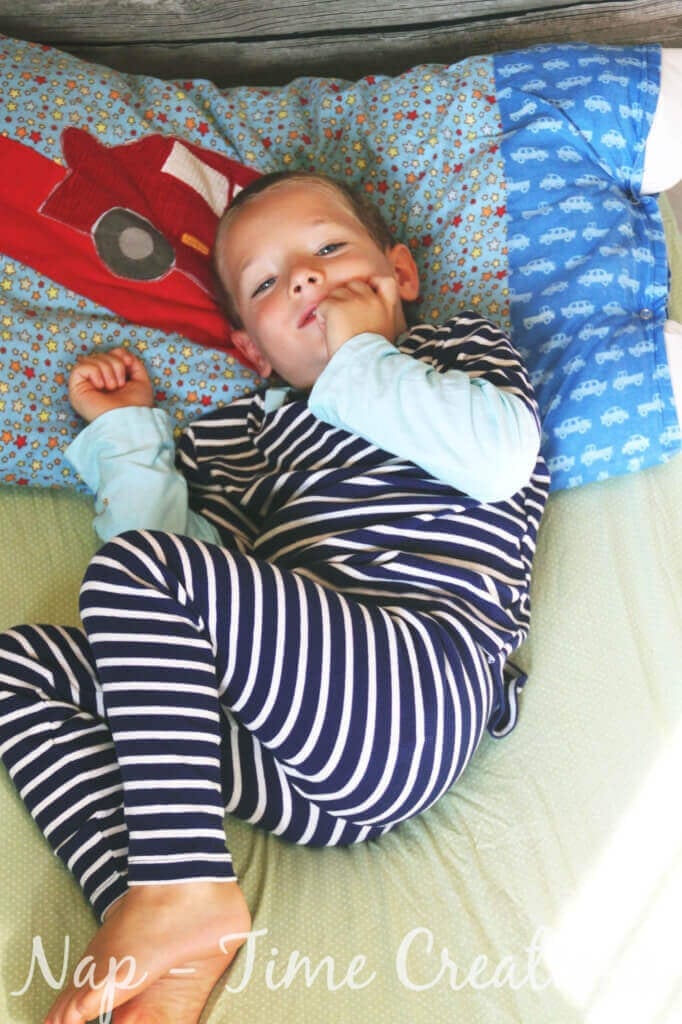
All snuggled in for sleep {yeah right!}
for more of my super Pajama ideas see:







Strawberries and Sweet Love says
Hi Emily, thanks for stopping by! I would have never thought making jammies could be so easy. This whole sewing thing is quite new to me. Answering your question, after pinning each petal, I actually sewed them on with my sewing machine. One row at a time. Hope this helps, have a wonderful day.
Anita Stafford says
Emily, you are one smart girl! This is just the neatest way to make nice jammies!
Kimberly @ The Brown Eyes Have It says
Now that is a great idea! How very thrifty of you!!
Melanie @ bear rabbit bear says
Great project! Thanks for linking to Things I’ve Done Thursday!
Melanie
Sew Rugged @ bear rabbit bear
bearrabbitbear.blogspot.com
grandmashredder says
okay SO you WERE watching from the backpack when I did this ALL THE TIME from shirts from the Lands End outlets when you were 2!!!!
Danielle says
Love this! In December I will be having a PJ contest. You should totally enter these!
Kara says
What a great tutorial!! Thanks for sharing at our first Shine on Friday link party. I hope you’ll come back again this Friday.
Danielle says
What a great tutorial! Thanks so much for linking up! Goodluck with the contest:>
Stepper says
Great job! Love that it’s a tutorial too!
Jen @ West Street Story says
Such a great project!
Melanie says
One hour sounds great to me! Thanks for the pattern and tutorial.
Heidi @ One Creative Mommy says
Best idea ever! I love the idea of repurposing old shirts. Great job. Pinned.
Katie says
Great idea! Who knew one t-shirt could make a two piece outfit!
Audrey says
Looks so comfy! We worked with knits this week for PR&P too. We’ll have to try the jammies.
Sheena @ Hot Eats and Cool Reads says
How cute are these? You truly have some great talent! Thanks for sharing!
Annie says
How smart that you used the sleeves for the pants legs! One of the best refashion project ideas I have ever seen!
Stephanie Daigneault says
Wow, what a cool way to get more use out of clothing! Thanks
Debi @ Life Currents says
Really cute! I’d totally wear those! 🙂
Maggie @ The Love Nerds says
I am highly doubtful that this will take me an hour because sewing is not one of my crafty skills, but I am definitely pinning for when I finally get my sewing machine and start teaching myself.