inside: Sew this sports tank free sewing pattern to create comfortable sports wear for summer. A sports tank with adjustable open back features. Sew this beautiful tank top with mesh or other sports fabric.
I’ve been walking daily right now while the kids are at swim team and I’m realizing I need some new workout tanks. This is a tank designed after one I had awhile ago and it pairs perfectly with my new sports shorts. I sewed up two versions this week and am sure that these won’t be the last.
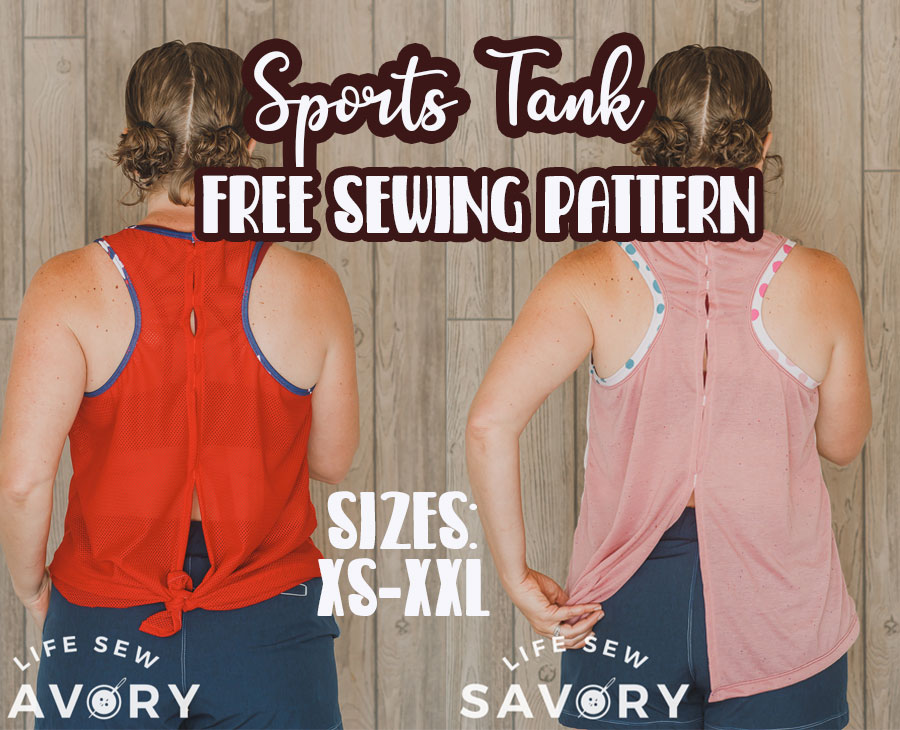
Sports tank free sewing pattern –
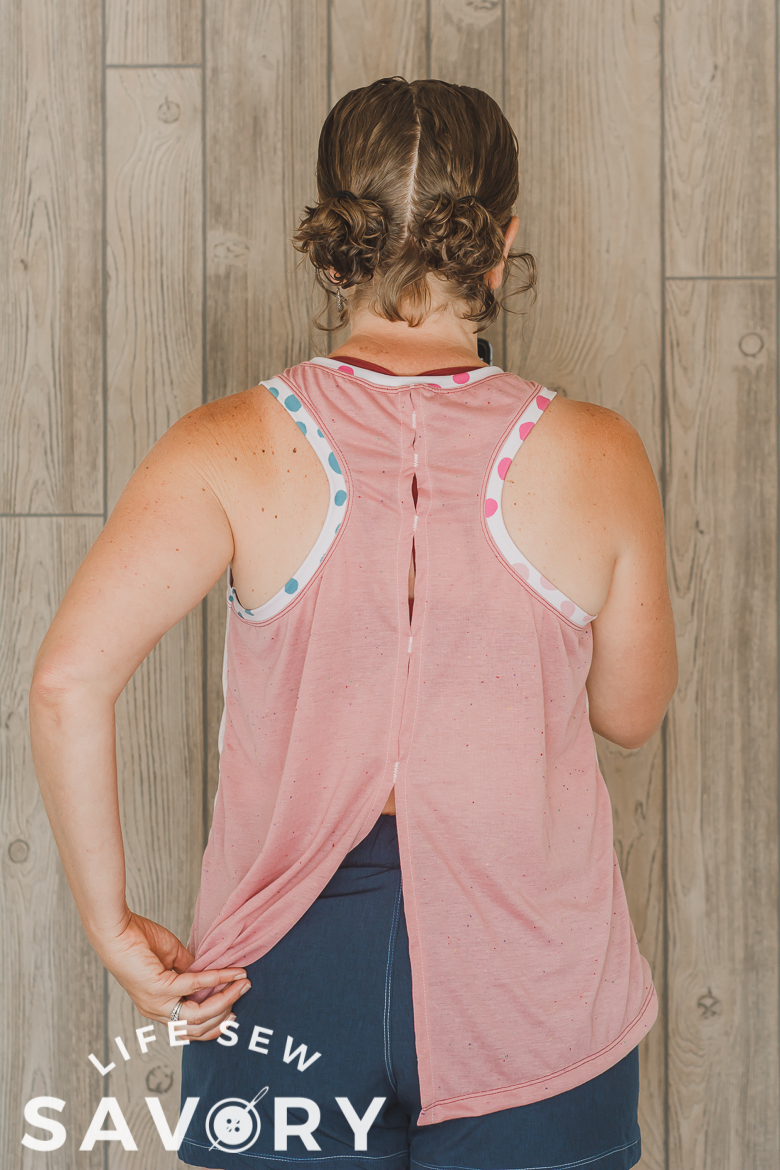
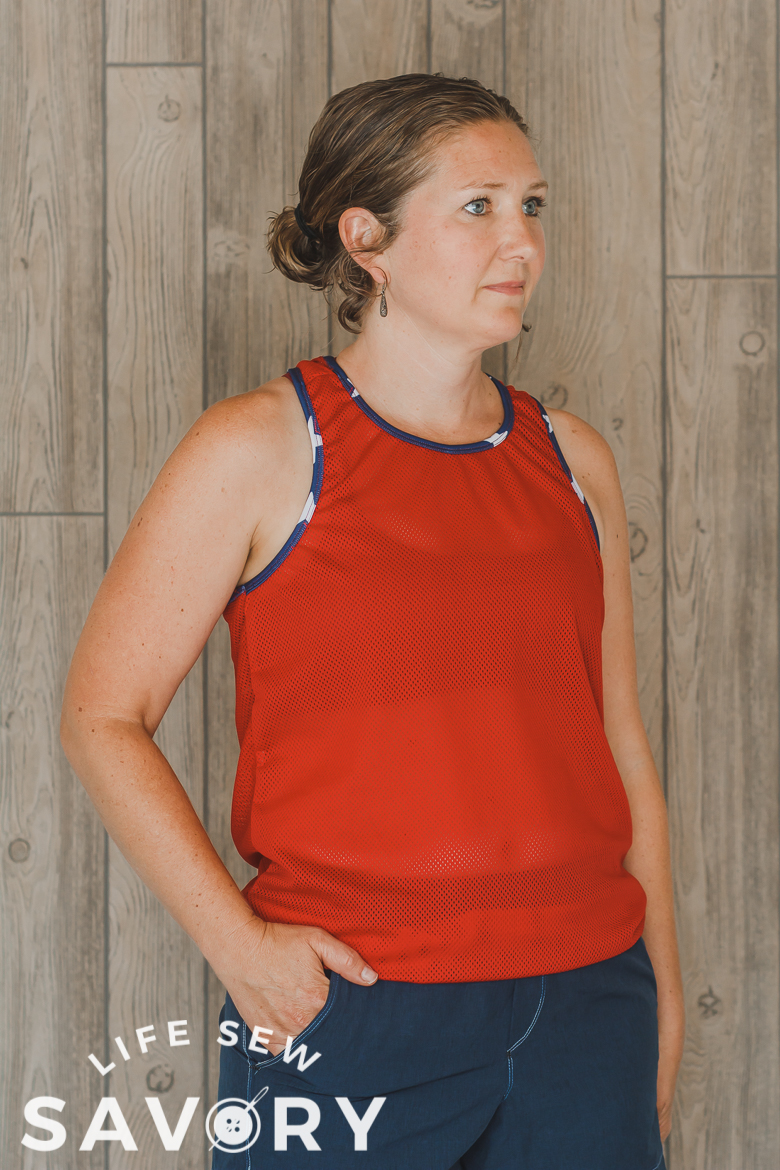
Isn’t this new workout tank amazing? I love the coverage, the length, the tie options… just everything! I wore the pink version on a long walk this morning and it was perfection.
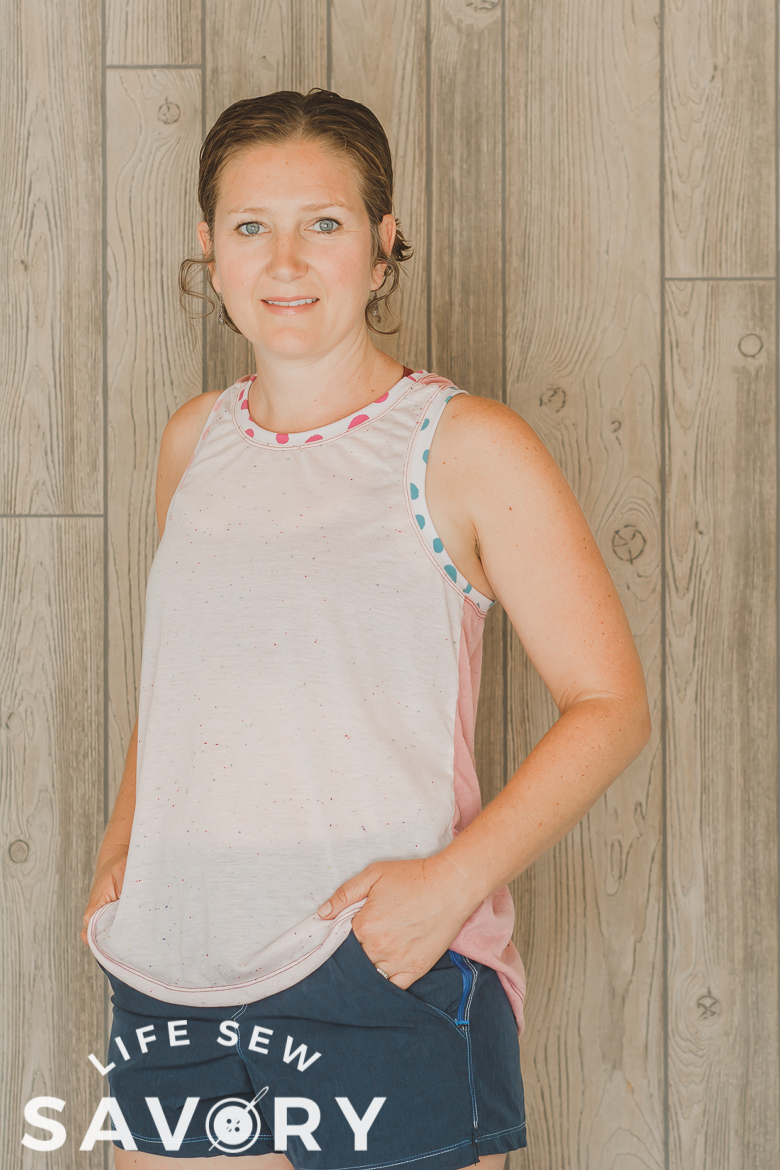
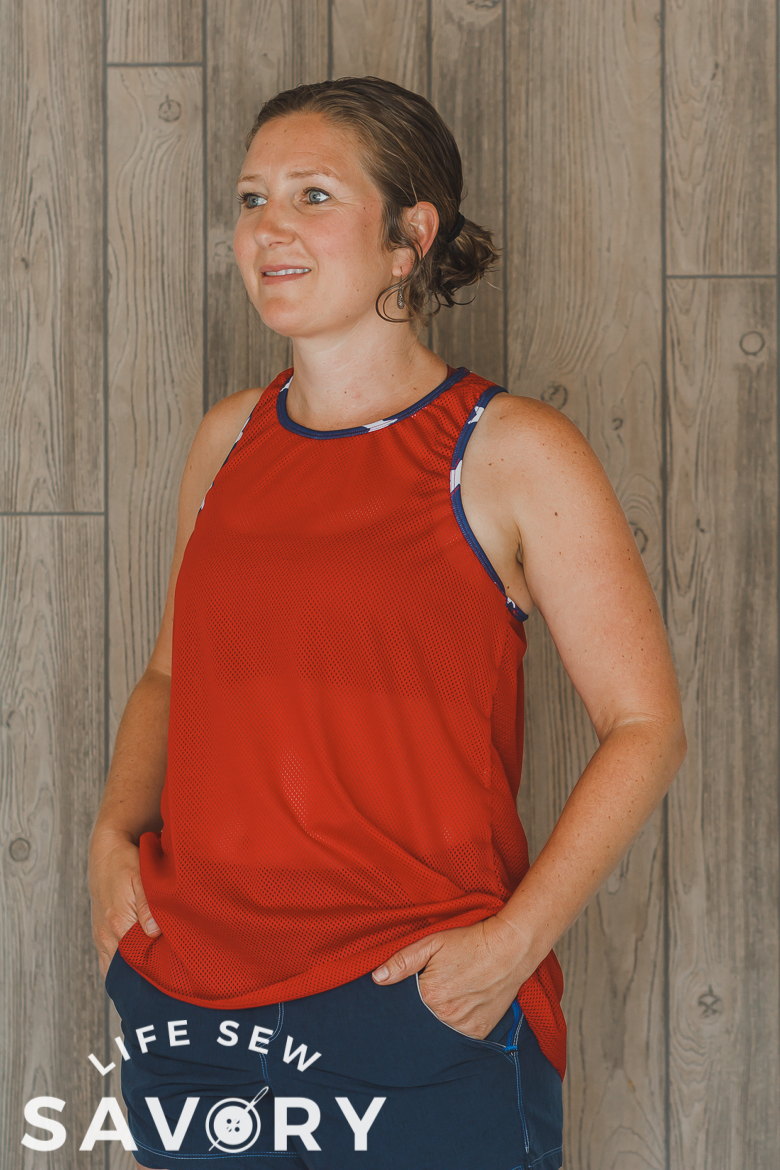
I want to get some different athletic fabric to make more versions. But for now I sewed a mesh sports tank and a second out of tri-blend t-shirt fabric. The binding/bands on both tanks is double brushed poly left over from other projects. The scraps work perfectly to finish this tank.
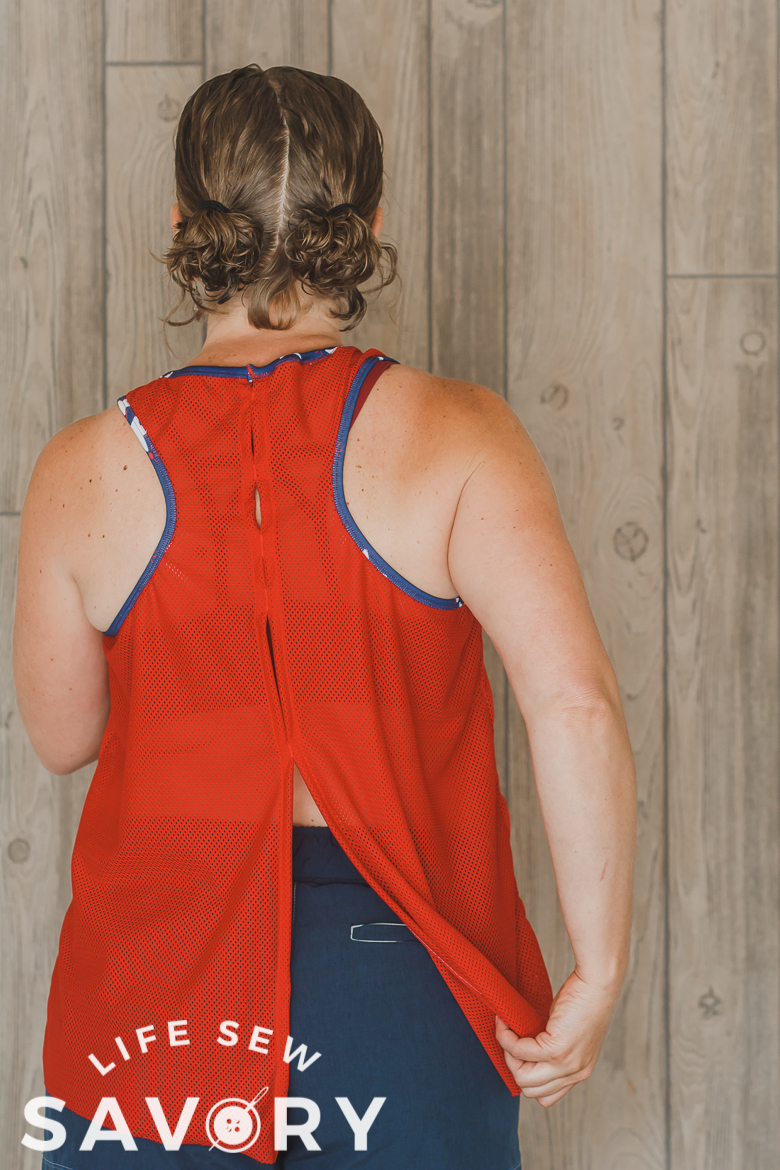
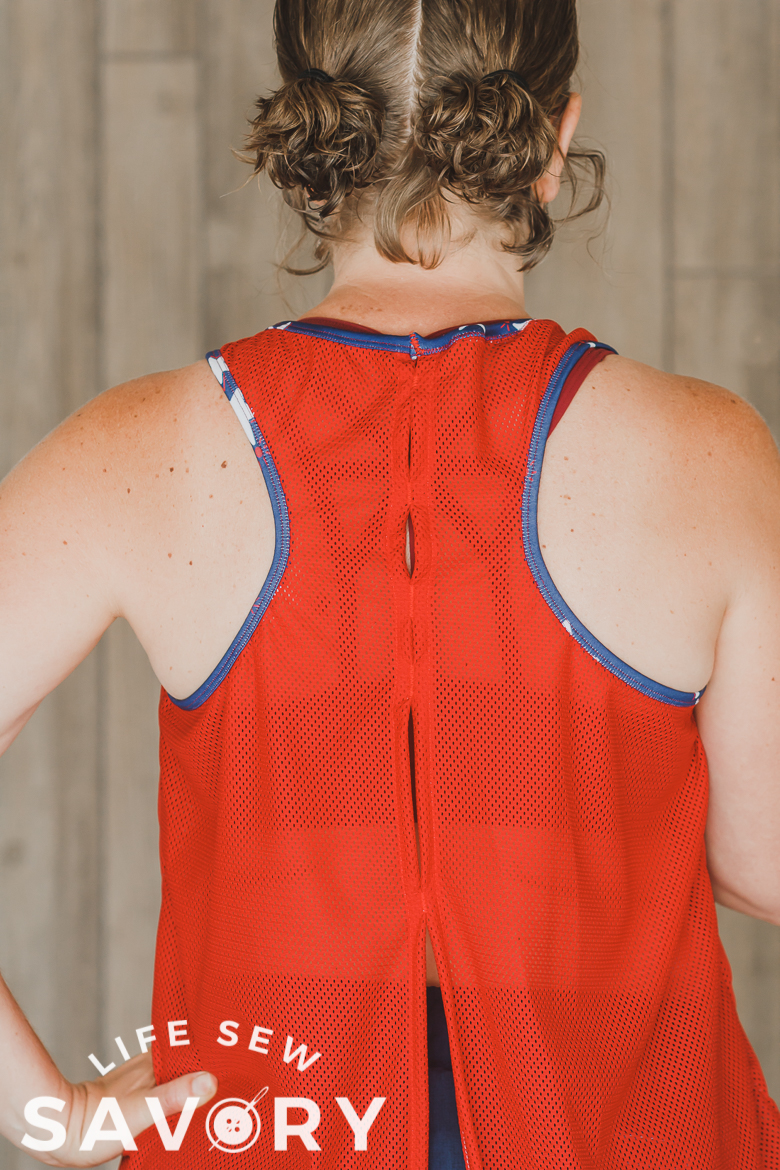
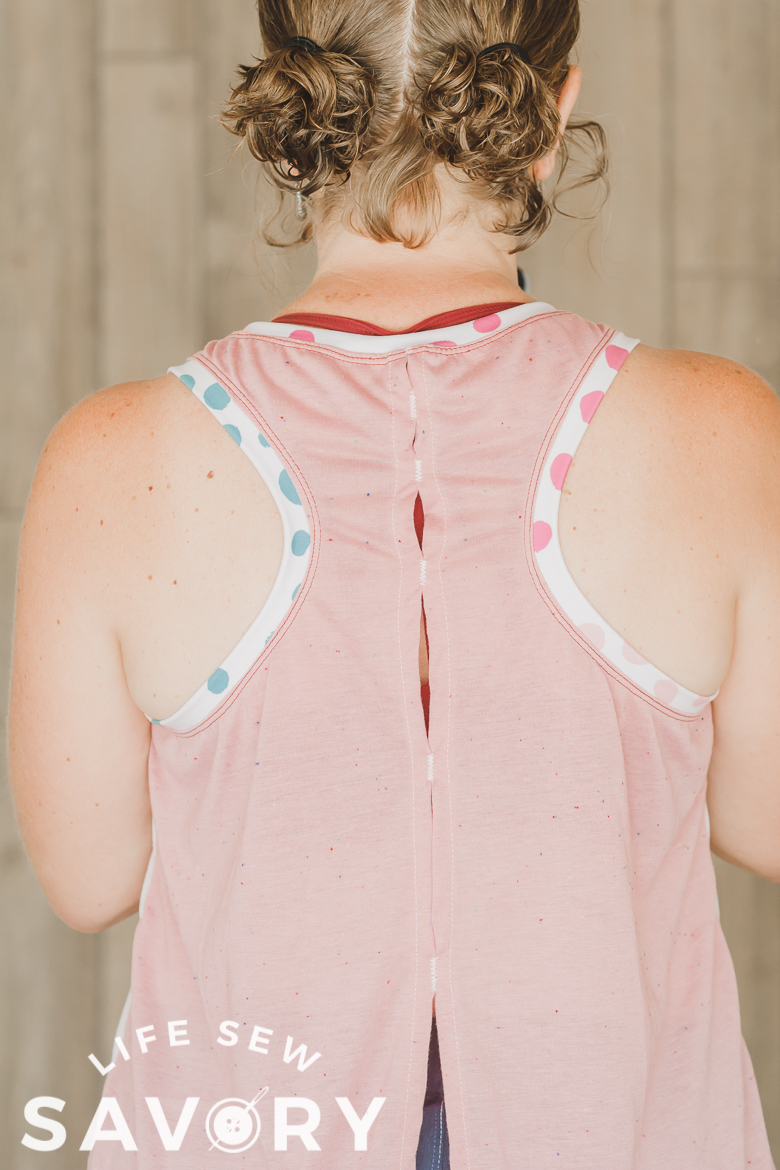
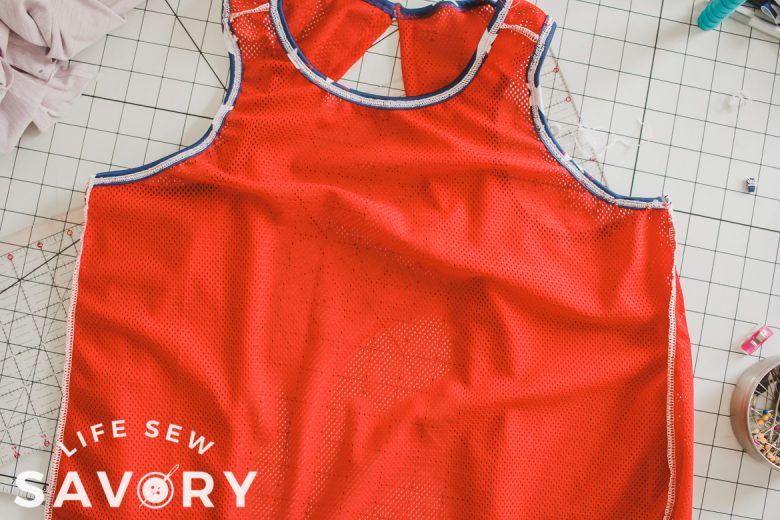
All these photos I am wearing my new tank tops paired with my free sports shorts sewn from stretch woven fabric. Ok, lets take a look at a few more photos of these tanks. This is the same size tank sewn with two different fabrics. The red is a loose mesh and the pink is tri-blend t-shirt fabric. {not as athletic as I would like, but what I had on hand} You can see the slight difference in fit and drape depending on the fabric.
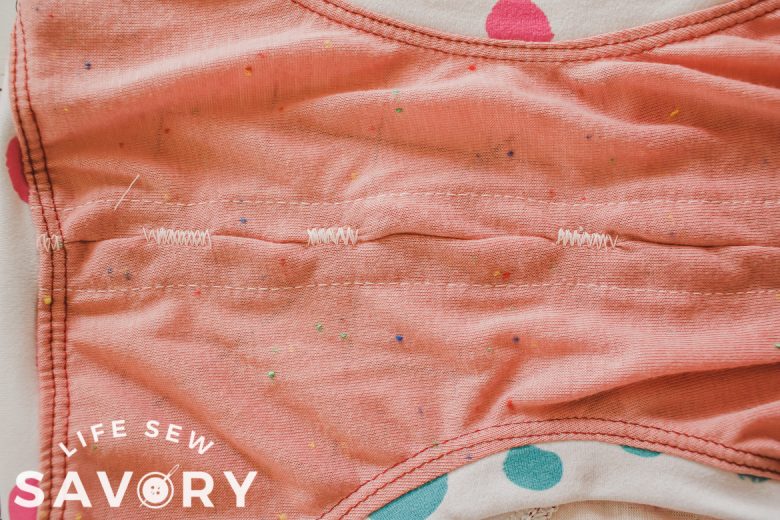
The tutorial below says that you can tack the back together in as many or as few places as you want. You can also keep the stitches higher or lower depending on how open you want the back.
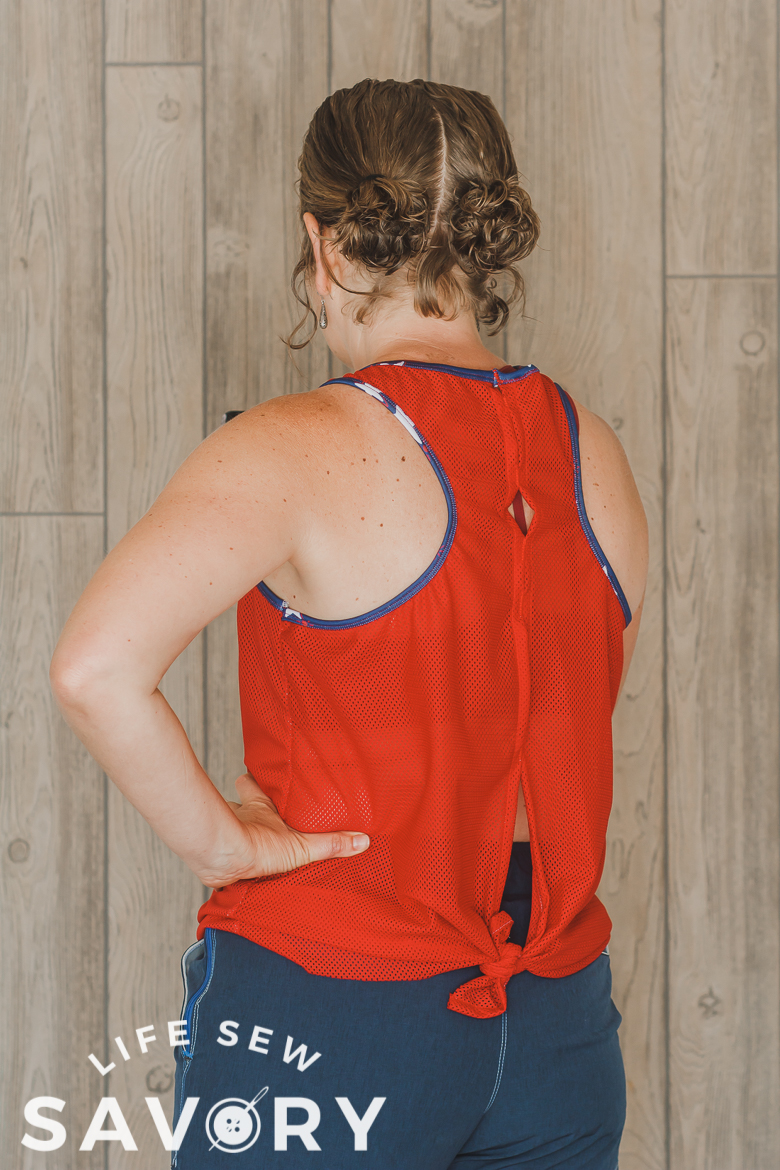
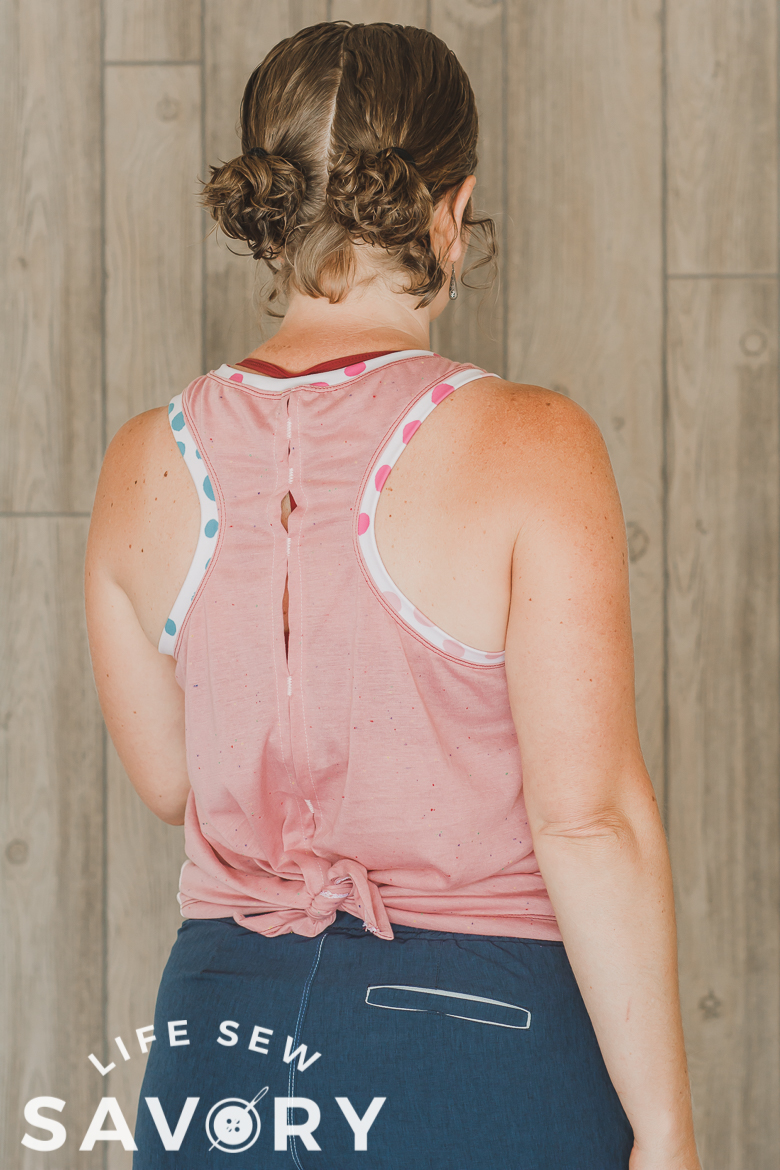
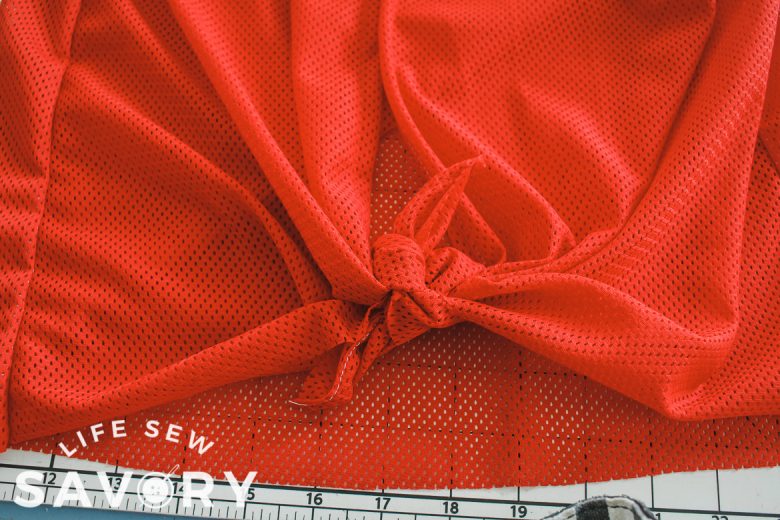
I also think that this tank looks so cute with the back sides tied up. This also makes the front a bit more fitted.
When you tie the back the front looks more fitted and ends up a bit shorter as well. Both tied and untied are such cute looks.
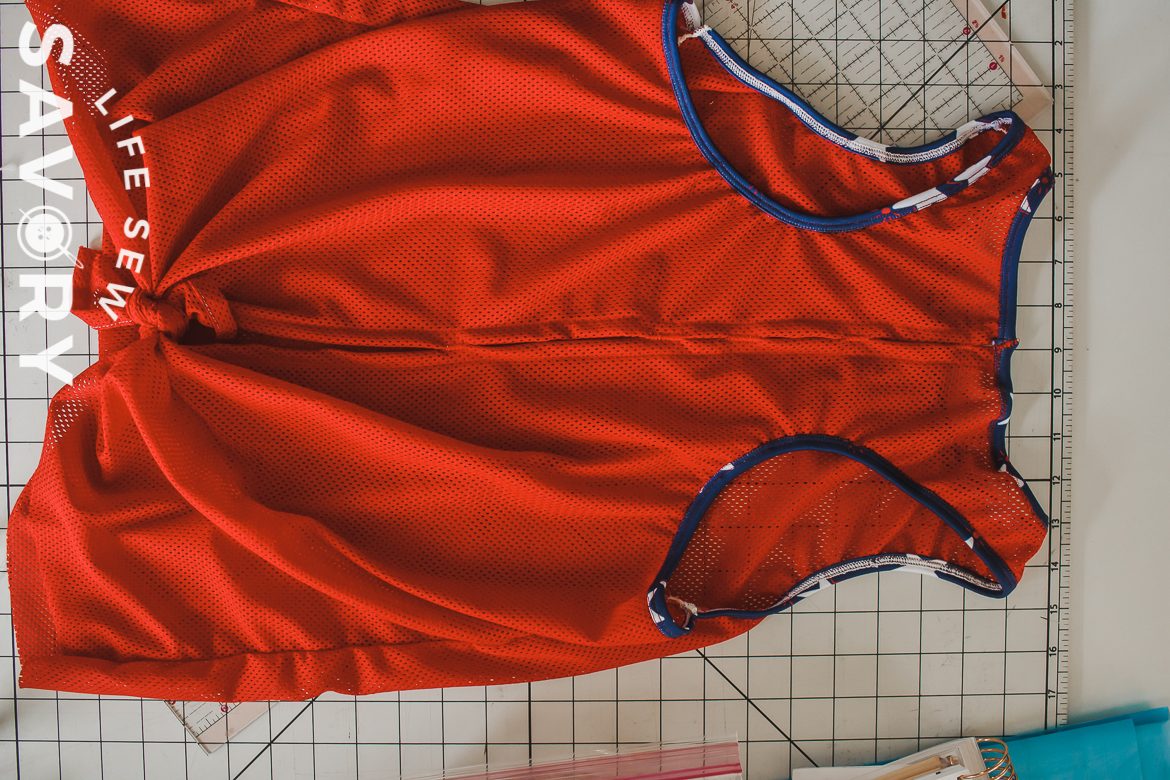
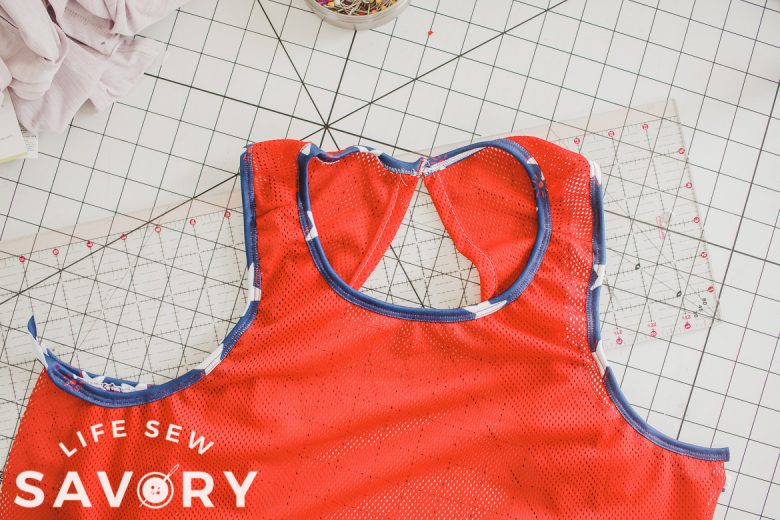
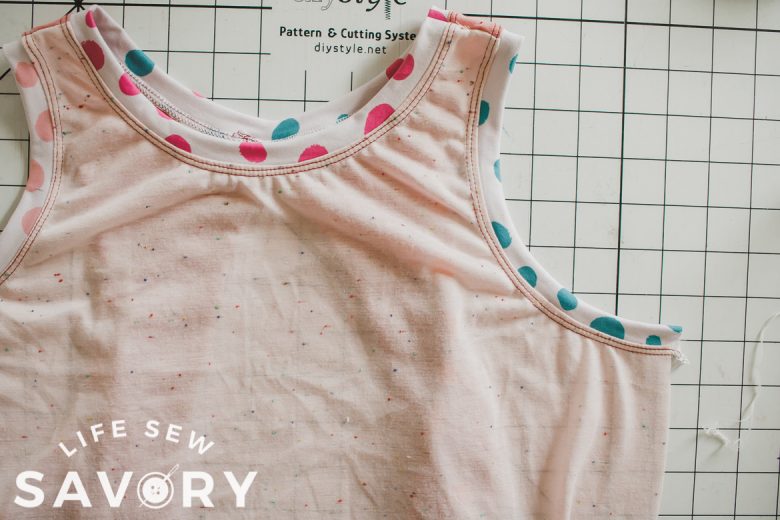
Here is a closer look at the back of the tank. The red version has bindings and the pink version has bands. The bands end up giving just slightly more coverage as well. I was thinking a version with less sewing would look cute with a strappy sports bra.
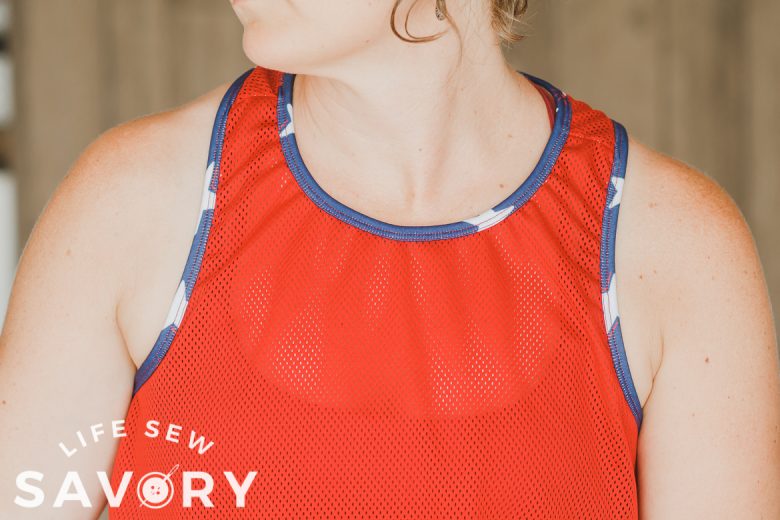
And one more close up picture of the front of the tank.
Where to buy fabric for your tank top –
The pink fabric shown here is from an in store Hobby Lobby Purchase, and the Mesh is from Fabric.com. {affiliate link} I also love the sports fabric from GreenStyle fabrics. Knitfabric.com also has some fun athletic knits. {affiliate link} Double Brushed Poly {like I used for the edges} I love buy from Raspberry Creek Fabrics.
How to sew a sports tank
Ok! So first go and download the free sewing pattern using the button below.
If you need help printing, downloading or assembling this pattern you can find my pdf pattern tutorial here. The assembled pattern should look like this. There is a 3/8″ seam allowance included on the pattern pieces.
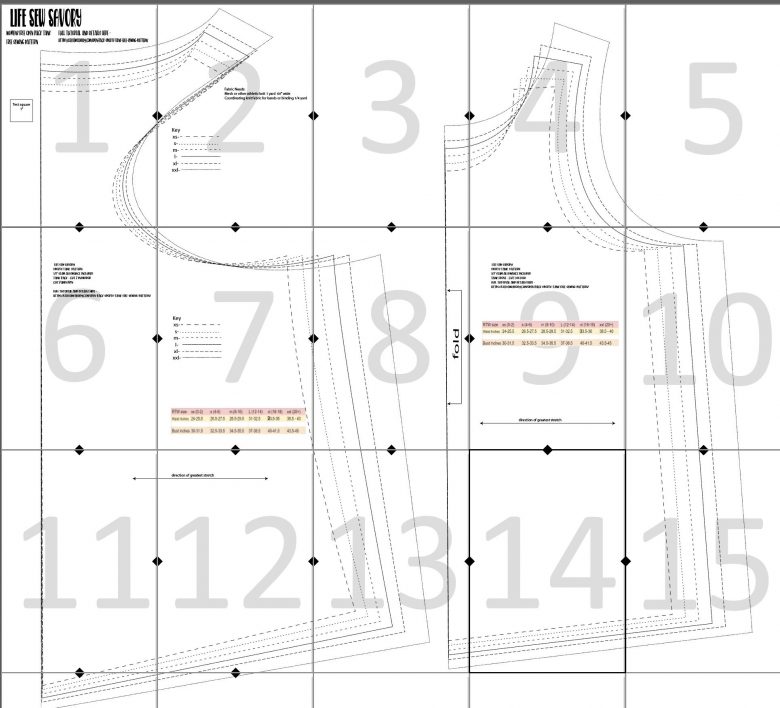
You can use this size chart to determine the size to make. The sizing is pretty forgiving with the knit fabric. As always if you are on the edge of a size you can size up or down depending on wanting a looser or tighter fit.

Once you have the pattern assembled you should be able to cut the pattern out from a single yard of fabric. make sure the fabric is 60″ wide for it to fit on one yard. If your fabric is not as wide you will need more. One piece is cut on the fold and the other in mirror. Something like this… Cut the fold piece first, then re-fold the other side to have enough fabric for the tank back.
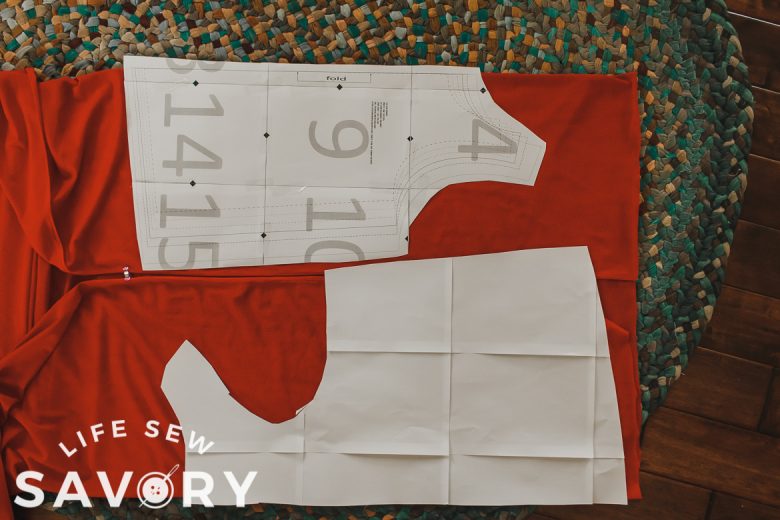
When you cut the pattern pieces you should have one front cut on the fold and two back pieces cut in mirror. You will also need to cut out three binding/band pieces for the neckline and each of the arm holes. You can choose to add bindings or bands to the sports tank pattern.
I will go over the two methods below, but if you need more information on both of these methods you can see my bindings/band tutorial post here.
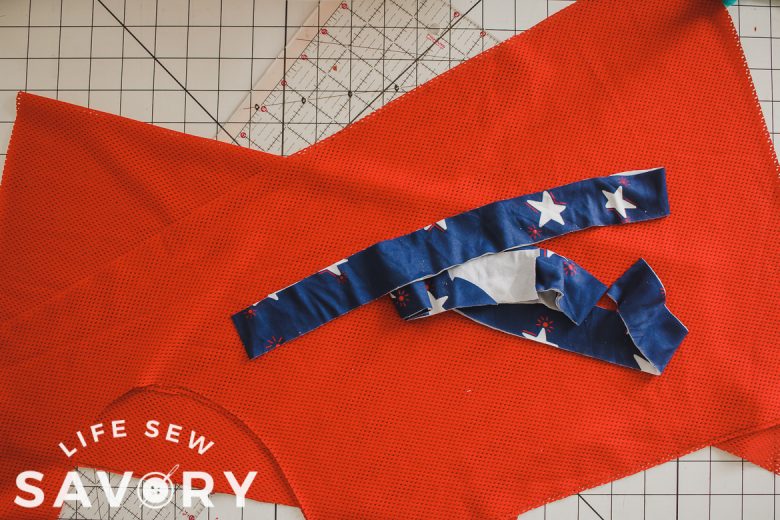
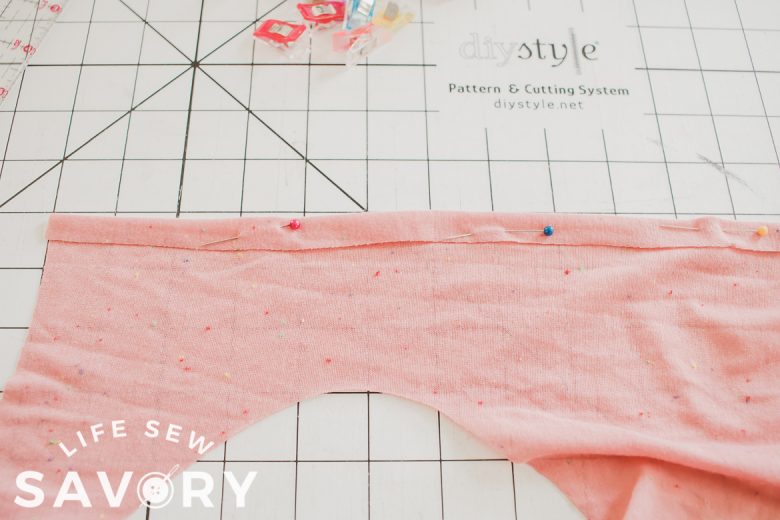
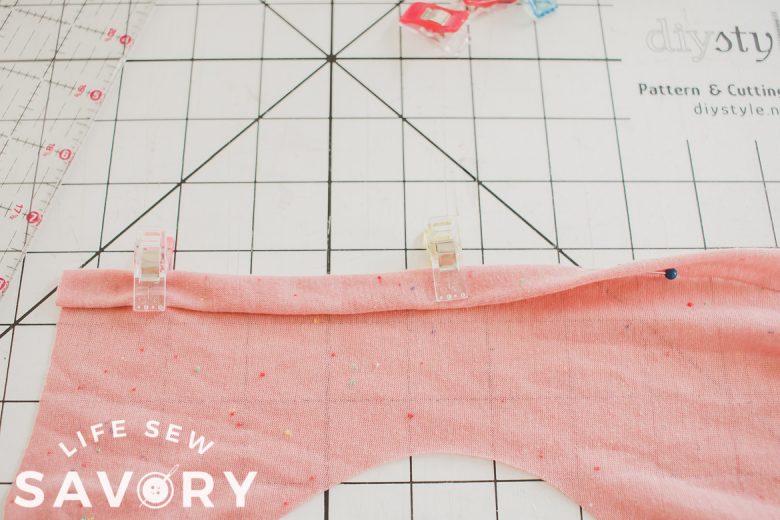
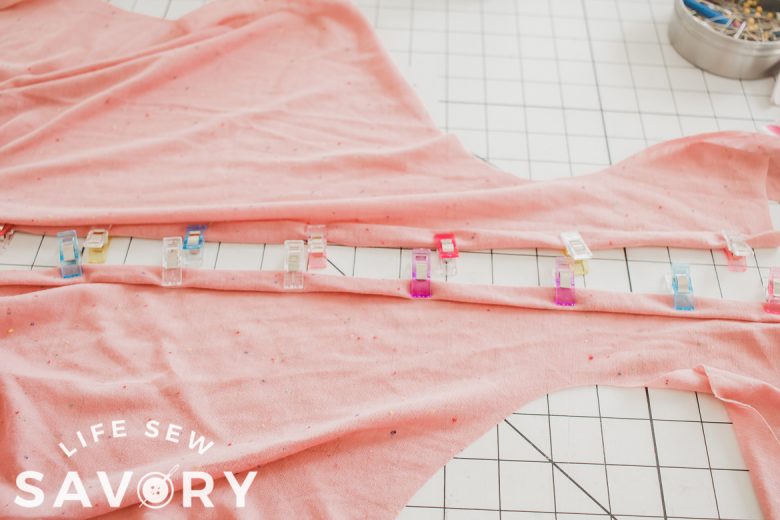
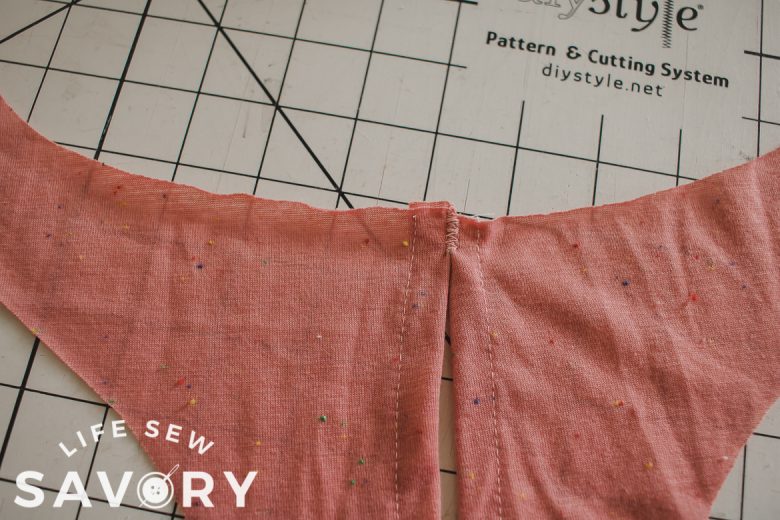
Start sewing the sports tank free sewing pattern by finishing the back flat center seam of the tank. Turn a half inch fold to the back side of the tank and pin or press, then turn it over one more time to fully finish the back edge. Stitch with a straight stitch {no need for a stretch stitch} to sew the hem on each side of the back center.
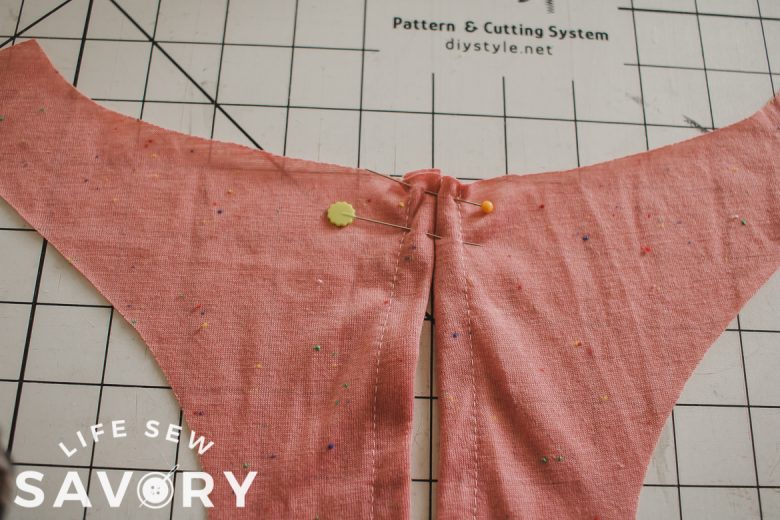
Now we will need to sew the back top edges together to finish the neckline. Place the top together so the folded edges are touching, then sew together with a wide zig-zag stitch. You should only need to sew about 1/2″ at the top to secure.
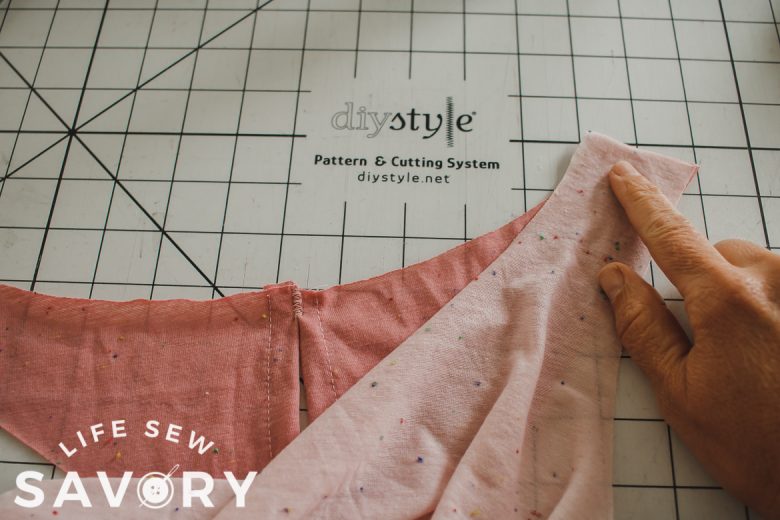
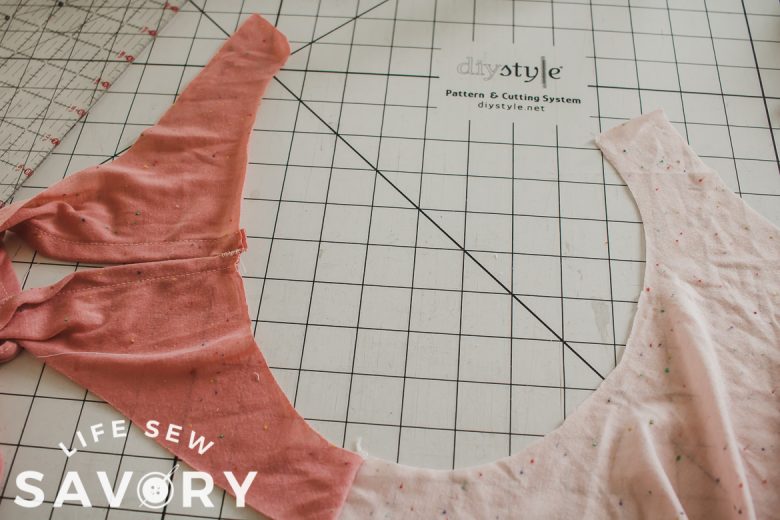
Now with right sides together, match and sew one shoulder seam with front and back tanks pieces.
Sew the Bindings or Bands –
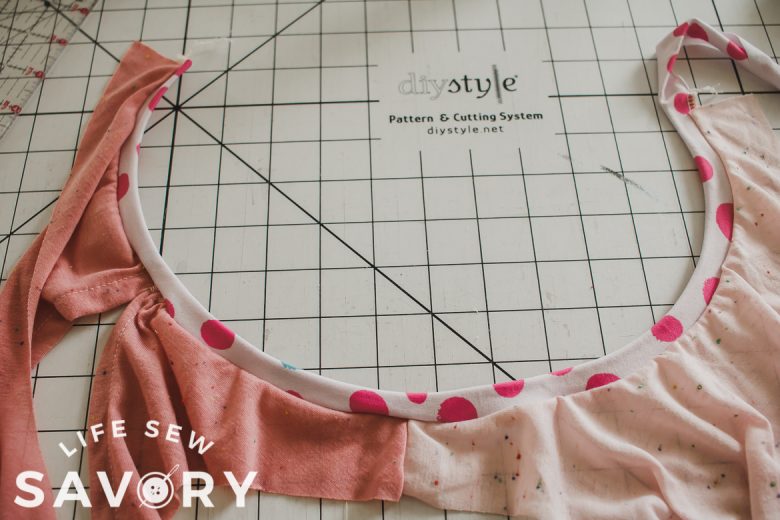
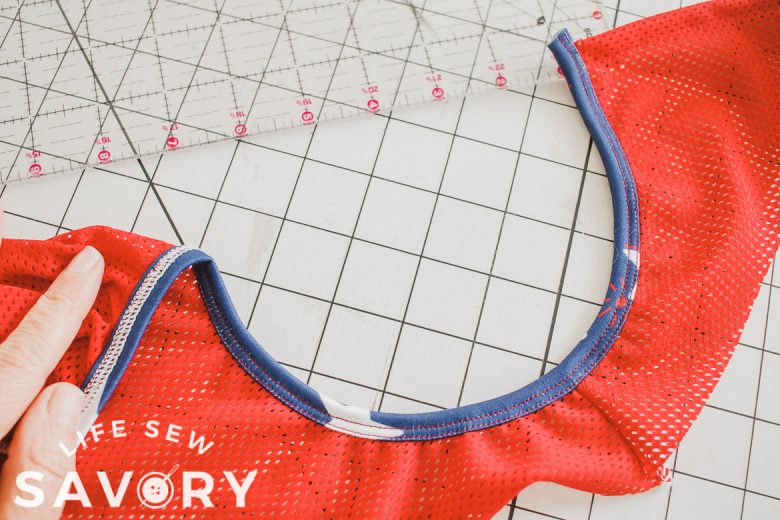
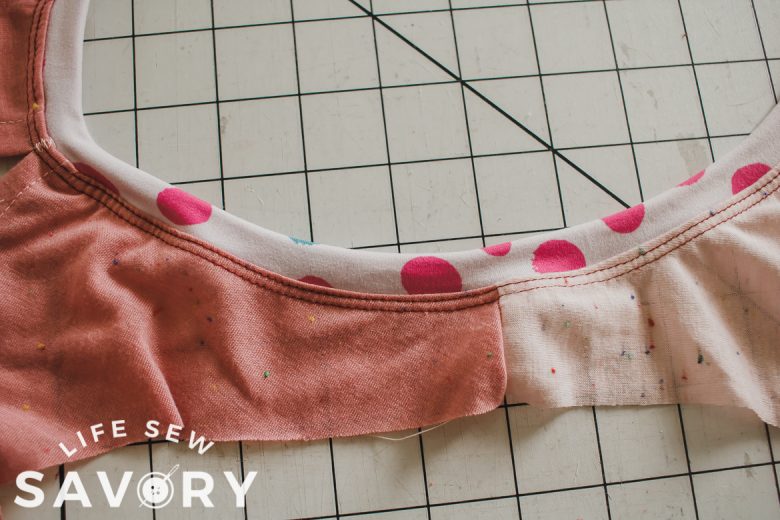
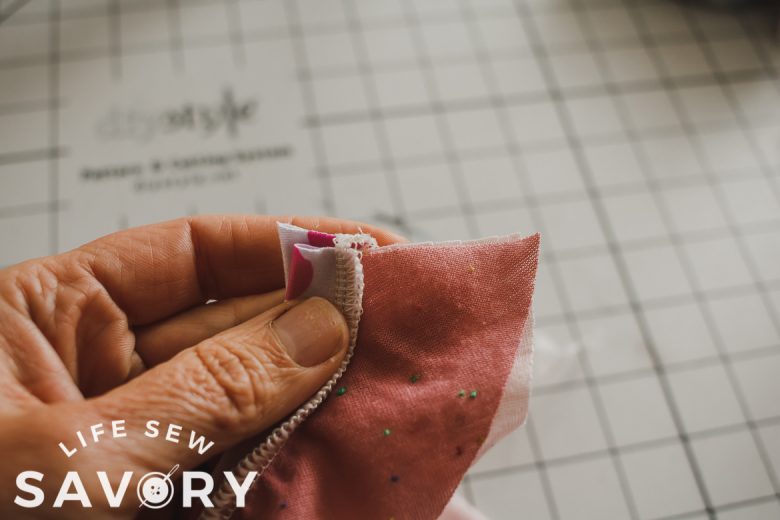
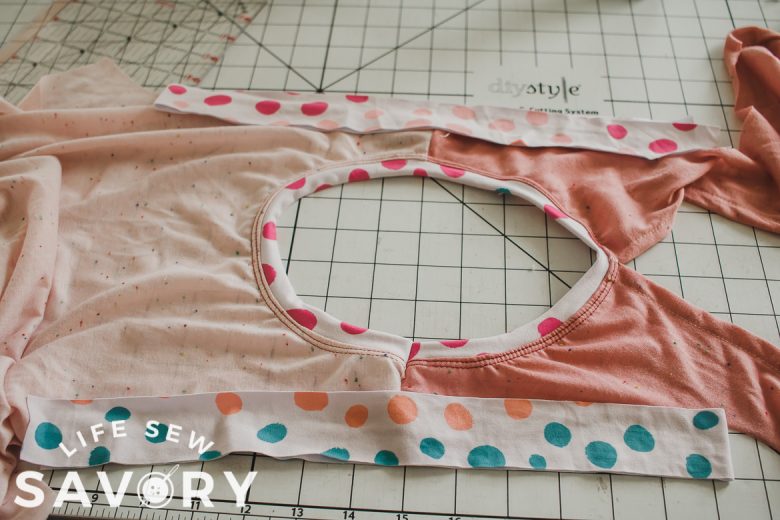
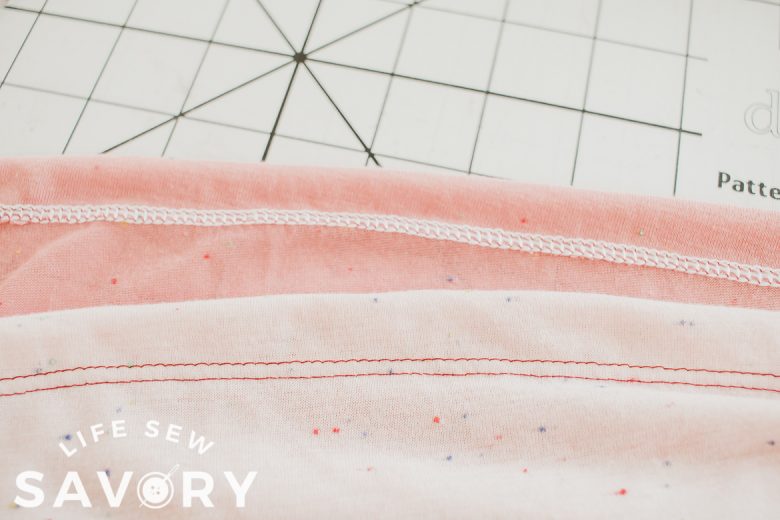
Here are the necklines sewn with a band {on the left} and a binding {on the right} I did not include pattern pieces for these bindings/bands, but I will give you the general idea. Again, you can use the basics outlined in my tutorial post for more details. Make sure to sew all bands with a serger or stretch stitch on your sewing machine.
For both finishes I cut the fabric 1.5″ inches wide and at least 20″ long. The stretch needs to go the long direction. The length needed is determined by the length of the neck/arm opening. Measure the neckline and then cut the band 85% of that length. For example if the neckline is 20″ you would cut the neck band 17″ long. Stretch and sew evenly along the neck with the band folded in half.
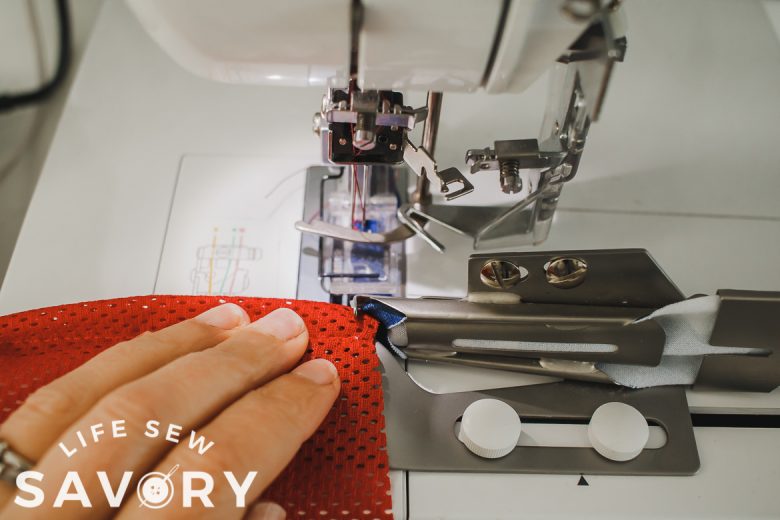
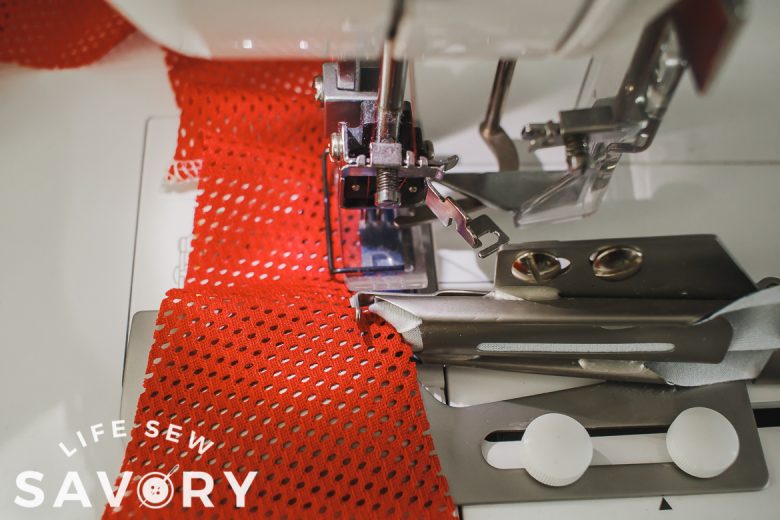
I used my coverstitch to sew the binding on the neckline of this free tank pattern. I don’t measure the bindings, I just make sure its long{ish} and then sew the binding to the opening. I have a fun attachment pieces that does this for me. You can also purchase binding attachments for sewing machines. If you want to sew the bindings without an attachment see the post mentioned a few times already on this method.
If you choose to sew bands, you can also top-stitch if you want. Either method you will need to sew the opposite shoulder seam after you have finished the neckline.
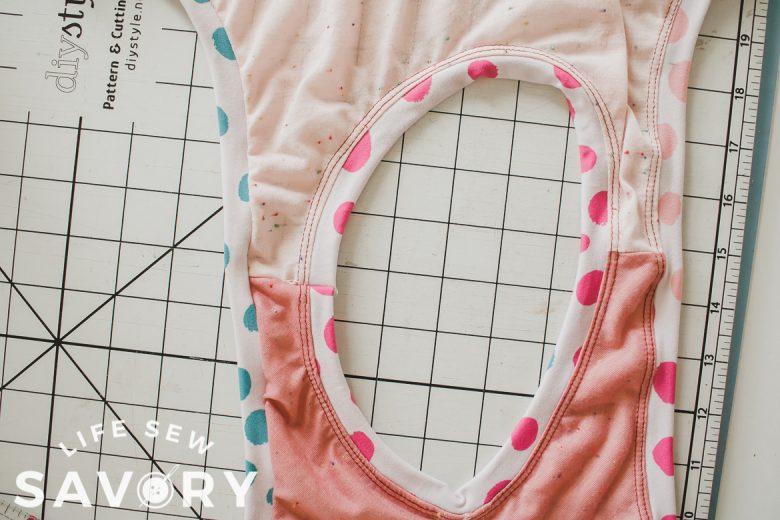
After both shoulder seams are sewn you will repeat the bindings or bands on the arm openings. On the photo on the right you can see both a top-stitch arm and a non-top-stitched arm. Either way is fine for the tank.
Tank Sewing Tutorial –
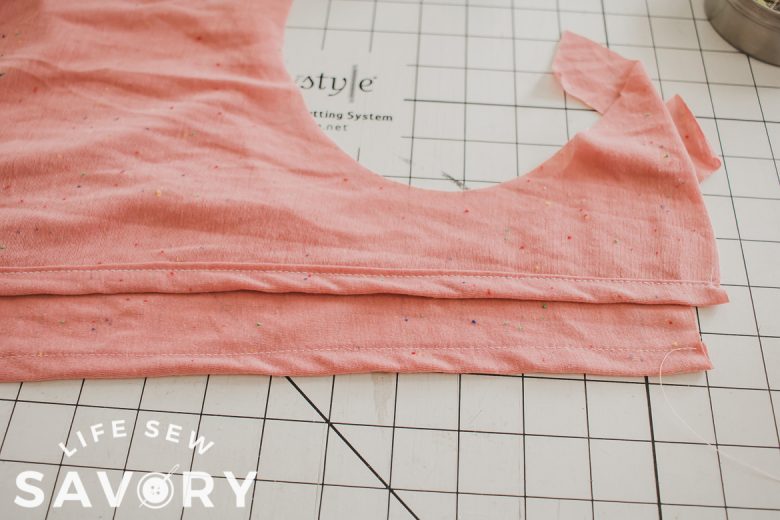
The next step is to sew the side seams. I start at the arm opening, making sure my band is lined up as best as I can. Make sure to sew with a serger or stretch stitch on your sewing machine.
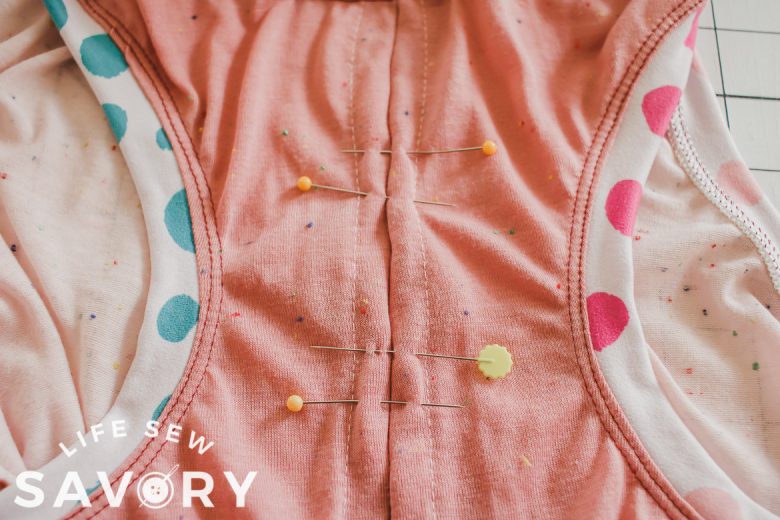
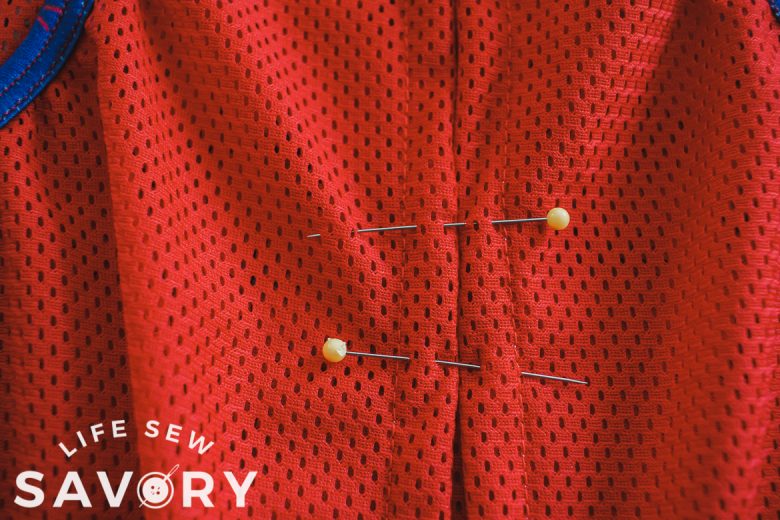
Now we will sew the back together in a few places. You can add as many stitches as you want {or as few as you want} I put my first pins about 2″ down from the top and then the next one a bit farther, and the next even farther apart… Sew the folded edges together with a wide zig-zag.
I was planning to hem both versions of my tank, but when I get to the hem on the mesh version I decided to leave it raw. If you want to hem the tank, turn under a 3/4″ hem and stitch with your coverstitch or stretch stitch.
You can either wear the back open and down or tied in a cute knot. I like both ways so so much.




Erica says
I appreciate you sewing more real clothes for families! I have been sewing for about 20 yrs (since a teen!) and as a woman in my 30’s, I am not trying to look sexy anymore, just comfy and cute 🥰 (and just cool enough that my kids will still walk with me!)
Your clothes are never revealing and I especially like being able to keep my daughter appropriately covered too! Girl’s clothes, and especially shorts, are getting too revealing. And the fact that you do this for free AND walk us through it is an absolute lifesaver!
Thank you for sharing so much knowledge and know that it’s a HUGE contribution to so many sewers (as in sewing lol) out here!
Emily says
awww!! thank you for your kind words! I love being able to help others sew.. share photos ;o)
Em says
Do you have a % stretch in mind for the main fabric or bands? Other patterns I’ve sewn recommend 95/5 cotton Lycra for bands for recovery…is that a must for this pattern?
Emily says
I used double brushed poly for my bands and that fabric has really good stretch. I would recommend using a fabric with good stretch..
Emily says
Does the mesh have any stretch? Two-way? What about the t-shirt material? I have some CL with 4 way stretch and wondering if that will change the fit/ look weird. THanks!