inside: Use this puff sleeve sewing tutorial to cut and sew puff sleeves. A fun pattern hack and sewing tutorial to add puff sleeves to any t-shirt pattern.
I’ve been trying to mix up some of my basic patterns lately to create fun new looks. If you’ve been following me for awhile, you know I sew pretty basic styles for my kids. I’m not really a frilly person, and my sewing reflects that. I’m trying to mix it up a bit because my daughter loves all the extras. Today I’m going to show to you how to add simple puff sleeves to your t-shirts. PLUS scroll to the bottom and find 10 more sewing projects for spring.
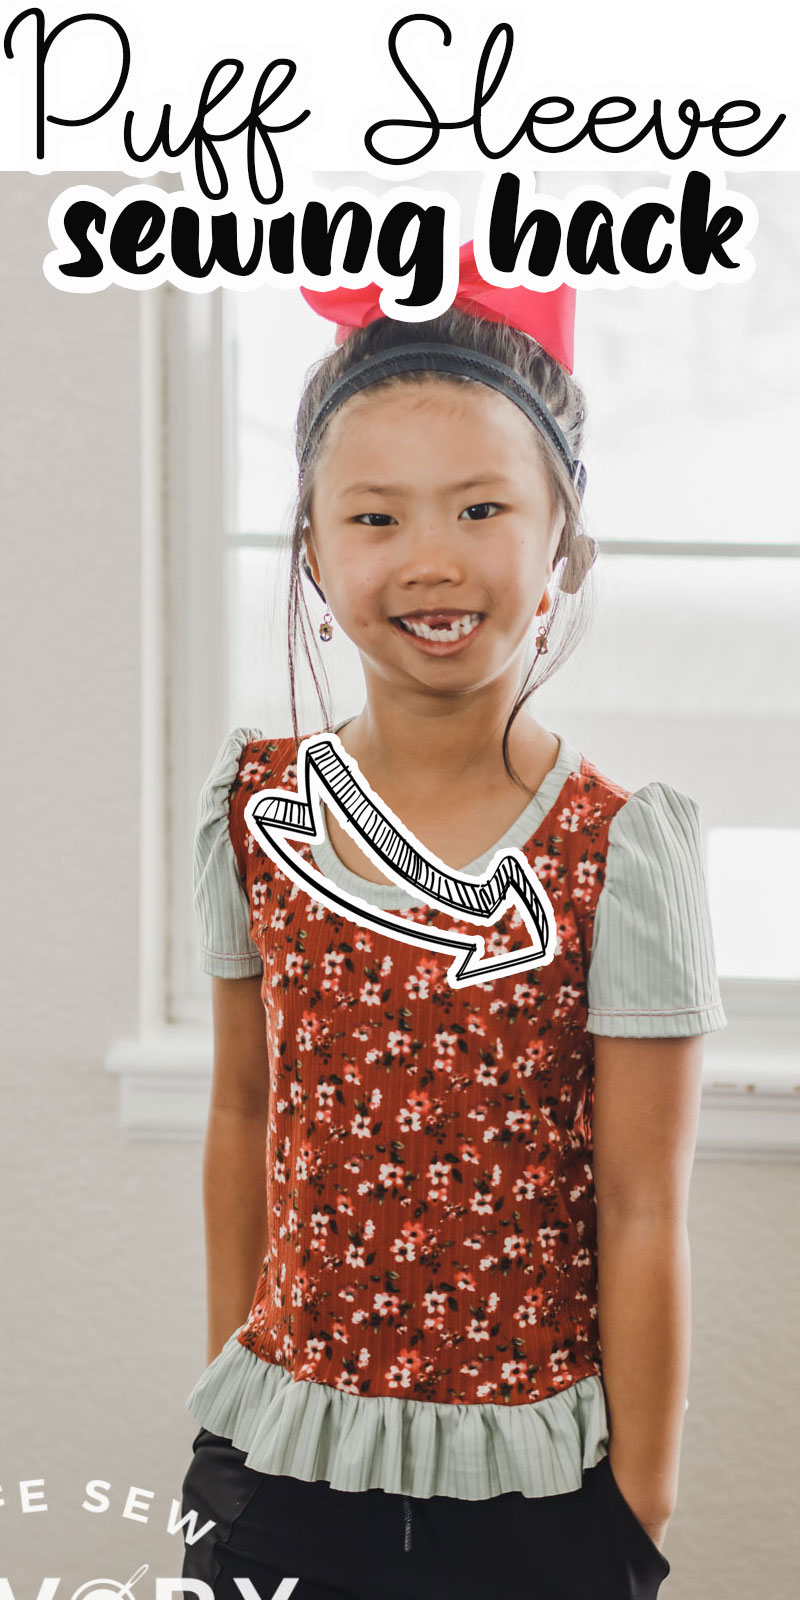
Puff sleeve sewing tutorial –
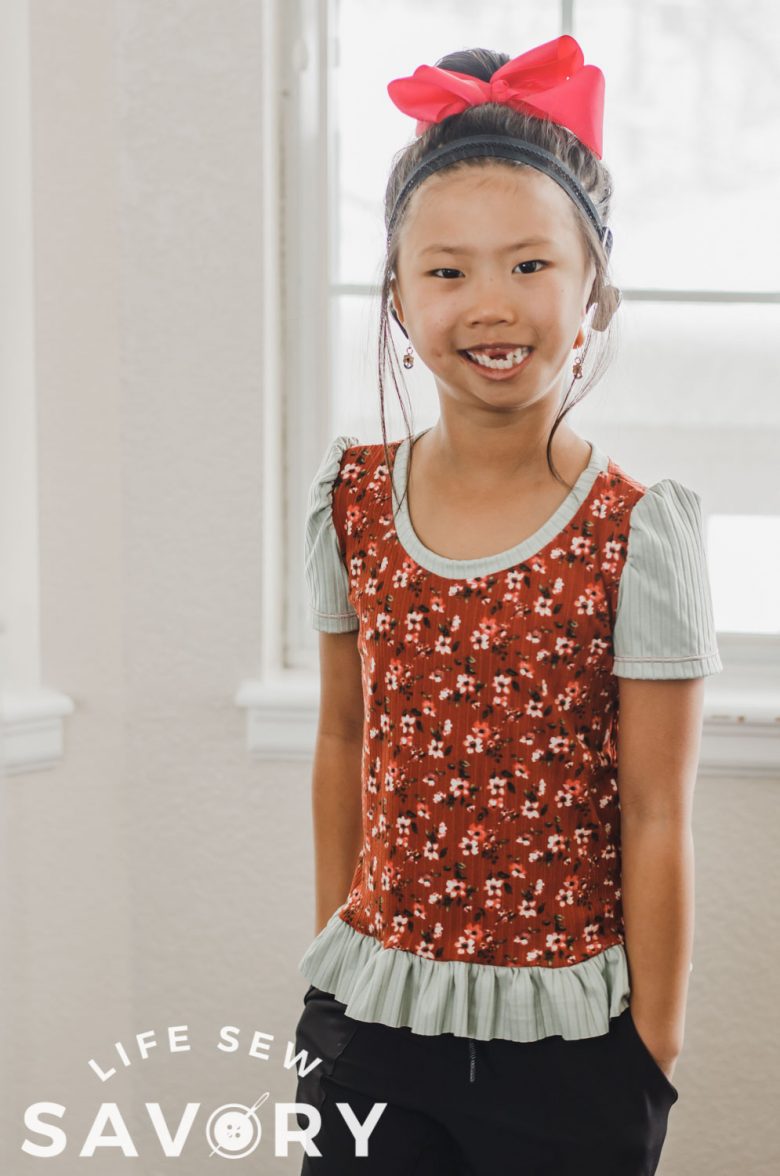
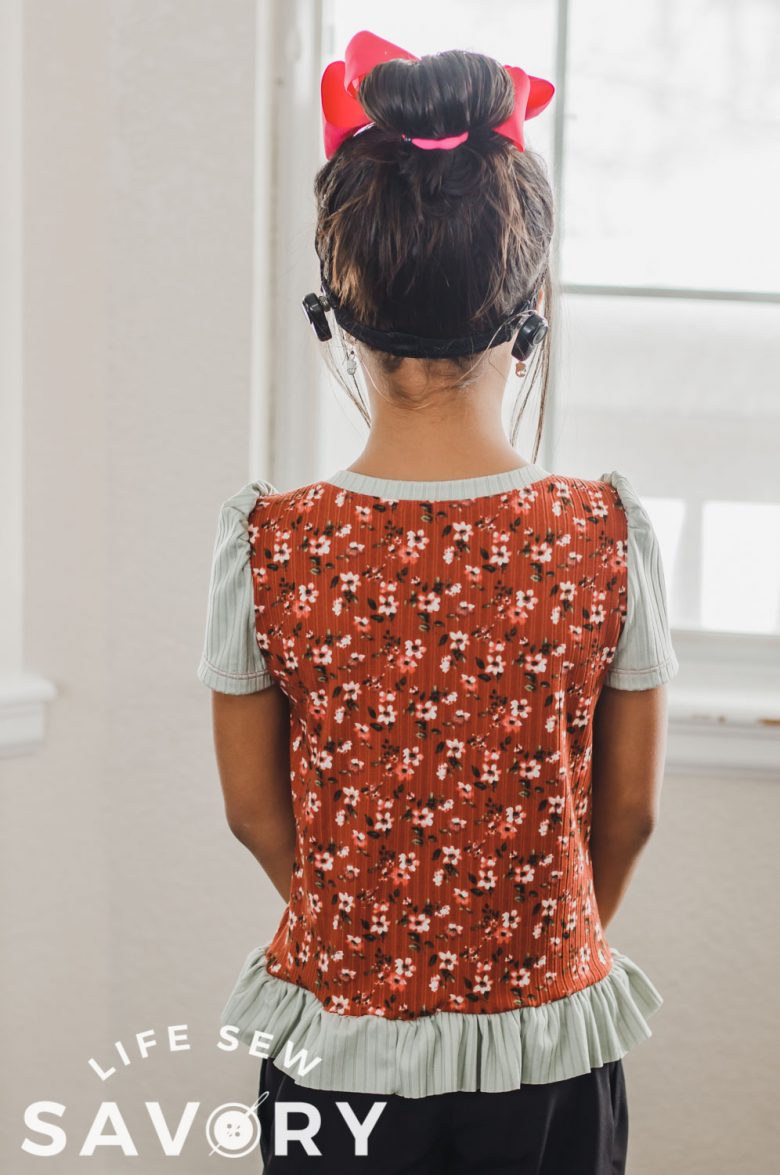
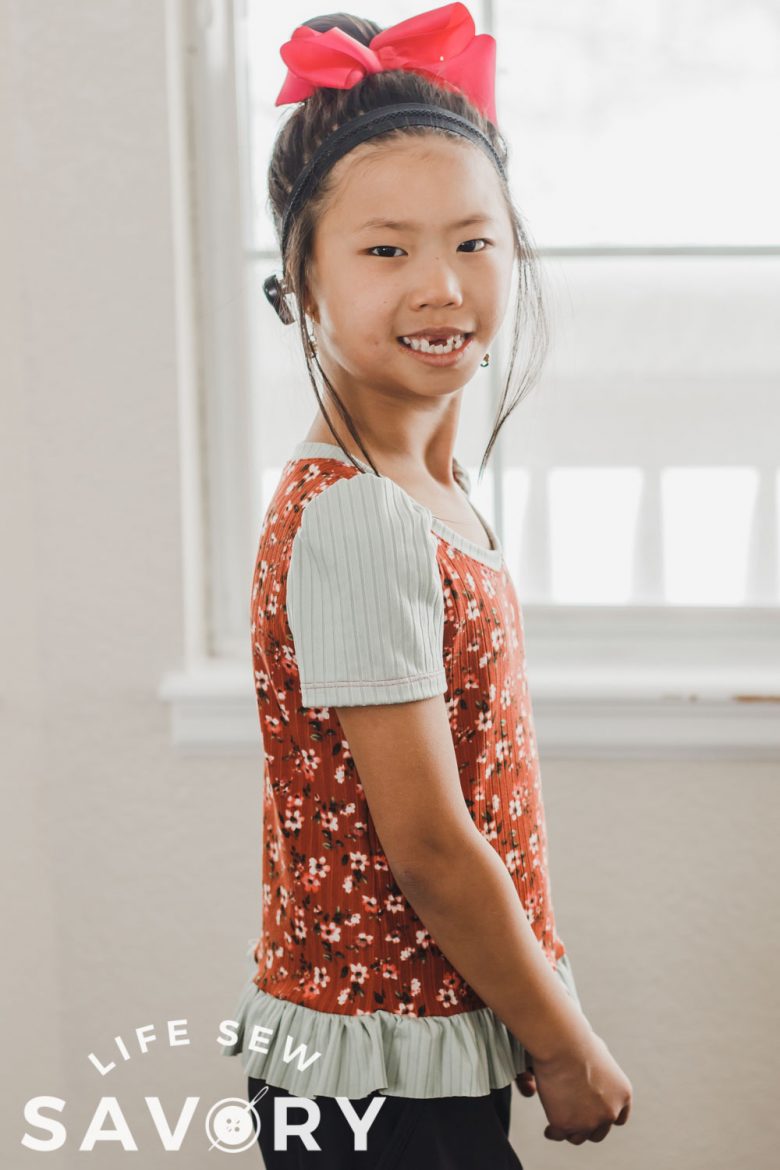
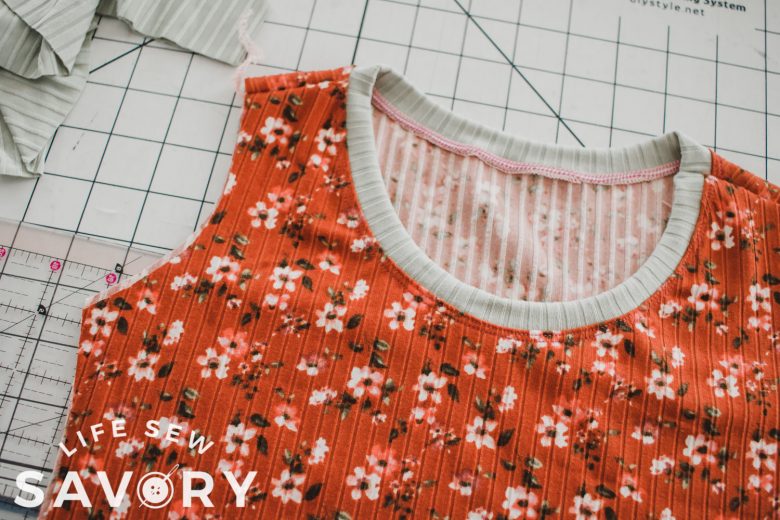
Before we get to the details, let’s take a look at this adorable tee. I not only added the puff sleeves, but I also added a button ruffle to bring the two colors together.
Don’t forget to check out the fun sewing projects for spring at the bottom of this post.
The puff sleeve just add a tiny detail to this shirt that takes it up a bit from a basic tee.
I started with my girls fitted tee shirt pattern and then hacked it form there. I’ll be showing you exactly how to modify any sleeve pattern to create this look.
Want to make this for women? Use the women’s fitted tee here.

You can do this in all one color or with a couple of colors. I’m not sure I love this combo, but I adore the rib knit.
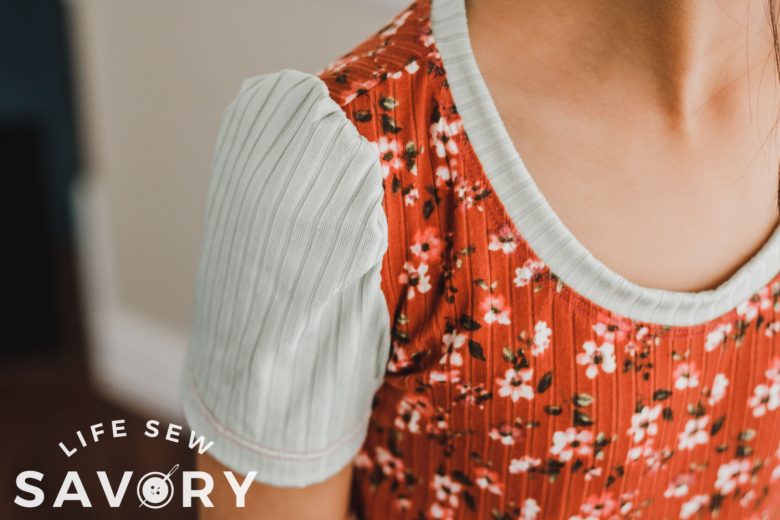
How to cut and sew puff sleeves –
Ok! Let’s get to the actual pattern modification and sewing.
- T-shirt pattern {I used the free girls fitted tee}
- Fabric {I used beautiful rib knit}
- Tissue paper for tracing
Grab a t-shirt pattern and let’s get started. I’ll be showing you with my free pattern, but you can really do this with any sleeve template. If your sleeve is cut on a fold, trace it twice to create an open sleeve pattern.
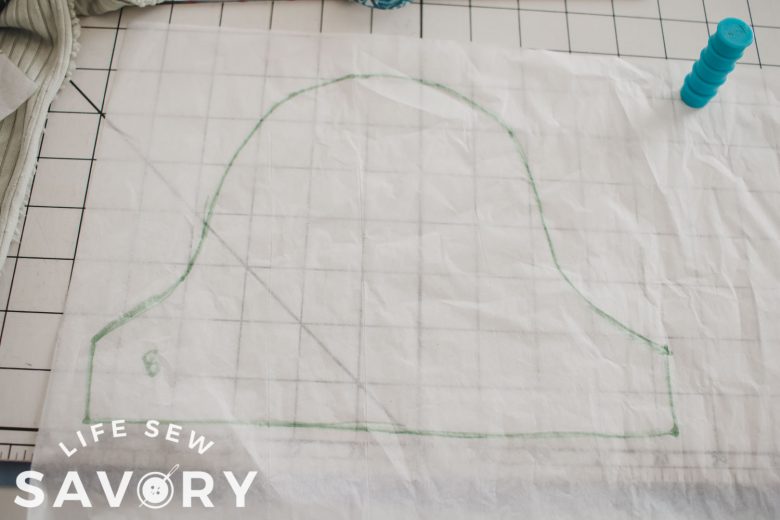
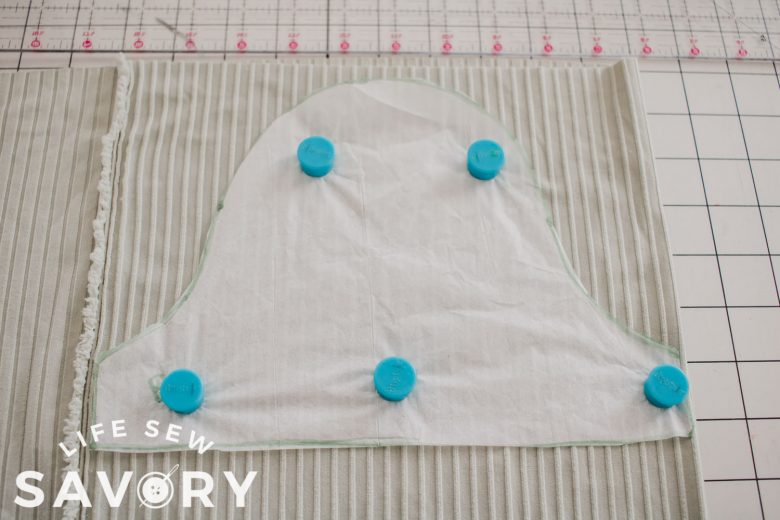
I’ve placed my sleeve on the fabric so you can see it. I traced the original shape onto tissue paper so I could cut it up.
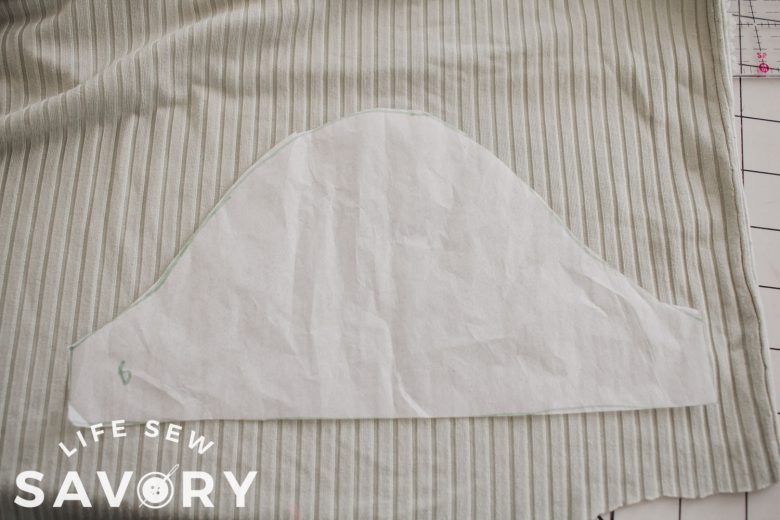
Cut straight across the sleeve cap right at the bottom of the curve. The cut the top of the cap into six pie slices.
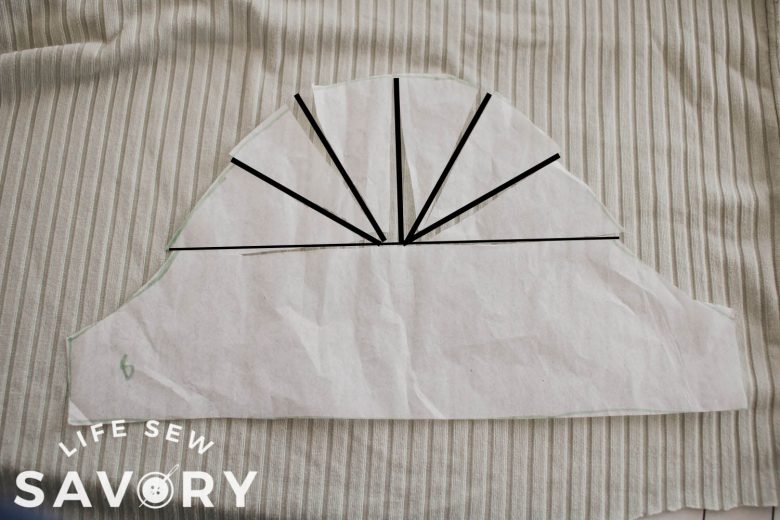
Place your cut apart sleeve onto another layer of tissue {or what ever you use for pattern tracing} Sperate the pie slices by about 2 cm {about 3/4 in} on the edges. See my diagram below. The outside of these pieces should sill look like a tall sleeve curve.
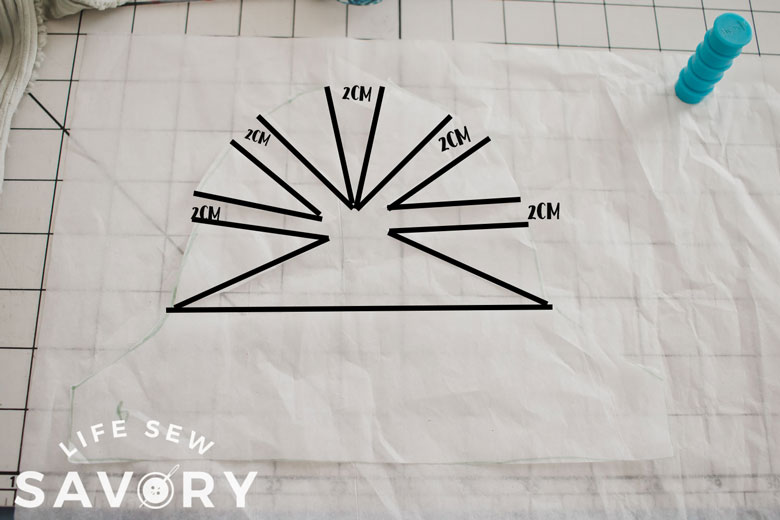
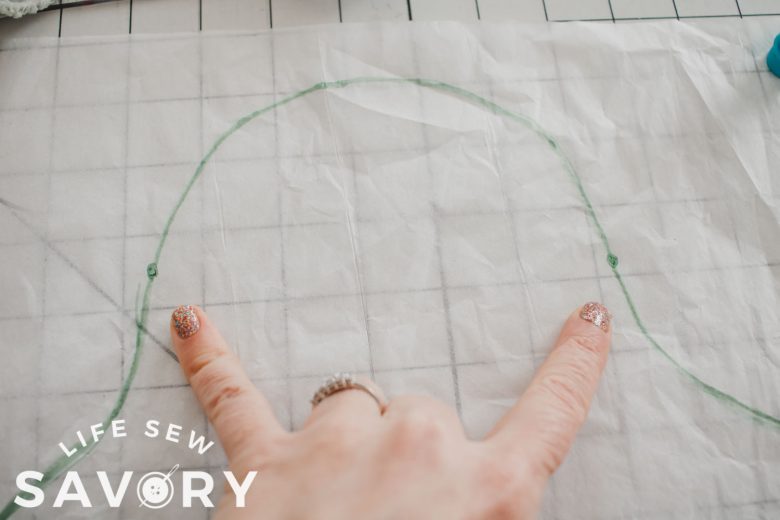
Retrace the new sleeve shape and mark the bottom edge of the curve again. This is your gathering mark now. Need help with gathering? See my five ways to gather post.
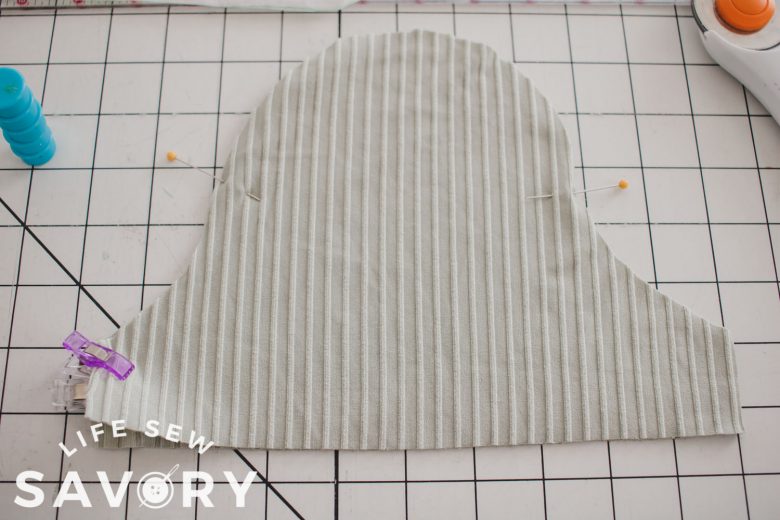
Move the new sleeve pattern to the fabric and cut out two sleeves in mirror.
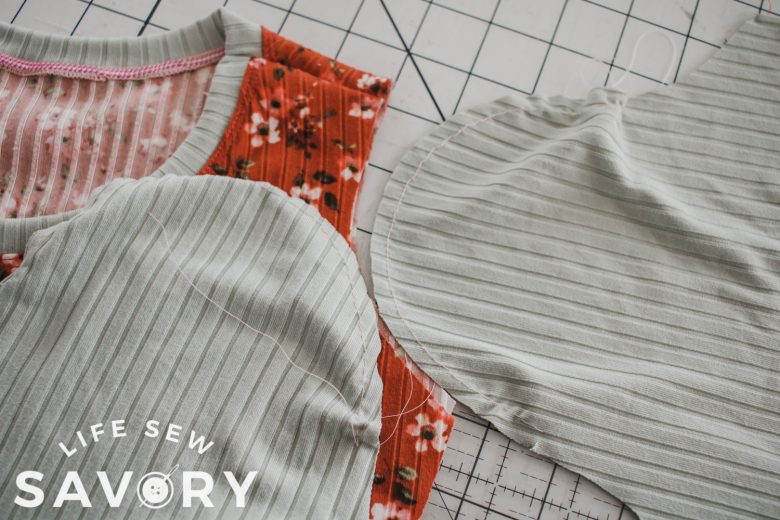
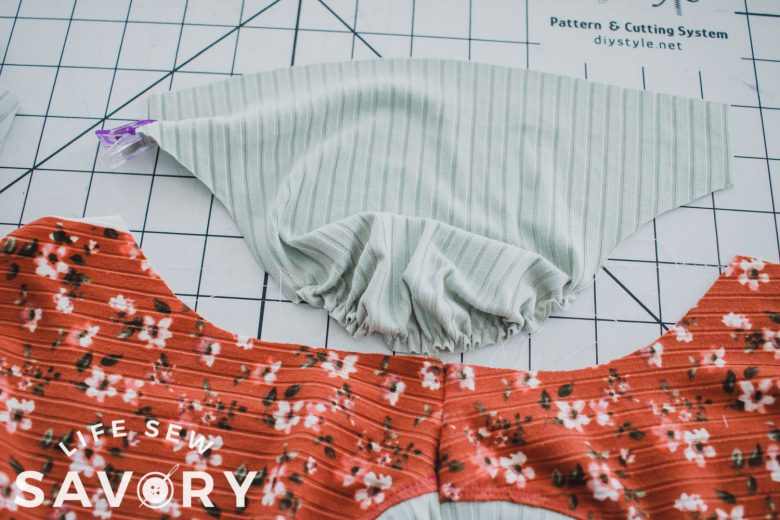
Sew up your shoulder and neckline of selected pattern. Run a gathering stitch between the marks on your sleeves.
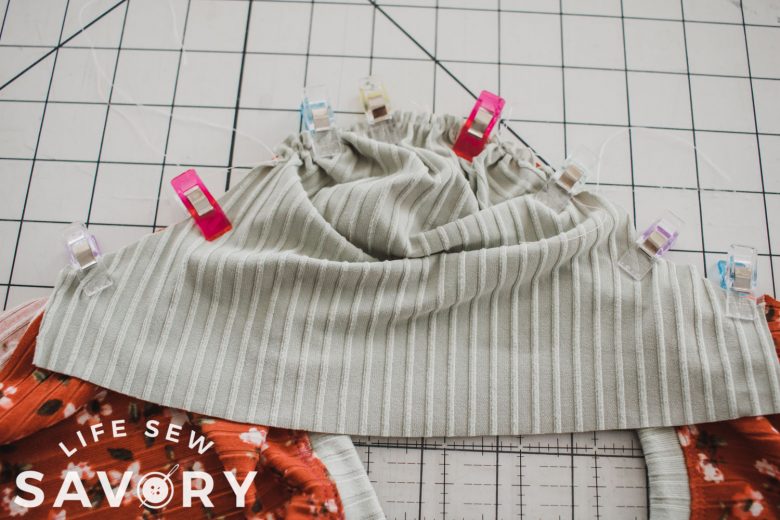
Pull the gathering threads until the sleeve matches the shoulder opening. {you can always compare this back to the original sleeve pattern for reference. Pin or clip the sleeve into the shoulder. Make sure to match the back and front if needed. {some patterns don’t have a front and back}
Sew the sleeve into the shoulder. You can now finish the shirt as directed in you pattern.
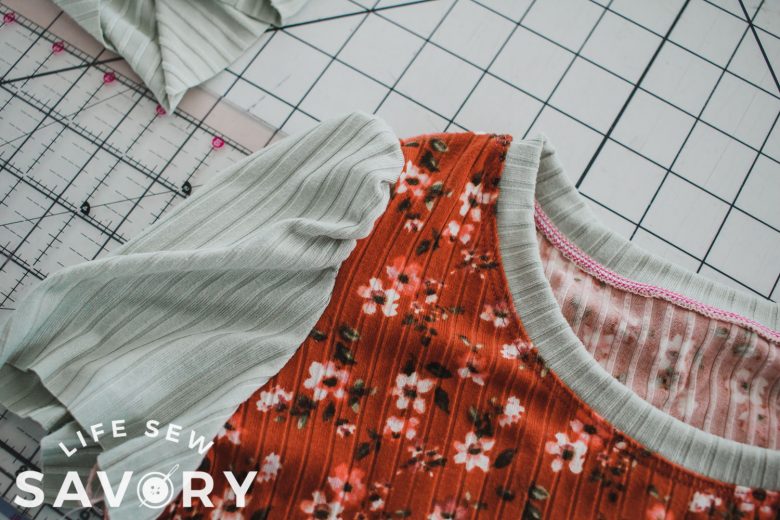
You can also add a band at the bottom of the sleeve to gather it a bit as well. I just used a hem on this shirt green sleeve shirt. You can see the bands below.
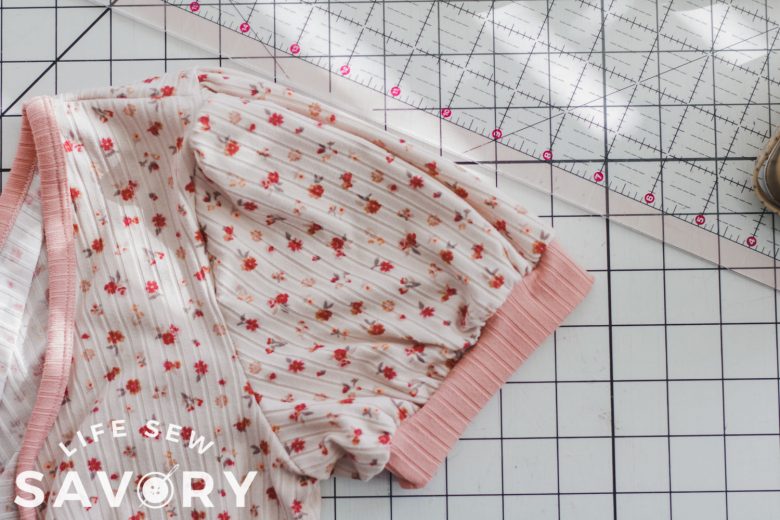
You did it!! Enjoy your new adorable shirt. And now… here are a bunch of other adorable ideas to sew to get you in the mood for spring.
Spring sewing ideas and tutorial
so many fun ideas for spring sewing projects. Get excited for spring and warmer sewing projects with these fun spring sewing ideas.









Leave a Reply