Inside: Check out this cute quilted wall hanging for Christmas. This Merry and Bright sign will add color to any room and give you a fun DIY Christmas sign. Full tutorial for quilting and embroidery.
How cute is this quilted wall hanging for Christmas? We haven’t officially decorated yet this year, but I’m slowing making a few new craft Christmas pieces for our house. This Christmas wall decor sign is my favorite so far this year. I love the bright Christmas fabric and the gorgeous embroidery as well. We plan to go cut our tree this Saturday and I’m so excited.
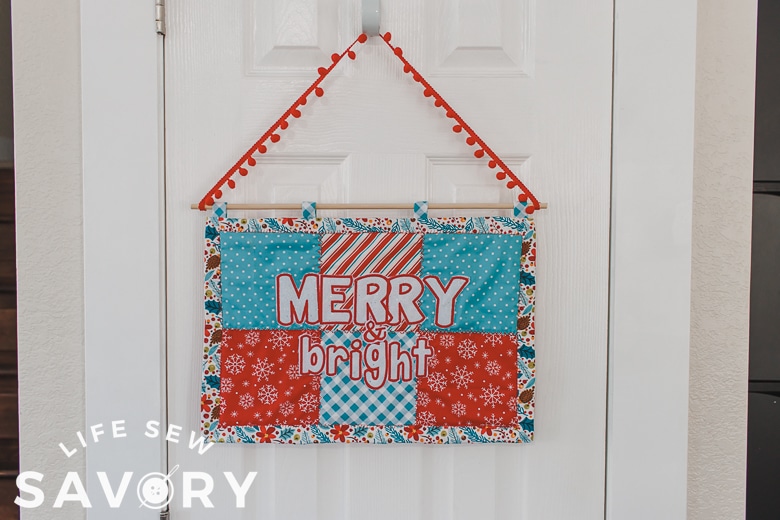
Quilted Wall Hanging project
So the quilting is cute, the fabric is great, but what REALLY makes this project is the glitter felt applique!! The white letters on the colored back just pop so well. The felt appliqued onto the quilted background really well, and I love that I used glitter felt.
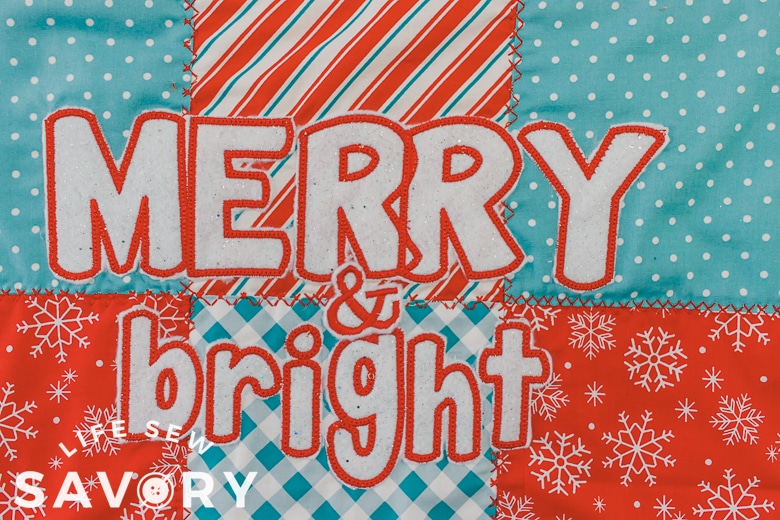
How cute is the finished wall hanging? I could make the font larger if I did two hoopings. This was as big as I could get in my 8 x 12″ hoop with both words at the same time. I would separate to make bigger next time I made something like this.
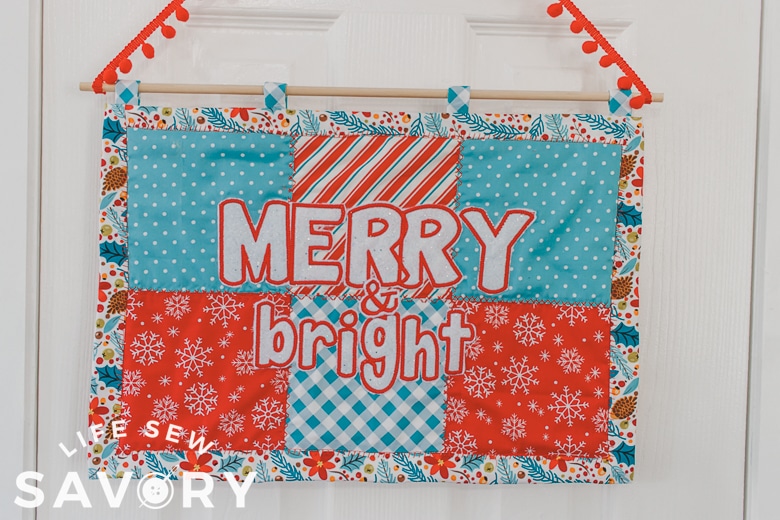
Here are some other fun things to make for your home this Christmas.
Cute Christmas Home Decor
- Christmas Tree Table Runner
- Christmas vinyl decor
- DIY Christmas Pillows {huge list!!}
- Gorgeous Christmas Wreath
Christmas wall decor supplies:
OK! Let’s make this! Here is what you will need to make this project.
- Applique Embroidery Font
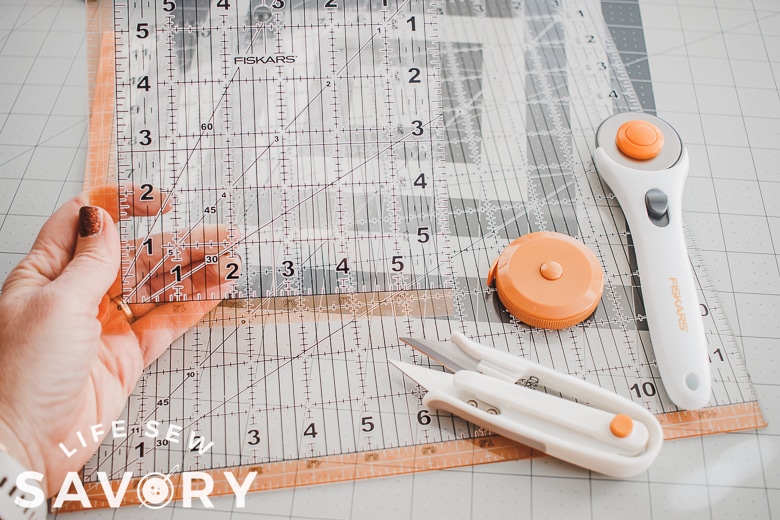
- Fiskars 5 piece quilt set
- quilt batting
- Fat Squares of fabric
- Embroidery Machine
- Embroidery supplies – stabilizer, thread, needles….
DIY Christmas sign
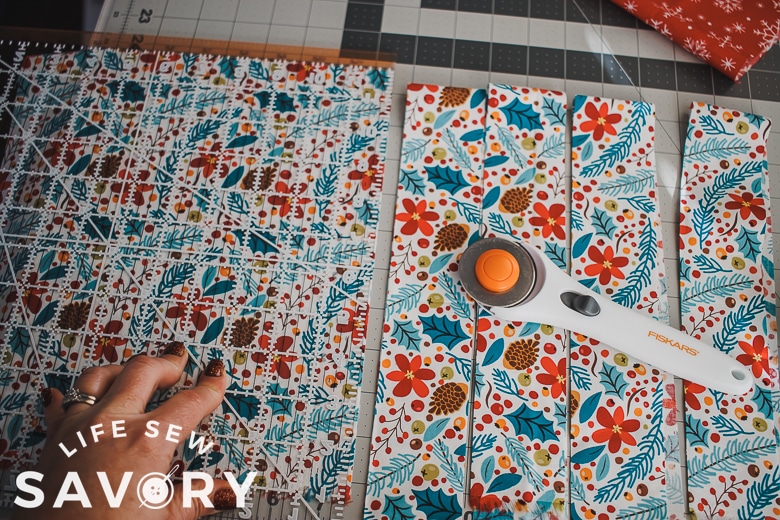
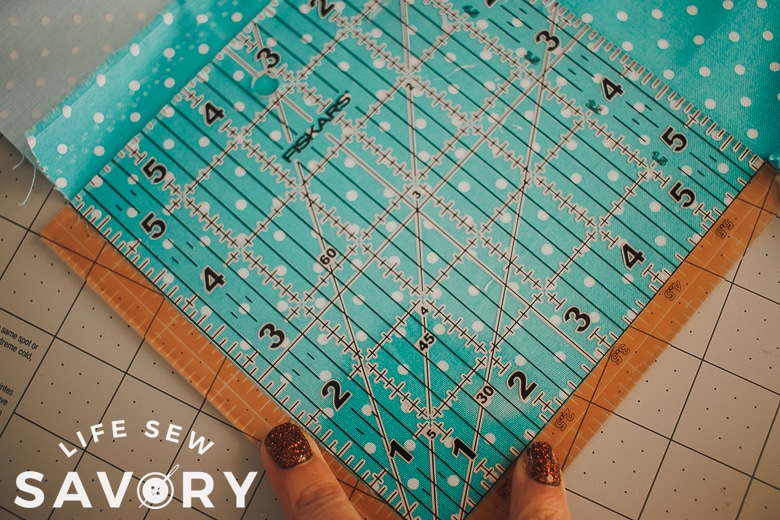
Begin by cutting your fabric. This is not an exact pattern, it’s more of inspiration, but let me show you how I made my DIY Christmas sign with applique. I took my Christmas fabric fat quarters and cut six – 6 inch squares. The 6″ square ruler makes this easy! Line up a corner and cut the other two sides.
I also cut four strips of fabric 2″ wide to add a border and binding to the quilted squares.
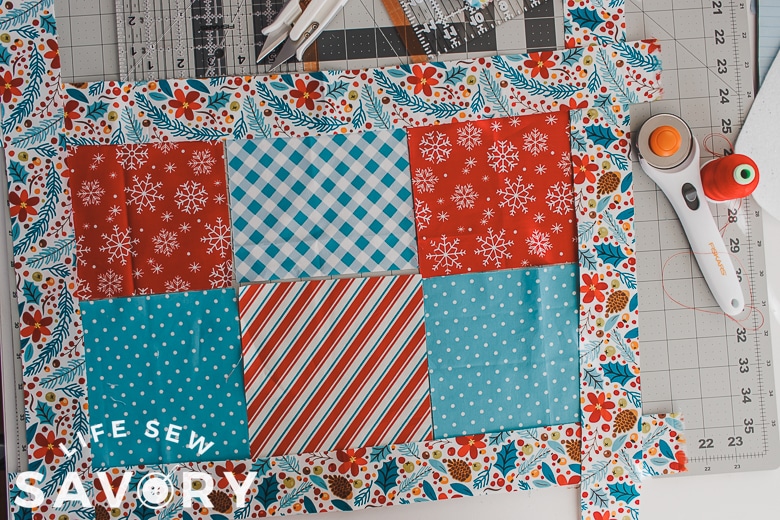
I first laid out my fabric to see how it would fit together. This is what I came up with. Sew all the squares together and then add the border to that. You can create any size wall hanging you want, but this is what I made. Sew the fabric together.
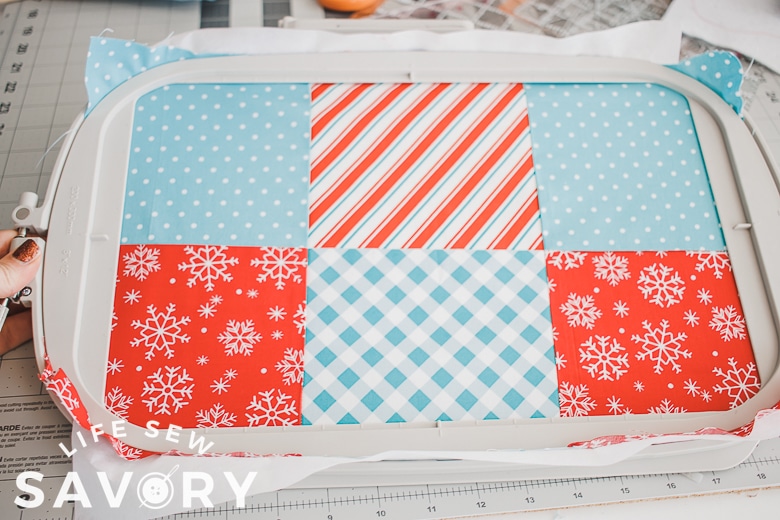
Grab some stabilizer and hoop the fabric. I should have added the border before hooping as I barely had enough fabric.
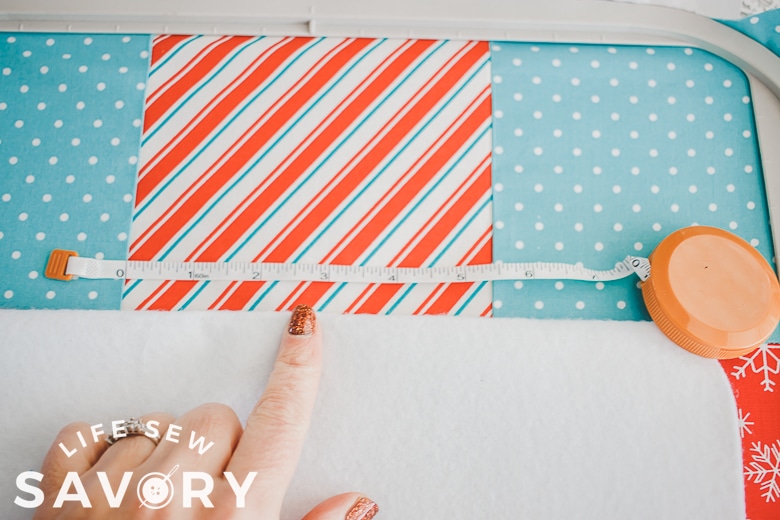
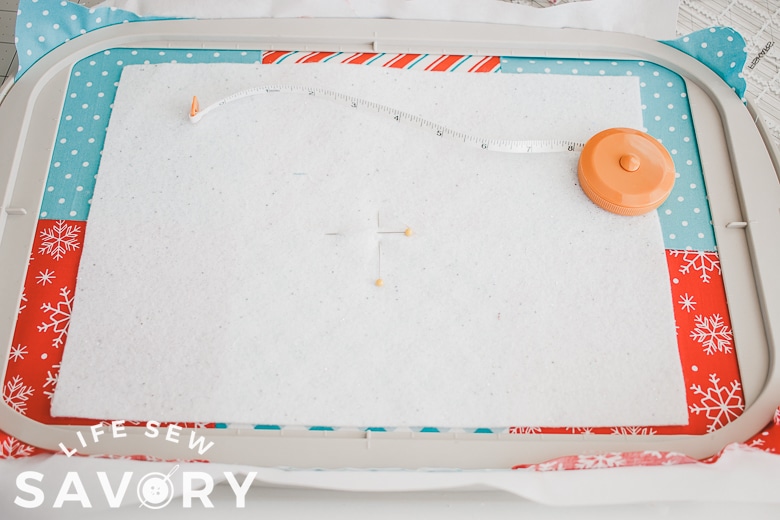
Find the center of the quilted section you sewed. Place a sheet of felt {I used soft glitter felt} over the quilt and match the center of the quilt with the center of the felt. You will use this to line up your embroidery.
Merry and bright sign embroidery
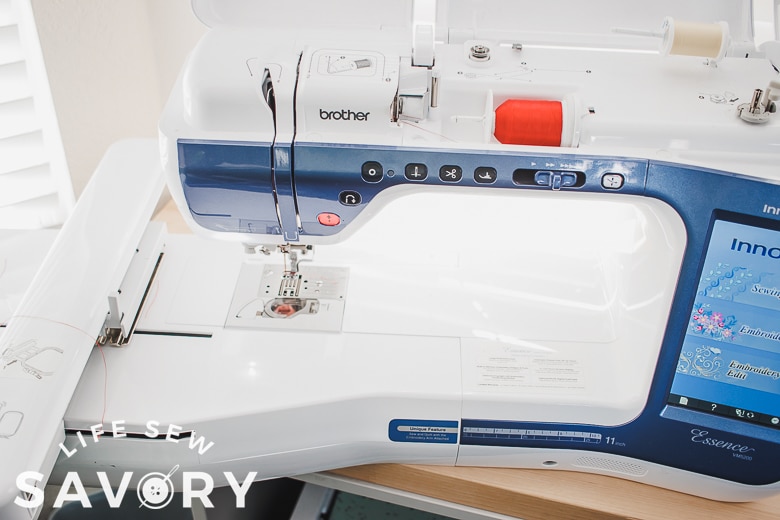
I love my sewing/embroidery machine { I mean I love it so much!} BUT it doesn’t have any applique outline fonts built in. I purchased and used the font linked in my supplies list above. See below for more information on the font.
On the right here you will see the Merry loaded and arranged and the bright all in a stack. Each letter is a separate file, so I just load them all in, then move and rotate as needed.
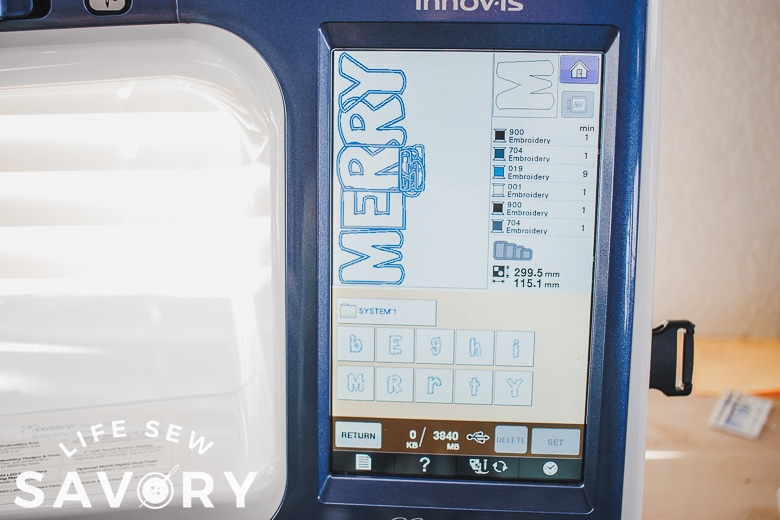
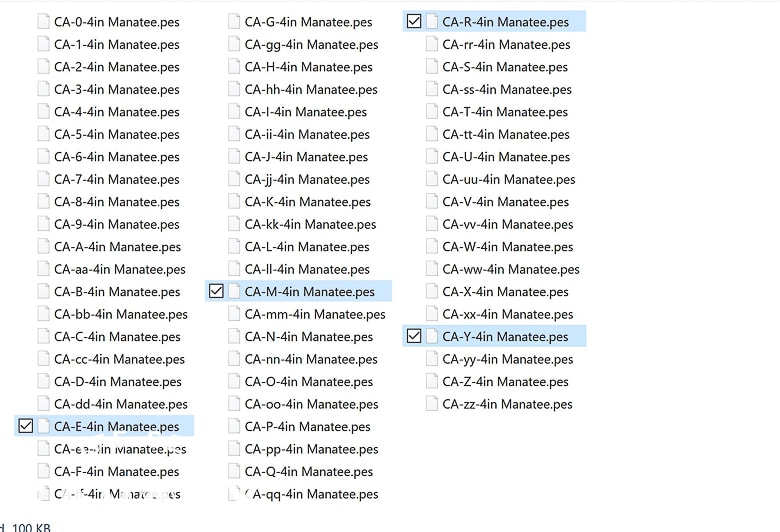
After you purchase the embroidery file, unzip it and then open the folder with your embroidery type. Brother machines use PES files. I selected the 4″ letters and then grabbed all the ones needed to spell merry. I only transfer the needed letters to the thumb drive to transfer to my embroidery machine.
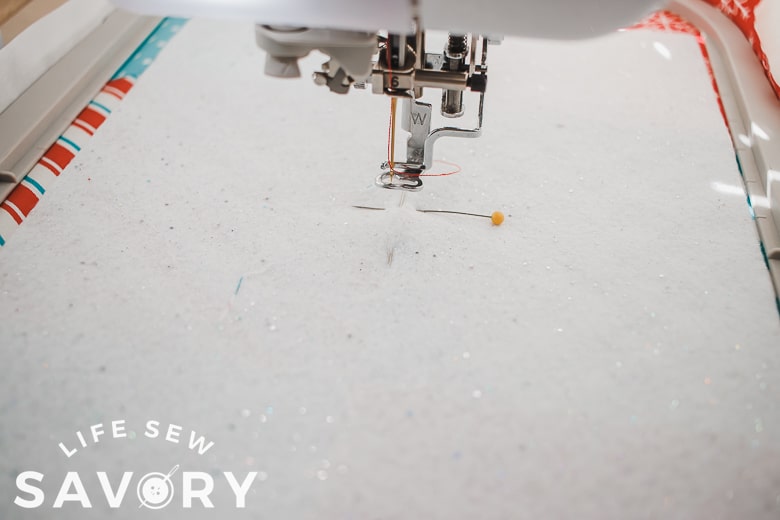
Line up the embroidery foot with the center marking on your felt. The design should be centered with your markings. I also turned off all the colors and only set it as one color so that the whole thing would embroider without me having to push the start button a million times.
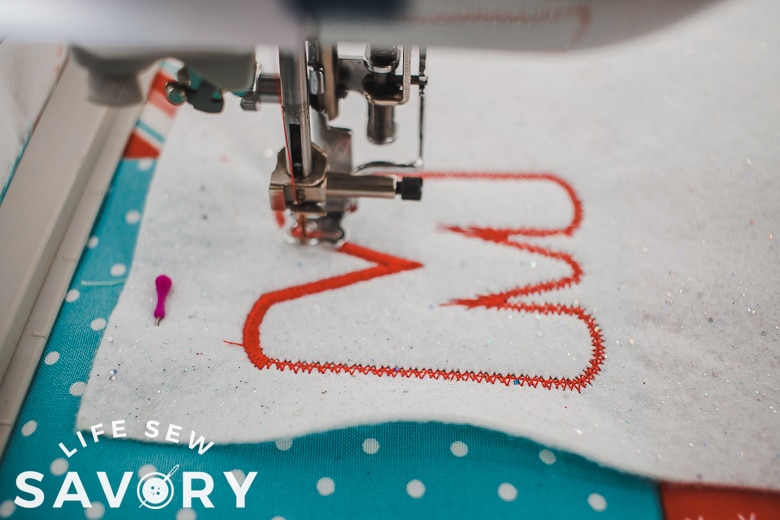
This design stitches out so cute! I did have to re-wind the bobbin a few times. When finished I peeled off the stabilizer.
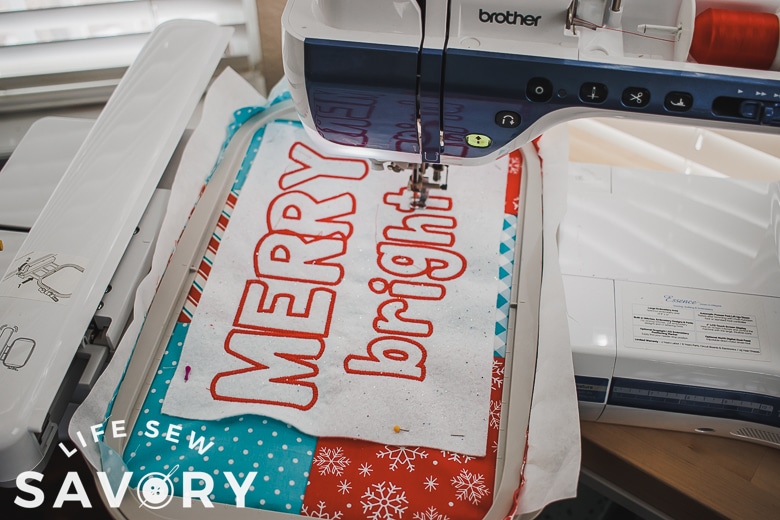
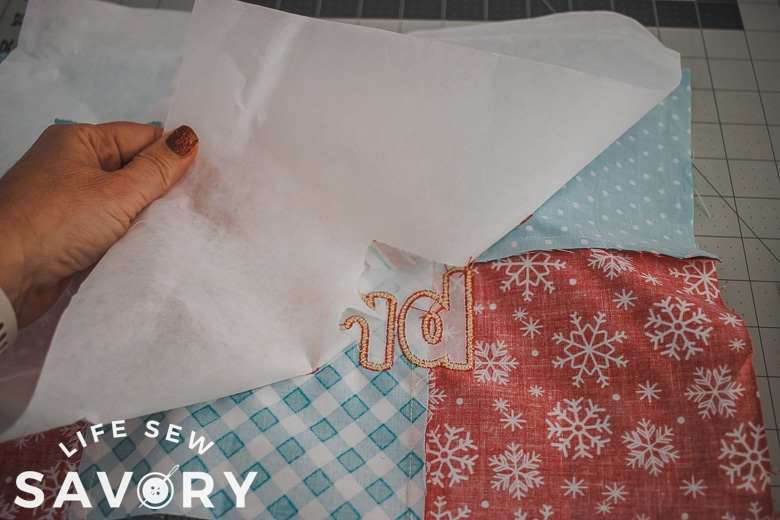
Clip closely around the felt letters with small scissors. I also put it back in the embroidery machine with more felt and added the & sign. I just used a built in font &.
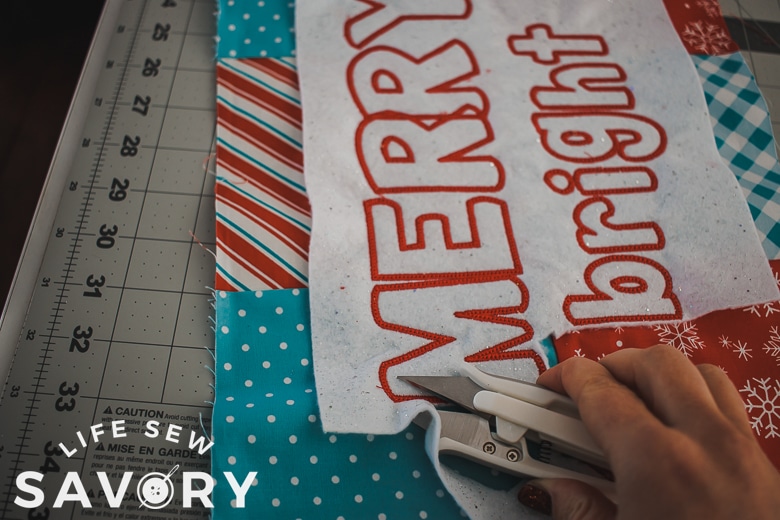
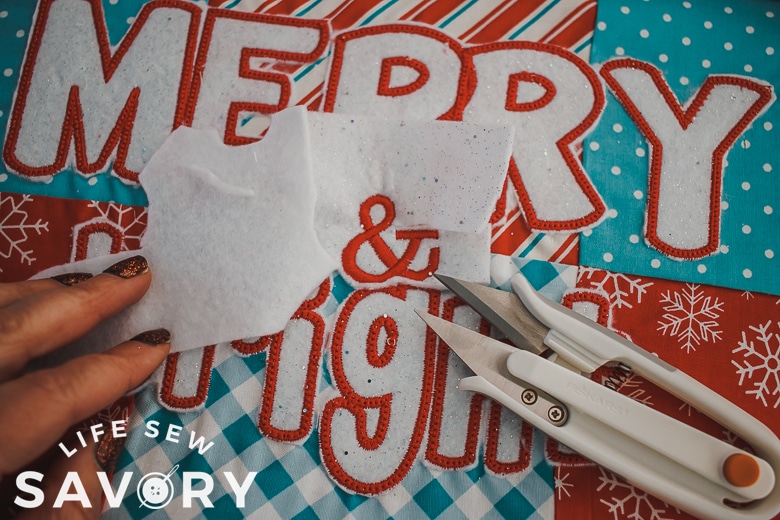
How to finish your Christmas wall hanging
If you have not added your 2″ binding, add that now. Cut a backing that is .5″ smaller on all sides than the front. The front should be 1/2″ bigger on each side. Cut a piece of batting the same size as the backing. Pin in place in several places on the fabric.
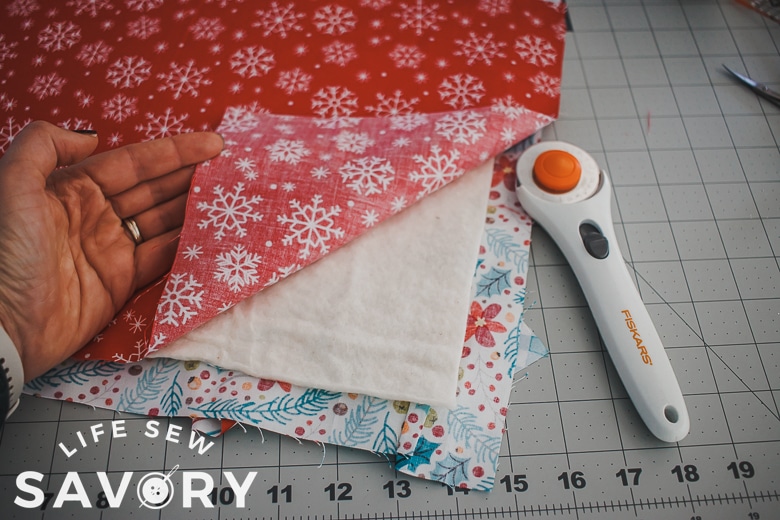
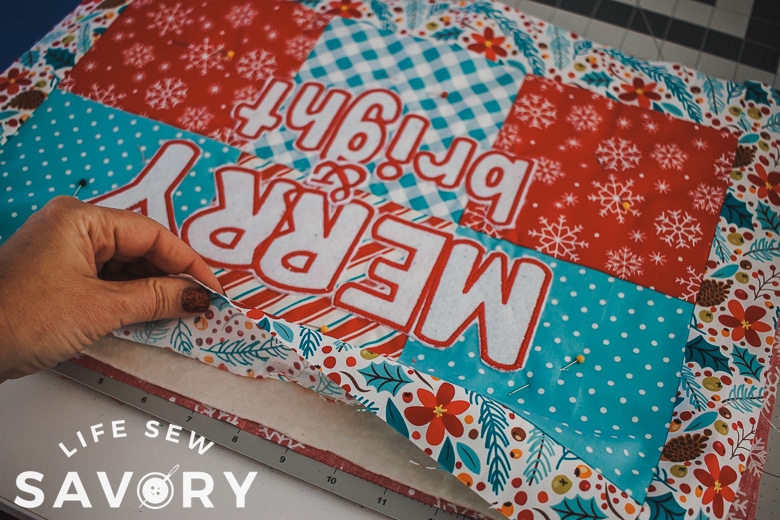
use any fun decorative stitches on your machine to “quilt” the three layers together. Create fabric hanging loops if desired. I pinned these in place when I was clipping the border.
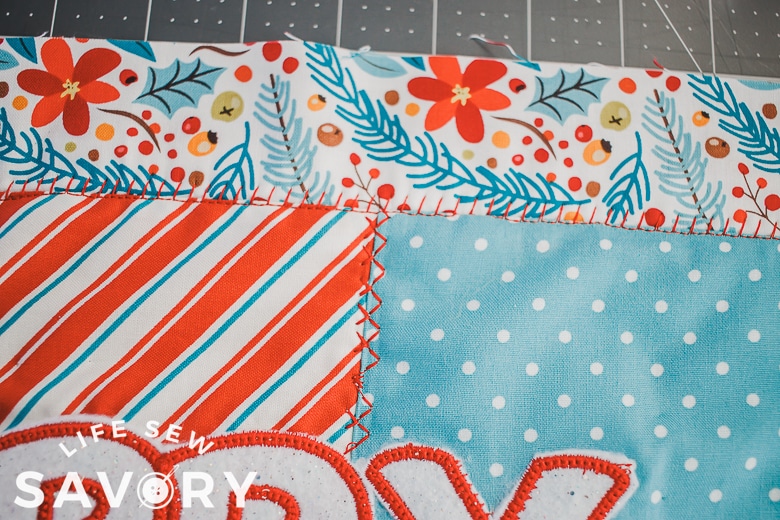
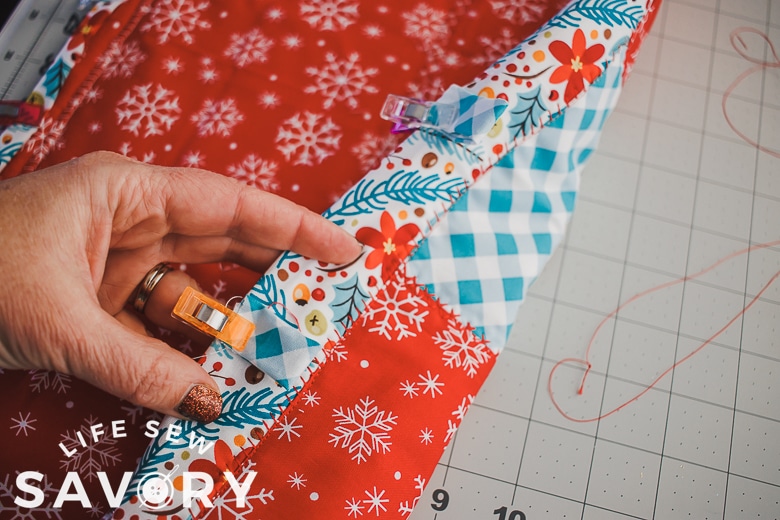
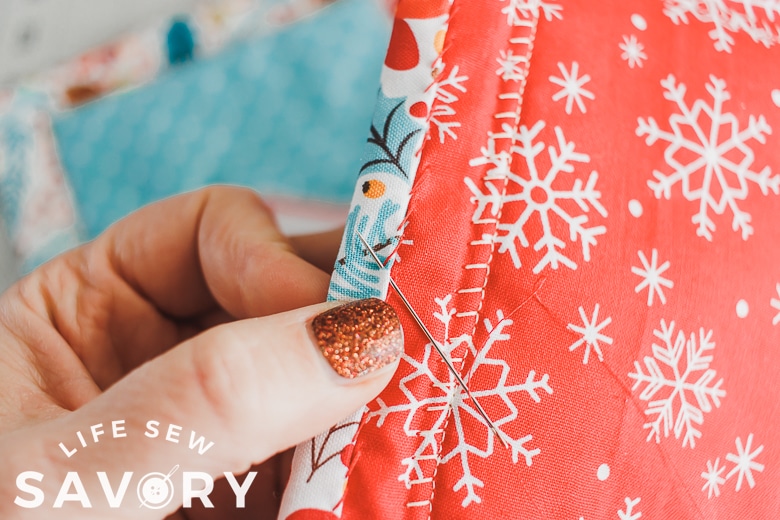
With the front side down fold over the binding and then fold it over again to enclose the raw edge. The binding is the front border as well. You will have about 1″ of the fabric showing on the front and a much smaller amount on the back. Hand stitch in place.
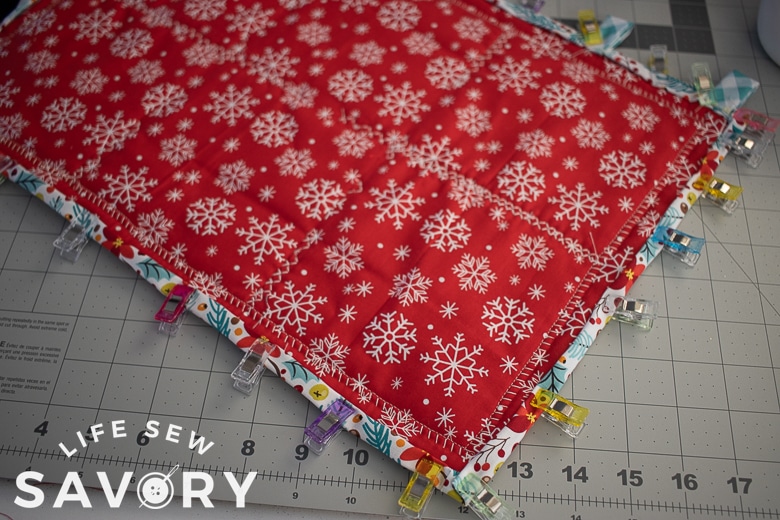
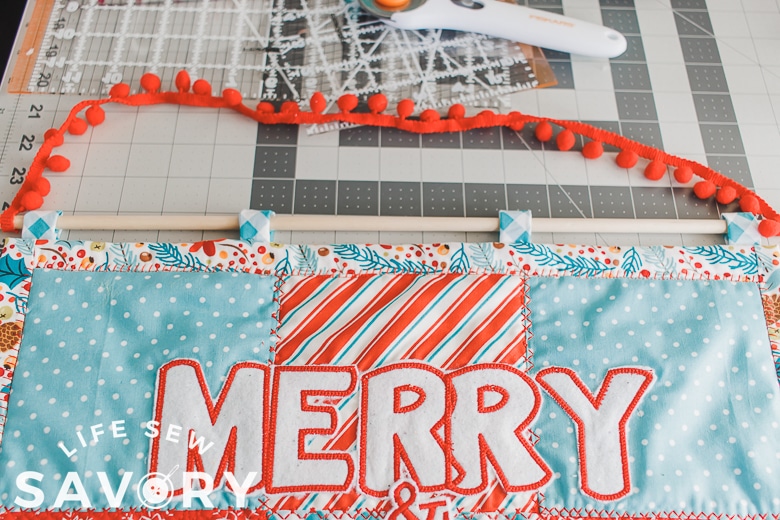
Thread a wooden dowel through your fabric loops and then add a ribbon or string for hanging. Now you are finished and have the most awesome Christmas wall decor!! These same ideas can be applied to making a quilted wall hanging for any holiday or occasion.







Leave a Reply